All Occasion · birch press design · cards · CAS · Memory Box · Stencils

Embossing Paste With a Stencil…

Celebrate! Hello everyone! I watched a video by Shauna from the Foiled Fox and loved her cards.  I don’t have the same things but I want the stencil she used too! lol Her cards are so pretty…I just had to make some!  The theme for this months swap at stamp club was anniversary so I had added incentive to make!

I used a Memory Box stencil and had to tape off some of it like she did, so go through your collection and be amazed at what you come up with… like I was!

I won’t explain much because her video tells easier than I can write it up…

I’m really happy with my two cards… already used this gold one (for the card swap)!  I used gold glitter embossing powder from Judikins.

The celebrate die is from birchpressdesigns.


The next card is the same technique but using Silver glitter embossing powder…

I wish you could see them IRL…so pretty!

This one I used a Simon Says stamp die and stamp set for the sentiment.

Holler if you have any questions.  What’s old is new again!  Gotta love revisiting the old techniques.

Thanks for stopping by!  Hey before you click away…. be watching…NEW Memory Box and poppystamps coming very soon, like tomorrow! hehe

SaveSave

cards · Christmas · Distress Ink coloring · Printworks · Stencils · Watercolor

Printworks Collection Watercolor Poinsettia and new stencil…

pam-sparks-2016-poinsettia

Did you know Printworks Collection has stencils now?!  Yes!  They are so cool too…random and fun!  Here I used the new Summer Rain stencil with the Watercolor Poinsettia J2288.  HERE they are in the store…

pam-sparks-2016-poinsettia-close

I heat embossed the poinsettia with gold powder and colored it with Zig Clean Color Real Brush Pens. To get the shimmer on the petals and leaves, I colored it with a Spectrum glitter brush marker.

I edged the background stenciled piece with Gold Delicata ink and an ink dauber.

The frame is from Taylored Expressions. The sequins are from Pretty Pink Posh, the Christmas collection.

How are you?  Yikes, don’t ask me. lol  I have stuff everywhere.  I keep starting things and then starting something else! HELP!  I wrap presents until I can’t find the right size box so I try to design a tag until I can’t find the right die for what I want to do.  How could I not have the right die you ask?  Well, I wonder the same thing!!! Cards started then stopping for life.  This morning I went to get a hair cut and I forgot to take the little bag of cards that I’d put together to give the gal. So another trip out and about.

I have another birthday card done though!  YAY!  I’ll post it next.

Thanks so much for your sweet comments and encouraging words! I need them! Take care and keep warm and cozy!

P.S.  Order from Printworks today through Friday, December 16th and receive FREE SHIPPING on all orders over $20. No code needed!

oh man!  These snowmen are SO cute and the sentiments!  I NEED them!

Annette has come out with her 2016 Limited Edition Snowman “Little Rascals” and Christmas release! Get them here!
Shop 2016 Limited Edition Snowman – Wood
“Little Rascals” – only available in wood
cards · Memory Box · Spring · Stencils · Techniques

Memory Box cards, HELLO and more…


I have a bunch of cards I made a few months ago that were too late to get in the first Memory Box look book, so I’m going to start sharing them here before we’re on to another release!

* * * In case you haven’t noticed, I added a new TAB under the blog header with my photos of the cards I made for the first Memory Box look book…take a look!

PamSparksHelloFloralDot (1)


For this HELLO card, I stenciled the background on watercolor paper with Worn Lipstick and Spiced Marmalade Distress inks.


PamSparksArielNest2


I was inspired by Cindy’s fabulous card to make this nest in a tree card… at the time I took the photo, I didn’t have a stamp from MB to use but if I was to add a sentiment, I would use an alphabet set and stamp, “What’s Up?” or Hello!  Look around Cindy’s blog… so many gorgeous creations!


PamSparksGildedBirdcagePasteBkgrd2 (1)


One more bird idea…I’m bummed I can’t remember what I did here. ugh.  Too many cards since!  I know it’s regular embossing paste over a stencil.  Pretty sure I sprayed it with the color spray stuff.  Sorry about that.

I’m pretty sure I colored the branch die cut with markers…might’ve been Distress markers but it could’ve been Copics too!  I use both all the time!


I better quit for today! Memory Box overload!  Thanks for stopping by!  Holler if you have any questions and thanks for looking and commenting!  I appreciate it so much!  ttul!


Dies and Supplies I used…


Christmas · copics · Penny Black · Stencils · Tags

Mixed Media Tag…

PamSparksPBHollyTagLollClose

Festive and lots of techniques!  I just had to play in Loll’s Twelve Tags of Christmas!  I LOVE tags!


PamSparksPBHollyTagLollclose2


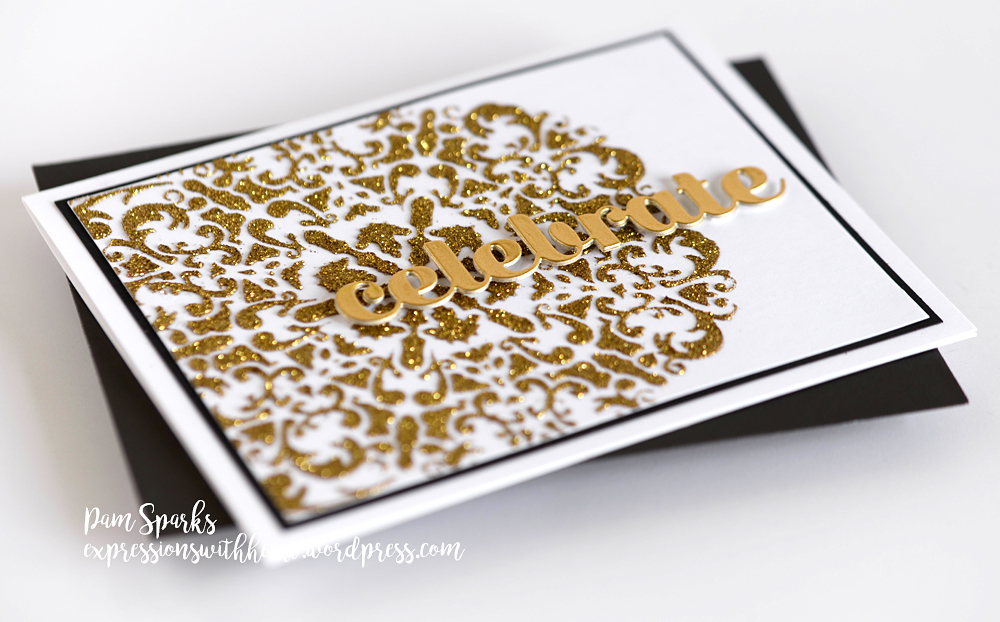
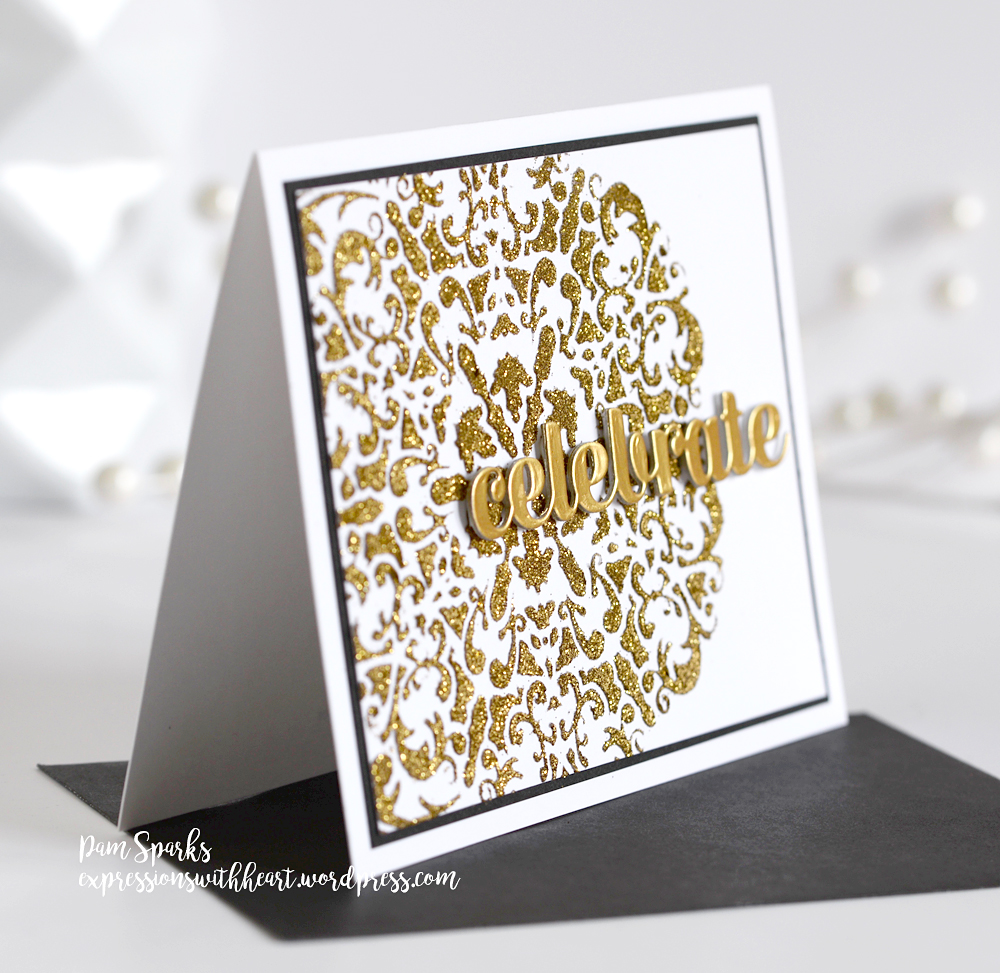
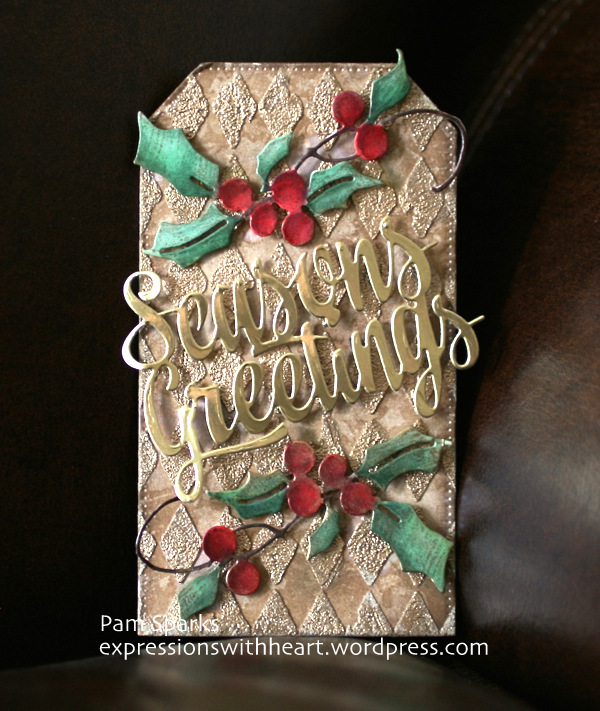
Getting a good photo of all these techniques was almost too much for a very amateur photographer like me!  I have a terrible time giving up though! lol  So, the top two close ups are to show the gold embossing powder on the embossing paste.


PamSparksPBHollyTagLoll600

Here’s what I did…

I cut a tag with the largest MFT pierced tag die in white 110# cover card-stock

I did Loll’s pearl background technique on it next…the only thing I changed from what she does is instead of using plastic wrap, I used a plastic bag and put my hand inside it, scrunched it up a little, picked up the pearl mixative and pounced, keeping my hand clean! haha The right one anyway! lol

Next, using the ink blending tool and Gathered Twigs Distress ink pad, I inked the whole tag.

Over the top of that I placed the Tim Holtz stencil and applied white embossing paste. Cleaned it up then…

I dumped Ranger Queens Gold embossing powder over the whole tag, removed the excess and heated it with a heat tool.

I LOVE the look of the powder on the paste!

I die cut the Seasons Greetings Avery Elle die from gold metallic card-stock

I did cut the Penny Black holly die from Copic coloring card-stock.

Color the holly cut with Copic markers

Then with the matching Penny Black holly stamp, I stamped the colored die cut, after stamping off on scrap paper, with Gathered Twigs Distress ink pad.  This stamp is from several years ago and they don’t advertise that it matches but it does and looks so awesome!  Another, exclamation when finished!!!  LOVE it!

I adhered everything to the tag with mounting squares cut to fit.

I think I will hang this on my Christmas tree, that’s how happy I am with it! : )

Linking to some challenges…

Stamping with Loll – 12 tags of Christmas

twelve_tags_with_date


Virginia’s View Challenge – all things metallic

CASology Challenge – festive

Winter Wonderland Challenge – Christmas Decorations

Simon Says Stamp Monday Challenge – Ornaments

Cute Card Thursday Challenge – Red and Green

Sweet Stampin Challenge – To Die For

Stamping Sensations – Christmas


Thanks for clicking over to my blog today!  I love to share what I’ve been up to with you.  Leave your blog link when you comment so I can come visit you too!

p.s. I still have some card kits for sale too…thank you!

Supplies I used for this tag…

cards · Christmas · Die Piecing · Memory Box · rubber stamps · Stencils · Techniques · Tutorials · Winter

Memory Box and Imagine Crafts…

PamSparksElianaOrnMusic700

Hi everyone! Today I’m posting with some Memory Box and Imagine Crafts goodness!

I started with a Memory Box Parchment A-2 Notecard for my card base.

I cut another Parchment A-2 Notecard in half and die cut the Musicality collage die in it. (don’t worry about keeping any of the pieces, you just want the hole)

I die cut the Musicality Collage die in black glossy card-stock and inlaid it into the cut in the parchment piece.  Doing it this way keeps the lines straight and everything in place. Because I’m mounting it on the same color card-stock, I don’t need to inlay all the little pieces. Works slick!  : )  I scotch tape it in place on the back side.

Adhere the Parchment panel to your notecard.

I stamped the sentiment Joyful Combo  with Imagine Crafts Memento Luxe Tuxedo Black Pigment Ink and embossed it with Imagine Crafts Clear Embossing Powder. (I use a stampamajig for stamp placement)


PamSparksElianaOrnMusicClose


I die cut the Poinsettia Bloom Trio die in Cranberry card-stock and covered all the pieces with Imagine Crafts irRESISTible Love Letter Pico Embellisher. It’s a glossy color finish that comes with a  fine line applicator.

Add a black pearl in the center of the poinsettia.

I die cut the Elliana Ornament die in White card-stock.  I inked all the pieces with Imagine Crafts Versamark ink and embossed them with multiple coats of Imagine Crafts Black and Sparkle Embossing Powders to get an ornament that ‘looks like glass’ effect. (You might want the background ornament too… it’s HERE)

I die cut the Ornament Hooks and Caps die in Black glossy card-stock for the cap and from Silver Glitter card-stock for the hook.

Wish I could show it to you IRL!

I’m linking up to some challenges…

House of Cards Challenge – use a die or punch or both

Christmas Card Challenges – Anything Goes

Allsorts Challenge – Christmas


Here’s another card I made because I wanted to use some more inks and spray… as if I hadn’t made a big enough mess already! haha


PamSparksSnowflakeStencilPink


I started with an A-2 top folding White card base.

I cut a white card-stock panel and embossed the panel with the new Large Snowflakes Stencil  by running it through my Big Shot. (I show this on a couple videos. Click on the video tab under the header)

Leaving the stencil in place, I adhered it to my desk with removable tape and using Imagine Crafts finger daubers, I inked the snowflakes with Imagine Crafts Memento Luxe Wedding Dress pigment ink.  Remove the stencil and emboss with Imagine Crafts White Embossing Powder.

Using three Imagine Crafts Versacolor square ink pads, Opera Pink, Peony and Raspberry, I rubbed ink over the snowflakes.

Then I sprayed on Imagine Crafts Sparkle Shimmer Spritz and rubbed the inked surface to blend and wipe the ink off the snowflakes.

I die cut the Peace Script die in White card-stock, smeared it with Versacolor Opera Pink ink and embossed it with Imagine Crafts Iridescent Embossing Powder.

I die cut the Pine Border Background die in White card-stock also.  I adhered the Peace Script cut to the trees with little dots of Tombow Mono Multi glue, then sprayed them with the Sparkle Shimmer Spritz and mounted the trees to the card with mounting squares.

I hope you can see the sparkle in the photo.  I took the picture in full sunlight, hoping it would show up.  I really like all of Imagine Crafts products.. hard to say what is my favorite because they are all FABULOUS!!!

THANKS so much for stopping by today!  It’s sunny and beautiful here in IA… yay!


Supplies I used on these cards…