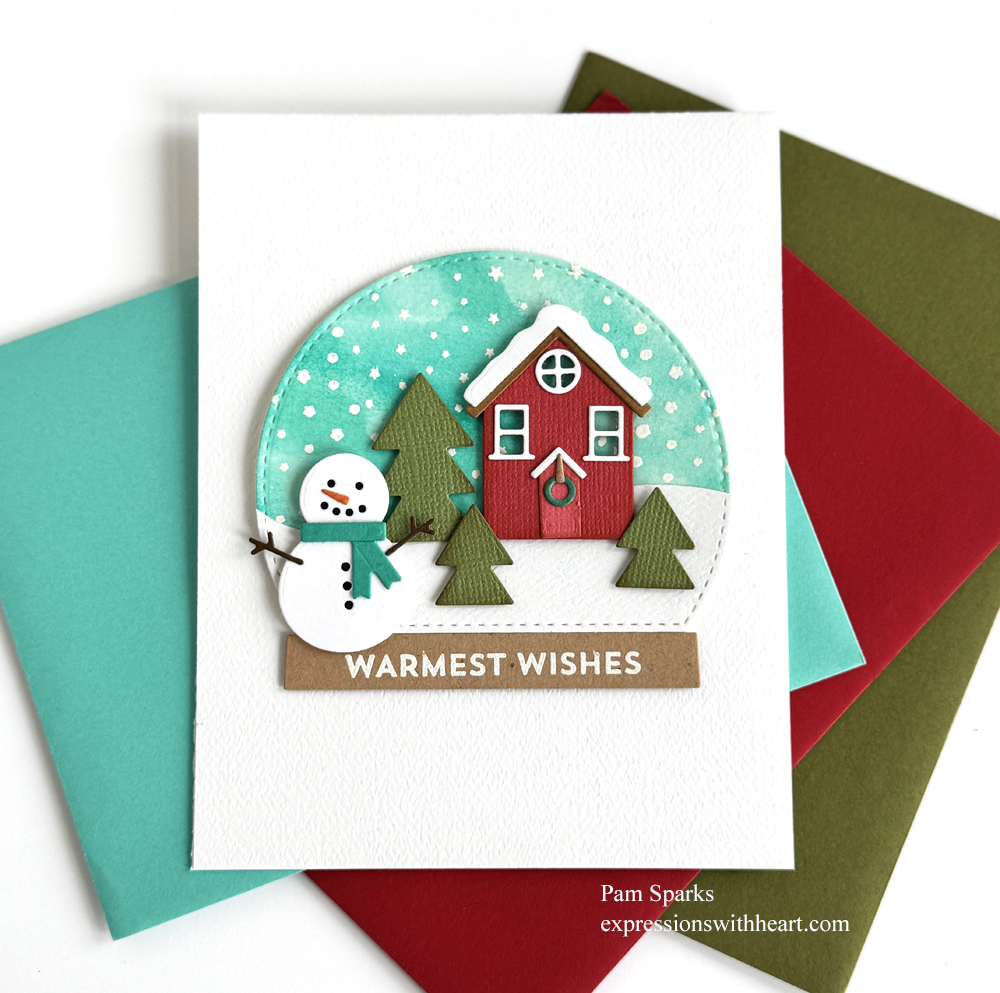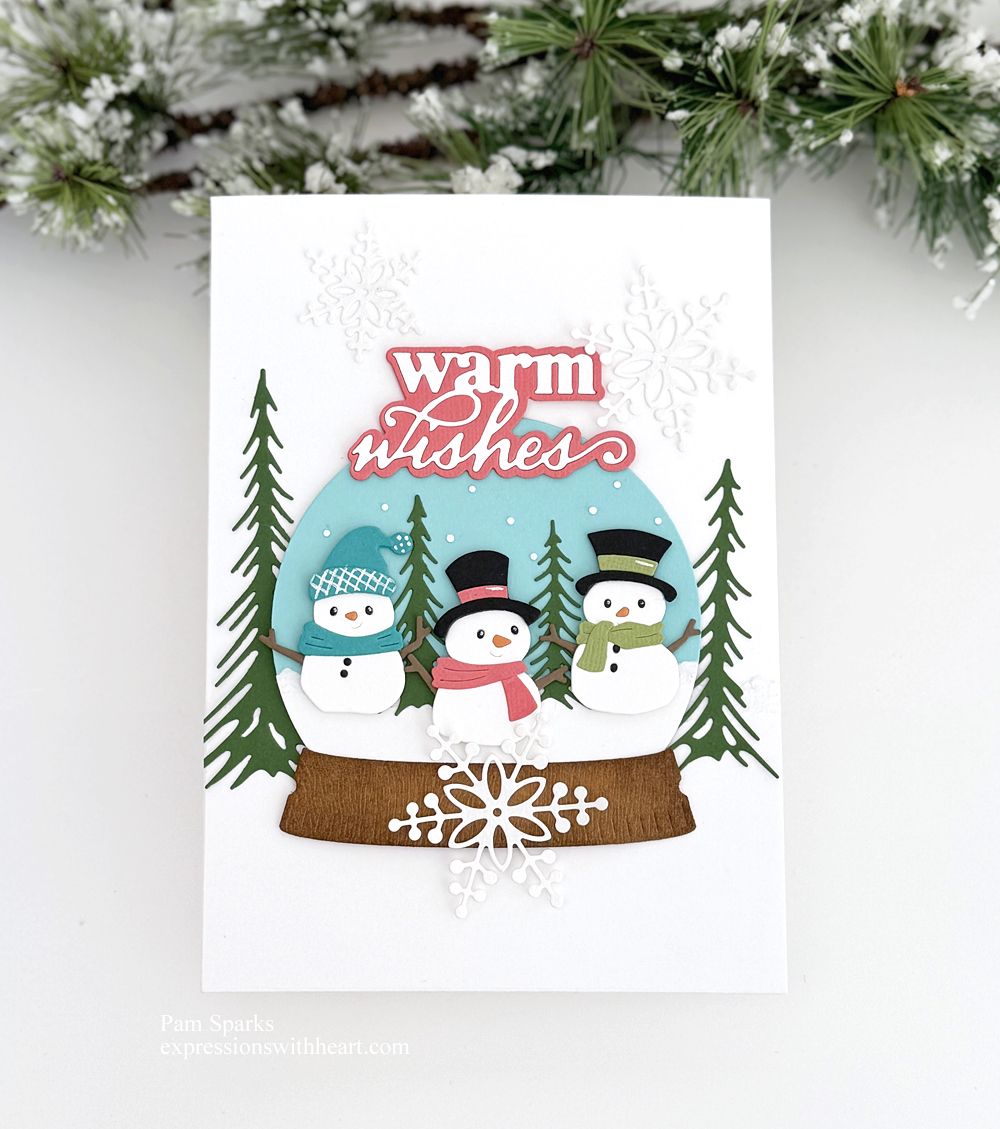
Hi everyone! I had so much fun making this cute card! I wish you could see it in real life! It has terrific dimension without being popped up high!
Die cut and assemble is pretty much it. Although it took the longest to find a paper pad to use! lol
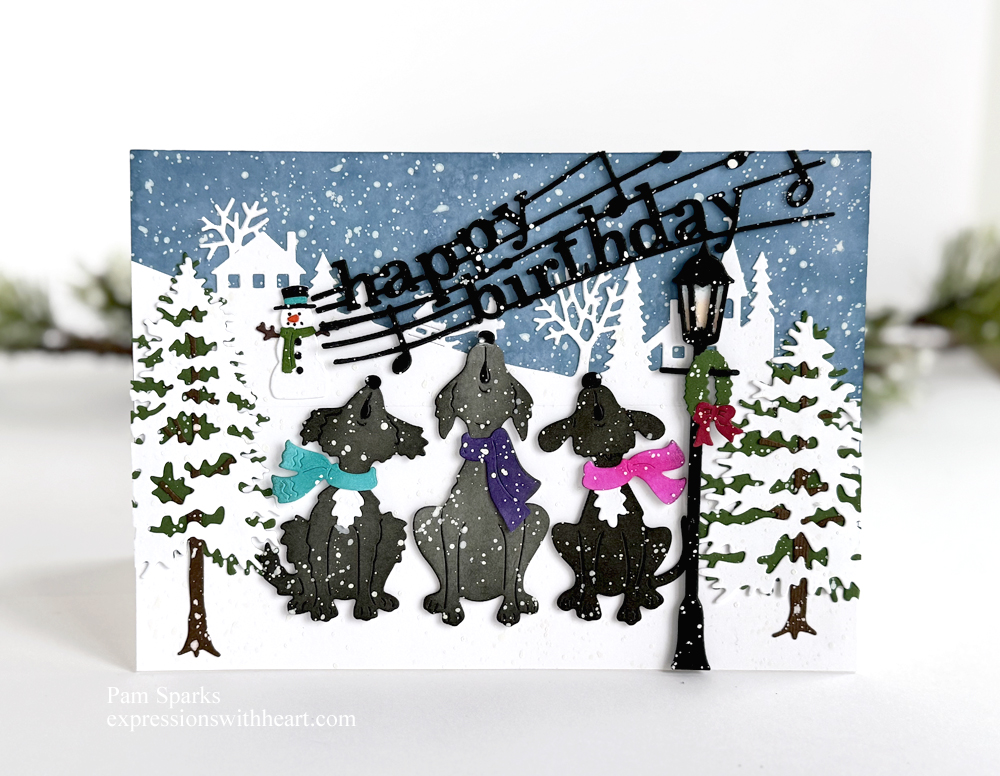
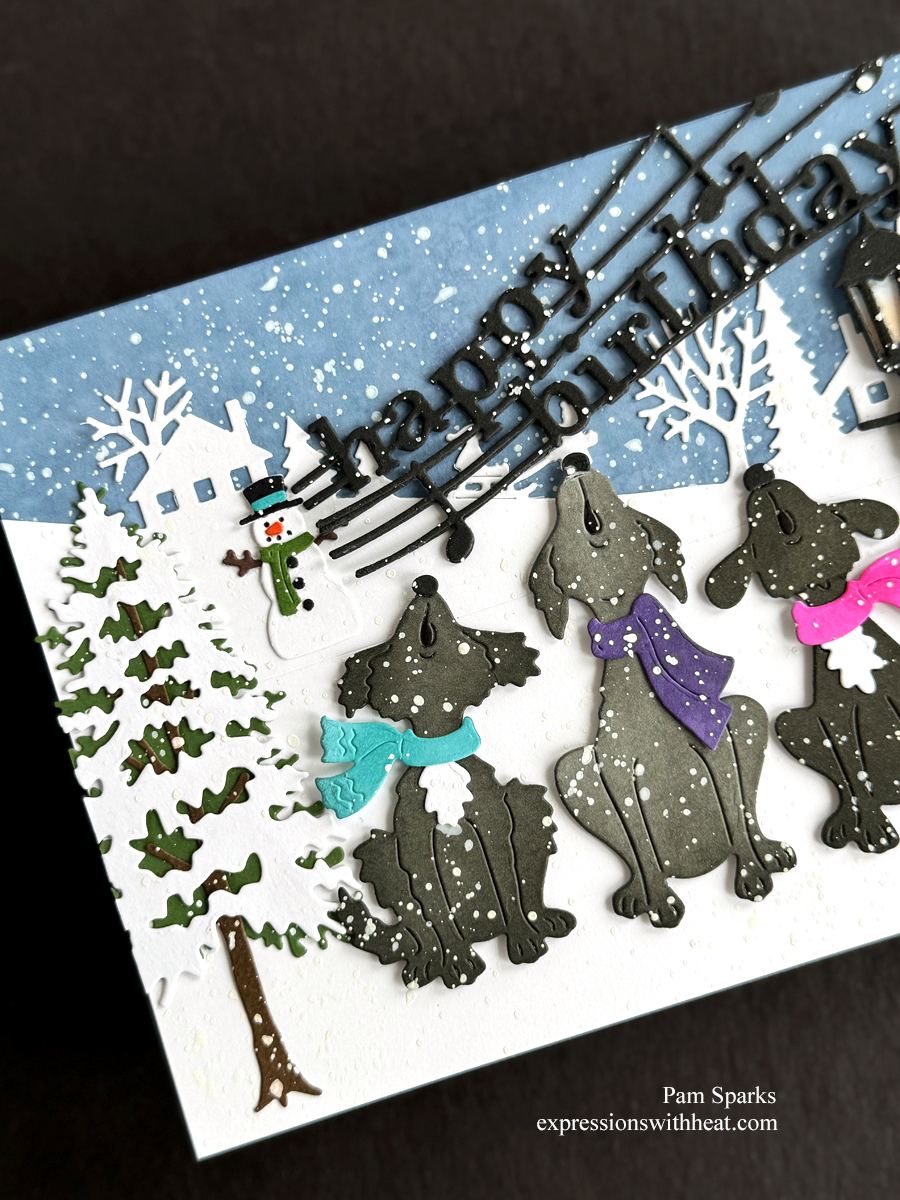
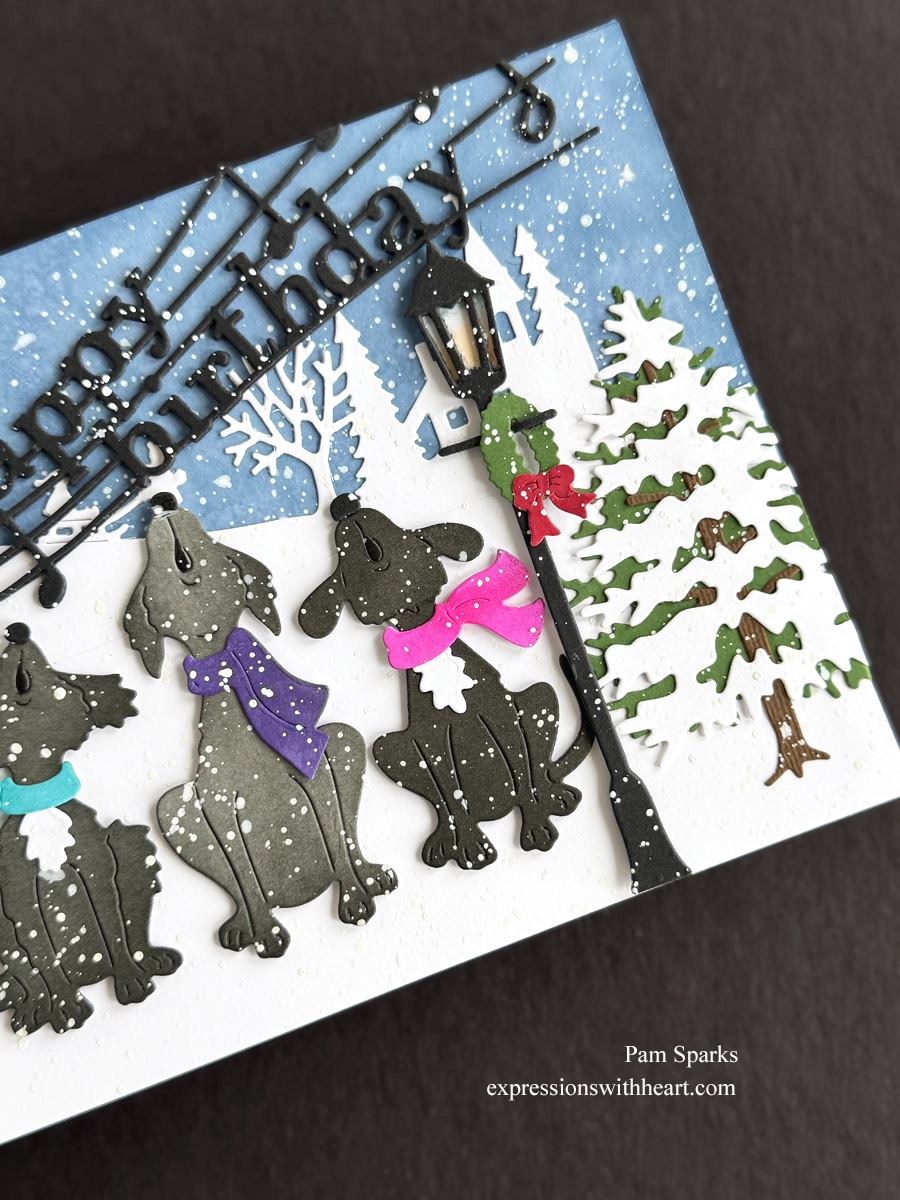
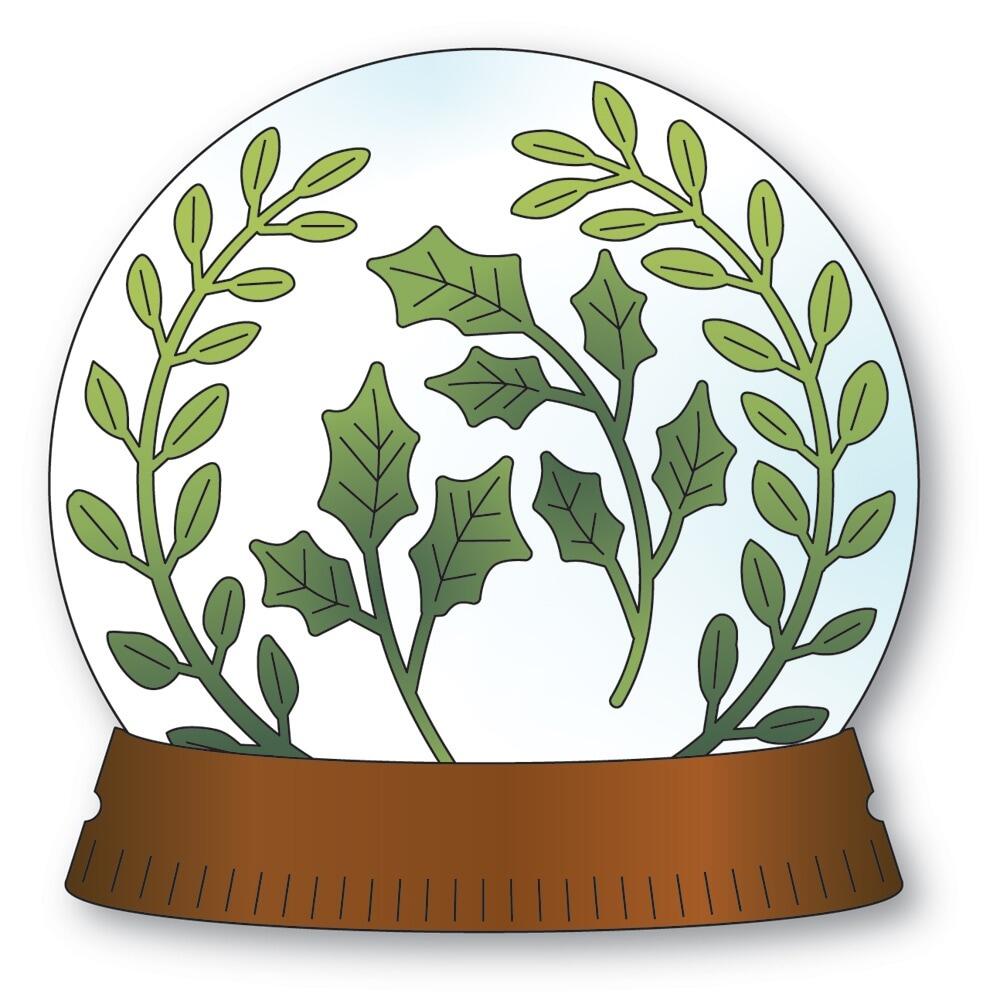
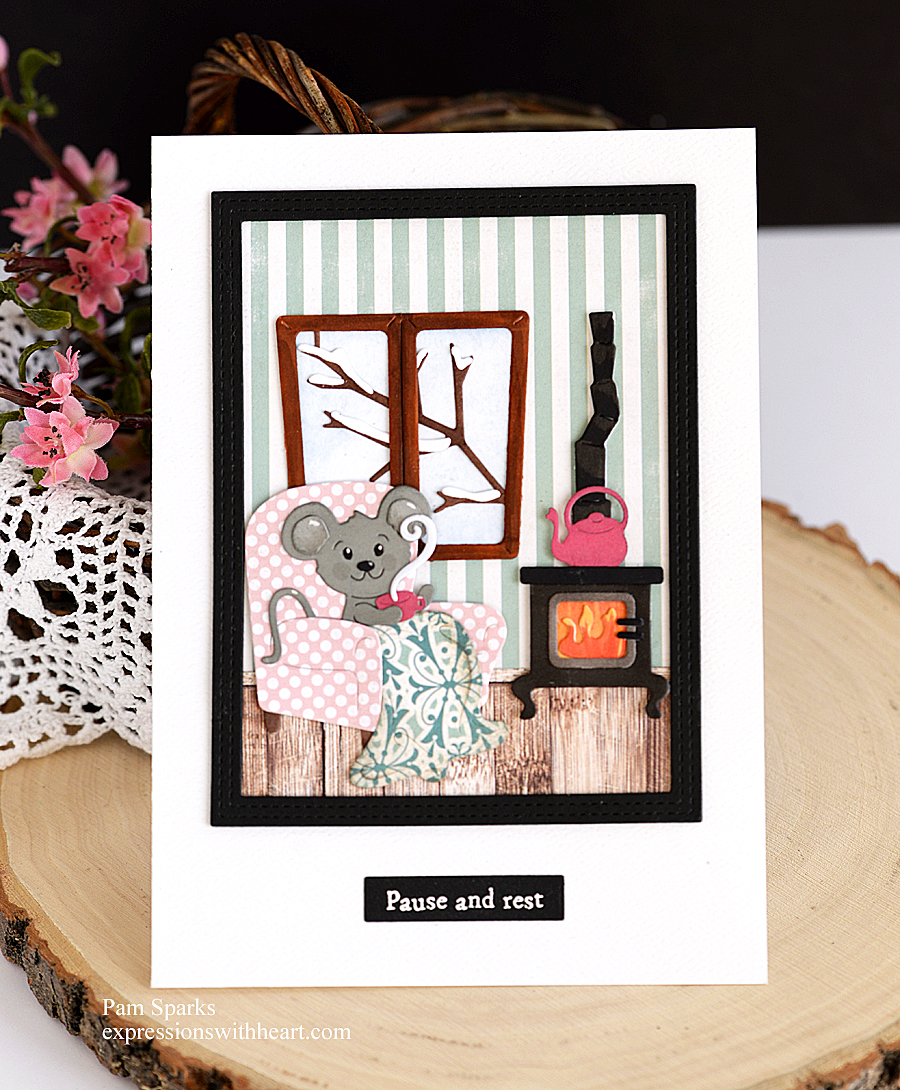
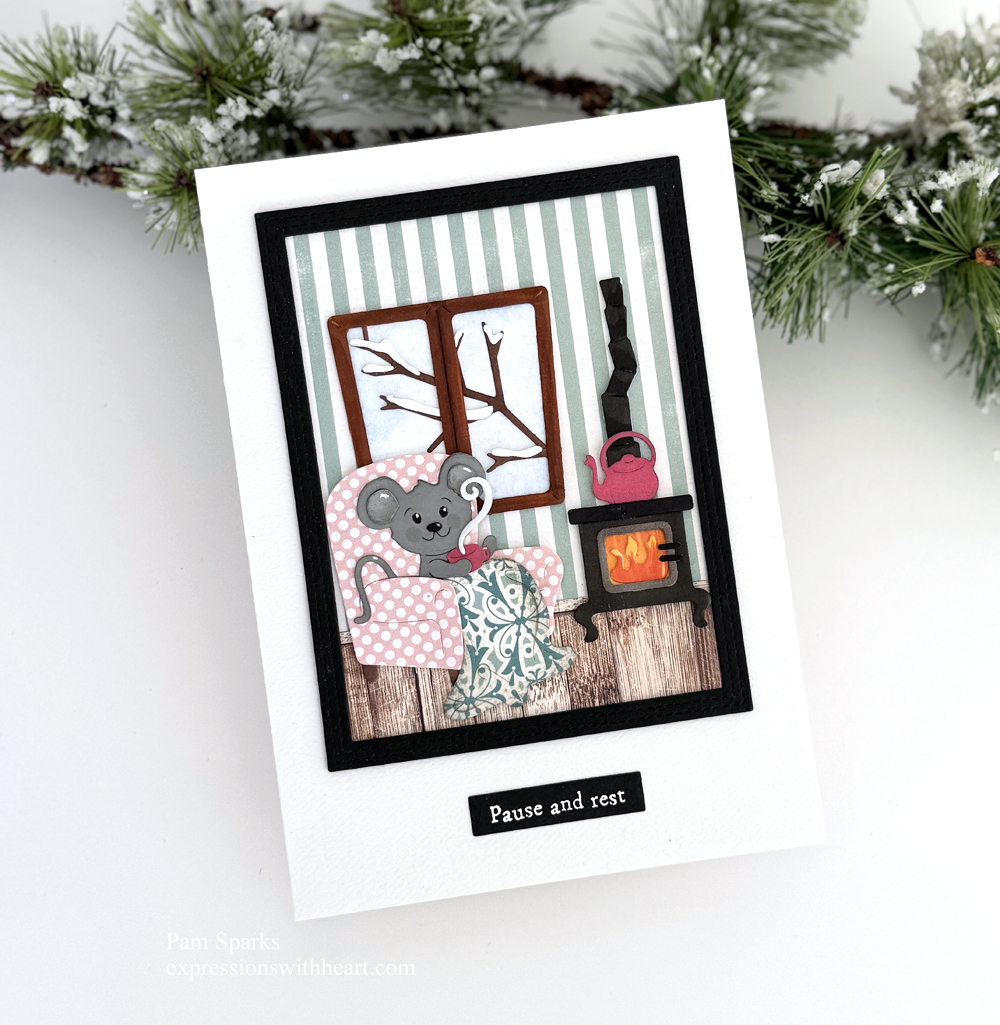
I used Cottage Cutz Winter Mouse by Woodstove to create the scene.
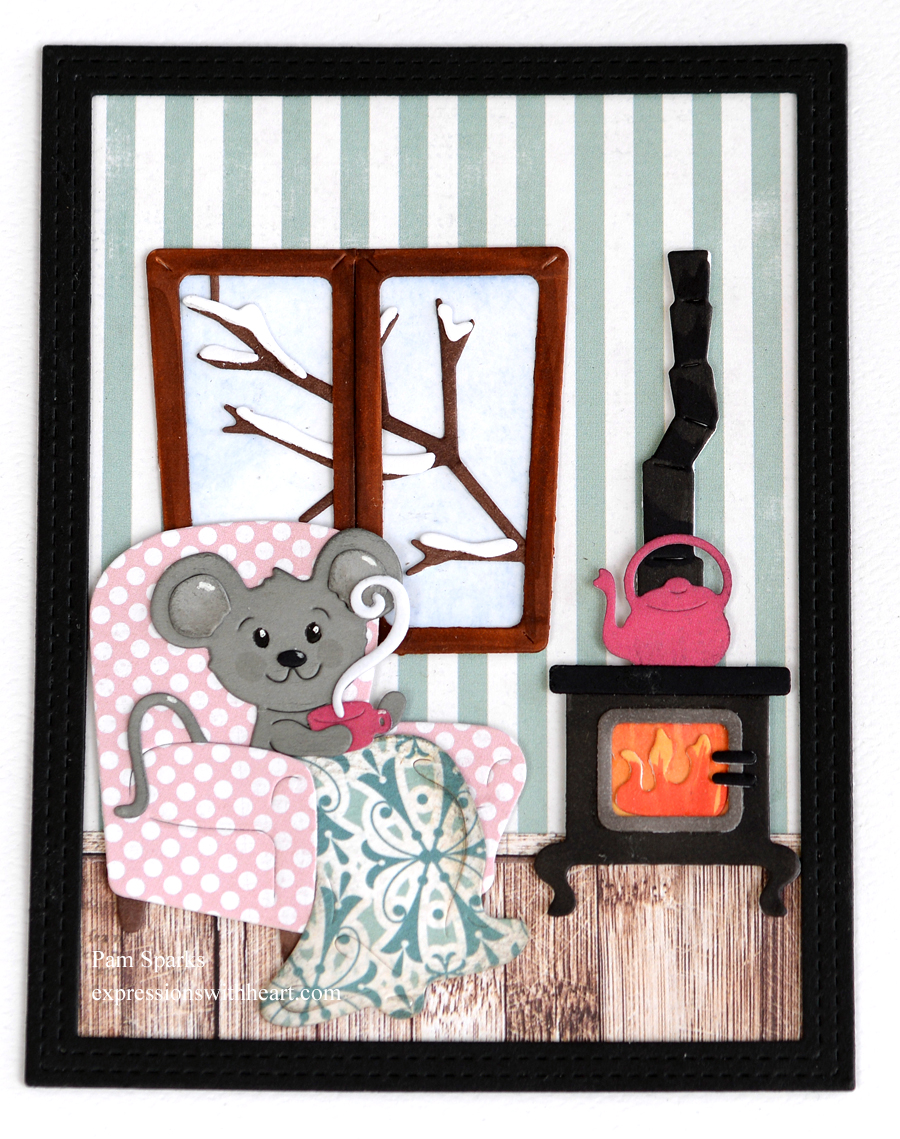
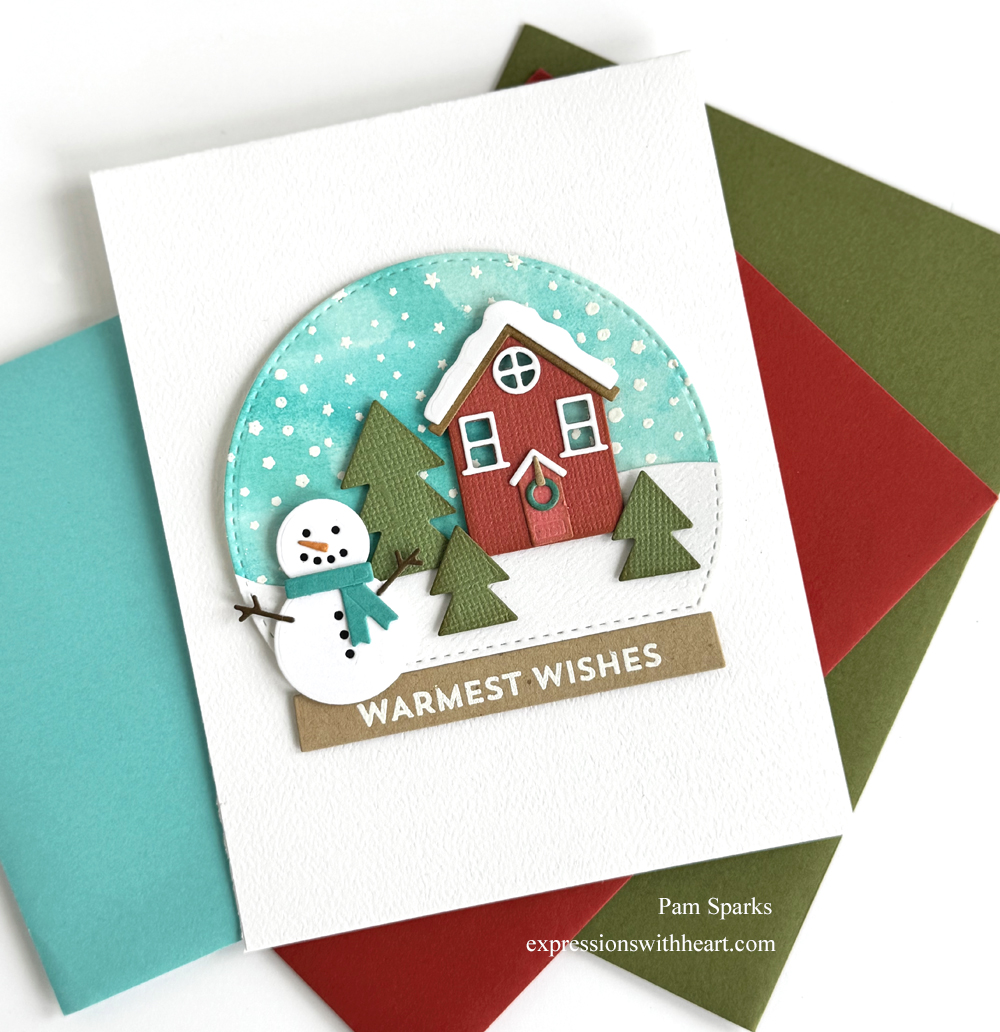
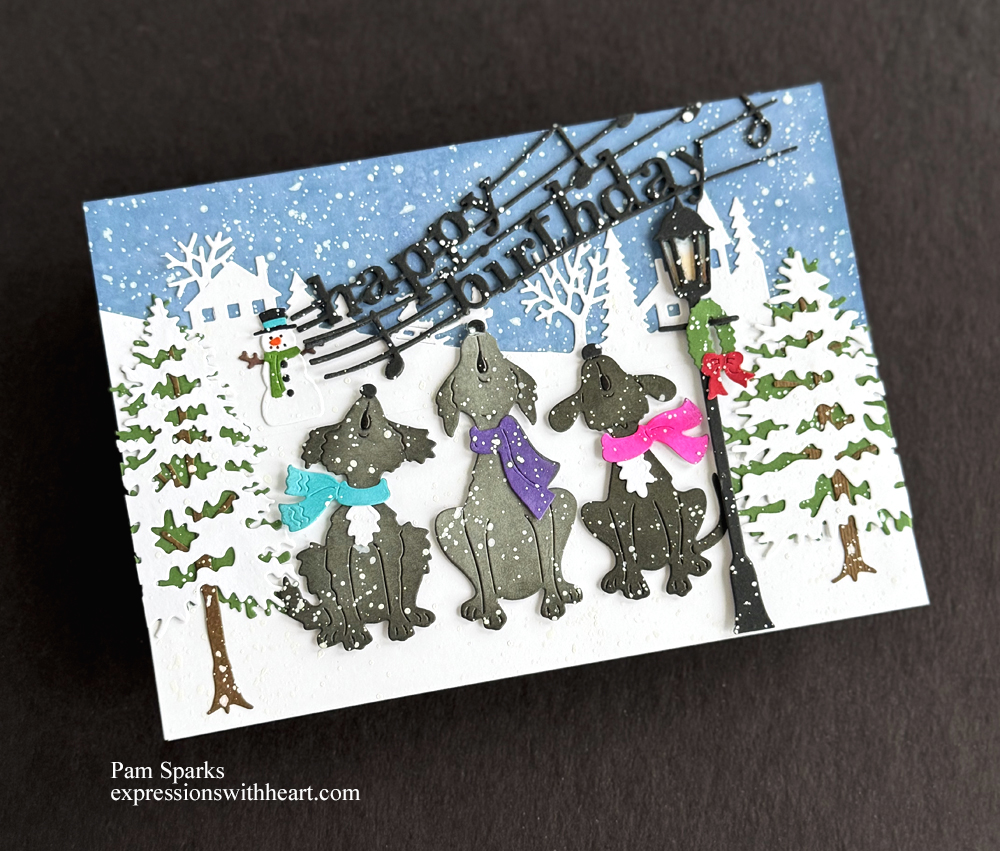
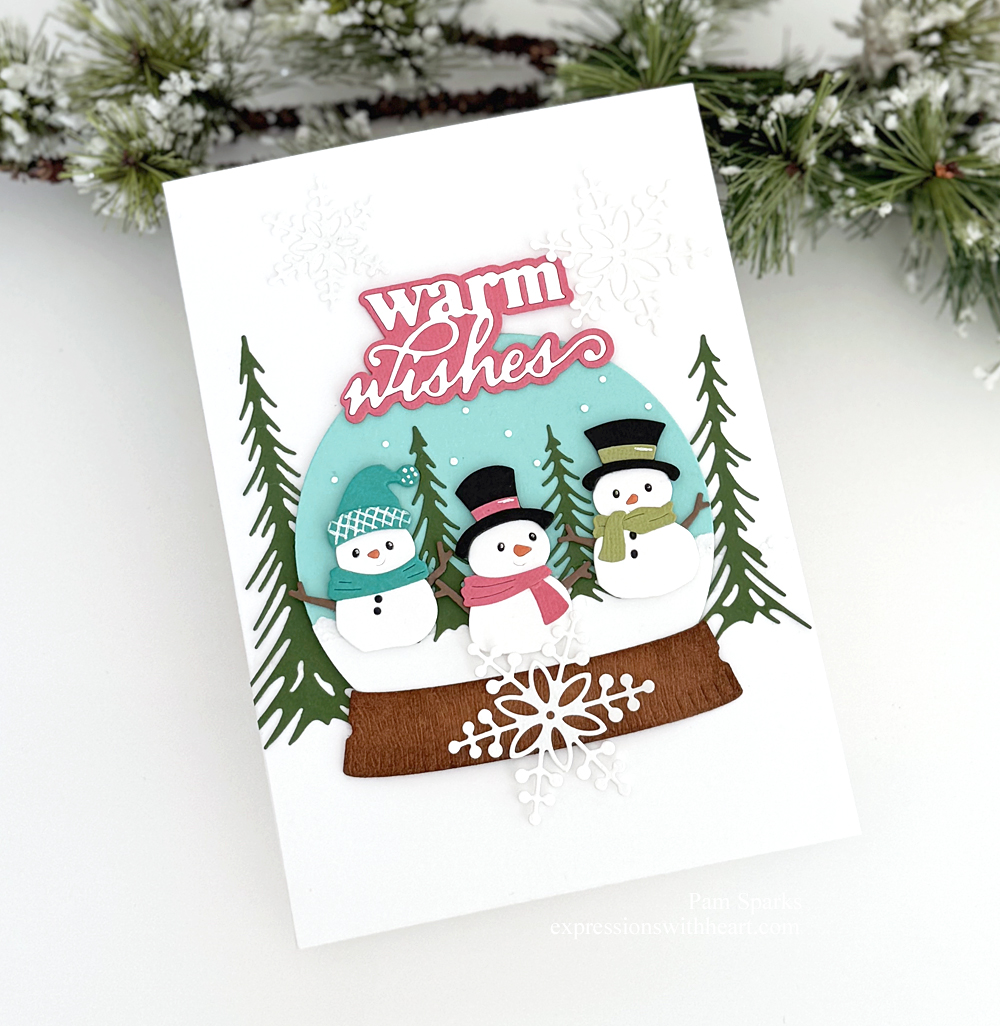
This is really close up! Fun to see all the detail in the dies though. The pattern paper is all from the same 6×6 pad… wait except the floor, it’s from a different one. All old though! I fell in love with the polka dot stuffed chair!
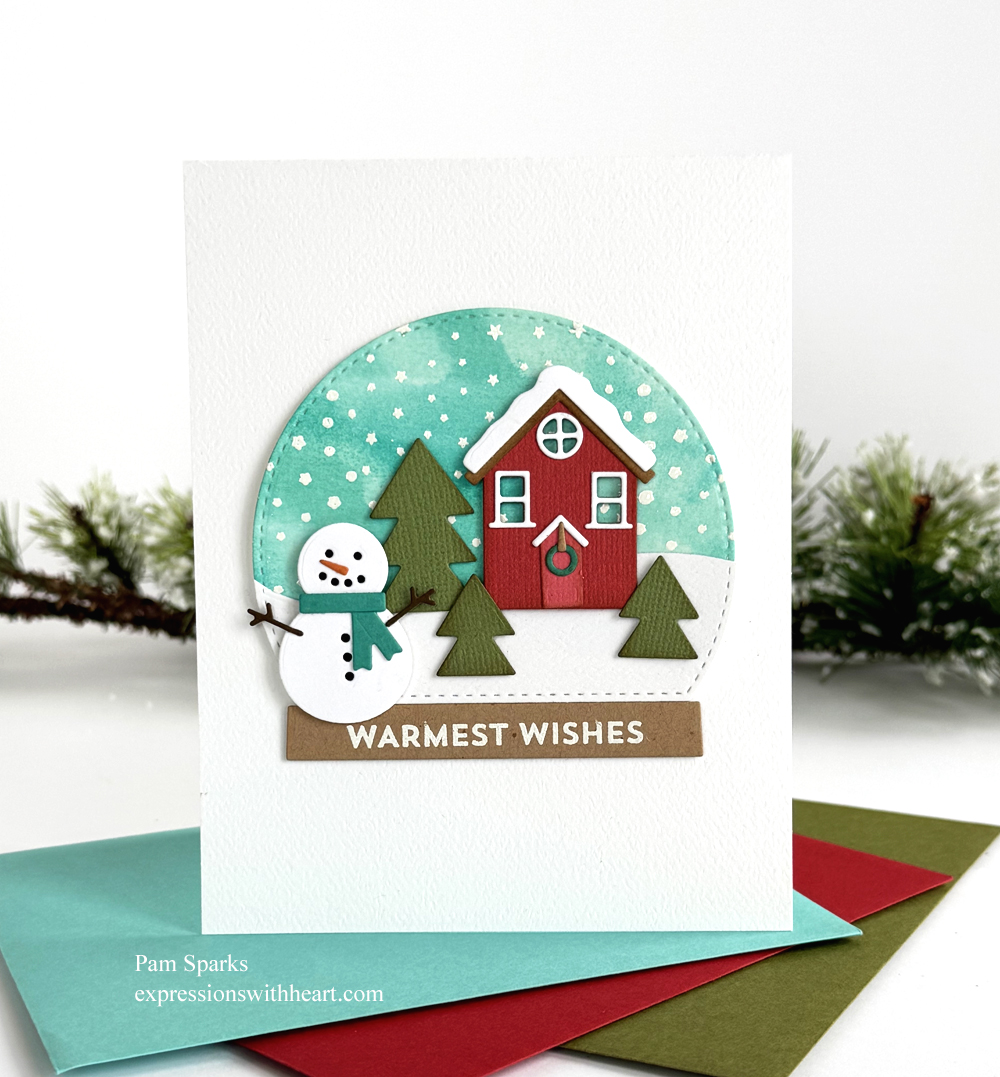
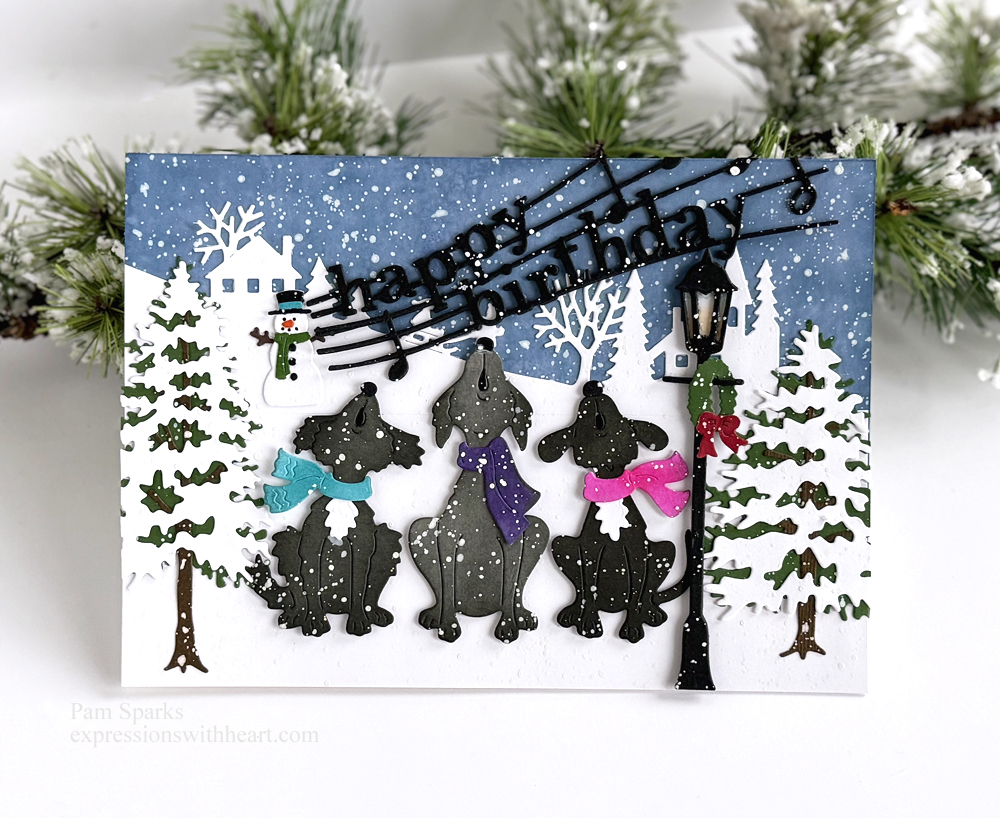
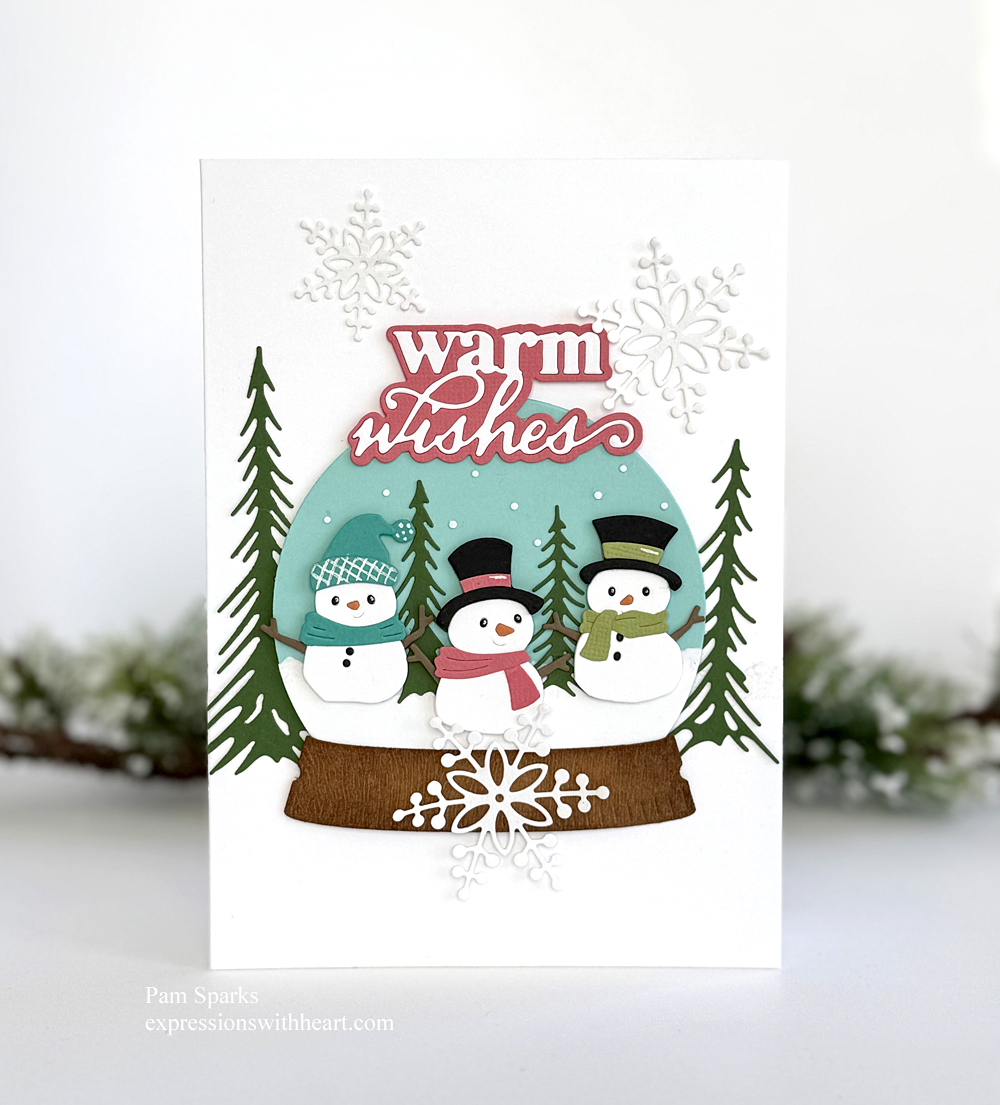
This is a 5×7 size card. It just worked out that way because I wanted the sentiment on the front too.
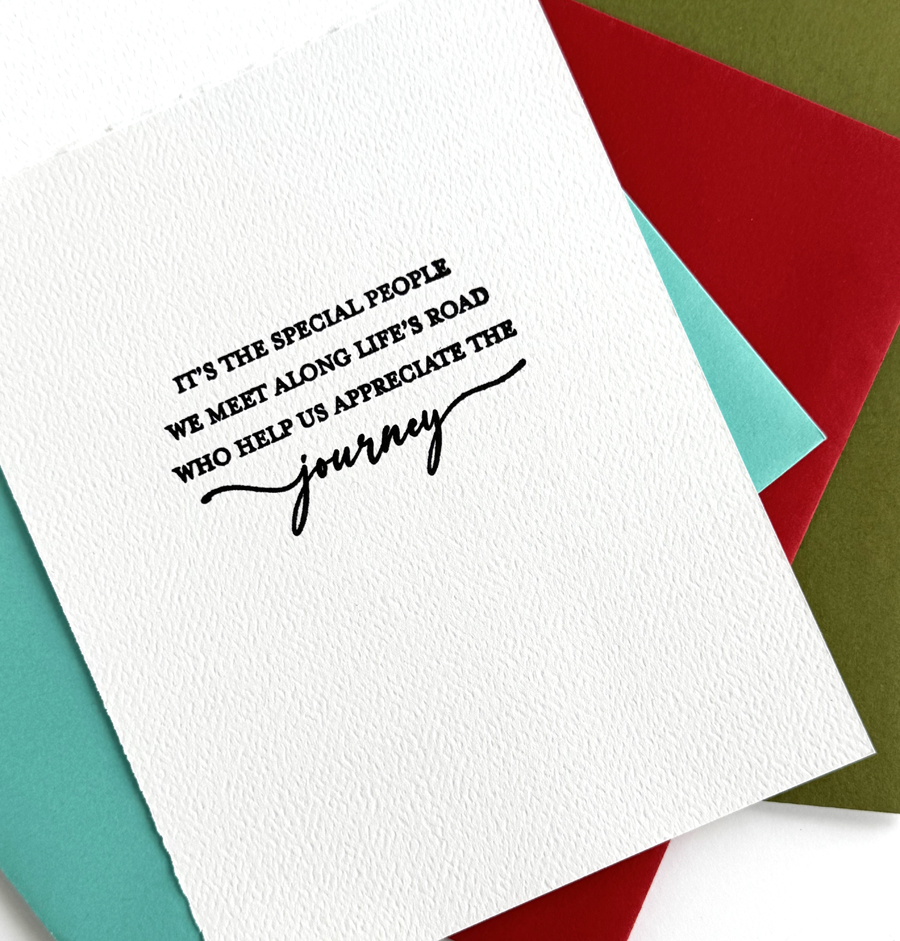
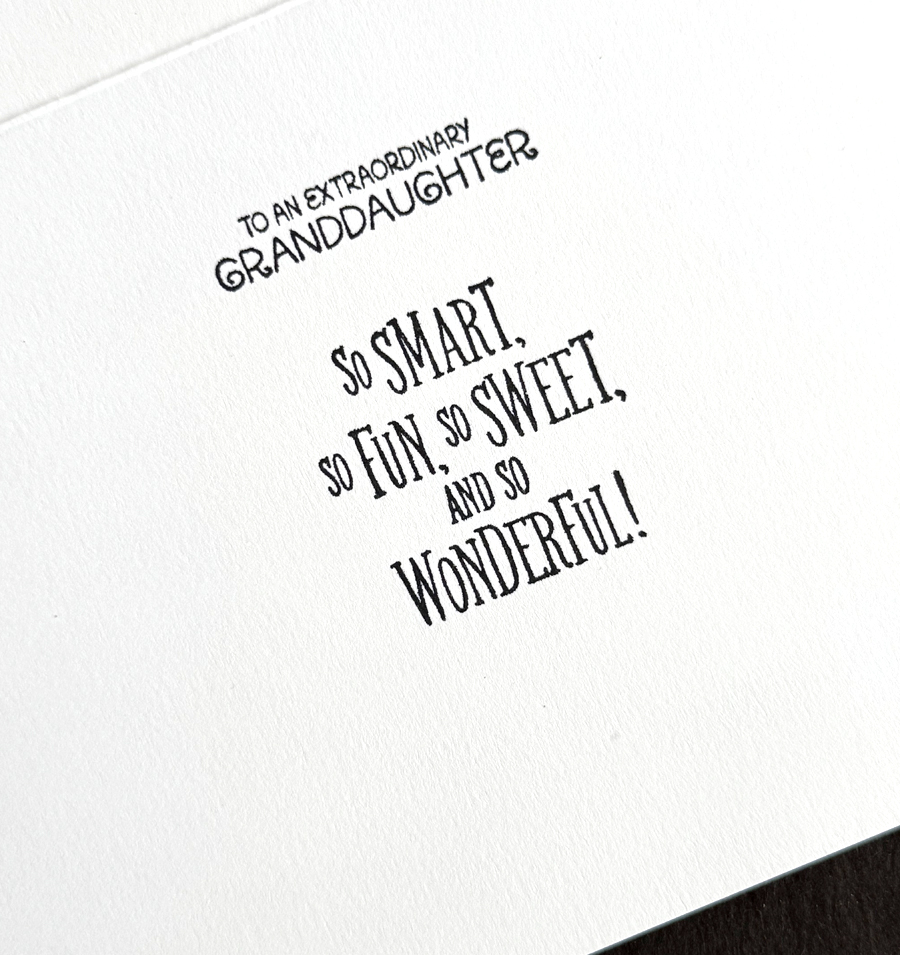
Pause and rest is from an AALL and Create set. On the inside I have a cut out to glue in that says, “My favorite exercise is rest.” That made me laugh when I saw it. It’s from a freebie sheet from Unity Stamps.
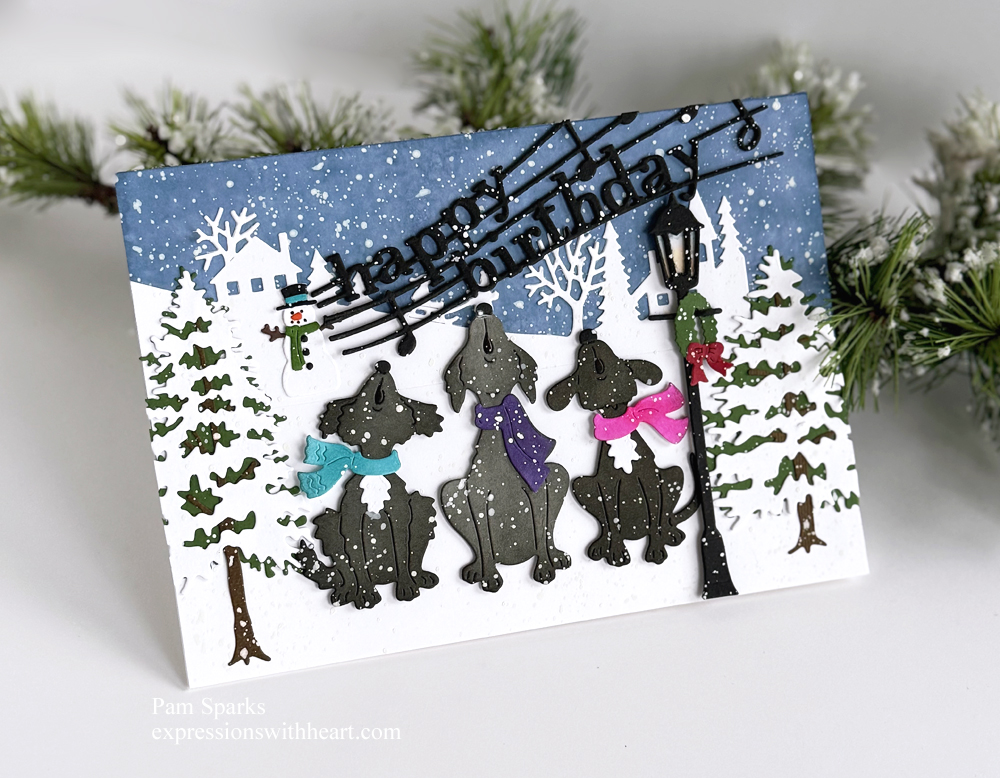
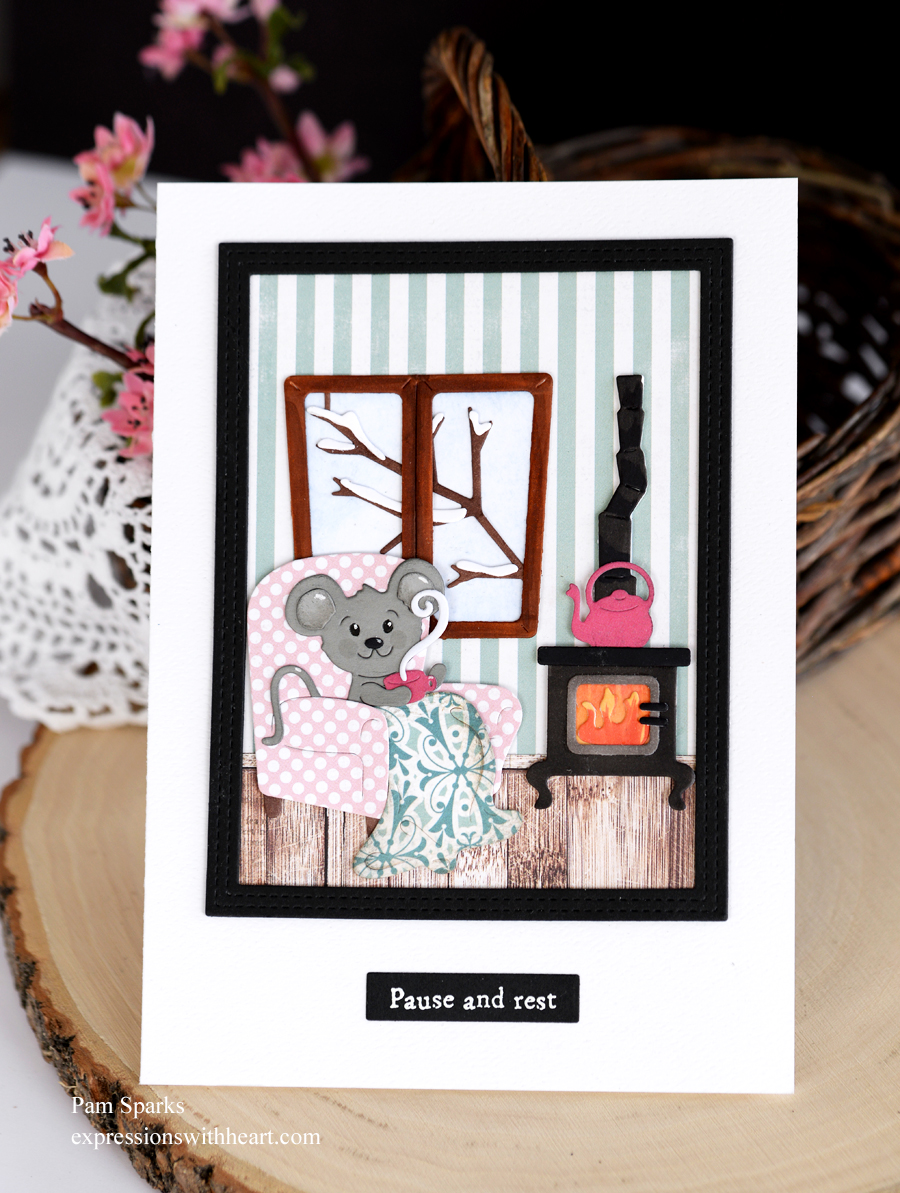
One more picture taken with my iPhone. It’s hard to get pictures to look as good as the card IRL! lol
I’m linking my card to some challenges…
A Cut Above February 2026 – anything goes with die cuts
The Four Seasons February 2026 – Anything goes Winter
Love Those Pretty Papers February 2026 – pattern papers with optional polka dots!
Paper Rocks Scissors February 2026 #13 – anything goes as long as you use paper and /or scissors
Hope this finds you warm and cozy! Looks like we’ll have sunshine today… yay!
Take care and I’ll be back soon!