Hi everyone! A friend was showing me some patriotic ideas and it got my brain to working! I thought, why not use some products I already own! So let’s see what you can come up with too!
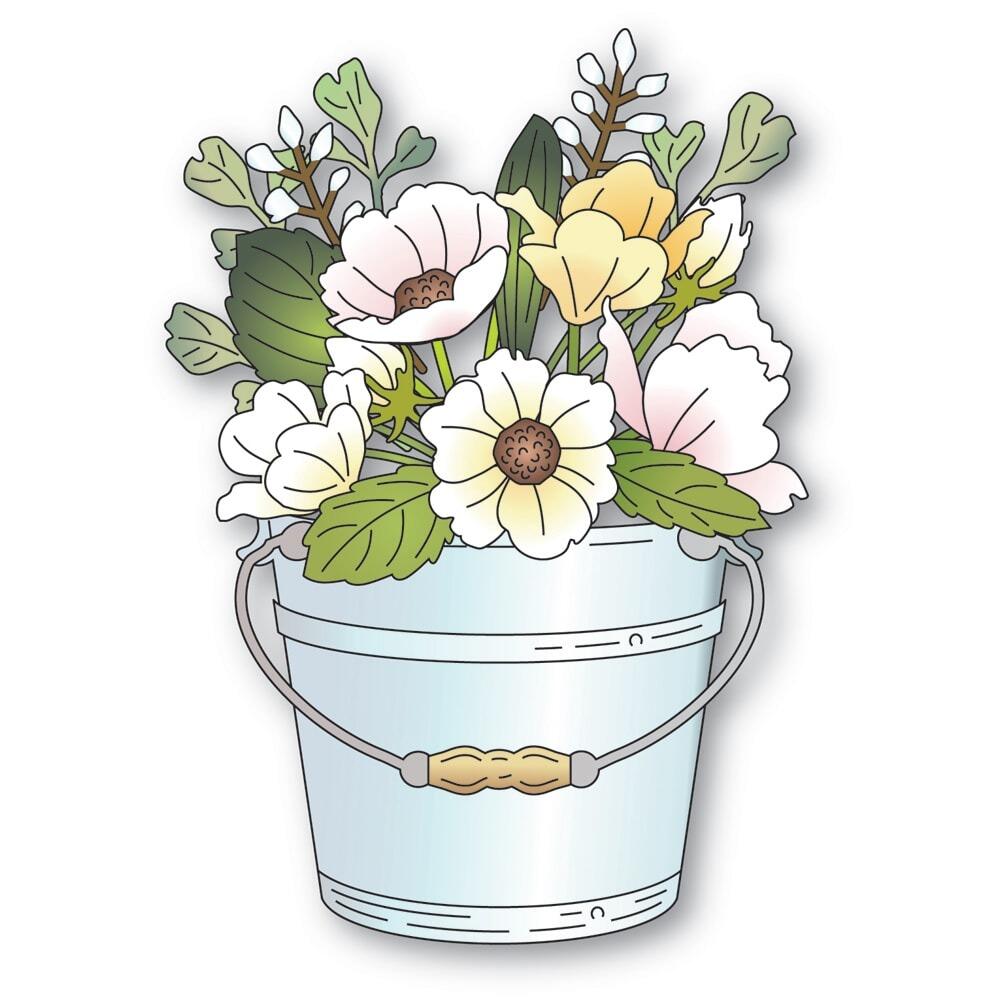
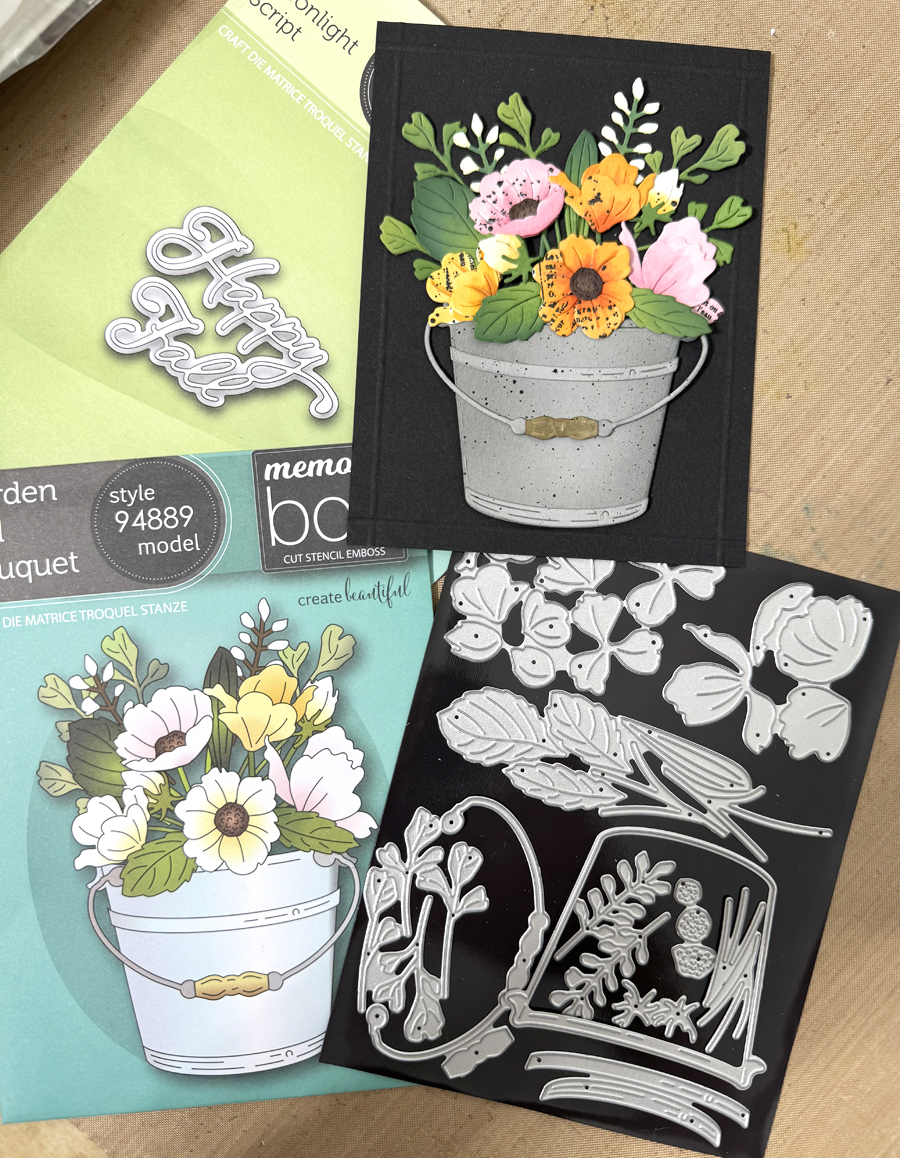
I used this set HERE when it first came out. I loved how this card turned out!
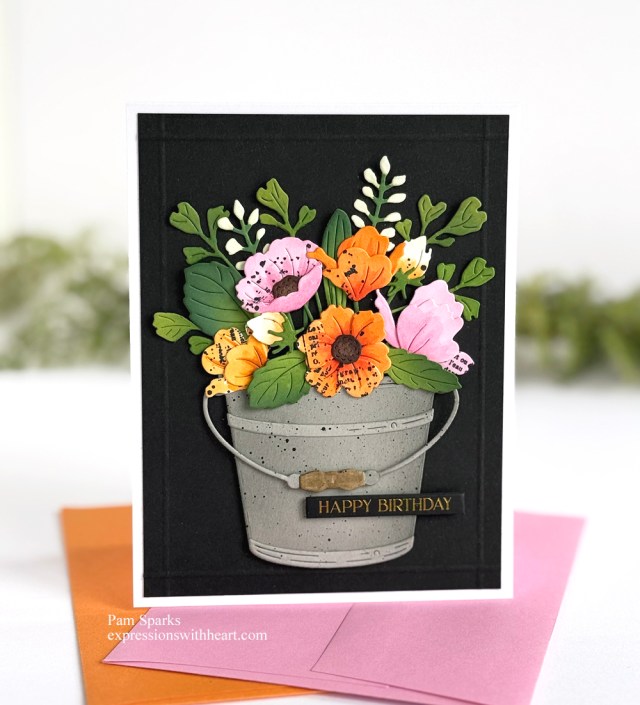
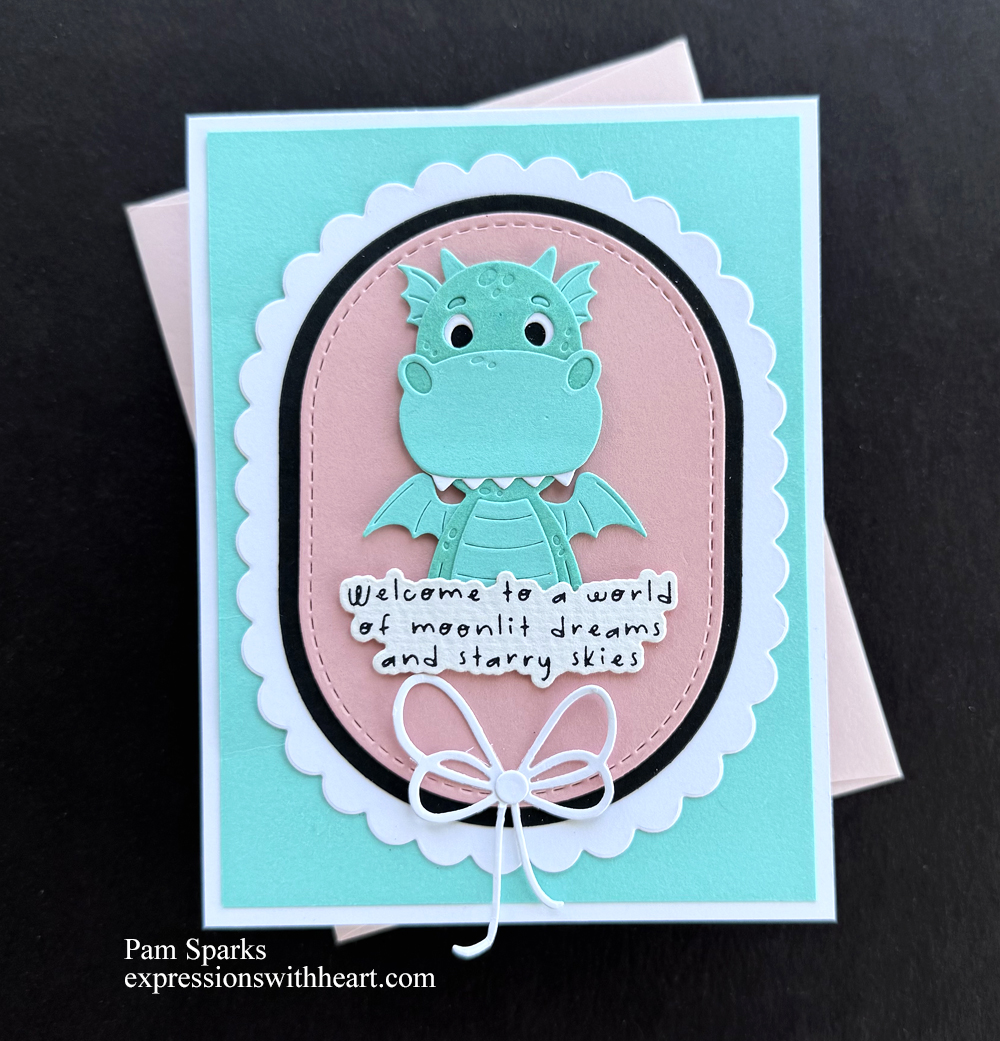
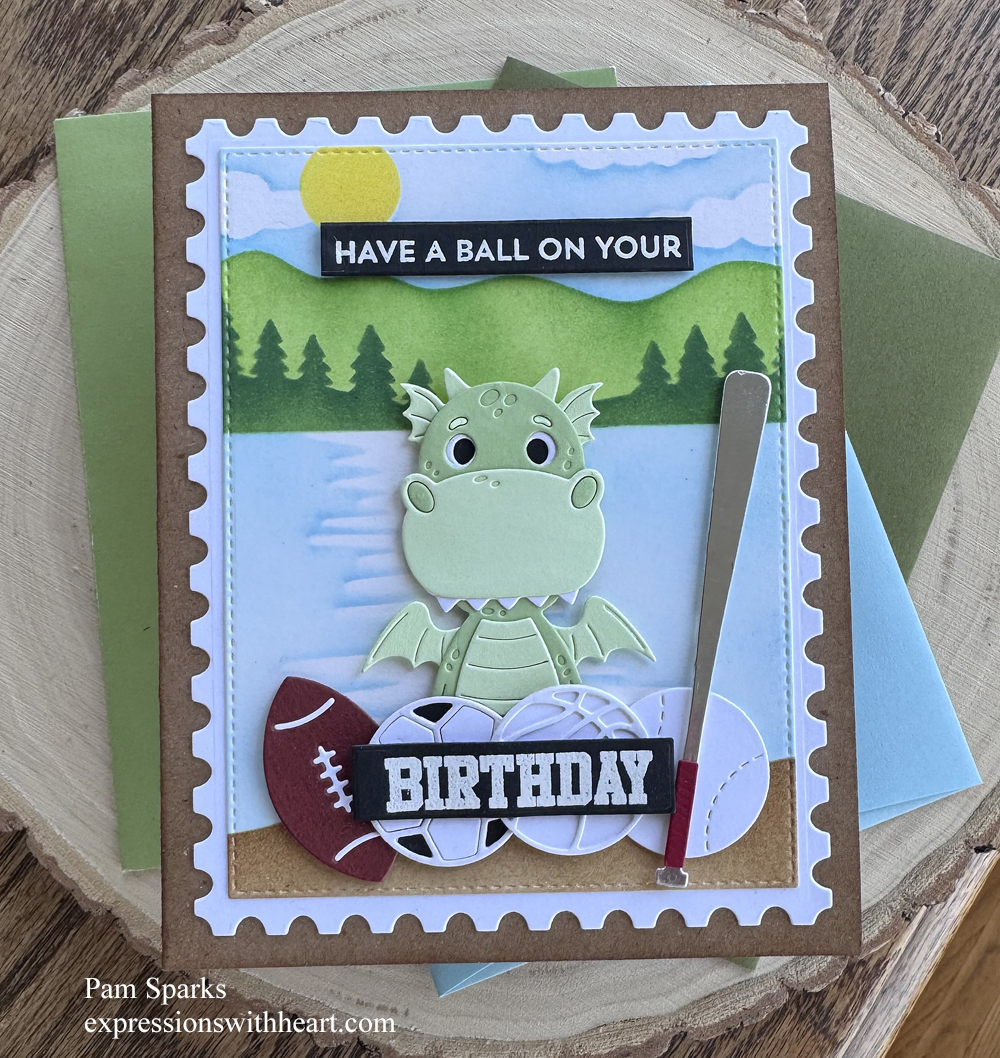
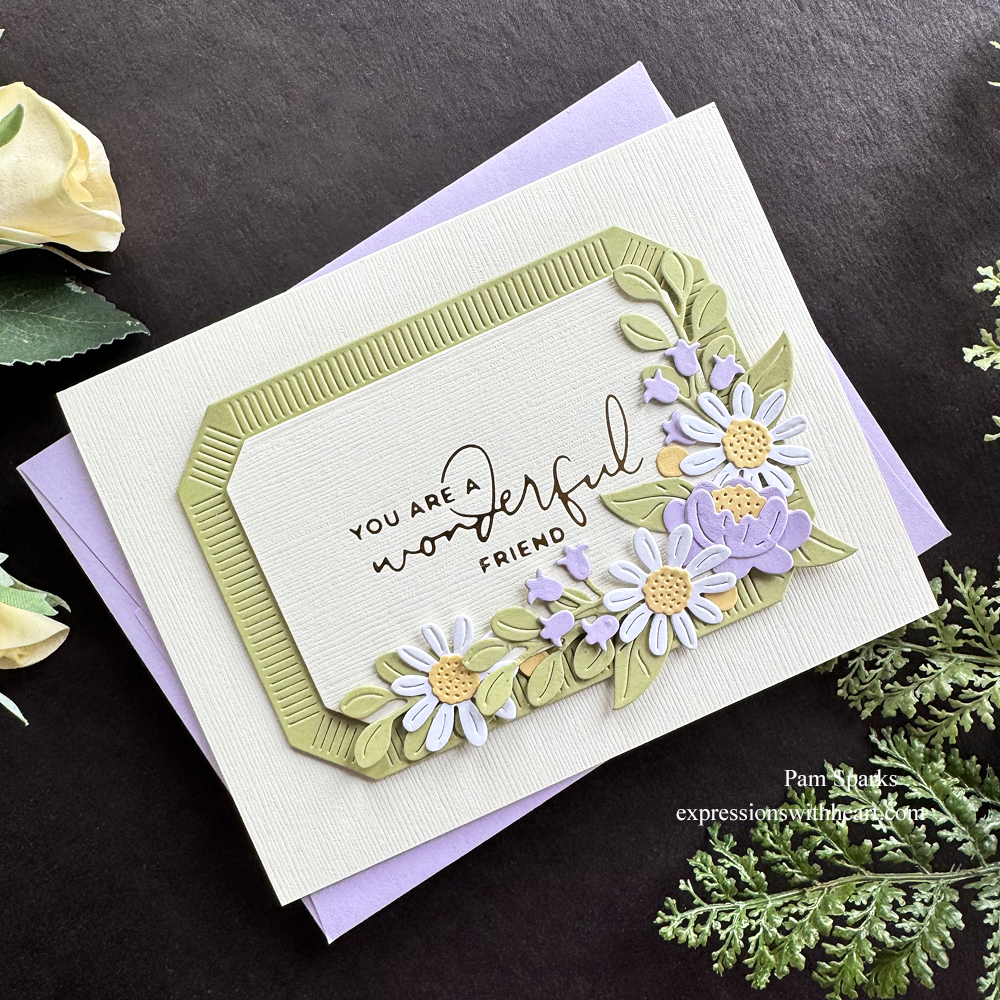
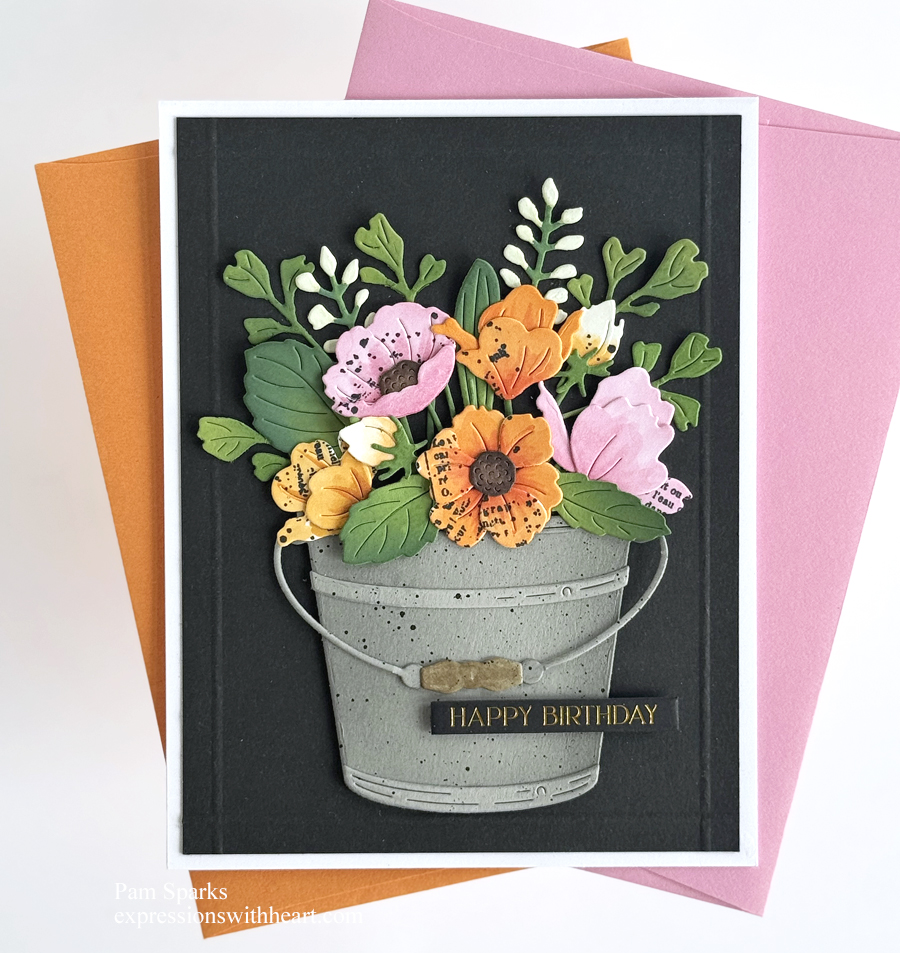
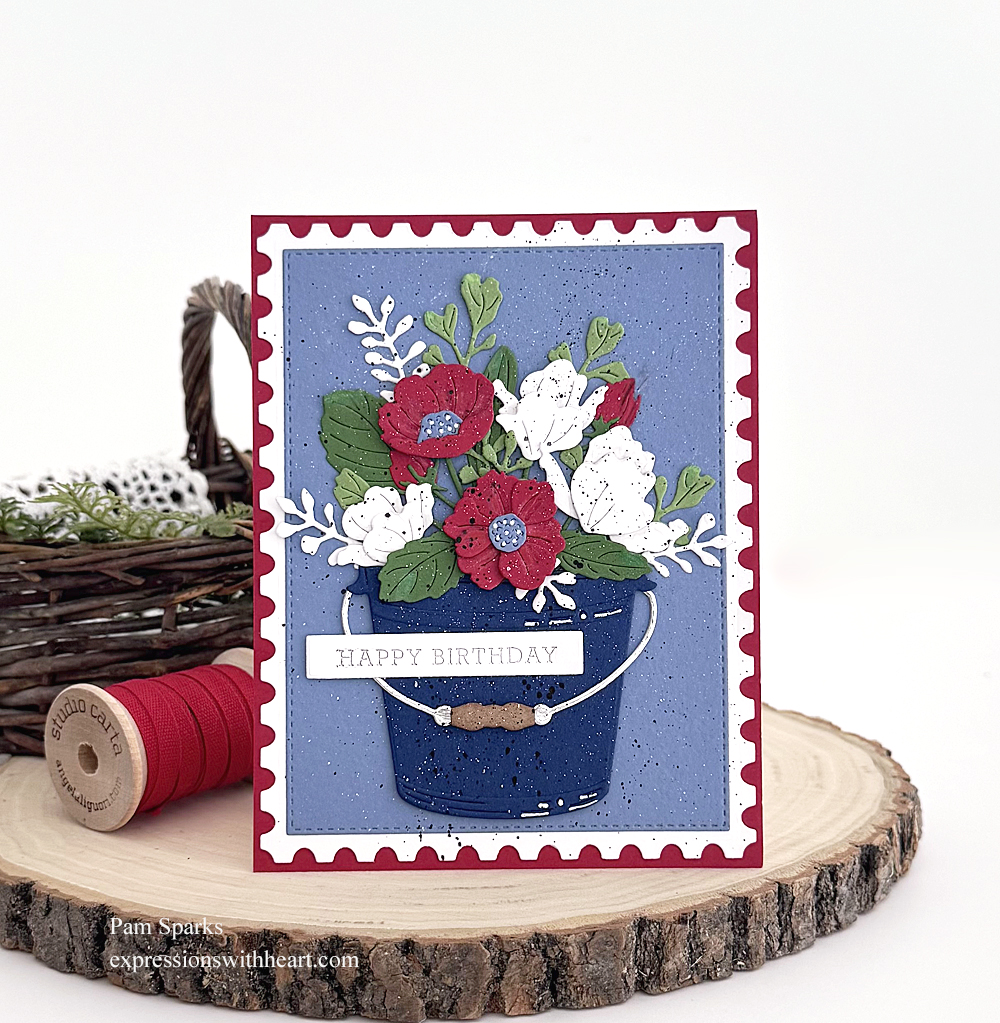
So change it up to patriotic colors! After all it’s a celebratory year for the USA! Happy Birthday!
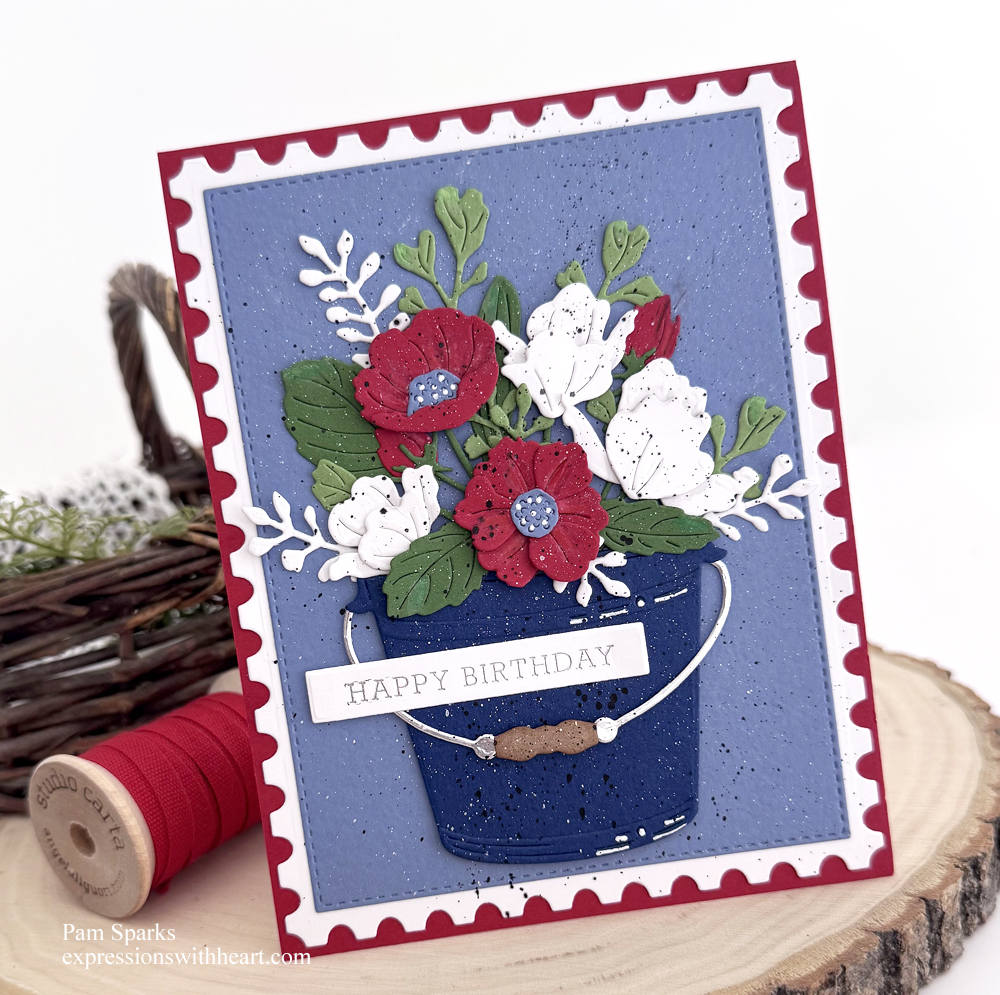
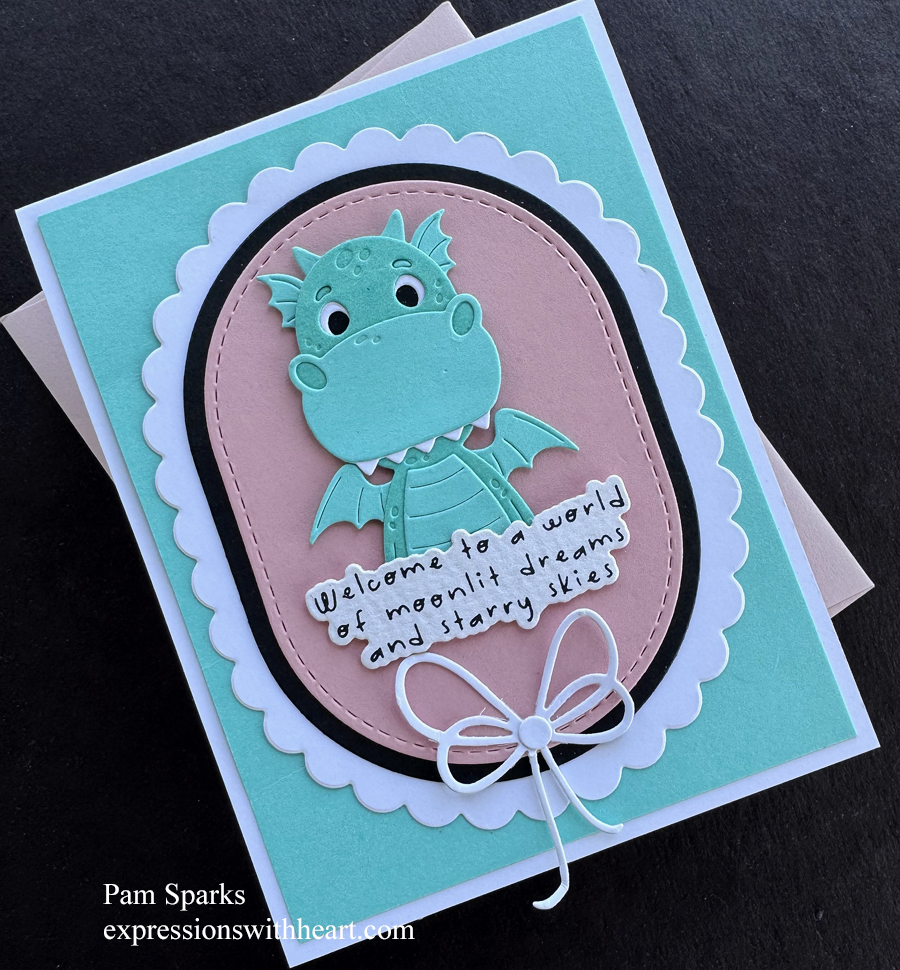
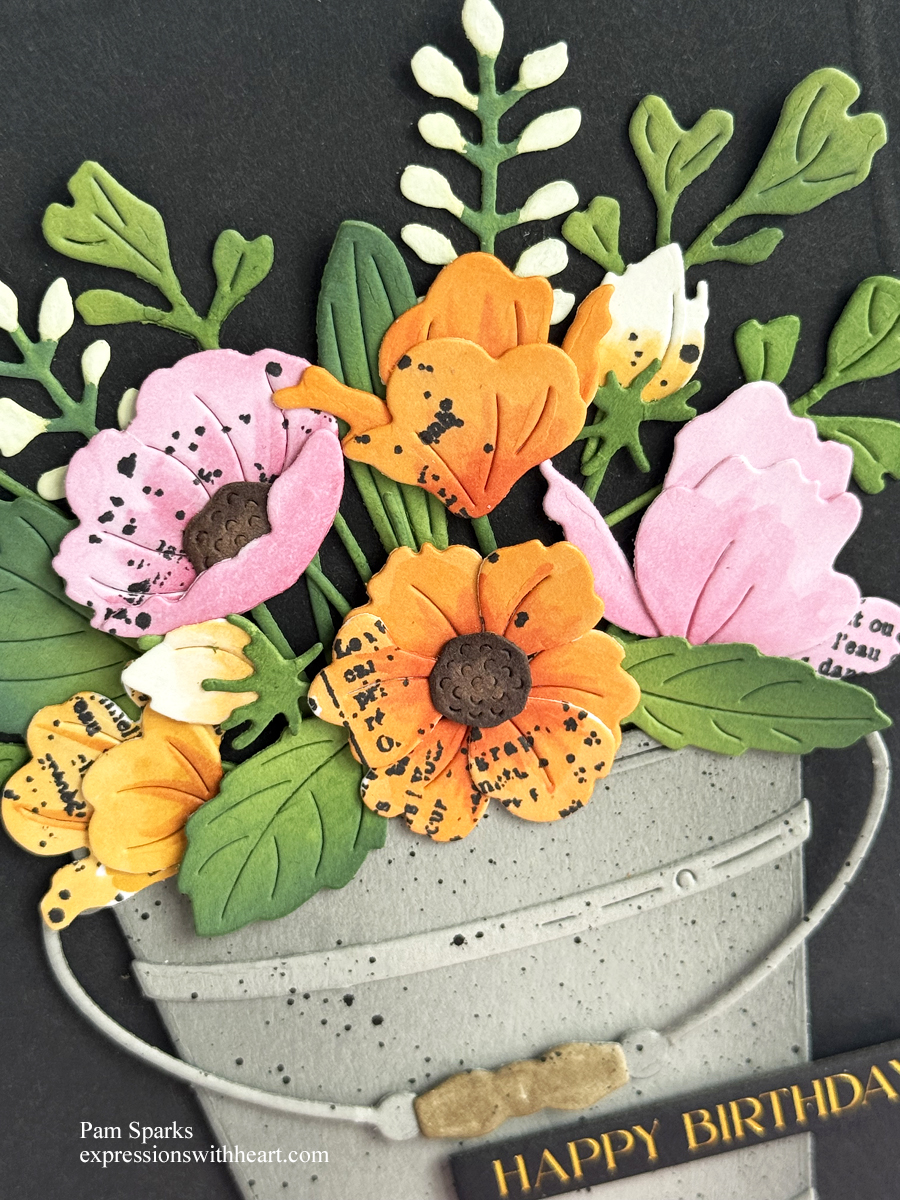
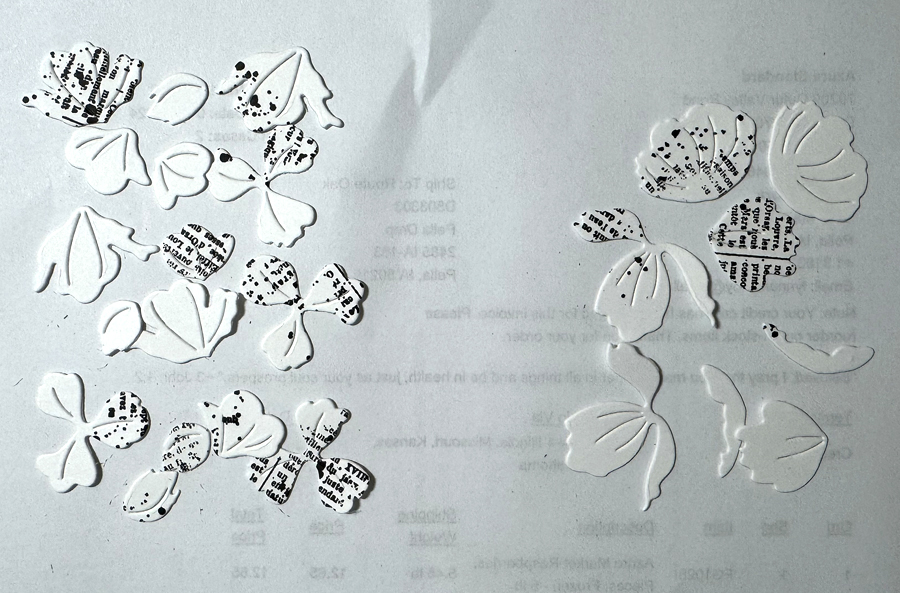
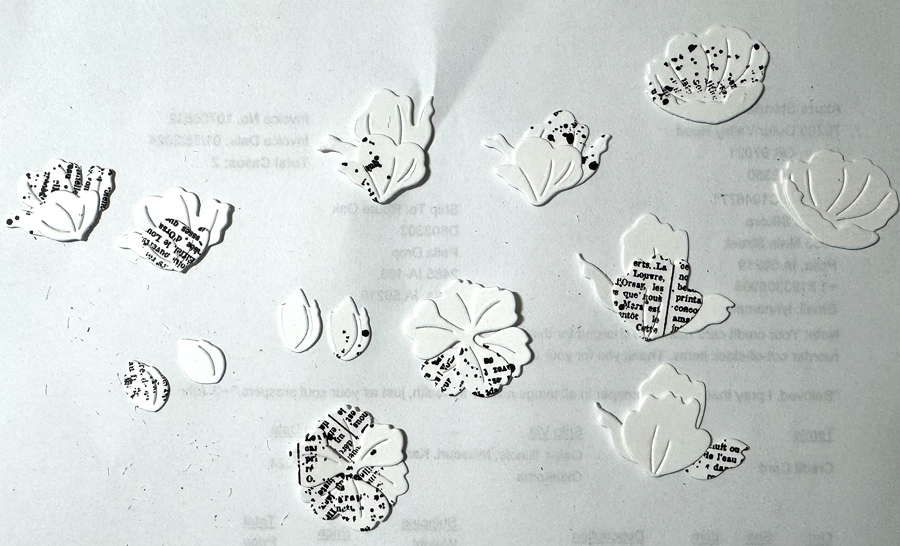
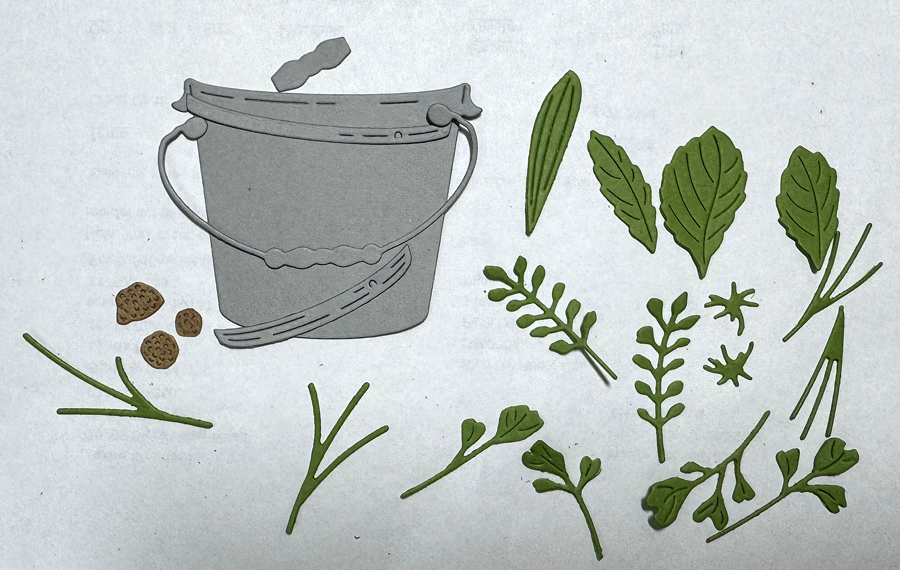
I basically just die cut and glued it up like the picture on the die envelope. I added some splattering and white pen…I had a terrible time deciding whether to add the pen lines!
I used the Happy Birthday from the poppystamps Modest Greetings 1 Foil and cut die set…silver foil. The rectangle die comes with it…nice…no scrounging around for the right size rectangle to die cut it!
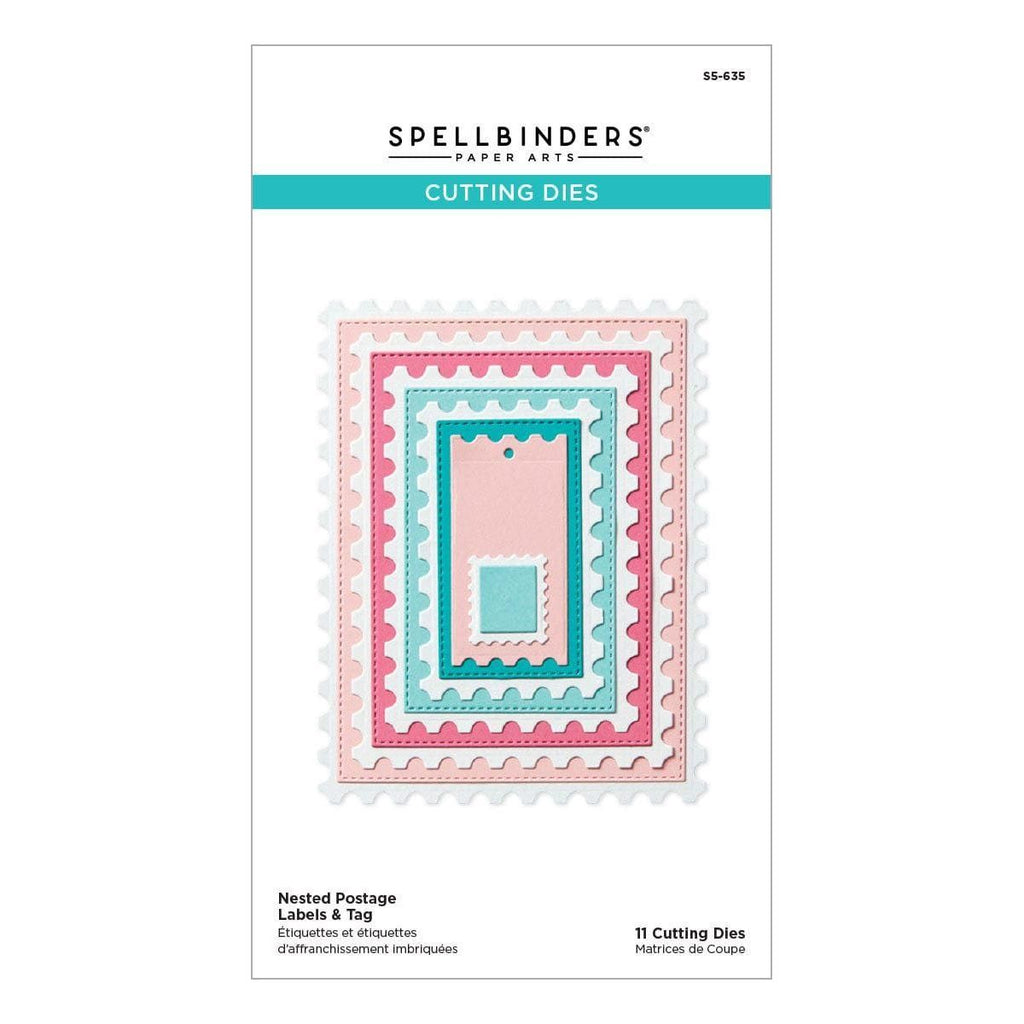
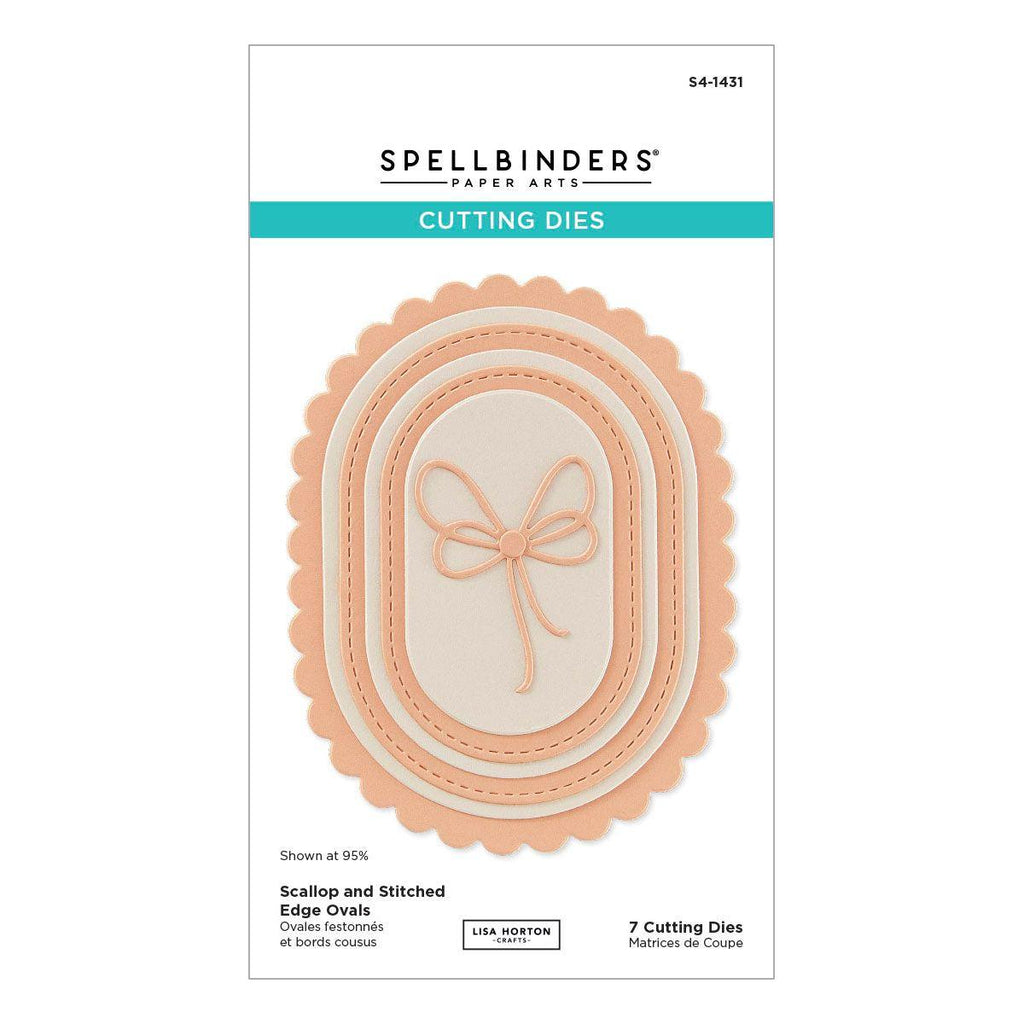
I used the Spellbinders Nested Postage Labels and Tag die set for the blue and white background panels.
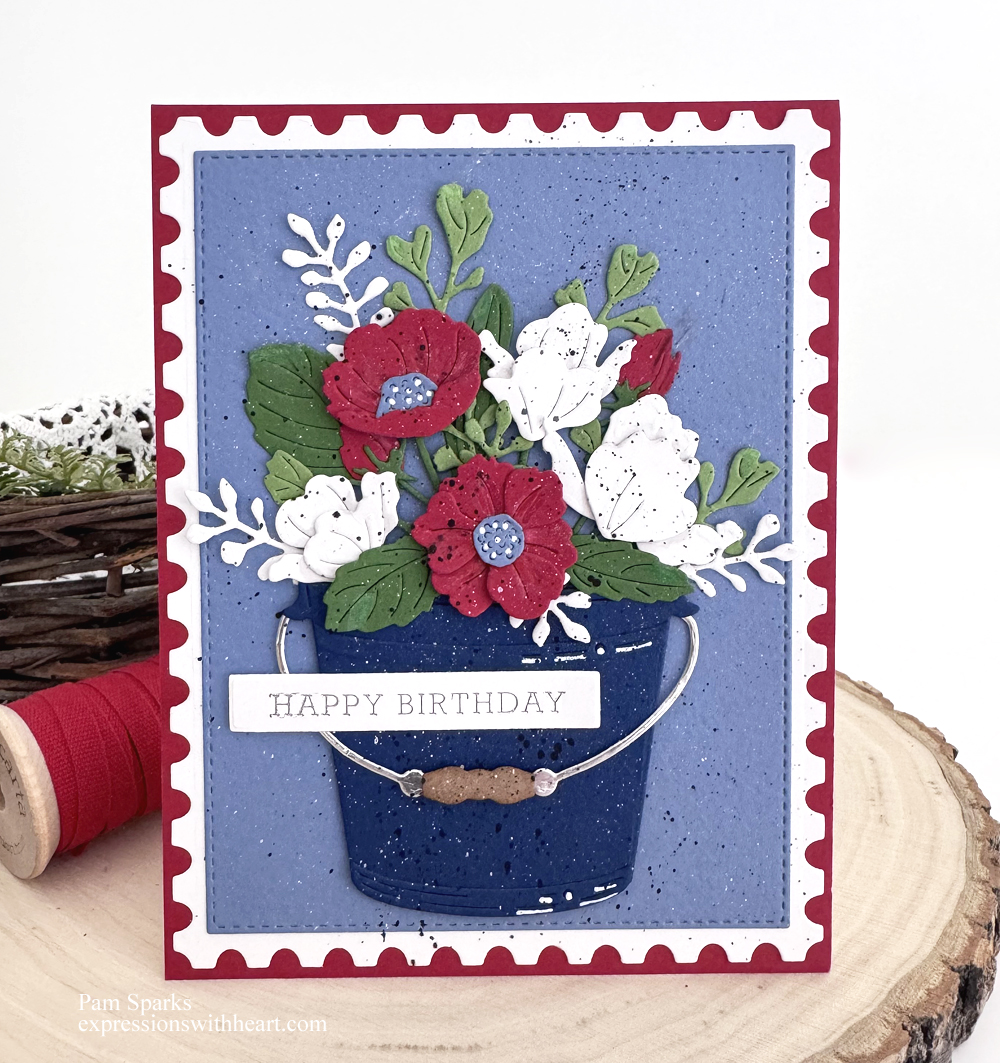
It’s like a sixteenth of an inch larger (on each side) than an A2 size card. I used the super thin mounting tape I like so well so it’ll still post for one forever stamp.
Linking my Garden Pail Card to some challenges…
Time Out Challenges #315 – Summer and vacation!
Just Us Girls #827 – Summer!
Die Cut Diva’s June – Anything Goes!
The Four Seasons Summer Season – Anything Goes Summer!
A Cut Above June – Anything Goes!
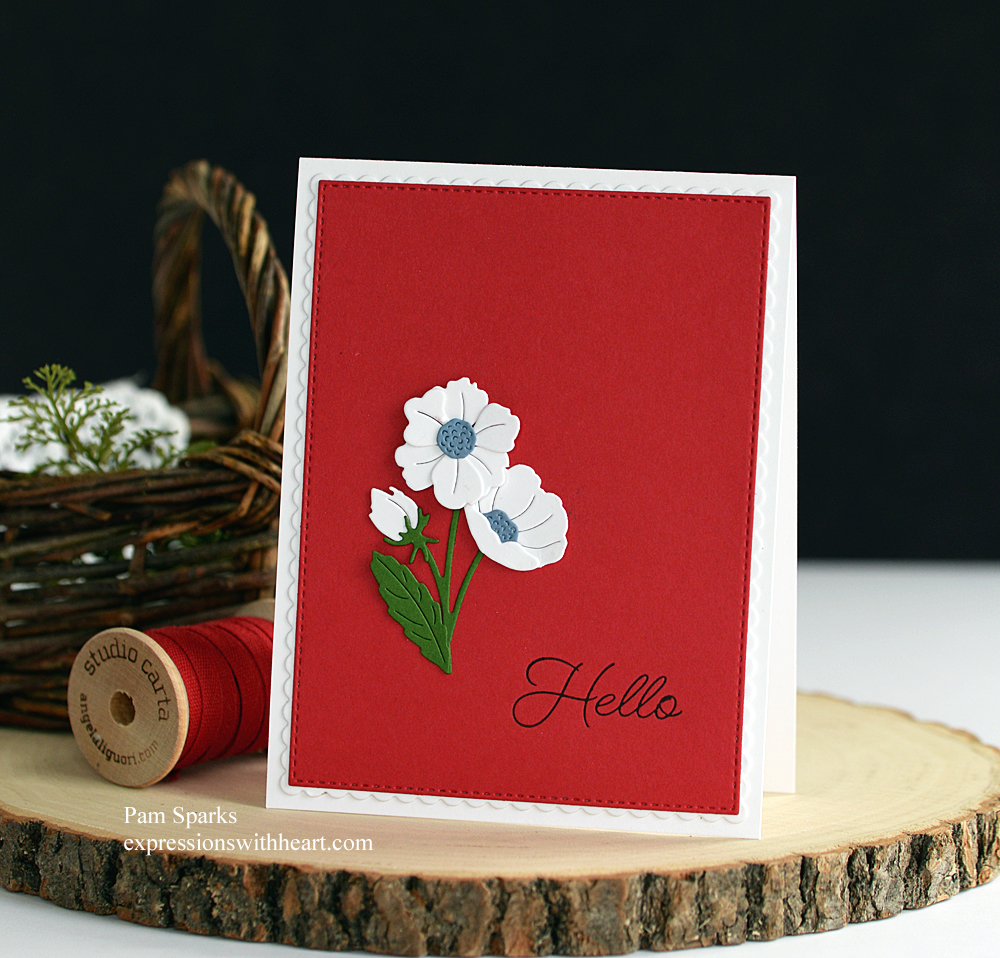
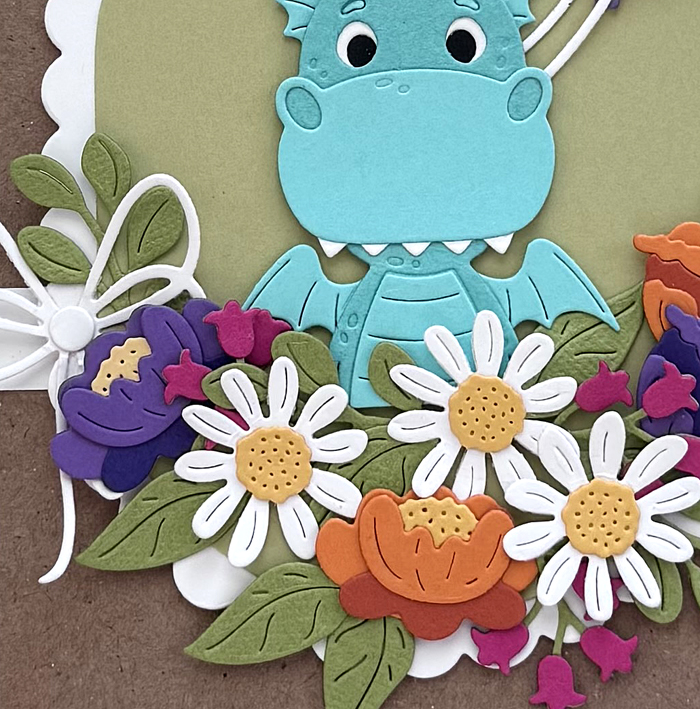
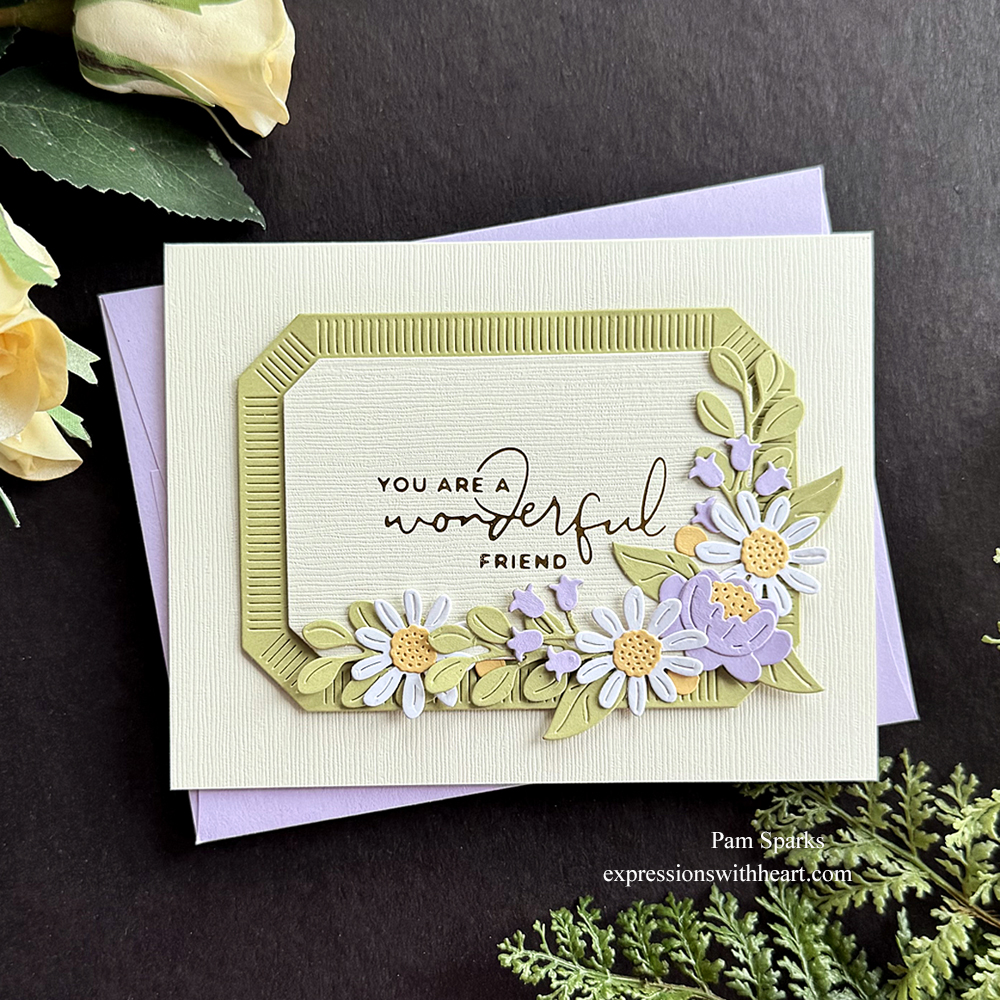
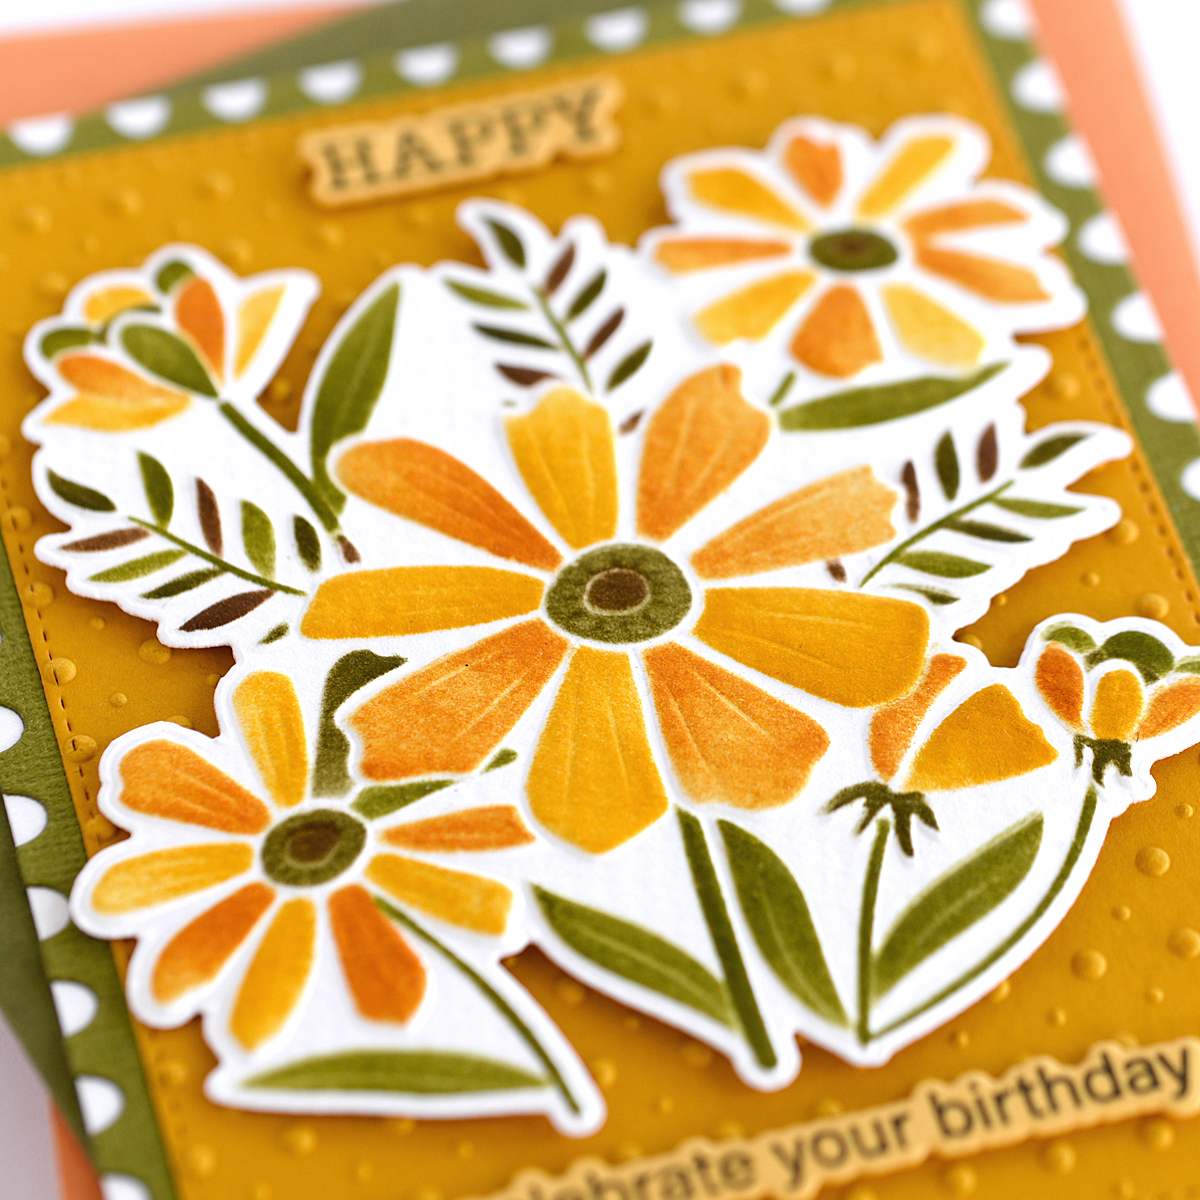
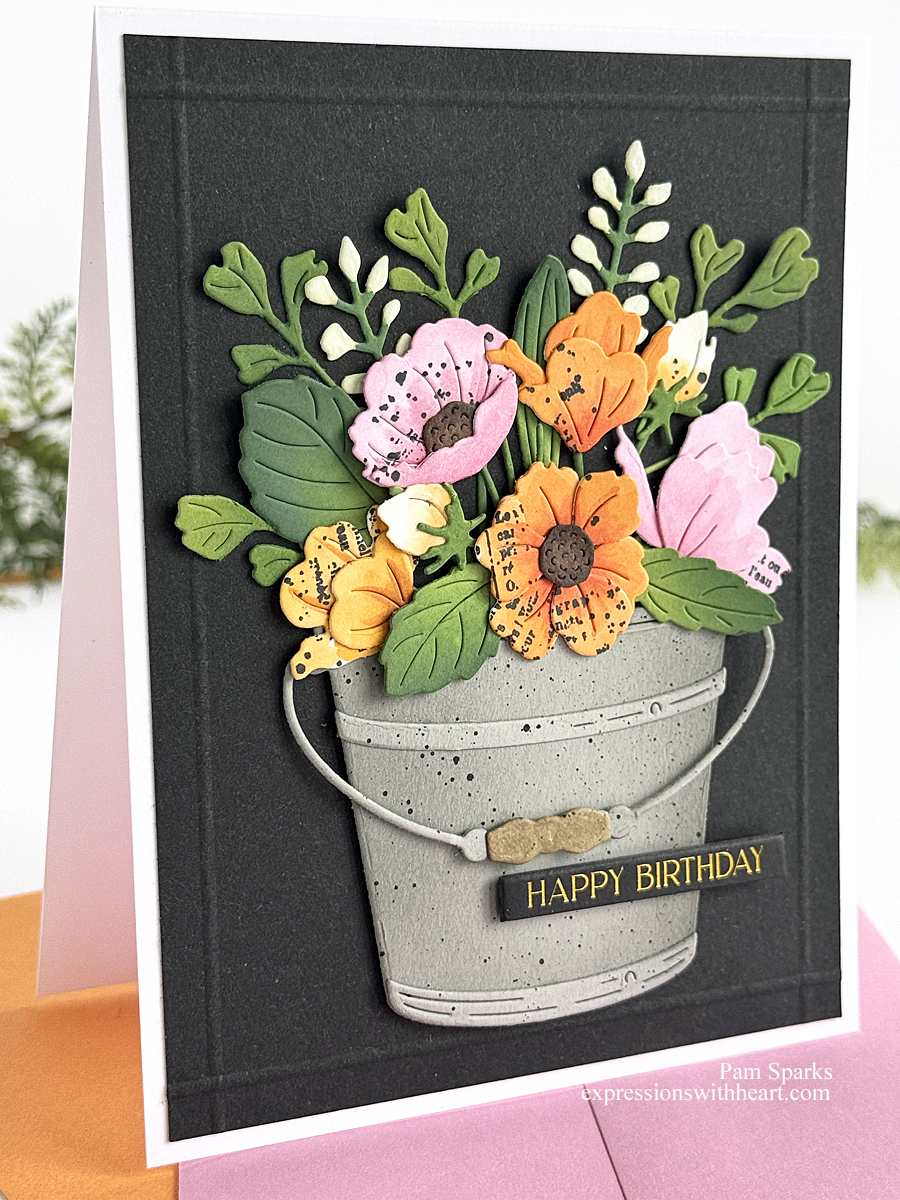
The way this die set is made I ended up with some extra flowers… so I made a clean and simple A2 size card also!
I used the Memory Box Posh Hello hot foil plate in the betterpress letterpress with black ink instead of foiling it! It worked!
The red panel is cut with the Spellbinders postage die set I used above and the tiny scallop border is from poppystamps Scalloped Stitch Frames.
I loved how simply charming it turned out.

When you need a quick note or make it for any occasion in any color!
Linking my Hello card to some challenges…
Simply Clean & Simple -Anything Goes CAS!
Beautiful Blossoms #41 – Anything Goes Floral!
Paper Funday #88 -Anything Goes!
Simon Says Stamp Wednesday – add a sentiment!
Thanks for stopping by my blog today! Hope you’re staying in cool! We’re in a heat/humid wave here in Iowa so I’m inside!

Shopping links if you want to look at the products I used…
|