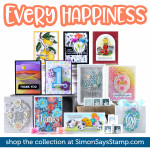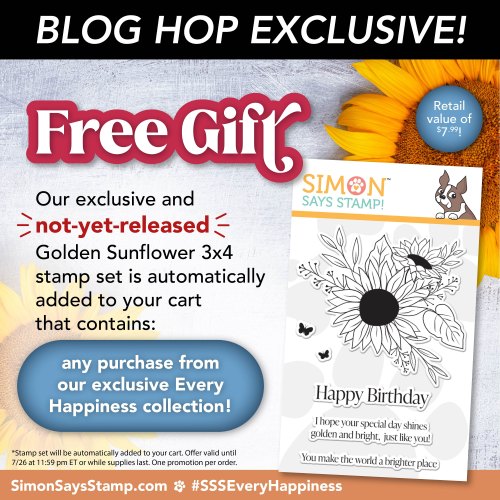
Hi everyone! It’s time to hop and be inspired by the NEW Simon Says Stamp Every Happiness release, a Free Gift AND a chance to win! SSS is giving away a $25 coupon to every stop on the hop from the blog comment sections. The winners will be posted on the Simon Says Stamp blog where the winners can find out how to redeem their prize. YAY! I hope you’ll comment!
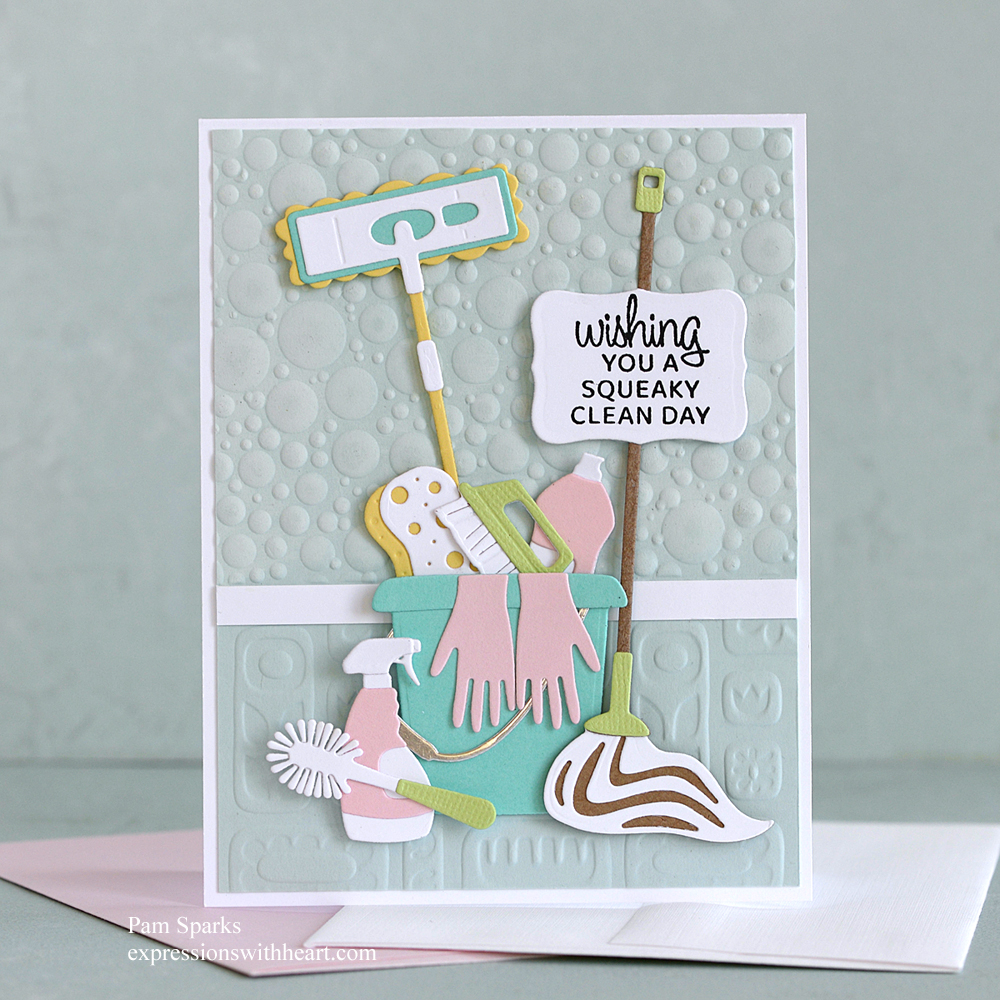
Here’s my card from the release. SSS sent me the Woodland Friends stamp set.
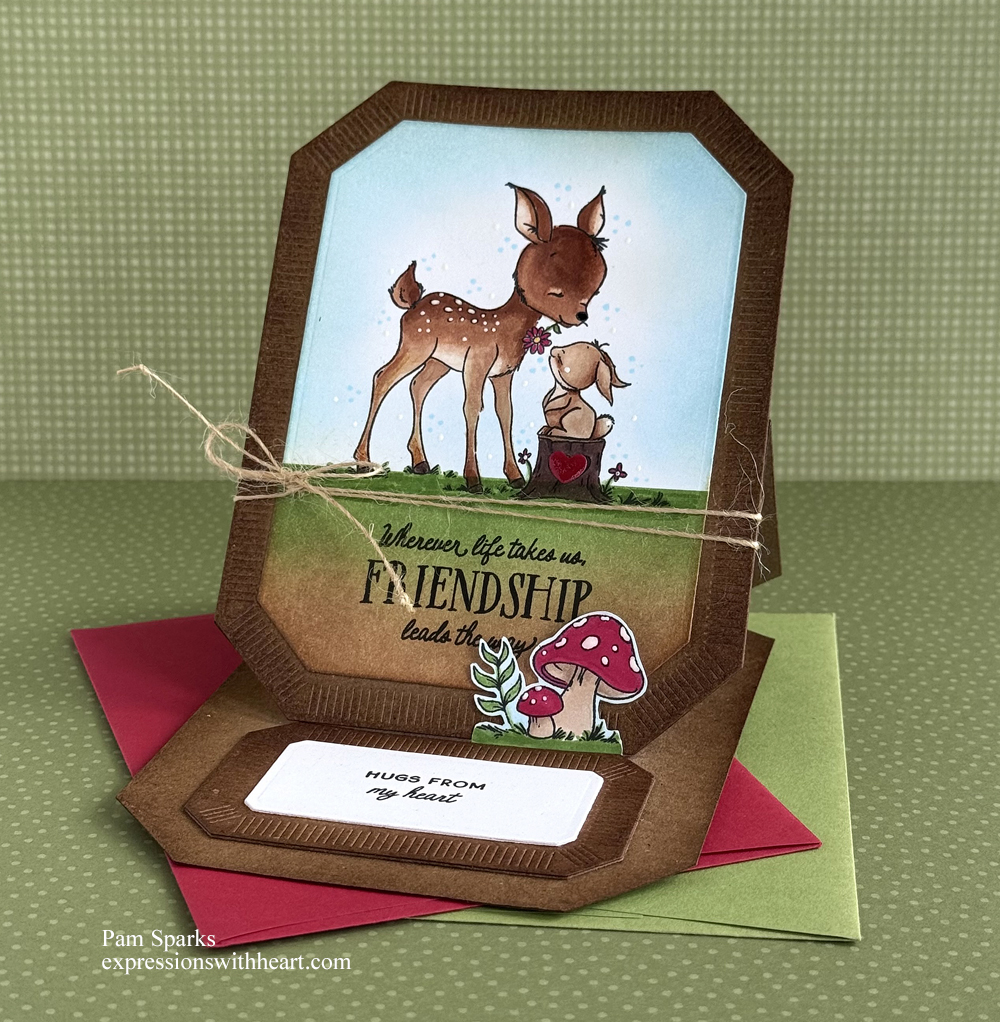
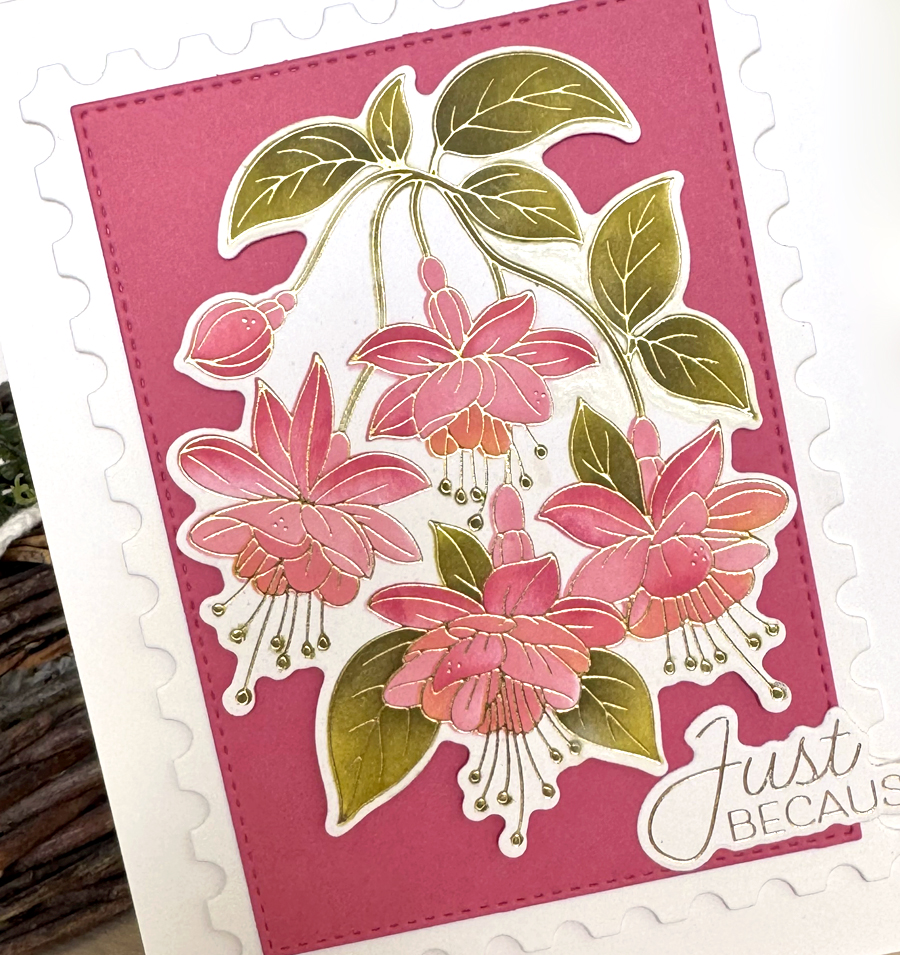
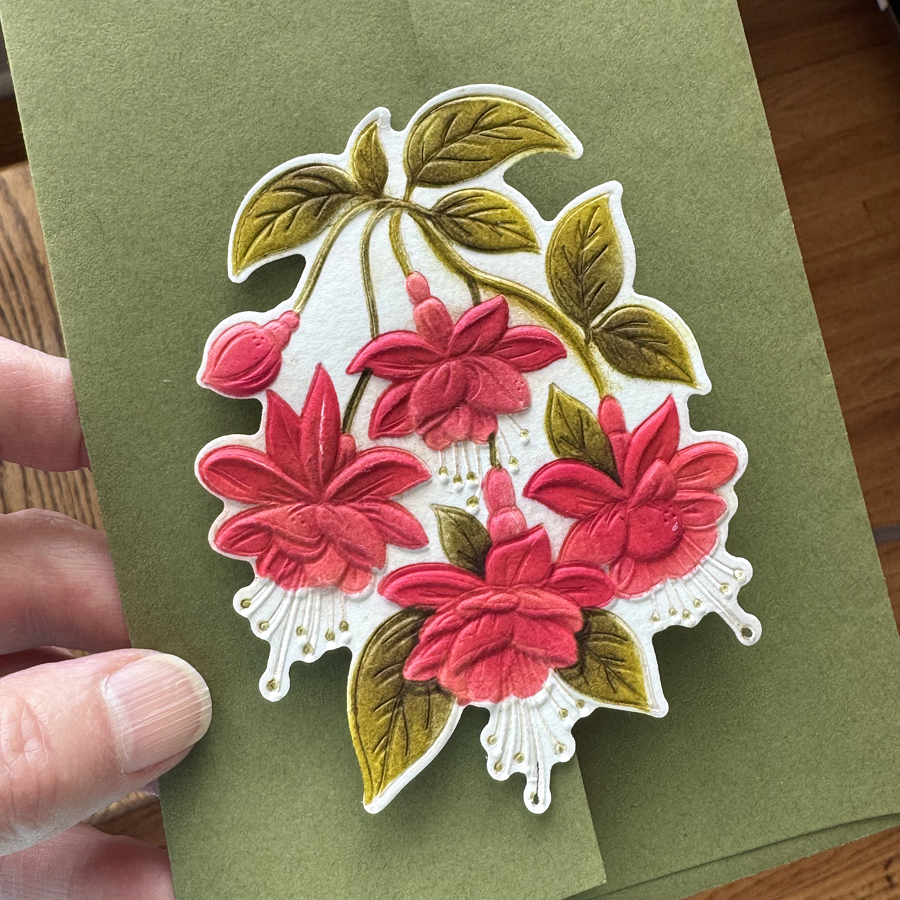
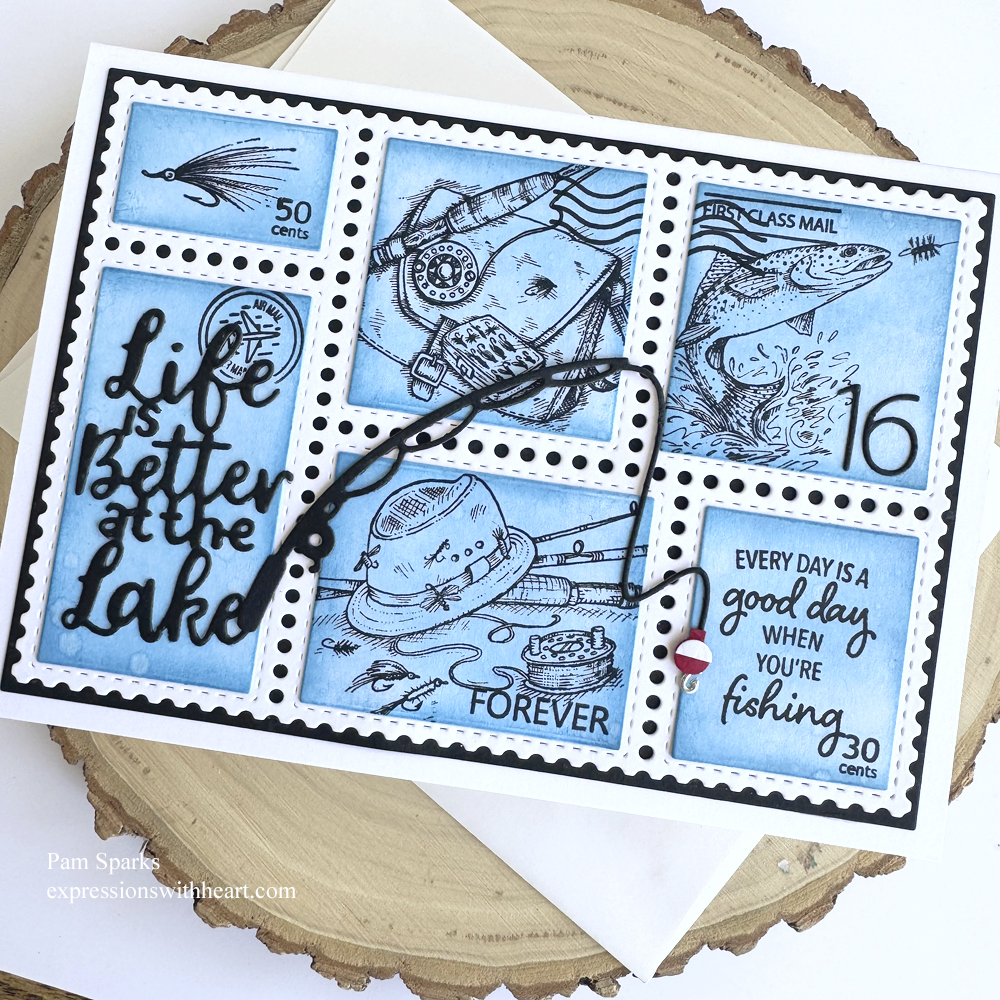
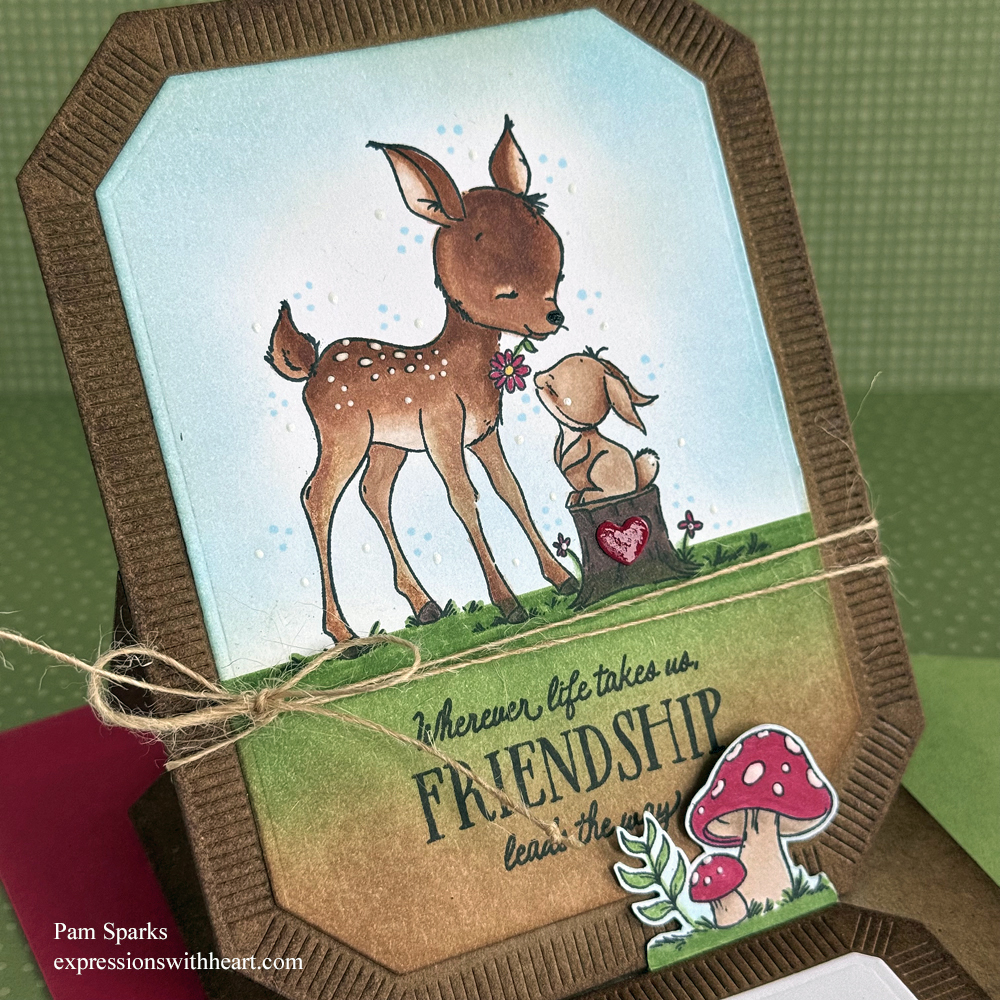
So I had to get coloring! I stamped in Memento Tuxedo Black Copic friendly ink and colored with Copic Sketch Markers. Mostly E 30’s but the stump is E40’s.
A totally charming set of cute critters, sentiments and accessories.
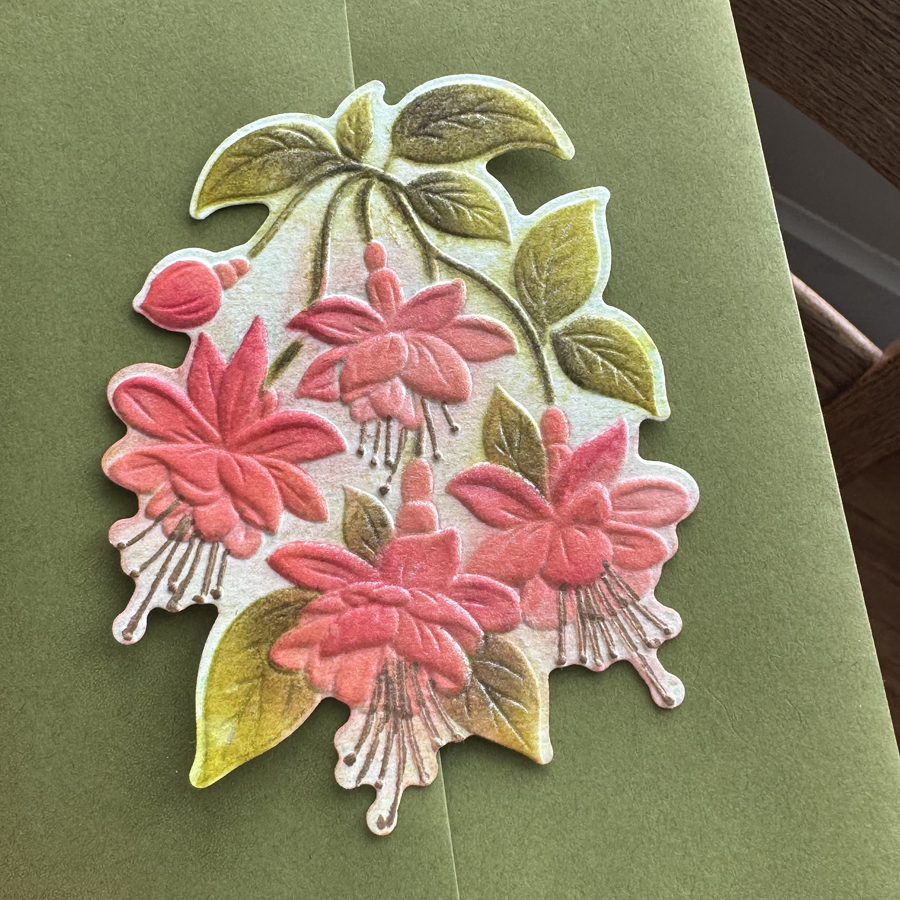
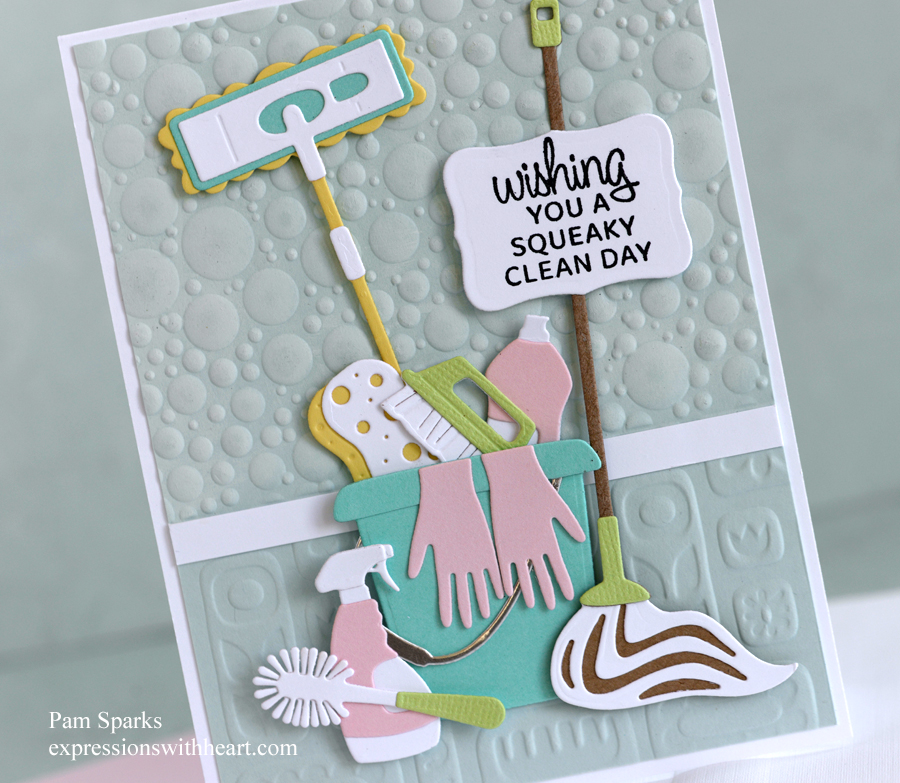
I masked off the bottom and ink blended Gathered Twigs and Mowed Lawn Distress ink. Then I moved the mask and ink blended the top with Tumbled Glass Distress ink.

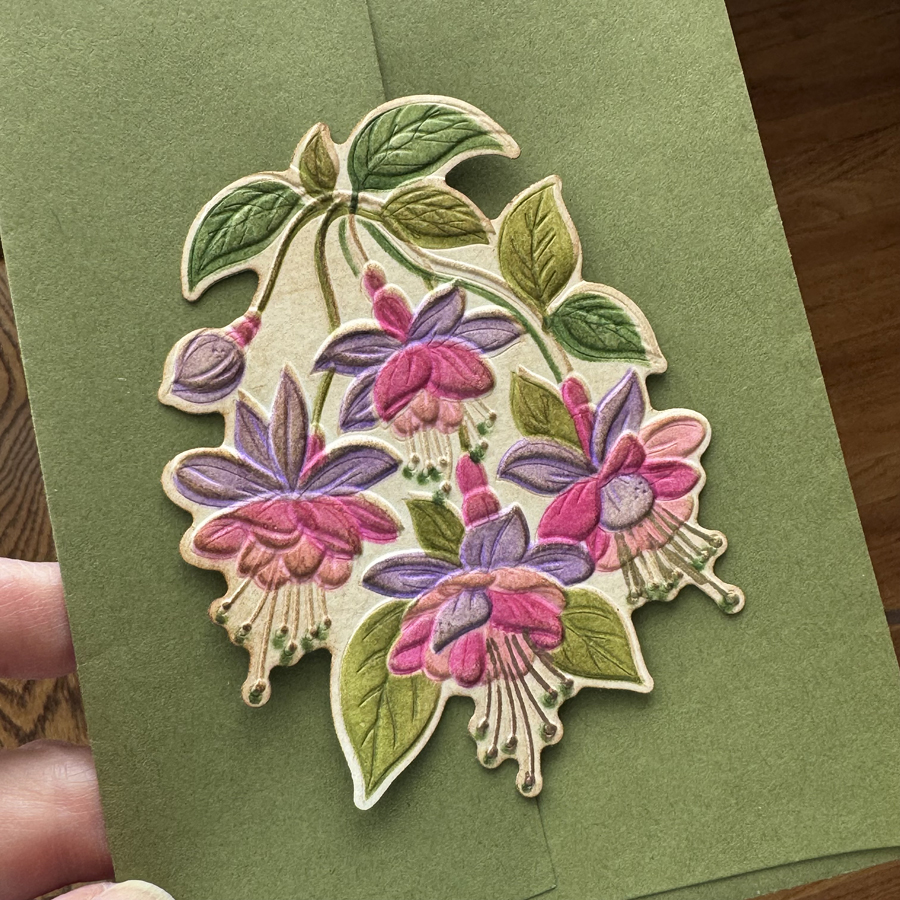
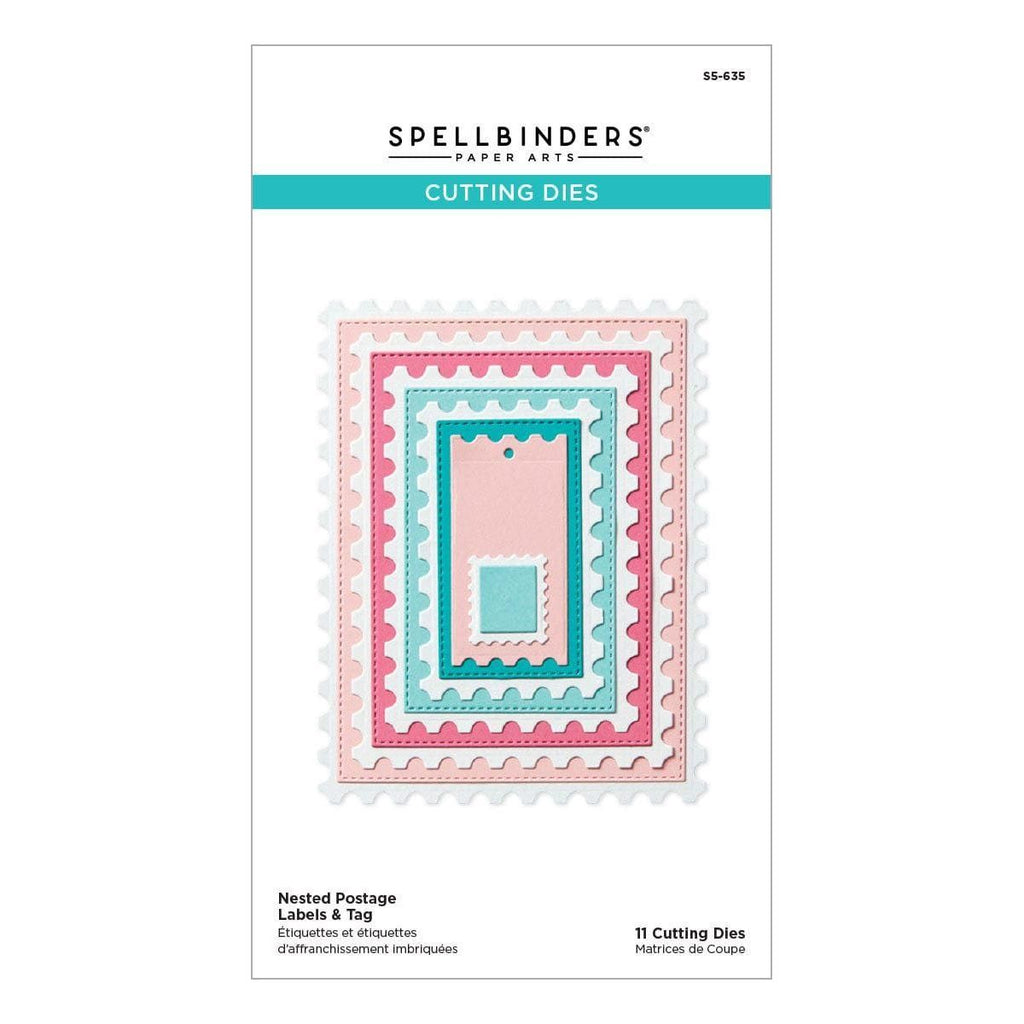
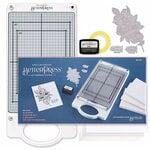
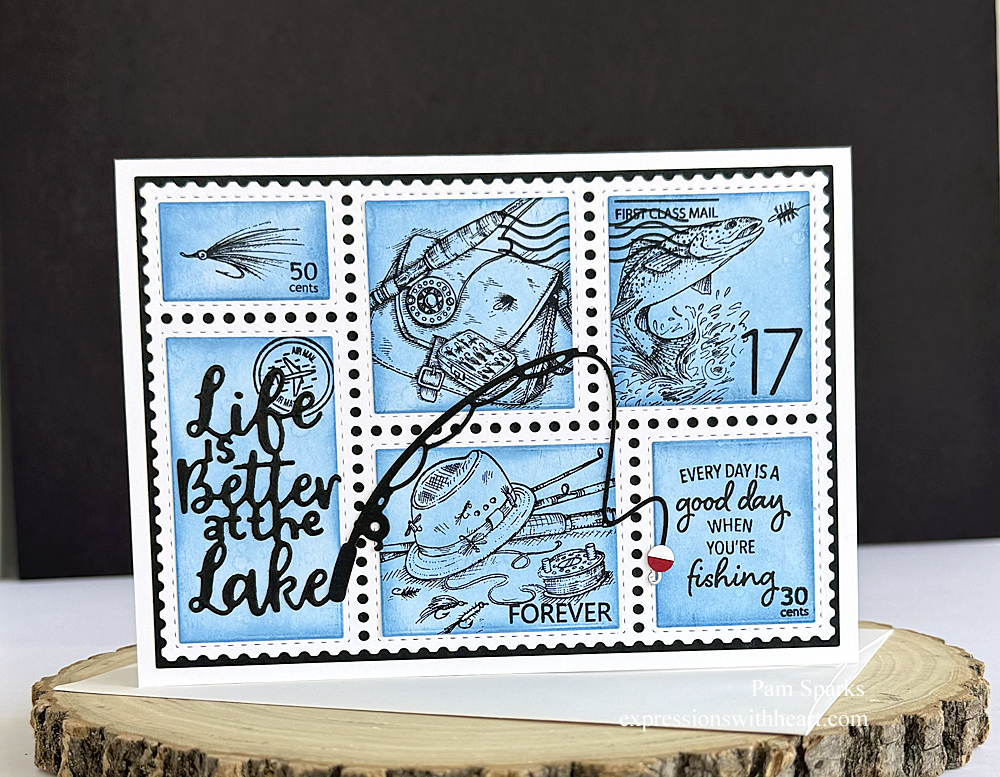
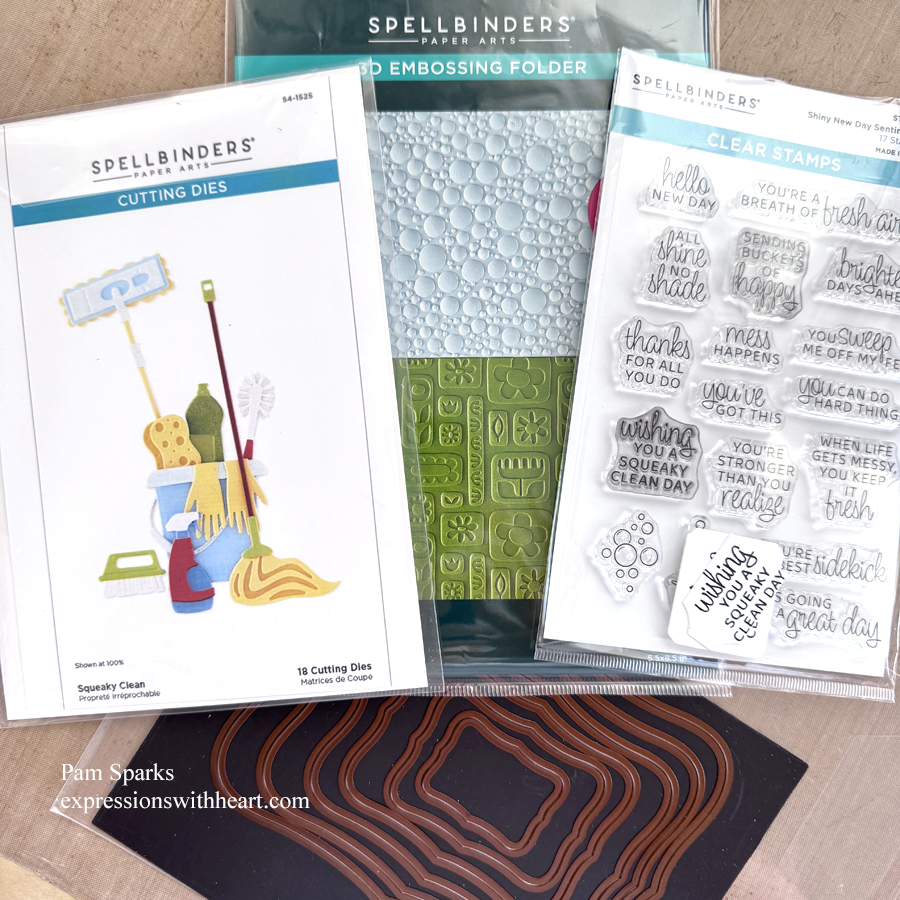
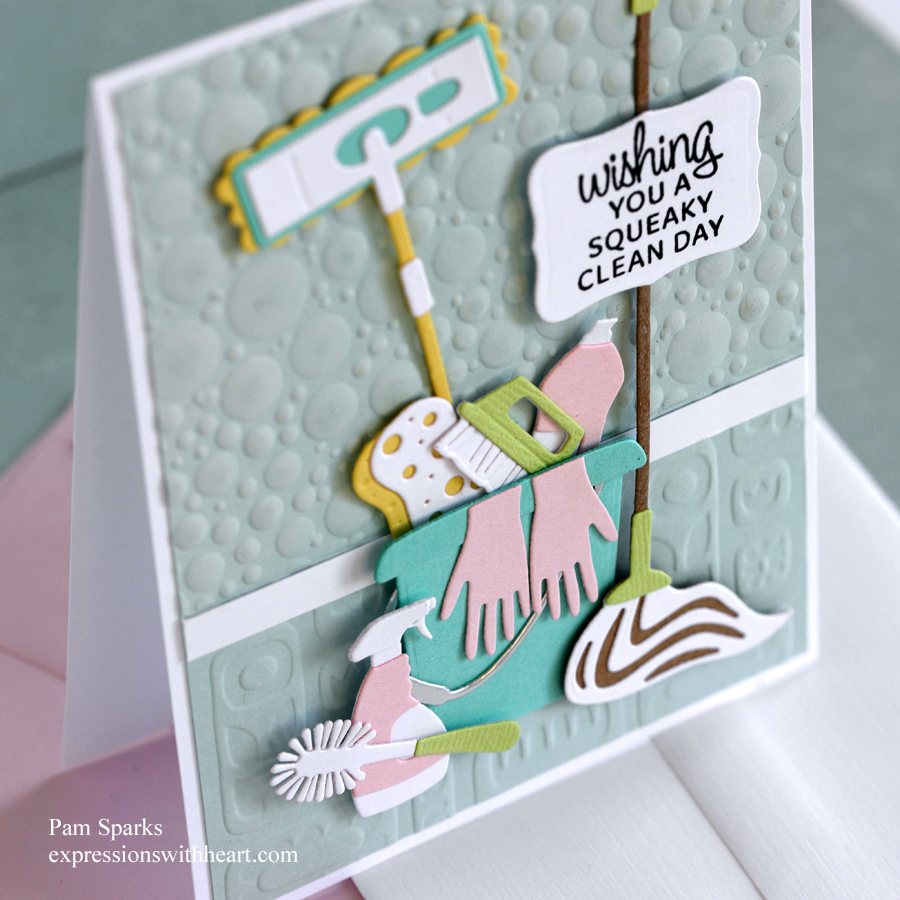
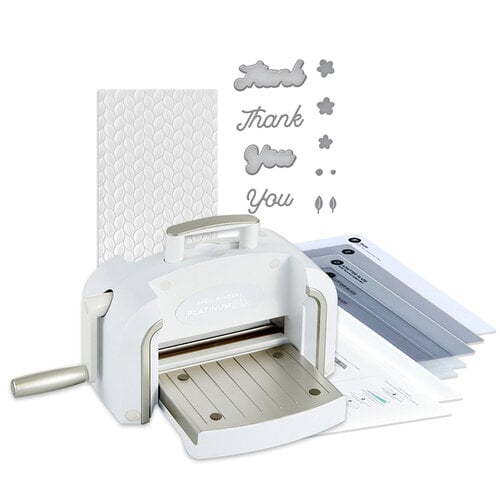
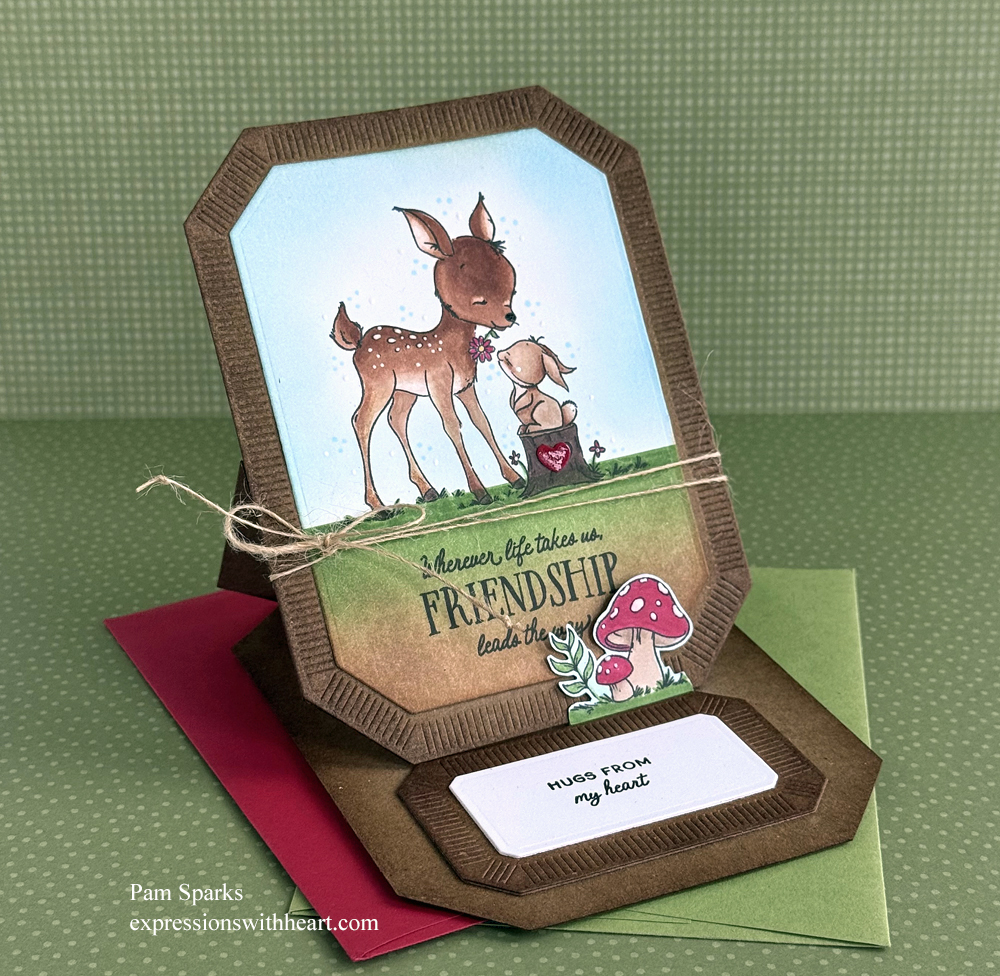
Here it is from the side. I die cut the largest panel with Spellbinders Emerald Cut Labels and Tag die set in kraft cardstock, then inked it good with Gathered Twigs Distress ink.
I cut a top fold cardbase, scored at 5 ½ in then one side at 2 ¾ in for the easel. I cut the corners of the cardbase off with a scissors to match the top Emerald Cut panel, then I inked it up too.
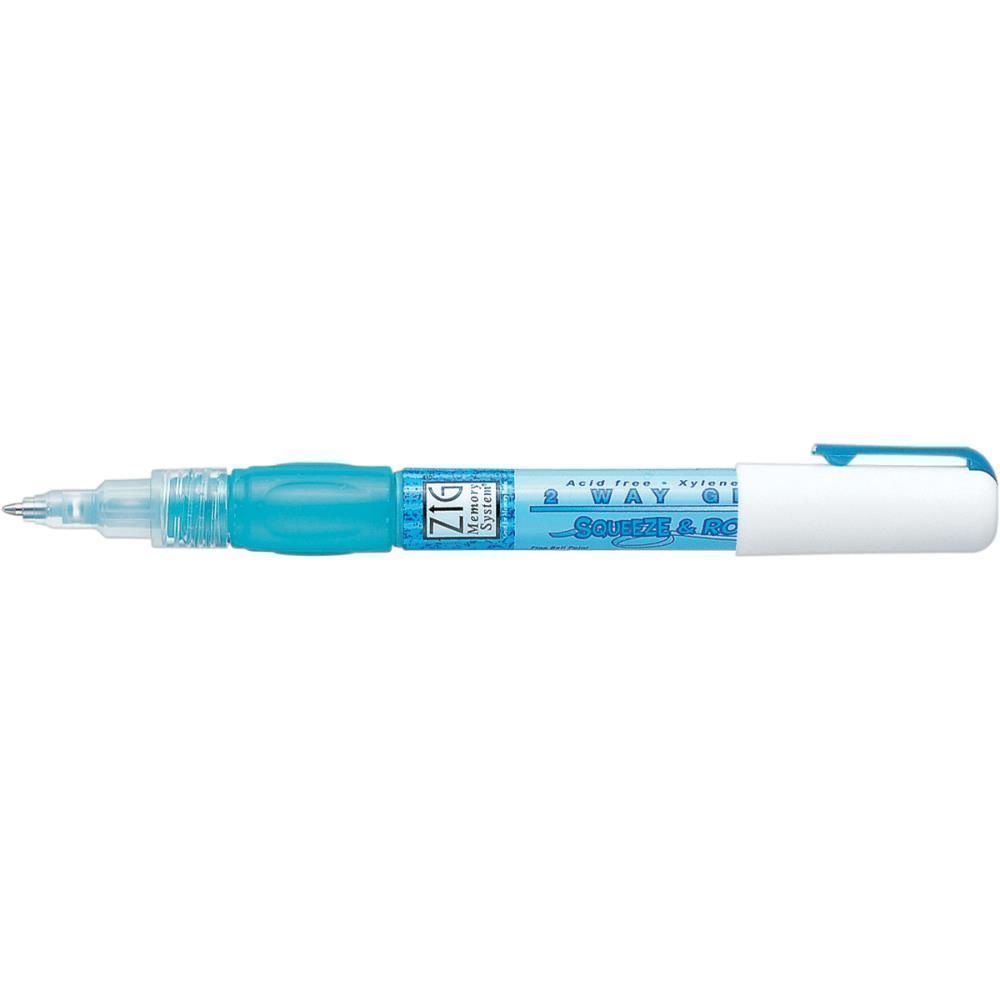
After I adhered everything together with glue, I tied on the thin cord from May Arts.
When I cut out the mushroom image, by hand, I left a piece at the bottom so I could score and make a stopper.
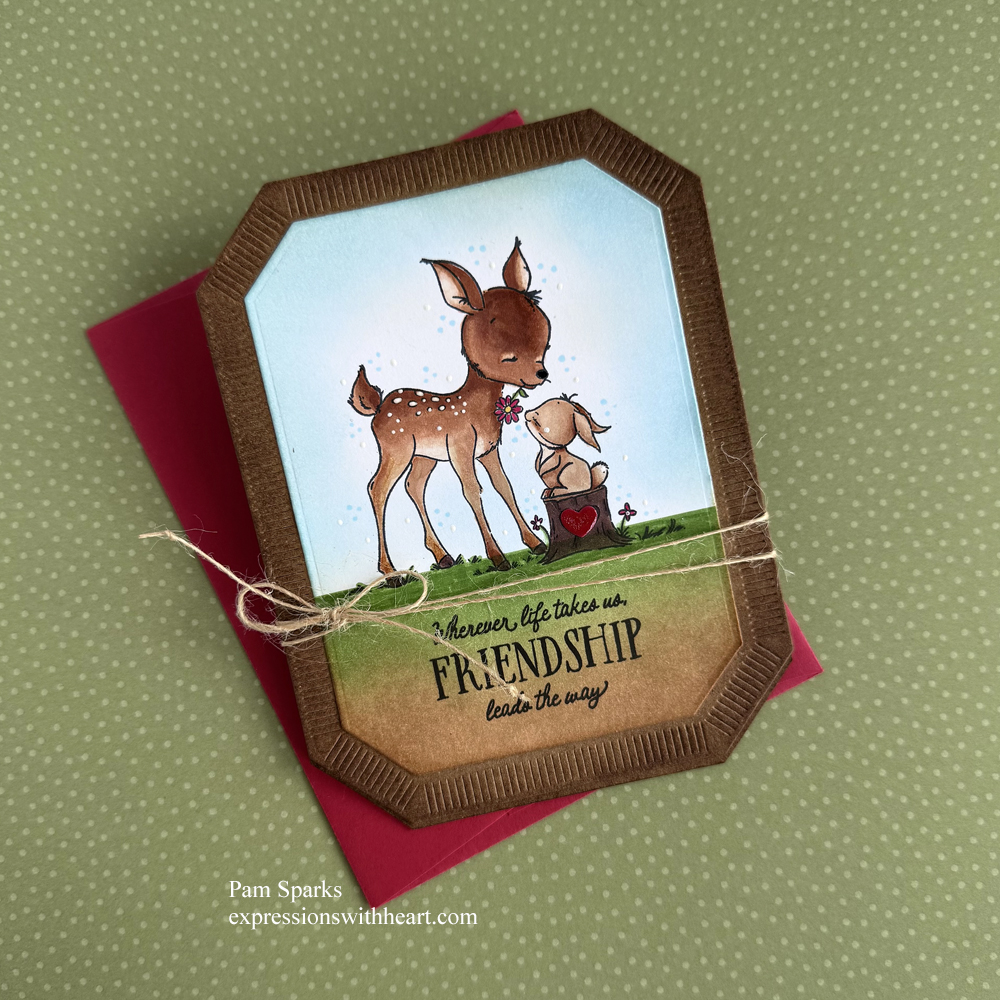
Here it is A2 size, folds flat and ready to go in the envelope.
I added some dots with a copic marker and a white gel pen. I used a die cut heart and glossy accents to glam up the heart on the stump.
Here’s a short video of how it fits in an envelope and how it sets up! (if a thank you comes up, just tap/click on the CC or subtitles and turn it off. I have no earthly idea how it got on there!)
Have you seen the Simon Says Stamp gallery? It’s awesome! You are welcome to share your creations there also! Check it out HERE!
Here’s the HOP LIST…not sure I really need to post it since I’m the last one on the list! lol
Thank you so much for visiting my blog! So glad you made it this far! Be sure to leave a comment for a chance to win!

Shopping links to Simon Says Stamp and the products I used to make this easel card…thank you for shopping through my links! I appreciate it!
|