It’s New! Beautiful, gorgeous Birch Press Design for the Christmas season!

Shop for your favorites at SSS during this 15% off sitewide SALE!

It’s New! Beautiful, gorgeous Birch Press Design for the Christmas season!
Shop for your favorites at SSS during this 15% off sitewide SALE!

Salutations of the season to all! And just like that, it’s the end of July! Let’s get a head start on Christmas cards!
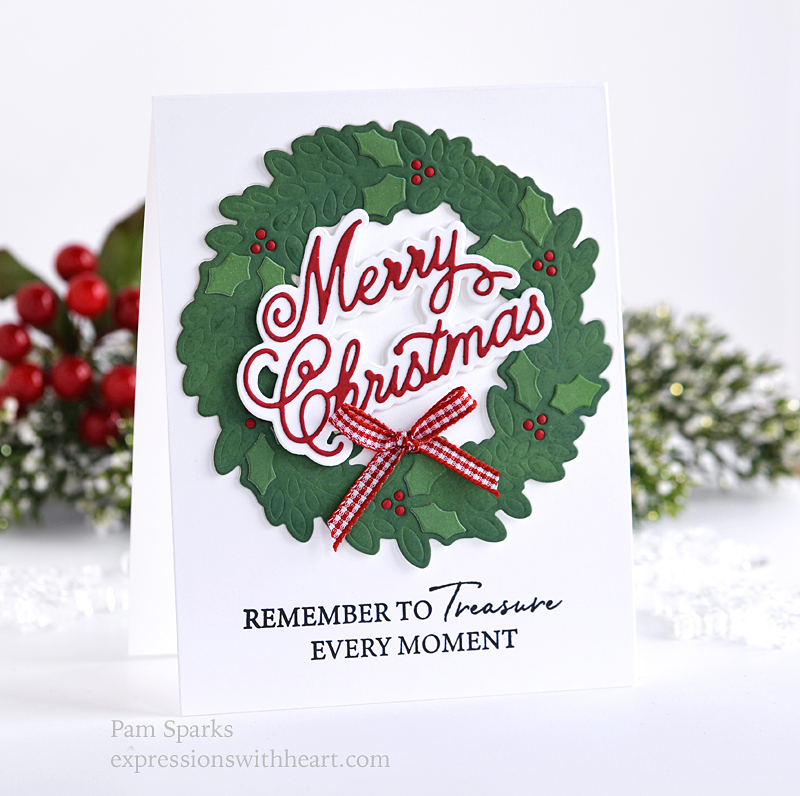
My card today is from the NEW Birch Press Design Festive Floral release!
I’m using the NEW Holly Wreath Plate die set. Keep reading for a tutorial how I made the wreath without layering! First the finished card pictures…
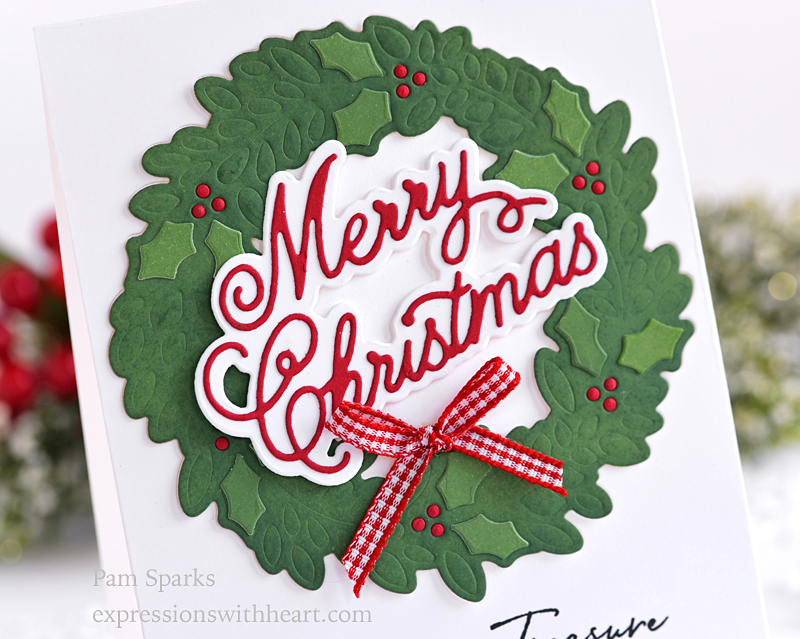
Close up showing the NEW Handwritten Merry Christmas and Outline die set… so beautiful! I love how he included the dot of the ‘i’ onto the ‘t’! No gluing tiny dots this time! (well except on the wreath hohoho)
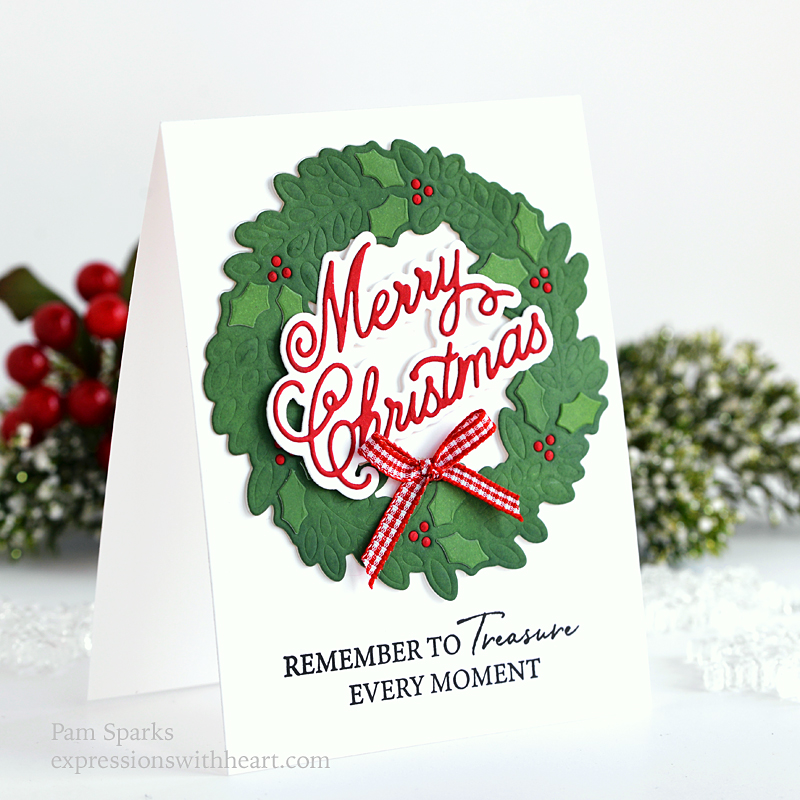
A shot from the side…
Sentiment from Birch Press Design Kind Hearts clear stamp set. (gorgeous sentiments in this one)
Here’s how I made this card in pictures…hope it works! Let me know what you think! Was it worth it?
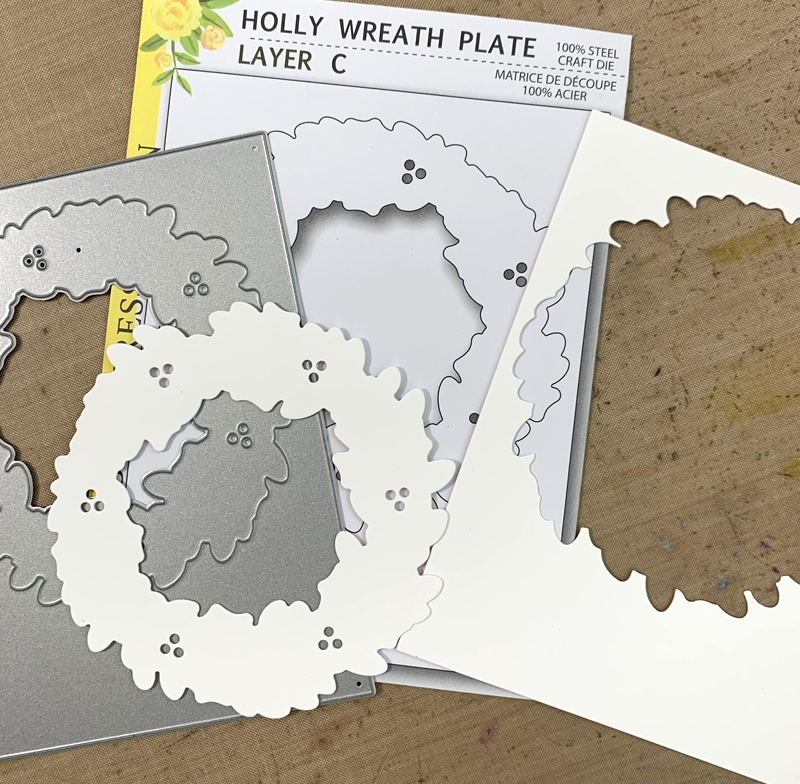
I started by die cutting Layer C in Hammermill 100# Color Copy Cover cardstock. Keep both pieces.
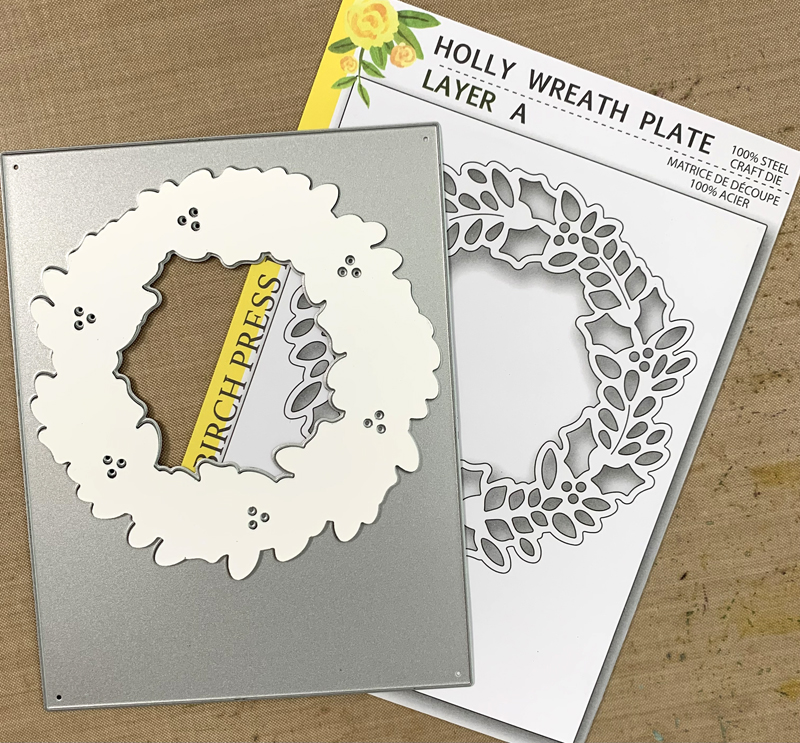
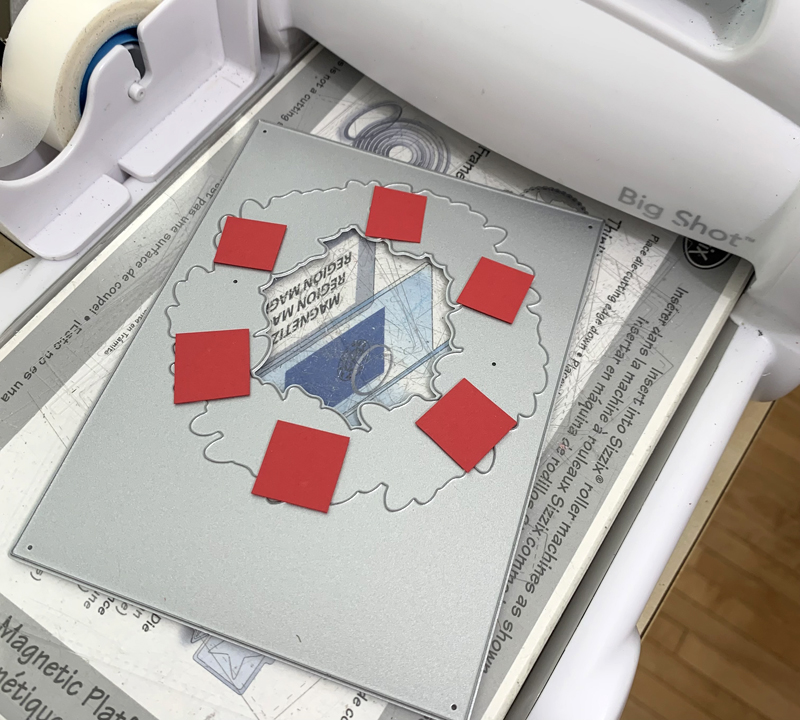
Now, using Layer A (the plate with all the detail), lay the plain wreath you die cut with Layer C into layer A die, right side into the die.
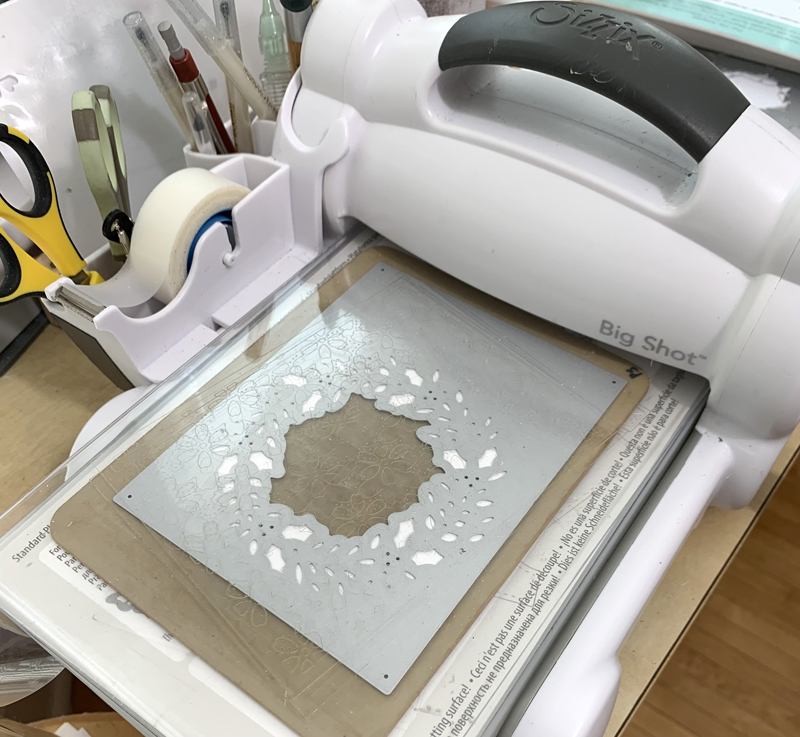
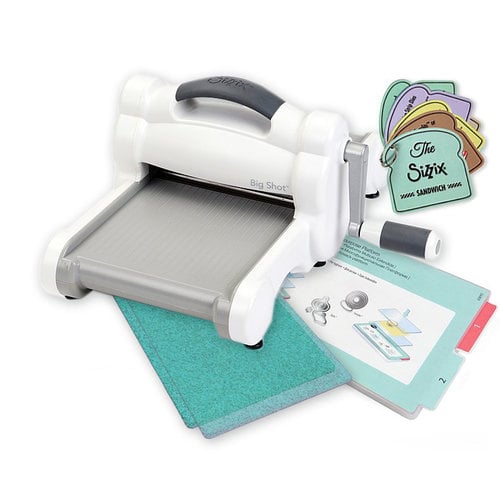
Next we are going to emboss the plain wreath die cut by running it through the die cut machine. From the bottom up you’ll need the standard platform, clear cutting plate, tan (squishy) mat, die cut in the die with cutting blades facing into the mat and on top a clear cutting plate.
(If you have the older multi purpose platform, use it like you would a regular embossing folder. Fold the top layer back.)
Look how cool this is… it’s embossed!
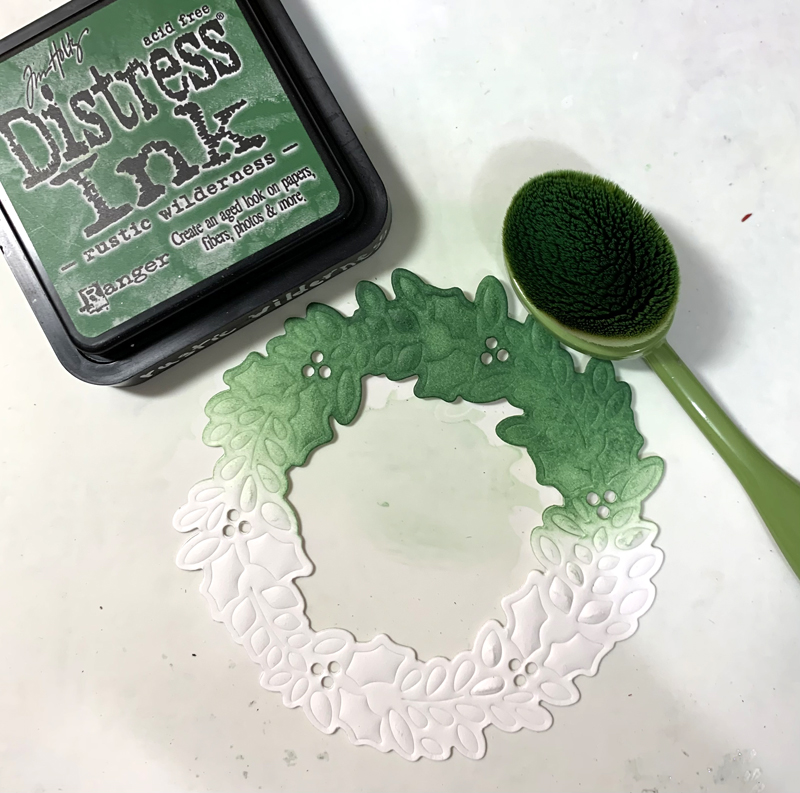
Now we’re going to ink the wreath with Distress ink. In my picture I grabbed regular Distress ink but when I was making my card, I used Distress Oxide Rustic Wilderness. ugh. My regular are out in plain view and my oxide are in a drawer now. Change is hard! lol I used my oxide brush with regular ink. There go my eyes rolling at myself again!
Back to layer C – die cut scraps of red cardstock for the berries.
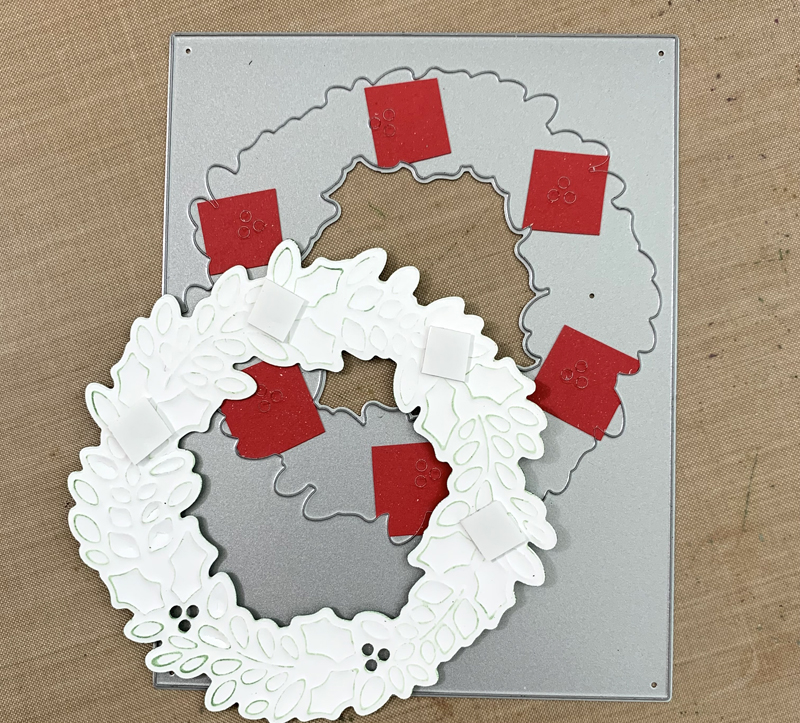
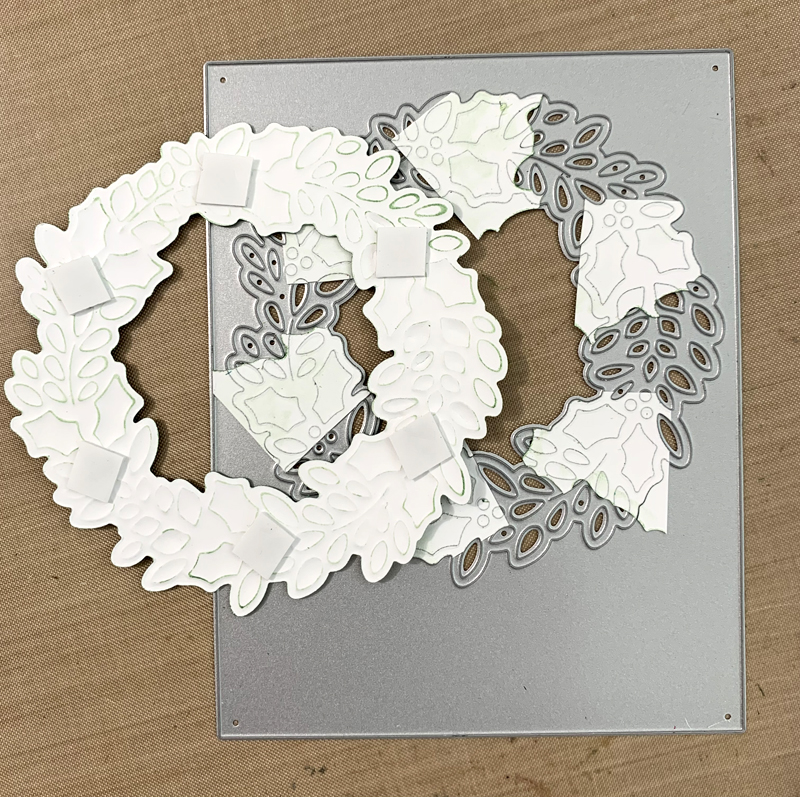
Here you see the back of the inked, embossed wreath…I placed pieces of thin mounting tape over the berry holes. Link below… I love this mounting tape!
Then turn the wreath over and using a pickup tool of your choice add the berries to the holes and they will stick in place! Easy!
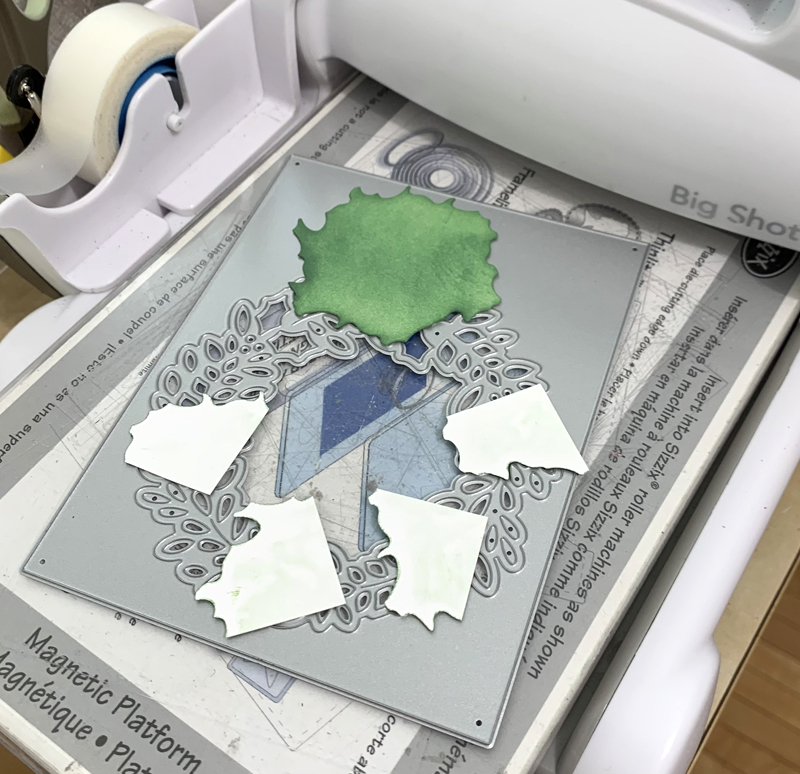
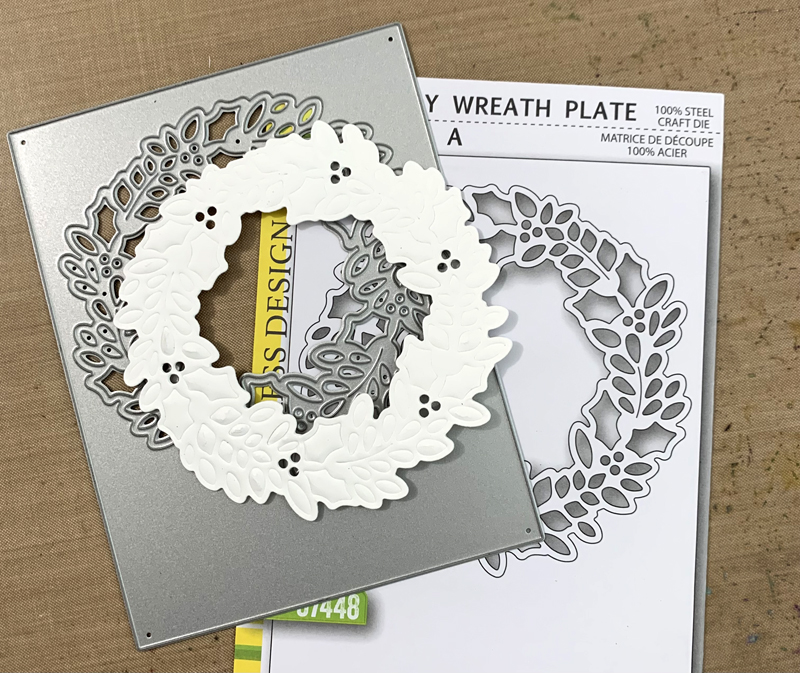
Ink scraps of white cardstock with Rustic Wilderness Distress ink, cut into pieces to lay over the holly leaves on layer A and run it through the machine.
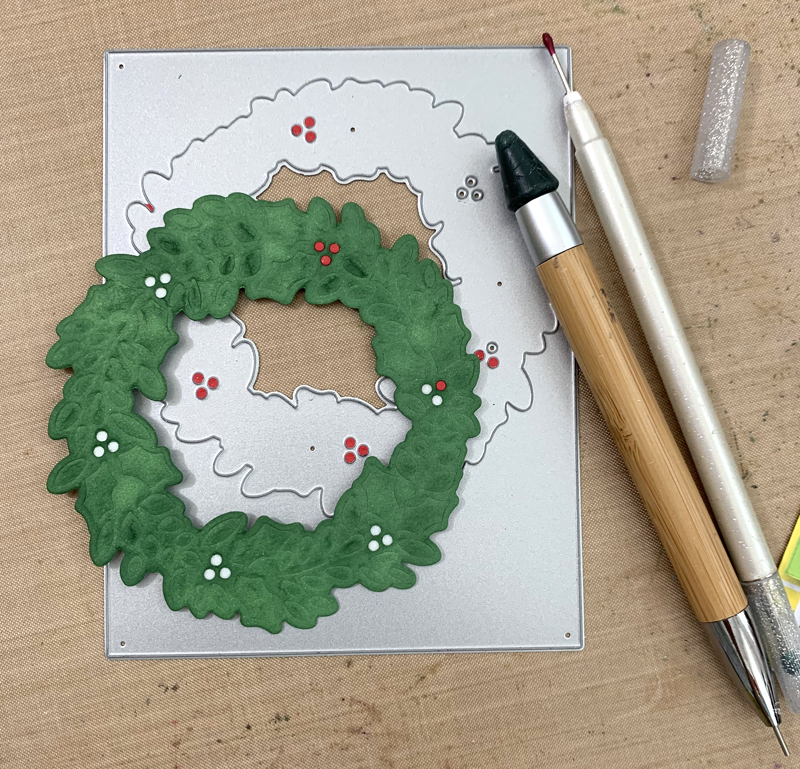
Turn wreath back over and line it up to layer A to match up your Holly. Then turn it right side up and glue on the Holly.
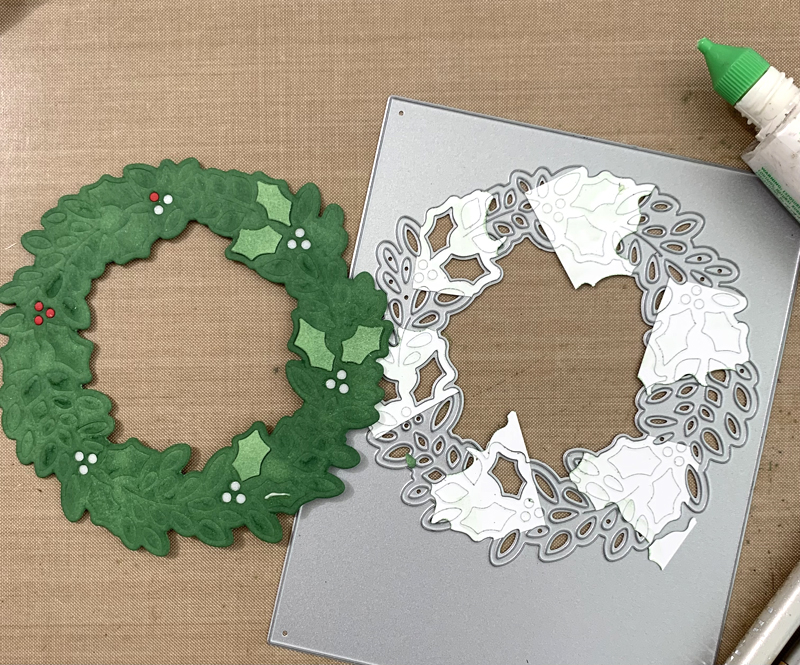
Remember it’s opposite…
No earthly idea why in this picture the green is a funky color! lol
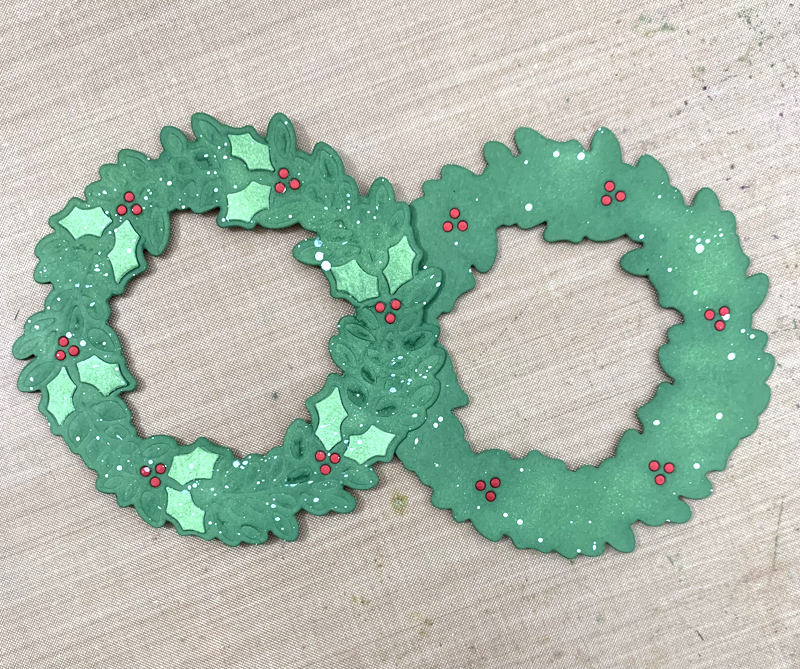
I wanted to show that the wreath is super fun just inking the solid wreath without embossing too. At the last minute I thought to splatter it with some white spray ink. I didn’t go back and splatter my card though.
So I’m showing three variations using these dies differently than they were intended! Let’s make Christmas cardmaking fun! lol
Holler if you have any questions. I have some old videos showing how to do embossing with dies too.
Linking to some challenges…
ABC Christmas Challenge – N is for NEW, O is for OLD (mine is new)
Addicted to Stamps and More – any occasion
Crafty Gals Corner – Christmas in July #233
Simon Says Stamp Wednesday Challenge – Anything Goes
Thank you for stopping by!

Here’s what I used to make this card…
|

Hi everyone! Bringing you everything ‘dreamy’ with this release in Summery July! Check it all out HERE.
I received the Tropical Leaf Bunch die to play with. It’s from Simon Says Stamp but designed by Memory Box! I love it when I get the designs by MB!

You deserve a break but I don’t mean at Mc Donalds! lol I’m not a beach person but I’ve probably not been at the right beach to appreciate it!
Here I kept it very CAS (clean and simple).
I die cut a rectangle out of copy paper so I could ink blend an area centerish on the front of my A2 size cardbase.
I blended oxide inks with my blue and brown brushes without putting on more ink because I wanted it very light.

Then I did some splattering with Prize Ribbon and Ground Espresso Distress inks and then a little white acrylic after the ink splatters were dry.
I die cut three of the Tropical Leaf Bunch, glued them together and then directly to the cardbase.

The beach chair is from last months SSS release. I stamped it and fussy cut it by hand, colored it with Copics and glued it directly to the cardbase. Details about this set in my post HERE.
Then I stamped the sentiment from the beach stamp set and added Memory Box Fairy Jewels from the Pastel set.
Thanks so much for stopping by my blog today! Hope you enjoy the new release and here’s the
code for $5 off through 8/15… 5BUCKS
Have a great weekend! Do any of you have an ebike? We’re going to go looking at them this afternoon.
ttul,
p.s. links to the new products are in bold and the SSS picture in my post! Thank you for looking/shopping through my links! I appreciate it!


Special Delivery! All the fun things of the season right there! Snail mail, snowflakes, jingle bells and snow!
I went with a Mini Slimline Card for this one. I used Spellbinders Precision Layering Mini Slimline A and B sets to cut my layers. I really like these dies because they are heavier and hold the rectangle shape better than the thin silver ones do. I don’t like it when I die cut layers and they’re wonky!
I tore a piece of white cardstock for the mailbox to stand in (snowdrift) and die cut it with the same layer die as the blue background size. I used Prize Ribbon Regular Distress Ink to ink up the background this time. I spattered on some water droplets. I like to spray water into the palm of my left hand, then I rub both my hands together so they’re both wet, then I clap over the inked background to spatter the water drops. I let it sit a minute, then lay a paper towel over it to get the extra water.
Then I spattered on some diluted white acrylic paint.
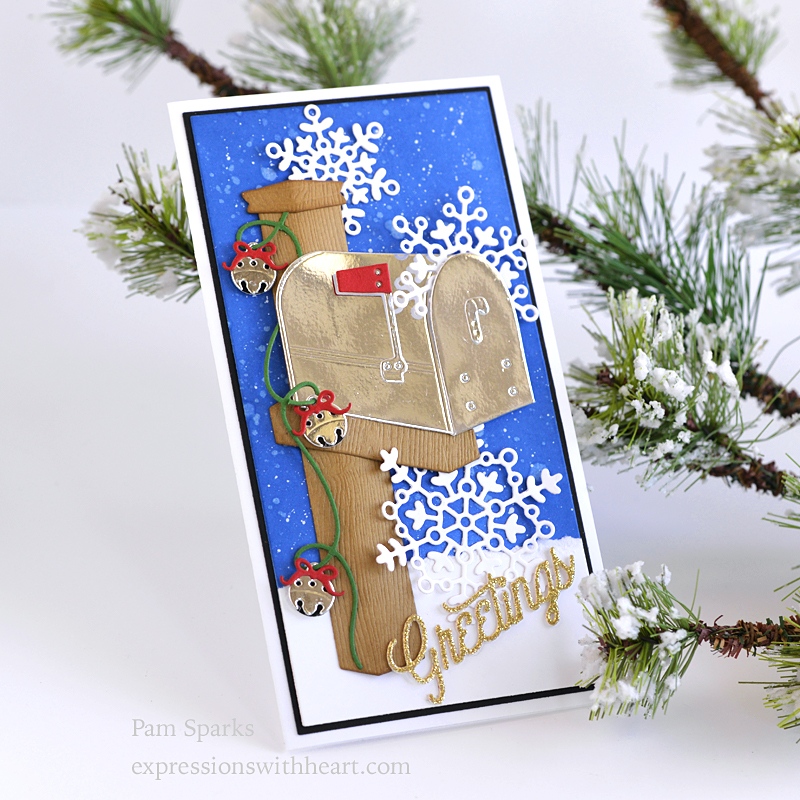
I die cut the mailbox post from woodgrain cardstock and the mailbox from silver mirror cardstock.
I die cut the sentiment from gold glitter cardstock and white cardstock, then glued the gold on top of the white.
The jingles bells and ‘garland’ are from the NEW More Holiday Decor die set. I love how cute the little bow is on the super cute jingle bells I die cut in silver mirror cardstock also.

I love that there’s just enough dimension to add perspective. It’ll still mail in an envelope for one stamp.
I used the thin mounting tape, I’ll link below, behind the mailbox post and box on this card and yesterdays.
Finished size is 3 ½ in. x 6 ½ in. So happy to have a start on Christmas cards! I can’t believe we’re half way through July! I need to get more done!
I’ll be back soon….we have to keep making!
Here’s what I used to make this card…
|


Hi everyone! How fun is this NEW die set called Letterbox from Spellbinders Winter Garden Release! I made it up in a Winter Scene card too but I think I’ll post it separately because I have so many pictures of this one.
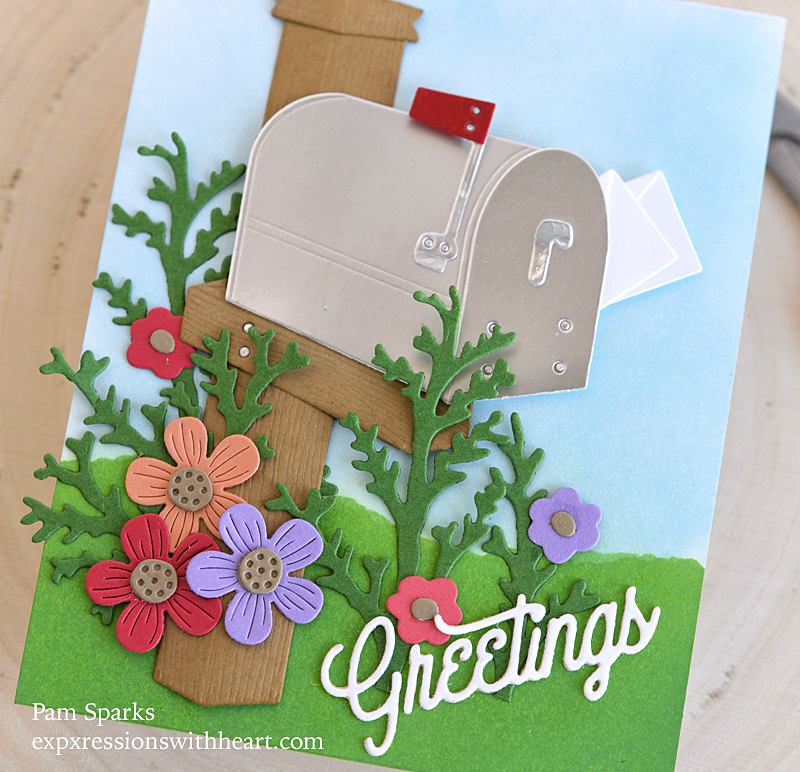
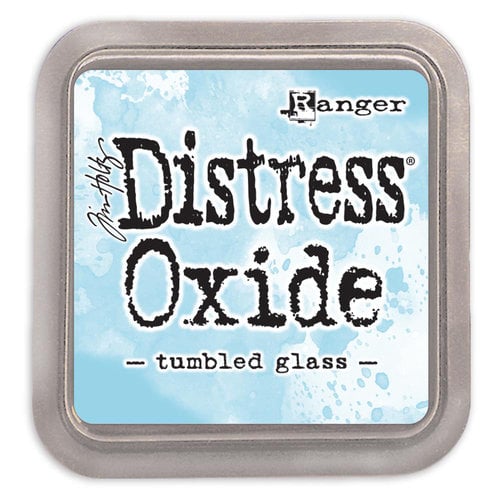
I die cut everything and put them together before I adhered them to a Distress Oxide ink blended A2 size cardbase. I used Mowed Lawn and Tumbled Glass with a torn piece of copy paper to separate the sky and grass.
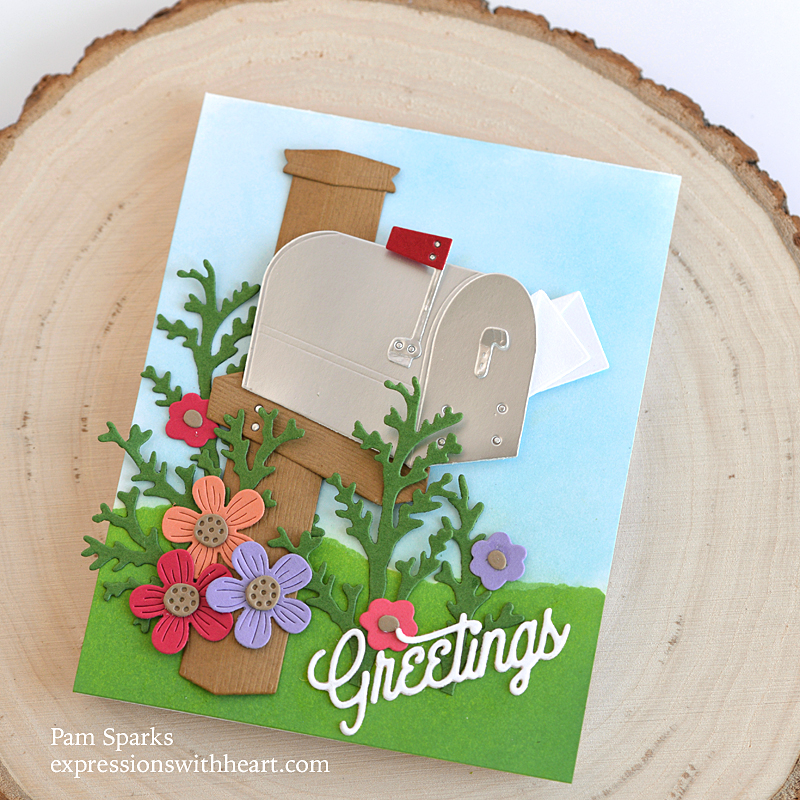
I used a NEW die set called Winter Evergreen Foliage behind the Be Bold flowers.

I love these sweet blooms with the mailbox!
The die cut sentiment is from the NEW Mix and Match Holiday Greetings Die set. I die cut it twice in white cardstock, glued them together and glued them directly to the card.
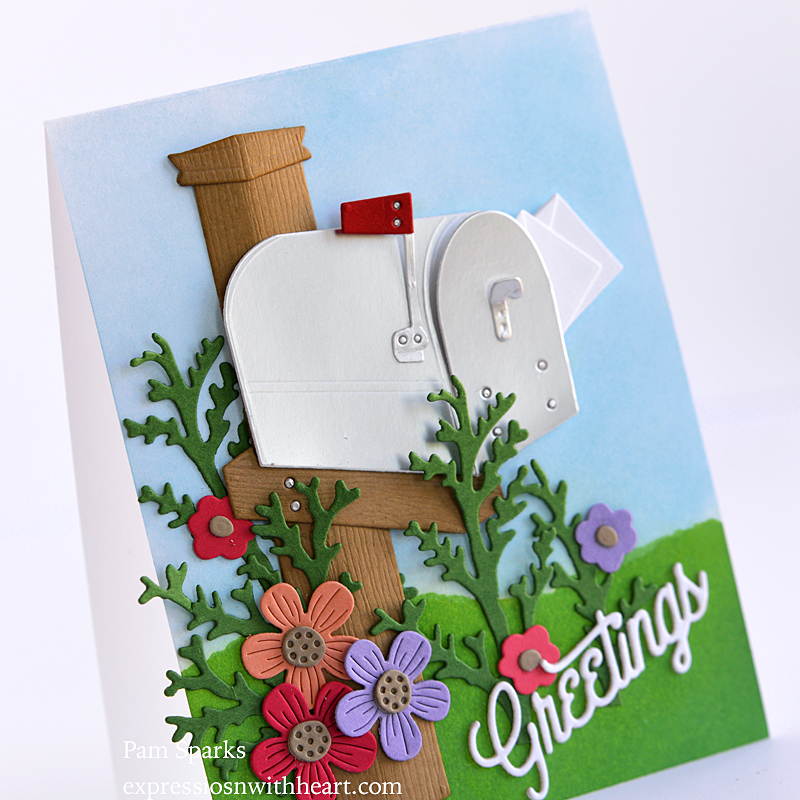
I used woodgrain cardstock for the post and a matte silver metallic cardstock for the box.
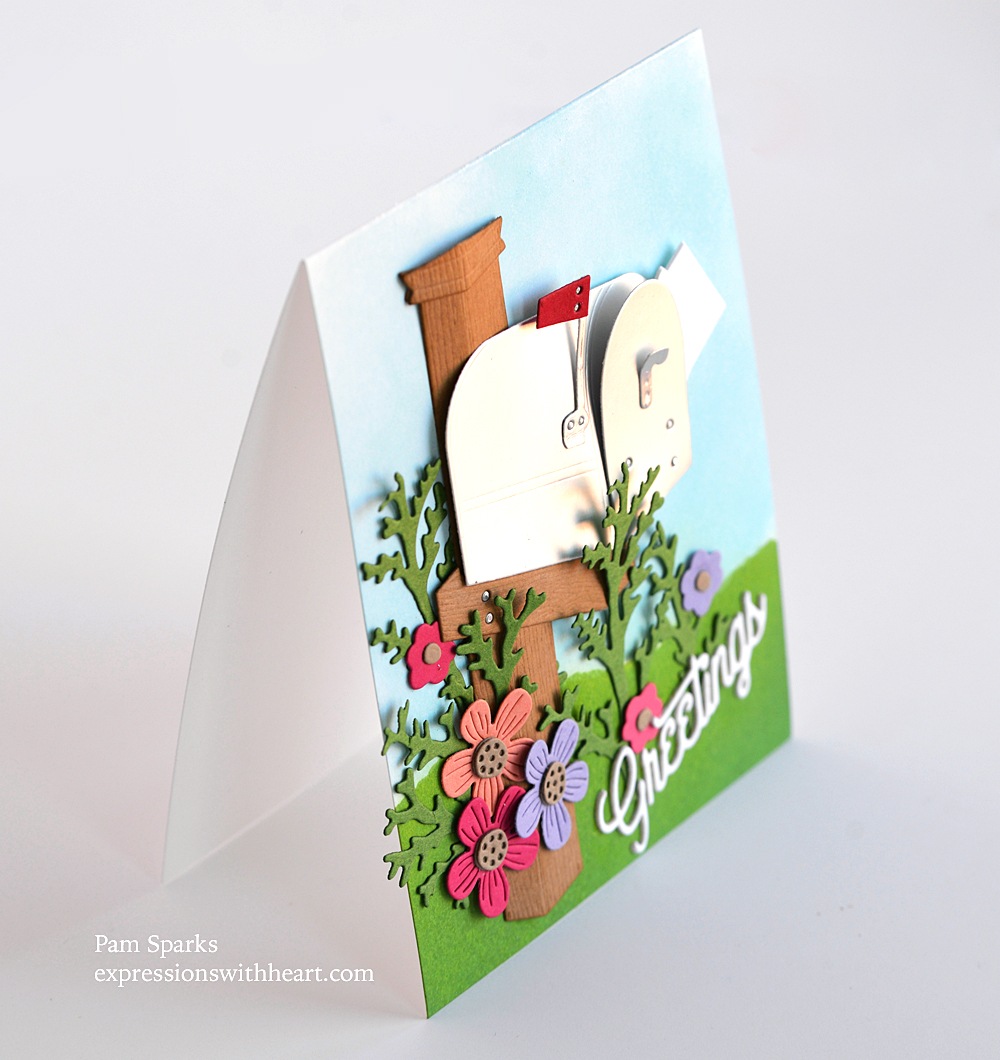
I hope you like this as much as I do! I’m anxious to show you the Winter version too! ❤
Linking to Simon Says Stamp Wednesday Challenge – Make your own backgound
Thank you for clicking over and holler if you have any questions!
Dies and Supplies I used to make this card…
Sale info below!
|