Hi everyone! I have some cards to post using the NEW for STAMPtember sentiment set called ‘Extra Talkative’. So many sentiments in the set I ended up with five cards! This is a big set with dies to match but I didn’t get the dies to use. You’ll see how beautifully they ink up and stamp!

Here’s my first card…

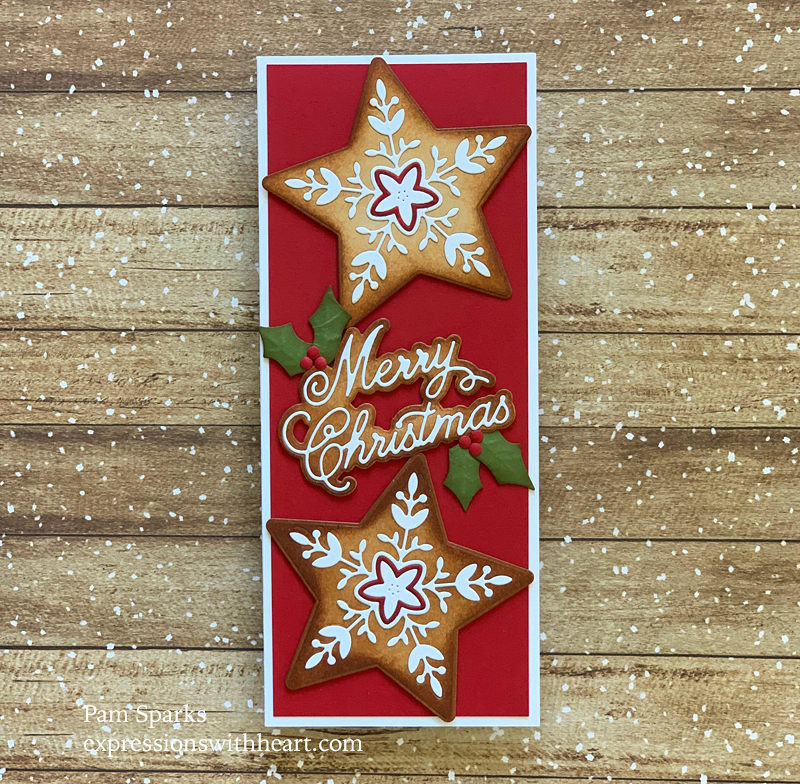
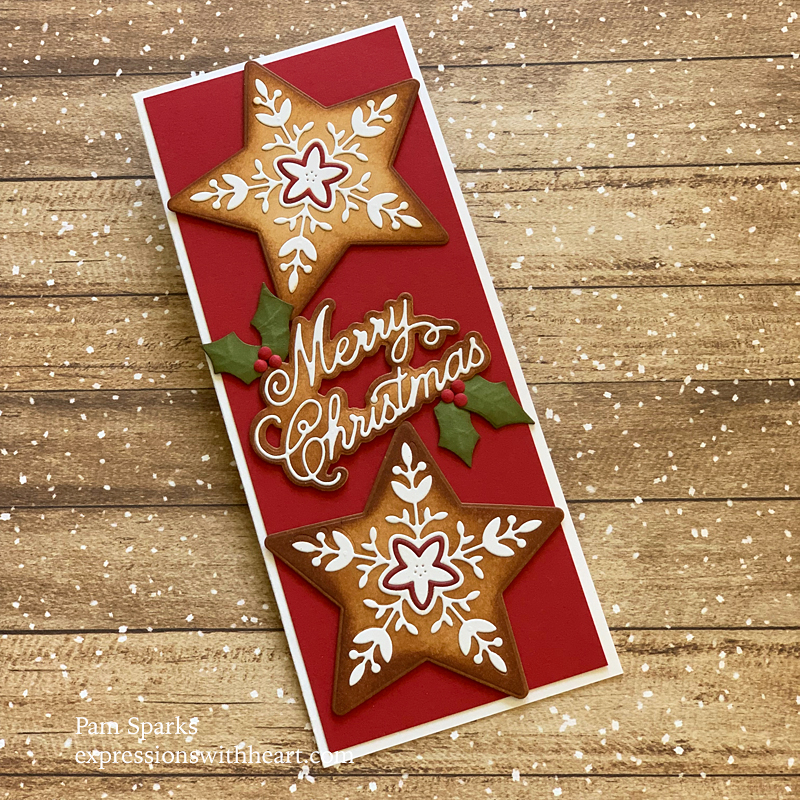
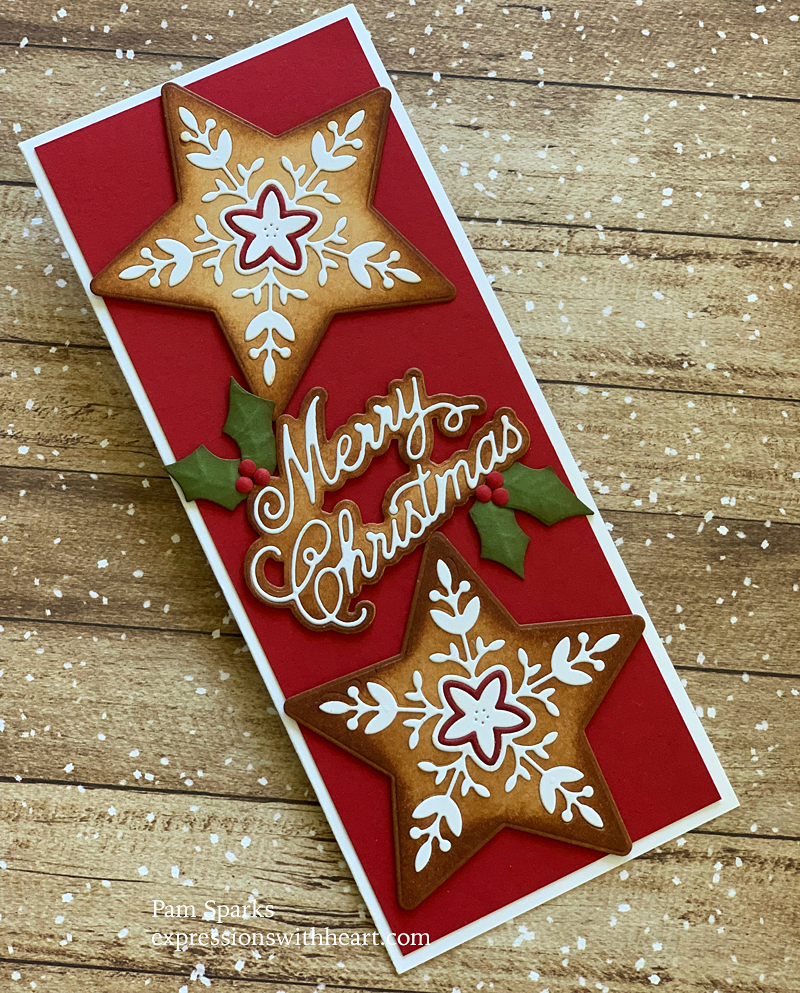
I made three Mini Slimline cards and two A2 size cards…
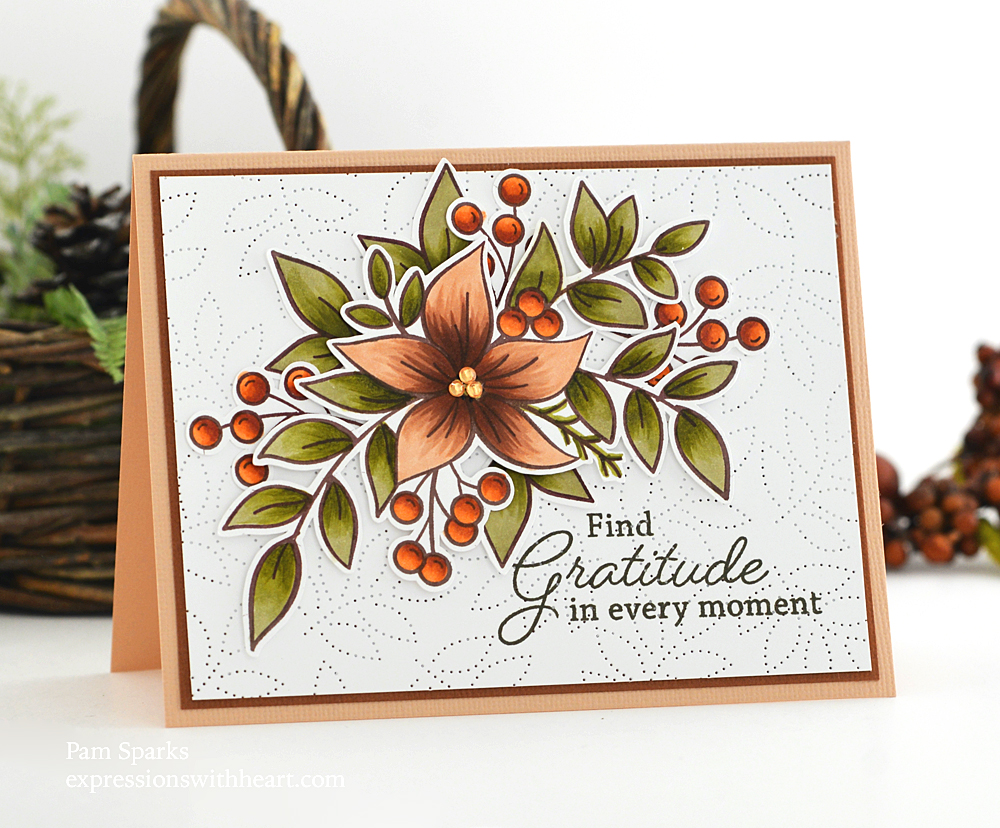
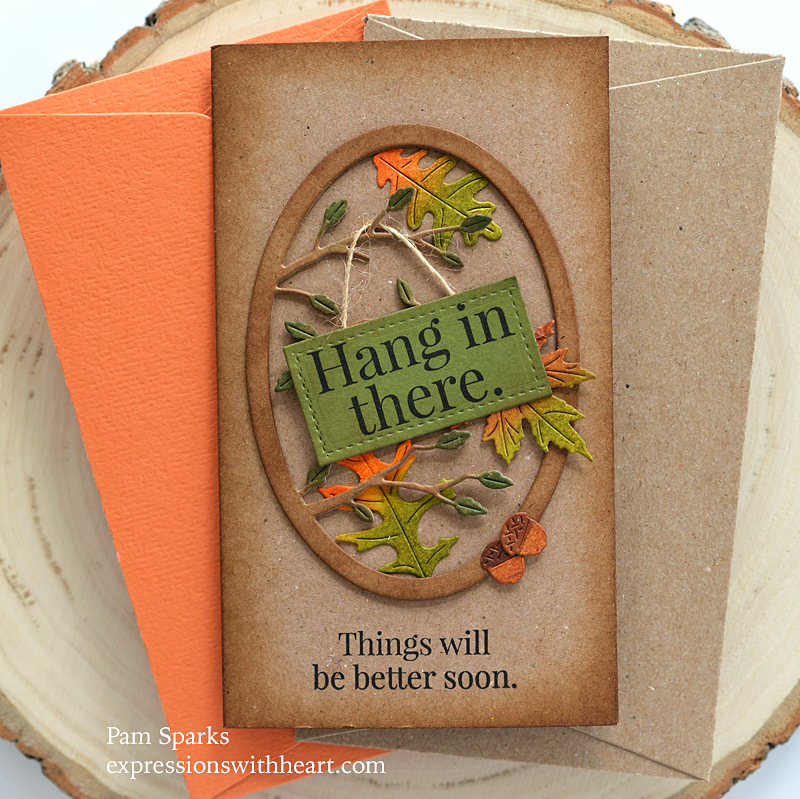
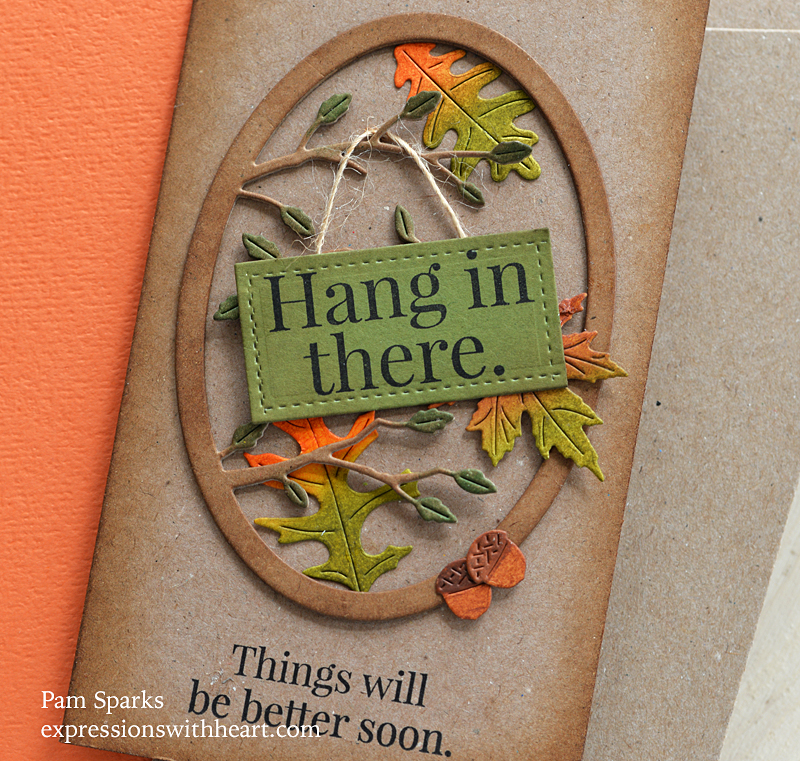
What great words of encouragement! Everyone can use that now and then! I’m sending this one to myself! lol
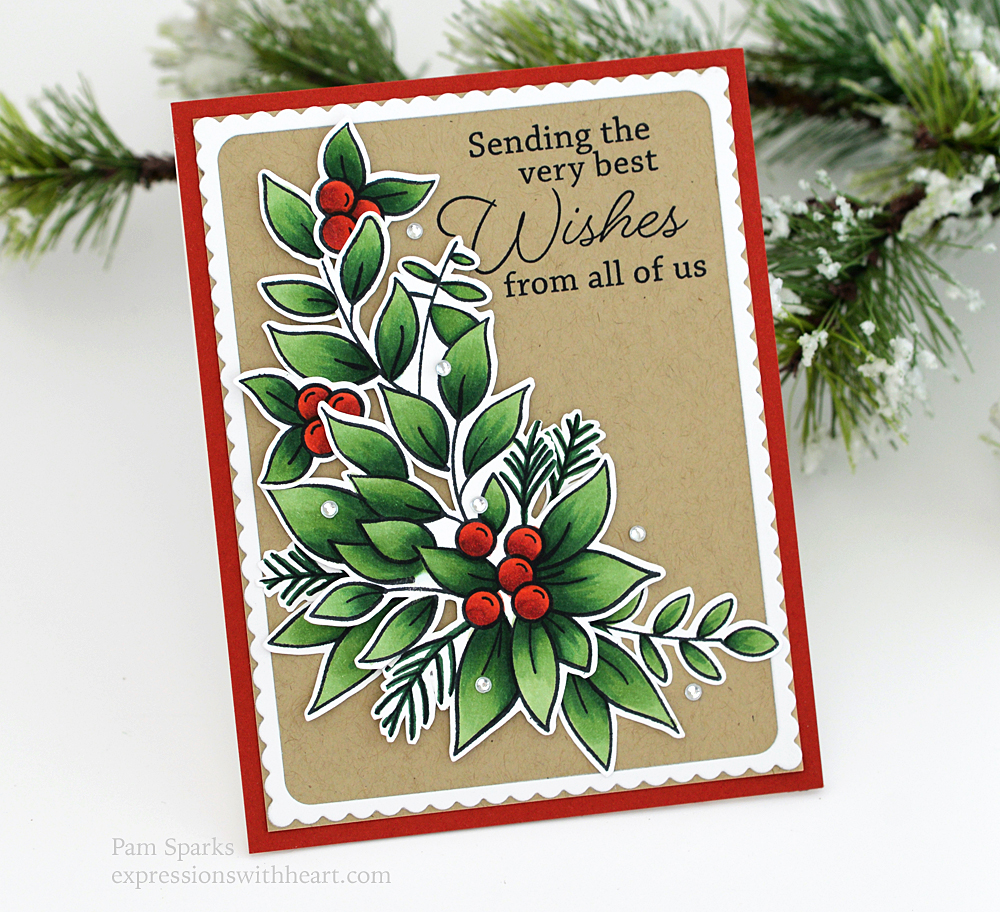
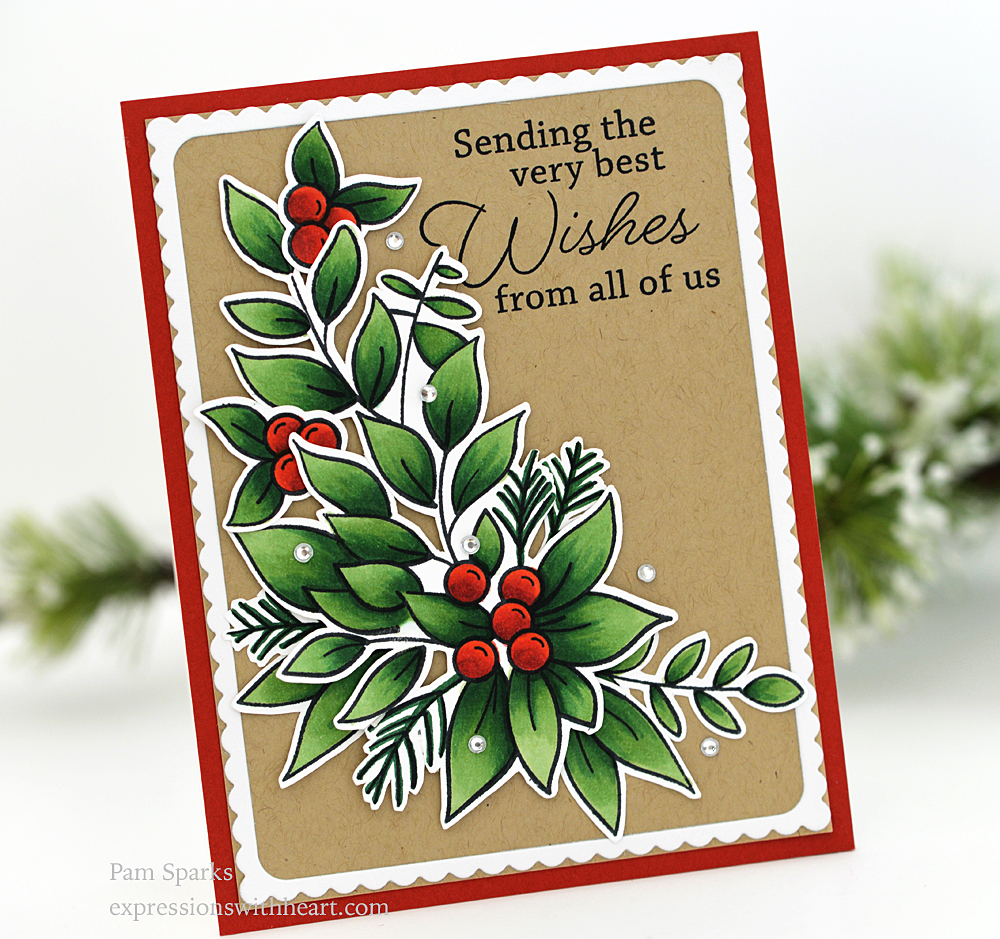
Besides the Extra Talkative set I used two new sets from Memory Box. Leafy Branch Oval and Fanciful Fall Leaves.

Next up…

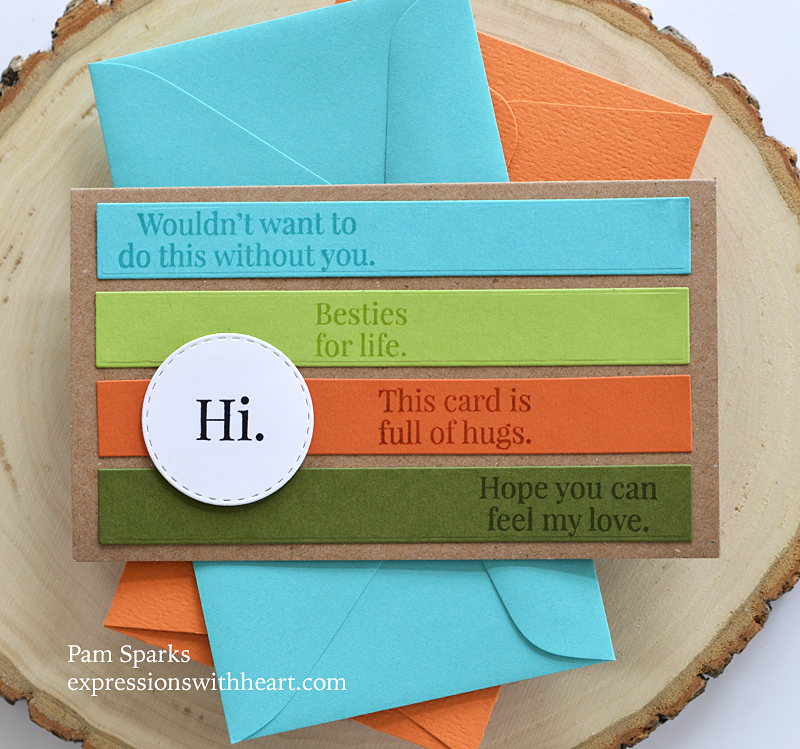
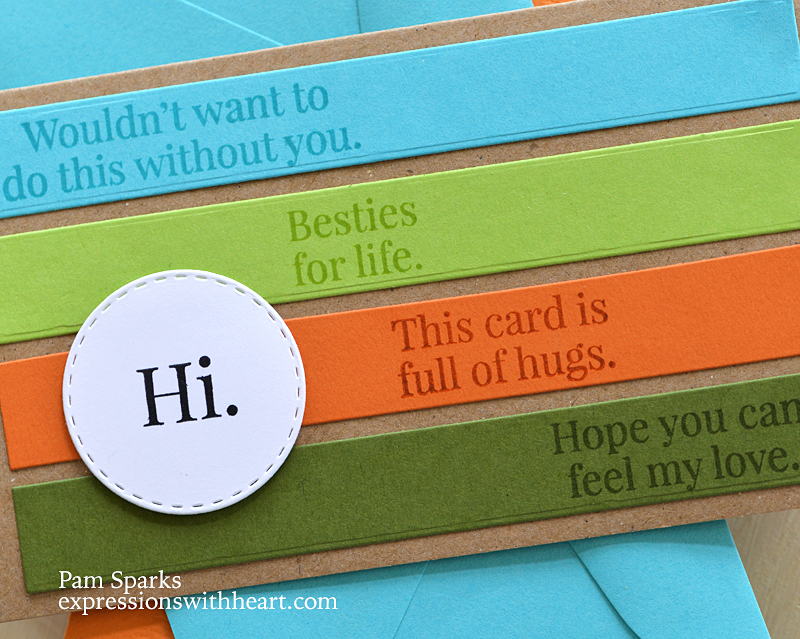
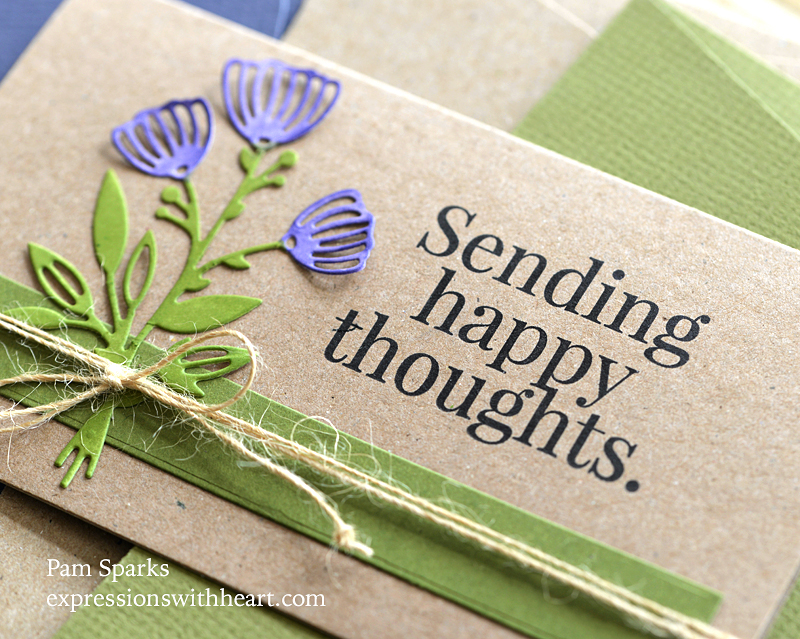
How cute is this ‘Hi.’! So cute! I cut some strips with a Waffleflower die, stamped four sentiments from the set on each strip with matching ink. ATG to the card…thin mounting tape to mount the HI circle.

Next…

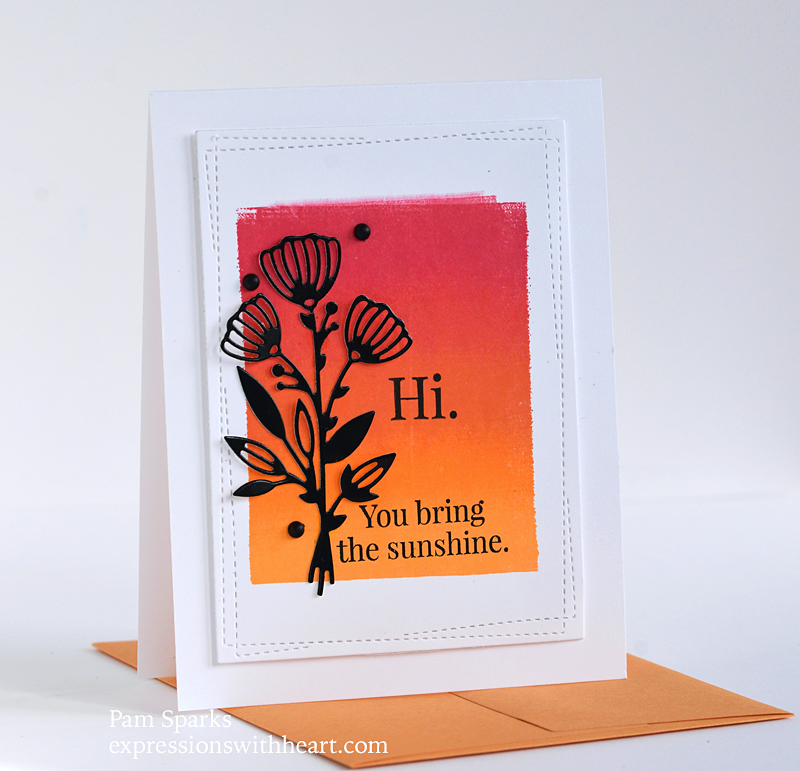
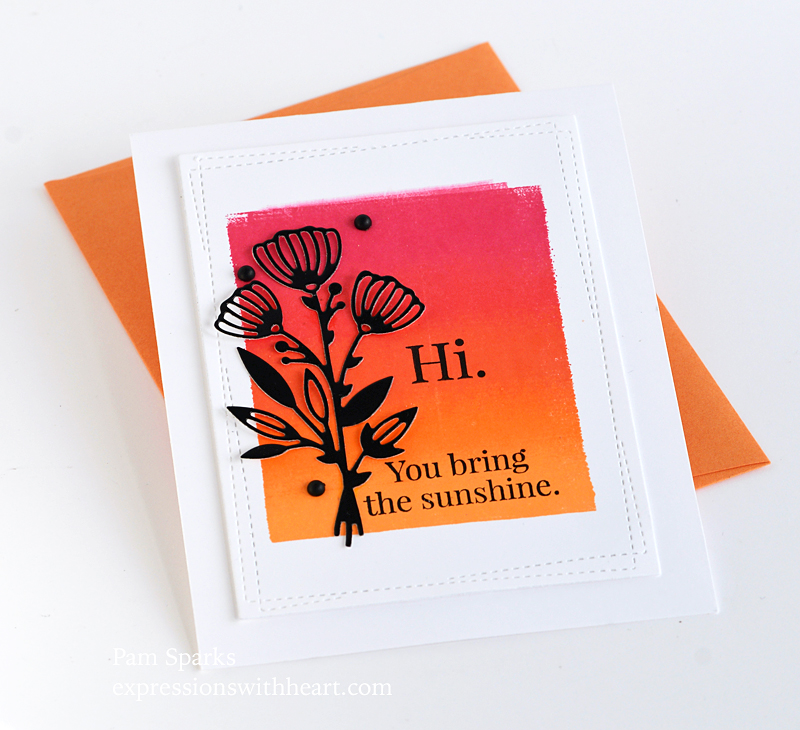
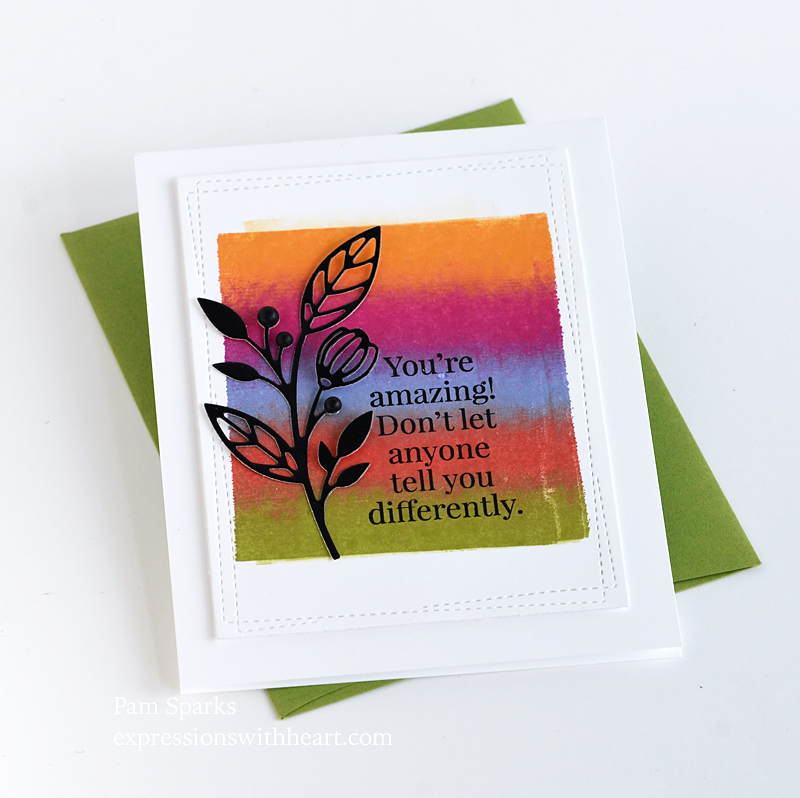
Another CAS card. Here I used a Gina K Designs die set, Botanical Duo. I cut it in white and inked it with regular Distress Inks and ink blending brushes. Scrap paper to protect each part from the other color.
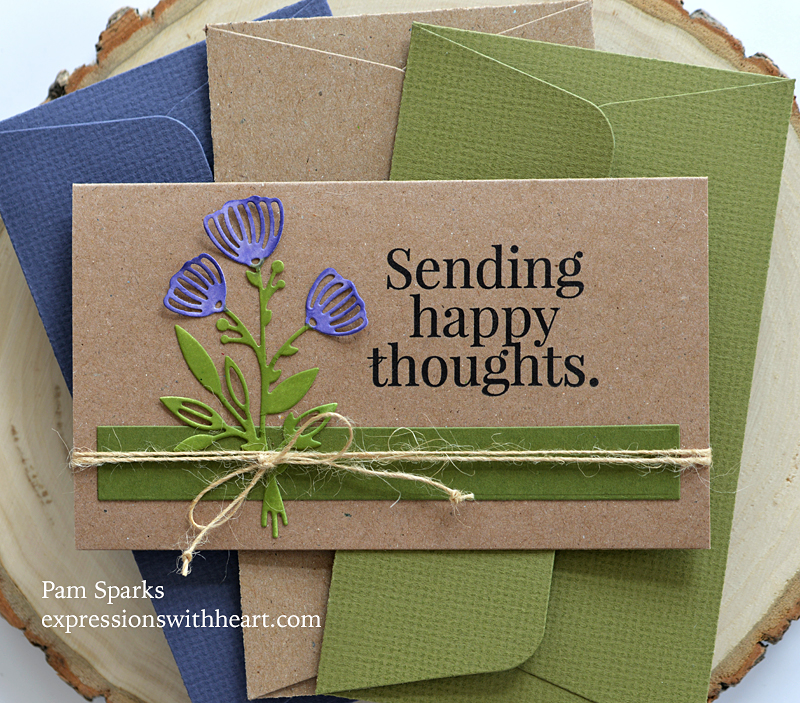
I stamped the sentiment in the MISTI…taped on another one of those strips, I cut too many, tied on the thin Mayarts twine and it was done!

Now for the two A2 size cards…

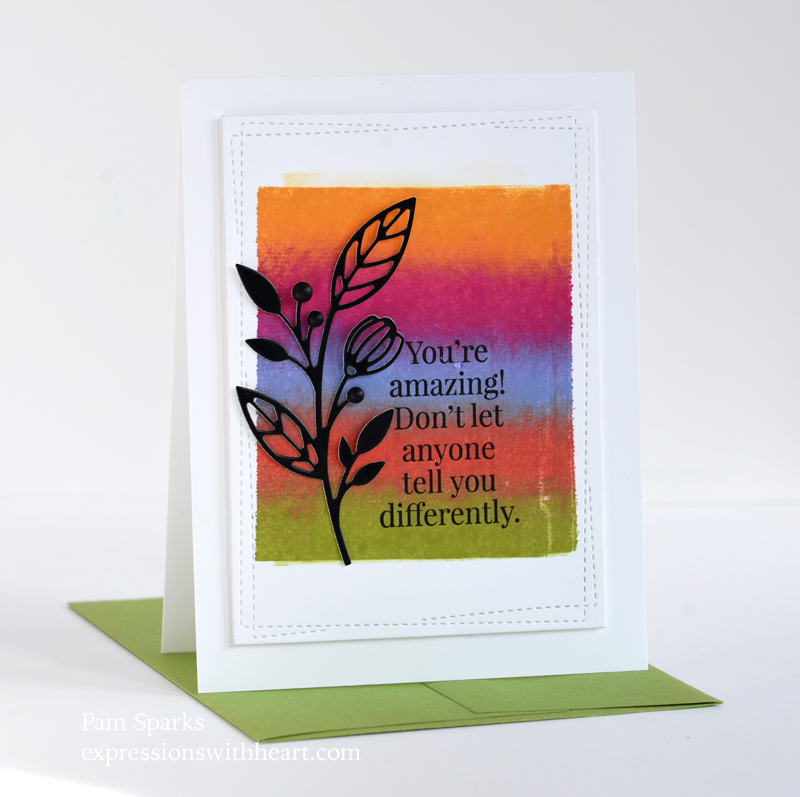
Brayering Kaleidacolor ink pad colors onto Hammermill Color Copy 100# cardstock. I love how this cardstock keeps the color vibrant!
The Botanical Duo die in Glossy Black cardstock and two sentiments from the set again.
Memory Box Wrapped Stitch Rectangles die for the brayered white panel.

Next…

More encouragement from this card! These sentiments stamped so beautifully. I used Ranger Archival Black ink. It’s my favorite for stamping black sentiments. I used the MISTI also.
I added a few black enamel dots on the berries… just enough to make it a little ‘extra’!

Just reading these cards is helping put the smile back on my face today! Hope it’s an encouragement to you also!
Here’s a special code from SSS for an ‘extra’ to put a smile on your face today too! I’ll list the clickable links to the other products I used at the bottom of this post… Have fun shopping and if you click to another blog but want to shop through my links, just come back and click through one of my links again and it will track to me. You know I appreciate it and wish I knew who to send thank yous too!

Have a wonderful extended weekend! We always try to get something done around the house cuz…it’s Labor Day. ha! lol
Thank you so much for visiting my blog…talk to you again soon!

Clickable shopping links to the NEW release and below, what I used on these cards…
|
|
Simon Says Stamps and Dies EXTRA…
|
Simon Says Clear Stamps EXTRA…
|
Poppy Stamps LEAFY BRANCH OVAL Die 2491
|
|
Poppy Stamps FANCIFUL FALL LEAVES Die…
|
Ranger Archival Ink Pad JET BLACK…
|
MISTI PRECISION STAMPER VERSION 2.0…
|
|
Tim Holtz Distress Ink Pad GATHERED…
|
Simon Says Stamp DETAIL ROUND…
|
Simon Says Stamp Blending Brush SET…
|
|
Tim Holtz Distress Ink Pad PEELED…
|
Tim Holtz Distress Ink Pad SPICED…
|
Tim Holtz Distress Ink Pad WILD HONEY…
|
|
May Arts NATURAL Twine String Burlap…
|
Waffle Flower VERTICAL STRIPES Die…
|
Memory Box STITCHED CIRCLE LAYERS…
|
|
Gina K Designs BOTANICAL DUO Dies…
|
Tim Holtz MEDIUM Distress Brayer…
|
Memory Box BLACK GLOSSY 8.5×11 Paper…
|
|
Doodlebug BEETLE BLACK GLITTER…
|
Memory Box WRAPPED STITCH RECTANGLES…
|
Hammermill WHITE 100 LB SMOOTH…
|
|
|