
Hi everyone! I had fun making this cute, easy easel snowglobe card. Click/tap on the bottom right corner to size it to your device.
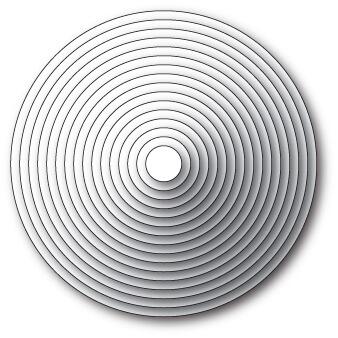
Partial diecut a circle in a regular A2 size cardbase and you’re ready to add the snowglobe!

I die cut the images, NEW Sweet Nordic Snowman and NEW Lavish Merry Christmas, in white cardstock and colored with Copic Sketch markers.
A little Tumbled Glass Oxide ink in the sky and a few little snowflakes from the NEW Shining Star stamp set stamped in the same ink except I stamped off first before stamping them on the card.
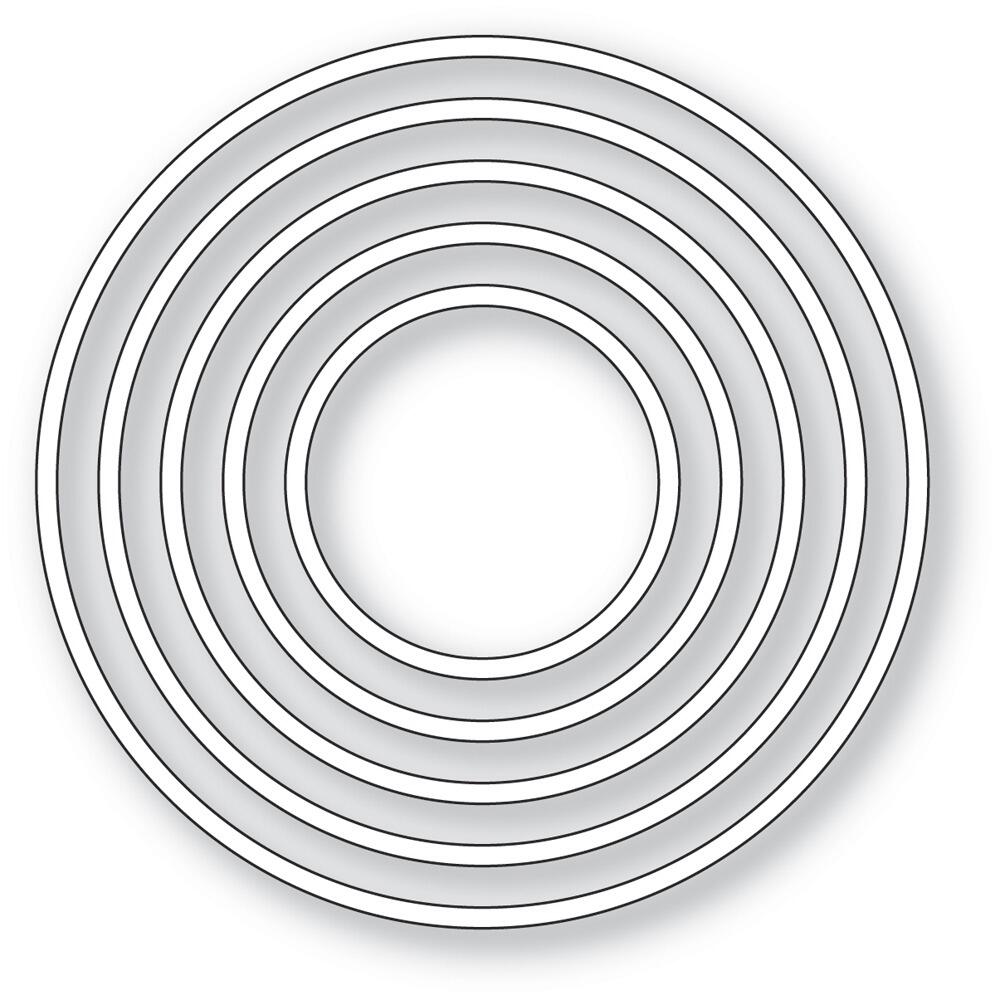
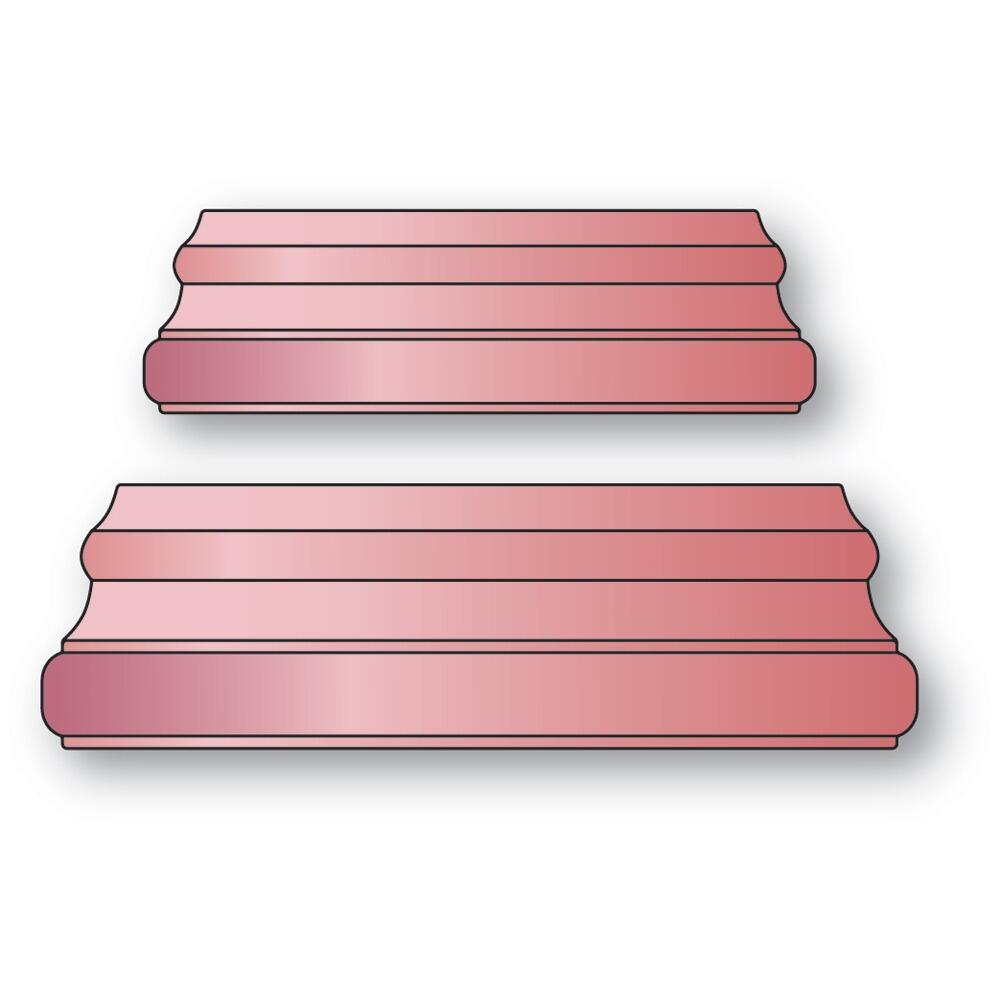
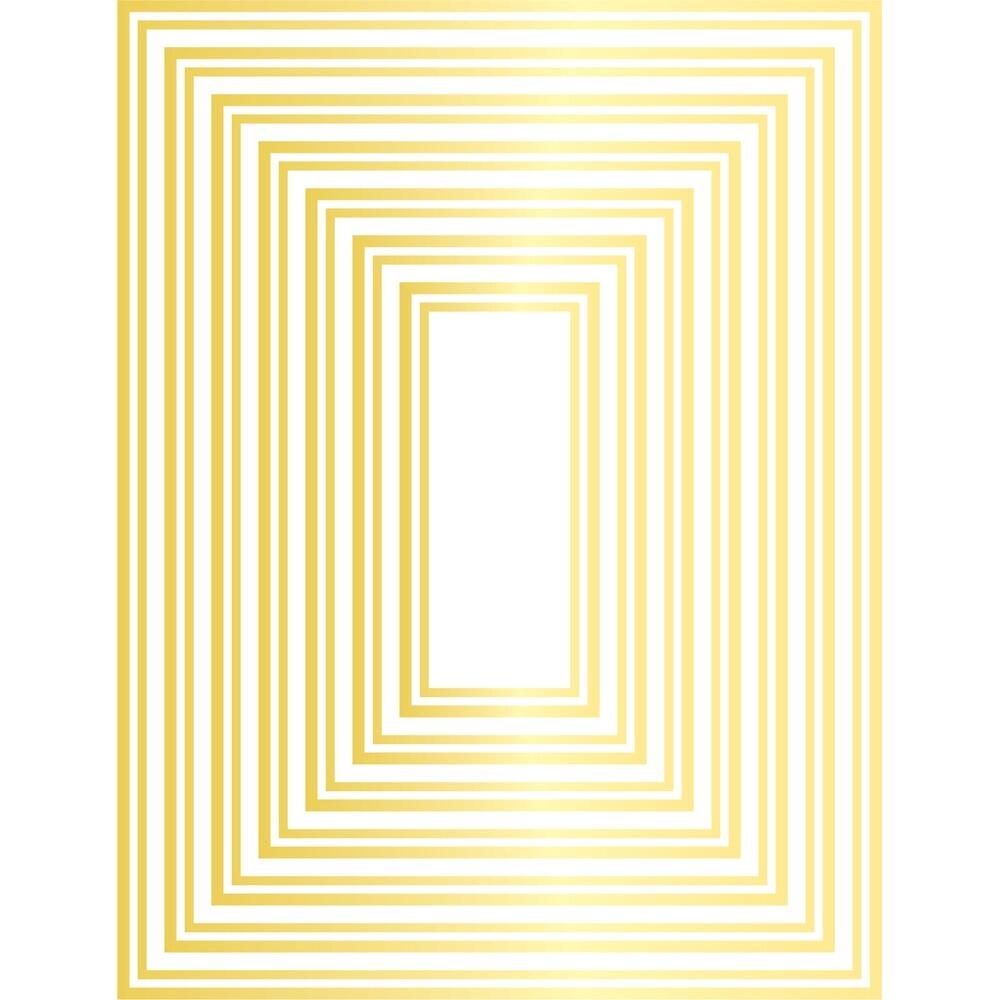
The NEW Simple Rings circle frame is cut from Memory Box woodgrain cardstock and the NEW Snowglobe Base is cut from old Bazzill cardstock.
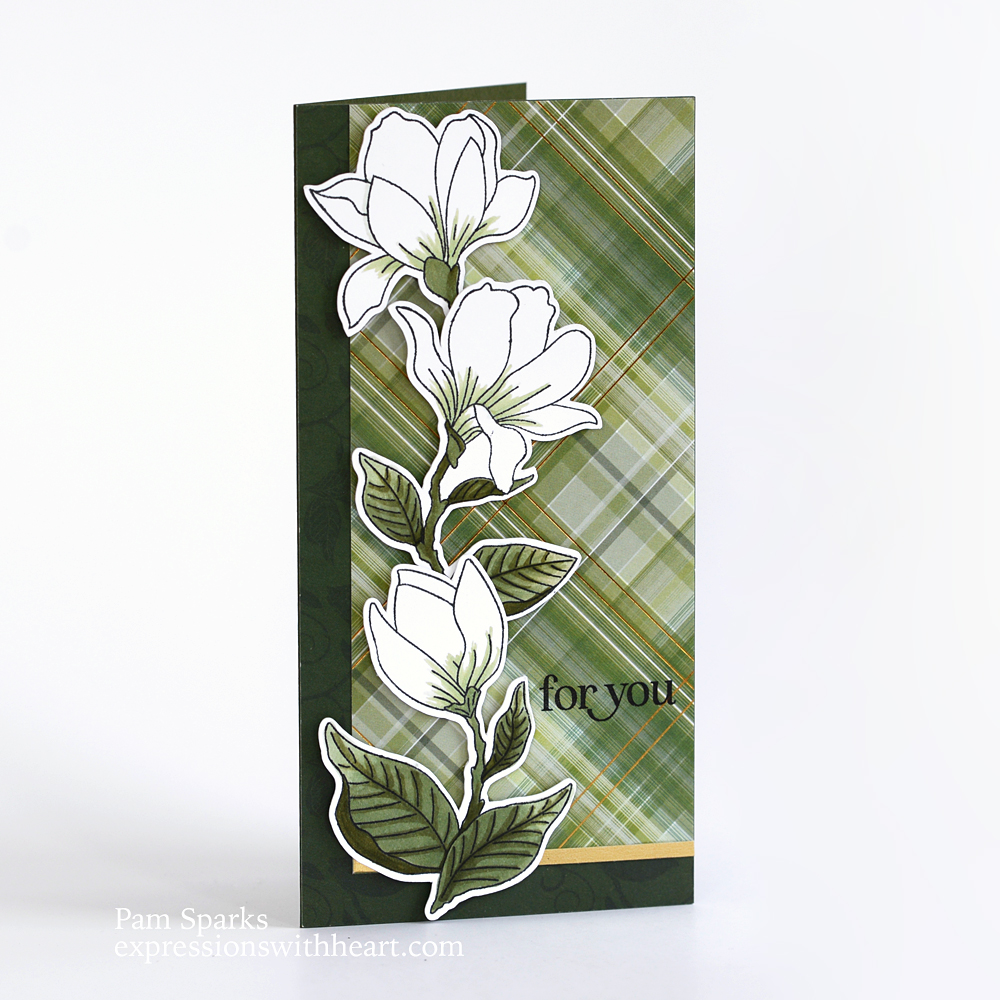
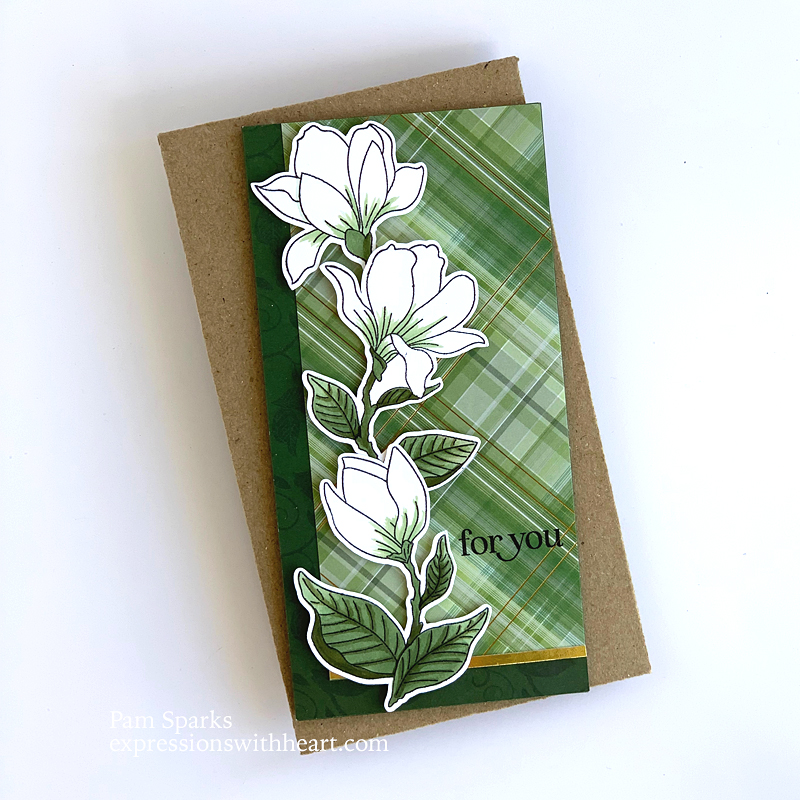
Here’s a bunch of pictures. So cute!


Peace on Earth is from the NEW Christmas Banners stamp set. Dies for cutting them out too!


It will lay flat or stand like a regular A2 size card also.

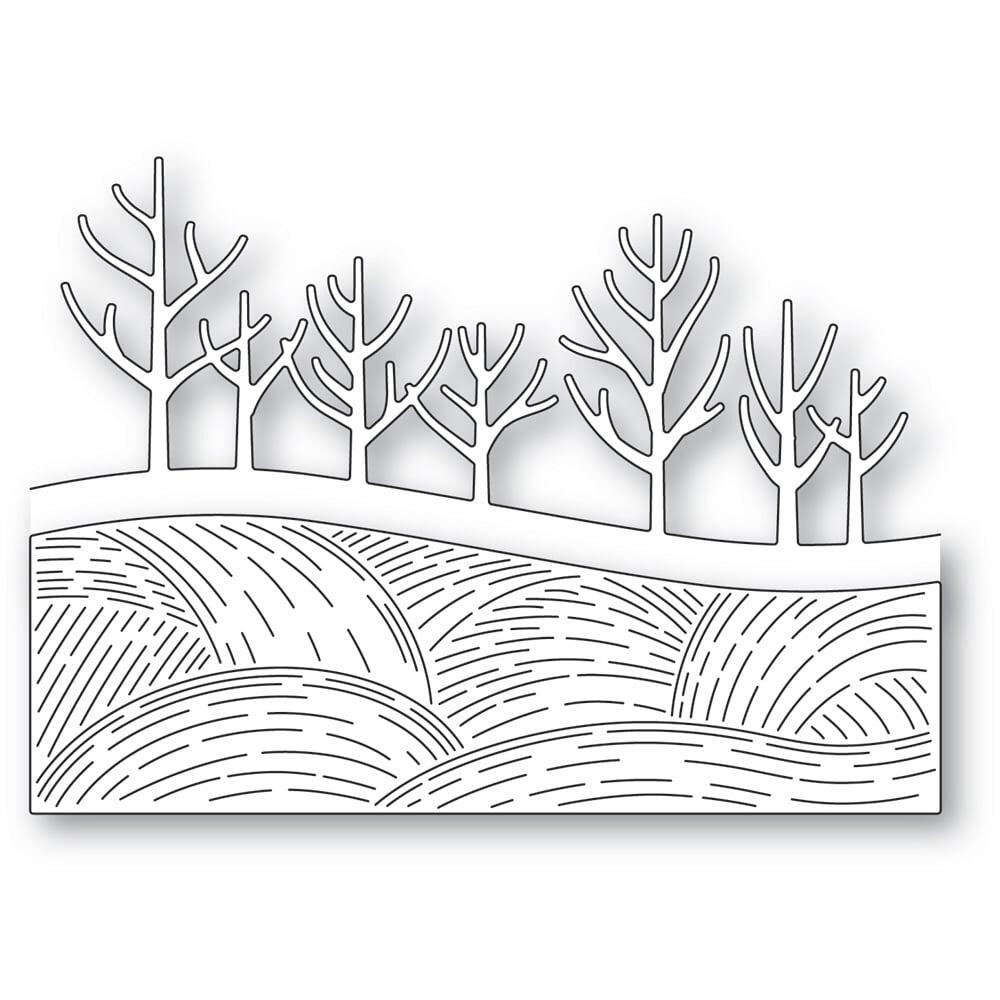
I hope this cutie made you smile! She was easy to put together and I love this treeline background die! It’s part of the NEW Whittle Field and Trees! Super neat die set!
Have a great weekend! I’m hoping to get some apples processed and bread made and cards made and and and! haha

Here’s the products I used to make this cute card!
|


 Hi everyone! I’m getting a poinsettia card posted before you can buy them in the stores! I always look forward to them showing up for sale! The seas of poinsettias when you walk in the door!
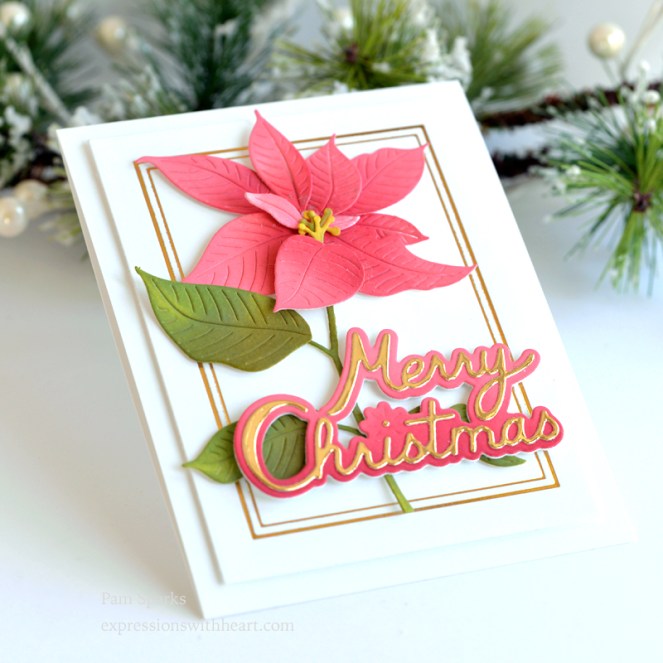


