Birthday · cards · CAS · Christmas · copics · Memory Box · Paper Smooches · Poppystamps · Winter

Paper Smooches and Memory Box…

PamSparksPSDeerBirthday

Hi everyone!  I’m behind posting cards… so there’s a few in this post… then Tilda coming for Tilda’s Town and then a Printworks snowman!   So hang on but don’t worry, I’m not going to start posting everyday all the time!

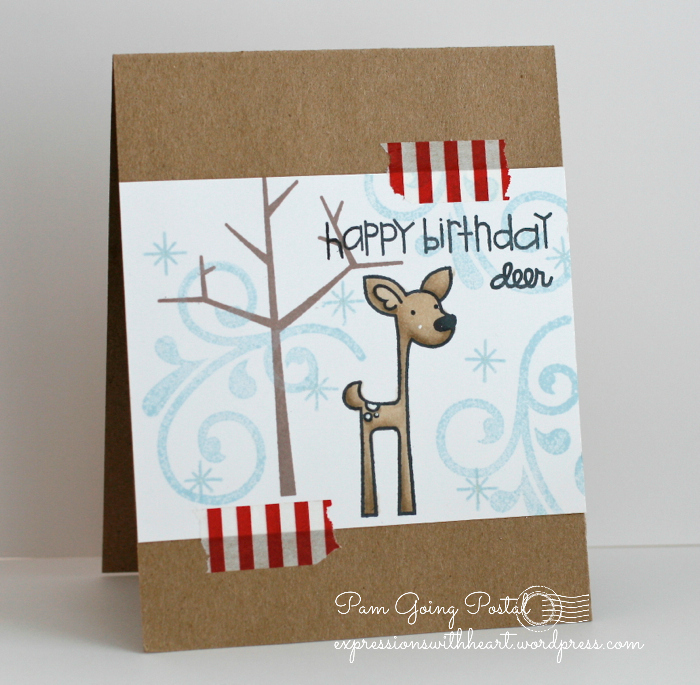
I wanted to get in on the Paper Smooches Sparks Challenge Blog Anything Goes post.  This is a birthday card I made for Tim.  I saw one of the PS designers using this flourish for a snow look so I had to do it too! Stamped with Tumbled Glass Distress Ink.  Perfect for a January birthday! Colored with Copic Sketch Markers.  Right now ‘deer’ aren’t so ‘dear’ to me though.  Hit one with my car in July and did a lot of damage.  I just like the stamp and paper cute ones now!!!

A little Wink of Stella Glitter marker on the flakes and flourish too!

Happy Day!  My Deer card was one of the featured cards for this challenge!  YAY!

Paper Smooches

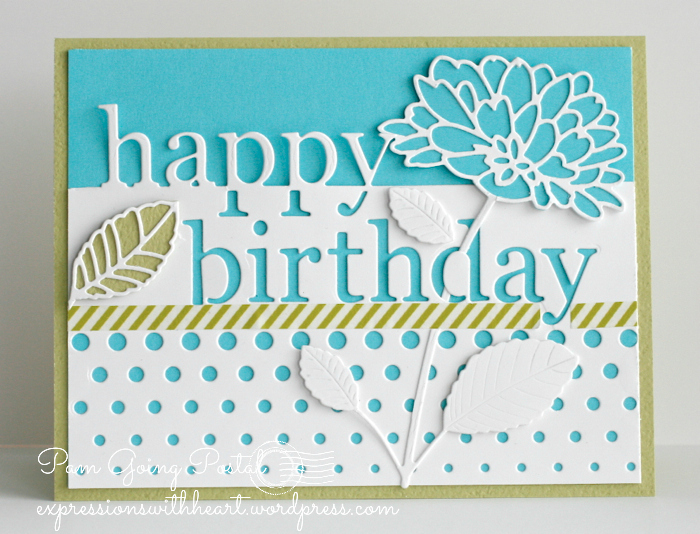
A couple cards with Memory Box dies…another Birthday and hey… a start on Christmas cards too!
PamSparksHappyBirthdayPeonyFront

the Grand Happy Birthday die, Delightful Peony dies and the poppystamps Fading Dot Border die…

PamSparksMerryChristmasBellsFront

the Grand Merry Christmas die, Bells are Ringing die and Piestra Tile die…

Thanks for stopping by!  It’s snowing here in Iowa… so pretty!  Happy stamping weekend to you!

Supplies, stamps and dies I used…

cards · CAS · copics · LOVE · Memory Box · Perfect Layers Tools · rubber stamps · Valentine

Tulip Stems and Queen of Hearts…

PamSparksTulipStemsFront

Thank you So much – white heat embossed on vellum.  So fun that vellum is new again!  I die cut, embossed and colored the Tulip Stems die with Copic Sketch markers… V22, 25, 28 and YG21, 23, 25, 17.

Memory Box Distress Dot violet paper and Violet A-2 Notecard.

I’m entering this card in the CASE Study Challenge #176.

Here’s a close up…

PamSparksTulipStemsClose
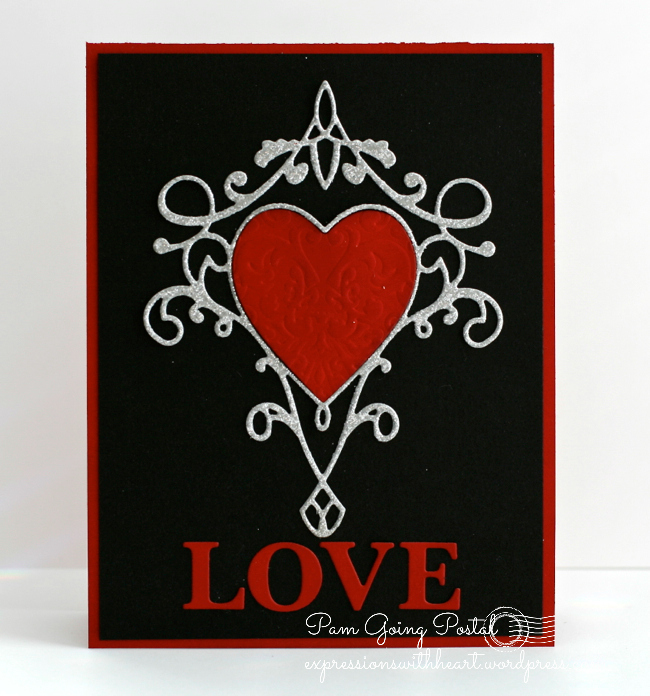
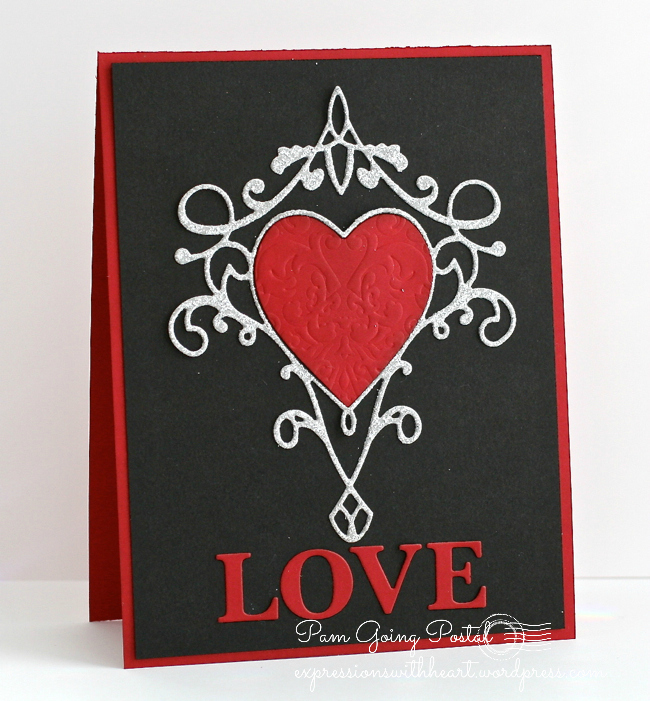
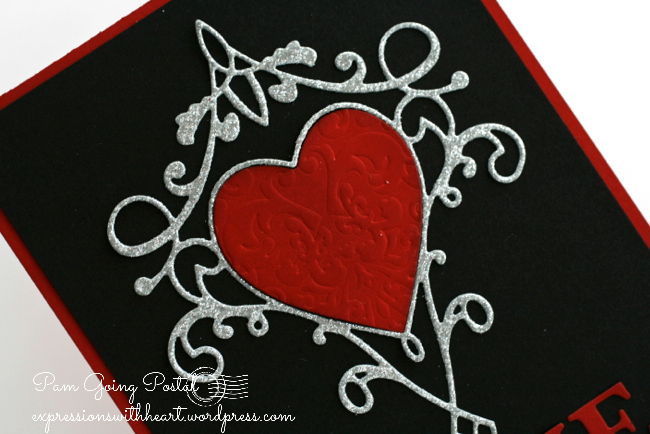
I just had to use this Queen of Hearts die!  Of course you think of black and red with Queen things!  oh and Silver glitter paper is a must! haha

PamSparksQueenofHeartsFront
I dry embossed the NEW Flourish Stencil on the red heart and rubbed over it with a little Walnut Stain Distress ink and the ink blending tool.

Just a subtle look but I like that it’s delicate to go with the fine lines of the die!
PamSparksQueenofHeartsClose

This die cuts perfect and beautiful every time!
PamSparksQueenofHeartsSide
LOVE is cut with the UpperCase Classic Alphabet… love Memory Box Alphabets!

I’m linking up to Simon Says Stamp Work it Wednesday

Thanks for stopping by!  Hoping to do a snowman next!  It’s still Winter even though we’re working with all these new flower dies!

Supplies I used…

cards · Hero Arts · Memory Box · Stencils · Washi Tape

Prim Poppy Goes Postal…

PamSparksPrimPoppyAirmail650

Hello!  My ‘Day 4’ card for the Stenciled Online Class.

I dry embossed using Mister Huey’s Chevron Stencil…ran it through the Big Shot like this… multi purpose platform tab 1, cutting plate, stencil, card-stock, tan mat, 3 to 5 pieces of 65# card-stock for shimming then another cutting plate on top… run it through.   One thing I do if my spray bottle is right there… I spritz with water so it embosses a tad bit more.  Then inked the panel with Walnut Stain Distress ink using the Ink Blending Tool.

Some Little B airmail Washi Tape, an airmail mini envelope from Impress Rubber Stamps.com, some airmail twine, Memory Box Prim Poppy die cut from green and red then pieced together and an old Hero Arts hello stamp!  I used the Tiny Attacher to staple on the sentiment piece.

Linking to the Daring Cardmakers Challenge – Stripes

I hope to make some more from the inspiration shared in this class.  Thanks for stopping by!

Supplies I used…

Birthday · cards · Distress Ink coloring · Magnolia · Perfect Layers Tools · rubber stamps · Tilda's Town

Distress Marker coloring video and card…

PamSparksLovelypopTildaFront700

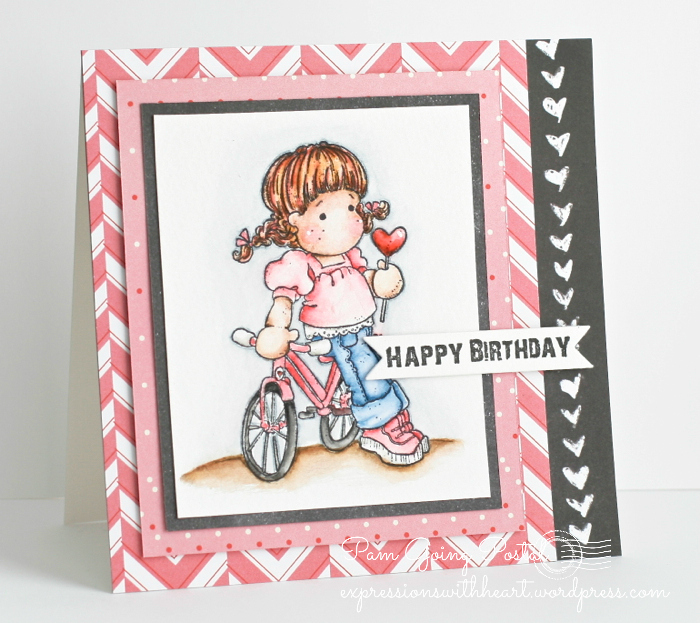
My card for Tilda’s Town Challenges today is colored with Distress Markers in a watercolor way. I used Lovelypop Tilda for a birthday card because the theme is Celebrate!

Click over to Tilda’s Town Challenges, HERE and enjoy the inspiration from the Design Team and enter the weekly challenge!  We’d love to have you!

Each week there is a random winner, chosen by Inlinkz, for a $10 gift certificate to Tilda’s Town.com!

logo1

Tilda’s Town is a most magical shop specializing in Magnolia Stamps. Over 1,100 stamps in stock at all times. Tilda’s Town offers FREE worldwide shipping on every order, every day. You can also save up to an additional 20% on your purchase by using one of the famous coupon codes. Shop at Tilda’s Town.com and live the magic.

PamSparksLovelypopTildaSide700

Have you tried it?  Here’s a video of how I color with Distress Markers on Canson Cold Press watercolor paper.  It’s very basic but if you are curious how to begin, it might be an encouragement to you.

I did make this in HD, so you can click the gear and watch it that way if you want.

Here’s a close up but remember… I was coloring standing up so it’s kinda messier than usual! : )  I think coloring on Cold Press paper has a different look than Hot Press paper for sure and definitely different than Copic coloring.  I have to keep telling my self that it’s ok! lol

PamSparksLovelypopTildaClose
I’m linking my birthday card to Seize the Birthday Challenge – option this time is coloring
And just to make you laugh…how would you answer this question?  huh?  Did you or didn’t you?  Remember that white paste???   I do! lol

1536738_10152144116878680_1985588455_n
Thanks for stopping by!  If you color with Distress Markers, let me know so I can visit you!

Supplies I used…

cards · Memory Box · Perfect Layers Tools · rubber stamps · Stencils · Techniques · Tutorials · Washi Tape

Memory Box Garden Flora Stencil and Flower Dies…
PamSparksGardenFlora650

The NEW Garden Flora Stencil from Memory Box…

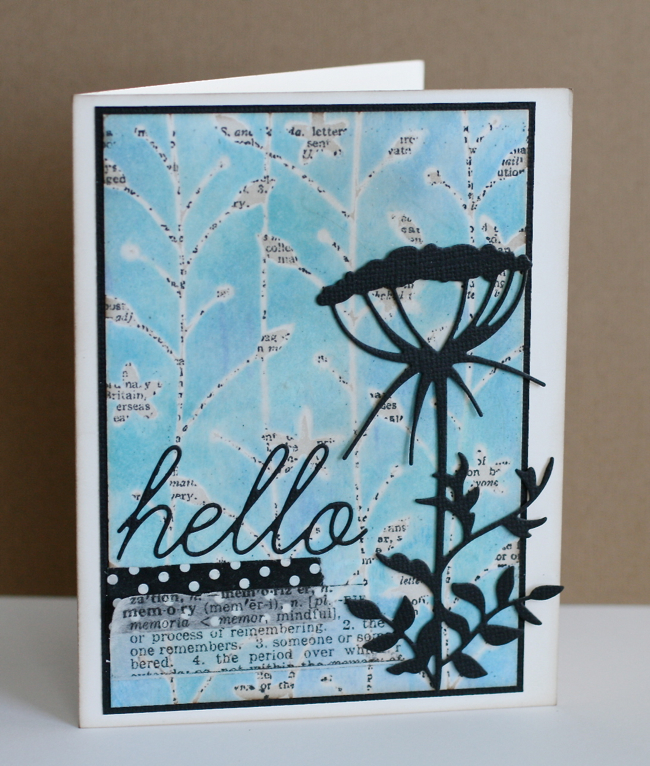
On this card, I laid the stencil on top of a piece of white cardstock and taped it down with removable tape.

Using the Colorbox pigment Queue called Surfs Up, I applied the ink, all the colors, randomly, all over.

I removed the stencil and heat embossed with clear embossing powder.

Using the rubber stamp Mail Definitions,  Ranger Archival Black ink and a Stamp a ma jig, I stamped   the panel, starting at the top and moving down, inking and stamping three times.

Heat up your craft iron. Lay the heat embossed and stamped panel face down onto scrap paper, I use a piece of newsprint folded in half, and iron off the embossing.  Be sure to protect your work surface from the heat.

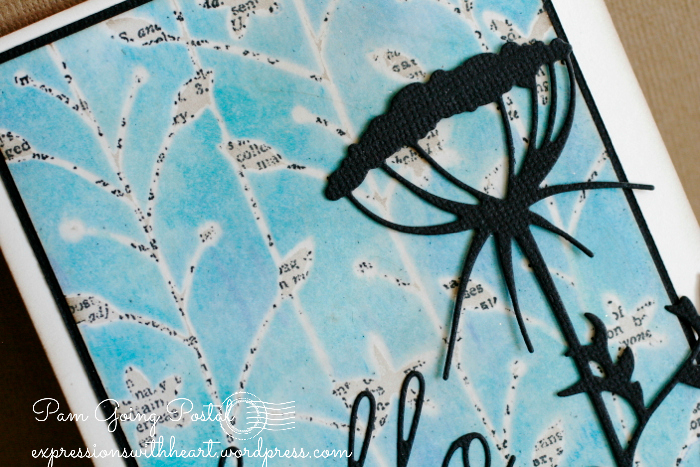
PamSparksGardenFloralHelloClose

I used some Antique Linen Distress ink and the ink blending tool to add some color to the white areas.  The areas that were heat embossed, still pretty much resist the ink.

Mat the panel with black card-stock and the Perfect Layers Tools, add your die cuts, washi tape and mount to a Parchment notecard.  I used the Kylie Stem and hello script dies.

I’m linking up my hello card  to the CASology Challenge – Contrast

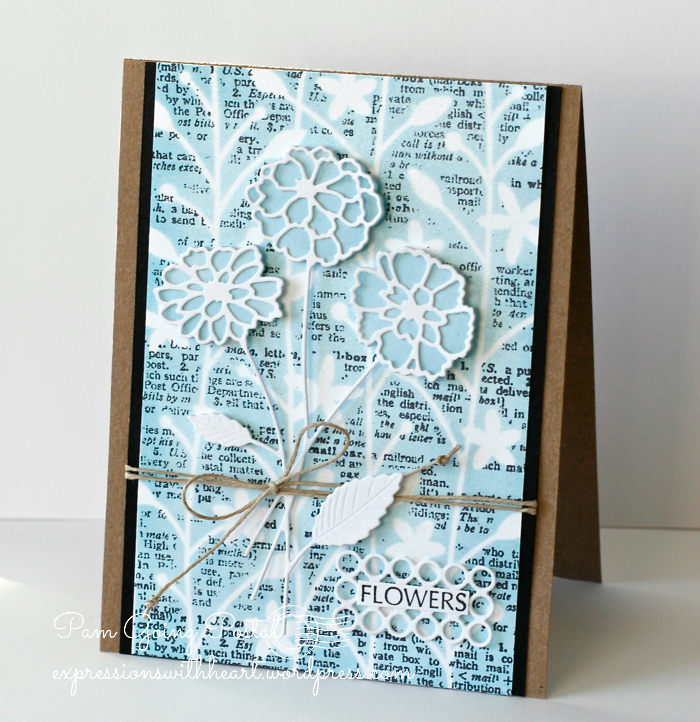
This next card I used the same Garden Flora Stencil and Mail Definitions stamp but the text is in the background instead of on the flowers and stems.

PamSparksGardenFloraStencilSide

I taped the stencil to the white piece of card-stock.

Inked it all with Tumbled Glass Distress ink and the ink blending tool.

Stamped it three times with Ranger Archival Black ink and the Stamp a ma jig.

Then removed the stencil.

I spritzed the panel with Glimmer Mist Dazzling Diamonds Spray.  I wish it showed up in the photos but it’s really pretty, shimmery IRL!

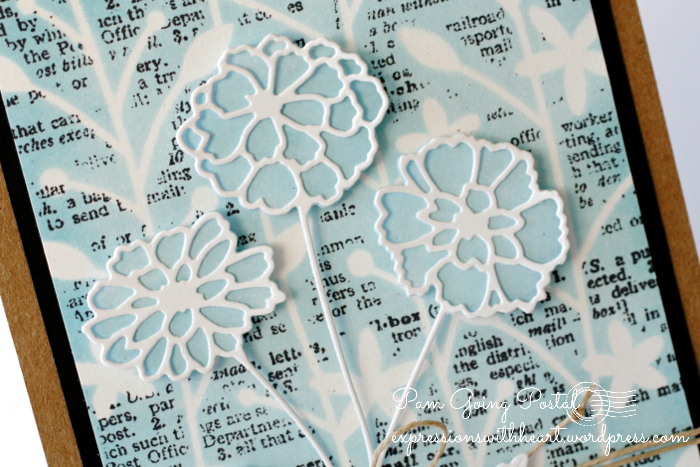
I die cut the NEW Zinnia Bouquet and Zinnia Bouquet Background dies from white cardstock.  I inked the three background pieces with Tumbled Glass Distress ink and the ink blending tool.

Glue the background pieces to the Outline piece.

PamSparksGardenFloraClose

Adhere the flower to the card with mounting squares.

Tie on Hemp cord.

Add the sentiment ‘FLOWERS’ from the April Showers Bring May Flowers stamp by mounting it to a piece of the Contempo Circle Border die.

Mat the panel with Black card-stock,  the Perfect Layers Tools and adhere it to a Kraft notecard.

There are so many techniques to try with the NEW Stencils and dies!  Can’t wait to see what you all come up with too!

Thanks for stopping by and enjoy stenciling!   I’m linking up to the Online Card Classes Stenciled that just started today.

STN_participant

Supplies I used for my cards…