Hi cardmakers and friends! My post today is something a little unusual for me! Stick with me and keep scrolling! Five cards today and one is a die cut card from this fun, new kit from Spellbinders!
The Merry Everything Christmas Kit is an ENORMOUS holiday kit that contains OVER 630 PIECES. This gorgeous traditional holiday themed kit can create 25+ Cards, 24+ Tags and so much more. Put your creative juices to work to come up with so many more holiday projects. Plus, check out the project tutorial included in the kit along with all the fun ideas on the kit link, on the SB blog and IG. This card kit is NOT a part of our Clubs, anyone can purchase it, there’s no need to join the Club. YAY!

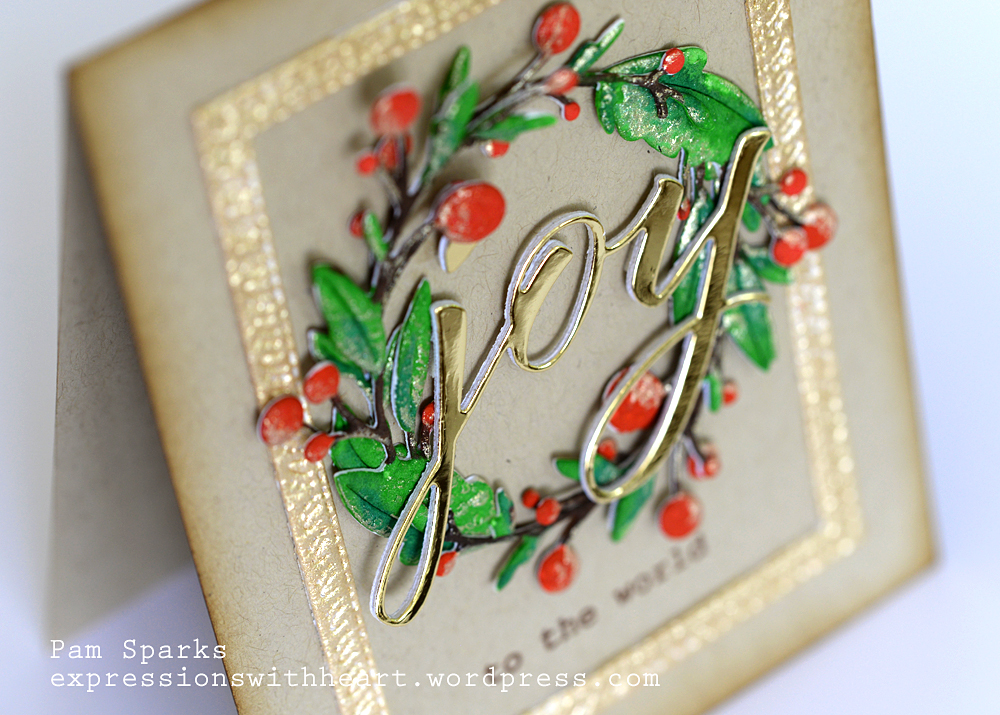
To add a little detail to my mistletoe card, I scored with my scor-pal a long the lines of the bow and shaped it a little with my fingers. I inked around the focal image with Cracked Pistachio and Lucky Clover Distress Oxide Inks and the mini ink blending tools. I added a little glitter pen to the berries but then scraped it mostly off because it covered up the red.

There is a cute car and tree die set in this kit! I always love cars and trees at Christmas, don’t you?! hehe

I die cut both tree pieces, folded the branch piece in half and colored the trunk with a brown marker. I cut the backer tree piece in half and glued them together and then to the car… so cute! Several other pieces and ways to use the tree in the set also!
Tis the Season is a super cute stamp from the sentiment stamp set that comes in the kit. Super cute and stamped very nicely with Ranger Archival Black ink.
AND… the background paper is from the 6×6 paper pad that comes in the kit!

This card panel …. so beautifully CAS (clean and simple), I just left it that way! I did corner round the cardbase corners… that is all! I know, a cheater card for sure! hoho
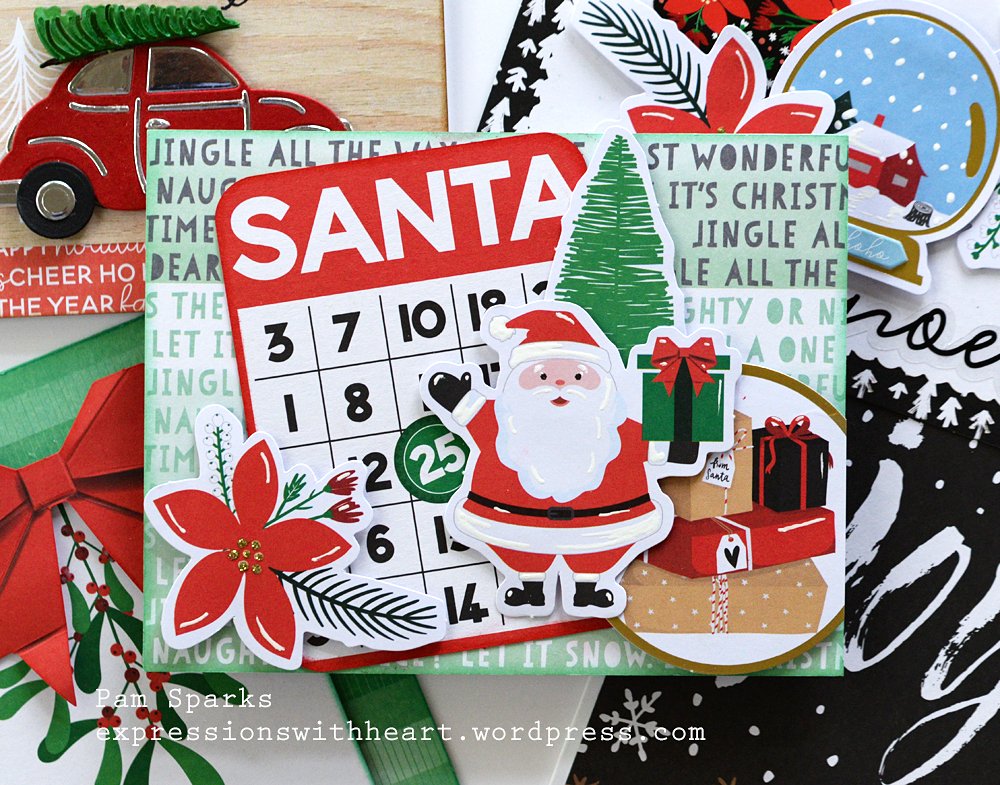
Some more of the ephemera and paper from the kit. All I added was gold stickles to the poinsettia center and white gel pen on some of the pieces. Oh, I did edge the papers and the Santa Bingo piece with ink.
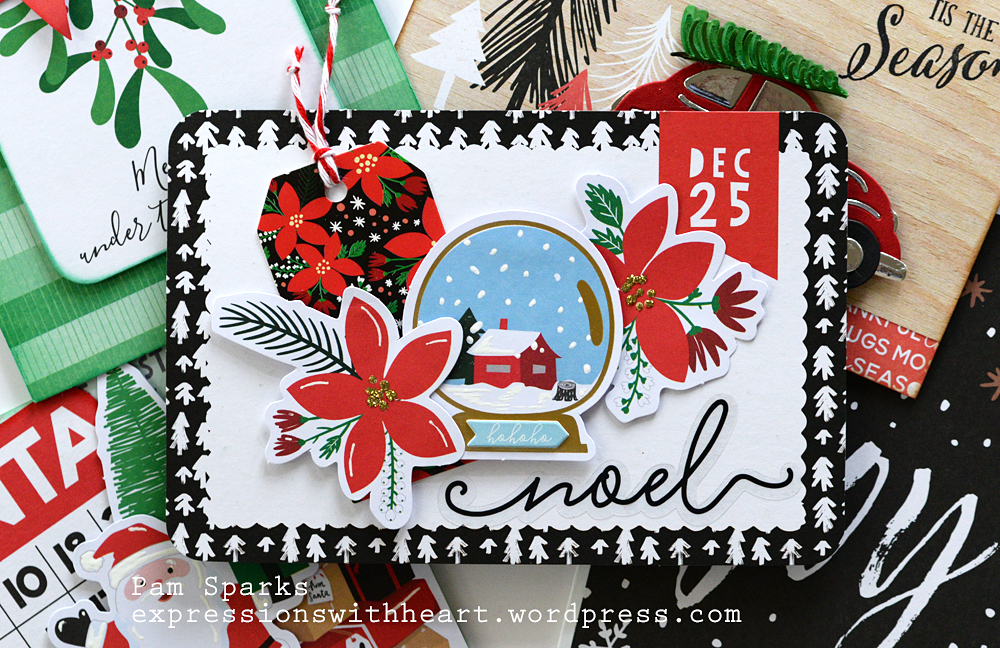
On this one, the noel is a sticker from the kit, the hohoho is from a chipboard sticker set in the kit, the tag is one of several tag designs from the kit…so much festive goodness to create with in the kit! So many things I didn’t use yet! :O
There’s even double sided tape and mounting foam squares and dots and the cardstock is really nice… a perfect red in there!
So glad you stopped by and I hope you enjoyed my wandering from my usual type posts. It was fun for me! I’ll be back because I have lots more to share!

Links to the products I used…
|