cards · Christmas · Die Piecing · Distress Ink coloring · Memory Box · Watercolor · Winter

Memory Box Leaves and Berries Merry Christmas Swirl Card…

Christmas cards always make me think of songs! You? So right now I’m singing in my head, have a very merry Christmas and a happy new year!

I just realized my gold spattering on my card looks white in this photo.  Hopefully in the rest we can see gold!

oh tricky photography!  There’s brown spattering with Walnut Ink too.  No white, that’s gold ink!  It’s really pretty.

I stamped the NEW Leaves and Berries Cling Stamp on Memory Box watercolor paper with Ranger Archival Black ink.  Watercolored with Karin Brush Markers, red, lipstick red, olive green and olive black. I used a waterbrush to move the ink around.

I love going vintage-y.  Vintage Photo and Walnut Stain Distress ink blended on heavier on the edges and lighter in the center.  I did some waterdrop bleaching too.

I used the New Merry Christmas Swirl die for the sentiment…painted the letters and swirl with the same markers.

Tied it up with string!  Jute and thin gold cord.

Adhered the sentiment with my favorite thin mounting tape.

I stamped the inside and my name on the back even!  One more ready to mail!  YAHOO!

I used the NEW Memory Box Be Merry Stamp set.

I know I always say this but I wish you could see it in person…So much prettier!

Linking to card challenges!

Word Power #11 – Sentiment is the focus

Peace on Earth #75

Paper Funday #71 – anything goes with optional twist tags

NBUS #68 – Never Before Used Stuff!


Holler if you have any questions….thank you so much for stopping by! I’m thankful for you as we move into this Thanksgiving month I’m reminded everyday to be thankful!

Here’s the products I used to make this card…No extra charge to you if you shop through my links!  Click the abbreviations below the image…  STR = Starlitstudio.net,  SSS = Simon Says Stamp, SBC = Scrapbook .com,  SPL = Spellbinders

Memory Box – CS2084 Leaves and…
[ STR | SSS ]
Memory Box – 94803 Merry Christmas…
[ STR | SSS ]
Memory Box – CL5287D Be Merry clear…
[ STR | SSS ]
Memory Box – WP101 Watercolor Paper -…
[ STR ]
Scrapbook Adhesives Crafty Foam Tape…
[ STR ]
Tim Holtz Distress Ink Pad Vintage…
[ SSS | SBC ]
Tim Holtz Distress Ink Pad Walnut…
[ SSS | SBC ]
Karin Brushmarkers Pro Marker -…
[ BLIC ]
Karin Brushmarkers Pro Marker – Red
[ BLIC ]
Karin Brushmarkers Pro Marker – Olive…
[ BLIC ]
Karin Brushmarkers Pro Marker – Olive…
[ BLIC ]
Karin BRUSHMARKER PRO MEGA BOX 60…
[ SSS | BLIC ]
Ranger Archival Ink Pad Jet Black…
[ SSS | SBC | SPL | BLIC ]
Winsor & Newton Drawing Ink – Gold,…
[ BLIC ]
Walnut Ink Crystals – 2 oz
[ STR ]
Spellbinders Water Brush Set 3 Pack…
[ SSS | SBC | SPL ]


cards · Christmas · Die Embossing · Die Piecing · Flowers · Hot Foiling · Spellbinders dies · Watercolor · Winter

Yana’s Amaryllis Collection from Spellbinders, Two Cards…

Hi everyone!  Two cards to share today!  So very Christmas-y!  Two of the flowers you think of when it’s Christmas….poinsettias and amaryllis.

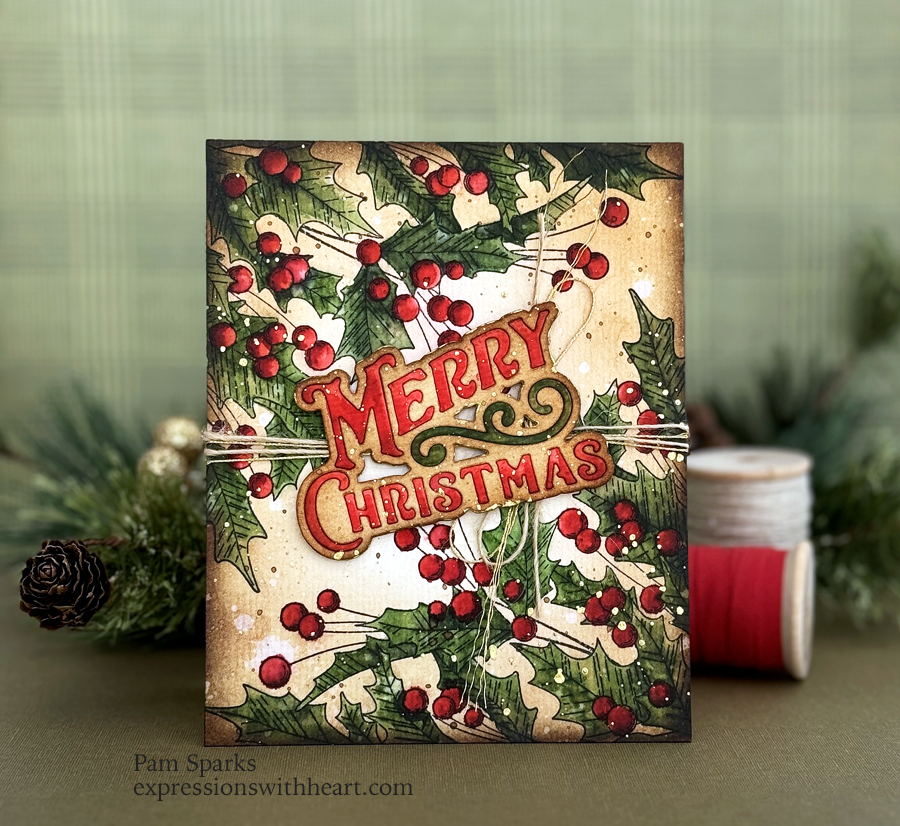
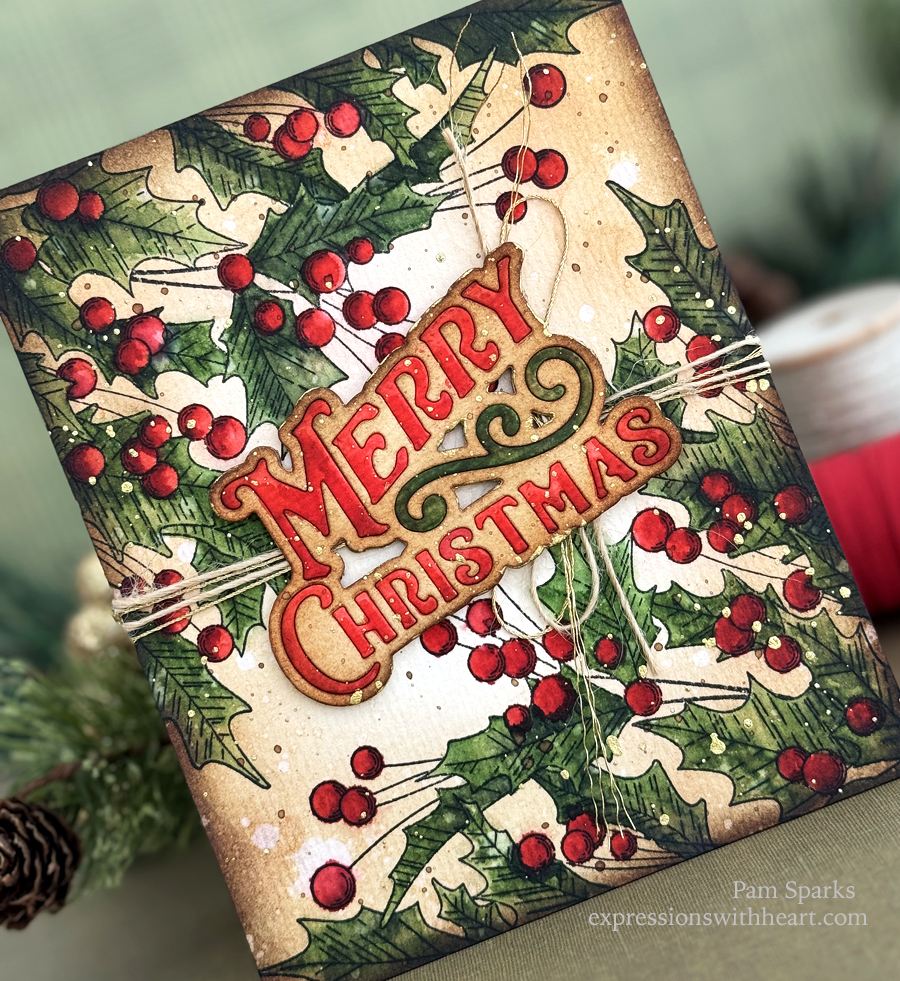
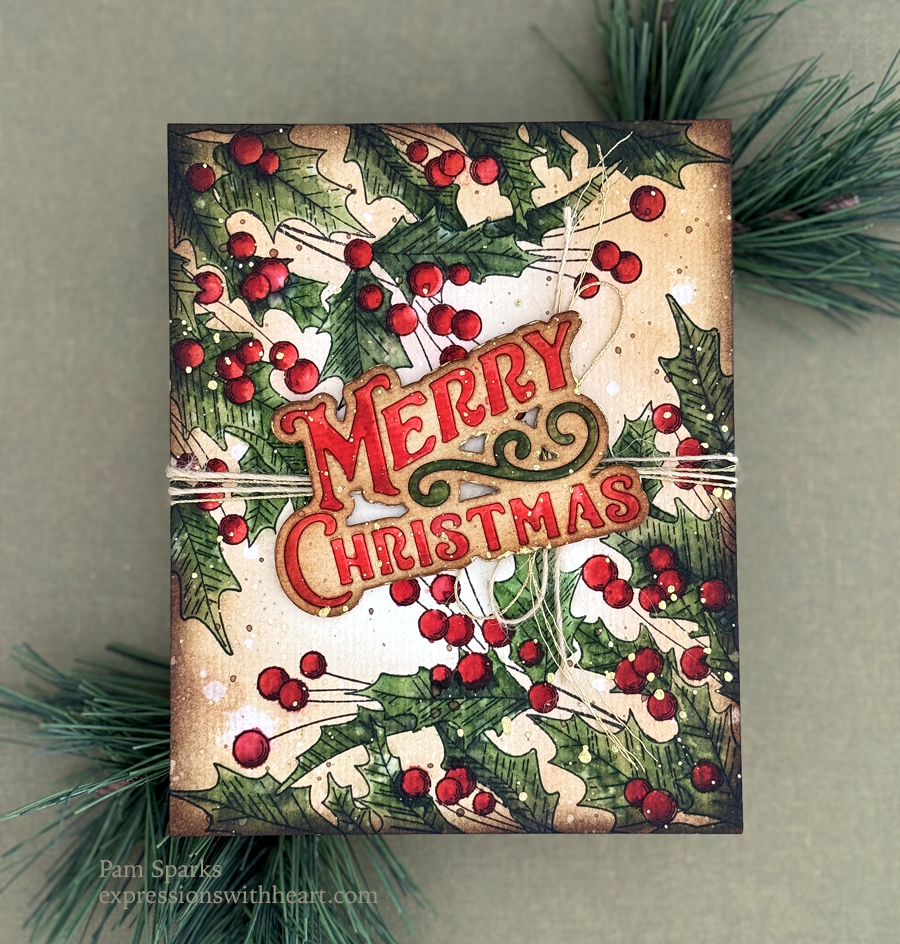
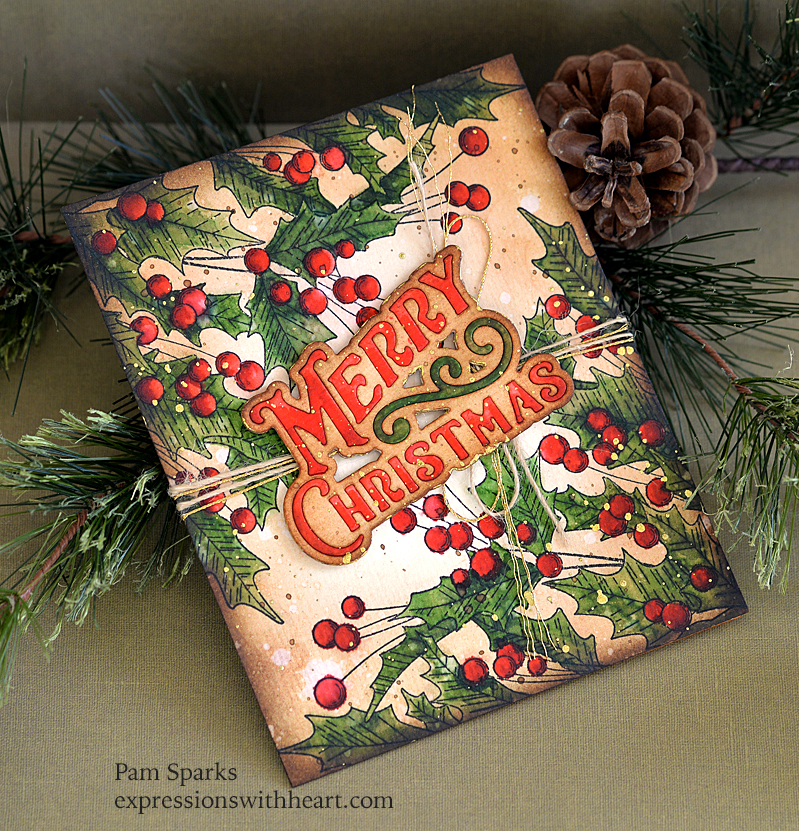
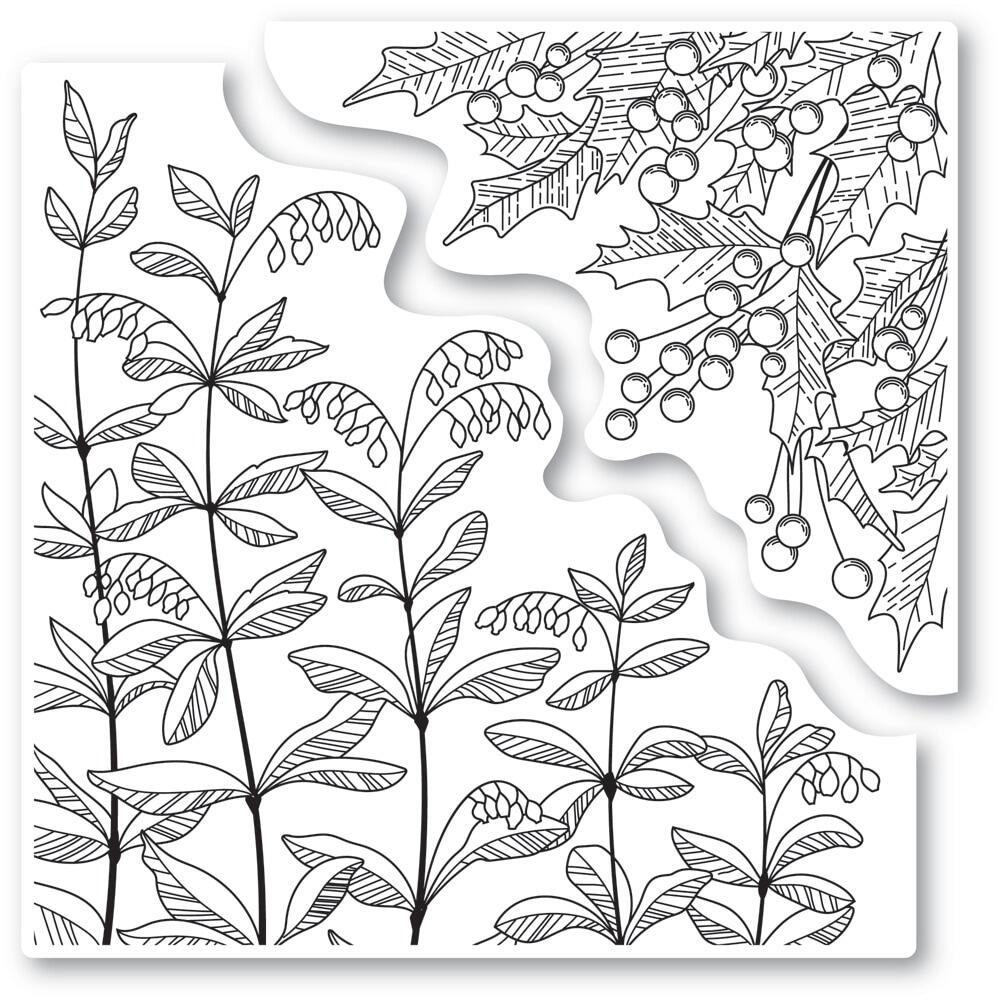
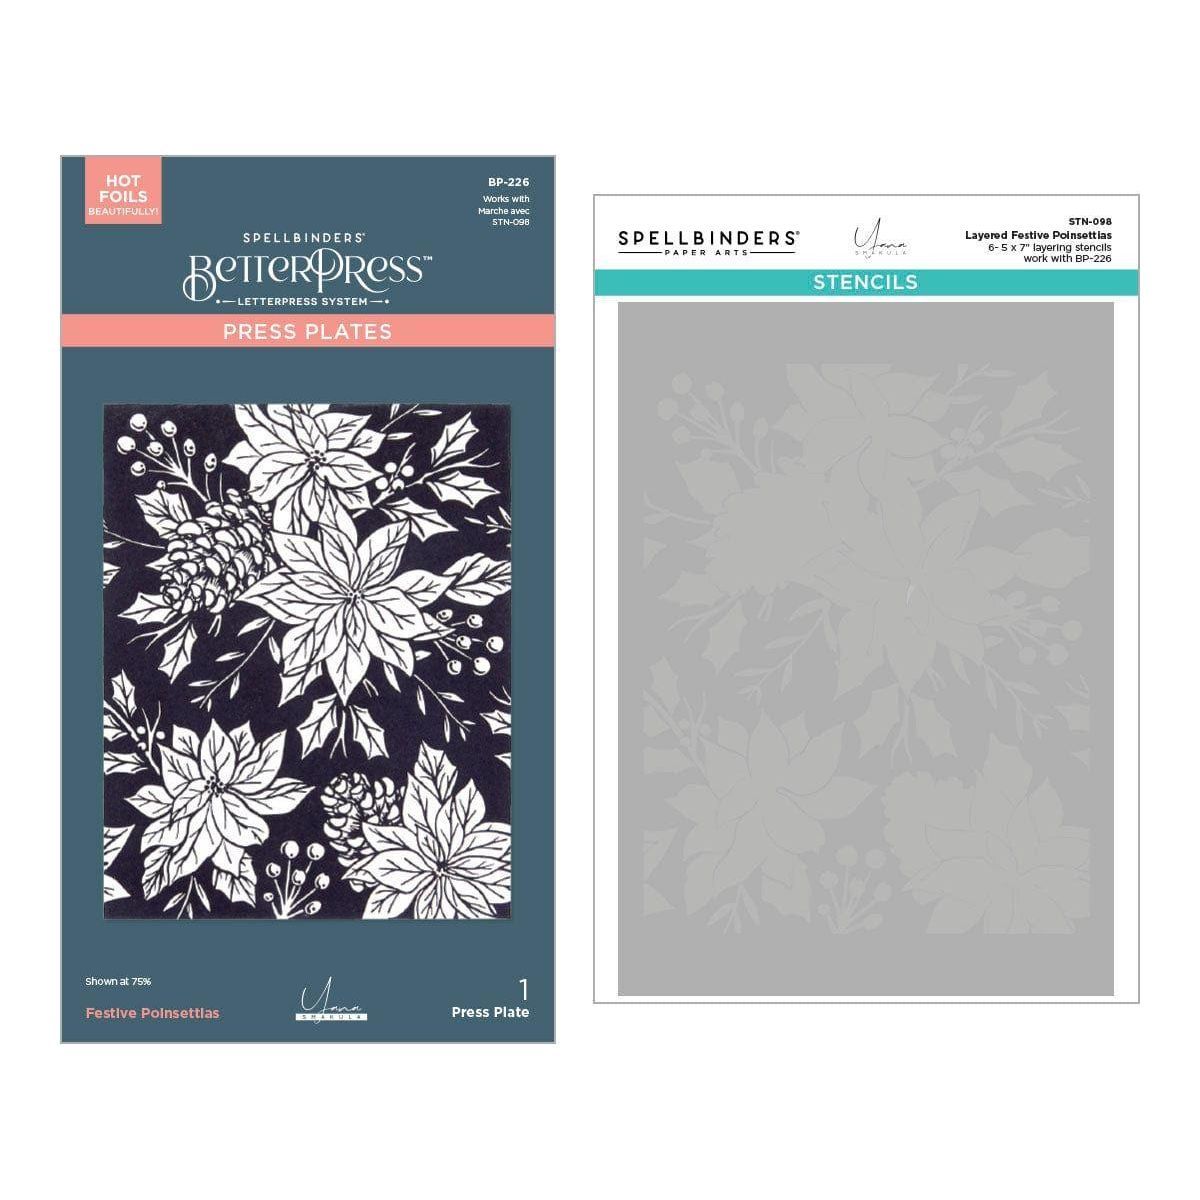
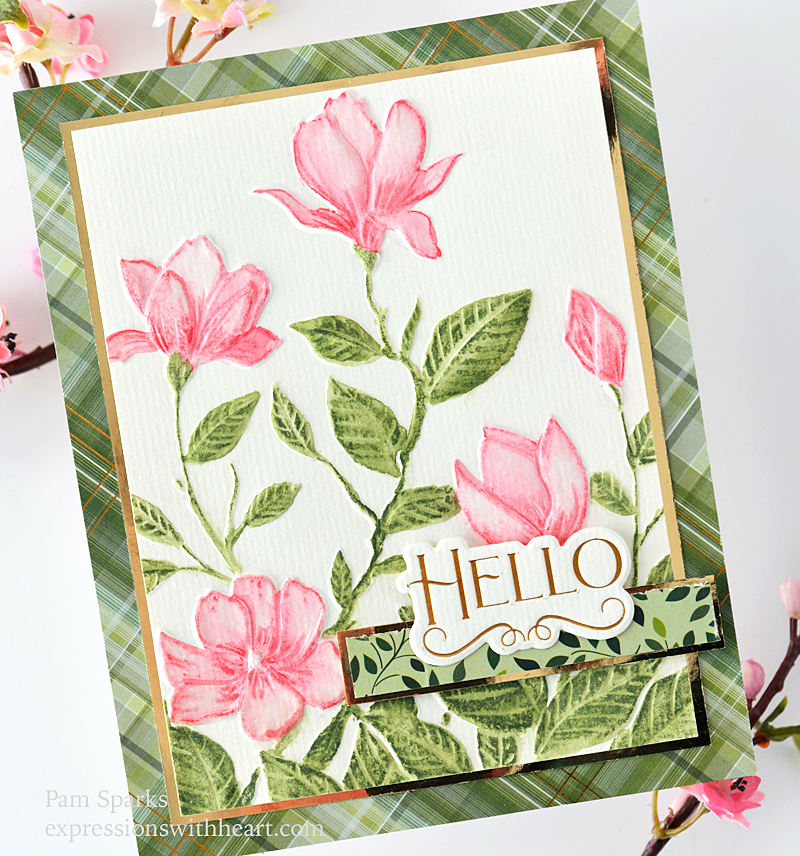
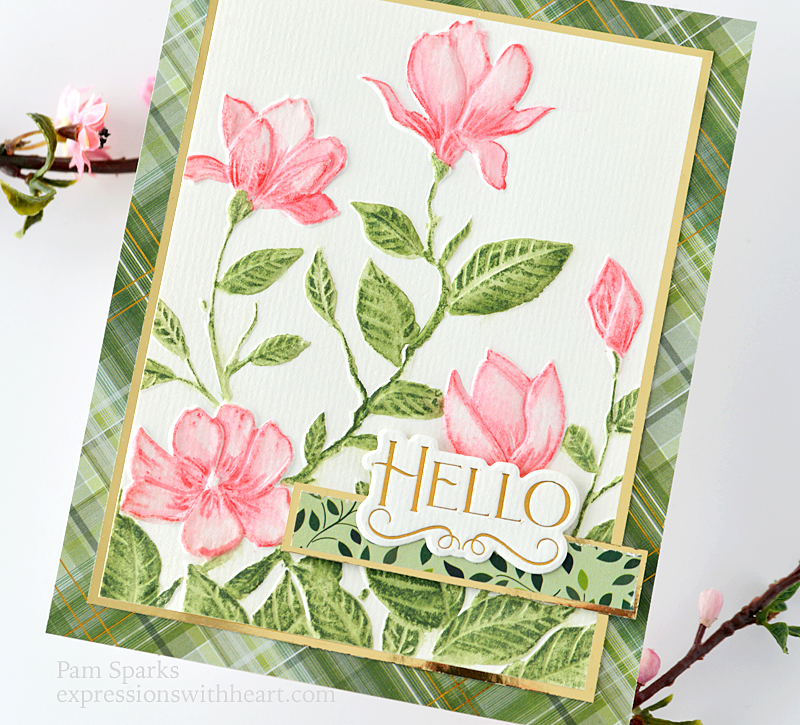
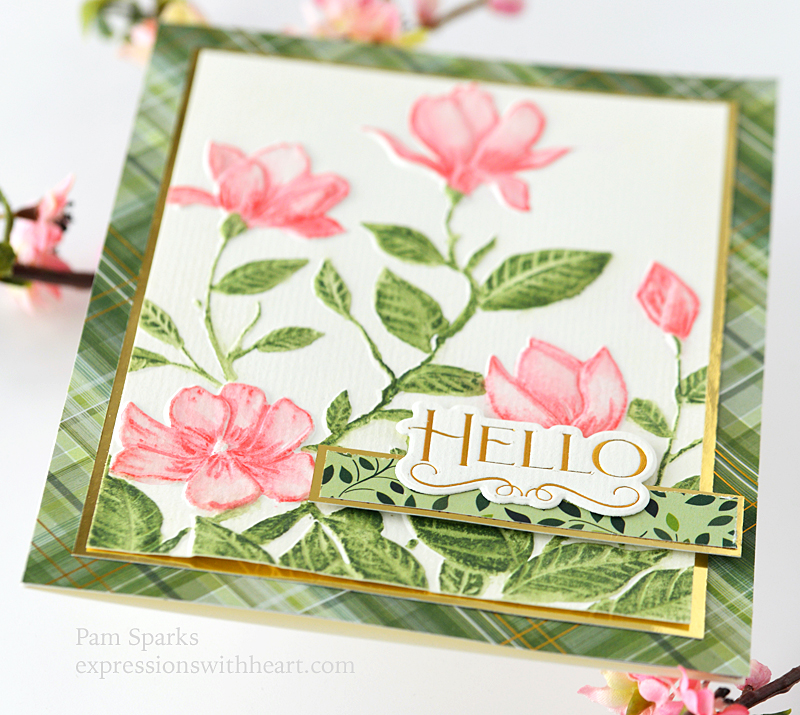
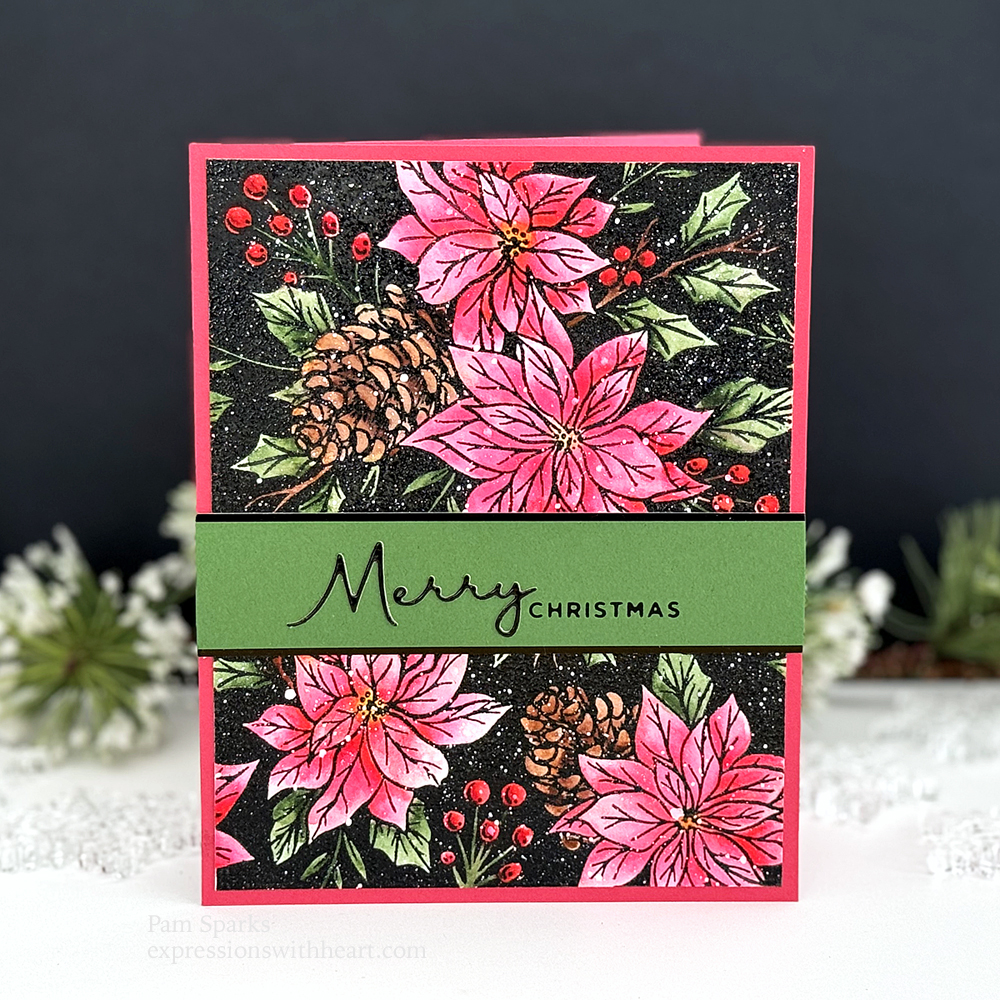
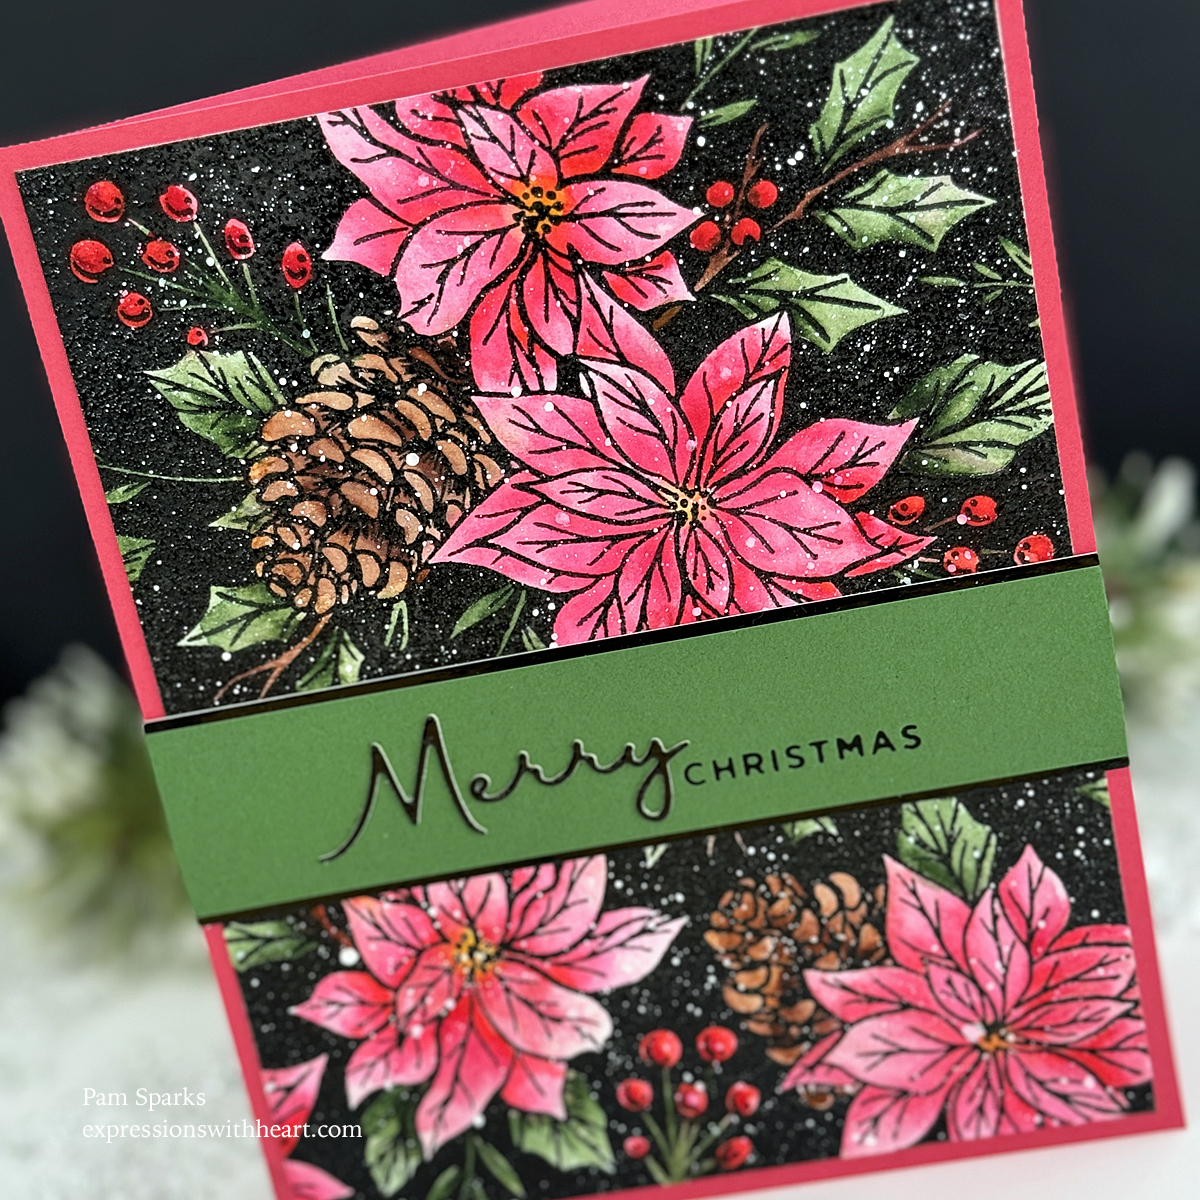
My first card is the NEW Festive Poinsettias Better Press plate from Spellbinders.

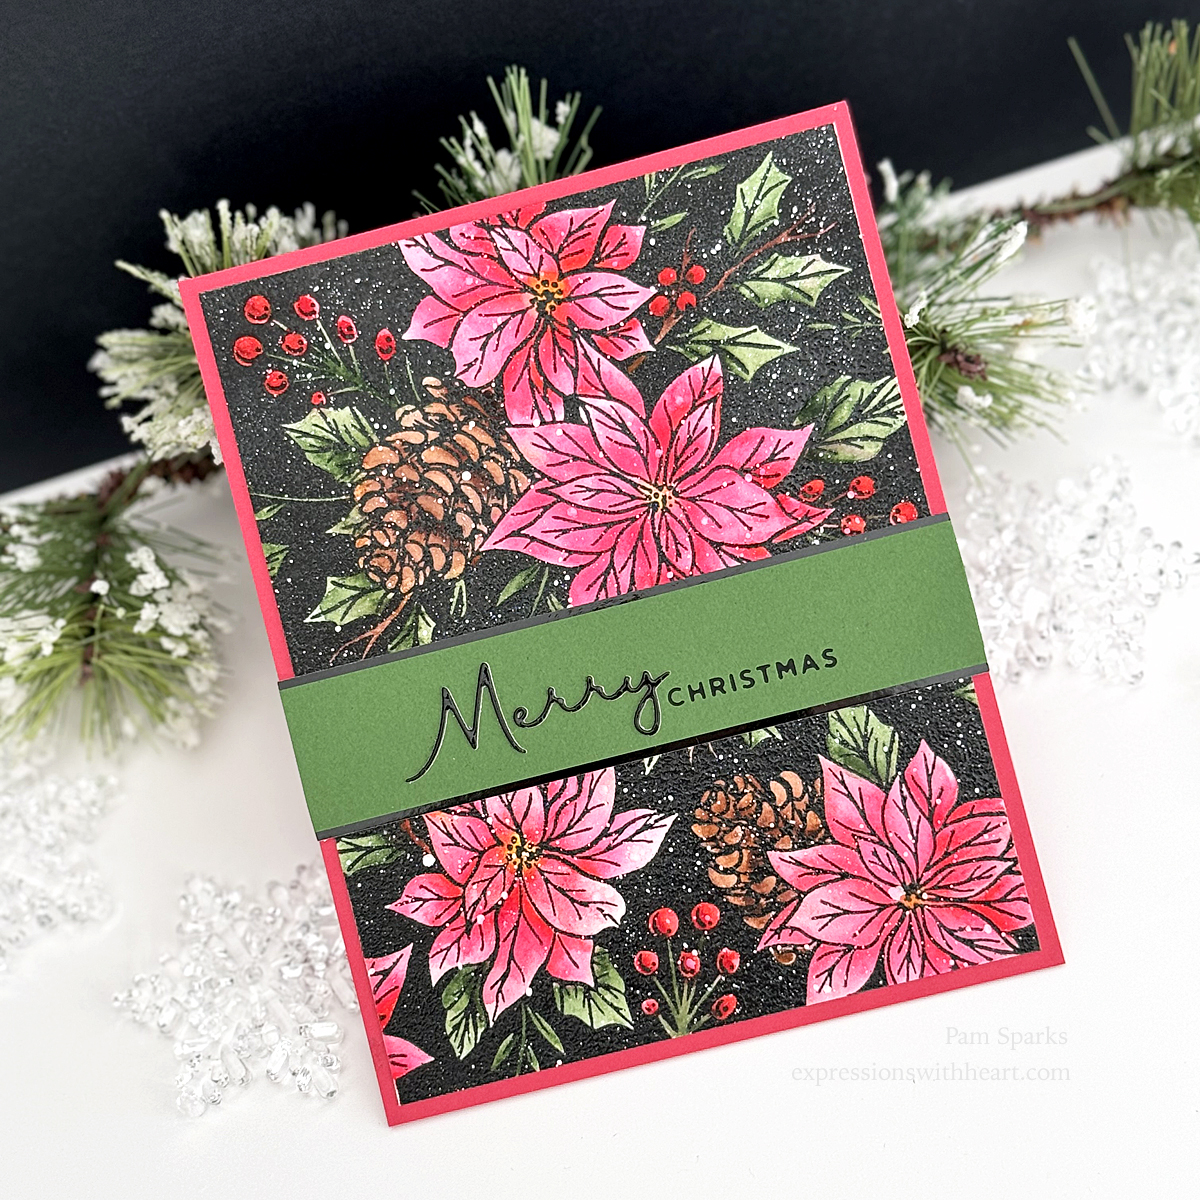
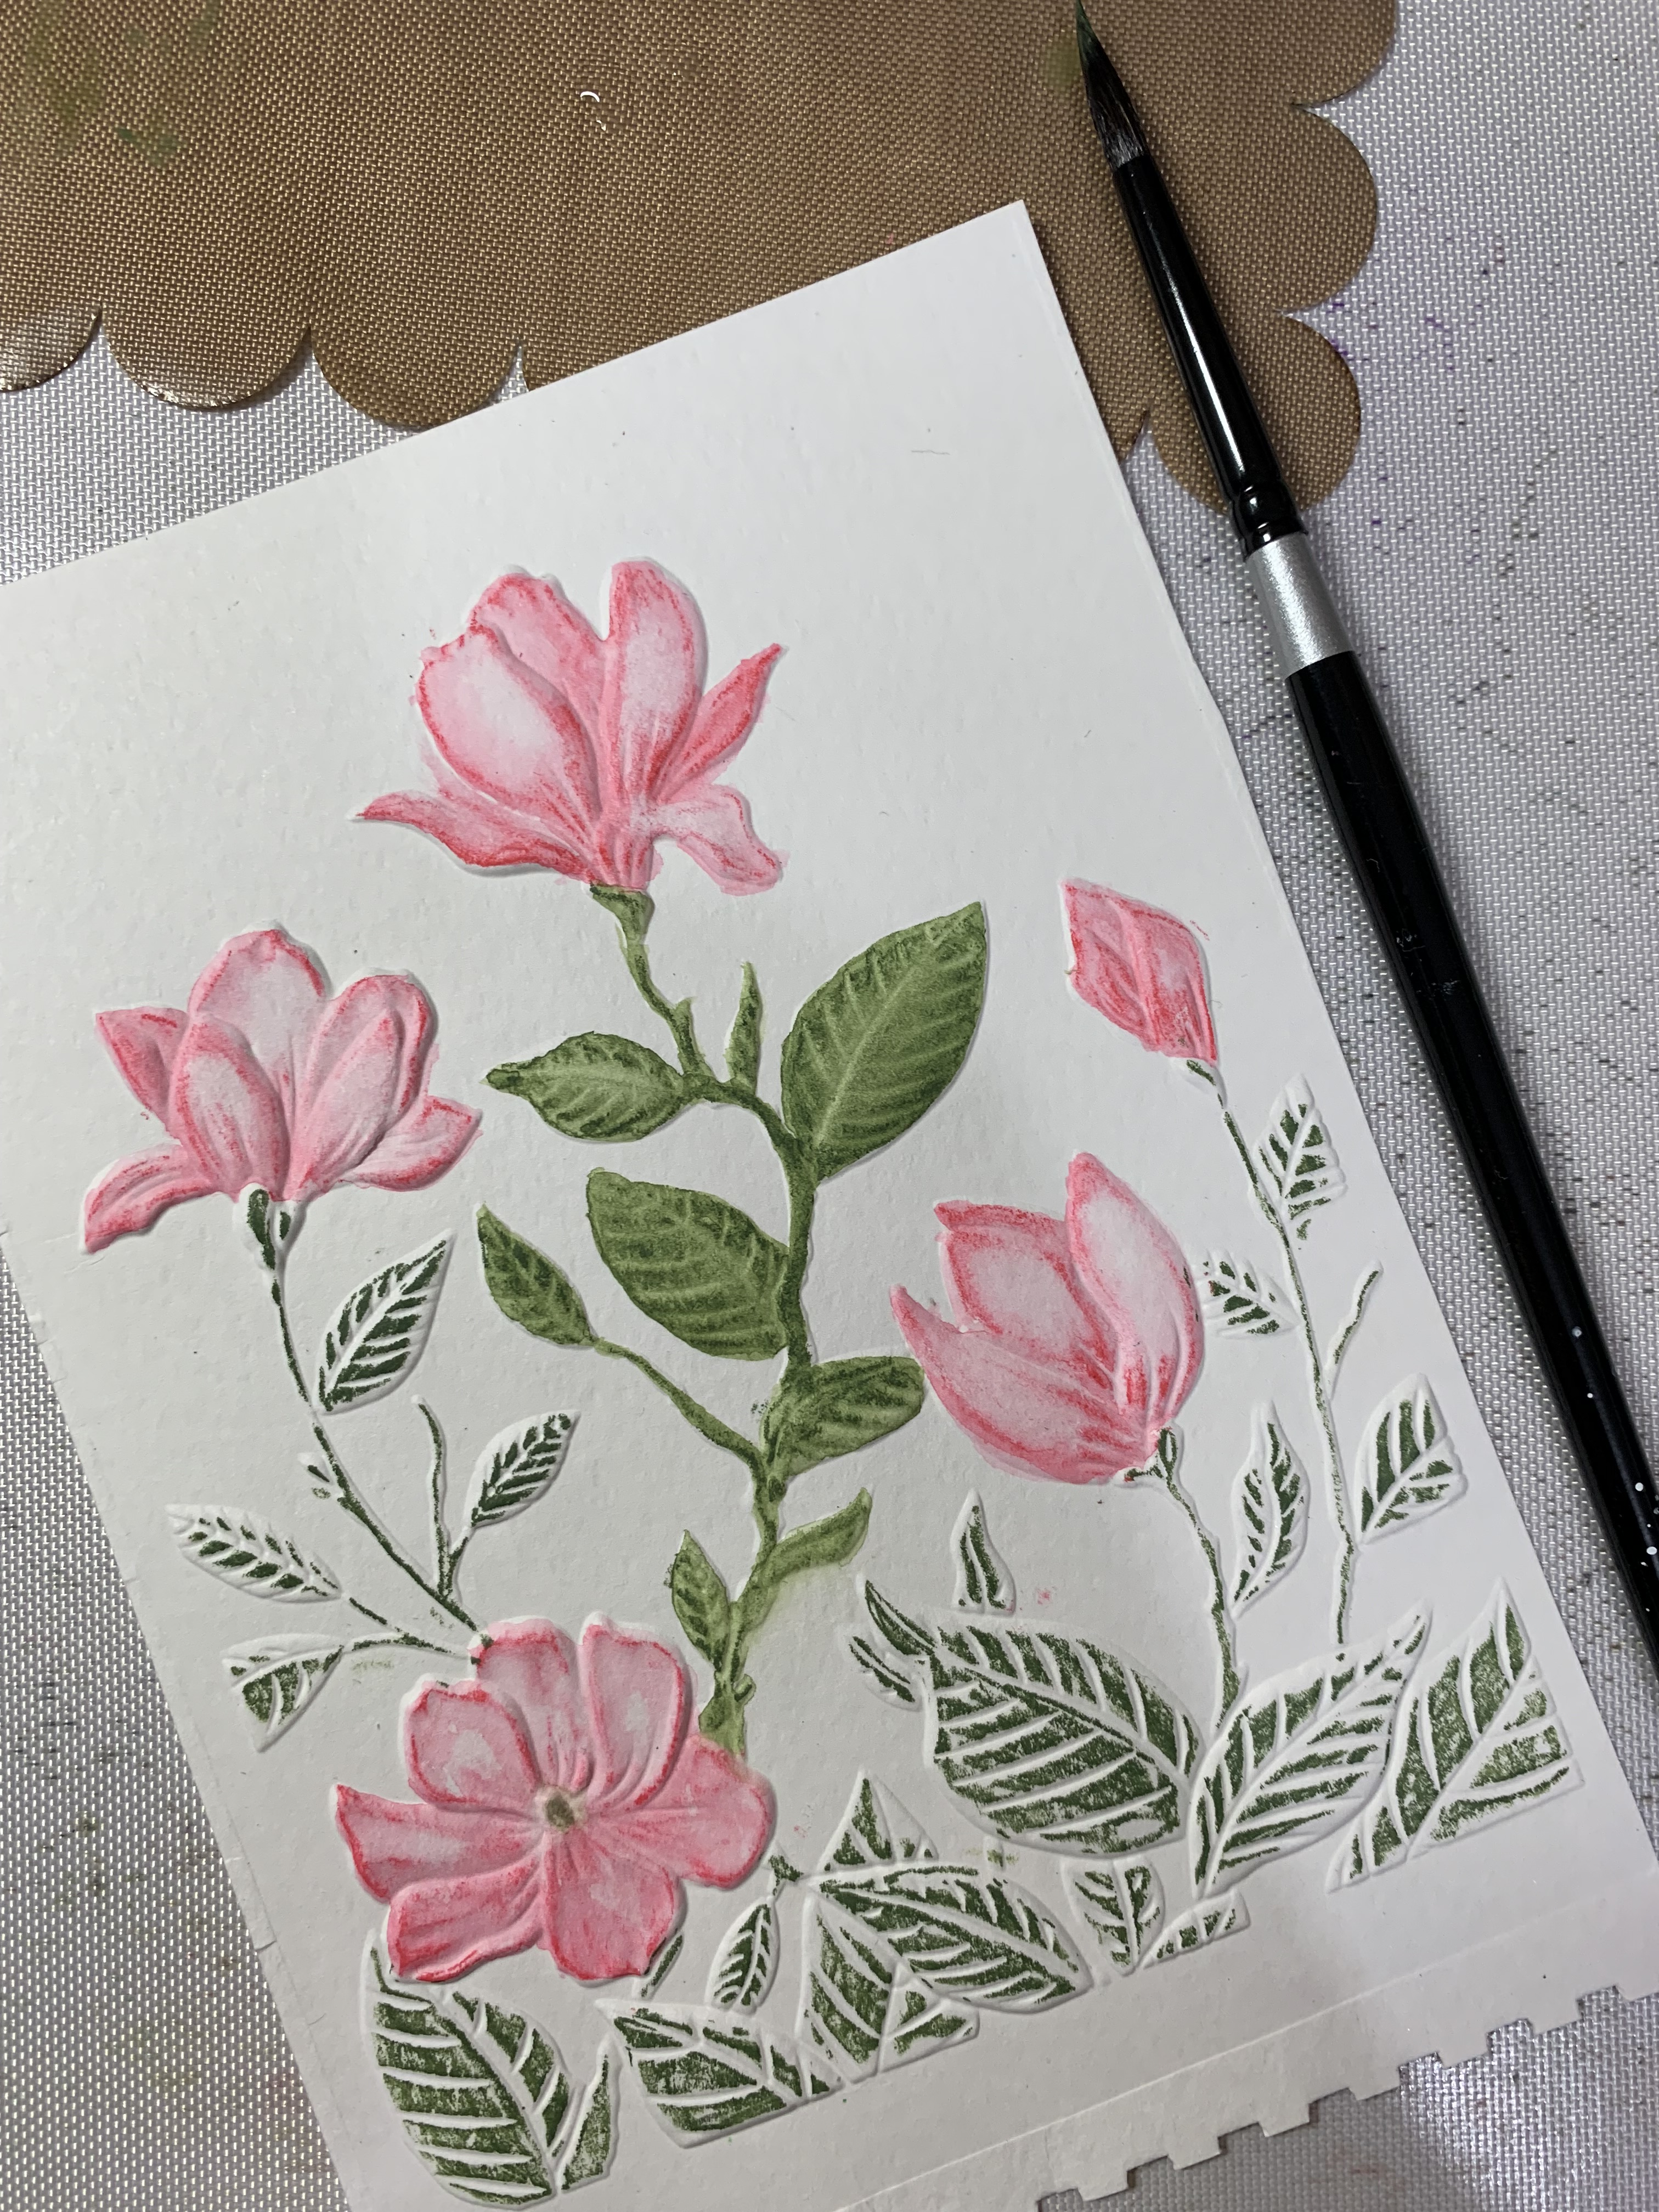
I inked up the plate with black,  impressed it and heat embossed it with clear embossing powder.

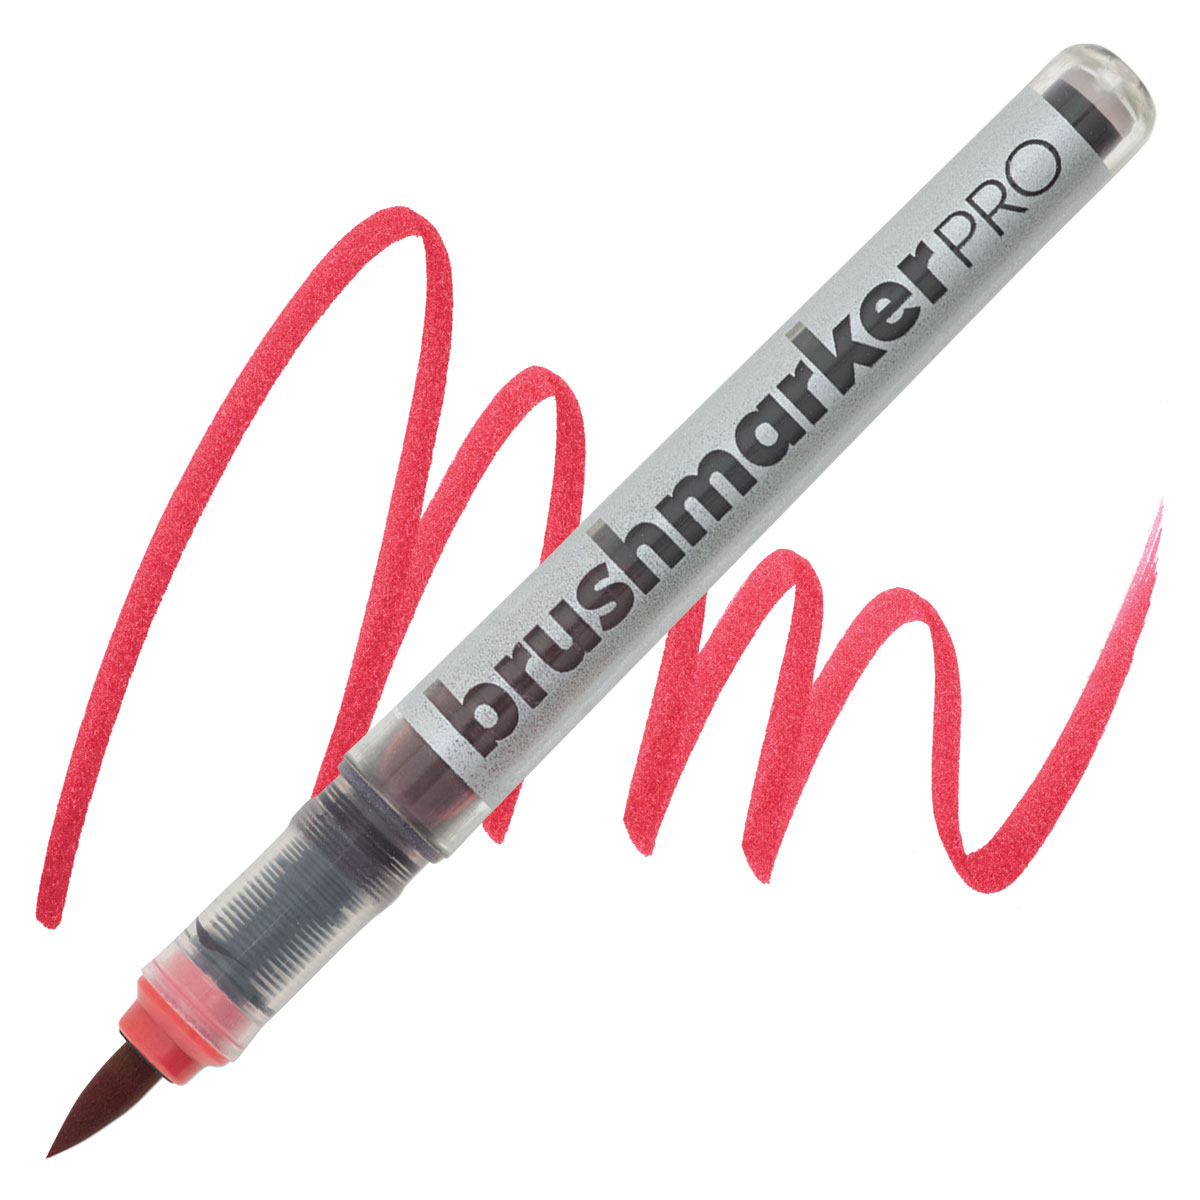
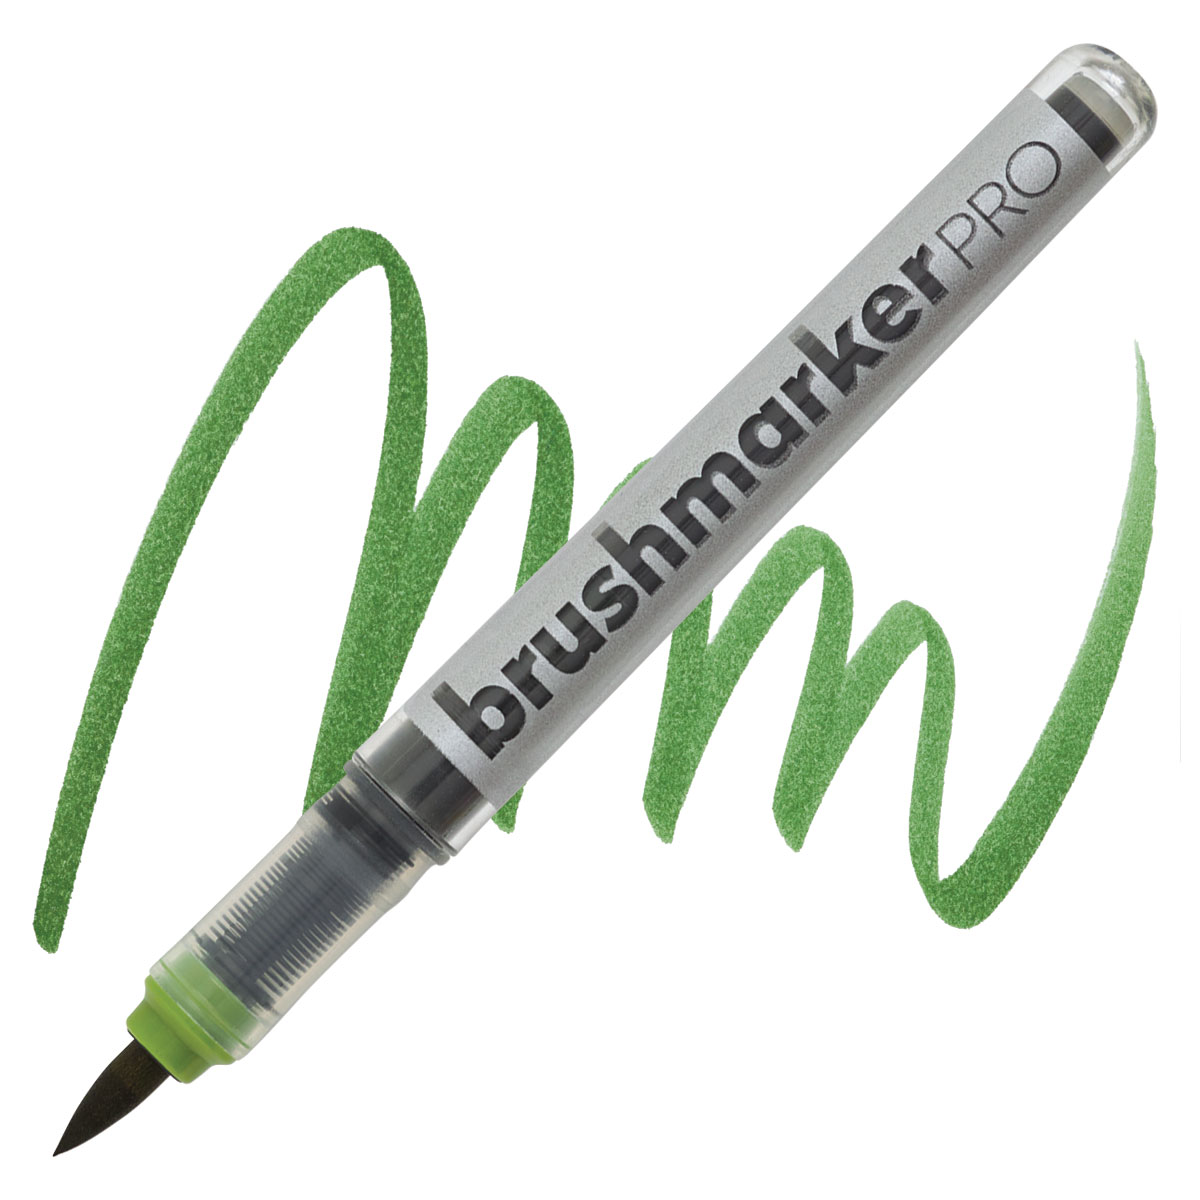
Then I colored it with Tombow Brush Markers!  I know!  Not my normal but I’ve seen another fabulous cardmaker using her Tombows so I wanted to get mine back out and color.  I’m surprised they’re still good…over 20 years old!

The green strip of cardstock is darker/richer than it’s showing in my pictures.

I spattered with white acrylic ink and I used a small paintbrush.  All the little white specks are from the spattering.  The plate did impress solid black.  So we have teeny snowflakes today! lol

I feel like I went back in time…heat embossing and then coloring! Oh, I used watercolor paper because I put a little marker on, then pulled it out with a waterbrush.

I really like it.   It’s festive for sure! It’s a more of an A6 size… 4 ½ inches x 6 inches.  It’s flat though so USPS should be really happy about that! haha

Here’s my second card using Yana’s Christmas release…

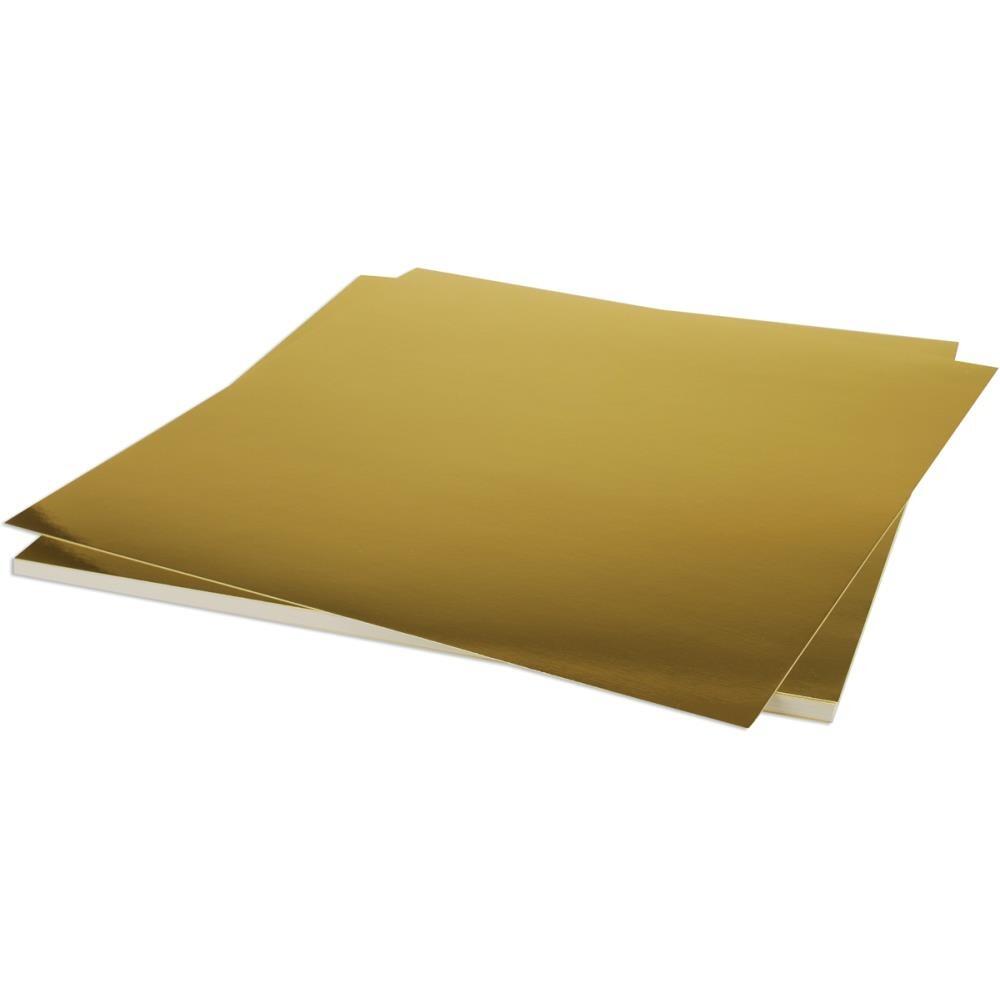
I die cut Yana’s Amaryllis in gold foil cardstock… wow does it shine!

I die cut the solid background in red cardstock and then impressed the outline die in the solid red cut with the tan mat so the detail would show without having to puzzle piece all the petal pieces back in!

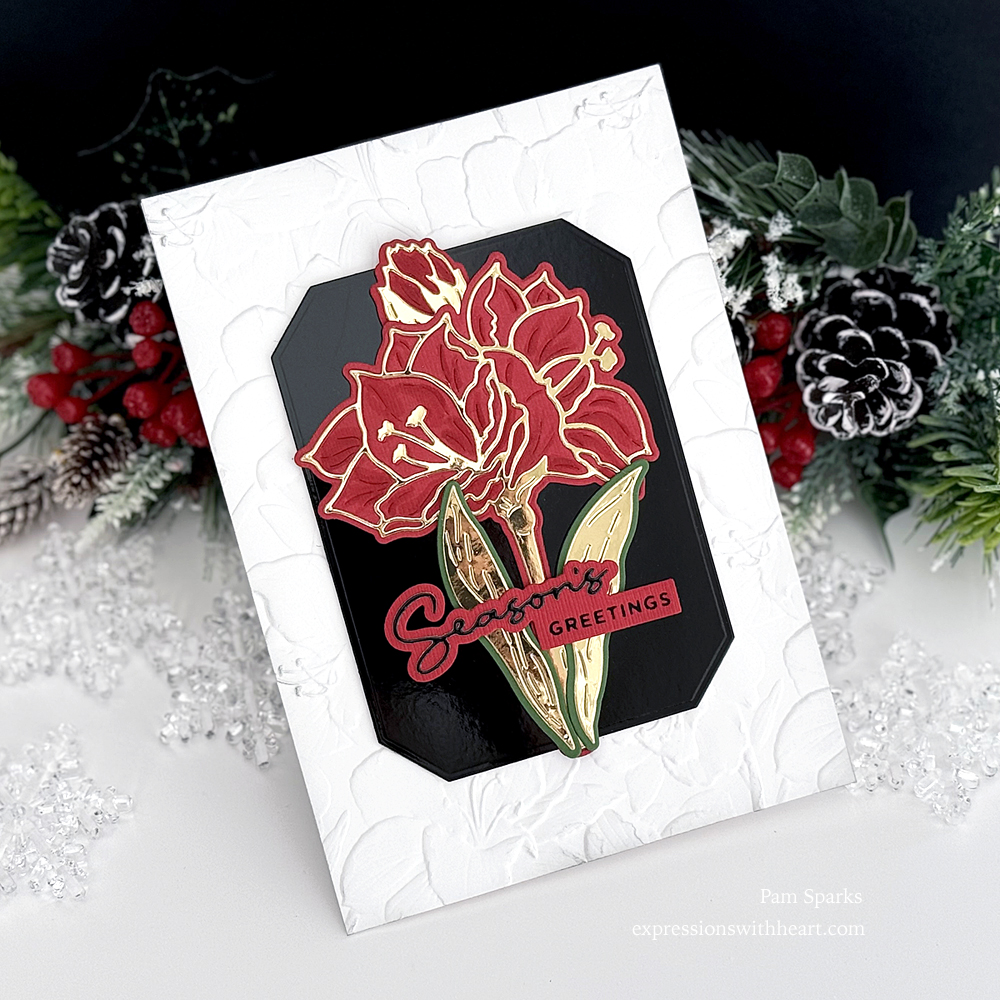
I went over the die cut lines with a red copic just to add a little more dimension.

The background on this card is a black glossy die cut using the Emerald Cut Labels and Tag die set.

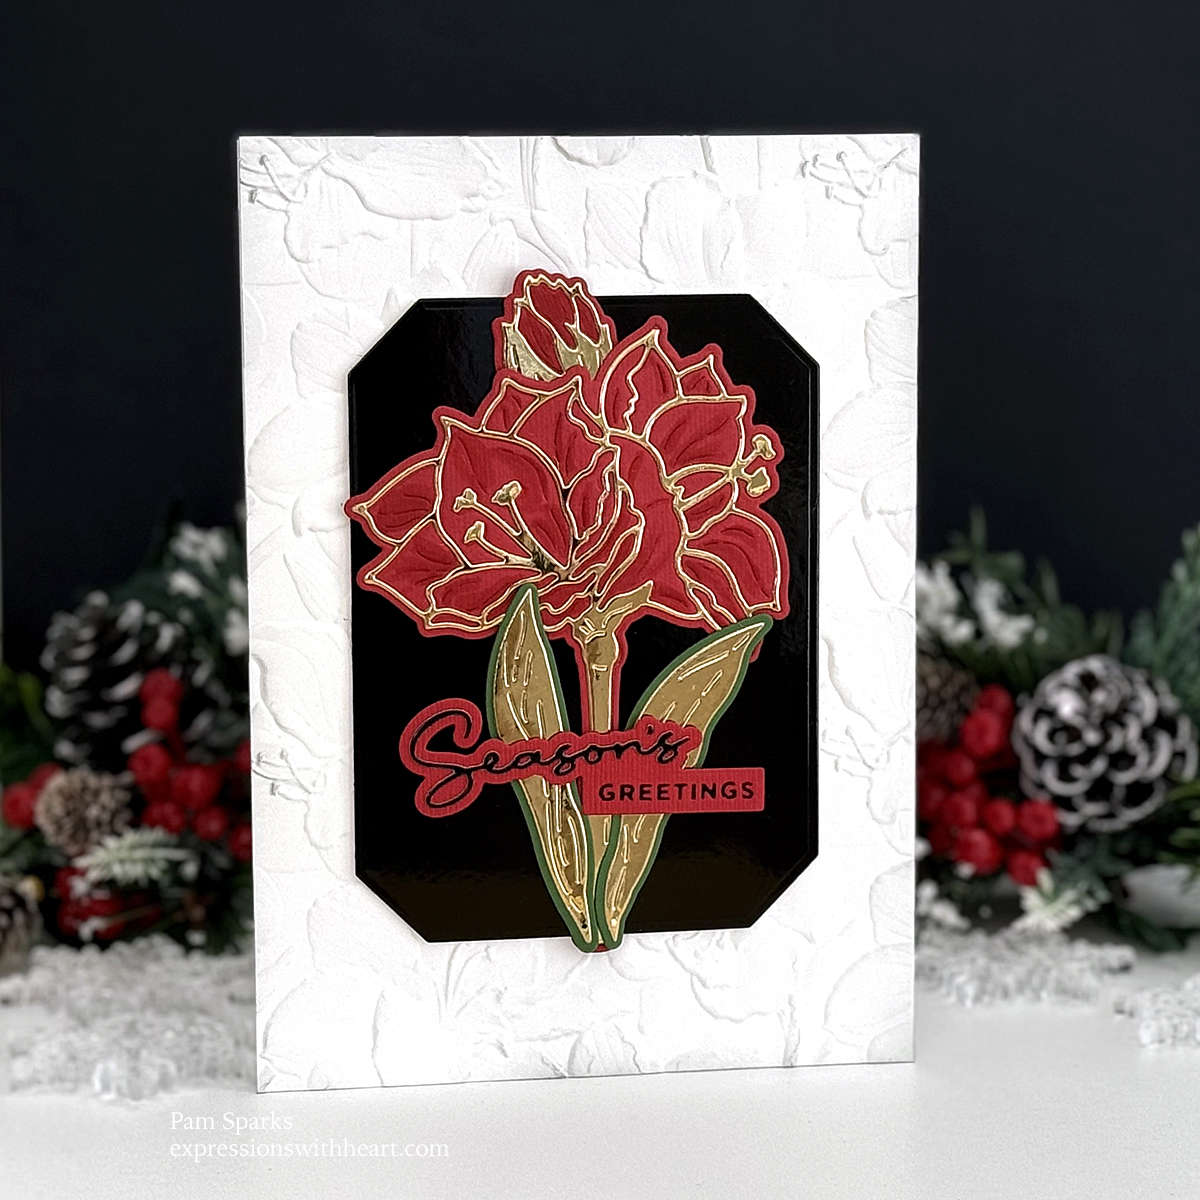
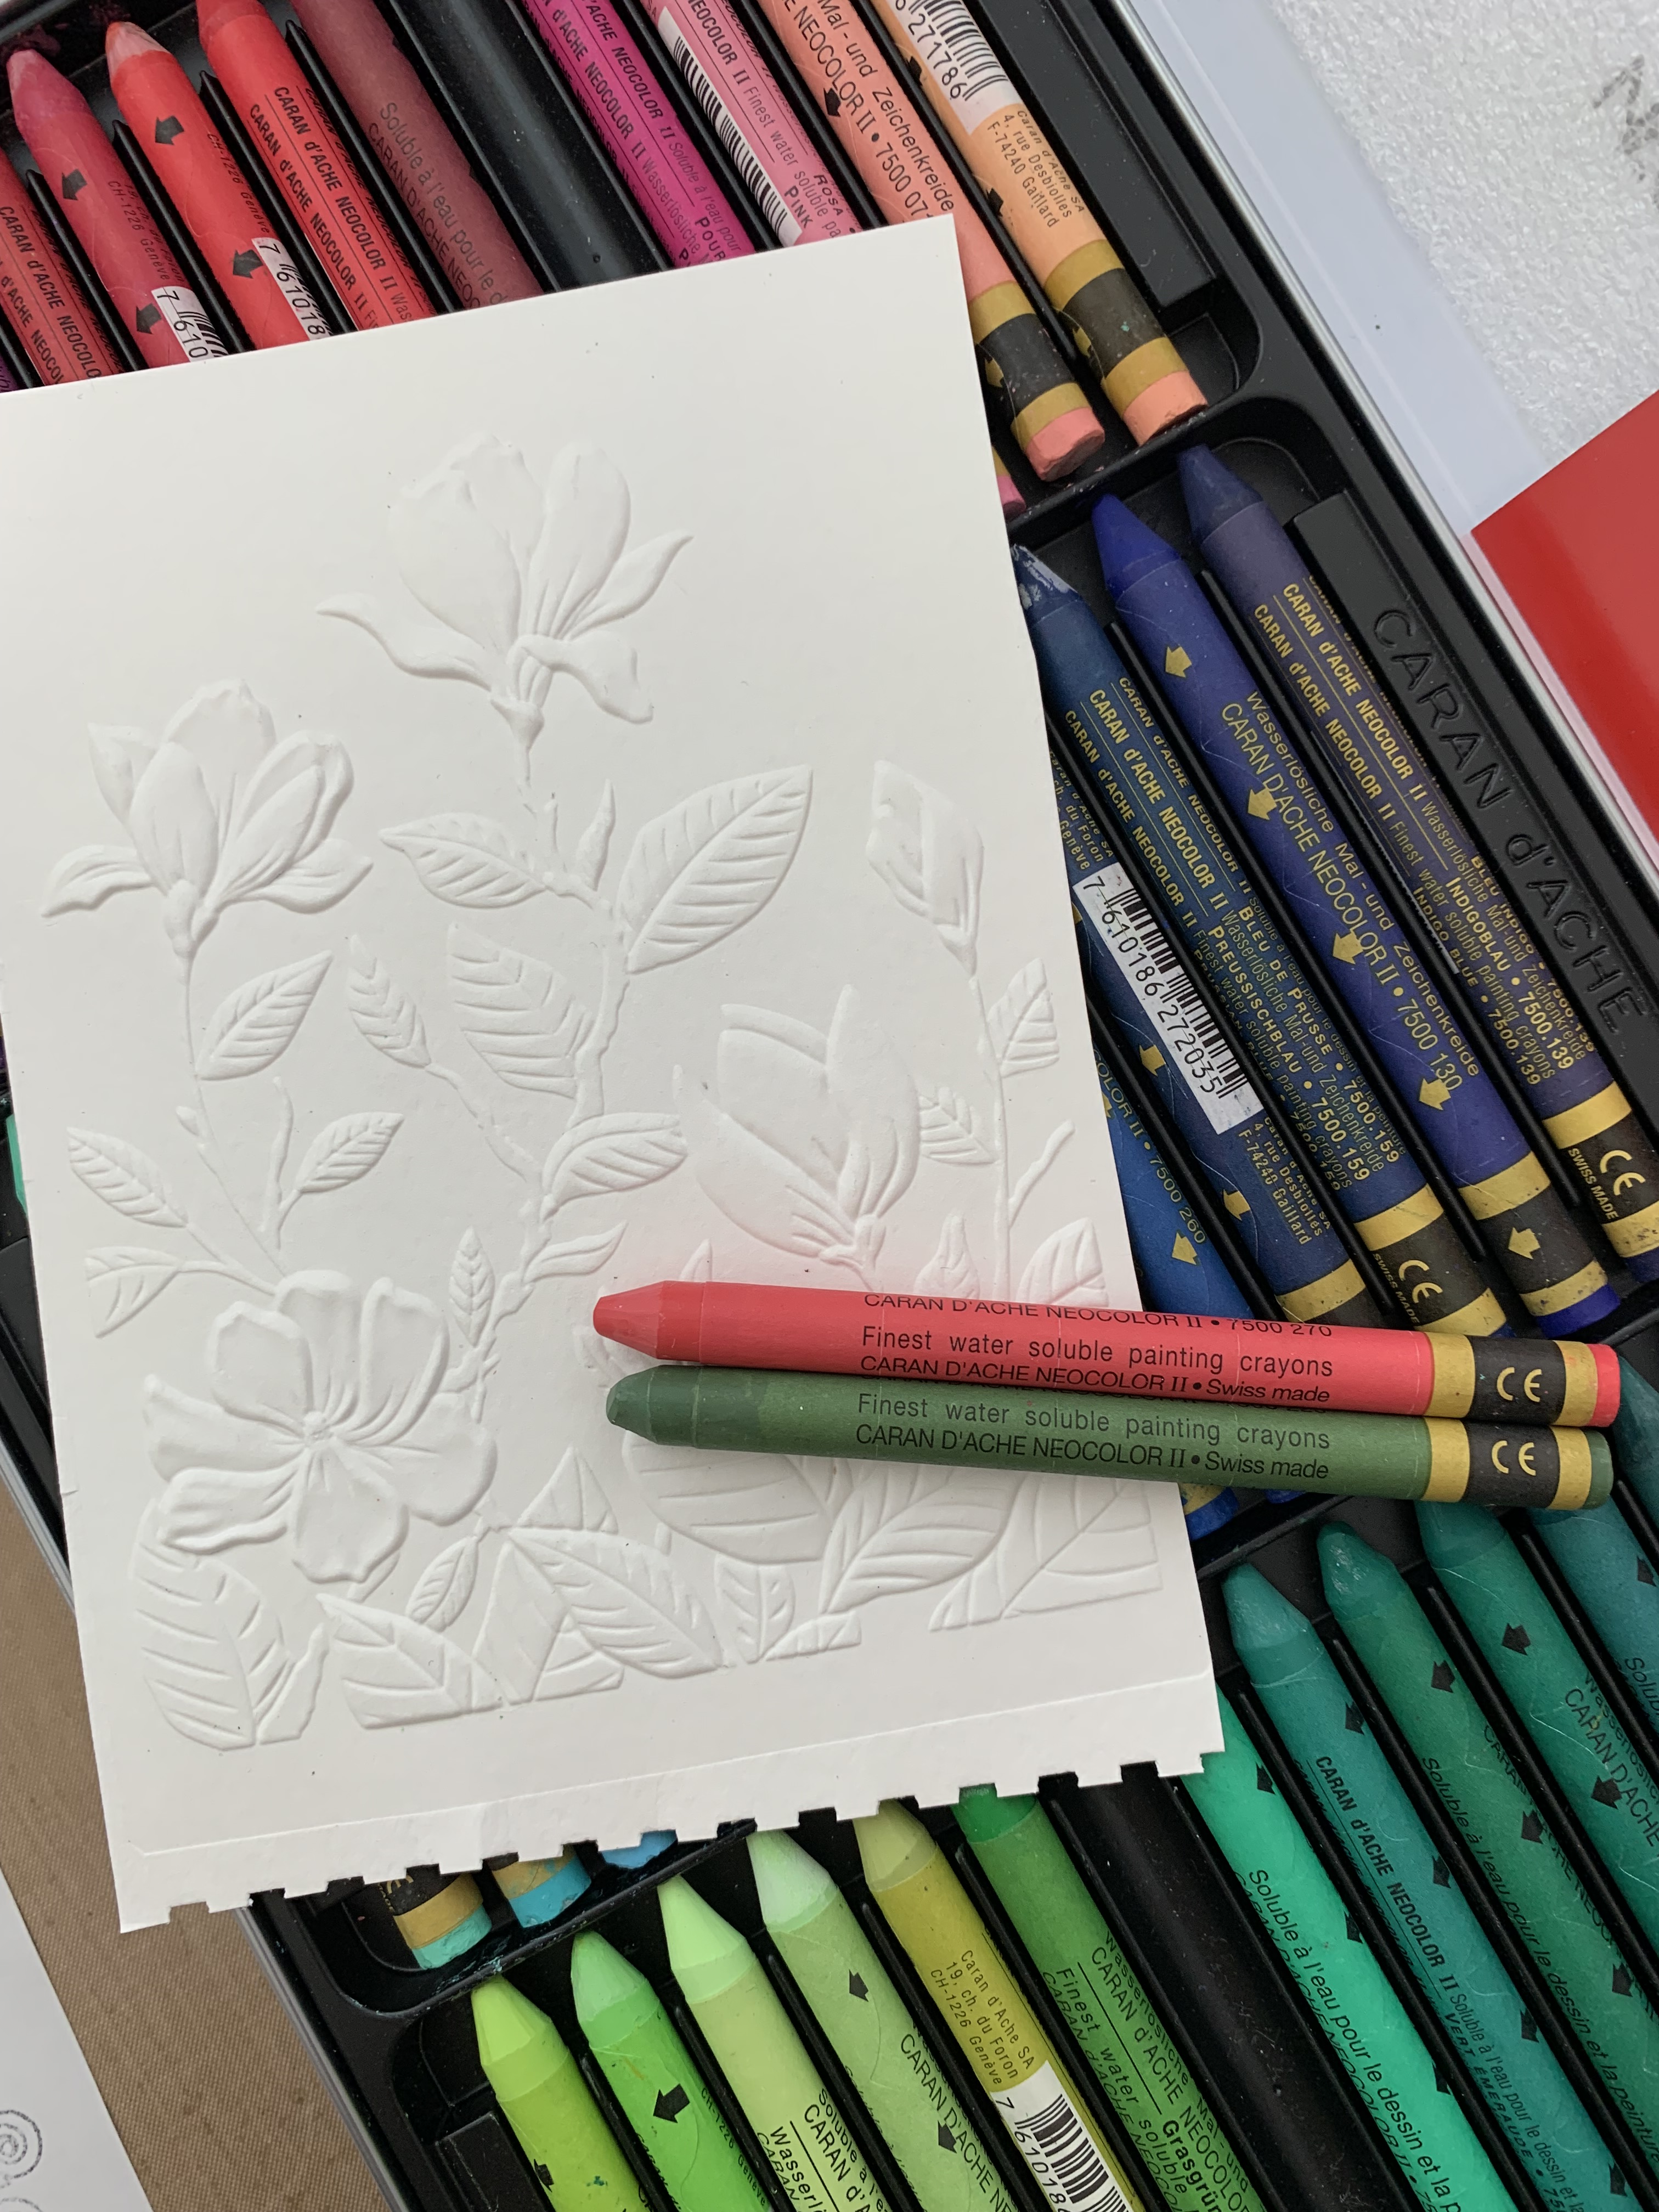
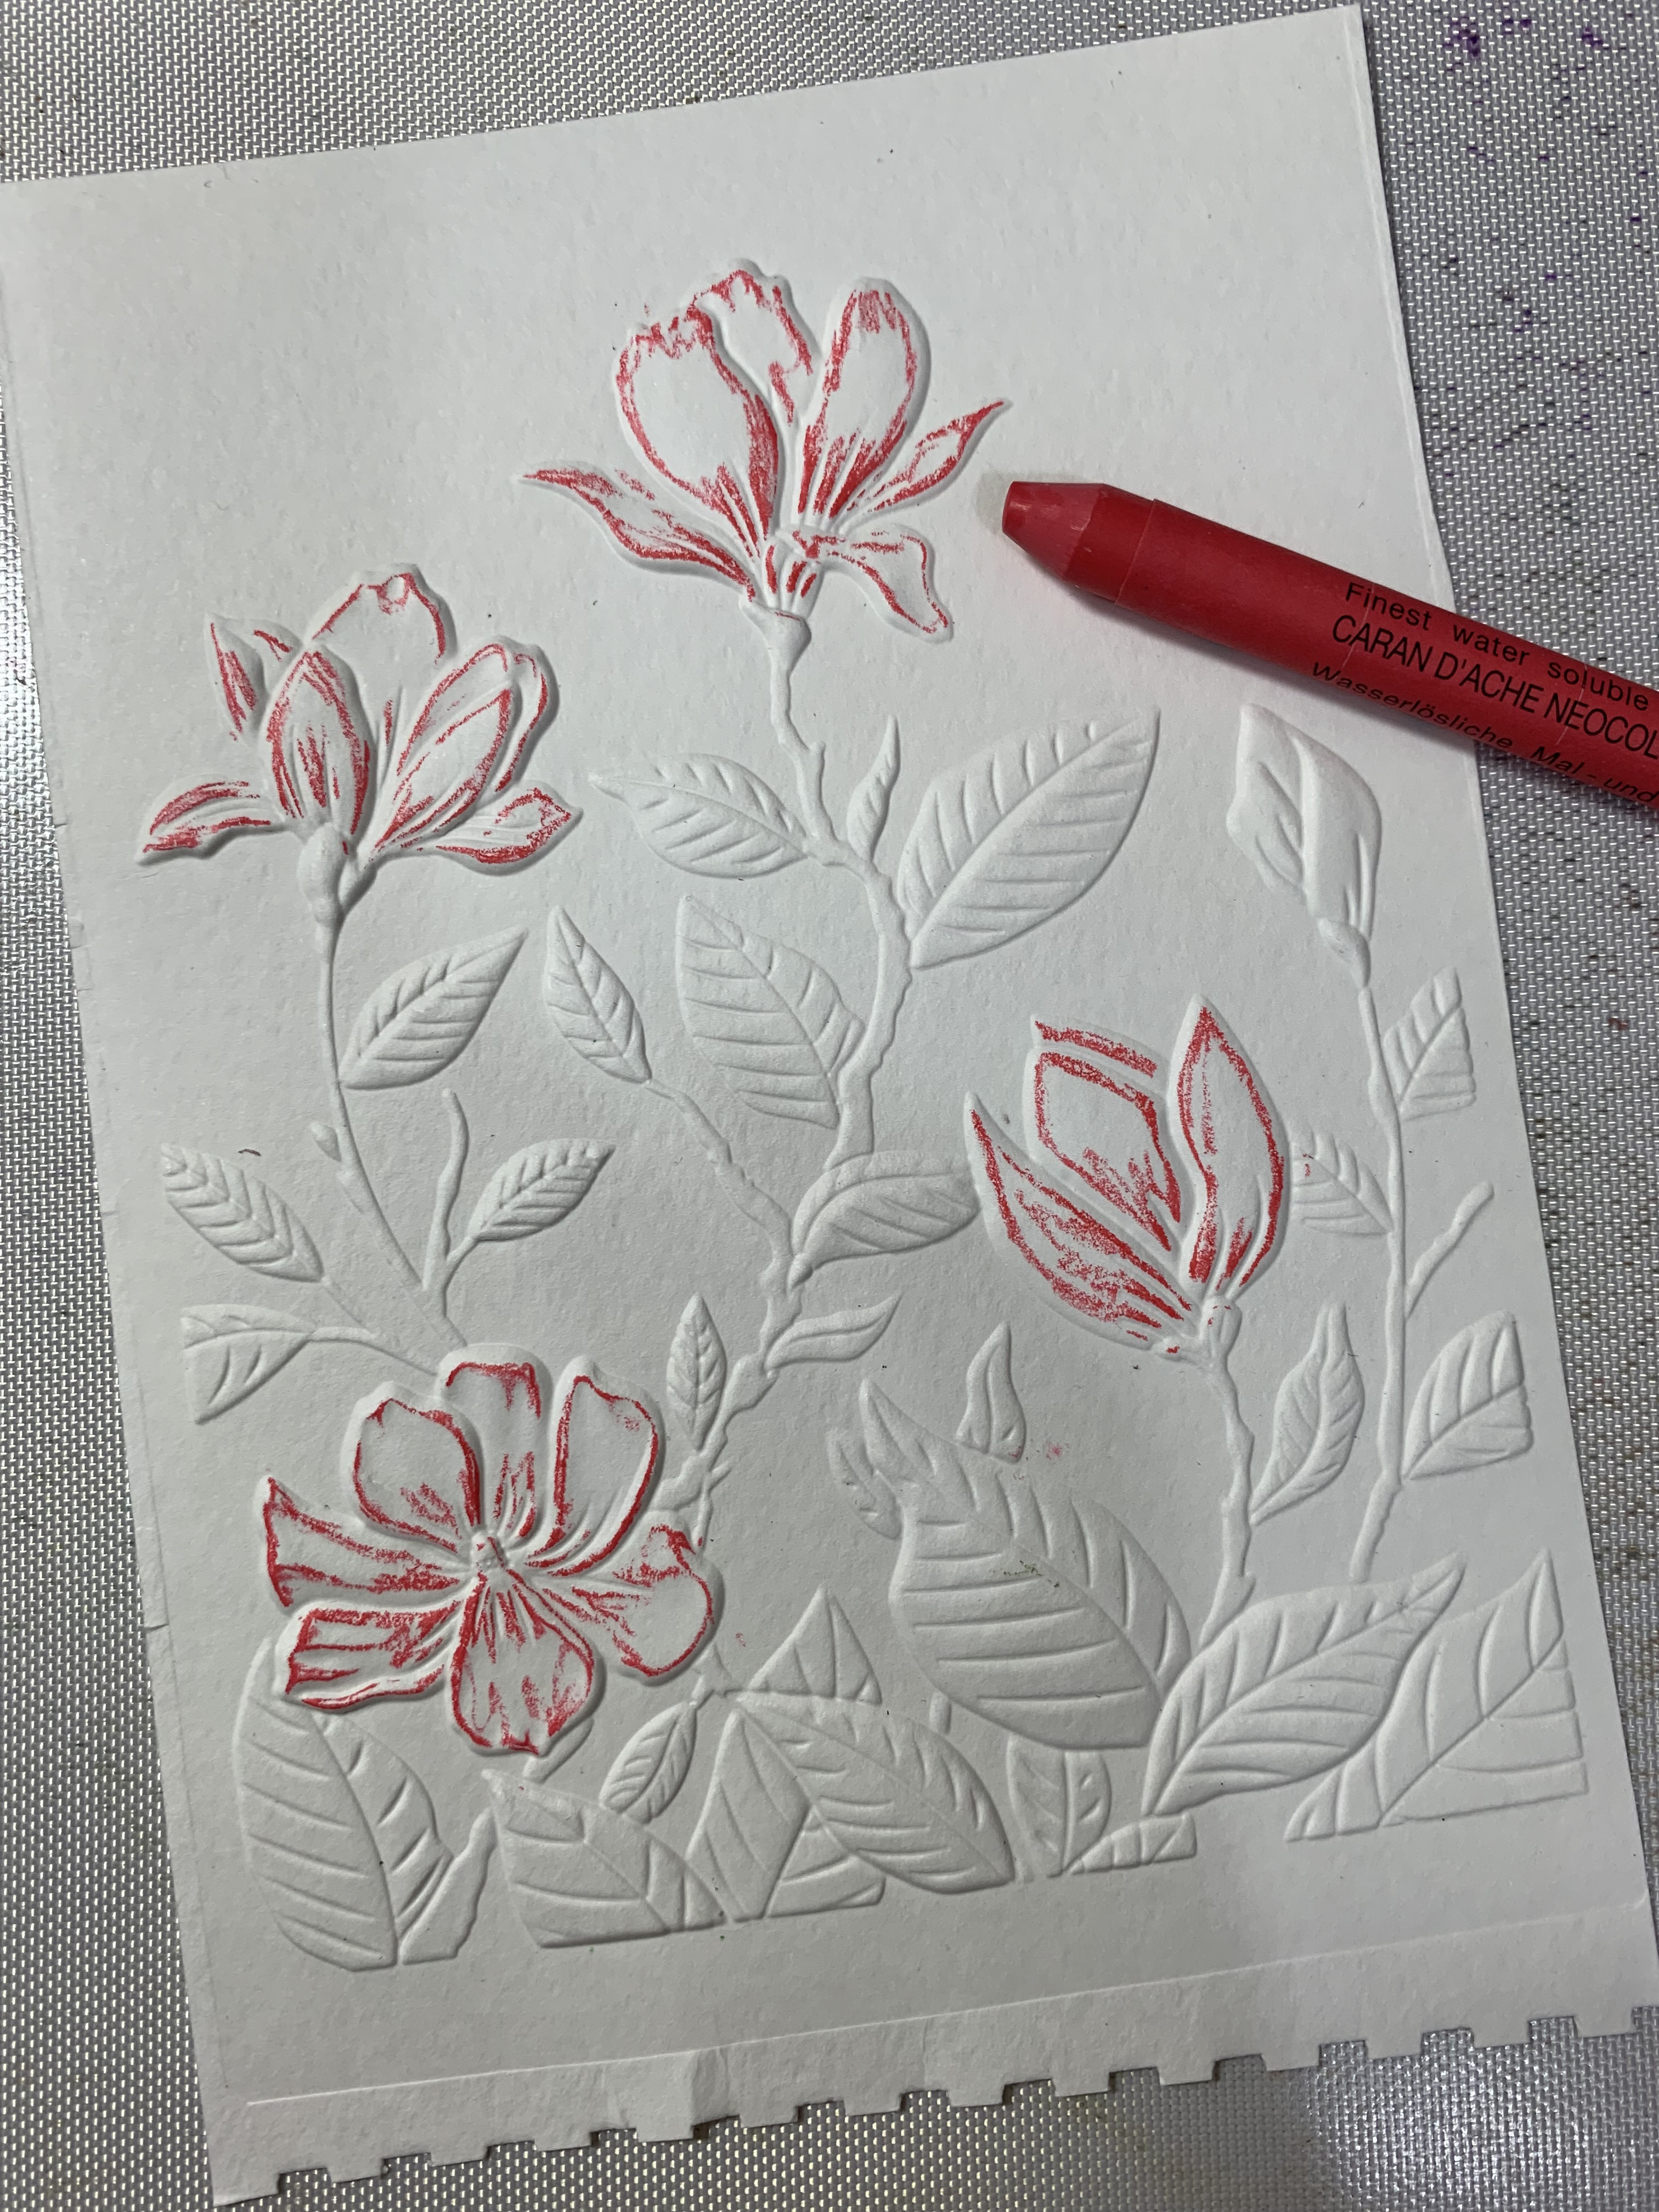
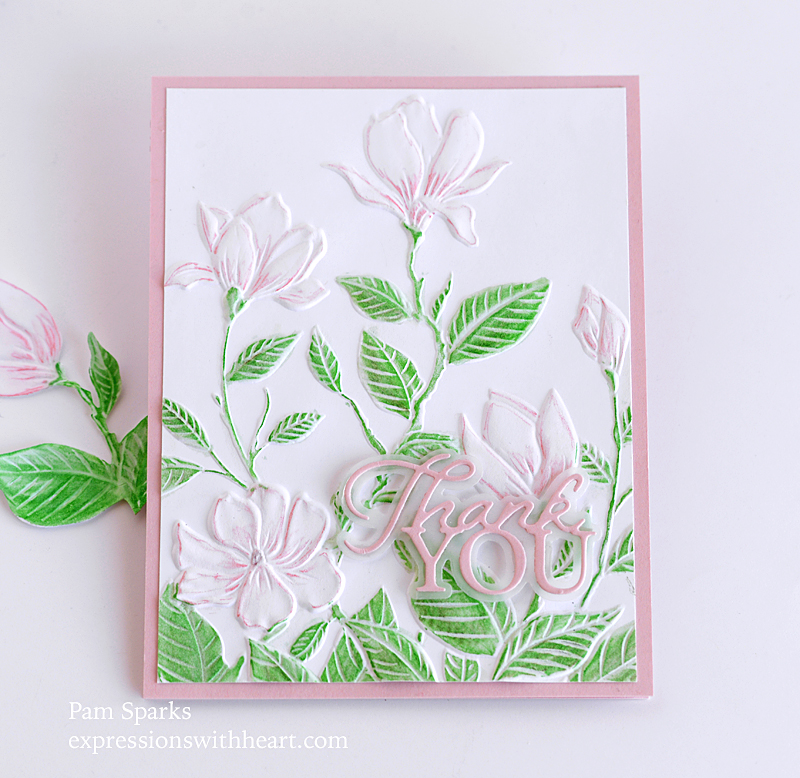
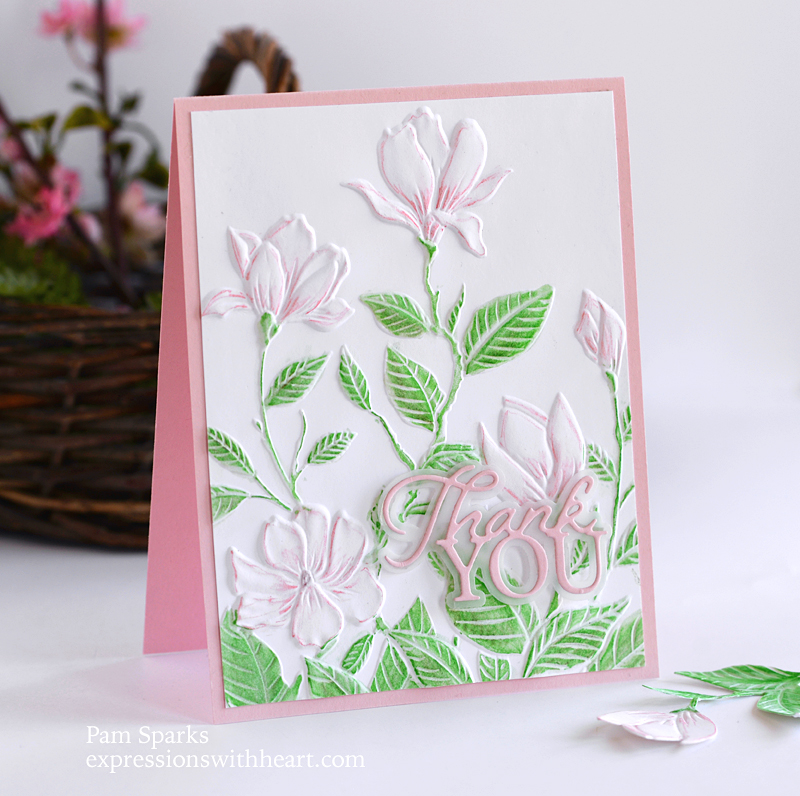
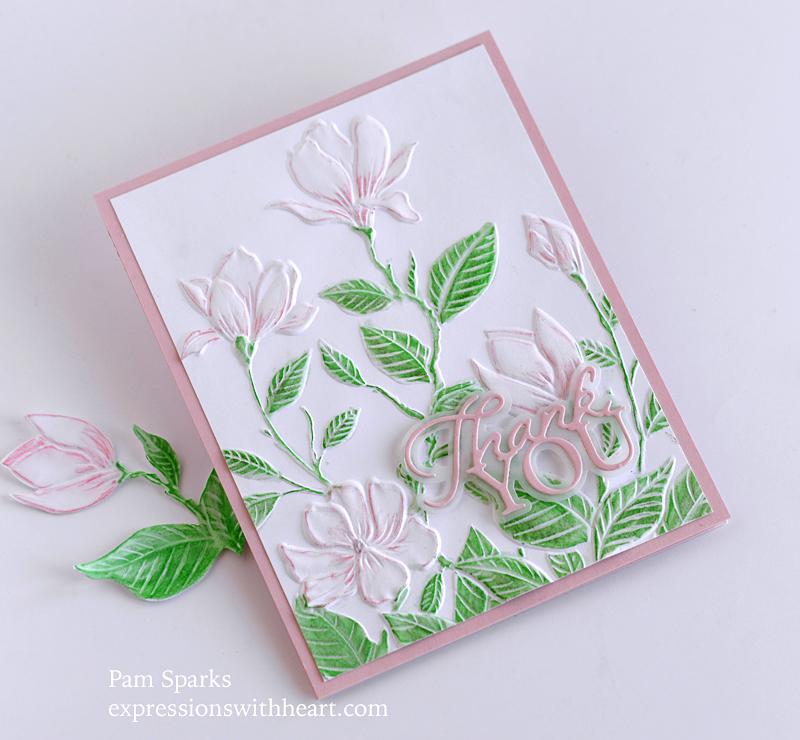
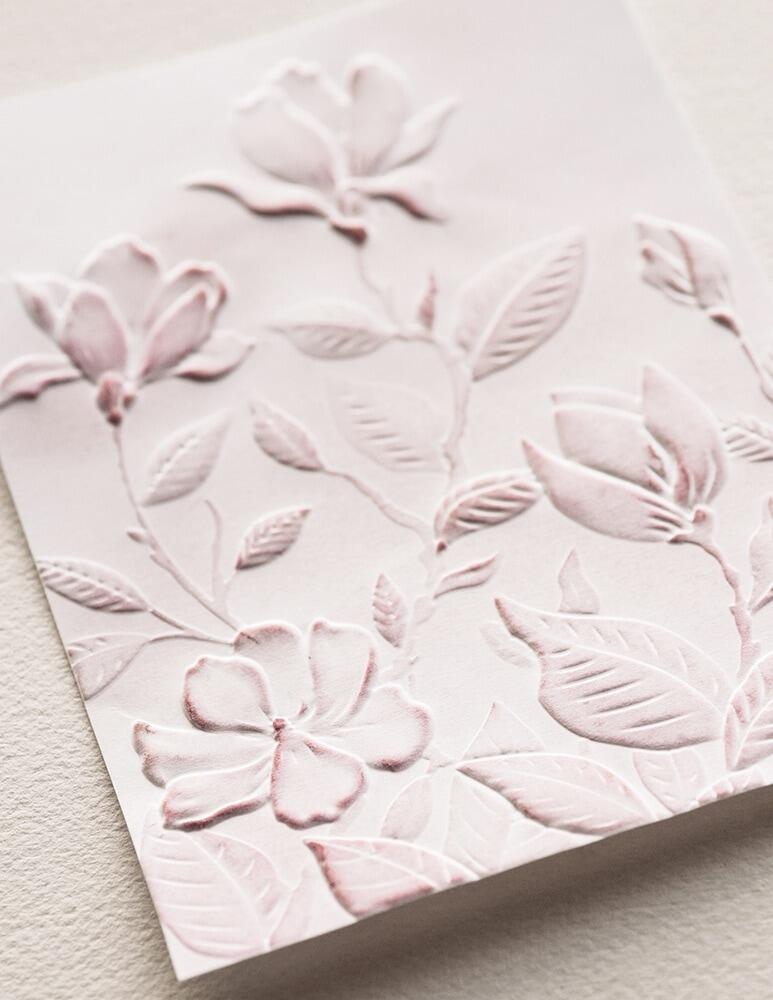
Then the 3D embossing folder is NEW also. It’s called Amaryllis Garden.  So pretty!  I embossed it in white cardstock, trimmed it down to 5 x 7 size and used my gray inking brush to go around the edges of the panel.

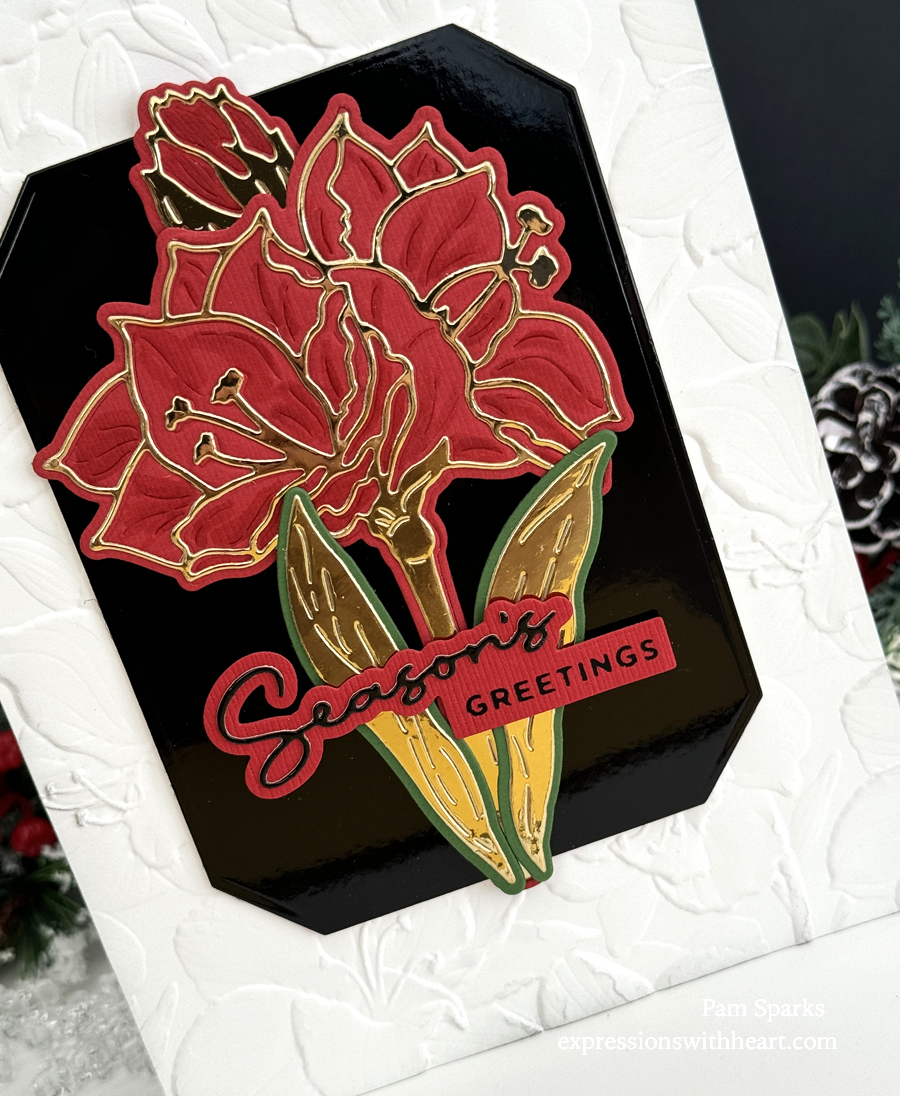
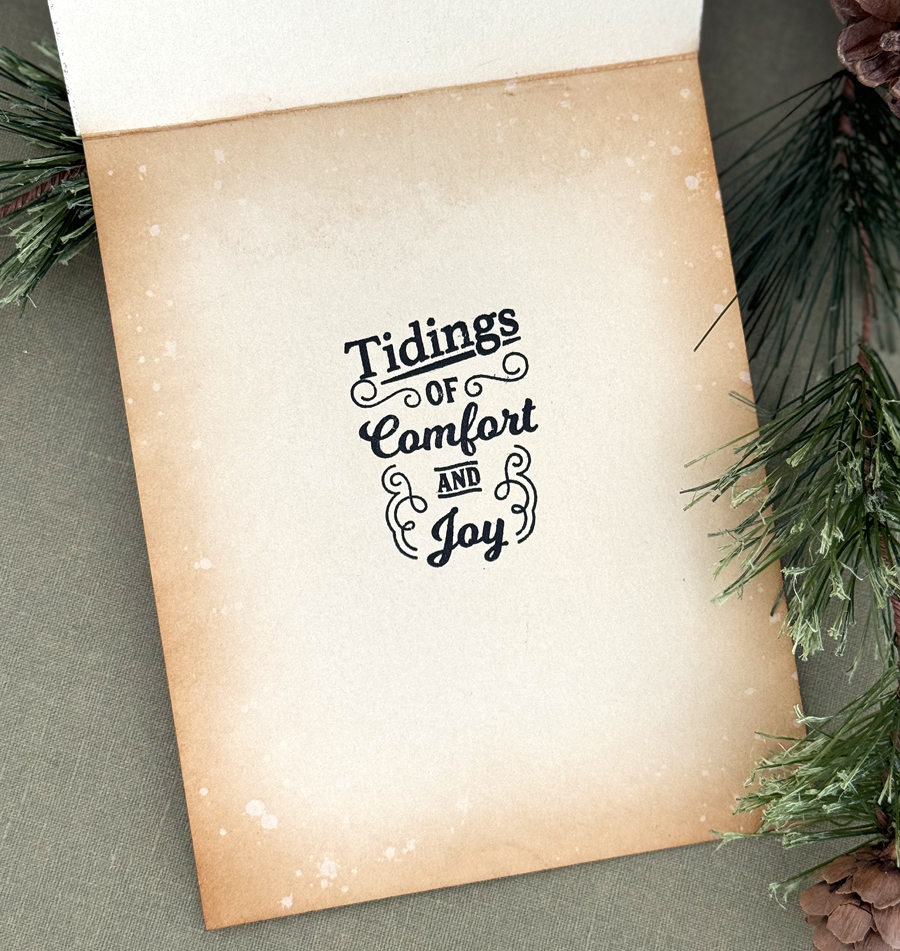
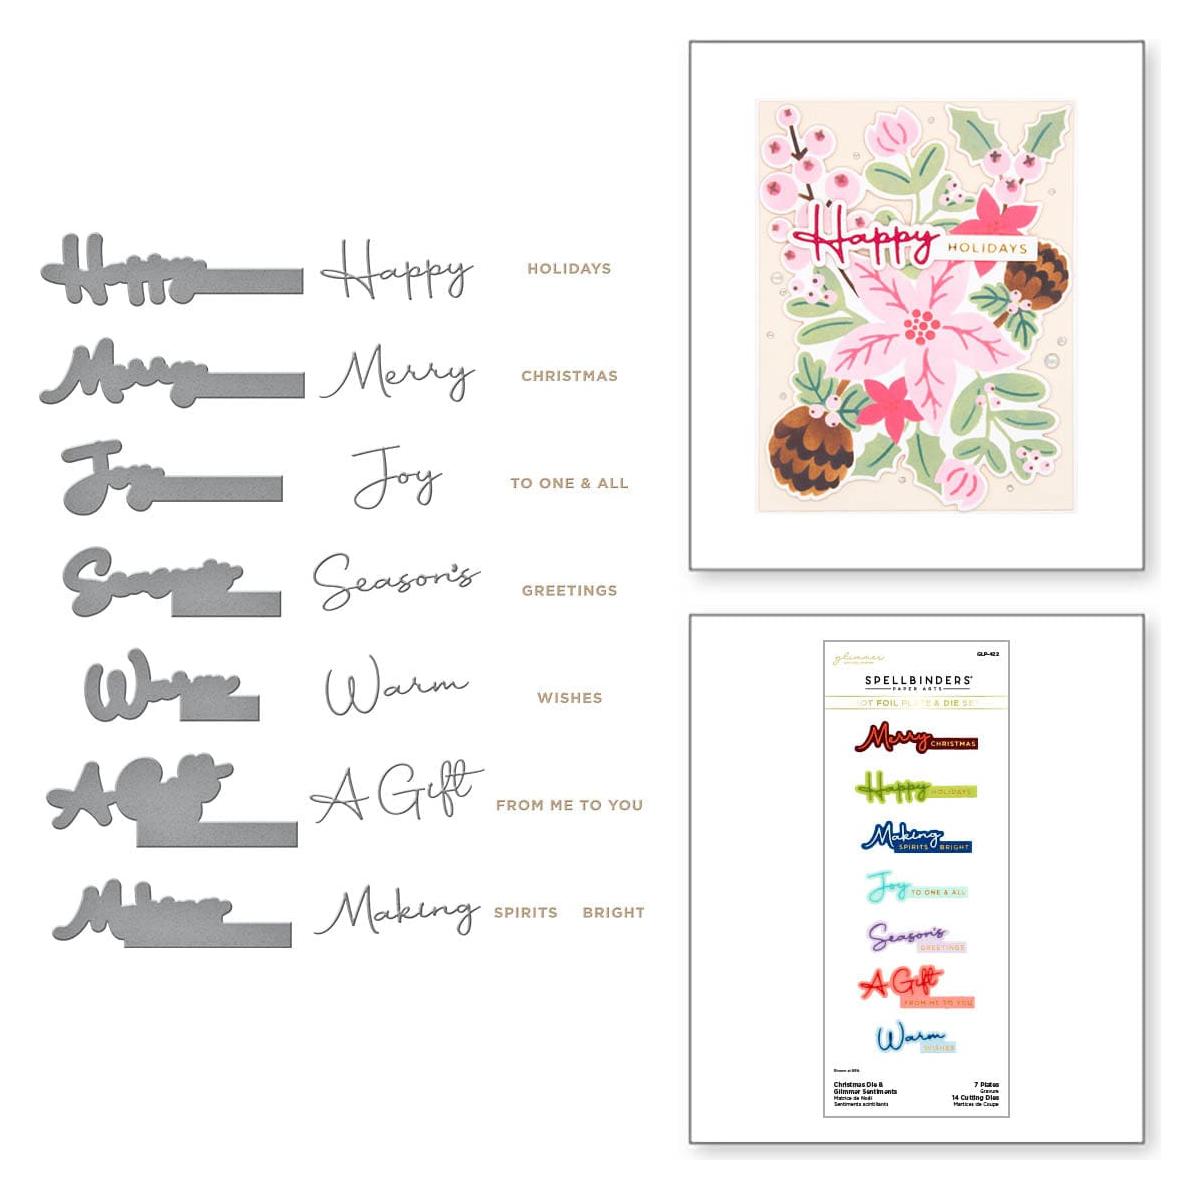
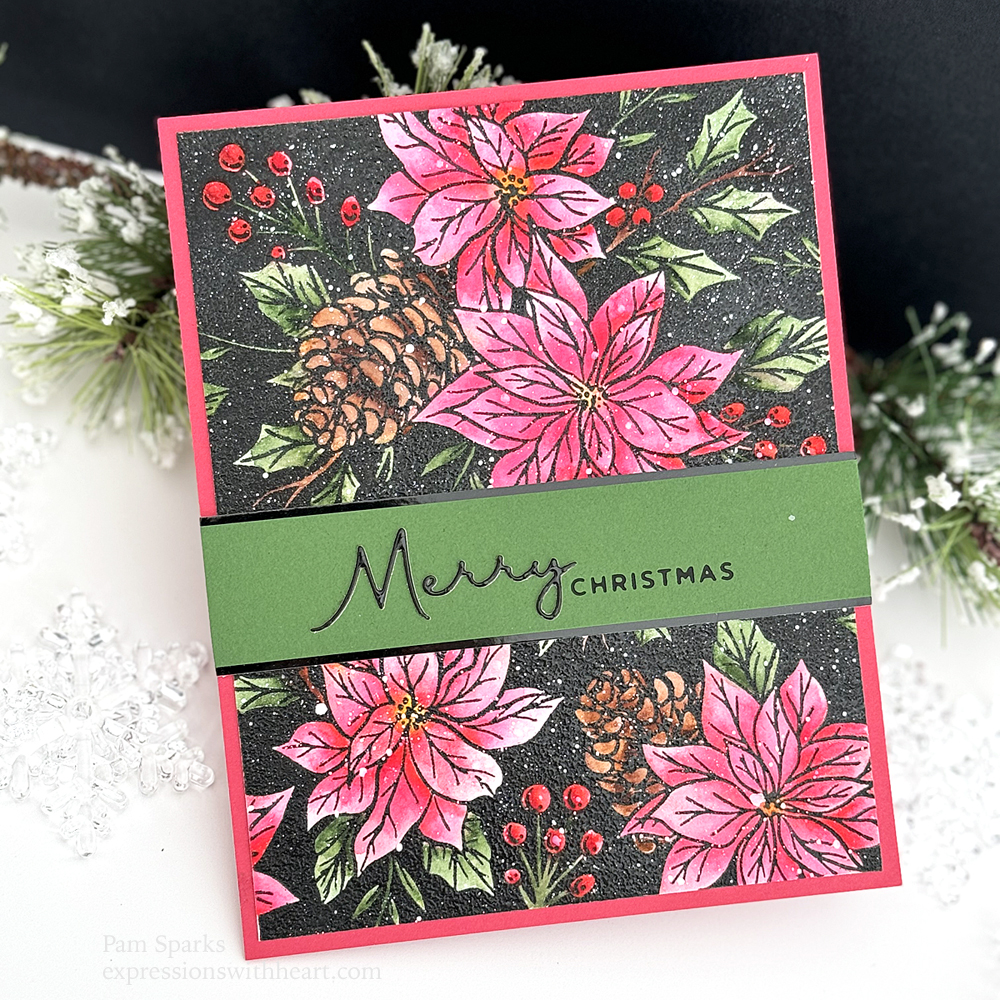
The sentiments for both of these cards are from the Christmas Die and Glimmer Sentiments Hot Foil and Die set.  I die cut the words in black glossy cardstock and I used black foil for the sub sentiment.

Linking my cards to some challenges…

Color Hues #98 – Red and Black (2nd card)

Can You Handle The Pressure – anything goes using an embossing folder  (2nd card)

Simon Says Stamp Wednesday Challenge – anything goes (1st card)

Die Cut Divas – Any Holiday in the year  (2nd card)

Merry Little Christmas #59 – anything Christmas goes (1st card)

I feel like I should apologize for this being so long.  I see other gals posting two cards at once but it seems like a longer post when I do it! lol  I hope you made it through and got a little inspiration!  I CANNOT believe it’s NOVEMBER 1st!  EEK!  Don’t panic, don’t panic!

It’s cooling off here…the sun was out for a minute. I need to decide if I can hang my plants back out.  This time of year is so hard for me.  I hate having to take all my ferns down.  So sad!

Have a great weekend everyone!  Happy cardmaking!

Here’s shopping links for the products I used to make these two cards…. thank you so much for tapping/clicking through…I appreciate it!

SPL = Spellbinders, SBC = Scrapbook .com, SSS = Simon Says Stamp, STR = Starlitstudio


Festive Poinsettias BetterPress and…
[ SPL | SBC | SSS ]
Festive Poinsettias Press Plate from…
[ SPL | SSS ]
Christmas Die & Glimmer Sentiments…
[ SPL | SSS ]
Yana’s Amaryllis Etched Dies from the…
[ SPL | SBC | SSS ]
Amaryllis Garden 3D Embossing Folder…
[ SPL | SBC | SSS ]
Emerald Cut Labels and Tag Etched…
[ SPL | SSS ]
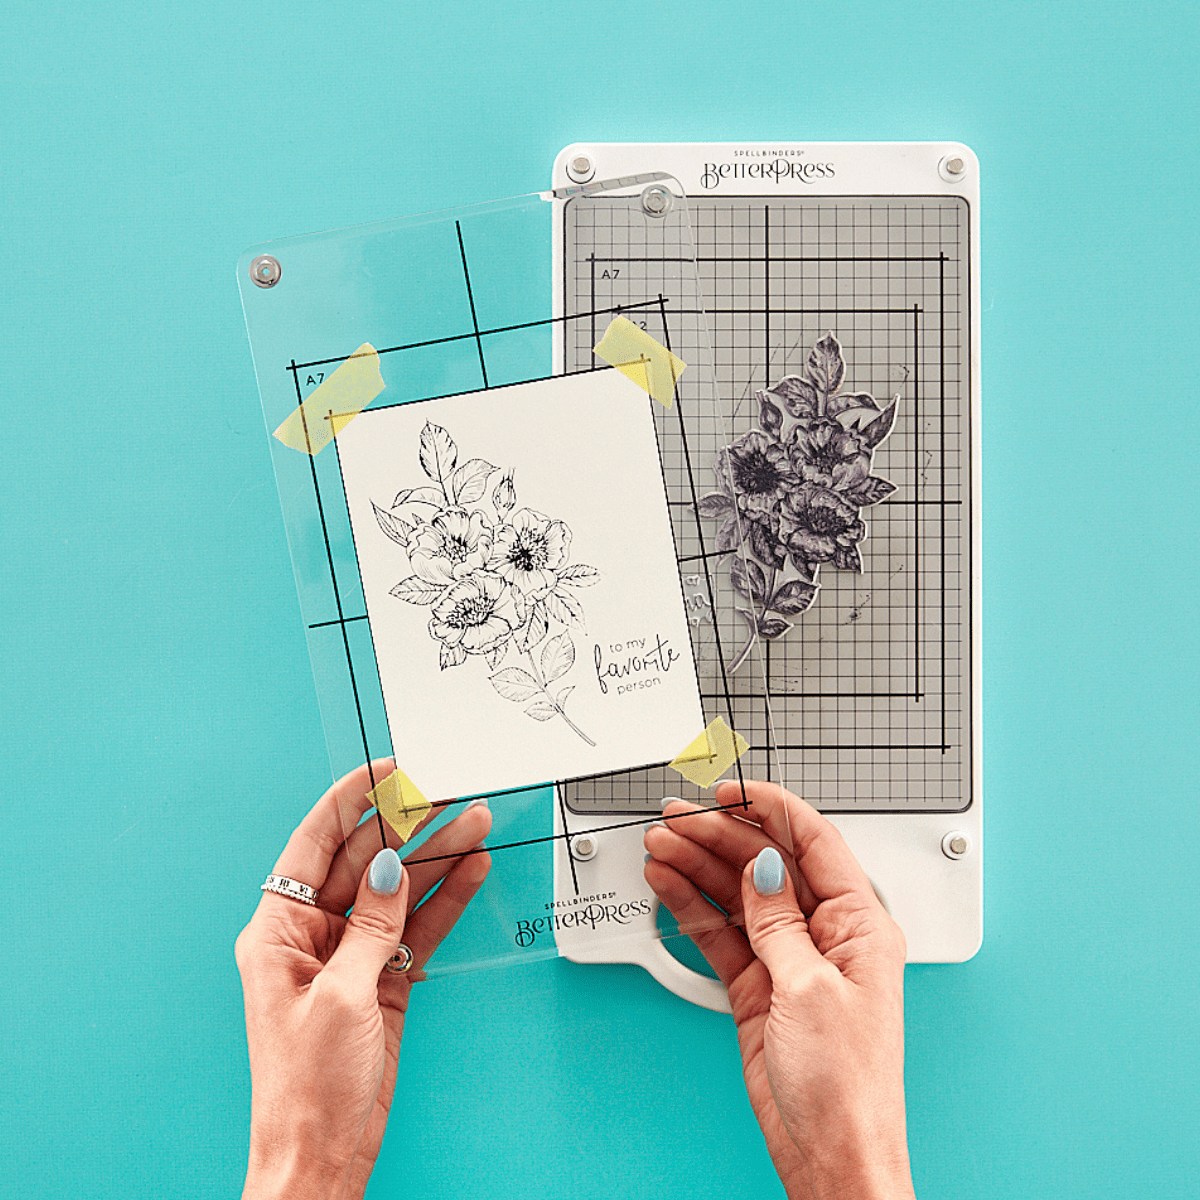
BetterPress Letterpress System |…
[ SPL | SBC ]
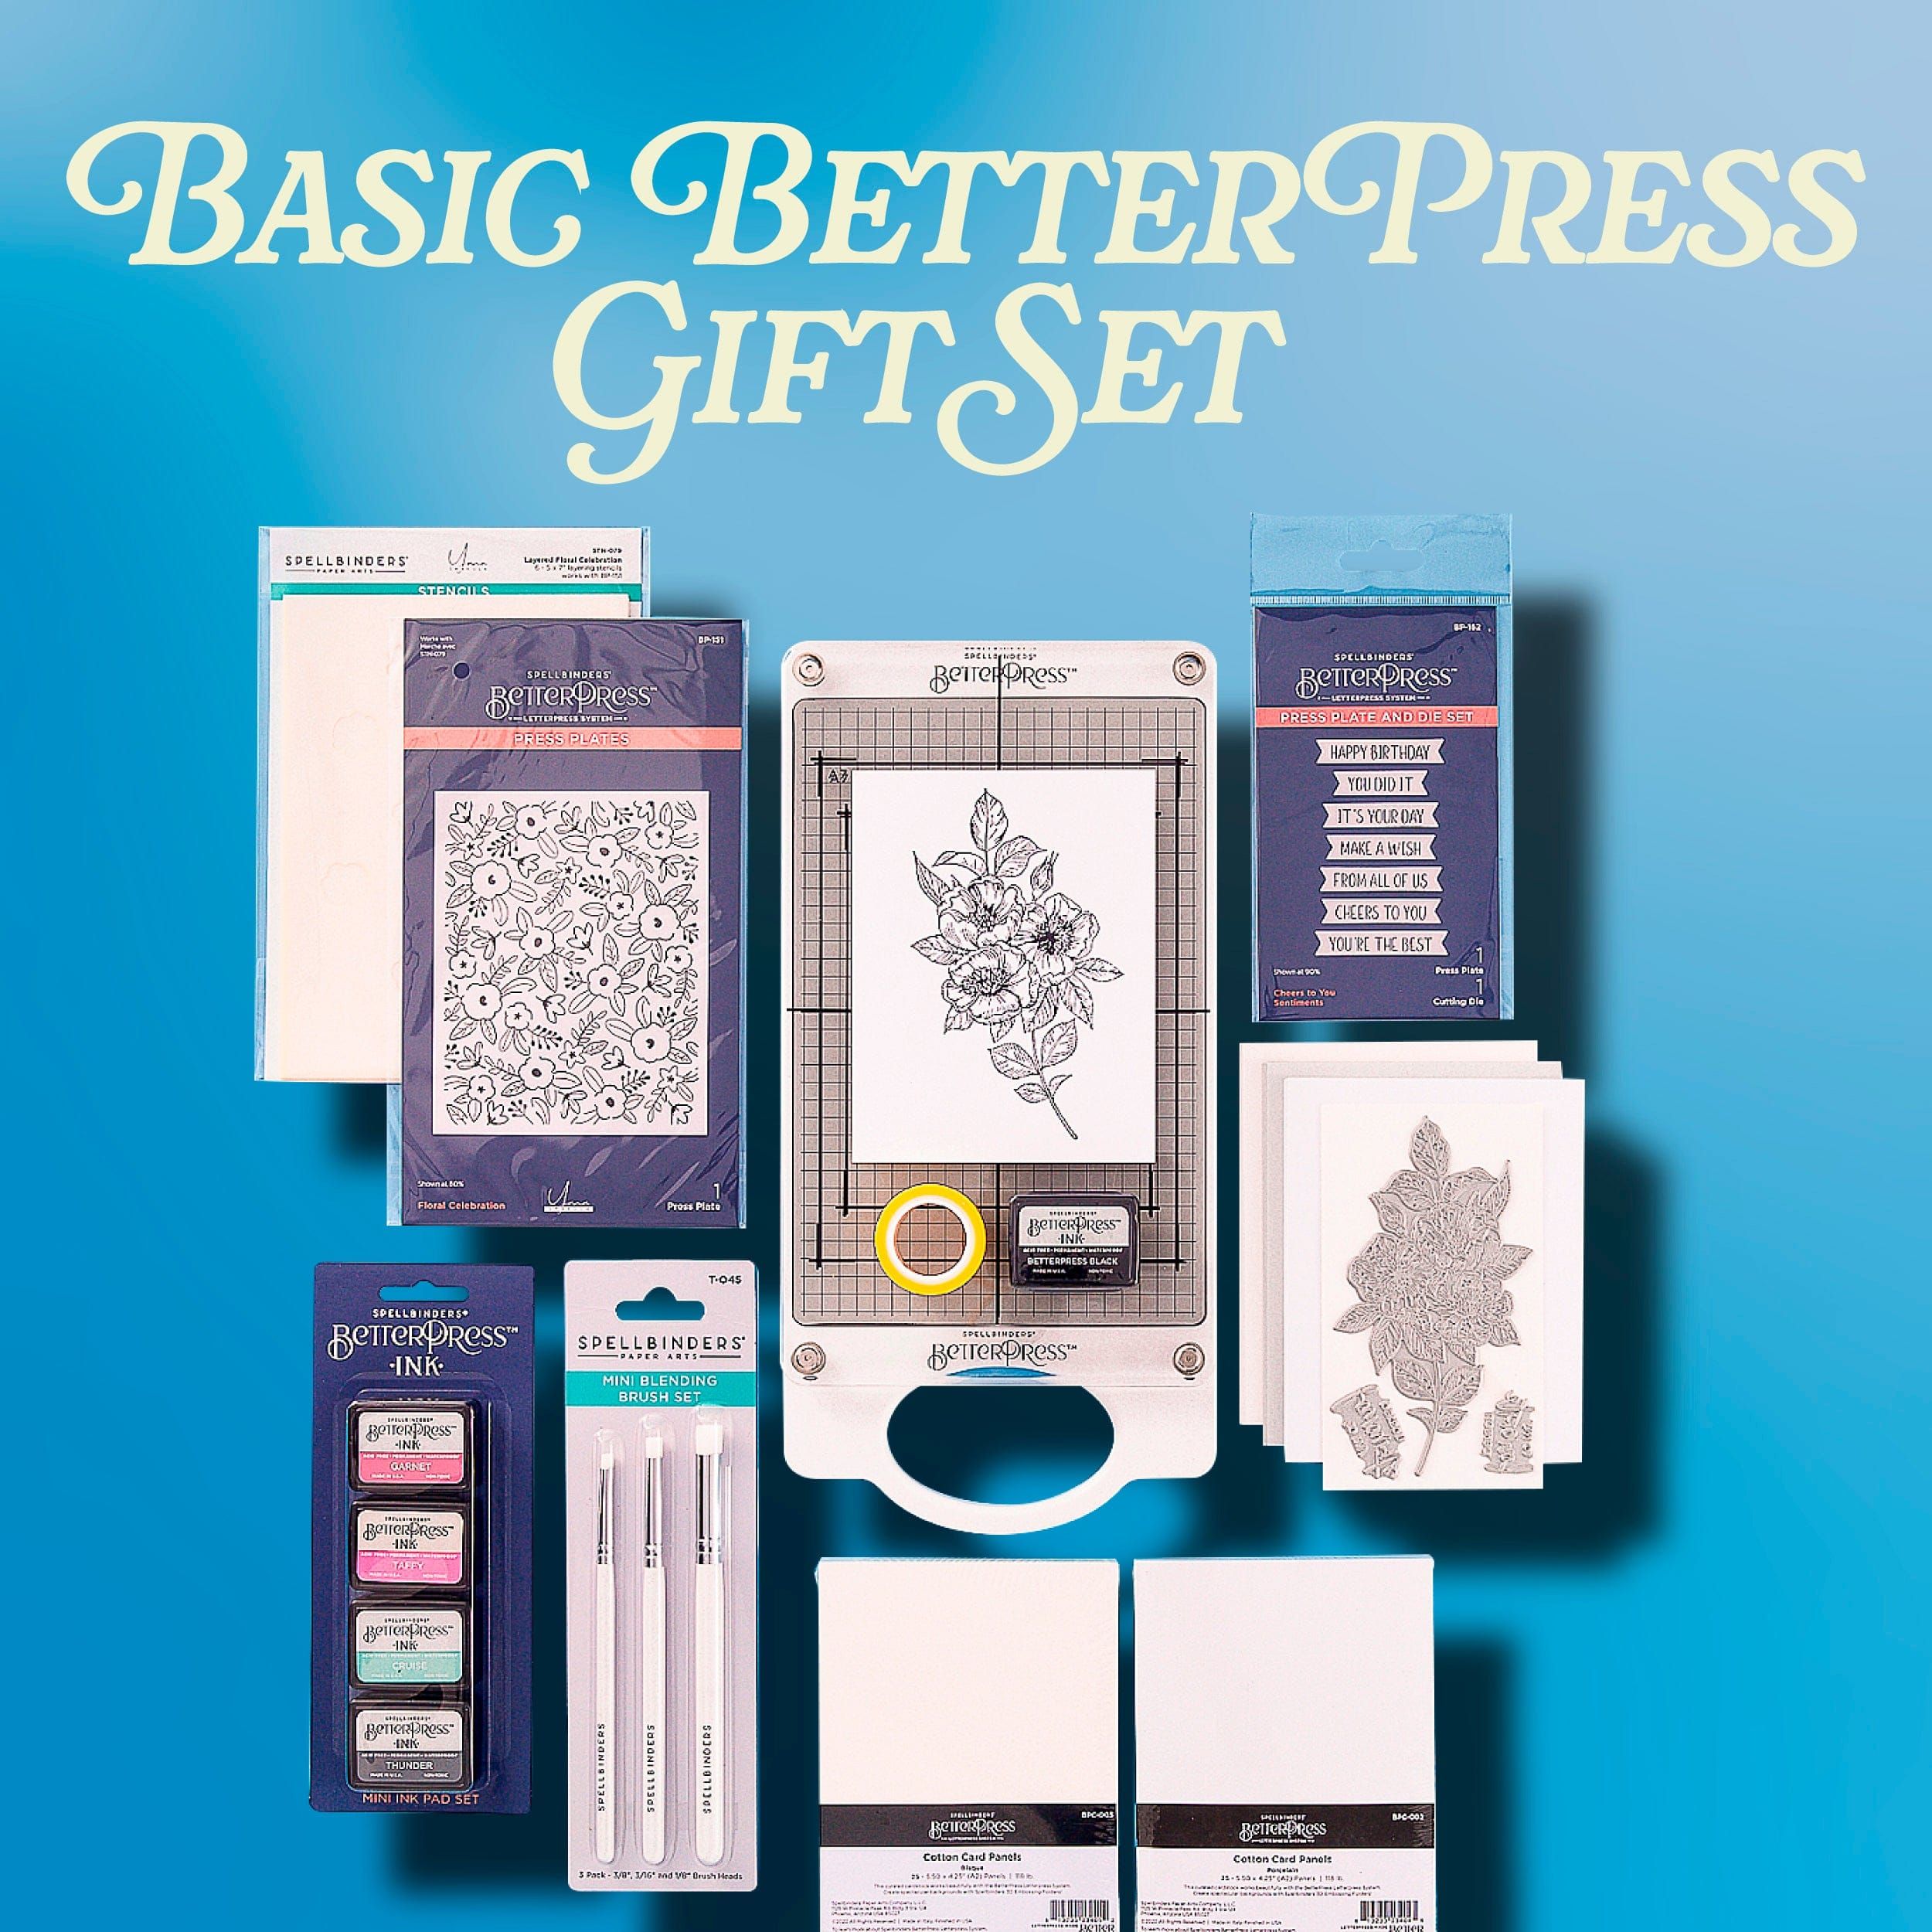
Basic BetterPress Gift Set -…
[ SPL ]
Spellbinders – Black Platinum 6 Die…
[ SBC ]
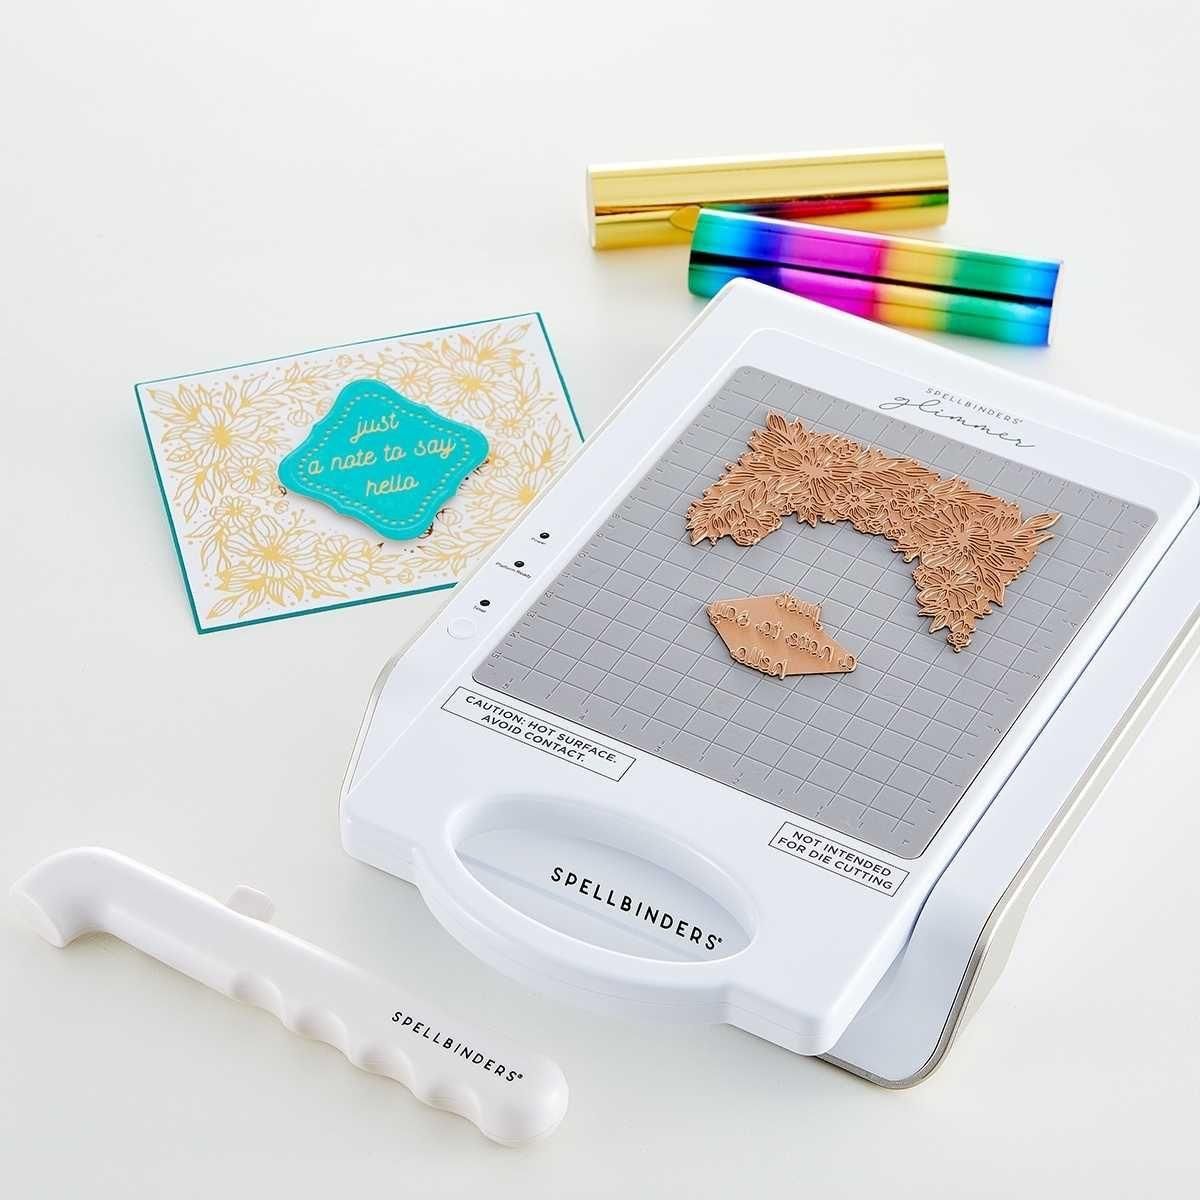
Glimmer Hot Foil System Platinum |…
[ SPL | SBC | SSS ]
Art Impressions Watercolor Bonnies…
[ SBC | BLIC ]
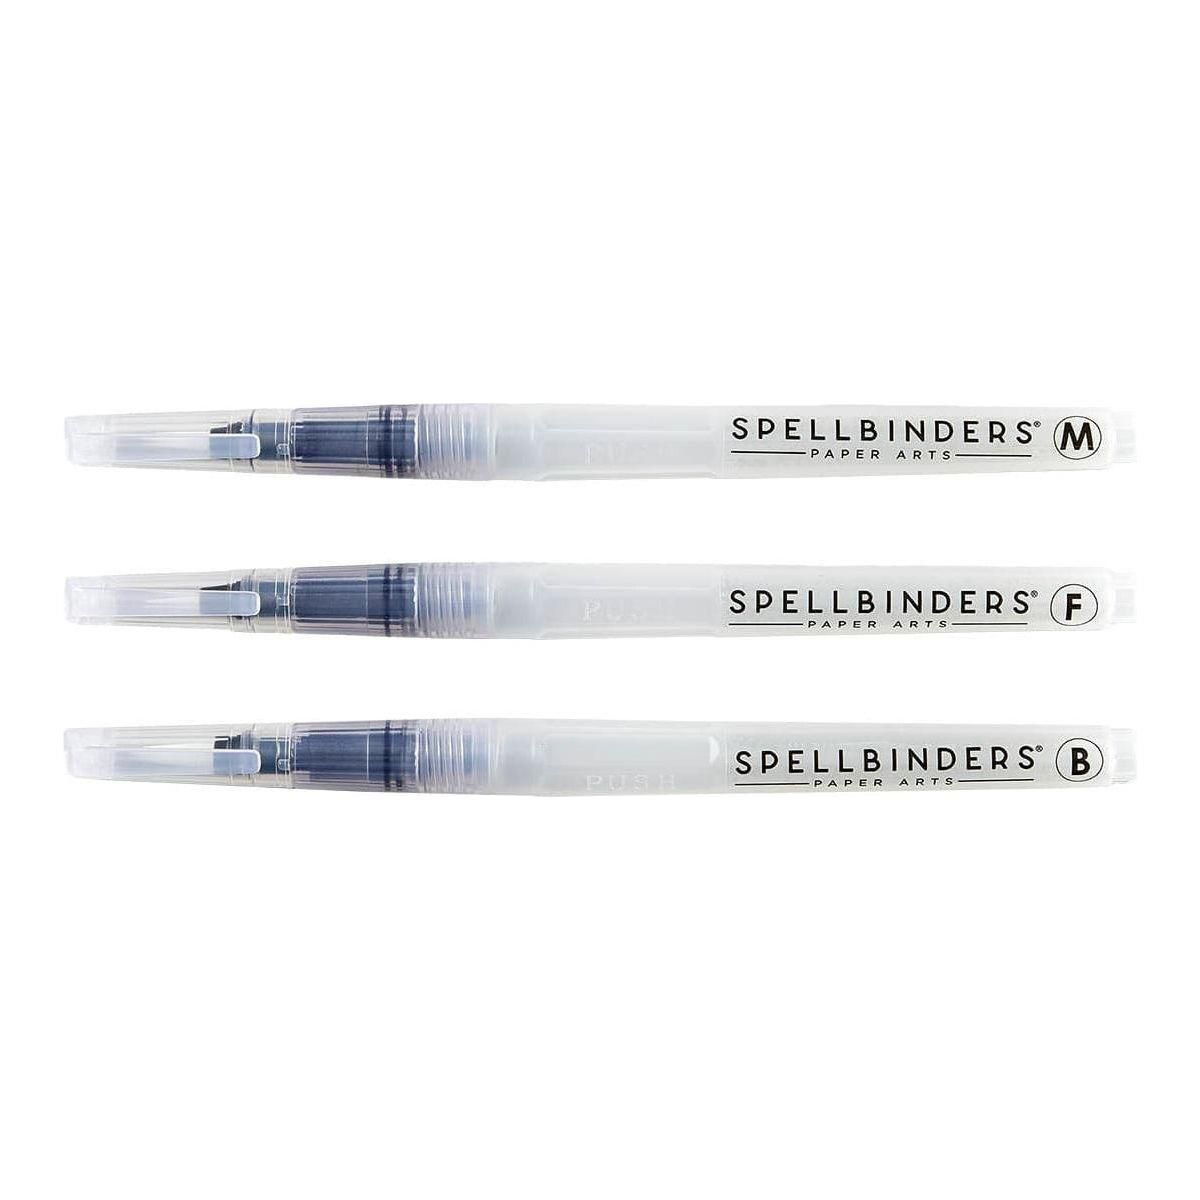
Water Brush Set – 3 Pack |…
[ SPL | SSS | SBC ]
Sakura Koi Water Brush – Round, Size…
[ BLIC ]
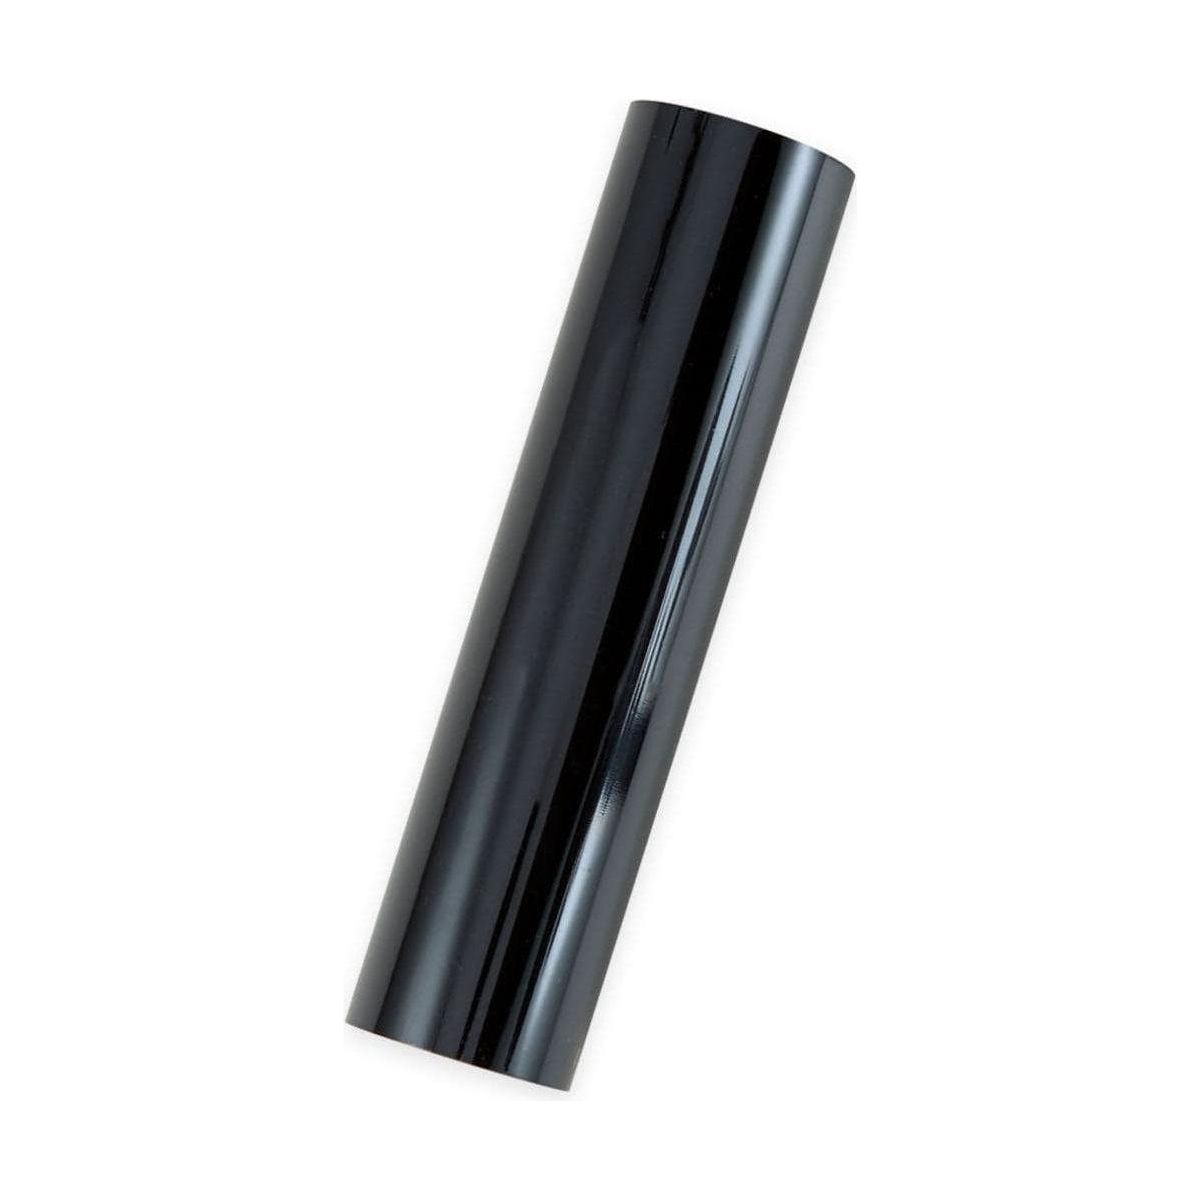
Glimmer Hot Foil Roll – Black -…
[ SPL | SBC ]
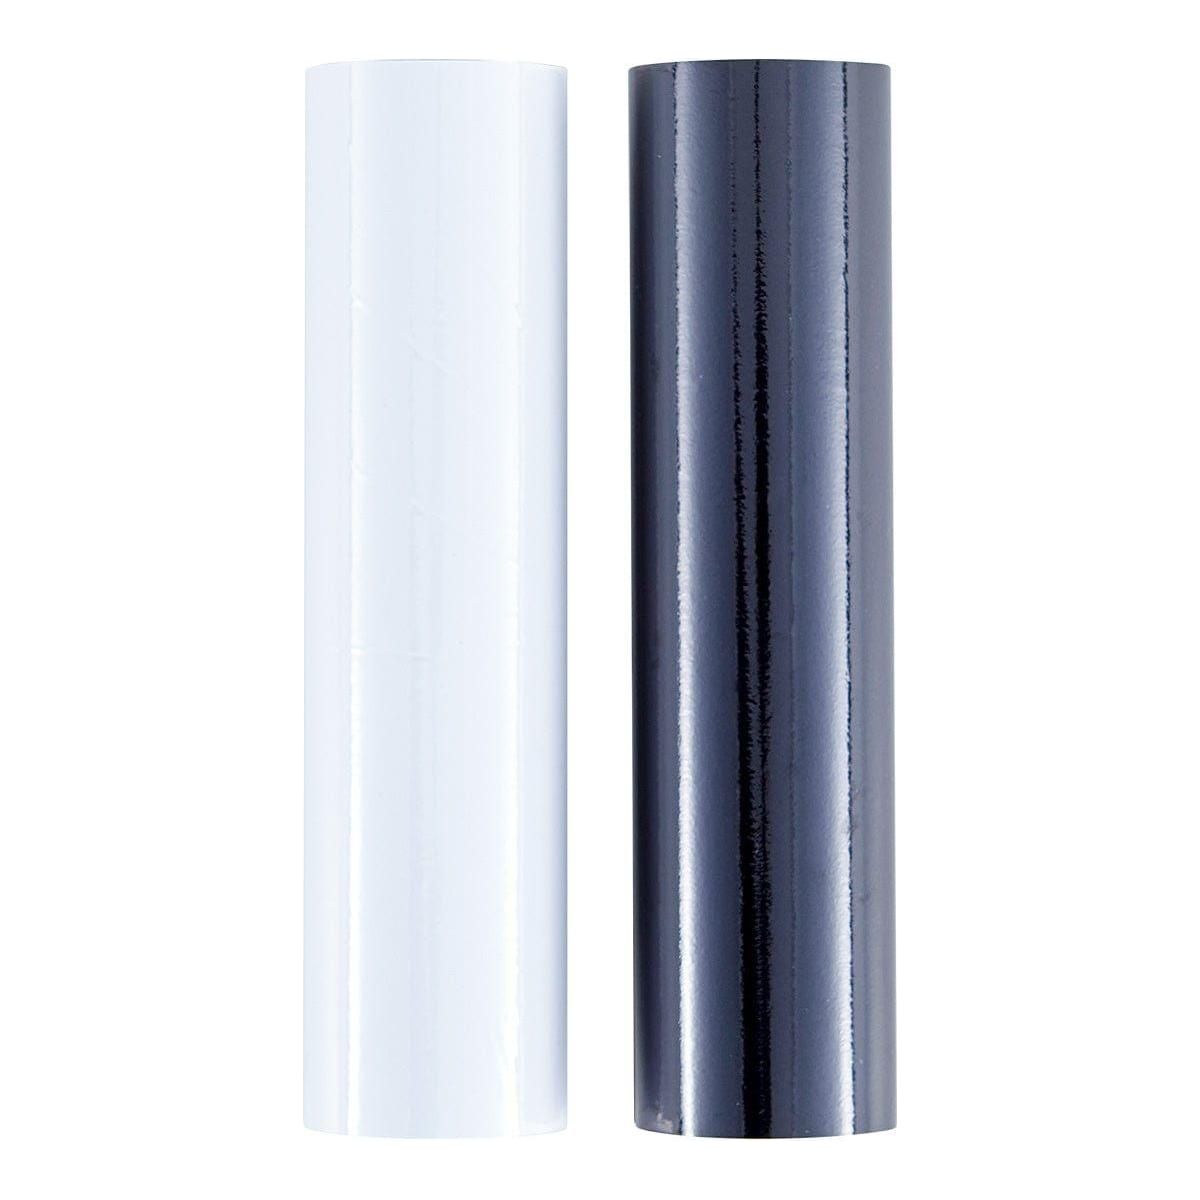
Glimmer Hot Foil 2 Rolls – Opaque…
[ SPL | SBC ]
Mirror Gold Cardstock 8 1/2″ x 11 -…
[ SPL ]
Memory Box BLACK GLOSSY 8.5×11 Paper…
[ SSS | STR ]
Ranger Embossing Powder Clear EPJ37330
[ SSS | SBC ]
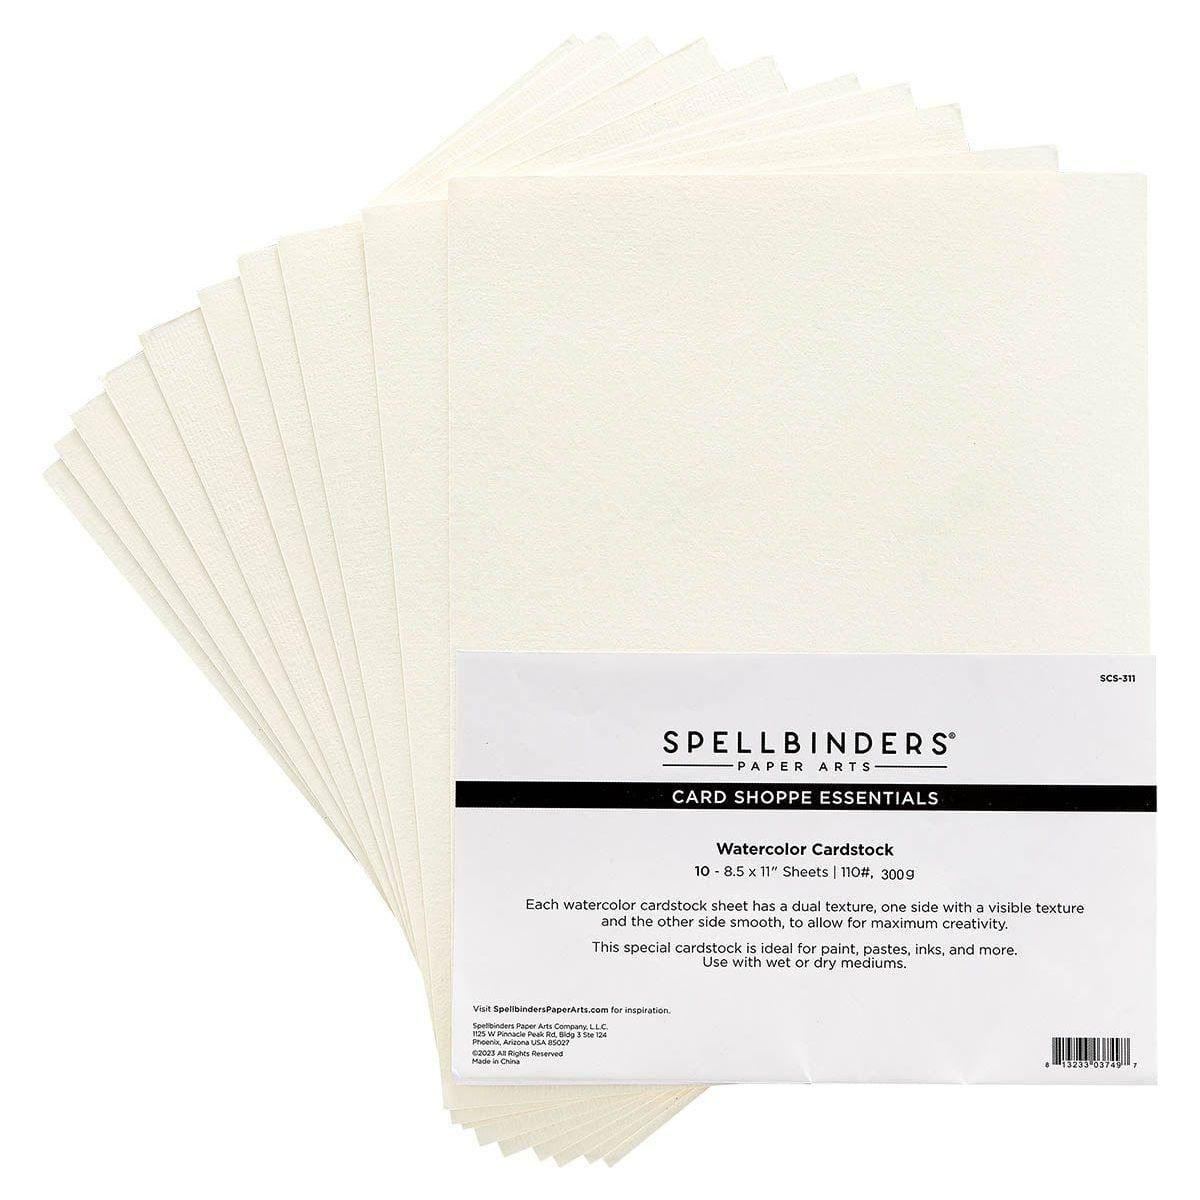
8.5″ x 11″ Watercolor Cardstock – 10…
[ SPL | SSS ]
Scrapbook Adhesives Crafty Foam Tape…
[ STR ]
Tombow Mono Multi Liquid Glue
[ STR | SSS | SBC ]


All Occasion · cards · CAS · Die Piecing · Embossing Folders · Flowers · Hot Foiling · Memory Box · Poppystamps · Spring · Thinking of You · Watercolor

Memory Box New Marvelous Magnolia 3D Embossing Folders Cards…

Hello in hot foil on watercolor paper today!

Two cards to share with the same coloring idea.  I used watercolor crayons.  Do you remember those?  Do you have some stashed away in a drawer or cupboard?  It was really easy to do, color it on then go over it with a wet paint brush.

I started out by embossing the folder on watercolor paper…this picture is Strathmore.  I ended up using Memory Box Watercolor paper for the card with the plaid background.  My second card is Hammermill color copy cover cardstock.

I had to do it over because after I was done painting, I put it back in the folder and ran it through again but I didn’t get it lined up right.

The second time I didn’t run it through again after painting!  Learned my lesson! haha

I used the NEW Magnolia Plaid paper for the background and a strip of paper from the New Magnolia Grove paper pad under the sentiment.

Lines of foiling run through this plaid paper so I used Gold Mirror/Foil Cardstock to mat the embossed panel.  I die cut out the center of it so I can use it for something else.

I wanted to carry over the gold into my sentiment so I used the Hello from poppystamps Birthday Wishes Poe Script foil and cut die set.

I used Memory Box watercolor cardstock for the embossed panel and the sentiment.  I really like how it colors and how easy it is to remove color if you get it where you don’t want it!

My next card is the same 3D embossing folder but lighter colors and on cardstock.

This folder comes with dies!  I embossed another panel of cardstock and die cut and embossed them but didn’t get a card made with them yet.

I did the same coloring with watercolor crayons.  I bet watercolor pencils would work too!

For this one I die cut the Memory Box Thank You Posh Script die in vellum and TE Cupcake Pink cardstock.

Very simple but I’m happy with both of them!  whew!  I can’t believe it’s already Thursday.  I’ve worked on these since Monday.  I guess I played too much! haha

Linking to some Challenges…

Can You Handle the Pressure Challenge – anything goes (isn’t this a fun name?!)

Simon Says Stamp Wednesday – anything goes

Papercraft Challenges – #93 Spring

Thank you for stopping by! Talk to you again soon!

Products I used to make these cards…

Memory Box – EF1035 Marvelous…
[ STR | SSS ]
Memory Box – 94529 Thank You Posh…
[ STR | SSS ]
Poppystamps – PSF807 Birthday Wishes…
[ STR ]
Bazzill FOIL Cardstock – shiny gold
[ STR ]
Memory Box – PP1021 Magnolia Plaid…
[ STR | SSS ]
Memory Box – PP1022 Magnolia Grove…
[ STR | SSS ]
Memory Box – WP101 Watercolor Paper -…
[ STR ]
Caran d’Ache Neocolor II Aquarelle…
[ BLIC ]
Hammermill WHITE 100 LB SMOOTH…
[ SSS ]
TE Premium Cardstock – Cupcake -…
[ TE ]
Spellbinders – Glimmer Hot Foil Roll…
[ SBC | SPL ]
Scrapbook Adhesives Crafty Foam Tape…
[ STR ]

All Occasion · Birthday · cards · Distress Ink coloring · Flowers · Get Well · Shopping · Simon Says Stamp · sympathy · Thinking of You · Watercolor

Simon Says Stamp Beautiful Days Release…

Hello everyone! After Winter we’re thinking #Beautiful Days!  Bring ’em on!   Simon Says Stamp sent me this stamp set to play with and I’ve made two cards with it.  A super cute set, Garden Fresh!

Out came my Distress Reinkers and paint brushes to watercolor.  I stamped the images on Strathmore Best Watercolor paper with Ranger Black Archival Ink in the MISTI.

The first one I made is pretty rustic…I wasn’t sure it was post worthy but I was encouraged by cardmaker friends on Instagram to go for it!  So here it is!  A not so rustic one follows!

There’s something about watering cans that just draws me in.  I have a really old one I like to sit out for Summer porch decor.

I stamped and watercolored this regular like, then decided after I’d spattered to go over it with my Gathered Twigs mini blending tool!  All the while telling myself it was only a card! lol

It’s A2 size and I die cut the frame from Simon Says Stamp Frames die set, inked it with Gathered Twigs regular Distress ink and glued it on.

I added some think twine and a button and called it good.  The sentiment is from the set also.

Here’s my next card…not brown card! lol

Jars are so fun for flowers too!  The images in this set are so easy to color in!

The water looks dark in my pictures… I’m gonna have to go back and take some water and lighten it up!  Funny what you notice after you’ve taken photos and are writing a blog post!

I’m thinking this card could be used for any kind of shower and also for get well!  A very versatile set.

There’s one more floral image in the set that would be perfectly delightful stamped inside!  I love the birthday sentiment too!

Happy Saturday to you!  It’s looking like our weekend will be on the chill side so I might get some more cardmaking in!  A good day to shop the Beautiful Days NEW Release!

ttul!

Links to see what I used to make these cards…

Simon Says Clear Stamps Garden Fresh…
[ SSS ]
Simon Says Stamp Garden Fresh Wafer…
[ SSS ]
Simon Says Stamp FRAMES Wafer Dies…
[ SSS ]
Strathmore WATERCOLOR PAPER PAD…
[ SSS ]
Ranger Archival Ink Pad JET BLACK…
[ SSS ]
MISTI TEAL PRECISION STAMPER VERSION…
[ SSS | SSS | SSS ]
MINI MISTI PRECISION STAMPER 6×7…
[ SSS ]
Tim Holtz Distress Reinker GATHERED…
[ SSS ]
Tim Holtz Distress Reinker RUSTIC…
[ SSS ]
Tim Holtz Distress Reinker PEELED…
[ SSS ]
Tim Holtz Distress Reinker PICKED…
[ SSS ]
Tim Holtz Distress Reinker BROKEN…
[ SSS ]
Tim Holtz Distress Reinker FIRED…
[ SSS ]
Tim Holtz Distress Reinker MUSTARD…
[ SSS ]
Tim Holtz Distress Reinker HICKORY…
[ SSS ]
Tim Holtz Distress Reinker DUSTY…
[ SSS ]
Zig Kuretake Gansai Tambi STARRY…
[ SSS ]
May Arts NATURAL Twine String Burlap…
[ SSS ]
Simon Says Stamp Blending Brush SET…
[ SSS ]
Tim Holtz Distress Ink Pad GATHERED…
[ SSS ]
Ranger MINI ROUND INK BLENDING TOOLS…
[ SSS ]

All Occasion · Birthday · cards · CAS · Die Piecing · Easter · Flowers · Hot Foiling · Memory Box · Poppystamps · Spring · Watercolor · Zigs

Memory Box and poppystamp Cards…

Happy Spring to you today! I’m not sure who all has tulips yet but when you do, you know it’s Spring!

I started out with the NEW poppystamps Layered Tulips die set.  I cut the petal piece in three pinks and instead of using all three colors on one flower, I went with three different color tulips.  I’m glad I did this time!

I went over my options of what to do with them after I made them and thought…they’d be great in a basket!

I love this basket from the poppystamps Woven Basket Pop Up Easel Set.  I die cut it in kraft cardstock, then ran it back through with the embossing stack for the big shot.  I shim it quite a bit to get the embossing deep.

Then using the mini ink blending tool and Gathered Twigs Distress ink pad I browned it up!

I used the grass and the bow from the basket set also.

It’s an A2 size card!

My next two cards are using the NEW Memory Box Floral Stems die.

I die cut the floral stems from Memory Box watercolor cardstock and colored it with Zig Clean Color Brush markers and water.

I die cut an A2 panel of kraft cardstock with the NEW Memory Box Curved Cap Pinpoint Layers die set, then die cut the NEW poppystamps Pointy Lattice Plate in white cardstock and layered it over the top.  Trimmed off the excess.

I made an A2 size white cardbase and adhered the lattice panel direct to the cardfront.  The outside part of the panel is adhered with the thin mounting tape that I love so much.

I wrapped some twine and then the NEW Memory Box Posh Birthday Wishes Hot Foil Plate and Cutting die set for the sentiment.

As soon as I finished this, I thought, this could be a great Easter card!  I didn’t get any Easter cards made.  Maybe I’ll have time to make something for the grands tomorrow.

I added some gold fairy gems in a few places on the lattice.

I always love the ‘window’ look on a card!  I always notice windows on houses too! lol  Right now mine are dirty!  We had one storm that blew snow so bad and it was dirty!  I was sad because it’d only been a month since I’d washed windows! Figures!

My last card…clean and simple.  I wasn’t sure I should even post it but it is nice IRL.

This looks champagne color but it’s really silver.  My last picture will show it silver but it’s not the best photo!

The NEW Memory Box Confetti Dot Hot Foil Plate turned out really neat!  I was pleased.  Finally getting better at doing the large foil plates.  I was afraid to shim it but that’s what it needs for the machine I have.

I die cut the foiled panel with the NEW Memory Box A2 Rectangle Frames Die Set and layered that with the thin mounting tape on my A2 size white cardbase.

I die cut the NEW Memory Box Happy Birthday Tender Script die in white and silver foil cardstocks…so fun!

ok this last picture shows it silver….get your sunglasses!

It doesn’t do it justice but at least you can see it’s silver!  The struggle is real taking photos!

Thank you so much for stopping by my blog!  I appreciate it and thank you so much for your kind comments!

Have a blessed Easter weekend and talk to you again soon!

Here’s a shopping list to the products I used to make these cards…

Poppystamps – 2557 Layered Tulips…
[ STR | SSS ]
Poppystamps – 2463 Woven Basket Pop…
[ STR | SSS ]
Memory Box – 94638 Backyard Floral…
[ STR | SSS ]
Mini Ink Blending Tool *new* – 2…
[ STR | SBC | SSS ]
Ranger Ink – Tim Holtz – Distress Ink…
[ SBC | SSS ]
Memory Box – 94646 Curved Cap…
[ STR | SSS ]
Poppystamps – 2558 Pointy Lattice…
[ STR | SSS ]
Memory Box – MBF004 Posh Birthday…
[ STR | SSS ]
Memory Box – MBF001 Confetti Dot Hot…
[ STR | SSS ]
Memory Box – 94672 A2 Rectangle…
[ STR | SSS ]
Memory Box – 94671 Happy Birthday…
[ STR | SSS ]
Memory Box – WP101 Watercolor Paper
[ STR ]
Hammermill WHITE 100 LB SMOOTH…
[ SSS ]
Scrapbook Adhesives Crafty Foam Tape…
[ STR ]
Spellbinders – Glimmer Hot Foil -…
[ SBC ]
Glimmer Hot Foil Roll – Gold –…
[ SPL | SBC ]
Memory Box/Open Studio – Fairy Jewels…
[ STR | SSS ]
Bazzill Foil Cardstock – Silver 12×12
[ STR ]