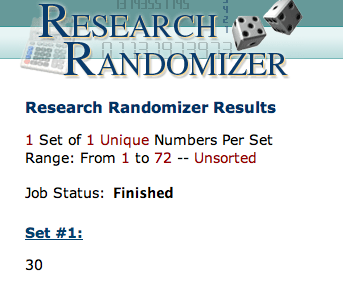
Hi everyone! There is a Stencil Blog Blitz going on over on the Memory Box Blog, HERE. Every day there is a chance to win a stencil, just by leaving a comment on the blog post each day.
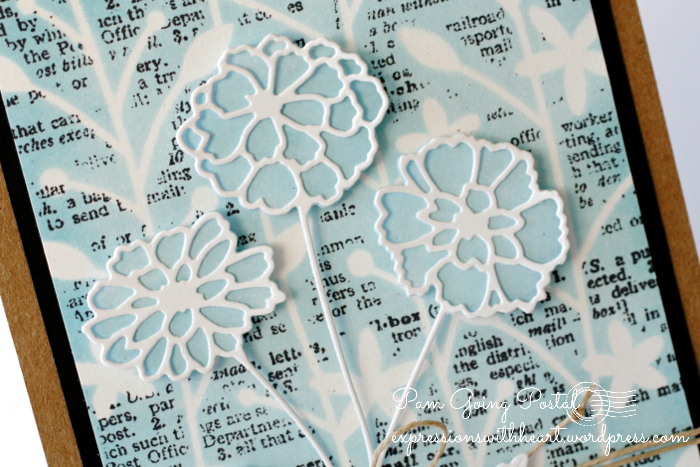
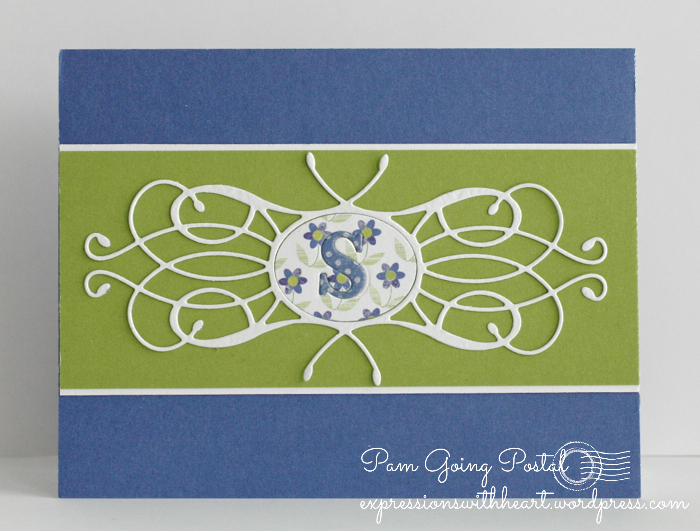
In today’s post, Laura is showing the Pop Dots Stencil. I have a card made with it and the poppystamps Mod Flower Background die matches up with it perfectly! I embossed the stencil by running a piece of card-stock through the big shot, then laying the stencil back over the embossed piece as a mask, I used several colors of Distress Stains to color the circles…Spun Sugar, Peeled Paint, Barn Door and Broken China.
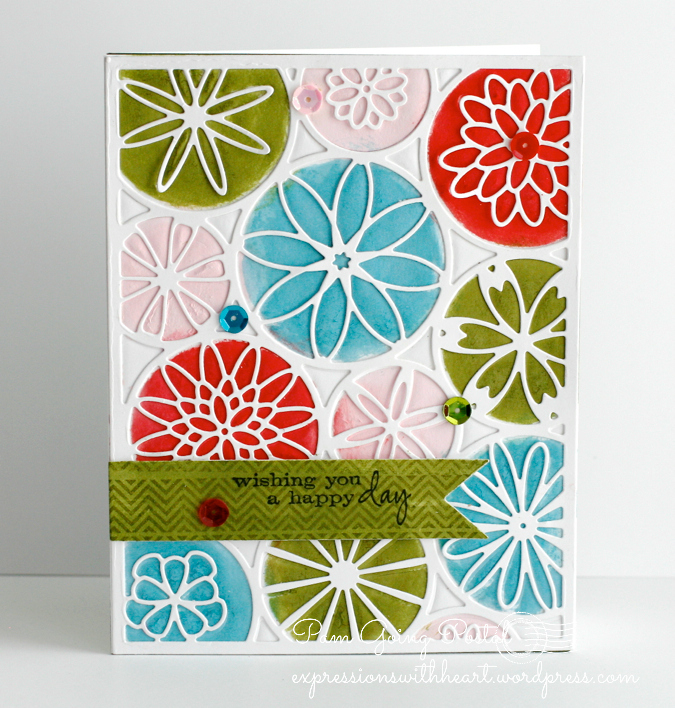
Then I added a banner cut with poppystamps Classic Ribbons die, I stamped on it with a Memory Box Washi Chevron stamp and Wishing You a Happy Day stamps
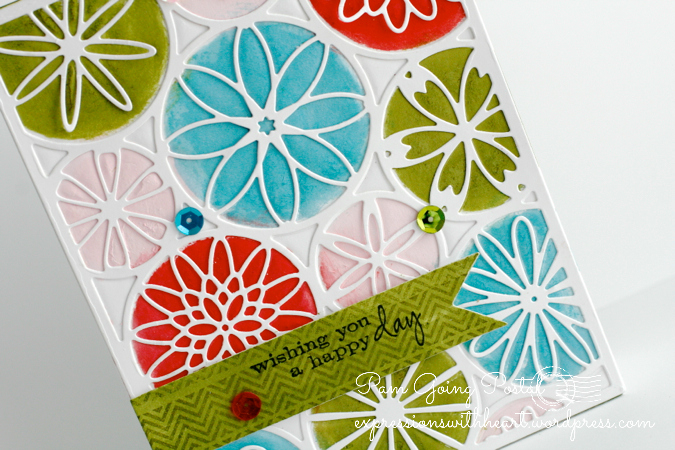
Some Doodlebug Sequins to embellish and then glued together with Tombow Mono Multi glue.
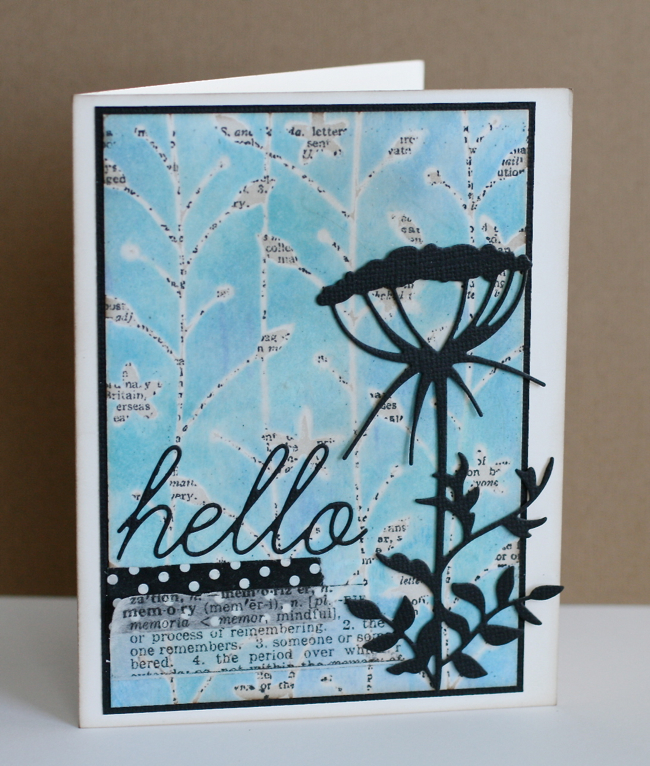
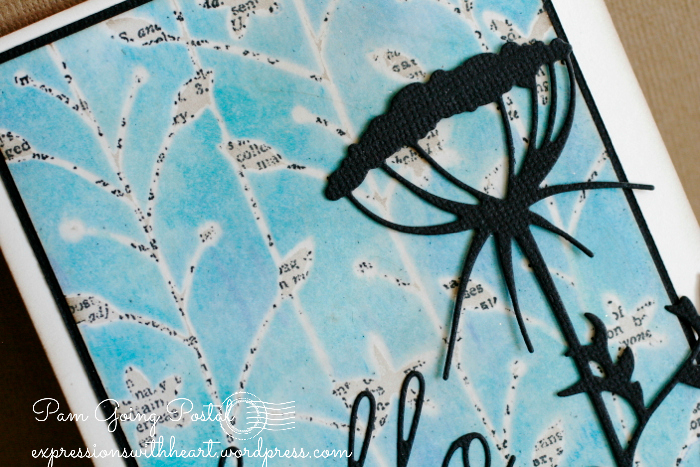
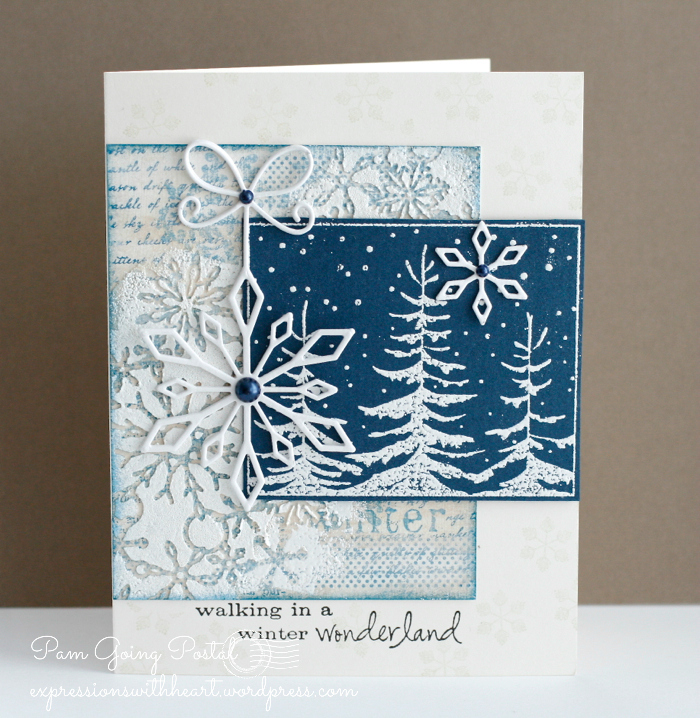
I posted a stencil card on the Memory Box Blog for the Blog Blitz on Saturday, using the Texture, Line Up stencil, Delphinium and Stems mini stencils from the Garden collection.

I inked through the stencils with Distress Inks and the new Round Ink Blending Tools. (they are awesome by the way!)
Then I cut the Rhone Butterfly Wings die in the panel and layered Lagoon card-stock under it.
The Blooming Branch die is glued on behind the Classic Ribbons Banner and the word FLEUR is cut with the new Urban Uppercase Alphabet die set.
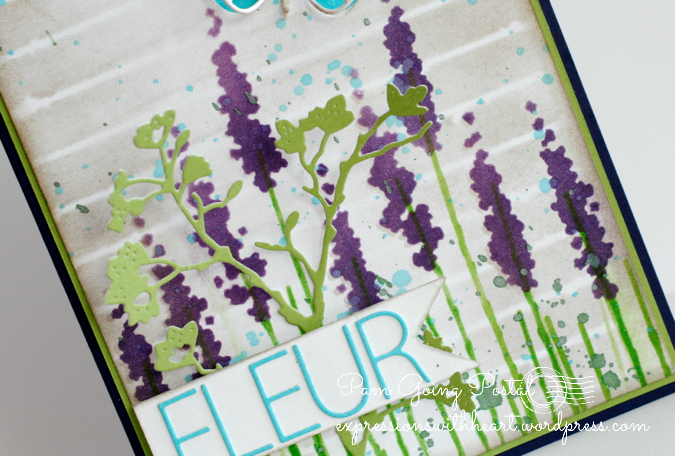
And I have found that I LOVE to spatter! Two colors of spray mist spattered on the panel. Shake the mists side to side to mix, unscrew the cap and tap with your finger to spatter the ink off the tube. Works great!
I used my Perfect Layers mini Rulers and Cutting mat to cut the mat for the floral scene. Link over on the right… love these rulers!
I have more cards to post and photos and cards from the Great Yosemite Stamp Escape too! I’ll be back soon!
Thanks for stopping by, it’s good to be back. I have missed you ALL!
p.s. I still haven’t been able to get Google to recover my You Tube Channel. It’s so discouraging. This is for sure one time when technology is not my friend. boo.
There is one video on my blog Facebook page though. I wish I’d loaded them all to FB! Who’d a thunk!

Supplies I used on these cards…