Hi everyone! It’s a two card Thursday here and I wanted to go back and make a third but I got sidetracked!
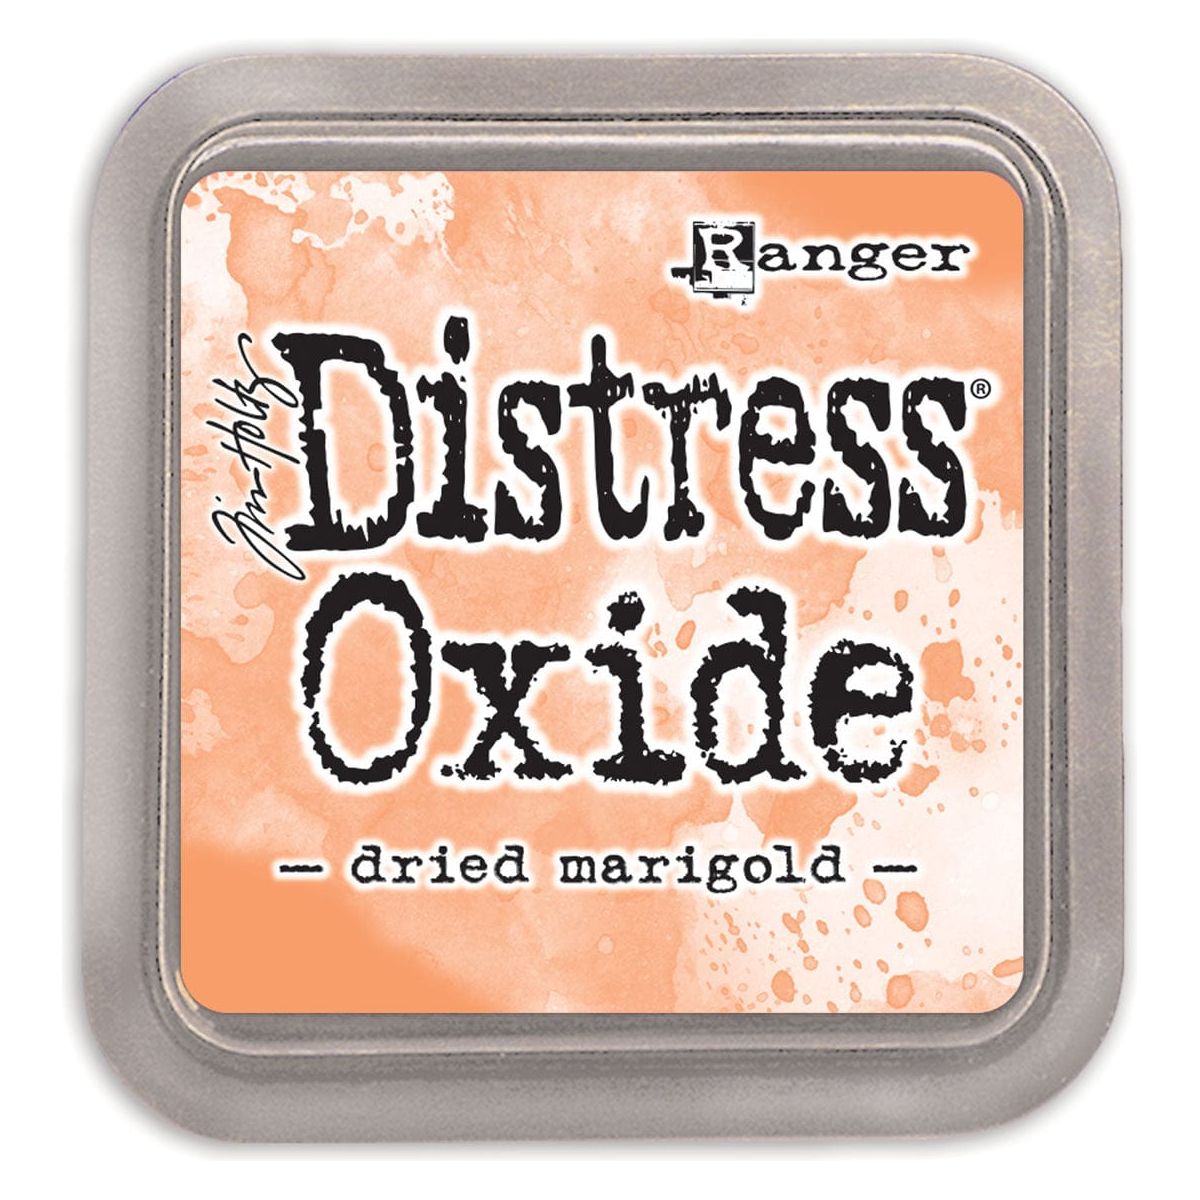
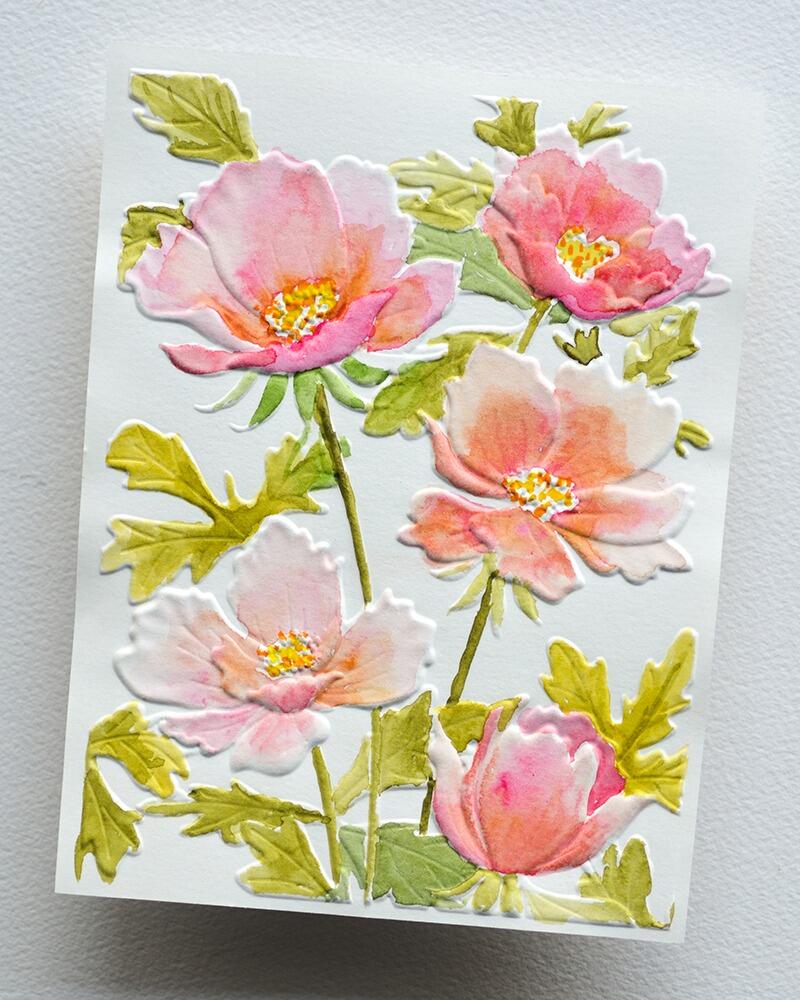
I started with this NEW Memory Box Perfect Poinsettias 3D embossing folder embossed in white and left it white. I used the two coordinating dies that come with the set and die cut them in white cardstock, then placed them in the folder to emboss them also. (I used removable tape to keep them in place) I inked the embossed die cut poinsettias with my red and green Distress Oxide brushes. I didn’t add more ink.

This picture is really light but I wanted to include it because it’s more the color of what the poinsettias are IRL. Editing enhances the color.

Which is fine…it’s pretty darker also!
I die cut the NEW Memory Box Brilliant JOY dies in white and inked up the outline letters with the red brush also, then removed them from the background and glued them to the matting layer.

Then I decided I wanted to try another method with the folder.

I brayered the folder with the Stormy Sky Distress Oxide ink pad.

Then I colored the poinsettias and greenery with Copic Sketch Markers. When I finished coloring I ran it back through the folder….I kinda wish I hadn’t done that because it shifted a hair. A little detail is lost in coloring with a wet medium so I wanted to get it back. oops.

Still beautiful though! I’m probably bias after coloring it! lol

Sorry about so many pictures this time. I was messing around with pictures using light from a different window. Oh eek! A photographer I am not! Even after all these years! I keep trying though! I think it’s just trying to please ‘my eye’ really and drive myself crazy! haha!
Holler if you have any questions!
oh, I wanted to show you this too. I did have another embossed piece I messed around with but it wasn’t something I could finish without starting over. Ignore the die cut flowers…see the mask with red and green inking? It’s a piece of copy paper that I die cut to use as a mask.
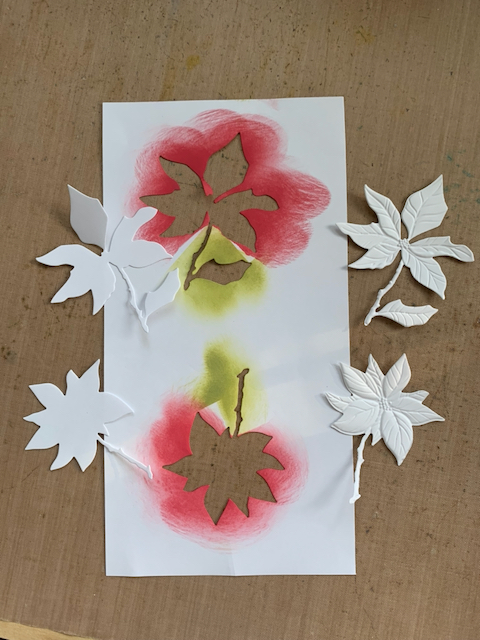
On an embossed panel you can mask these two poinsettias off and ink the flowers without using the die cuts. The only drawback is there is a third flower. I solved that by putting the die cut sentiment JOY over the flower that doesn’t have a die! Cool! Sorry I don’t have a card to show doing this yet.
Linking my cards to some challenges…
Simon Says Stamp Wednesday Challenge – Christmas
Krafty Chicks Challenge – Christmas
The Flower Challenge #85 – anything goes

Thank you so much for stopping by! Have a fun rest of the week and weekend creating! Talk to you again soon!

Dies and Supplies I used to make this card…
|
|
Memory Box – EF1037 Perfect…
|
Memory Box – 94759 Brilliant Joy…
|
Memory Box – CL5285 Shining Star…
|
|
Winsor & Newton Drawing Ink – Gold,…
|
Copic Sketch Markers and Sets | BLICK…
|
Tombow Mono Multi Liquid Glue
|
|
Scrapbook Adhesives Crafty Foam Tape…
|
Waffle Flower Crafts – Blending Brushes
|
Tim Holtz Distress Oxide Ink Pad…
|
|
Ranger Ink Tim Holtz Peeled Paint…
|
Sizzix Big Shot Die Cutting Machine…
|
Sizzix White Tool Caddy Big Shot…
|
|
American Crafts – Sticky Thumb…
|
Ranger Ink – Tim Holtz – 2.25 Inch…
|
Neenah Cardstock Classic Crest Ultra…
|
|
|