

Hi everyone! It’s a two card Thursday here and I wanted to go back and make a third but I got sidetracked!
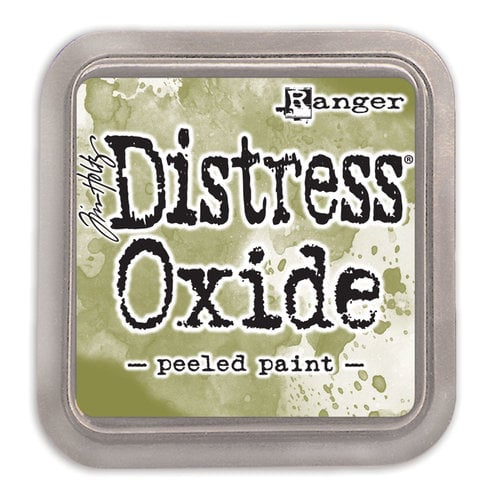
I started with this NEW Memory Box Perfect Poinsettias 3D embossing folder embossed in white and left it white. I used the two coordinating dies that come with the set and die cut them in white cardstock, then placed them in the folder to emboss them also. (I used removable tape to keep them in place) I inked the embossed die cut poinsettias with my red and green Distress Oxide brushes. I didn’t add more ink.

This picture is really light but I wanted to include it because it’s more the color of what the poinsettias are IRL. Editing enhances the color.

Which is fine…it’s pretty darker also!
I die cut the NEW Memory Box Brilliant JOY dies in white and inked up the outline letters with the red brush also, then removed them from the background and glued them to the matting layer.

Then I decided I wanted to try another method with the folder.

I brayered the folder with the Stormy Sky Distress Oxide ink pad.

Then I colored the poinsettias and greenery with Copic Sketch Markers. When I finished coloring I ran it back through the folder….I kinda wish I hadn’t done that because it shifted a hair. A little detail is lost in coloring with a wet medium so I wanted to get it back. oops.

Still beautiful though! I’m probably bias after coloring it! lol

Sorry about so many pictures this time. I was messing around with pictures using light from a different window. Oh eek! A photographer I am not! Even after all these years! I keep trying though! I think it’s just trying to please ‘my eye’ really and drive myself crazy! haha!
Holler if you have any questions!
oh, I wanted to show you this too. I did have another embossed piece I messed around with but it wasn’t something I could finish without starting over. Ignore the die cut flowers…see the mask with red and green inking? It’s a piece of copy paper that I die cut to use as a mask.
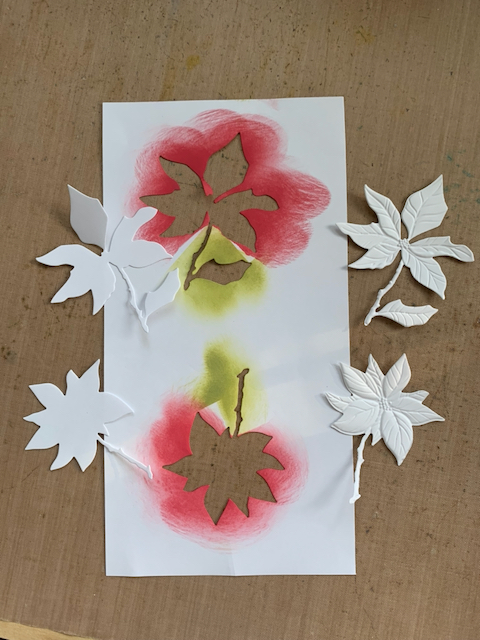
On an embossed panel you can mask these two poinsettias off and ink the flowers without using the die cuts. The only drawback is there is a third flower. I solved that by putting the die cut sentiment JOY over the flower that doesn’t have a die! Cool! Sorry I don’t have a card to show doing this yet.
Linking my cards to some challenges…
Simon Says Stamp Wednesday Challenge – Christmas
Krafty Chicks Challenge – Christmas
The Flower Challenge #85 – anything goes

Thank you so much for stopping by! Have a fun rest of the week and weekend creating! Talk to you again soon!

Dies and Supplies I used to make this card…
|


Discover more from
Subscribe to get the latest posts sent to your email.


Beautiful as always!!!
Beautiful cards Pam! I really love the one with the white embossed background! So pretty! Thanks for sharing!
Do you win challenges, because you absolutely should! My fav is the “Joy” card. I love how the two poinsettias pop on the white! Beautiful!
These are stunning cards Pam!
I’m drawn to the blue, but love the white, as well! Great job, Pam, as always! Can’t wait to see how you used the Joy sentiment…something to look forward to!
Absolutely gorgeous Pam! You do wonderful work and very inspiring! Thanks
Pam these are so beautiful!!! I love all of them but the first one with that white space is just fantastic!!!
Thank you soooo much for joining us this month. Your two cards are so inspirational and I would love to Case these later. Stunners as we would say. Thank you for joining us at The Flower Challenge DT Aileen.
I have just recently become a fan of cards where dry embossing takes such a predominate role. You use the embossing folder to such great affect!! Your cards are beautiful 🙂 I would like to see one of your videos where you show the embossing done afterwards?? Emboss as a background; emboss, color, die cut and emboss again; then layer onto the background card . . . I think I worked it out *ha ha* Thanks so much for sharing your amazing talent!
Both are beauties Pam. I love this deep embossing folders. You have it down pat!!!
Pam, it is a delight to have you joining our 7th birthday celebration at The Flower Challenge! Your cards are magnificent! [you might have just introduced me to my next new Poinsettia, too!] Thanks so much!
=]
Pam such amazing cards…just awesome! thanks for sharing with us over at ‘The Flower Challenge’ too 😉 Viv DT xx
These are really pretty, and I too love the dark but also the lighter photo — the folder is so pretty and your inking is equally so
More gorgeous poinsettia cards from you Pam! Love these embossing/die combos and yours is just stunning with the white background and colored die cuts! Actually both cards are immensely beautiful and I’m so very glad you decided to share them with us at The Flower Challenge!
WOW! I see why you were a winner at Krafty Chicks! Gorgeous cards using this embossing folder and die! You make me want to shop.
Wow Pam, your card designs are amazing. Love this beautiful card!
Absolutely stunning cards! Love the gorgeous Poinsettia and really love the one that you embossed afterward. Such lovely details! Thank you for playing with us at the HLS Die Challenge. I hope you can join us again soon.
Debbie, DT
Secrets To Stamping
Join my Creative Creases Challenge for fun folds!