cards · Christmas · Fall · Memory Box · Poppystamps · rubber stamps · Winter

Memory Box for Starlitstudio… Horse Country


Hello and welcome to my blog today! I’m sharing two cards I created with Starlitstudio’s exclusive new die from Memory Box, called Horse Country.


A Fall card…
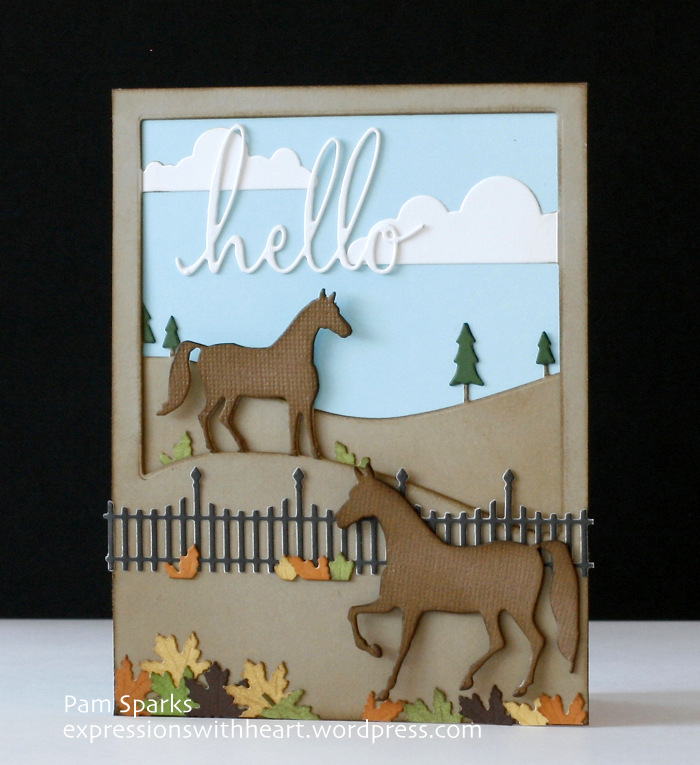
PamSparksHorseCountryFall700


inside…

PamSparksHorseCountryFallInside


and a Winter card…

PamSparksHorseCountry700


inside…

PamSparksHorseCountryWinterInside

I used the Memory Box Golf Club Landscape border die in the background on both cards. (I cut off the flag)

On the Fall card I added the small leaf from the Memory Box Marvelous Maple die, poppystamps new Fancy hello die, Trotting Pony die and Country Fence die. On the inside I used the Memory Box Give Thanks Combo stamp (leaves and sentiment) and Memory Box A-2 Notecards in Sky and Kraft.

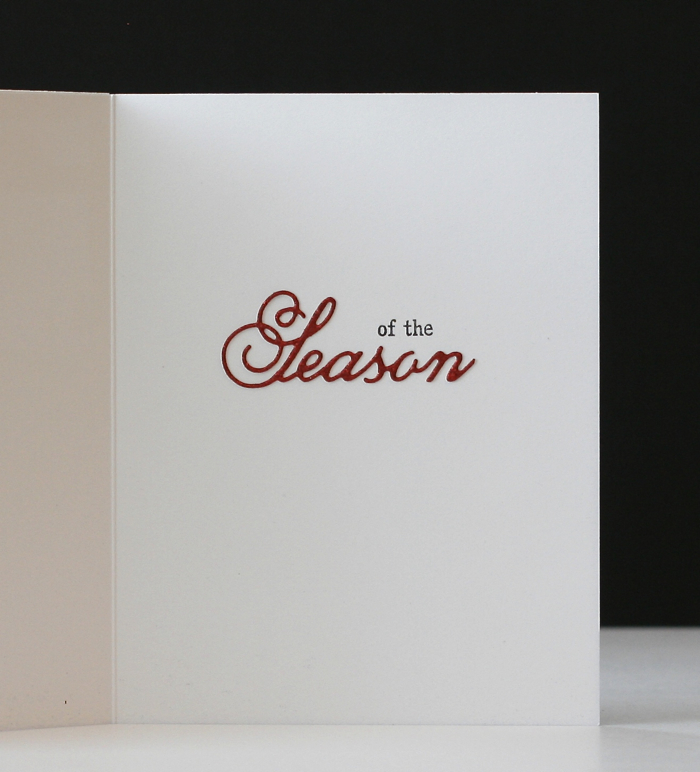
On the Winter card I used Memory Box A-2 Notecards in Sapphire and White, Ho Ho Holly Leaves die and poppystamps new Vintage Seasons die. I just used the Greetings part on the front and on the inside, I cut the ‘s’ from the end of Season’s and stamped the words ‘of the’ from the Memory Box Wonderful Time Combo stamp.

The Christmas, Winter Horse Country scene card is spattered with white spray ink and then sprayed with Imagine Crafts Sparkle Spray.

All of these dies and stamps are available for purchase @ starlitstudio.net

I will be making Horse Country up in Spring and Summer versions too!  Thanks for visiting today and Season’s Greetings to you!  THANK YOU for your encouraging comments too!  I appreciate it so much!


cards · Christmas · Fall · Memory Box · Stencils · Winter

Frosted Pine trees and Maple Leaves…

A couple cards I posted on the Memory Box blog today…


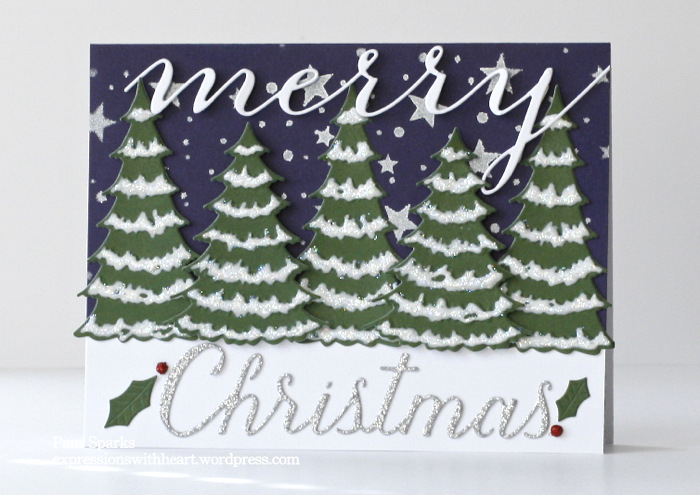
PamSparksMerryTrees700

No, I’m not ready for the sparkly, fluffy stuff but I sure like it on cards! lol

For the starry background, I applied Imagine Crafts Delicata Silver ink through the Stardust Stencil with Imagine Crafts large round ink Dauber onto a Memory Box A-2 Sapphire Notecard.

I die cut and embossed the Frosted Pine die five times in Memory Box Dill card-stock.  I went over the embossed snow areas with Dries White glue, shook on and tapped off the glitter and let it dry.

Merry is die cut from a Memory Box White notecard.

The word Christmas is left over from the Grand Merry Christmas Script die card I made and posted last week HERE.

I used two of the holly leaves from the HO HO Holly Leaves die and a couple red glitter domes finish it off.
Now for some Fall colors!


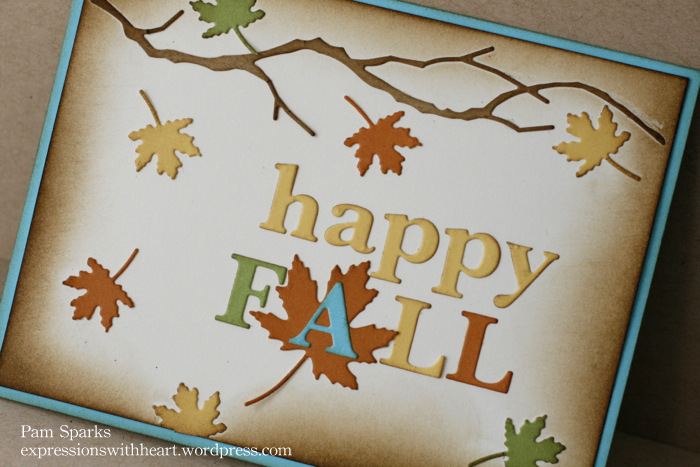
PamSparksHappyFall700

Very simple but maybe a nice, easy to mail, ‘flat’ card! Gotta love that once in awhile! lol

The card base is a Memory Box Lagoon A-2 Notecard with a 5 1/4 inch x 4 inch panel from a Memory Box Parchment Notecard layered on top. I used Gathered Twigs Distress ink to edge the panel and all the leaves, letters and the Woodland Branch die.

I used the new Marvelous Maple Leaves die and cut the small leaf in 3 Memory Box card-stock colors, Meadow, Sweetcorn and Jack O Lantern. The large leaf is cut once out of Jack O Lantern.

Upper and lower case Classic Alphabet dies for happy FALL.


PamSparksHappyFallClose

Our daughters call their baby diaper inserts ‘flats’, so I can call my flat cards ‘flats’!  lol  Children are a blessing even when they create a lot of laundry!  I guess we big people make a lot of laundry too!  Now how did I get off on that! lol

I’ll link up to some challenges and call it a post!  ttul!  TFL!

(my merry Christmas card at the top)

Merry Monday Christmas Challenge – the words have it

Simon Says Stamp – Make your own background 

Divas By Design – Anything Goes 

Sister Act Card Challenge – Anything Goes 

Paper Creators Crafts – Early Christmas

(my happy FALL card)

2 Cute Ink Challenges – Fall 


Dies and Supplies I used on these cards…


cards · CAS · Christmas · Die Piecing · Distress Ink coloring · Fall · Memory Box · rubber stamps · Watercolor

Memory Box Fall cards and one Christmas card…

 *** Some new Fall stamps added to my ‘for sale’ page… click on tab under the blog header ***

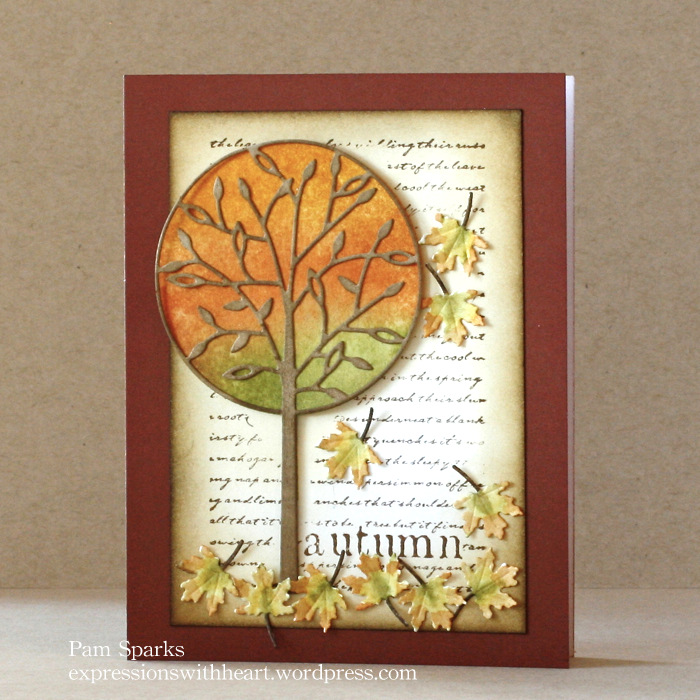
PamSparksAlessandriaTreeLeaf700

It’s looking like Autumn here today!  Love the cooler temps!  The fabulous colors of Fall are showing up everywhere!

I started with a MB Crimson Notecard and stamped the Autumn Leaf Collage stamp on a MB Parchment piece of notecard.

The Alessandria Tree Background die and Marvelous Maple Leaves die were cut from watercolor paper and watercolored with distress inks. I added the leaf veins with the smallest stylus from the McGill Stylus set.

Then the Alessandria Tree on top.


PamSparksCasertaBloomFall700

I started this card with a MB Parchment Notecard, stamped the Journey Collage stamp on it but covered up the word journy with the new Give Thanks Combo stamp.

Die cut the Caseta Bloom die from three colors of MB card-stocks. Add a couple sequins to the flower centers and some 1/16th inch brads.

Die cut the Grapevine Wreath die from MB kraft card-stock and ink.

Linking my card up to…
Simon Says Stamp Wednesday Challenge blog – ‘stamp it’


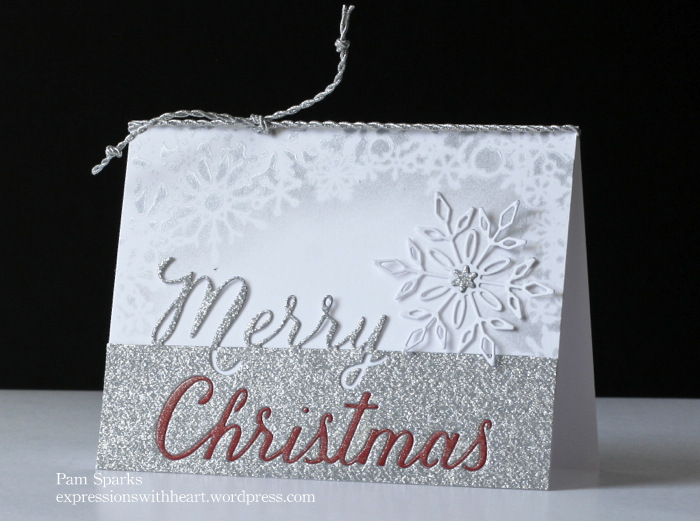
PamSparksSilverMerryChristmasSnowflake700


Here’s a festive CAS Christmas card using techniques we love and easy to create multiples of!

1. I stenciled the Memory Box Flurry Frame Stencil with Tsukeniko’s Delicata Silver ink and one of their large ink daubers on the top portion of a Memory Box White A2 notecard.

2. I die cut the Grand Merry Christmas Script die from Silver Glitter card-stock and Memory Box Cranberry card-stock. Be sure to keep the cranberry dot for the i and the silver inside piece for the tail of the y.

TIP: You could use any color for the word Christmas! A way to use up scraps. Try Black, Teal and Royal purple! (wish I’d thought of that while I was making it! lol)

3. I trimmed the silver cut to fit the white notecard.

4. Adhere the Grand Merry Christmas to the notecard.

5. Keep the word Christmas from the cranberry cut, insert into the silver cut.

TIP: If you use double sided tape to adhere your silver Merry Christmas to the card, there will be adhesive where the cranberry Christmas fits, if you go ahead and place tape over the cut out area too.

6. Die cut the Bristol Snowflake die in white and silver glitter card-stocks.

7. Adhere the silver center to the white snowflake and adhere the snowflake to the card.  I just glue the center.

8. Add some pretty silver cord at the top, tying with a square knot.

9. I used the clear Wink of Stella brush marker on the word Christmas.

That’s it for today!

Holler if you have any questions!  Always love reading your comments!  Happy Fall Y’all!  TFL!

Products I used on these cards…

Birthday · cards · CAS · copics · Distress Ink coloring · Fall · Magnolia · Memory Box · Paper Smooches · Perfect Layers Tools · Poppystamps · punches · rubber stamps · Summer

Memory Box 2014 Holiday Stamps Blog Blitz starts today and a Paper Smooches/poppystamps Rainbow…

PamSparksBrambleSurprise700-001

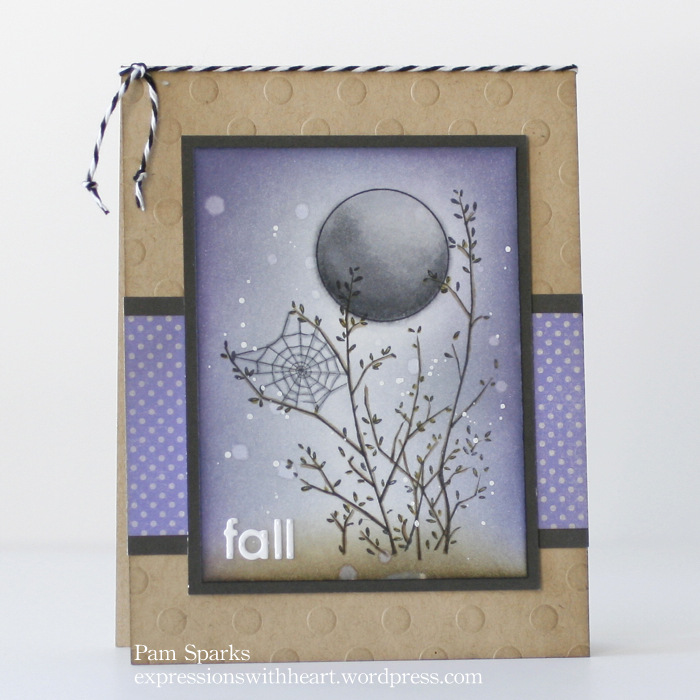
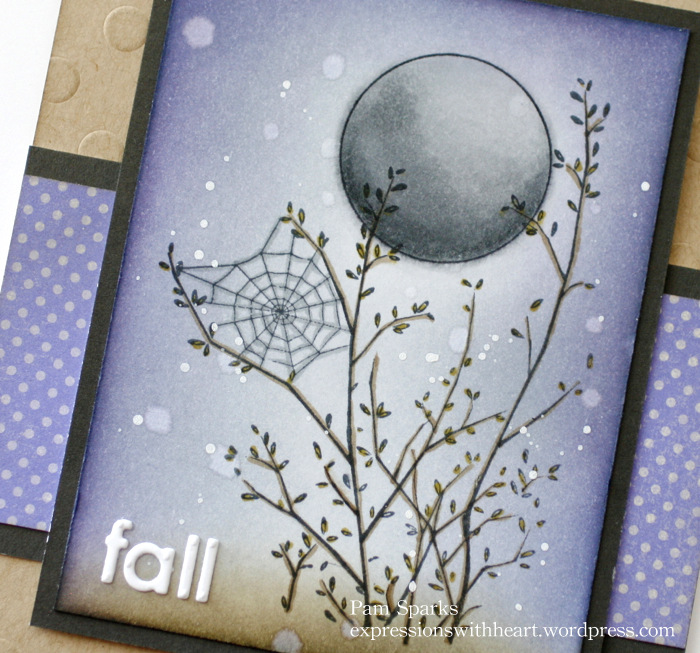
Today I’m starting the week off with the NEW Memory Box Bramble Surprise rubber stamp. As soon as I saw it, I knew I wanted it!!  I love the whimsical feel of it!  I decided on some Copic colorbook therapy with some Distress ink blending for the background.

I matted the image and the Distress Dot paper with the Mini Perfect Layers Tools and cutting mat… love them!  Links on the right and below…


PamSparksBrambleSurprise700Close

After I colored the image, I went around the perimeter of the card with Weathered Wood Distress ink first, then I added in Chipped Sapphire,  then Dusty Concord and on the very edge a bit of Black Soot. Walnut Stain on the bottom.

Then I sprayed water into the palm of my hand and dropped it onto the inked part, staying away from the moon.

I shook up a bottle of White Linen Dylusions Ink Spray real good, opened it and spattered the white dots on by tapping the cap and letting the ink flick off the end of the tube.

I die cut the letters for the word ‘fall’ from the Alphabet Soup die. I put scor tape on the back of Memory Box White card-stock before I cut.  The letters are really easy to adhere to the card when the tape is already on there. The drawback is, the thicknesss causes the holes in the die, (for poking out the waste) to emboss.

I layered Memory Box Violet Distress Dots Card-stock to a top fold A-2 Memory Box Kraft card base that I embossed with the Memory Box Dots Stencil.

Click over to the Memory Box Blog, HERE to comment for a chance to win this stamp!

Linking to the Artistic Expressions Challenge Blog – Anything Goes


I’m behind getting my cards posted on my blog but I will catch up soon!  I wanted to share this CAS Summer card that I made for our area stamp club monthly swap.  July’s theme was a Summer scene.


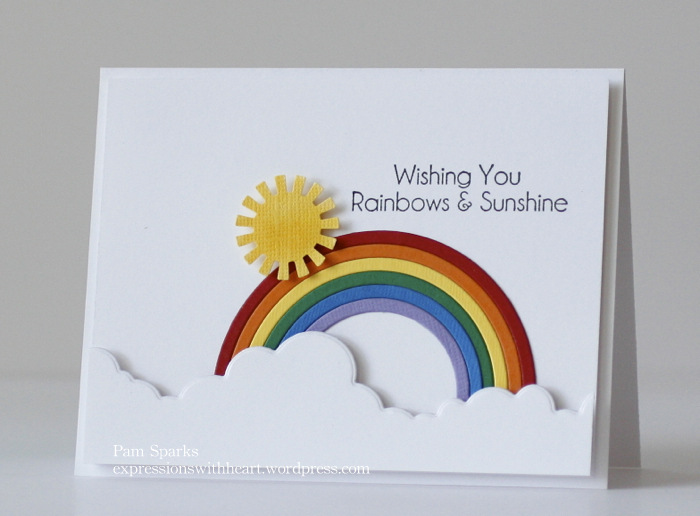
PamSparksRainbowPS700


The sentiment is from Magnolia, rainbow is Paper Smooches, cloud border is poppystamps and the sun is an old EK Success medium size punch.

Linking up to Addicted to CAS – Sky
the Cutting Edge Challenge #3 – card inspiration

TCEC_3_thumb[2]

Thanks for stopping by!  Catch up with you later!

Links to supplies I used…

Birthday · cards · copics · Distress Ink coloring · Fall · LOVE · Magnolia · Memory Box · Perfect Layers Tools · rubber stamps · Spring · Step card · Valentine

Some of My Favorite Creations for 2013…

Debby has a linky party for your Favorite Five creations for 2013 going on HERE…  I tried to keep it to five but it didn’t work.  I stopped at 12! lol

Catered Crop has a remembering 2013 linky party HERE…

AND… I started a Facebook page for my blog… click over to like it if you have time! 

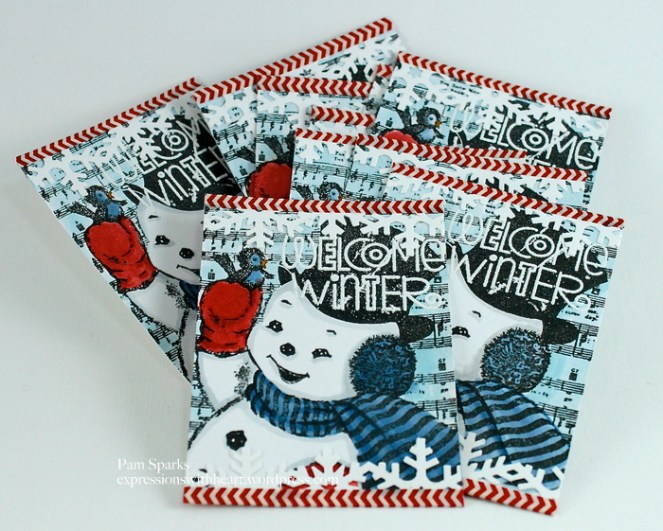
Welcome Winter ATC’s

_MG_6389-001
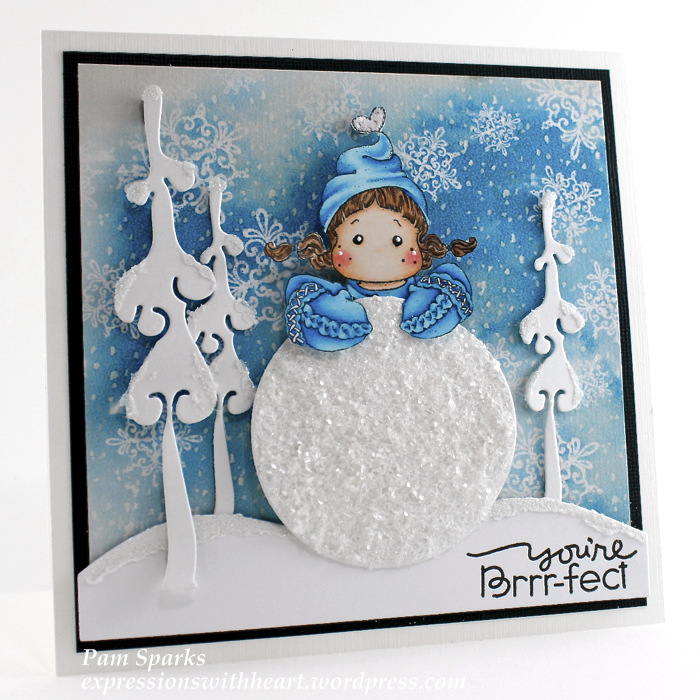
Tilda with Mittens

Tilda with Mittens 700


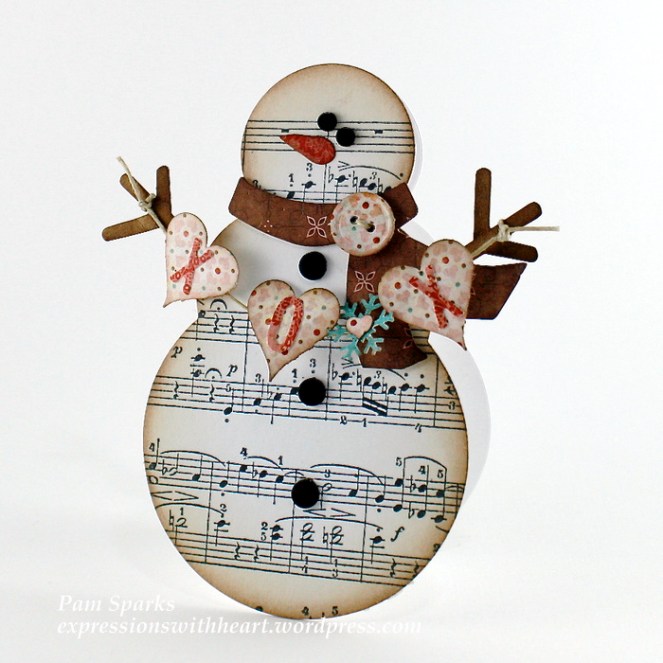
Love Snowman

_MG_6176


Tilda with Heart Arrows

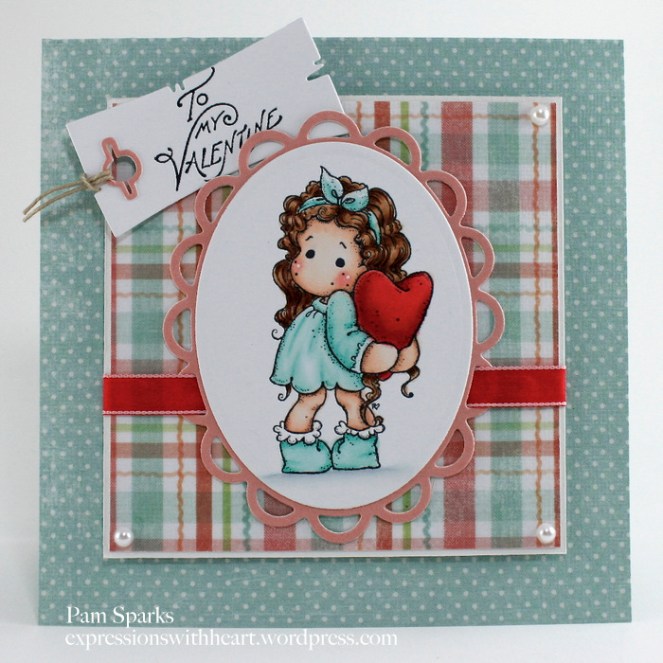
_MG_6439-001


Tilda Hiding Heart

_MG_6429-001


Meadow Bird with a Spring Song

_MG_6907
Jasper Leaves

pam.jasper.front.bird.hello


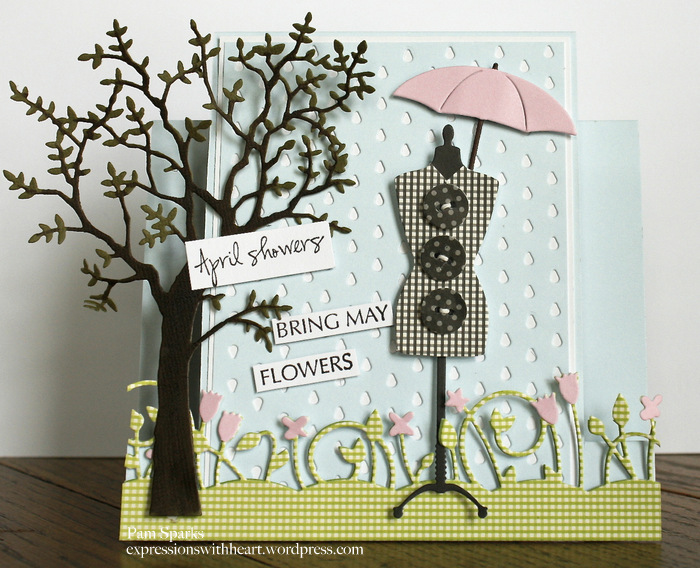
Mannequin in the Rain

_MG_7695-001
Tilda with Lace Flag

P
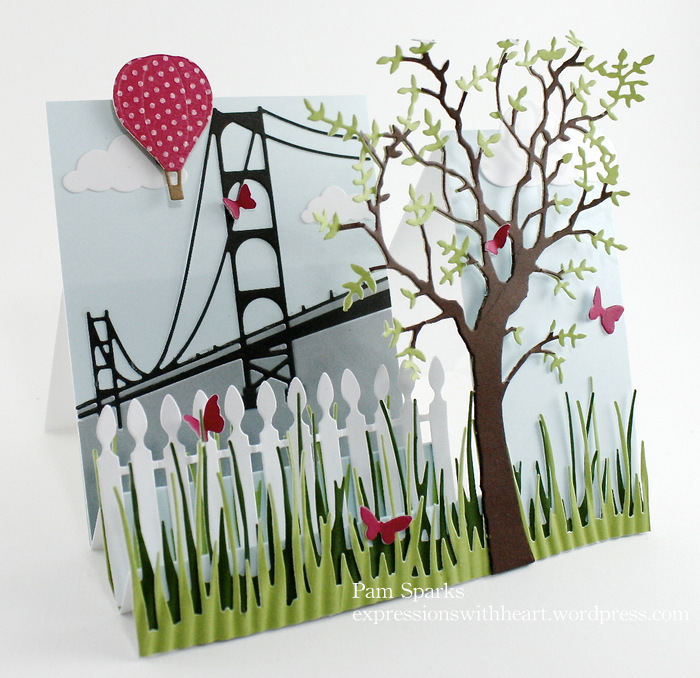
Marvelous Bridge Step card

PamSparksBridge700


Just a Note

_MG_8223


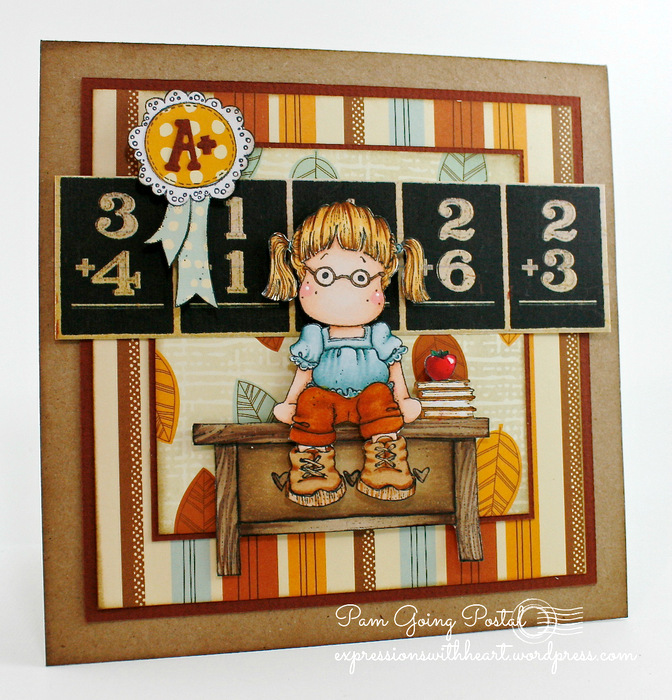
Chess Tilda

PamSparksTildadesk

Happy New Year to you friends, kindred stampers and papercrafters!  TFL!  Looking forward to more in 2014!  Be watching…Memory Box new designs coming soon!  Blog Blitz starts the 6th!