All Occasion · cards · copics · Distress Ink coloring · Flowers · Get Well · Spellbinders dies · Thinking of You

Spellbinders August Clear Stamp and Die Set of the Month Club…

Can you believe it’s August already?!  eek!  What I notice first is the evenings getting dusky earlier! boo!

Hope this finds you creating and feeling good anyway!

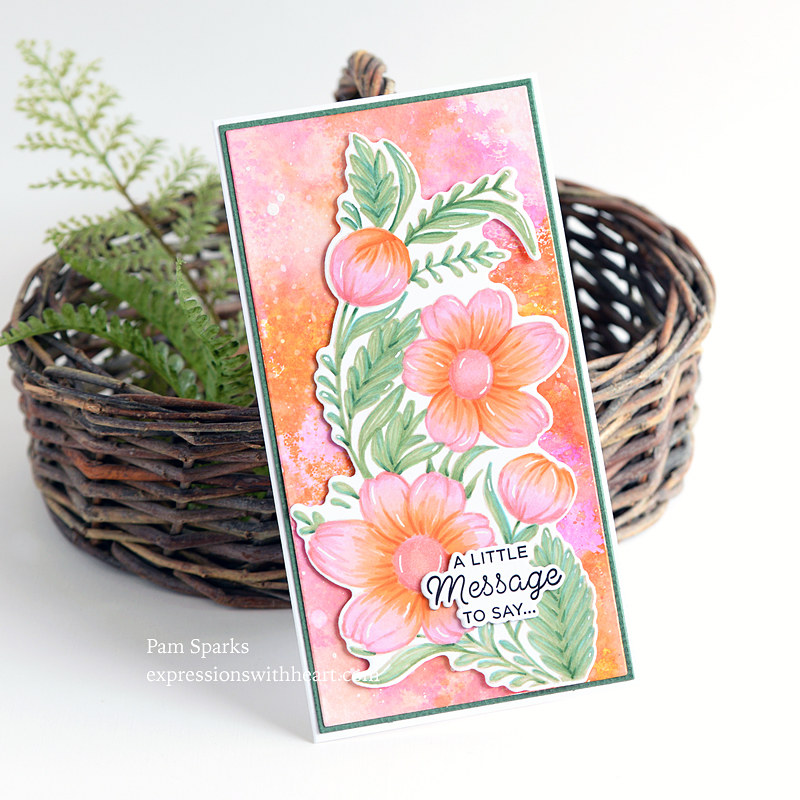
I started my card today by stamping the floral stamp in the MISTI with  Memento Desert Sand Dye ink.  I know… it’s looking pretty Summery still!  I bet I should’ve been thinking Fall colors! oh well, there’s orange here! lol
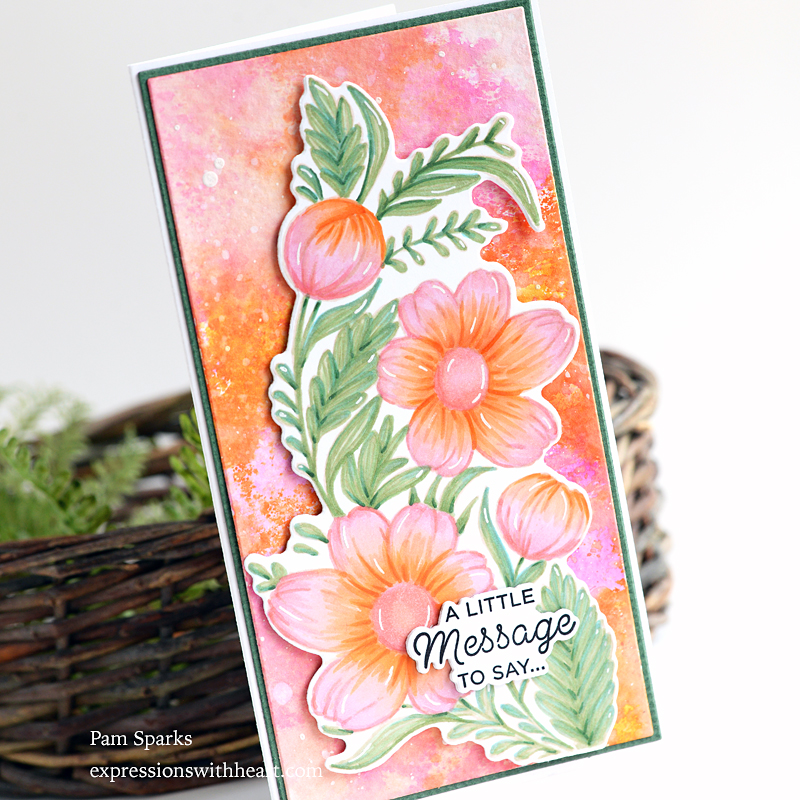
I colored with Copic Sketch Markers.
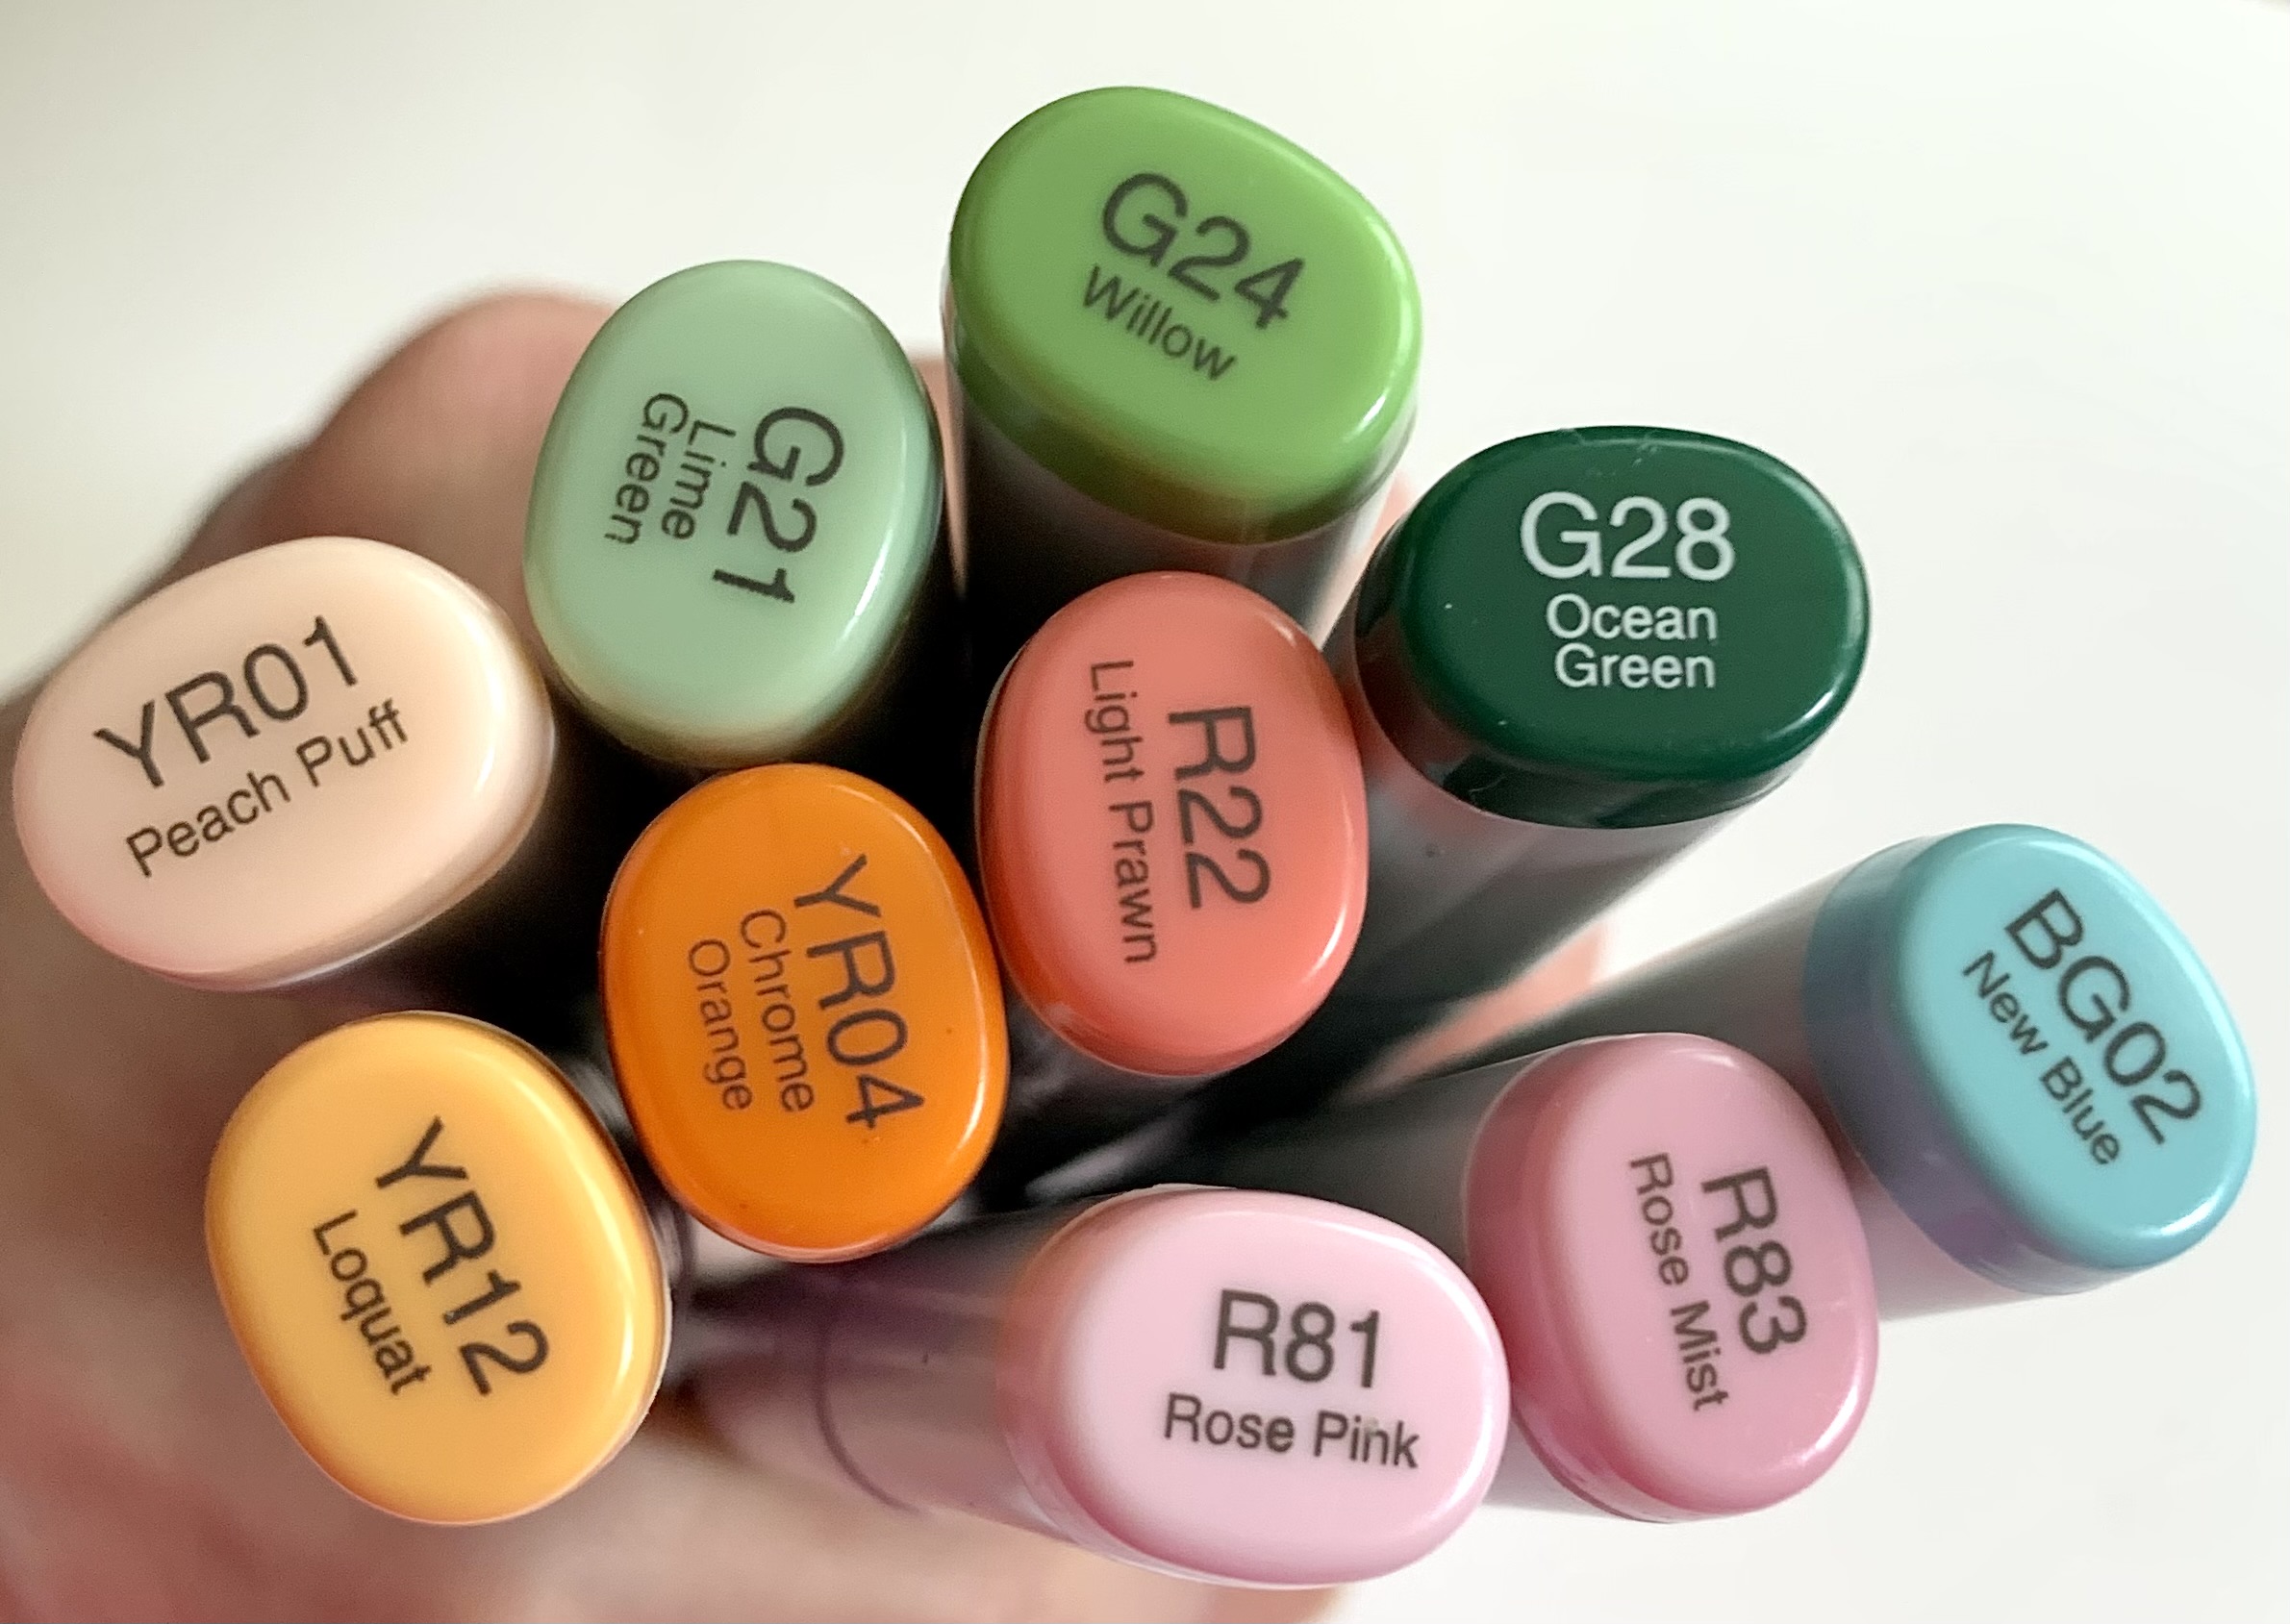
The little bit of blue is in with the green…probably hard to see.  Some of you might remember going to stamp conventions and seeing Stamps By Judith’s booth?  She always colored her green foliage with a little bit of  blue.

The background I did on watercolor paper.  Regular Distress inks pressed onto a craft sheet, spritzed with water and press the paper into the ink.  One color at a time.  Picked Raspberry, Spiced Marmalade and Worn Lipstick.  Dab off extra color with a paper towel, more water spritzed on if the color is too strong.

I spattered with White ink after it was all dry.
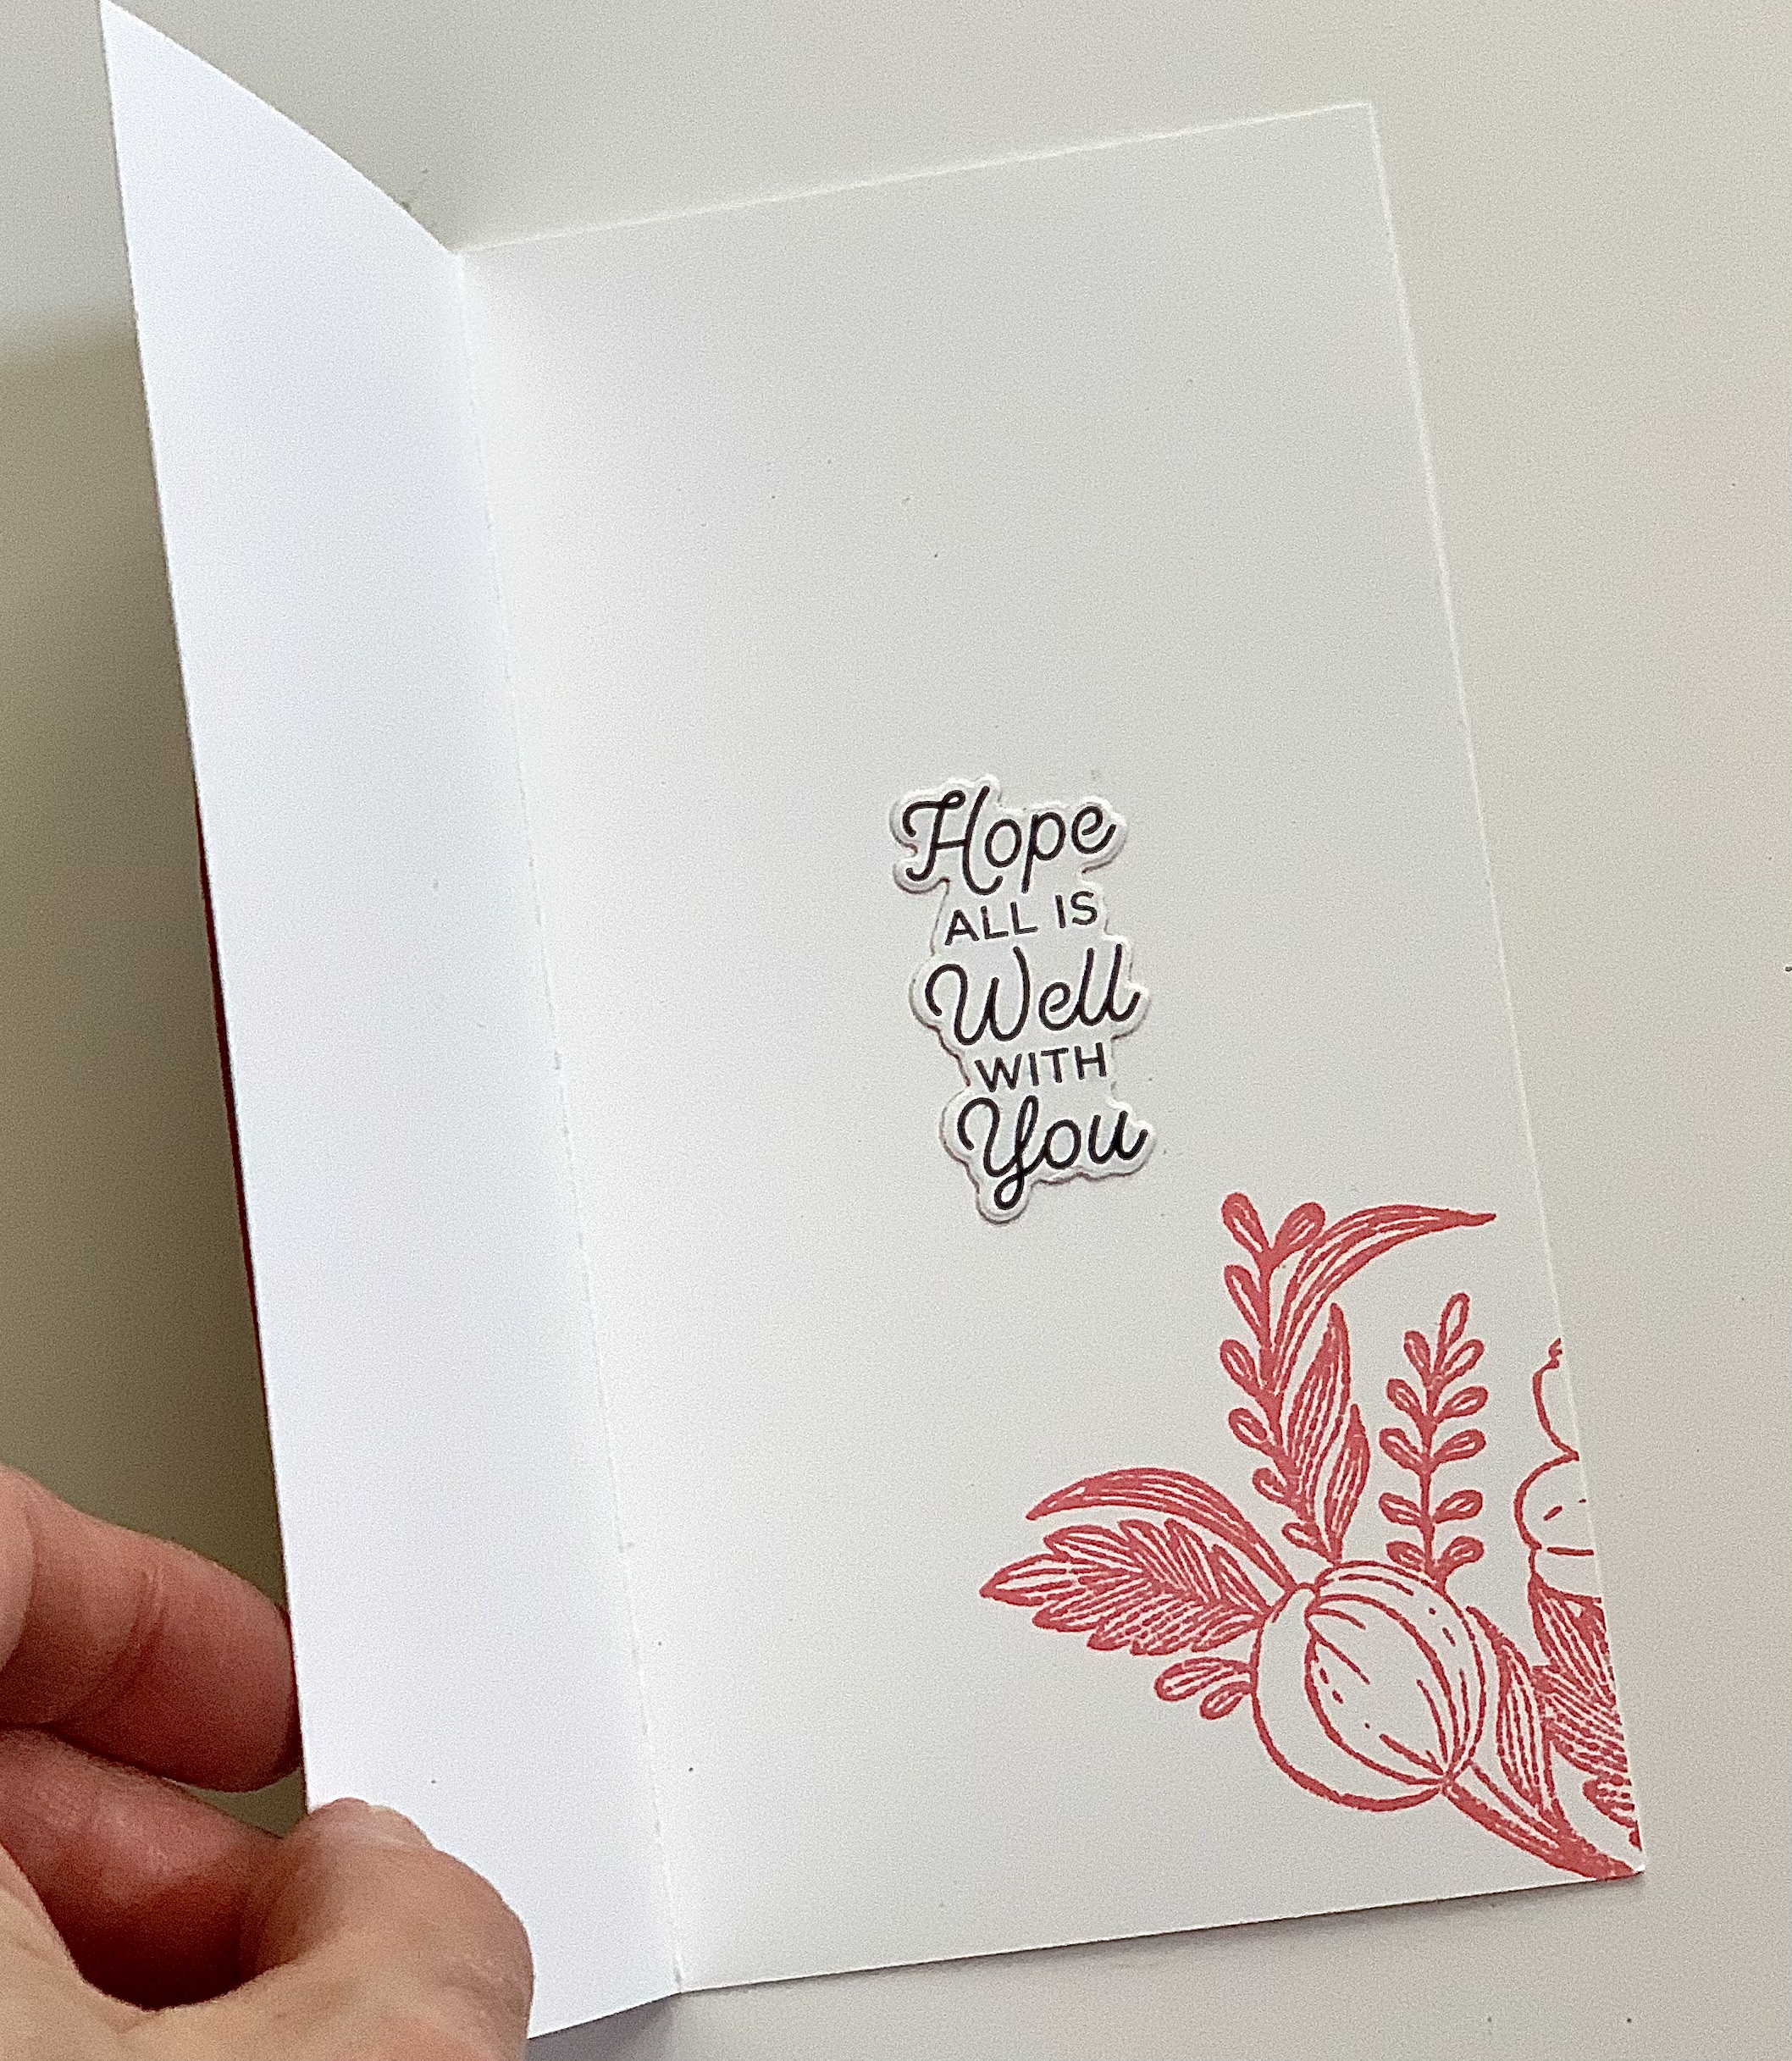
I stamped a portion of the main flower image on the inside with Worn Lipstick Distress ink.  I meant to use oxide but the regular was out on the desk and I picked it up without thinking.  It looks good though.
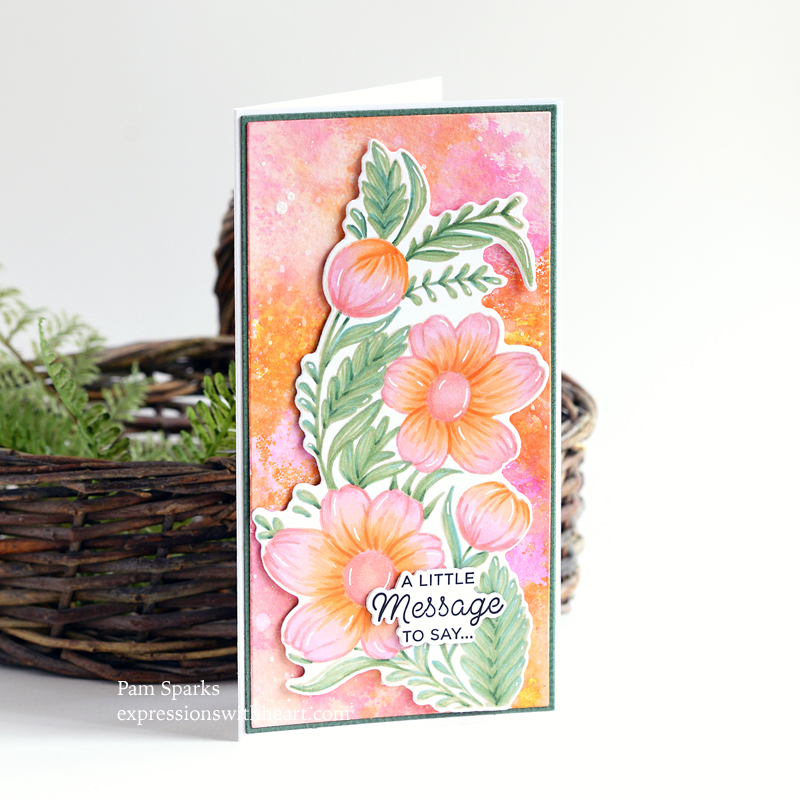
The sentiment on the front and on the inside are from the set.

There are several to choose from in this stamp set and dies for all!  It’s great!  Two dies for the floral stamp too!  You can just die cut one side or the other since they’re separate!  Very cool idea!

This is a mini slimline size card.

Linking to some challenges…

Triple B – Blooms

Addicted to Stamps and More – Make Your Mark

Double D Challenge – anything goes

Simon Says Stamp Wednesday – Summer

Fun clubs this month…the glimmer hot foil plate is a similar floral and you can get a stencil set and use it for coloring.  Of course I’m wishing I’d gotten that! lol

Every time I get to this point in my post I wonder if I’m giving enough information or if you like just going to the Spellbinders website to read it for yourself.

HERE is the page to find out all about Spellbinders monthly clubs.  They are really fun and an inexpensive way to get new product every month!  Something new to look forward to and it’s so nice you get to see ahead what is coming and the wonderful variety from all the card designers with great ideas!

The club I used today is HERE.   Check it out and I’d love to hear what you think!

Thank you so much for stopping by today!  Holler if you have any questions and I’ll stop talking now! lol

 

All Occasion · birch press design · cards · Die Piecing · Distress Ink coloring · Flowers · Hot Foiling · Summer

Birch Press Design Forest Canopy Card…

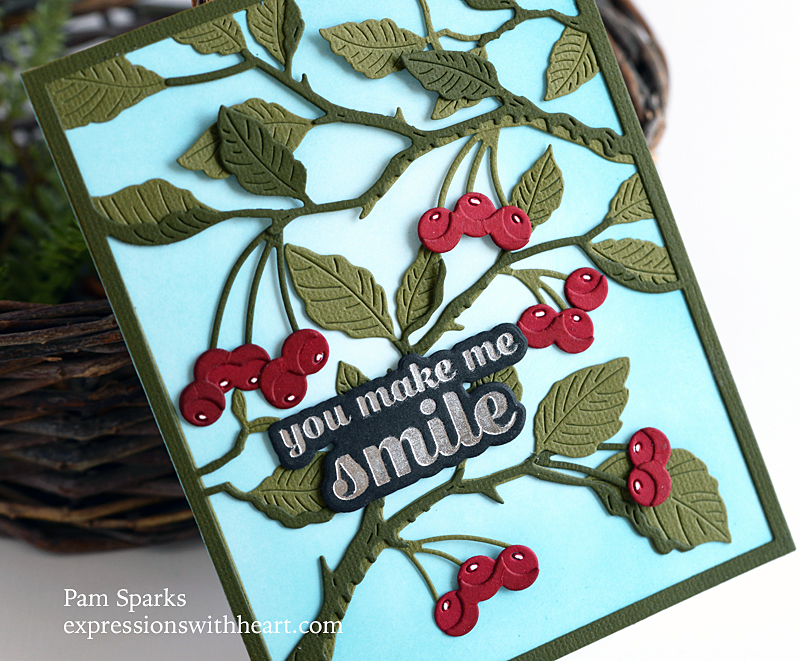
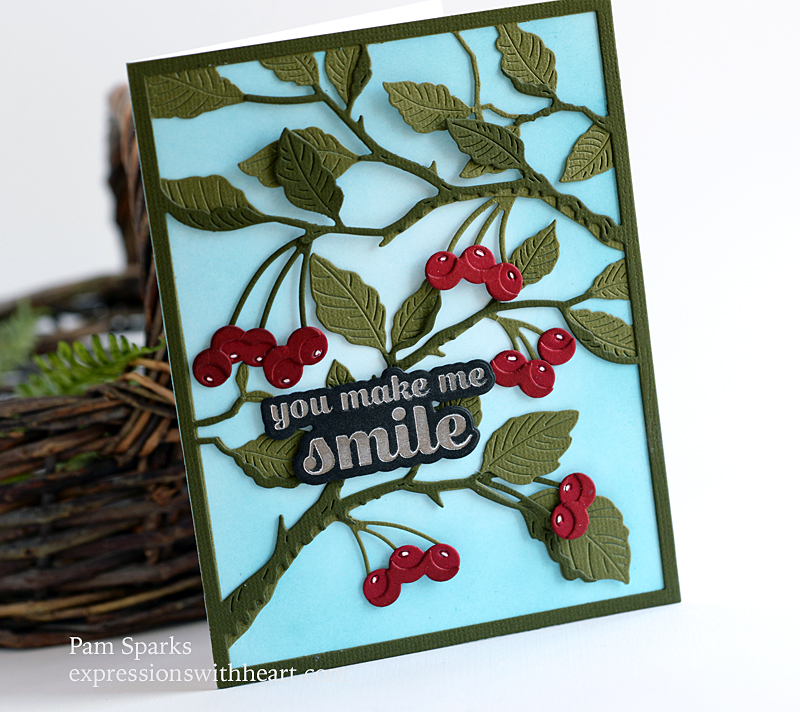
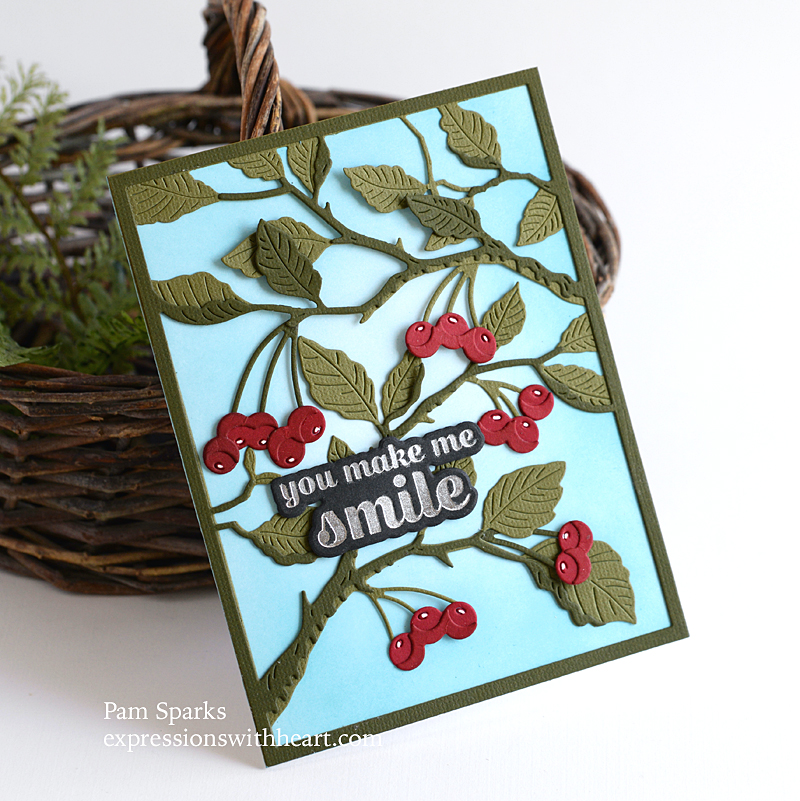
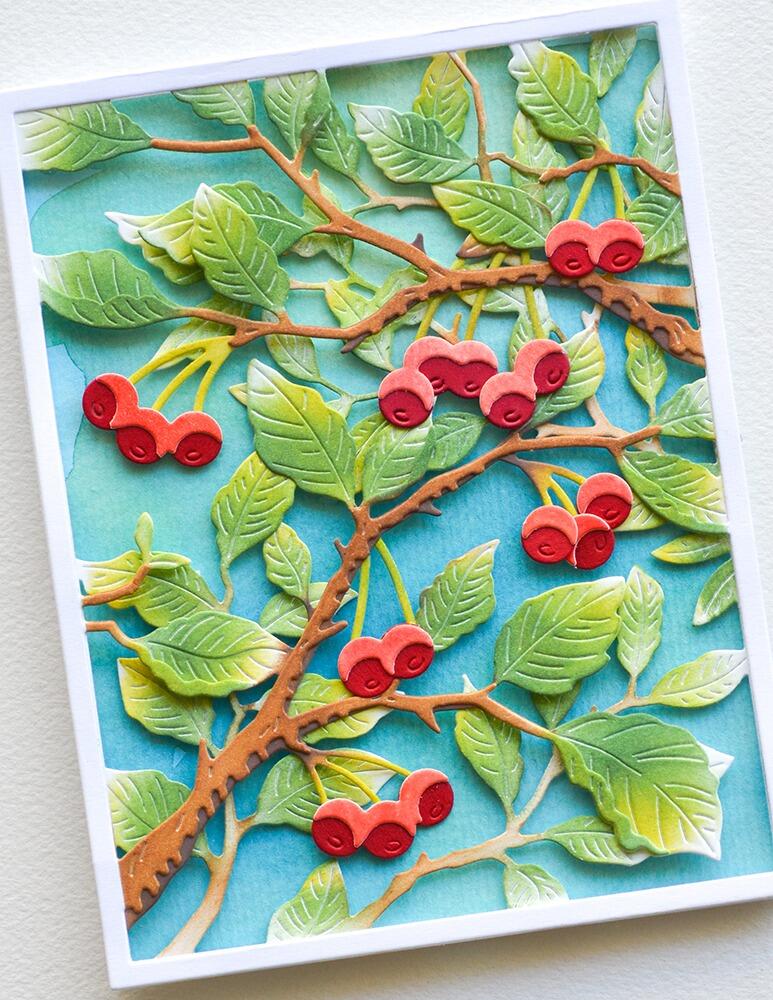
Hi everyone! Summer just isn’t Summer without at least one cherry card!  This NEW set from Birch Press Design has three layers and I used Layer A and Layer B.

I used two different green cardstocks, one red but I inked the little accent pieces on the berries with a little gathered twigs distress so they would shadow.

I love all the dimension!  I only glued the layers down around the edges.

I used the Birch Press Design Sugar Script Sentiments 1 hot foil plate and die set for the message.  Silver hot foil on black cardstock.

The sentiment is true!  🙂

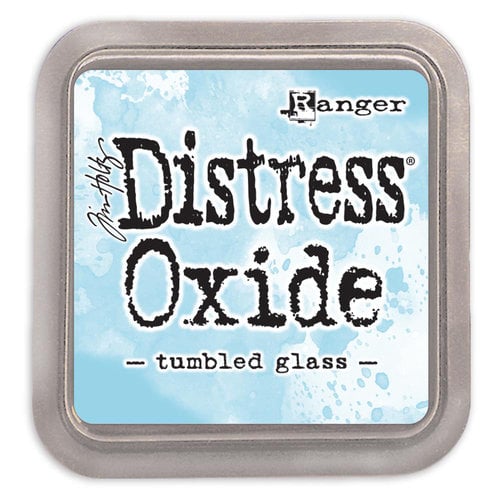
I used a Hammermill white for the cardbase and inked it with Tumbled Glass and Broken China Distress Oxide Inks and ink blender brushes.

Doesn’t it scream Summer though?

Tim was telling me yesterday that the ‘heat’ is hitting us next week.  This gal is thankful for air conditioning!

Middle daughter said she was going to have a lot of peaches and one tree is almost ready!  Yummy! I love peach cobbler!  I hope I get some! lol

Linking to some challenges…

Tic Tac Toe Challenge –  first row down for me

The Sisterhood of Crafters – in the Garden

Addicted To Stamps and More – Dies and or stencils

Ellibelle’s Crafty Wednesday – anything goes

I had a lot of pictures today.  Holler if you have any questions!

This is an A2 size card.

I’ll be back tomorrow!  Thank you for stopping by today!

What I used to make this card…

Birch Press Design – 57534 Forest…
[ STR | SSS ]
Birch Press Design – BPF503 Sugar…
[ STR | SSS ]
Hammermill WHITE 100 LB SMOOTH…
[ SSS ]
TE Premium Cardstock – Cherry Pop -…
[ TE ]
Ranger Ink Tim Holtz Tumbled Glass…
[ SBC | SSS ]
Ranger Ink – Tim Holtz – Distress…
[ SBC | SSS ]
TE Blender Brushes
[ TE ]
Tombow Mono Multi Liquid Glue
[ STR | SSS | SBC ]
Scrapbook Adhesives Crafty Foam Tape…
[ STR ]

cards · Christmas · Color Pencil · Die Piecing · Distress Ink coloring · Embossing Folders · Flowers · Masculine · Spellbinders dies · Winter

Christmas in July Spellbinders Stamp and Die Set Club Card…

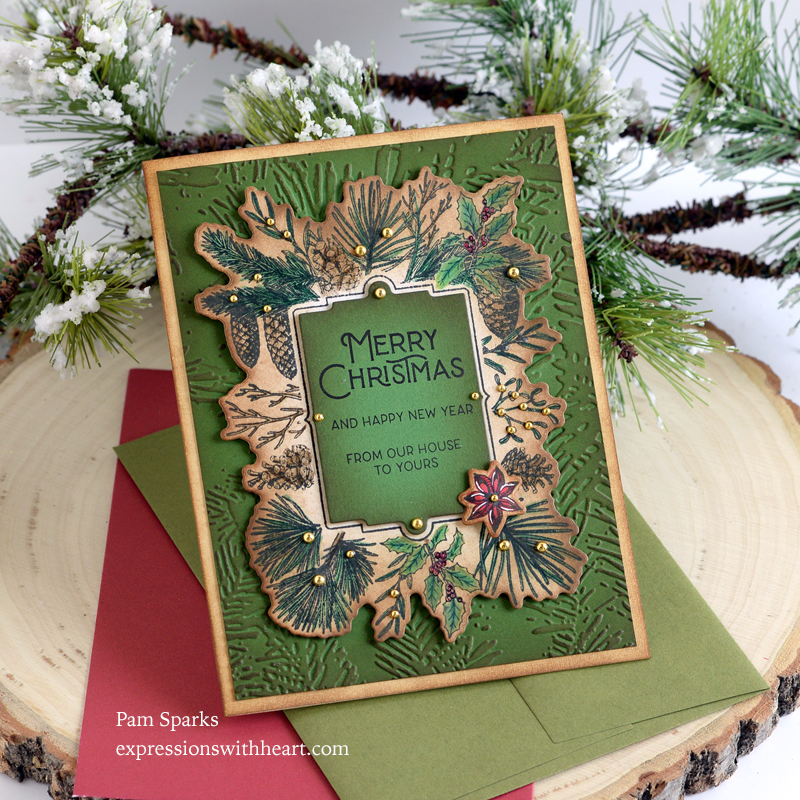
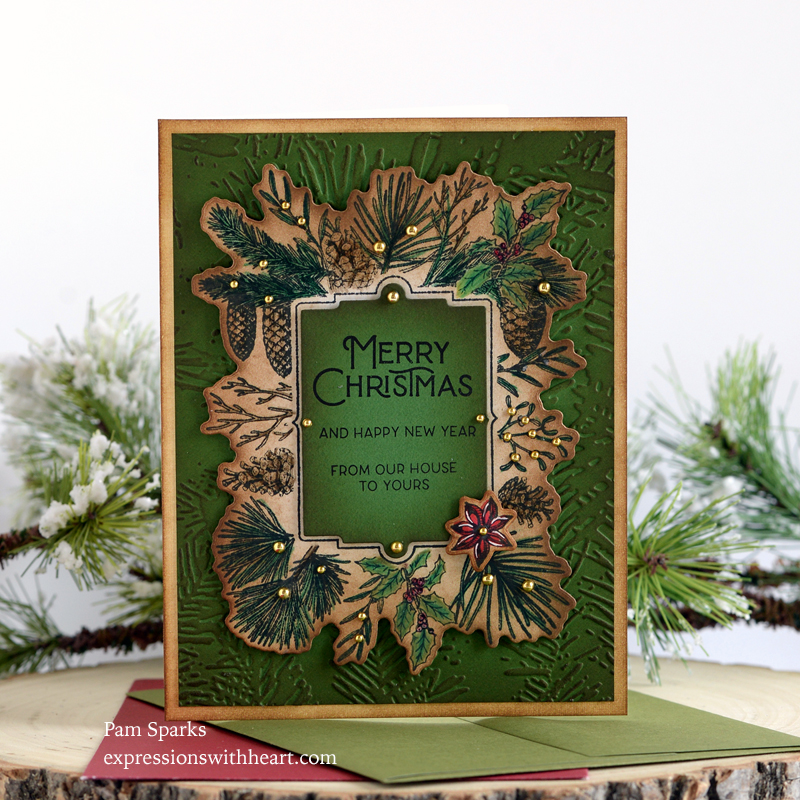
Hi everyone! I had fun with this!  If you’ve known me for all the years I’ve been stamping, you know I LOVE brown! haha  I stamped and die cut this twice in Hammermill White cardstock thinking I would color it with Copics.  I sat down and started coloring one with color pencils! lol  I still have the other white one to color with Copics.
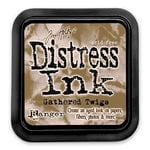
I have a deep love for brown…when Ranger came out with Van Dyke Brown all those years ago I bought a few reinkers thinking I’d use it forever!  But then Distress Inks and then Gathered Twigs!  Gathered Twigs regular Distress is my go to!  Do not take my Gathered Twigs away!

I die cut the floral shape, put the waste/frame in the MISTI, lined up the stamp in the hole, put in the die cut, inked up the stamp and stamped with Memento Tuxedo Black ink.

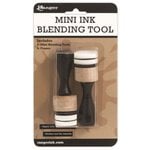
I used Caran d’Ache Pablo Color Pencils to color but any will work.  After coloring I went around the edges with Gathered Twigs and the mini ink blending tool.  I just keep this color and this tool handy on my desk all the time!

I embossed the Forevergreen Embossing Folder in TE Cilantro cardstock and inked it with Gathered Twigs Distress ink and the mini ink blending tool.   I trimmed it down this time so my card would end up A2 size.

I ink blended a natural linen cardbase with Gathered twigs also. Just around the perimeter.

The panel in the center is a die that comes with the set too!  Dies for everything in the stamp set!  Such an amazing deal!

I lined up the sentiments in the MISTI and inked up the decorative panel…inked it up with GT also!

Glue on the little gold pearls…adhere everything to the cardbase and it’s ready to mail almost!  I need to bring back my last year’s resolution to finish the insides…. ugh. haha

Here’s where you need to go to get the info on joining the Spellbinders monthly club option or options!

Here’s the link to the Clear Stamp and Die Kit of the Month.  You can also choose just to get the Stamp Set.

CHRISTMAS in July SALE going on right now HERE!

Thank you for stopping by my blog today…hope you’re inspired and making something fun!

Links to the products I used to make this card…

Clear Stamp & Die of the Month Club –…
[ SPL ]
Spellbinders – Tis The Season…
[ SBC | SSS | SPL ]
Hammermill WHITE 100 LB SMOOTH…
[ SSS ]
Ranger Ink – Tim Holtz – Distress Ink…
[ SBC | SSS ]
Ranger Ink – Tim Holtz – Mini Ink…
[ SBC | SSS ]
Caran d’Ache Pablo Colored Pencils…
[ BLIC ]
TE Premium Cardstock – Cilantro -…
[ TE ]
Scrapbook Adhesives Crafty Foam Tape…
[ STR ]
Tombow Mono Multi Liquid Glue
[ STR | SSS | SBC ]
Tiny Pearl Embellishments – flat…
[ STR ]
New & Improved Platinum SIX Machine…
[ SPL | SSS ]
Spellbinders – Universal Plate System…
[ SBC | SPL ]

All Occasion · Birthday · cards · Die Piecing · Distress Ink coloring · Embossing Folders · Flowers · Inlaid Diecutting · Memory Box · Poppystamps · Summer

Memory Box Gracious Floral 3D Embossing Folder Version…

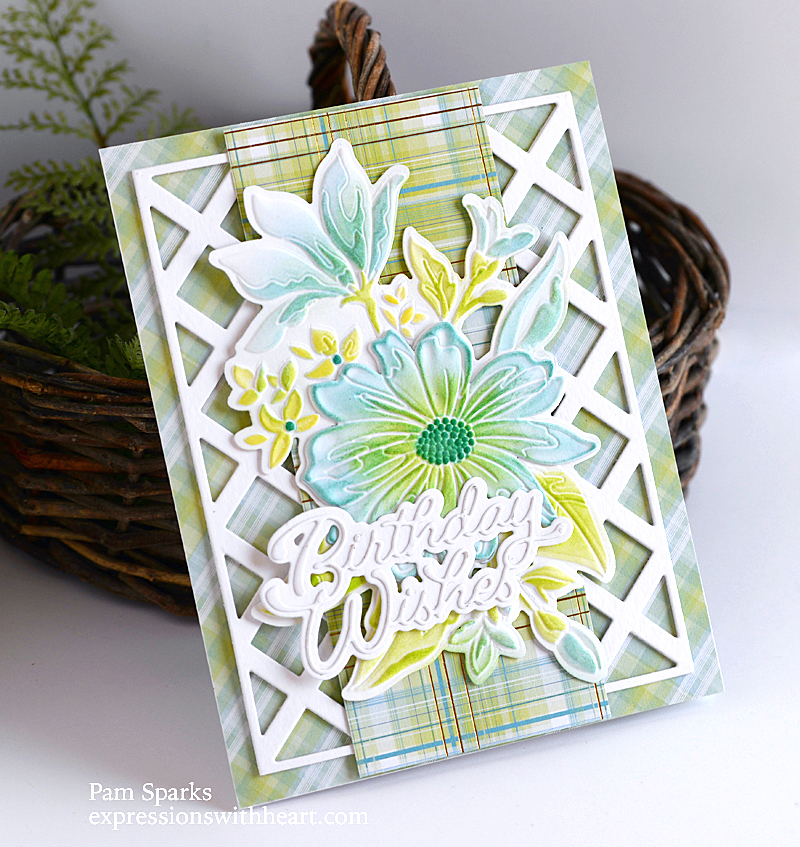
Hi everyone!  Someone somewhere is celebrating a birthday and here’s some soft color wishes for you! A pretty card makes a birthday seem better somehow, doesn’t it?  Birthdays just keep coming at ya! ha!

I started out looking at my Memory Box plaid paper pads for a color scheme.  I used the Madras Plaid Blue and Violet PP104 6×6 pad without looking to see if it was still in the stores I link to.  OOPS!  Evidently it’s been discontinued. ugh.

I’m linking to the other three plaid pads in the stores that will make fun color cards too!

It’s hard to see the gold in my pictures so I took a phone picture in front of the upstairs hall door so you can see the gold.  Wish I could show you in person! I know, I know, I’m always saying that! lol

The cardbase for this card is 4 ¾ in. x 6 in. so it’ll need an A7 envelope.

I die cut the poppystamps Lattice plate in white three times and glued them together.  I just really like how it added just enough depth without needing to cut little strips of mounting tape.  I used Tombow Mono Multi sparingly to glue them together and to glue the lattice to the plaid panel.

Then I cut a piece of plaid with gold lines to layer on top of the lattice panel,  It’s 2 ½ in. x 6 in.

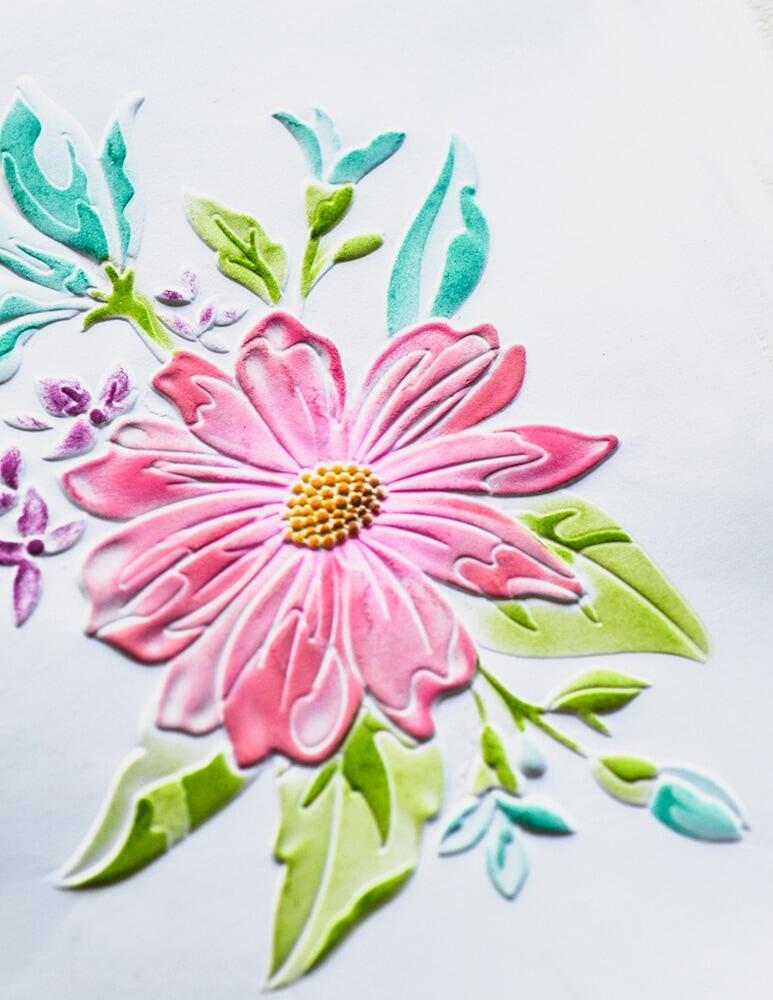
I used the die from the stamp set to cut a piece of white cardstock for the floral bouquet shape.  Then I put the die cut shape in the 3D embossing folder and ran it through the Big Shot following the directions for 3D folders.  (I do add a few cardstock shims for mine)

After I had the big bouquet embossed I die cut just the center flower from the 3D embossing folder set,  ran it through the same embossing folder, then started coloring both embossed pieces with the Stencil set, regular Distress Ink Pads and ink blending brushes.

I’m having fun making cards with these products!  I haven’t inked the stamp and embossed it in the 3D folder yet but I think that would be beautiful too!

If you want some new products to create with on these hot Summer days when it’s better to stay inside in the AC…this release is just the thing you need!

When you tap or click on my links to see these products you’re going to get a surprise!  Cindy@Starlitstudio has been VERY busy and her new store is up and running with new products being added again!  Yay!  So excited!  It’s beautiful!  Be sure to click on the STR abbreviation to check it out!

Thank you so much for stopping by and happy cardmaking to you!


Memory Box – CL5280D Gracious Floral…
[ STR | SSS | SSS ]
Memory Box – 88620 Gracious Floral…
[ STR | SSS ]
Memory Box – EF1026 Gracious Floral…
[ STR | SSS ]
Poppystamps – 2427 Lattice Plate…
[ STR | SSS ]
Poppystamps – 2523 Birthday Wishes…
[ STR | SSS ]
Memory Box – PP1013 Madras Plaid…
[ STR | SSS ]
Memory Box – PP1021 Magnolia Plaid…
[ STR | SSS ]
Memory Box – PP1012 Spring Plaid 6×6…
[ STR | SSS ]
Scrapbook Adhesives Crafty Foam Tape…
[ STR ]
Tombow Mono Multi Liquid Glue
[ STR ]
Fiskars Non-Stick Titanium Softgrip…
[ STR ]
Ranger Ink – Tim Holtz – Distress Ink…
[ SBC | SSS ]
Ranger Ink – Tim Holtz – Distress Ink…
[ SBC | SSS ]
Ranger Ink – Tim Holtz – Distress Ink…
[ SBC | SSS ]
Ranger Ink – Tim Holtz – Distress Ink…
[ SBC | SSS ]
Waffle Flower Crafts – Blending Brushes
[ SBC | SSS ]
Simon Says Stamp Small Detail Flat…
[ SSS ]
Simon Says Stamp Blending Brush SET…
[ SSS ]
Hammermill WHITE 100 LB SMOOTH…
[ SSS ]
Bazzill Card Shoppe
[ STR ]
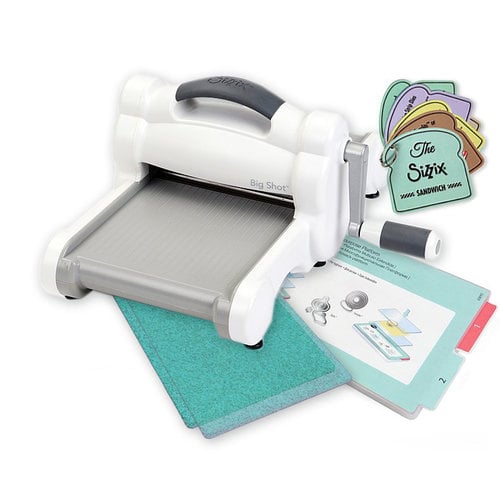
Sizzix – White and Gray – Big Shot…
[ SBC | SSS | BLIC ]

All Occasion · cards · Distress Ink coloring · Memory Box · Oxide Inks · Poppystamps · Summer · Thinking of You

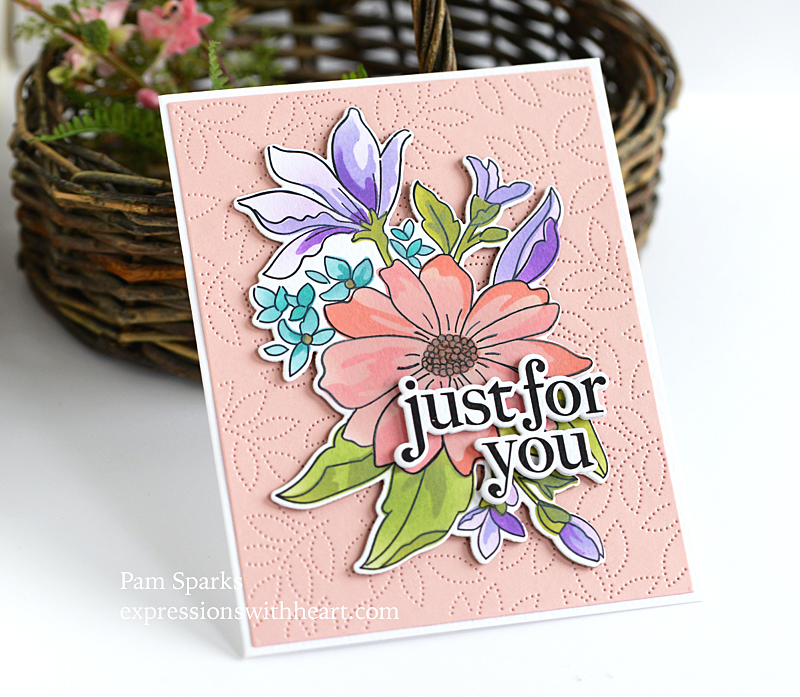
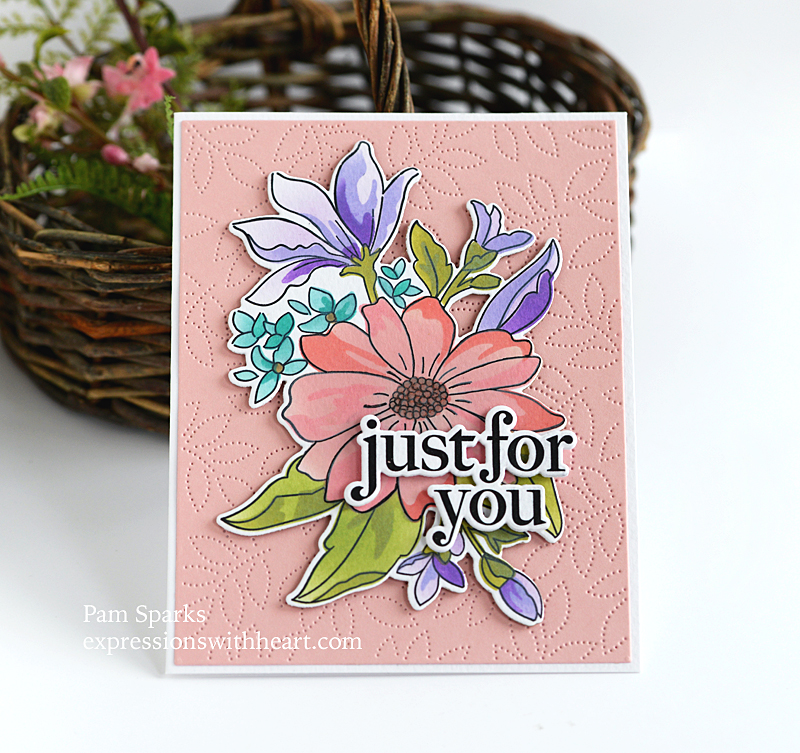
Memory Box Gracious Floral Just For You Card…

Hi everyone! NEW from Memory Box!  A beautiful stamp set with coordinating dies AND stencils for coloring in!

Next card I’m going to try the stencils with the 3D embossing folder that is the same floral image. You can also stamp the image, die cut it and then emboss it in the 3D folder!

I used inking brushes and distress oxide inks to color. Tattered Rose, Worn Lipstick and Abandoned Coral for the pink flower.

The purple brush without inking for the purple flowers, then Shaded Lilac and Wilted Violet.

The small flowers I used my Peacock Feathers brush without reinking it for the light color, then Peacock Feathers inking up the brush.

For the leaves I used my green brush without inking and then used Peeled Paint ink.

I die cut it after I colored it.

I stamped Just for you in the MISTI and die cut it with the included coordinating die.  Three layers glued together.

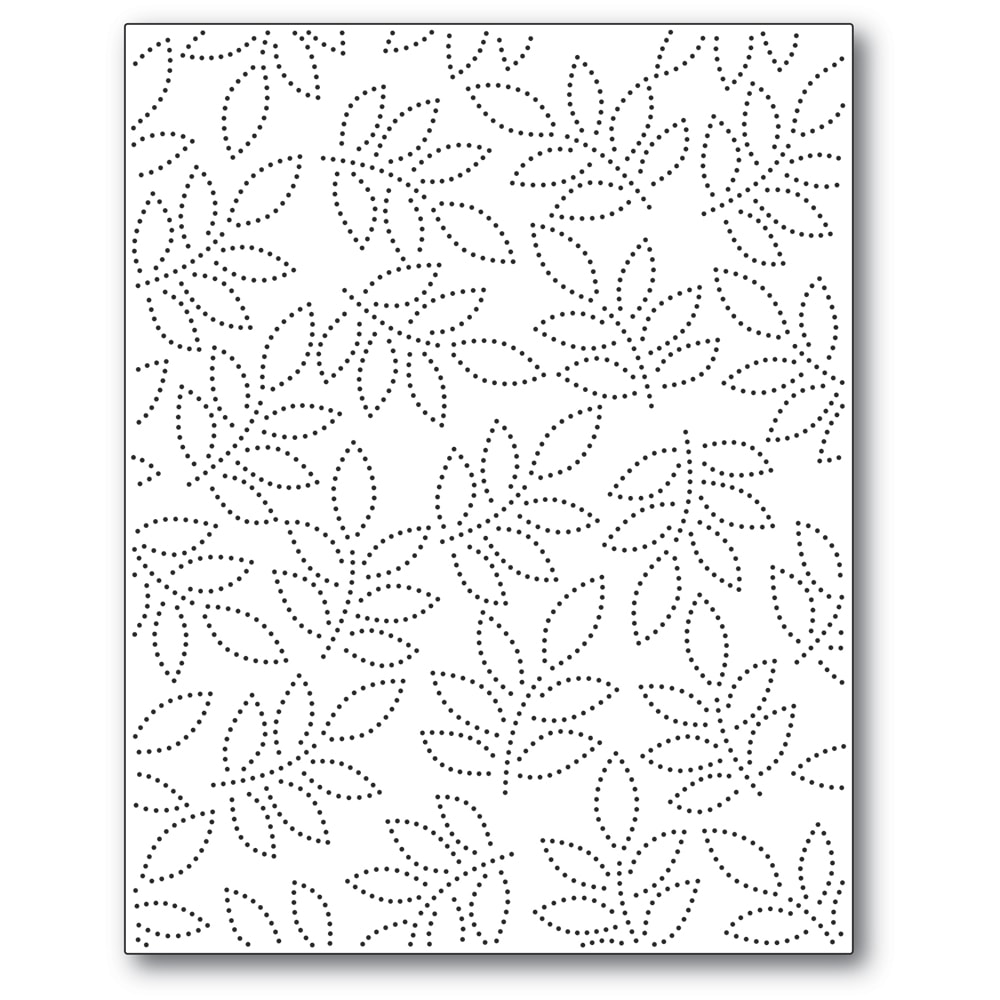
I used poppystamps Pinpoint Leaf Plate die for the background pink background panel, adhered to a white cardbase.

Simple card, fun to make and I love the sentiments in this set!

Can you believe it’s the end of June and almost time for another holiday! Boom! Boom!

Thank you for stopping by!

Here’s what I used to make this card  AND some REALLY EXCITING NEWS!  Starlitstudio is getting a new website/shop and it will be up the first week of July! It will be the same website address/URL, just a new shop.  It’s gonna be awesome!

Save $5 coupon code for Simon Says Stamp is NEW2U  through 8/15…

Memory Box Gracious Floral Clear…
[ SSS ]
Memory Box Gracious Floral Clear…
[ SSS ]
Memory Box Gracious Floral Stencil…
[ SSS ]
Memory Box – 94381 Pinpoint Leaf…
[ STR | SSS ]
TE Premium Cardstock – Cupcake -…
[ TE ]
Tim Holtz Distress Oxide Ink Pad…
[ SSS | SBC ]
Tim Holtz Distress Oxide Ink Pad WORN…
[ SSS | SBC ]
Tim Holtz Distress Oxide Ink Pad…
[ SSS | SBC ]
Tim Holtz Distress Oxide Ink Pad…
[ SSS | SBC ]
Tim Holtz Distress Oxide Ink Pad…
[ SSS | SBC ]
Tim Holtz Distress Oxide Ink Pad…
[ SSS | SBC ]
Tim Holtz Distress Oxide Ink Pad…
[ SSS | SBC ]
Waffle Flower Crafts – Blending Brushes
[ SBC | SSS ]
Gina K Designs MINI BLENDING BRUSHES…
[ SSS ]
Tombow – Mono Multi Liquid Glue
[ SBC | SSS ]