Class · Classes · Memory Box · Poppystamps

The GREAT Yosemite Stamp Escape…

IMG_0347_2

 ***click the photos to see full size – they are larger than the column this time***

AND it WAS great!   I posted on the Memory Box Blog today… more pictures there.  I spent the month of April preparing card kits for 93 women.   A BIG undertaking… do you want to see some behind the scene pictures?  I hope so! Since you can’t reply… lol

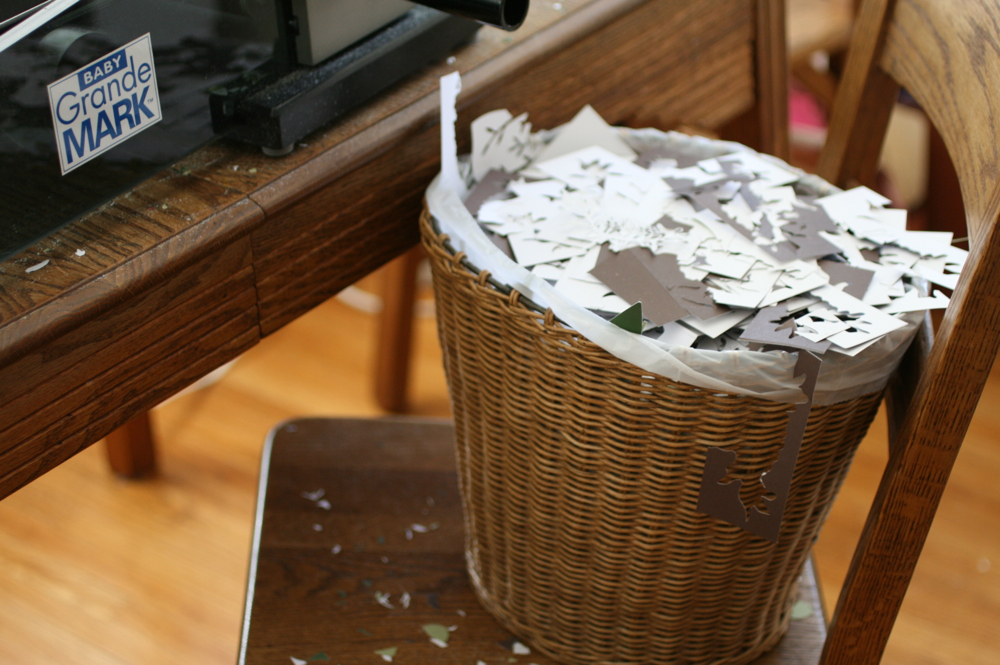
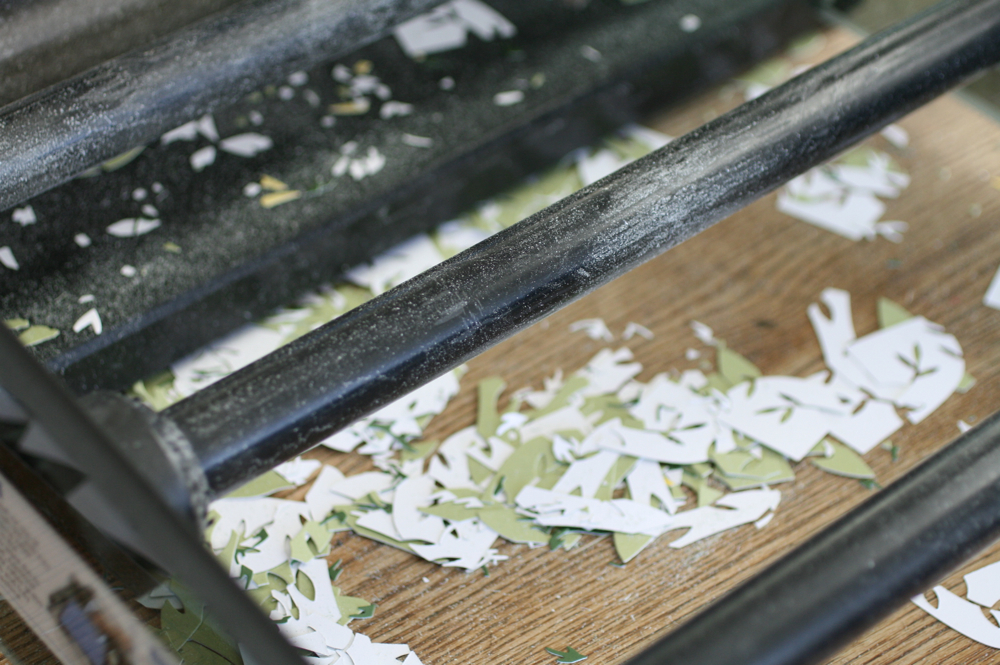
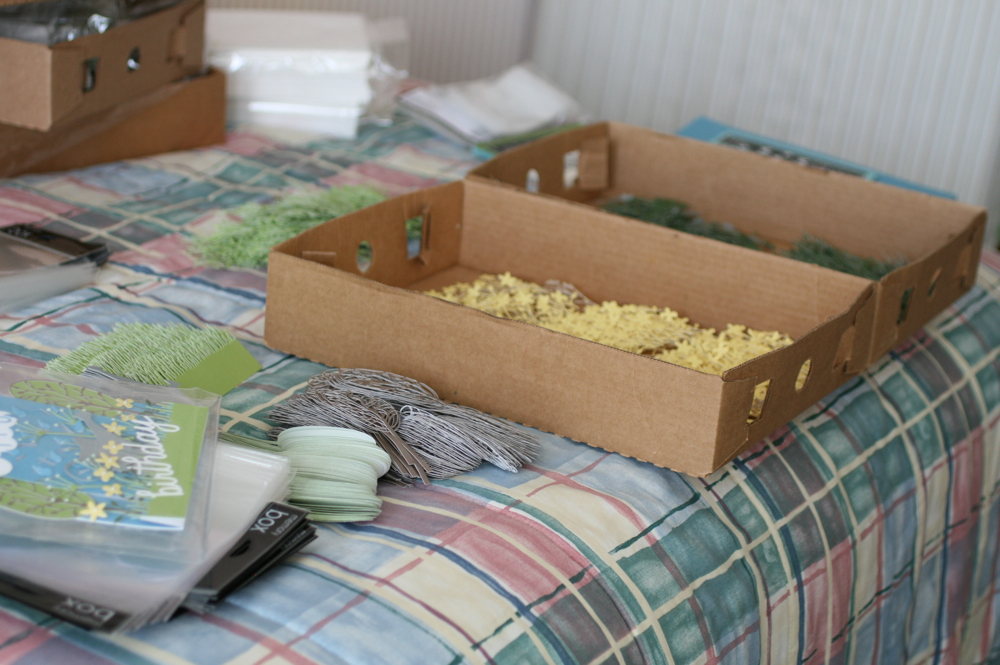
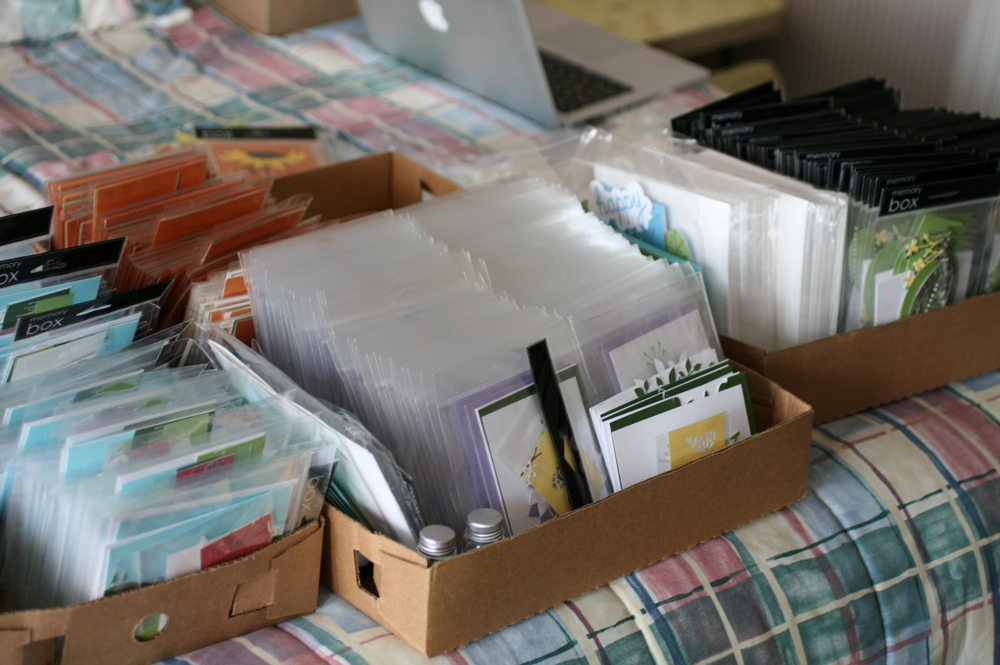
It’s a BIG deal cutting and cutting and cutting.  Pieces EVERYWHERE but it’s so nice when the piles start adding up!  At times you NEVER think you will get to the 100 mark!   By the way, I do have 7 kits left if anyone is interested! : )

3 ½ trash cans of paper pieces!

PamSparksGYSEcutting1

PamSparksGYSEcutting2

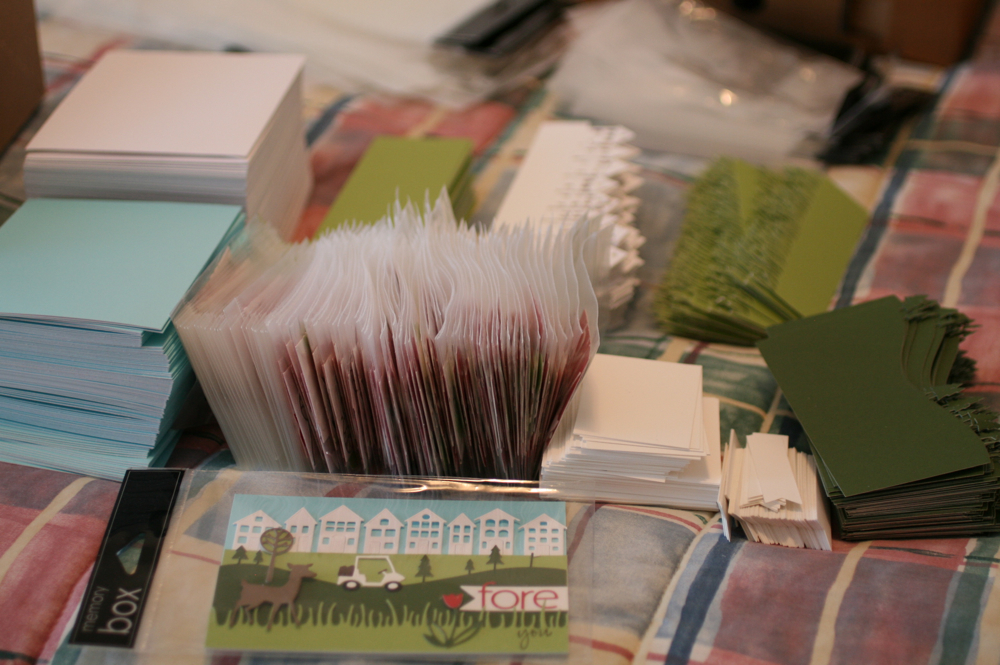
200 Vercelli Outline trees and 200 Vercelli Background trees for the step card…

PamSparksGYSEcutting3


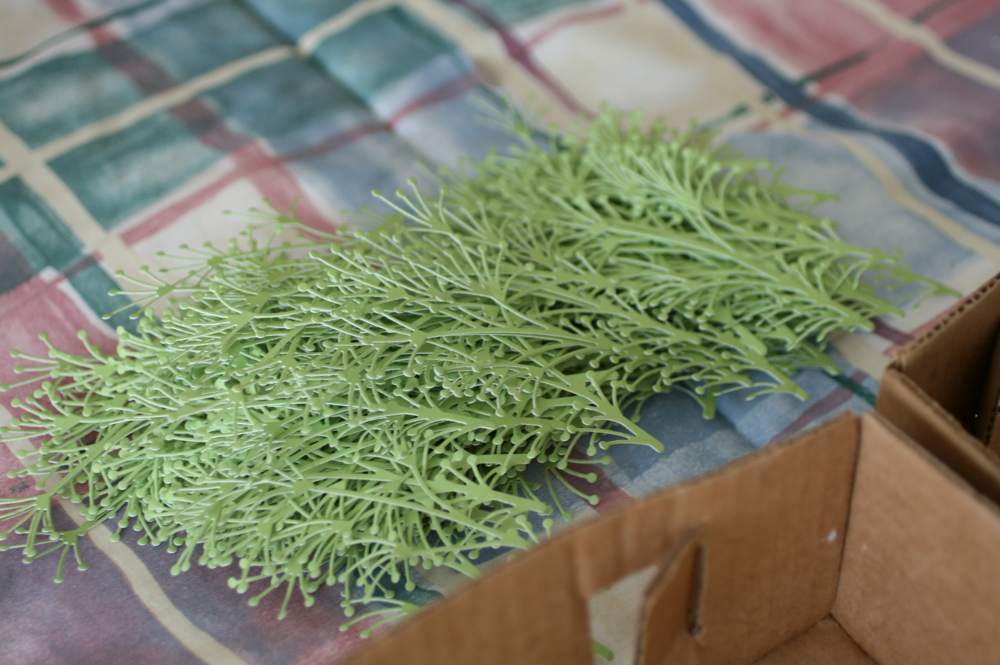
oh man,  I cut 300 of this Beach Sprig die!

PamSparksGYSEcutting4


I cut and scored 100 Center Panel Step cards by hand…

PamSparksGYSEcutting5


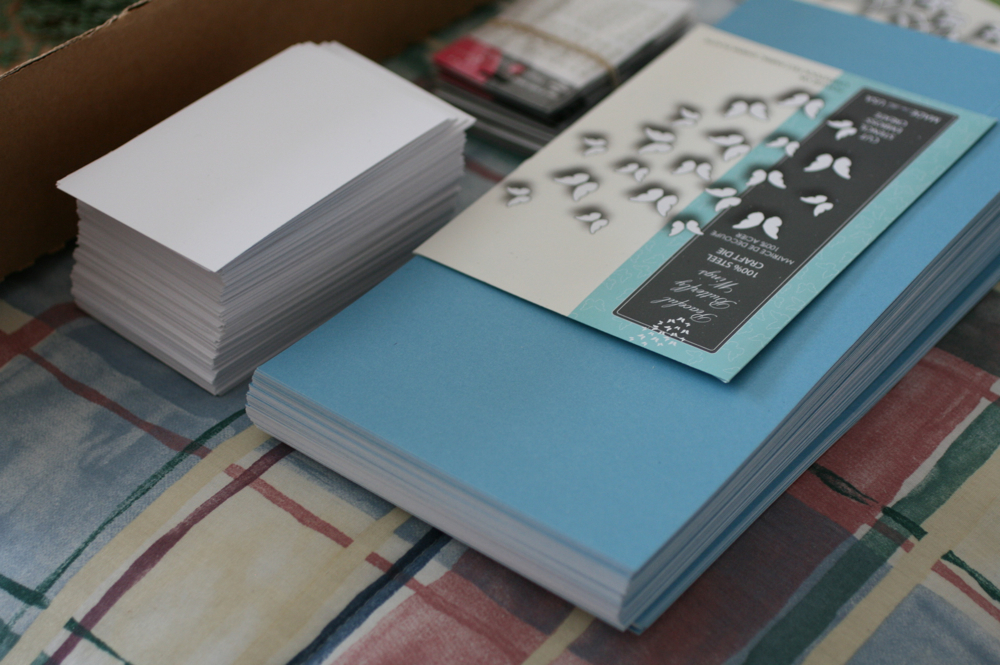
The parts for the step card…

PamSparksGYSEcutting6


Step card packaged up and ready to go into the kit…

PamSparksGYSEcutting8


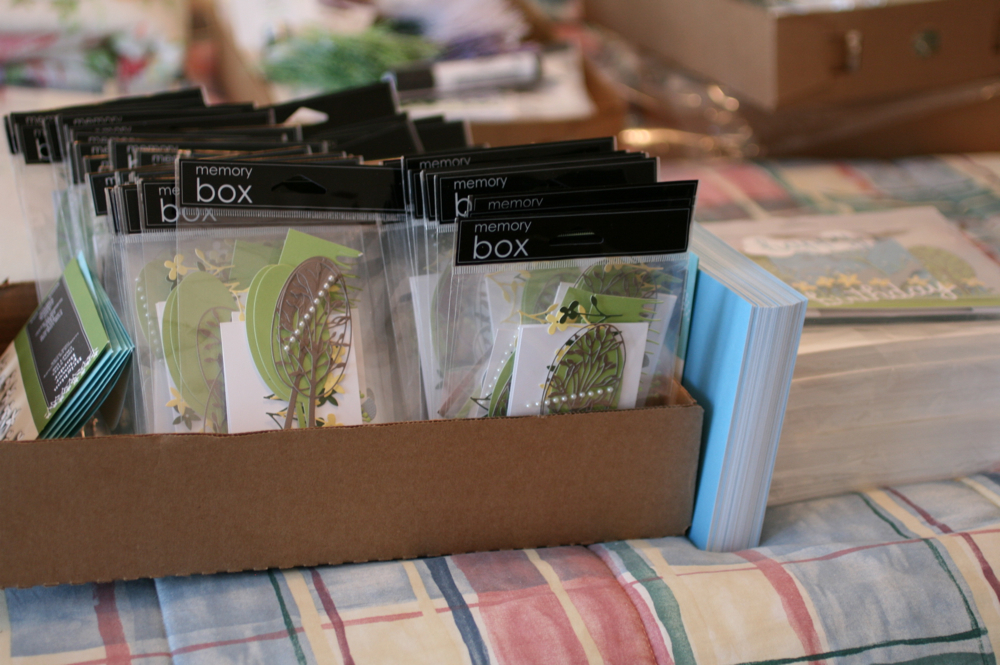
Parts ready for the Golf, Fore You card…

PamSparksGYSEcutting7


All four cards packaged and ready to go into the kit envelope… sweet!  I wish I’d taken a picture of the huge suitcase it took to get them to California! lol

PamSparksGYSEcutting9


How to keep your sanity while cutting your brains out?  Audio books.  yep… I found that I love listening to them.  Good deal!

So now you know where I’ve been!  : )

It was an honor to represent Memory Box and work with 93 creative and talented stampers.  They stuck with me, pun intended, hahaha, gluing, cutting, stenciling, embossing and assembling their cards like the true stampers they are!

If you ever get near Oakhurst California, be sure to stop at the wonderful stamp store owned by Sharon Fitzgerald,  The Cat’s MeowThis was Sharon’s 14th year for the Great Yosemite Stamp Escape If it would ever work out that you could attend… DON’T miss it!

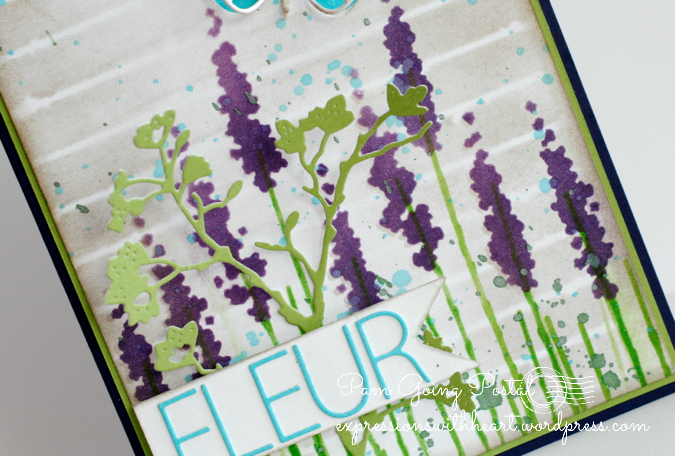
*Next week I will post the four cards I designed for them to make, the supplies and links.  Just to much to put all in one post!

Tomorrow I will be back with more cards I’ve made with the Summer 2014 release!  YAY!

Thanks for stopping by!  I love hearing from you and reading your comments!  I wish I could stamp and create with all of you too!!!


Birthday · cards · Die Piecing · Memory Box · Poppystamps · Summer

Memory Box… NEW! NEW! NEW!

PamSparksYellowKensingtonHalfCircle


MORE of what we love!  Memory Box dies!  YAY!  The 2014 Summer Release!  I’m whispering here… but you know…the Holiday release will follow soon after!  YAY!  I love Christmas!

For this ‘yellow’ card I used the NEW Thank You Garland, Delicate Butterfly Arch, Solid Arch Background, Kensington Branch (I trimmed out two of the butterflies, cut them in white and yellow) from the NEW release and the Peaceful Butterfly Wings from the Spring release.


PamSparksYellowKensingtonHalfCircleClose

Add some baby white pearls and I was done.  Oh,  I did cut the Butterfly Wings twice so I could trim out a few butterflies and layer them over the ones close to the border of the Arch cuts.

❤ ❤ ❤ ❤ ❤


The next card was really fun too!  I used the NEW Fancy Potted Flower and Happy Birthday Garland.


PamSparksBirthdayPot

It just makes me happy!  It almost makes me think I could be a flower gardener!  NOT.  Bummer though.  I do have one hanging flower this year and it’s still alive!  woohoo! lol

Look at the potential with this die!  Use it as it cuts… the flowers in the pot… or trim the flowers out and use them as a row of flowers in the grass,  I love this! Or trim off the flower heads for ground cover!  Sweet!  Of course I had to do all three!

TIP!  Leave the petal pieces in the die and use the Pick up tool (linked below) to place them directly from the die…then you know right where they go!  Great time saver!


PamSparksBirthdayPotTopClose

Love these garland sentiments!  I did cut them three times and glued them up with Tombow Mono Multi.


PamSparksBirthdayPotFlowersClose

See that sprig of green in there?  That’s from the Fabulous Phlox die… love it!  Fresh Cut Grass die from poppystamps!

Memory Box Signature Pattern paper, Notecards and Card-stocks.  Both cards are A2 size.

I’m so excited…can’t wait to show you some more cards!  I’ll be back tomorrow!  Thanks for looking!

Supplies I used to make these cards…

Birthday · cards · CAS · Die Piecing · Memory Box · Perfect Layers Tools · Poppystamps · rubber stamps · Spring

Memory Box Glorious Gerber Daisies and Kensington Border cards…

PamSparksGloriousGerbersKraftPurpleGreenCLOSE
Glorious Gerbers indeed!  I love these flower dies from Memory Box!  I will be posting later next week about the Great Yosemite Stamp Escape but in the meantime, here’s a couple cards I made up while working out what cards to teach.
 
PamSparksGloriousGerbersKraftPurpleGreen


I pieced in the Distress Dots Memory Box Signature pattern papers for the flower petals.  I like to leave the pieces in the die and use the Quikstik to place them them in the holes, easier to keep track of the pieces and faster too!

Memory Box Kraft A-2 notecard for the base, edged with Distress ink and the ink blending tool.

Just can’t get enough of the Kensington Border die!  Love it!

I inked up just the ‘happy birthday’ words from the Happy Birthday Special Combo stamp and stamped them on the poppystamps classic ribbon border die and layered it up.
Here’s a little bit different version…


PamSparksGerberKensingtonDistressDots

and since I couldn’t decide if I liked one photo better than the other…


PamSparksGerberKensingtonDistressDotsSide

Some little purple baby pearls on the border die cut, wish I’d remembered to do that on the first card before photos! lol  If you don’t have purple, you can always color white ones with your Copic markers!

Hemp on the first card and Lawn Fawn trimmings on the second.

THANKS for visiting today!

Supplies I used on these cards…

cards · Distress Ink coloring · Distress Stains · Memory Box · Perfect Layers Tools · Poppystamps · rubber stamps · Spring · Stencils · Techniques

Memory Box Stencils and Dies…

Hi everyone!  There is a Stencil Blog Blitz going on over on the Memory Box Blog, HERE.  Every day there is a chance to win a stencil,  just by leaving a comment on the blog post each day.

ca615aa4-37f5-4221-8c4f-5bc3e18724b5


In today’s post, Laura is showing the Pop Dots Stencil.  I have a card made with it and the poppystamps Mod Flower Background die matches up with it perfectly!  I embossed the stencil by running a piece of card-stock through the big shot,  then laying the stencil back over the embossed piece as a mask,  I used several colors of Distress Stains to color the circles…Spun Sugar, Peeled Paint, Barn Door and Broken China.

PamSparksModFlowerDistressStains
Then I added a banner cut with poppystamps Classic Ribbons die,  I stamped on it with a Memory Box Washi Chevron stamp and  Wishing You a Happy Day stamps

PamSparksModFlowerClose
Some Doodlebug Sequins to embellish and then glued together with Tombow Mono Multi glue.

I posted a stencil card on the Memory Box Blog  for the Blog Blitz on Saturday, using the Texture, Line Up stencil, Delphinium and Stems mini stencils from the Garden collection.

PamSparksStencilFleur
I inked through the stencils with Distress Inks and the new Round Ink Blending Tools. (they are awesome by the way!)

Then I cut the Rhone Butterfly Wings die in the panel and layered Lagoon card-stock under it.

The Blooming Branch die is glued on behind the Classic Ribbons Banner and the word FLEUR is cut with the new Urban Uppercase Alphabet die set.

PamSparksStencilFleurClose2

And I have found that I LOVE to spatter!  Two colors of spray mist spattered on the panel.  Shake the mists side to side to mix, unscrew the cap and tap with your finger to spatter the ink off the tube.  Works great!

I used my Perfect Layers mini Rulers  and Cutting mat to cut the mat for the floral scene.  Link over on the right… love these rulers!

I have more cards to post and photos and cards from the Great Yosemite Stamp Escape too!  I’ll be back soon!

Thanks for stopping by, it’s good to be back. I have missed you ALL!

p.s. I still haven’t been able to get Google to recover my You Tube Channel.  It’s so discouraging. This is for sure one time when technology is not my friend.  boo.

There is one video on my blog Facebook page though.  I wish I’d loaded them all to FB!  Who’d a thunk!

Supplies I used on these cards…


Blog Hop · cards · copics · Die Piecing · Memory Box · Perfect Layers Tools · Poppystamps

Perfect Paper Crafting and Simple Stories Blog Hop…

get-attachment-2.aspx


WELCOME to Day One of our Perfect Paper Crafting Blog Hop with Simple Stories.  I’m starting the week long hop here on my blog.  The other PPC and SS gals will have a post on another day of the week.  Check in on the Perfect Paper Crafting Blog each day, April 7 – 12,  for what two blogs to visit!

Prizes!!! * A set of Perfect Paper Crafting Rulers and a Simple Stories Paper Collection! Comment on the blog posts all week for a chance to win!

My first card today, I colored the cut from the Joyful Bouquet die by Memory Box with Copic Sketch markers. Then I colored the flower centers and some of the stems with the Wink of Stella Clear Glitter Brush marker.  (forgot to take a close up to see the sparkle)  I kept the negative/waste part and pieced it back in like I did on this card, in this post HERE

I trimmed it down, matted it with black card-stock and the Perfect Layers Mini Rulers ⅛ inch ruler and layered it on SS Lookin’ Good card-stock trimmed down to an A6 size card. I also used one of the label stickers and the circle heart chipboard sticker from the DIY Boutique Collection.

Challenges…
Stampin’ for the Weekend 
wants to see Spring Colors


Weekly-Favorite


PamSparksJoyfulBouquetSS


Enjoy! it’s a beautiful day!  On this card I used the Perfect Layers Mini Rulers ⅛ inch ruler to mat SS Newspaper card-stock to white card-stock and then to an A2 size kraft card base.   I colored the SS enjoy sticker with Copic Sketch markers to get a closer match to the card-stock I used for the leaves in the die cuts. The sentiment is cut from the SS Who’s To Say card-stock and layered to one of the pieces from the SS Card Foundations pack.   I used the Memory Box Sophia Bloom dies to cut and layer up the flower border.

PamSparksSophiaBloomSS


“Let’s Do This”… what a cute sticker.  We like to ride bikes and take pictures… so it was fun to make a card with the SS bike, flower and butterfly chipboard stickers and poppystamps Cinema Film Strip die.  I added the SS heart talk bubble sticker and a couple more behind the film strip.  I used the Perfect Layers Mini Rulers ⅛ inch ruler to mat SS Chevron card-stock (the back side) to white card-stock, then to SS Polka card-stock and then to a 5 ½ inch square white card base.

PamSparksCinemaFilmStripBike


“You Are My Anchor”, I cut the sentiment from the SS Who’s To Say card-stock.  SS Anchor chipboard, some twine, a SS circle heart chipboard sticker and Memory Box Big Splash Border die at the bottom. This card uses the back side of the SS Outside the Box card-stock sheet and a narrow strip from the SS Herringbone sheet.

PamSparksBigSplashAnchor


A cute “just a note” SS typewriter chipboard, some super sweet heart chipboard circles, a card foundation (I added the white stitching lines), a frame from the Freeze Frame sheet matted with the 1/16th in Perfect Mini Layers Rulera couple sticker labels and this and that word stickers.  A2 size card.

PamSparksSStypewriter


The last one!  hehe  A 4 ½ in. square card with the cute little SS Chipboard telephone sticker and word stickers.  The frame is from the SS Freeze Frame sheet, I used the 1/16th in. Perfect Mini Layers Ruler to mat it and layer it on a SS Polka square of card-stock.  I used one of the blooms from the Memory Box Sophia Bloom set in the corner.

PamSparksSStelephone

No stamps!!! eek!  can you believe it!  I missed them while creating these though.  Paper is fun but I love my stamps!  At least I worked in some dies.  Simple Stories pattern paper, stickers and chipboard make cute and fun cards though and it was challenging for me to use pattern paper again!  I love a challenge! : )

So happy to promote Perfect Paper Crafting!  I LOVE my Perfect Layers Rulers and Mini Rulers.  The mat is awesome too!  Smooth and easy cutting every time! Be sure to use my code, Sparks5%, when you shop the PPC store.

Hop over to Simple Stories blog to see their FABULOUS work!  Comment here and there for a chance to win one of the prizes being given away at the end of the hop! Enjoy the week of inspiration!  Thanks for visiting my blog and happy creating!

Supplies I used to create these cards…