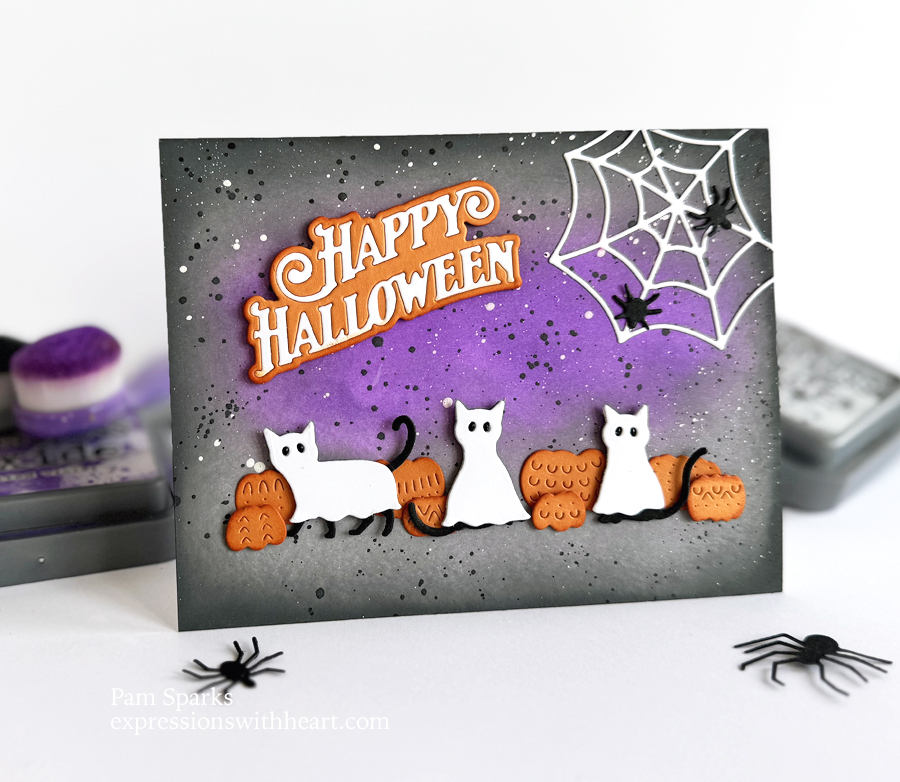
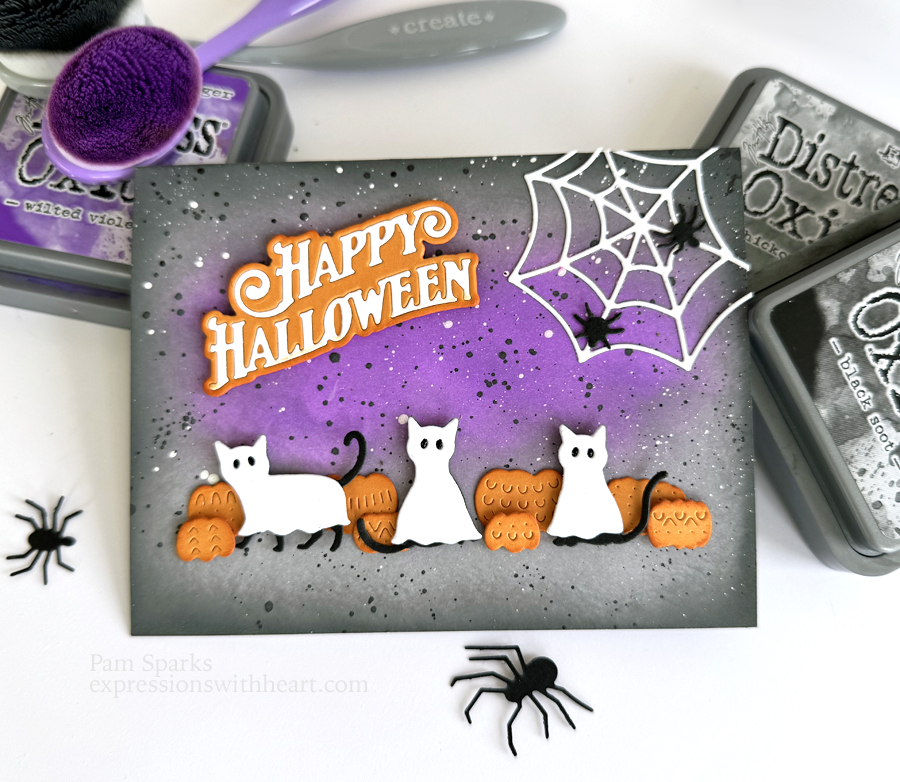
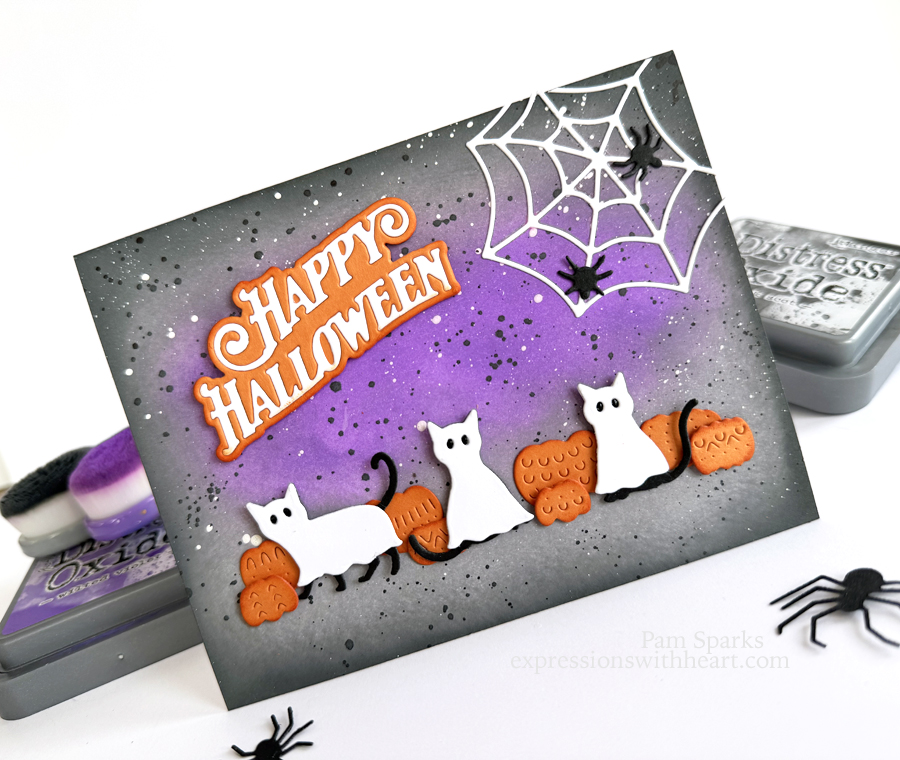
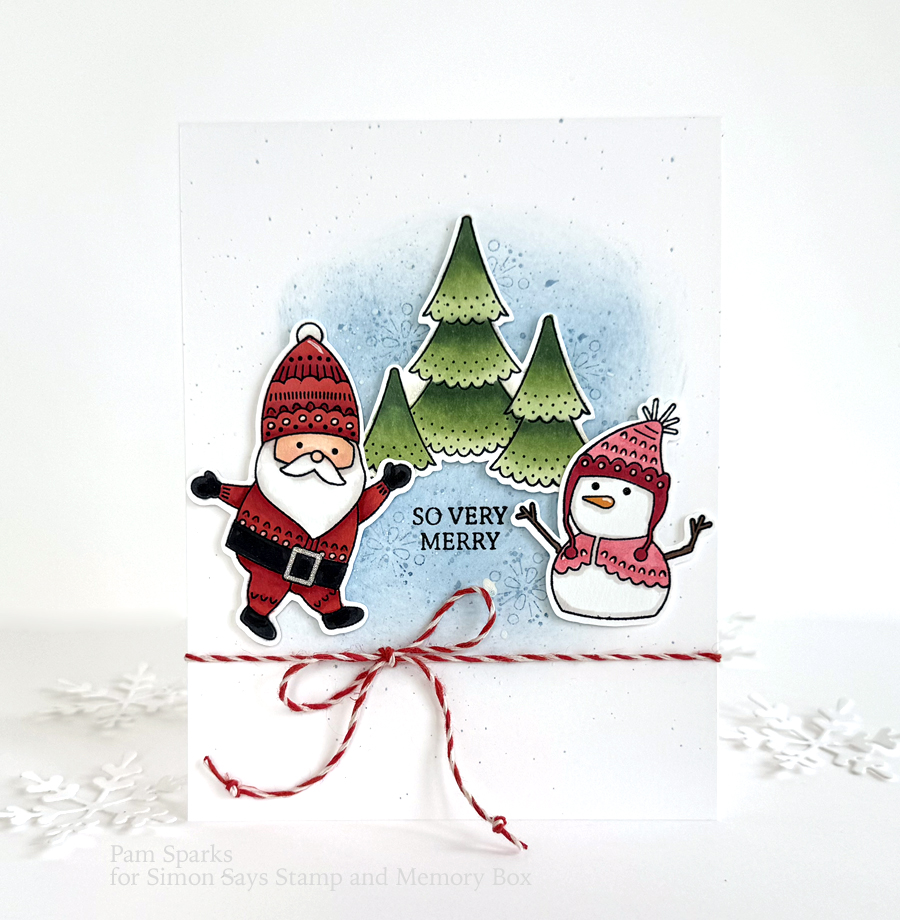
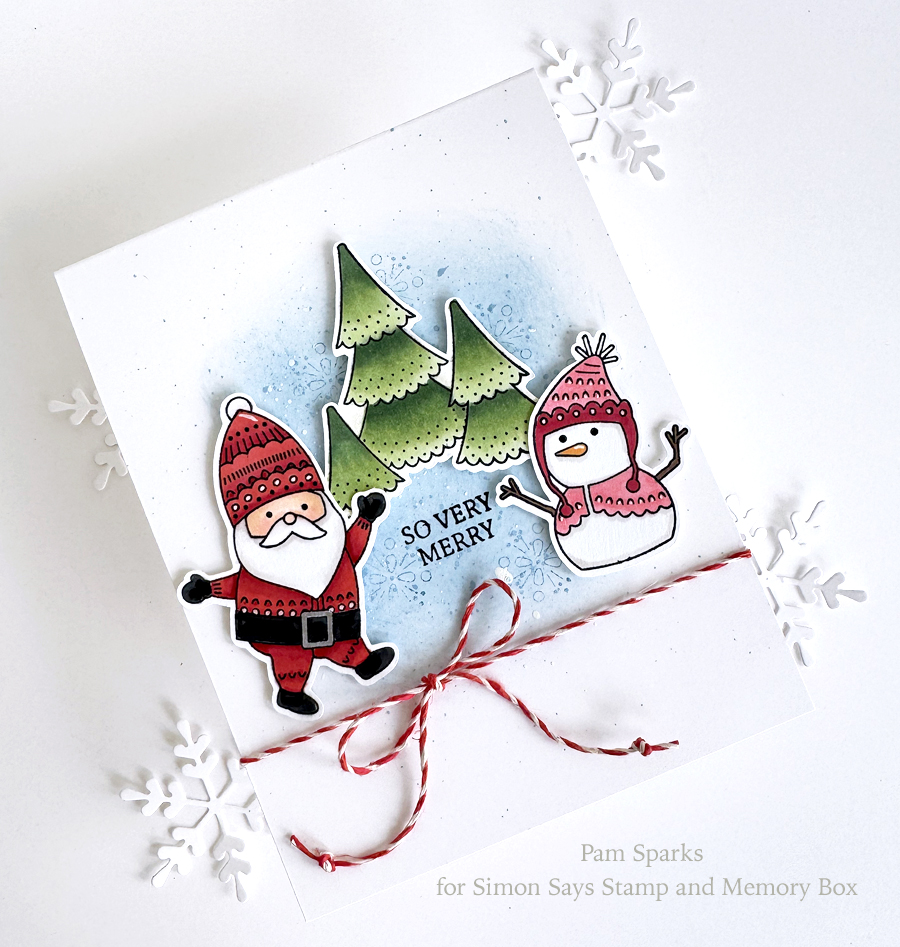
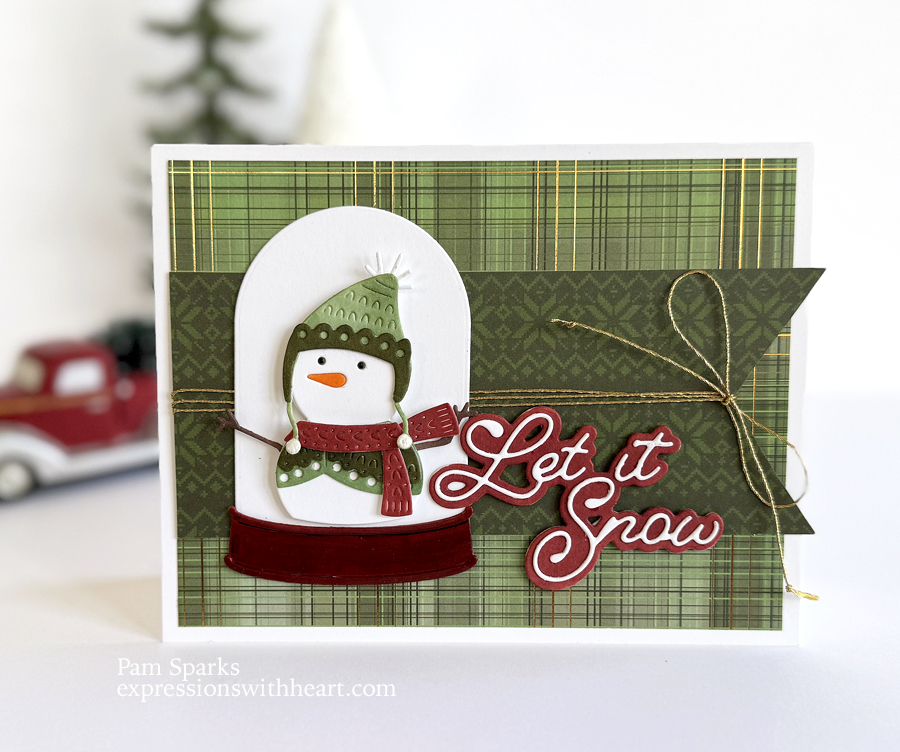
Time for a cute card! Something to make you think of cooler temperatures! That’s how we’re feeling here in steamy Iowa! Can you say Summer?!
I had fun making these NEW poppystamps dies up…die cutting, inking, gluing, arranging and spattering. Here’s the card! lol
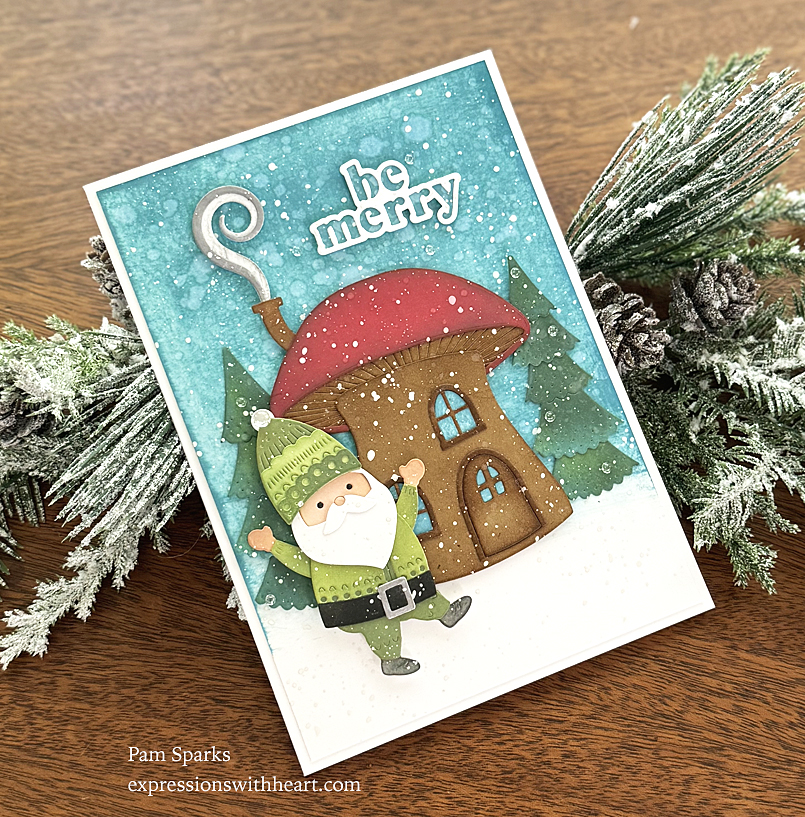
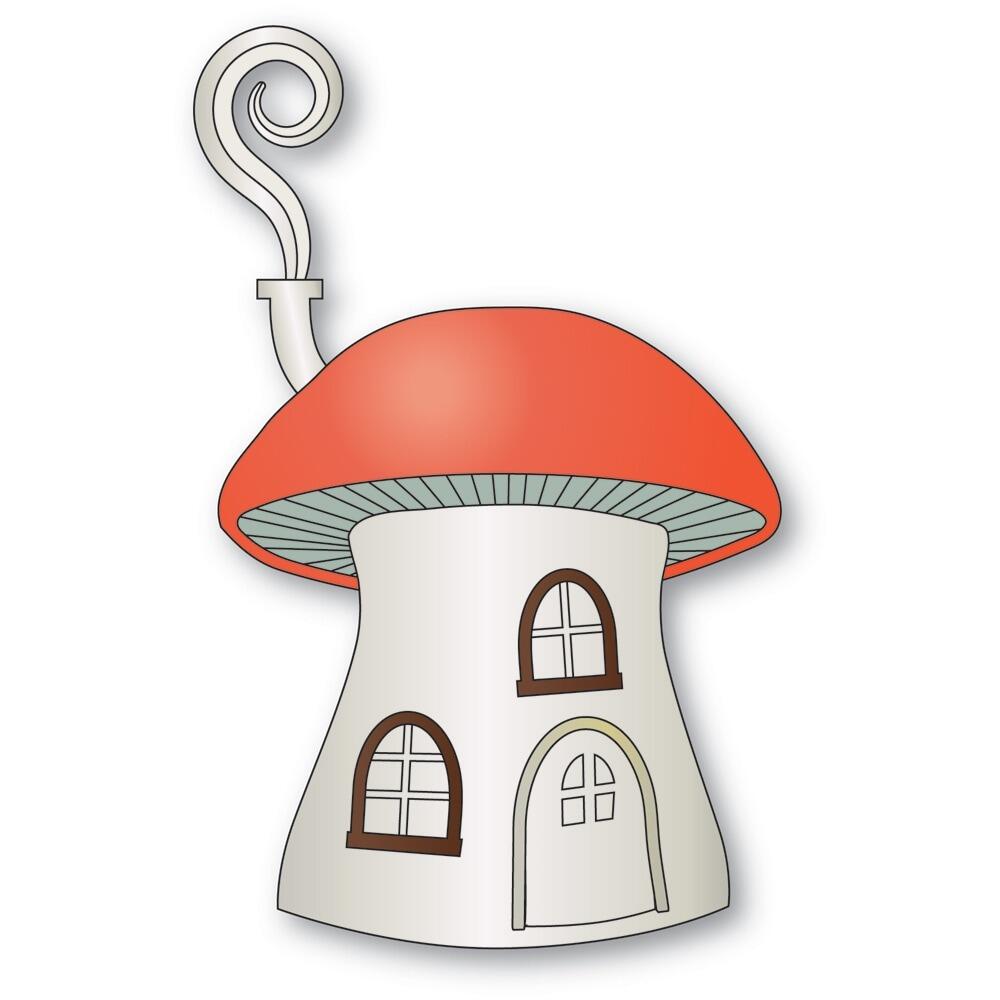
I die cut the lower mushroom parts in kraft cardstock and inked with Gathered Twigs Regular Distress Ink and the mini ink blending tool.
The upper mushroom is die cut in white cardstock and inked with Lumberjack Plaid Distress Oxide ink using an ink blending brush and aged with regular Gathered Twigs Distress ink and a mini ink blending tool. The smoke in white and inked with Hickory Smoke Oxide ink.
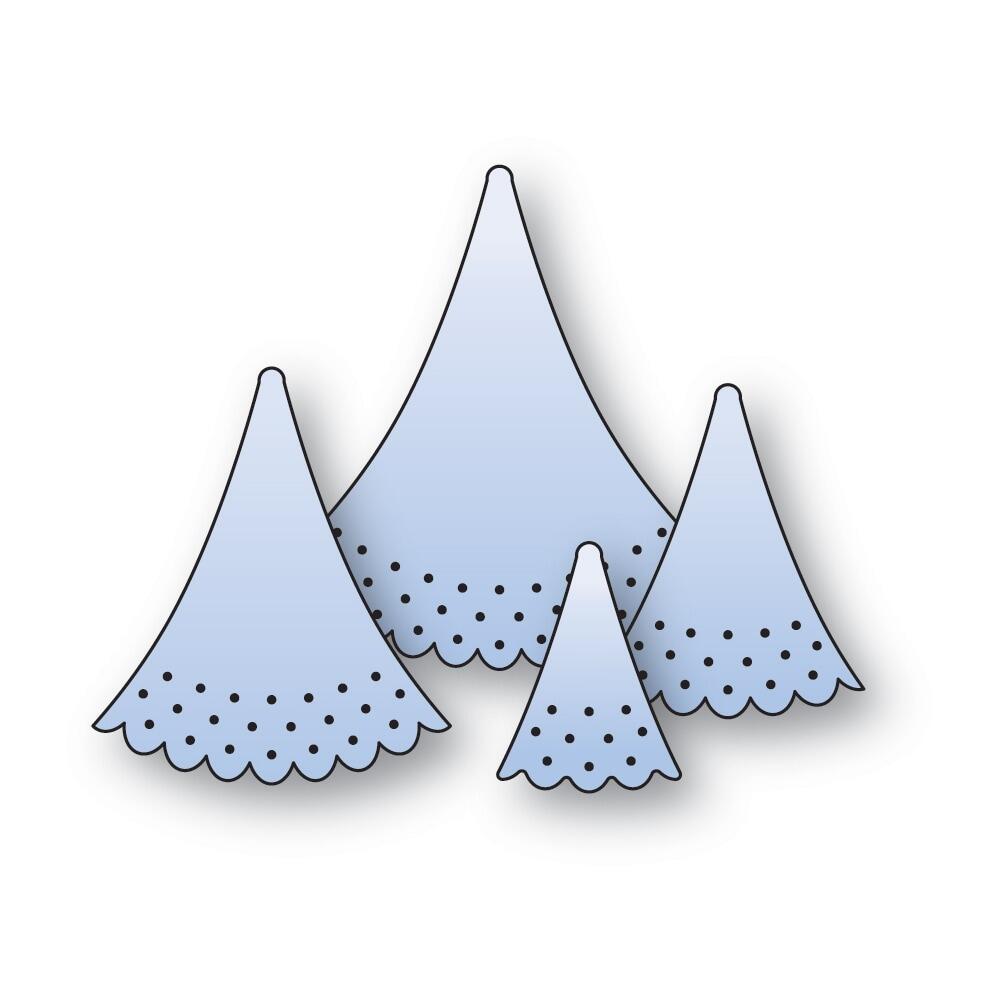
The trees and the gnome are all die cut in Neenah Classic Crest White cardstock and inked with Oxide inks and blending brushes….
hat with Peeled Paint (less pressure to get the lighter part)
flesh parts are Tattered Rose with a hint of Vintage Photo on the edges
trees are Rustic Wilderness with a little bit of white showing here and there and those spots inked with Peacock Feathers
Backgound panel is Neenah Classic Crest White inked with Peacock Feathers, spattered with water droplets, let it dry
be merry is die cut in white also, back layer inked with Peacock Feathers and spattered with water droplets also, white layer glued on top
Panel is glued to a 5 x 7 cardbase, mushroom house adhered with my favorite thin mounting tape, trees glued directly to the card, gnome and sentiment adhered with thin mounting tape.
Last step was spattering with white drawing ink.
His belt buckle is colored with a gel pen and I added a few clear fairy drops.
I hope he makes you smile! It’s so cute! A happy card that makes me happy too!
thank you so much for stopping by! More to come!

Here’s the dies and supplies I used to make this card…so many AWESOME NEW products from poppystamps, Memory Box and Birch Press Design in the stores…have fun shopping and creating! STR takes you to Starlitstudio.net, SSS takes you to Simon Says Stamp, SBC takes you to Scrapbook . com, SPL takes you to Spellbinders .com, BLIC takes you to Dick Blick .com Thank you so much for shopping and supporting my cardmaking/blogging in this manner. No extra cost for you and it helps me pay for this blog/linkdeli and the convenience for you of knowing what I used! Win Win! Happy creating!
|
|
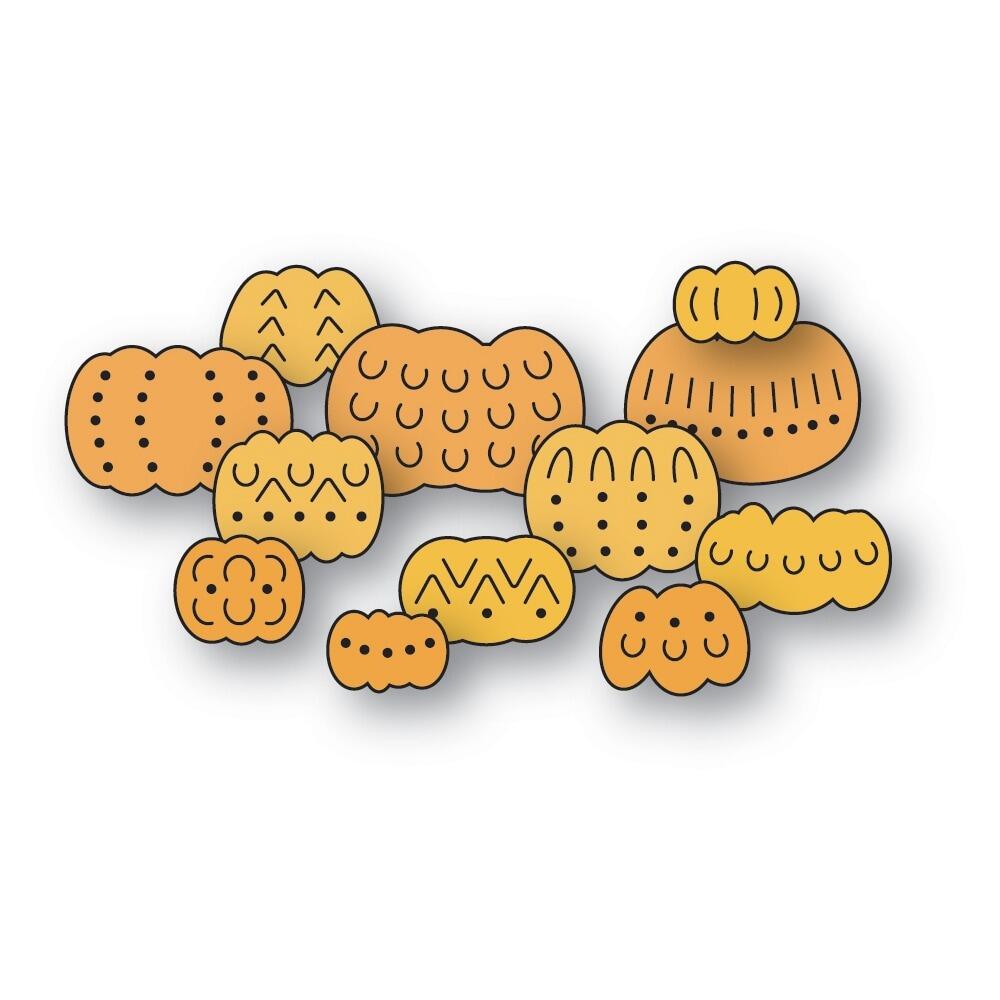
Poppystamps – 2655 Large Mushroom…
|
Poppystamps – 2644 Nordic Dancing…
|
Poppystamps – 2645 Be Merry craft die
|
|
Poppystamps – 2635 Nordic Dimple…
|
Poppystamps – 2629 Nordic Dimpled…
|
Memory Box Fairy Drops • Jewels •…
|
|
Craft Tweezers – EK Tools – 5 inch…
|
Neenah Cardstock Classic Crest Ultra…
|
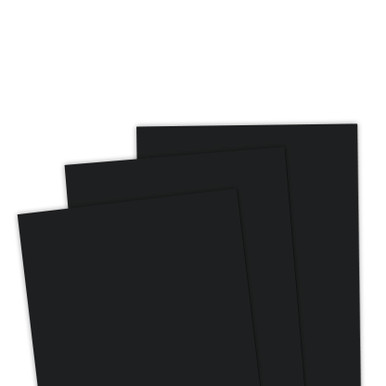
Kraft Extra Heavy Weight Cardstock…
|
|
Winsor & Newton Drawing Ink – White,…
|
Scrapbook Adhesives Crafty Foam Tape…
|
Fiskars Non-Stick Titanium Softgrip…
|
|
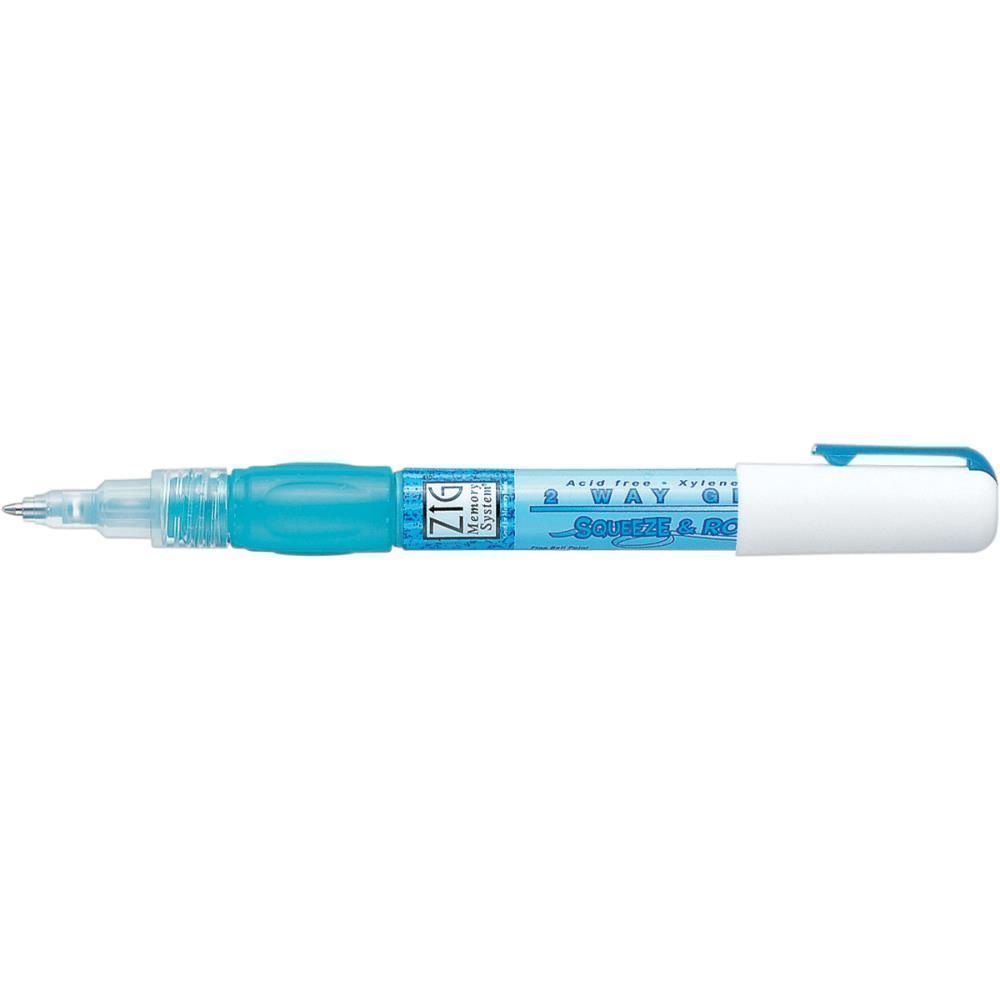
Zig 2-Way Glue Pen – Squeeze & Roll…
|
Tombow Mono Multi Liquid Glue
|
Tim Holtz Distress Ink Pad Gathered…
|
|
Tim Holtz Distress Oxide Ink Pad…
|
Ranger Ink – Tim Holtz – Distress…
|
Tim Holtz Distress Oxide Ink Pad…
|
|
Tim Holtz Distress Oxide Ink Pad…
|
Tim Holtz Distress Oxide Ink Pad…
|
Tim Holtz Distress Oxide Ink Pad…
|
|
Sizzix Cutting Pads – set of 2 -…
|
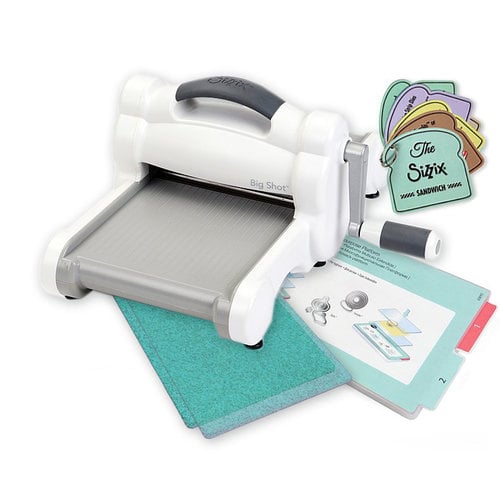
Sizzix – White and Gray – Big Shot…
|
Sizzix White Tool Caddy Big Shot…
|
|
|