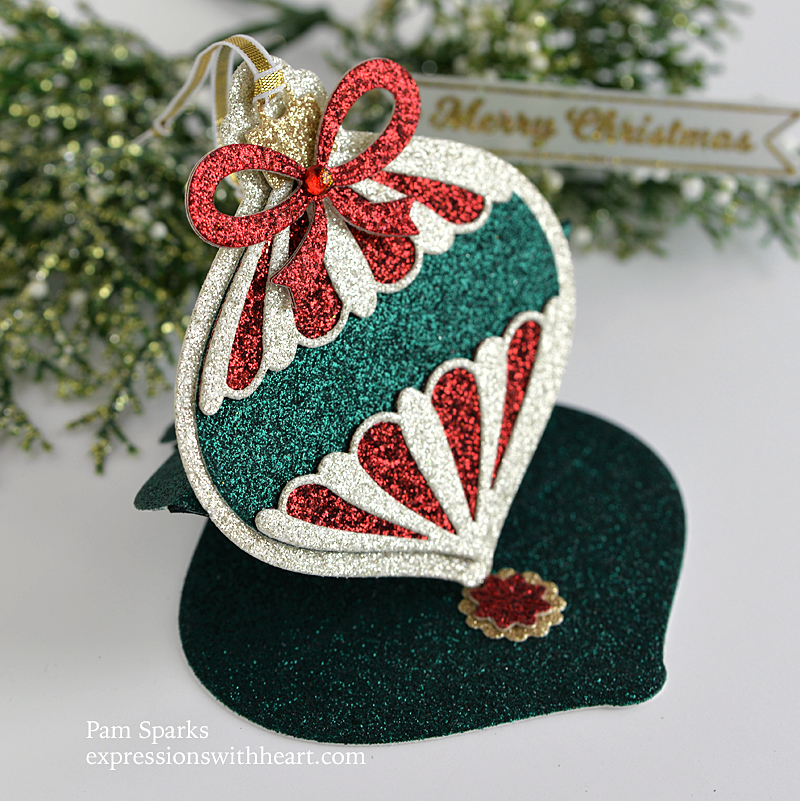
Hi everyone! Welcome to my attempt to show how glittery amazing this glitter cardstock from Memory Box is and how fun to use it with this new BPD release! I’m sitting here looking at the real card wishing I could just show it to you IRL because it is so sparkly and pretty!!!
This was a fast card to make…all die cutting and so easy with a pad of 6×6 glitter cardstock!
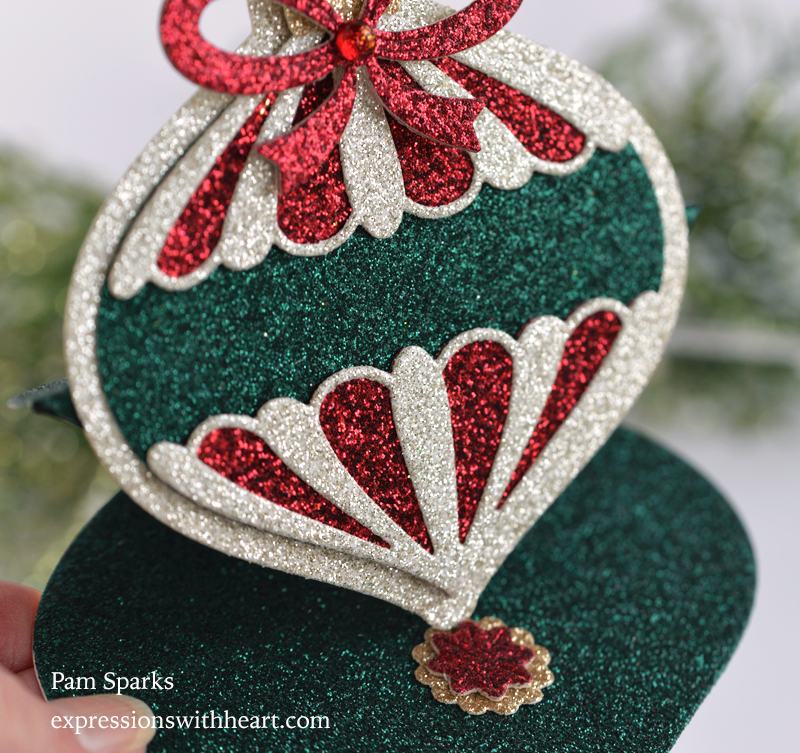
Here it is from the side. I die cut a white cardstock base with the easel die in the set, then I die cut from the glitter paper and glued it to the white card die cut. Because of the 6 x 6 size of the glitter cardstock, I had to make it in two pieces. It worked fine, you really can’t tell it.
I’m going to say it again… it was so easy to make! lol Cut and glue! This would be a great card for a class or a cardmaker get together!
I stamped and heat embossed a sentiment from the BPD Christmas Ornament and Labels stamp and die set but I couldn’t decide if I wanted on the card for the pictures! So it’s laying off to the side. I will glue it on when I send it.
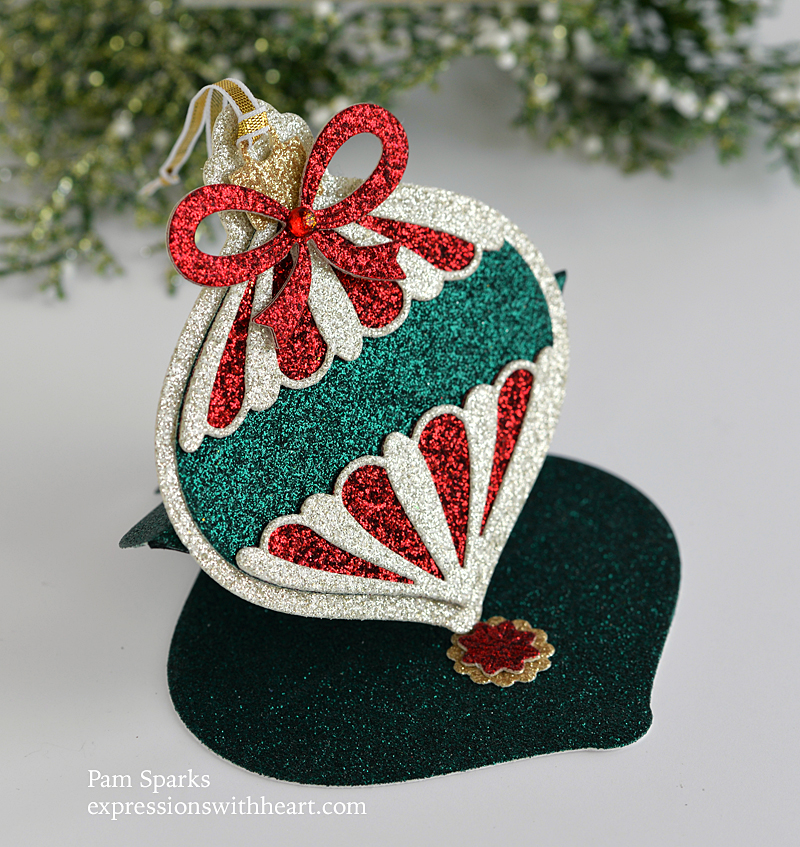
So pretty too… just glam it up!
It could easy be made into an ornament to hang on the tree or a gift tag!
It folds up so nice and will easily fit in an A2 envelope and mail for one postage stamp.
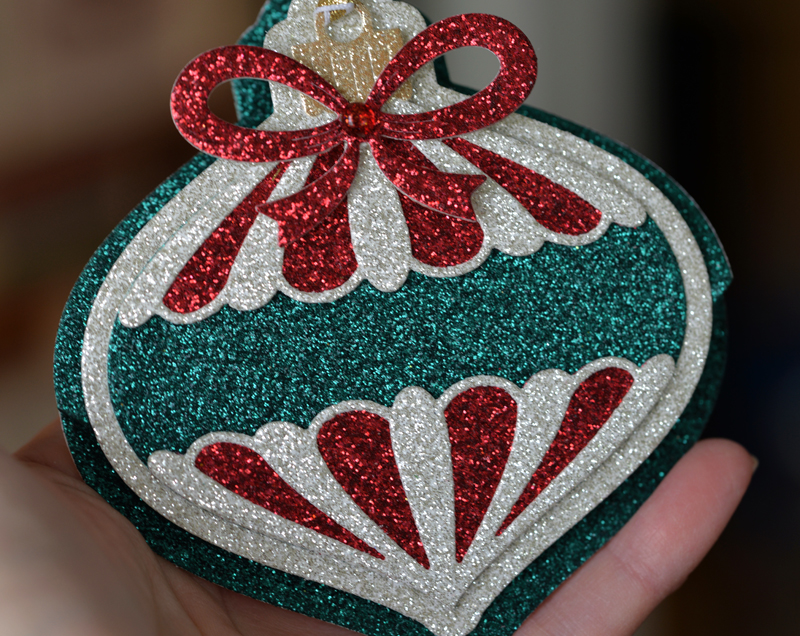
I added a Memory Box Christmas Fairy Drop in red on the bow. Boom! Done! Taking pictures, trying to capture glitter cardstock took longer!
***Bonus – None of this glitter comes off!!! Thank you Memory Box! lol
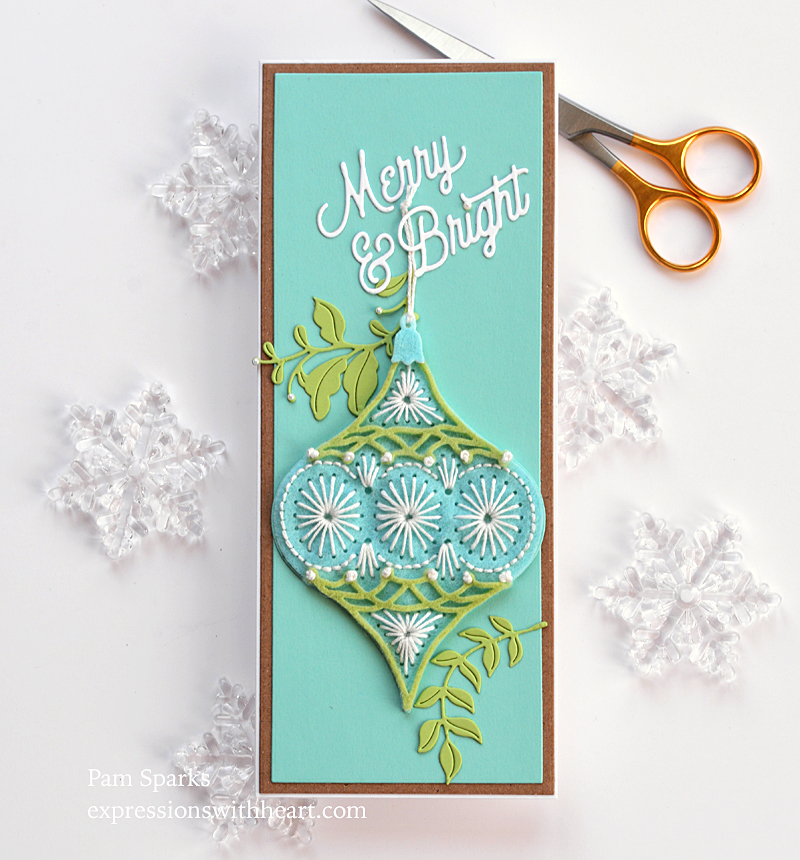
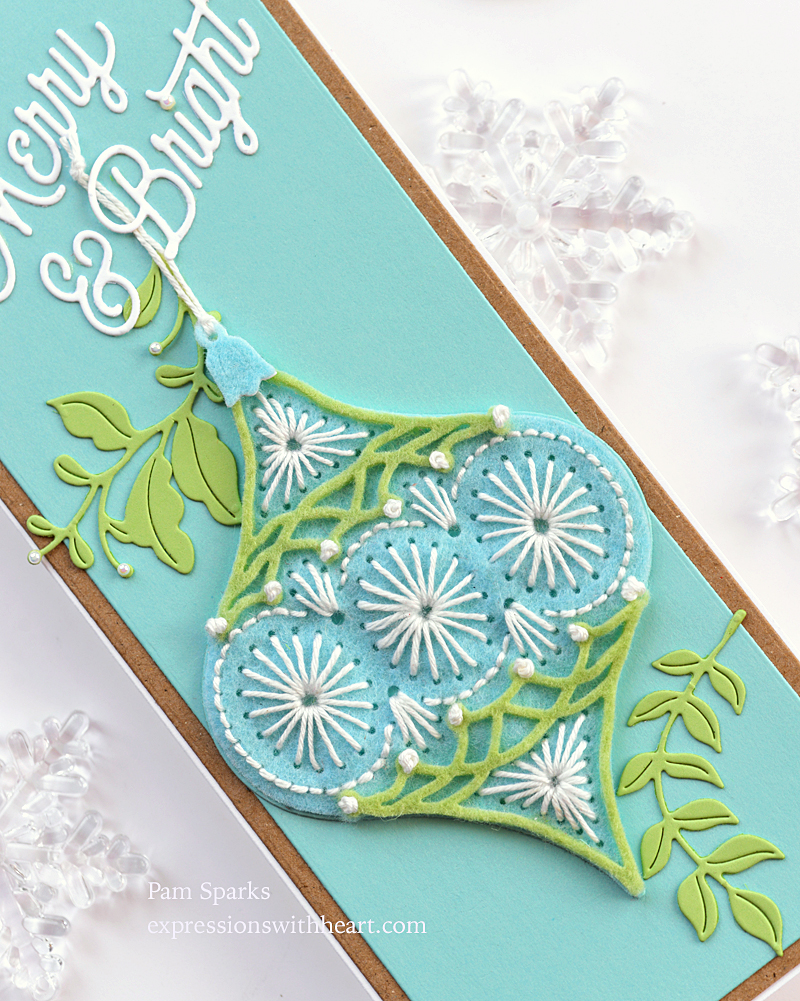
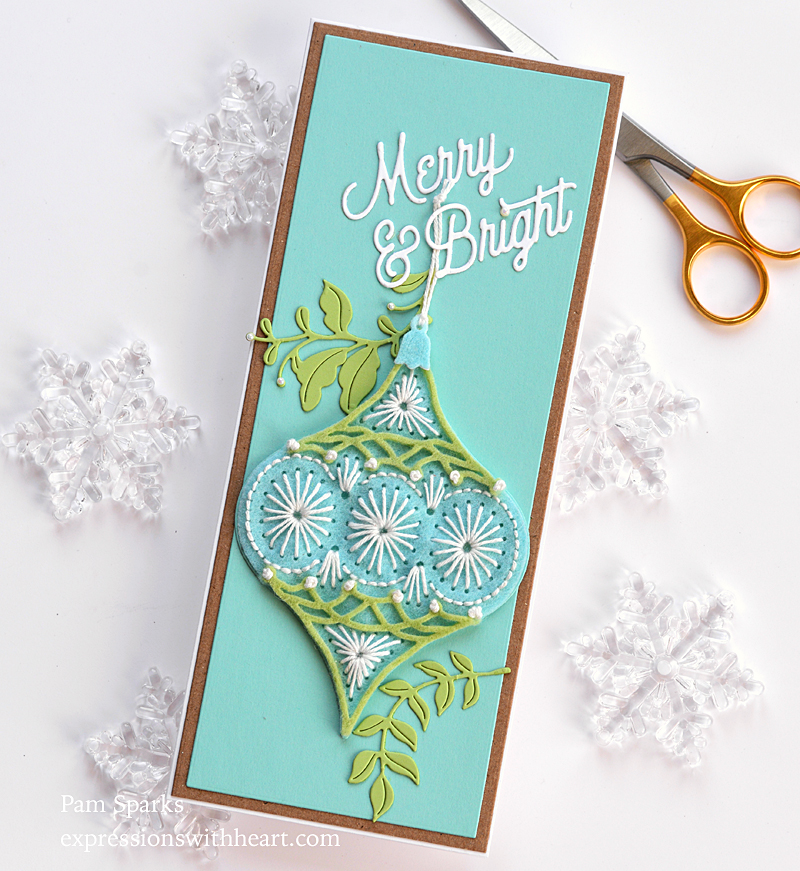
Hi everyone! It’s been some time since I used wool felt so I found my box and set to work die cutting and stitching up this new die from Spellbinders Stitched Christmas release.
I meant to make it as an ornament to hang on the tree but once again I forgot the plan and glued it to a card! lol
The pretty branches are part of the die set.
I used Knit Crosheen thread to for my stitching. Taylored Expressions Tiffany and Avocado wool felt.
I used Tombow Mono Multi liquid glue to adhere the top and bottom avocado felt pieces.
My slimline card size is 3 ⅜ in x 8 ⅜ in.
I used Spellbinders new Mix and Match Holiday Greetings die set for the sentiment. I love this font! There’s 18 word dies in the set!
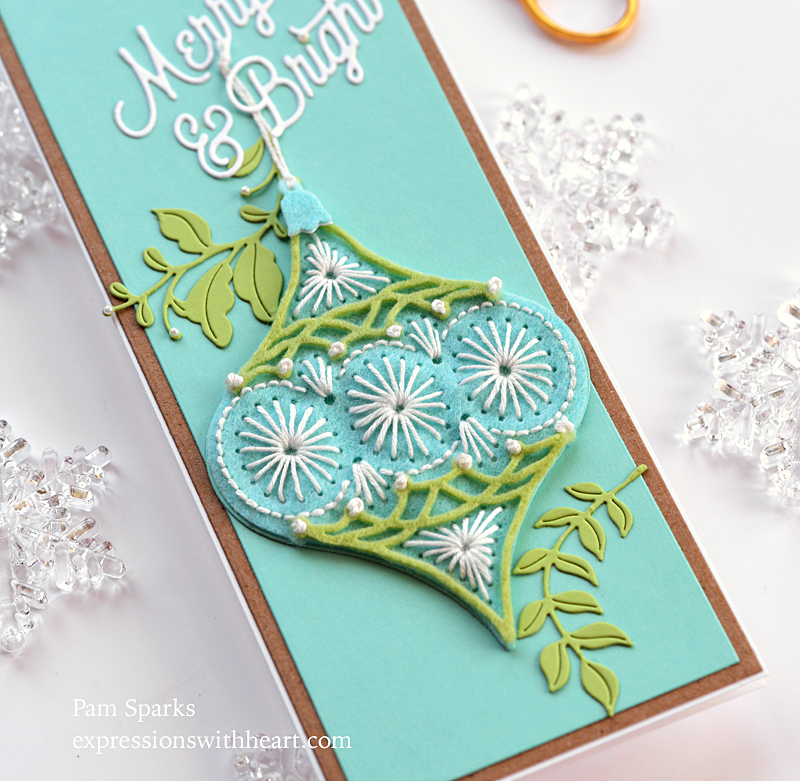
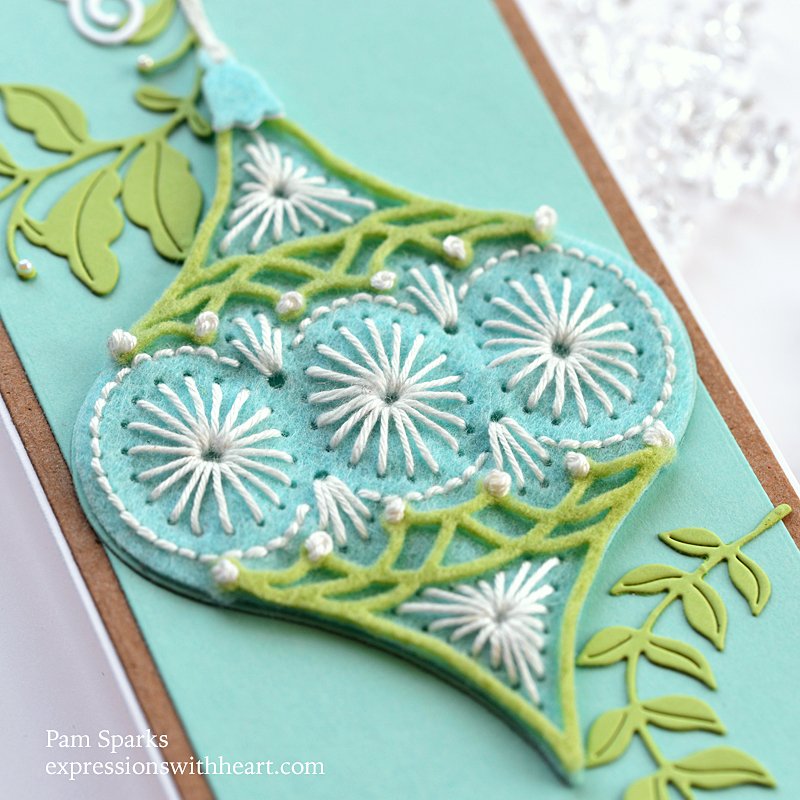
Here’s a close up of just the ornament…so pretty!
I wish I could show you this one in person! It’s definitely a card to give to someone that will keep it and get it out for display each Christmas season.
Hi everyone! I don’t know which one to start with! Lots of pictures so I better just get to it!
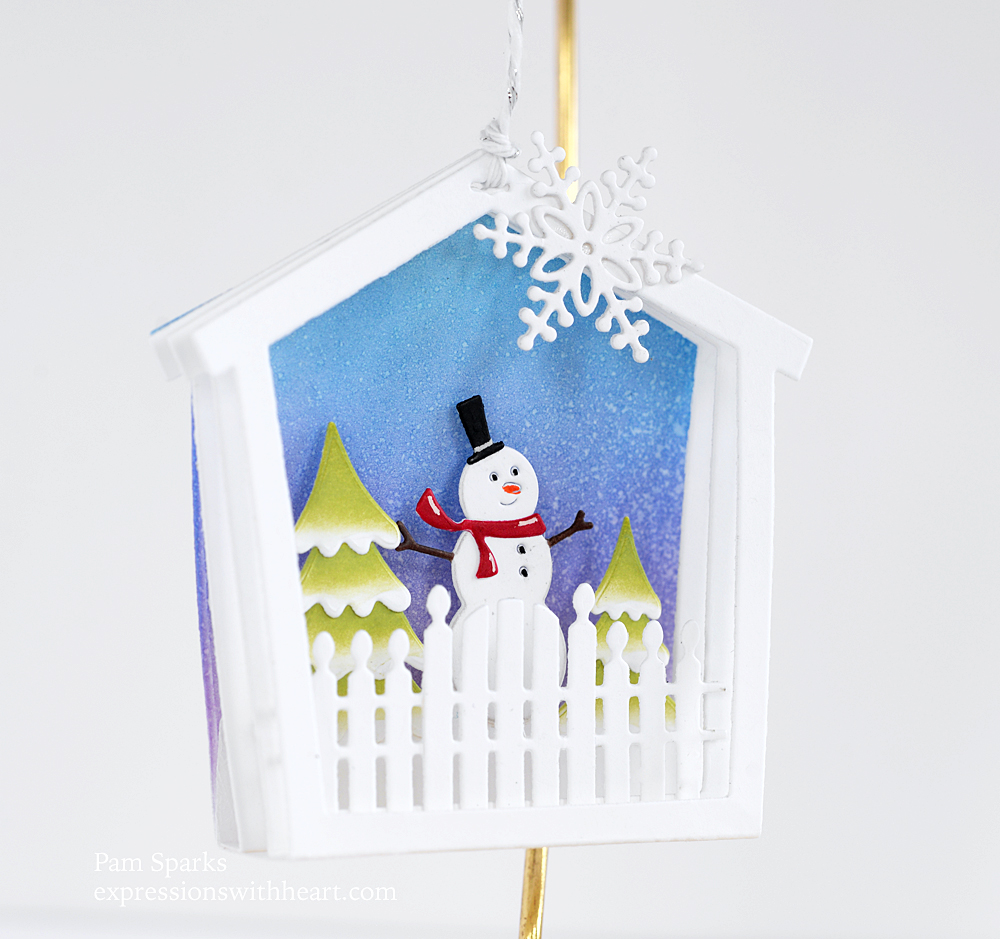
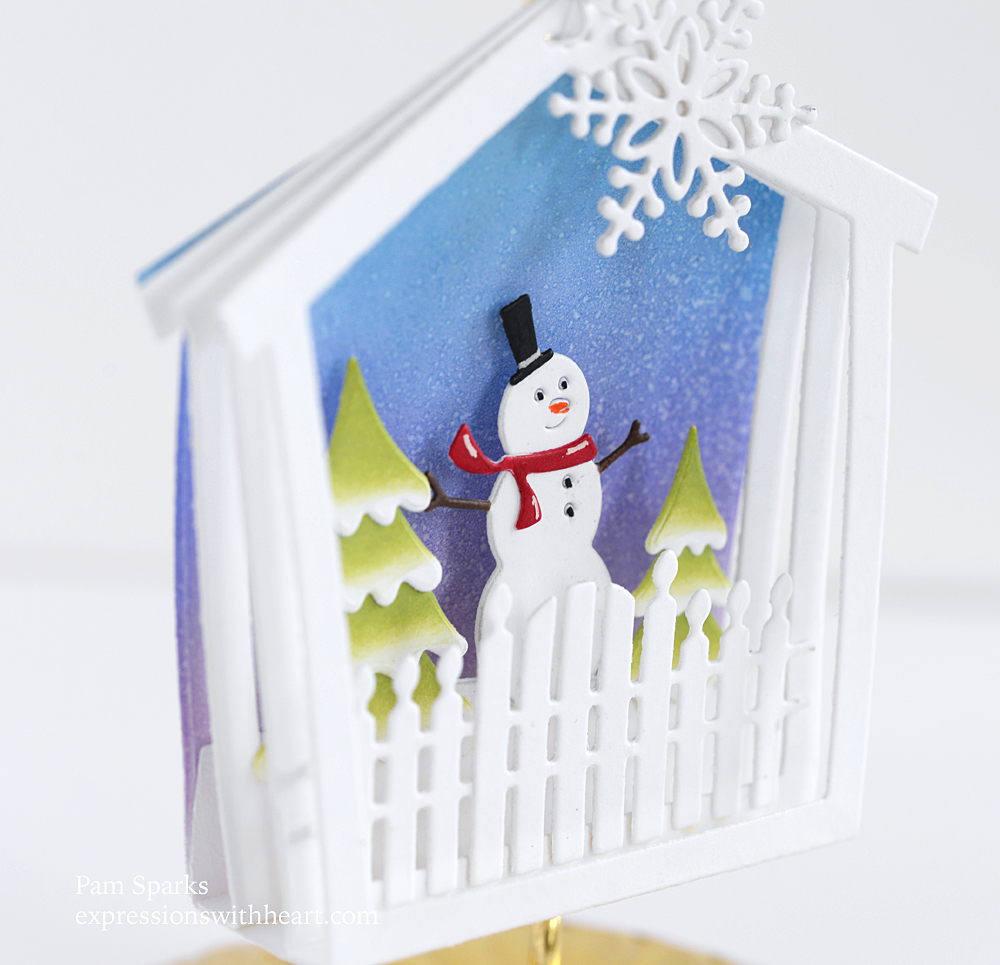
We all love snowmen, right? This one is sooooo CUTE!
I think I’m going to have to make a video to show what I used on each one…
I used the House Frame die, the House Frame Background die and the Snowman House Frame die.
Simple Distress Oxide backgound using my blue and purple brushes…I didn’t even add any extra ink! Then a quick spritz of water.
The trees I used my green Distress oxide brush….no extra ink.
These will be so fun hanging on the Christmas tree or if I can part with them, on a present!
Here’s the Nativity House Frame… new navy glitter cardstock from the NEW Festive Glitter 6×6 Pad.
The House and tree are cut from MB woodgrain cardstock and inked with Gathered Twigs Distress ink.
I used the House Frame, the Nativity House Frame and the House Frame Background dies for this ornament.
I love the simplicity of this and want to make more! A great reminder that Jesus is the reason for the season!
Next up is the Gingerbread House Frame….. so cute!
Gingerbread…a must have for Christmas! So many adorable pieces to embellish this cute house!
I used the House Frame, the Gingerbread House Frame and the House Frame Background dies to make this one.
MB woodgrain cardstock again, inked with Gathered Twigs distress ink. The gum drops and peppermint glitter is from the new Festive glitter pad and last years Holiday glitter pad.
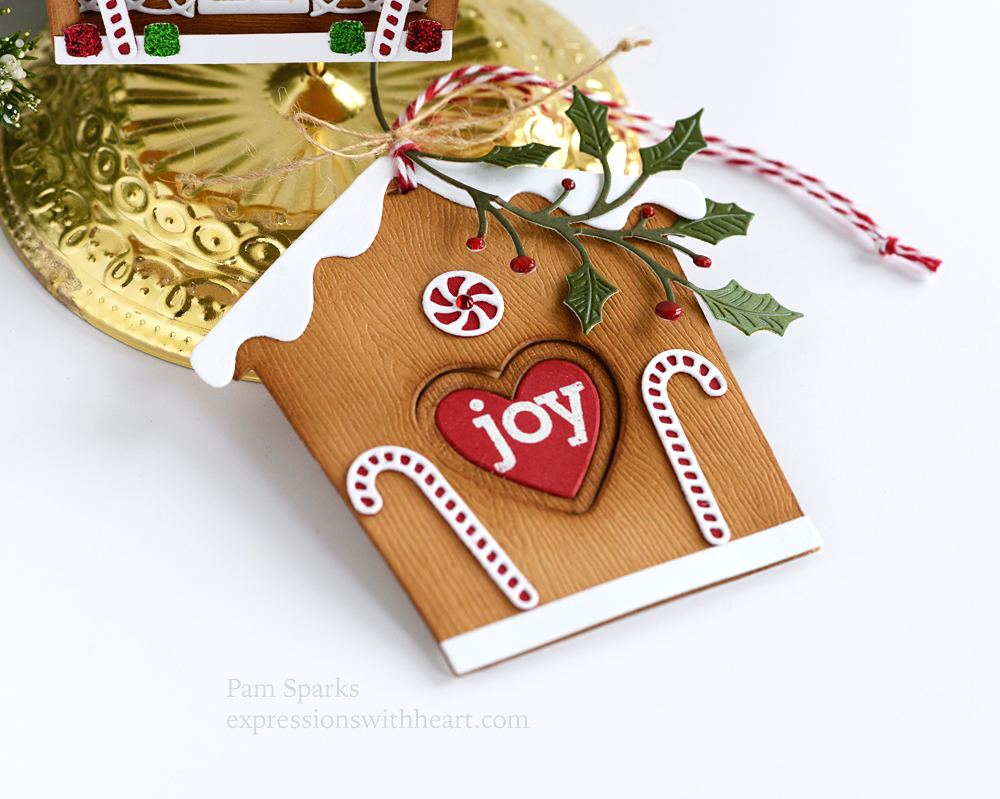
Last, I thought it’d be fun to make a birdhouse from the House Frame Background die! I made it a tag. I think I’ll still hang it on the tree as an ornament though.
I used some elements from the Gingerbread House Frame die also.
I heat embossed the word JOY from the NEW Birch Press Design Contempo Christmas Greetings stamp set.
It needed some green! So I cut the NEW Curled Holly Branch from the Fresh Green 6×6 cardstock pad and embellished the berries with Nuvo drops.
I felt like it needed a bird. lol I couldn’t get it to work to suit me though so I put the bird I made on the back!
He is from the MB Perched Bird die… just brushed on ink with my oxide ink brushes again. I love how that works and so fast…who knew that an inky brush could be so handy! lol
These aren’t as big as they look in my pictures… they are approximately 3 ½ in. wide and 3 ½ in. tall. Perfect ornament size!
Editing and adding this video…watch it on You Tube for better quality!
Whew… did you make it through this long post! I almost didn’t! lol I kept taking pictures over! My computer desktop is a mess of pictures! lol
But I love making so I keep doing this! haha We’ll inspire each other to get in the Christmas spirit!
Links below for what I used…ttul! Tap STR for starlitstudio.net, SSS for Simon Says Stamp (code CZY444) and SBC for Scrapbook.com
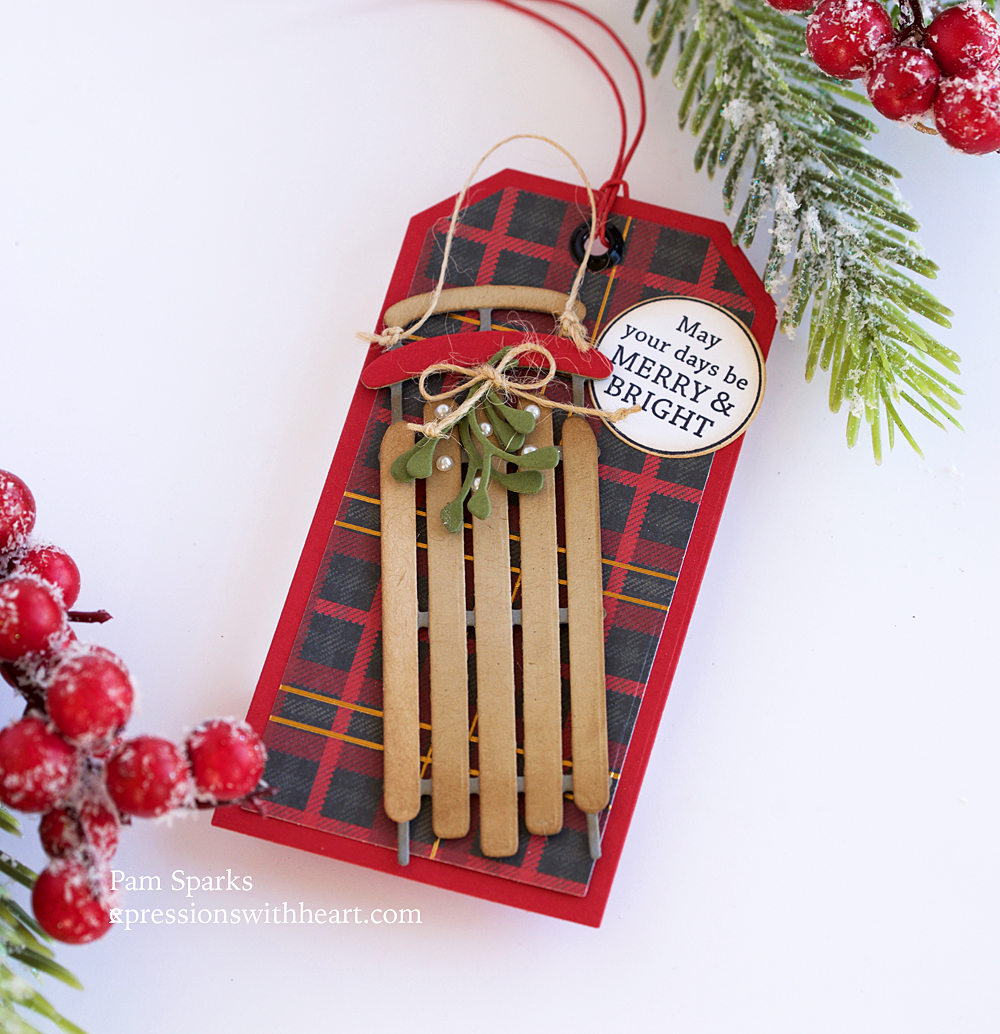
Sleds always take me back to my youth and so many nights of going to Fairmont Park for sledding and ice skating. The city closed off the perfect street for sledding. So much fun!
This new die is perfect for cards and tags a like. I used the Christmas Plaid paper pad paper and Christmas Quotes stamps and coordinating dies.
The mistletoe sprigs are from the new Mistletoe Wreath die set. I cut two, added baby pearls and twine.
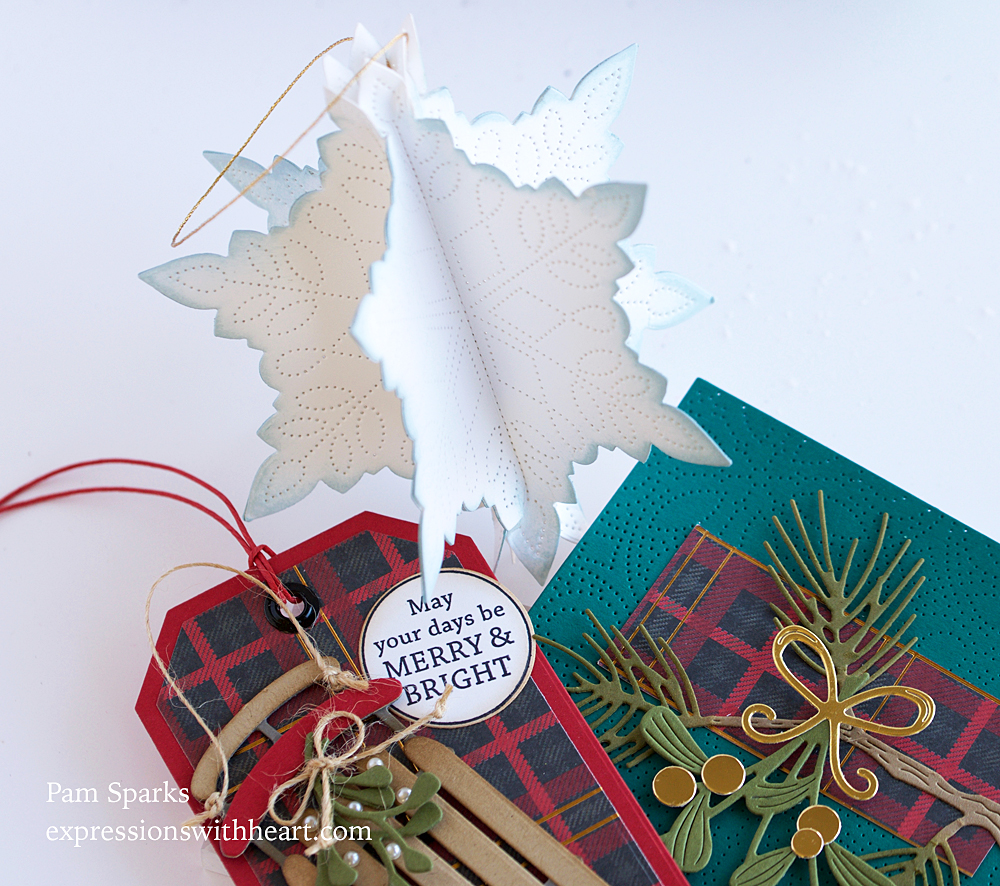
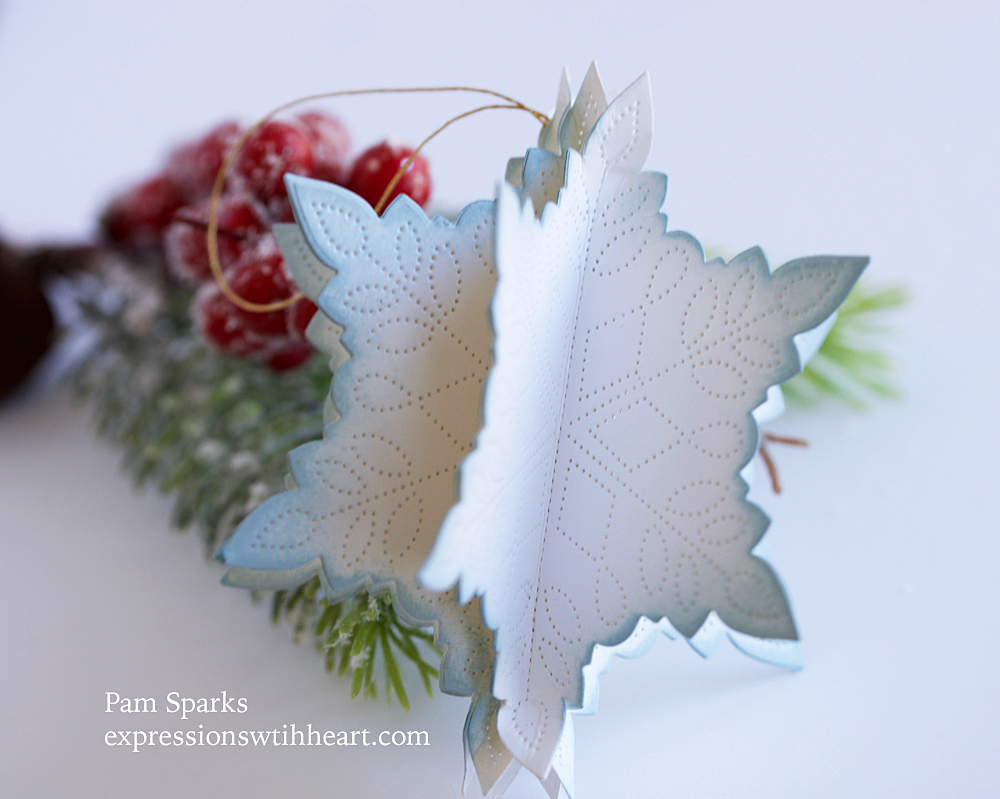
I posted a snowflake ornament on Instagram not realizing the die was discontinued. So I decided to use this new die from Birch Press Design to make the same type… the pinpoint design of this Pinpoint Snowflake die makes it really easy to do… you don’t even have to score the center lines, you just fold right on the dots! I used six die cuts in white cardstock and ink blended on the edges after it was glued together.
So pretty… I need to get it hung on the tree and see if the light shines through the dots!
Not the best pictures… my camera settings got off and I didn’t realize it. ugh.
and little video…
I think I’m done getting the Christmas tree up…I want to get the garland on the stairway still…eek! How are you doing?
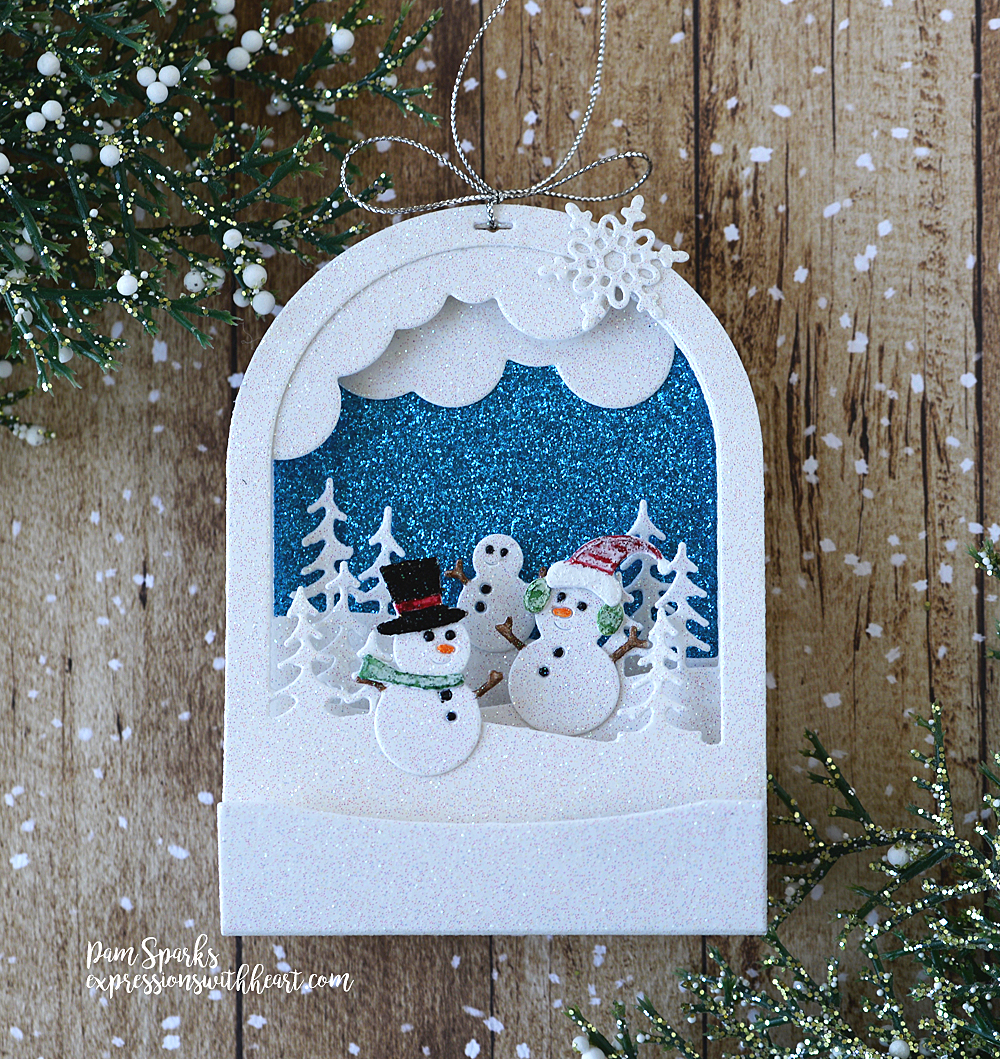
I’m back with two more snowglobe tags/ornaments! These two are glitteriffic and SO CUTE!
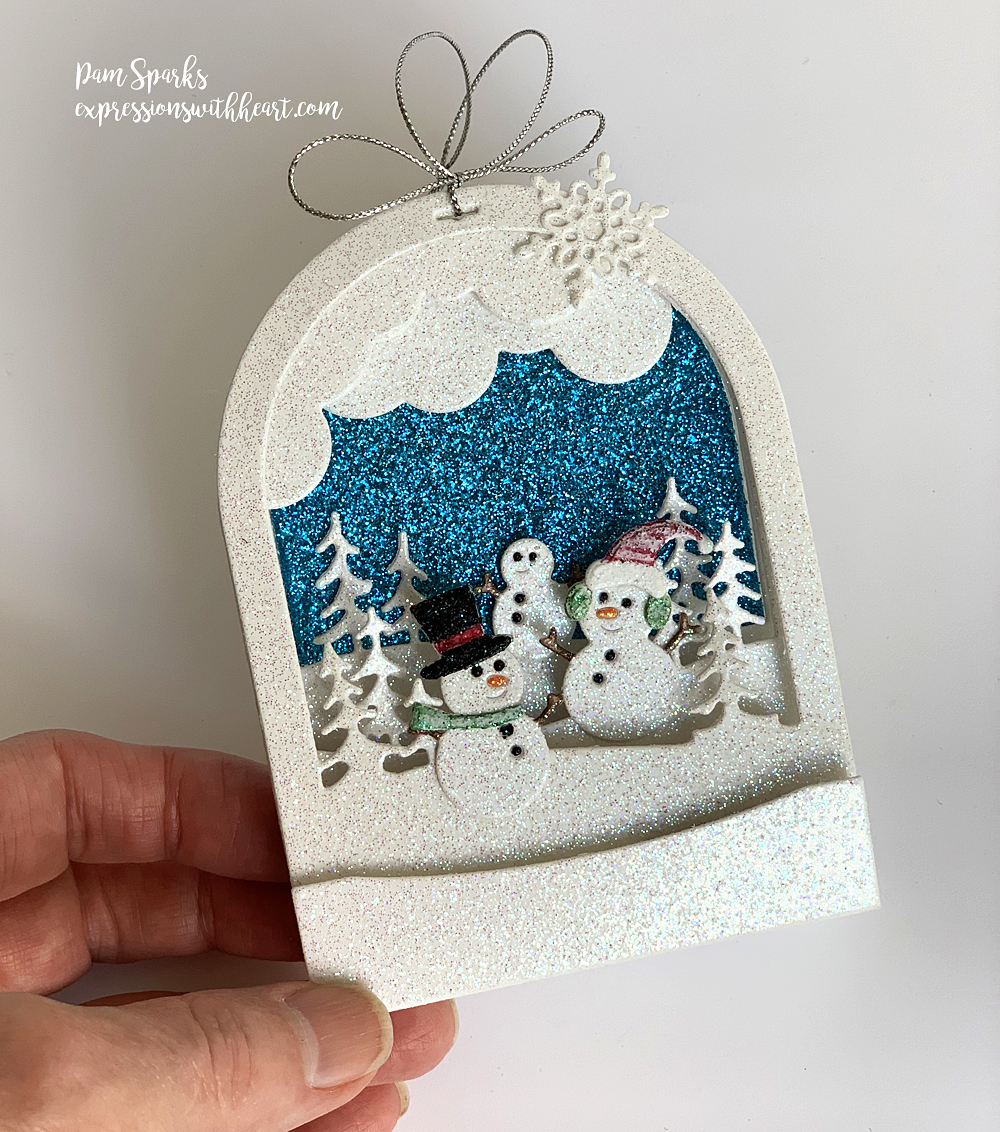
I took a phone picture with my hand in it so you’d get an idea of the size of these delightful things!
Pictures do not do them justice… they are just so cute!
I used all four of the new dies for this Snowman one.
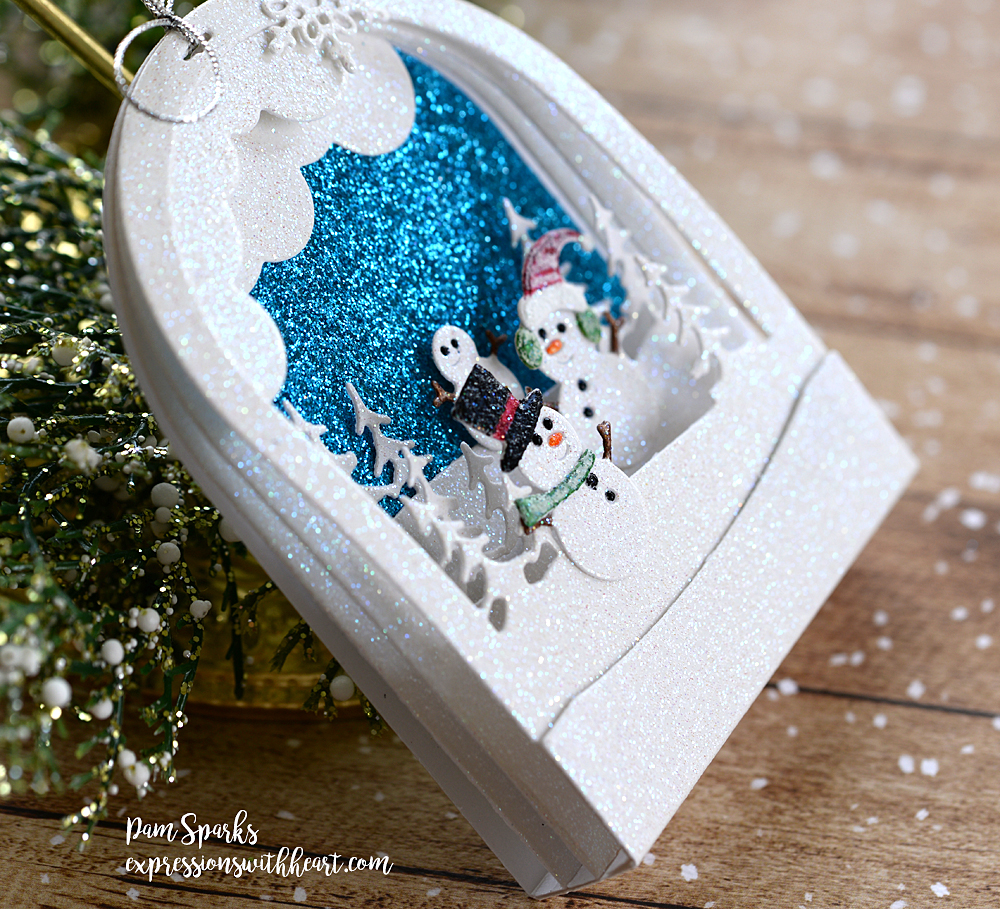
Close up of the snowgirl! I used the Santa hat and ear muffs for her… colored the glitter card with Copics.
I grabbed what I thought was a clear glaze pen and colored over some of the pieces only to find out when they dried it was the white glaze pen! lol It left them looking snowy and I used them anyway. I used a black glaze pen on Frosty’s hat.
Close up of Frosty snowguy! Such personality!
Close up of the layers…
The NEW Glitter pads from Memory Box are SO beautiful and die cut wonderfully! I die cut with blades up and one printer paper shim on top of the cutting plate when I ran through my Big Shot.
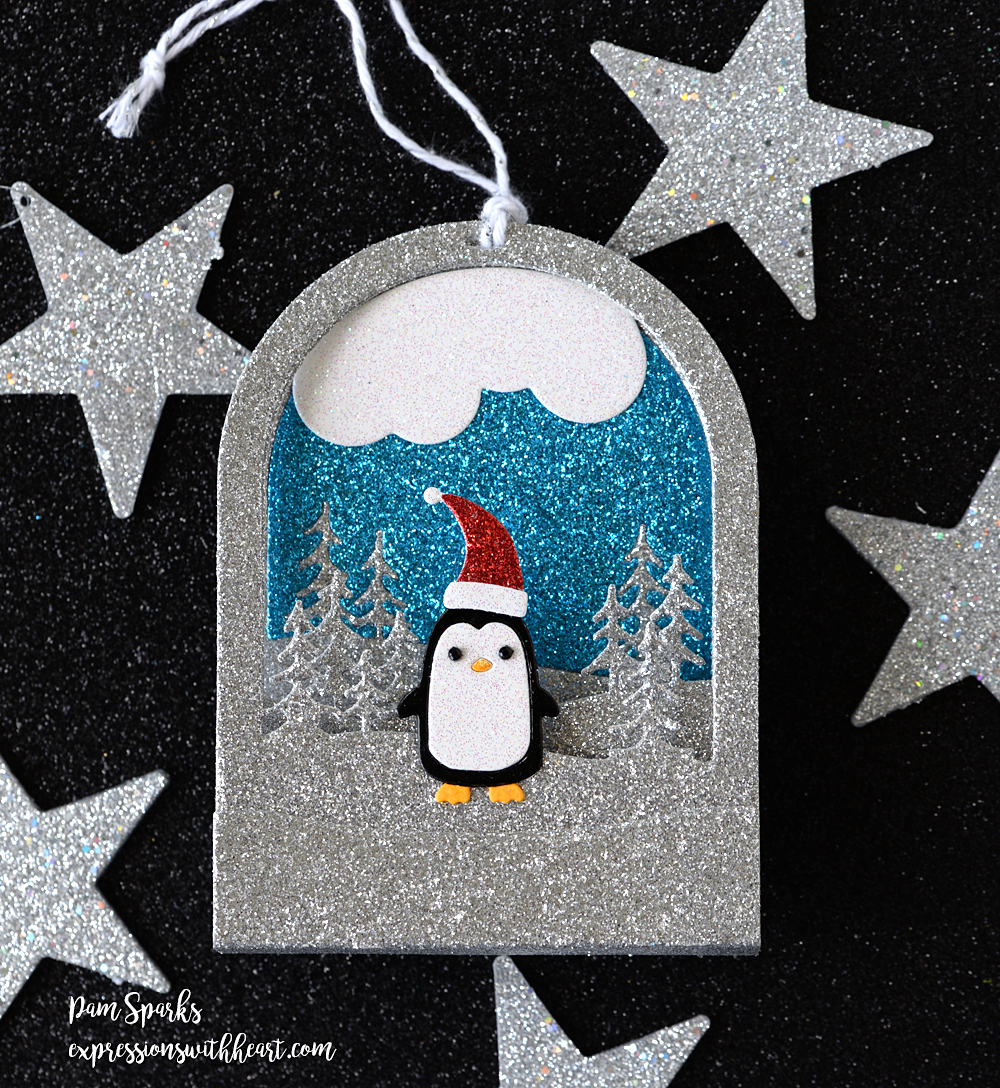
Next up, the penguin takes the show. He’s from the Snowglobe Backer die. Now that I look at my pictures, I wish I’d put some text on this one… like ‘let it snow’! I think I will do that! ❤ Or a teeny heart on his chest… oh my… why do the ideas come after pictures! ha
I copic colored his feet and nose…his eyes are little black gems…his body and hat are glitter cardstock and his black outline body is black cardstock colored with a black glaze pen.
I used all four dies again for the layers…silver glitter cardstock.
I just realized I haven’t written in the finished size yet! They are all 3 inches wide and 4 ⅛ inches tall. So adorable!
I’m excited to see how they sparkle hanging on the Christmas tree!
A closer look at the layers again…
A lot of pictures today…hope they all loaded for you and you get the idea of how special they are! A keepsake to get out every year!
I’ll link up everything below…thank you for shopping through my links. I really appreciate it.
I changed to paying for my blog awhile back so I don’t have other advertisements in my posts…that should really help if you’re looking at my blog on your phone. I also have to pay monthly for the link up service for products I use and it takes so much time to take pictures, write posts and make product lists. So I’m here working for you!
More to come…Christmas is my favorite and it’s August already my dear cardmaking friends! EEK! Don’t panic, don’t panic. lol


