
Hi everyone! I couldn’t decide what card to post first! So I went with the ‘glam’! lol
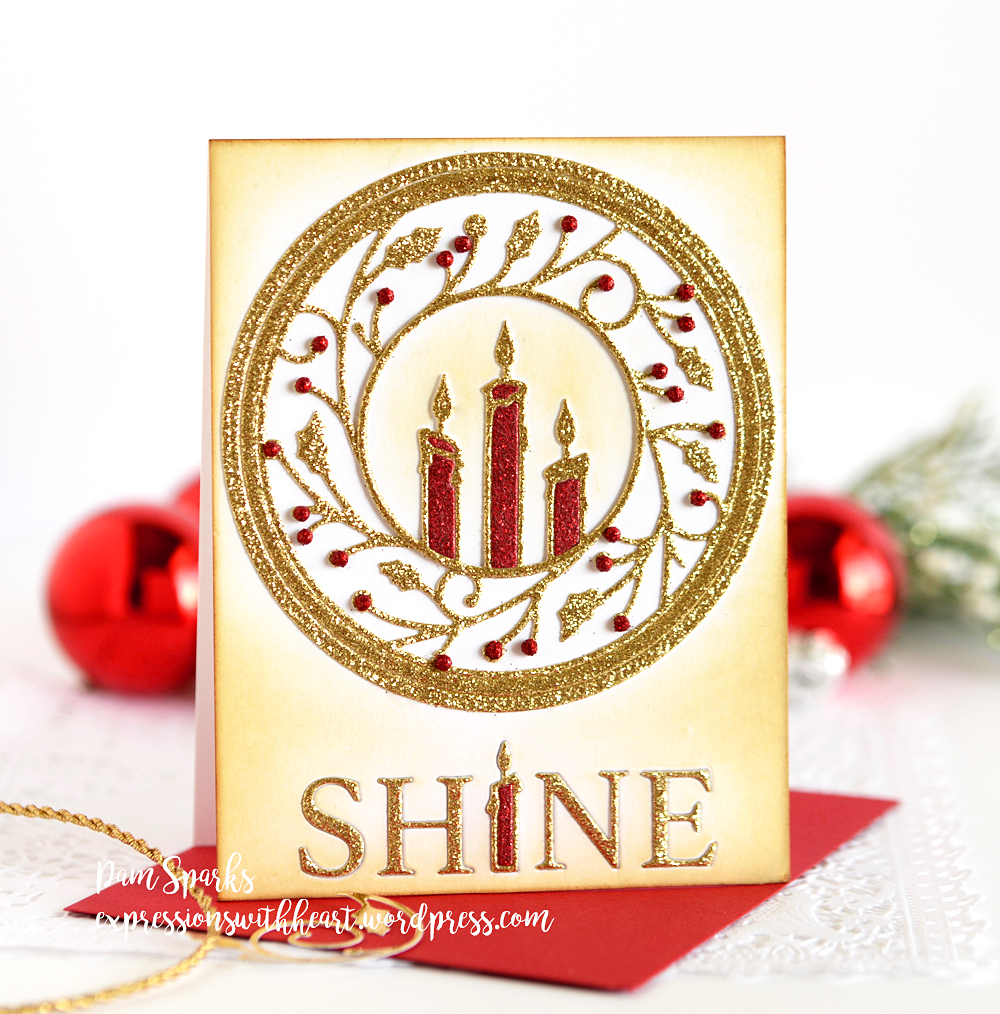
Here’s the NEW Wrapped Holly Circle Frame die from Memory Box with the NEW Three Candle Circle die in the center! There’s several dies in the release that can be used as centers!
I couldn’t resist using the NEW Candlelit SHINE die on the bottom.
TIP: I worked on a 4 ¼ inch x 5 ½ inch panel so I could die cut the SHINE die right in the bottom of the panel. I left the white letters in the panel, scotched taped them in on the back, that gave me an easy, perfect way to line up the individual letters when I glued the gold glitter die cut letters on top of the white ones!
I used Antique Linen Distress ink and the mini ink blending tool to ‘age’ the edges and around the flame.
Then I glued that panel to the A2 size card base.
I used Mark Richards 3mm red glitter domes for the berries.

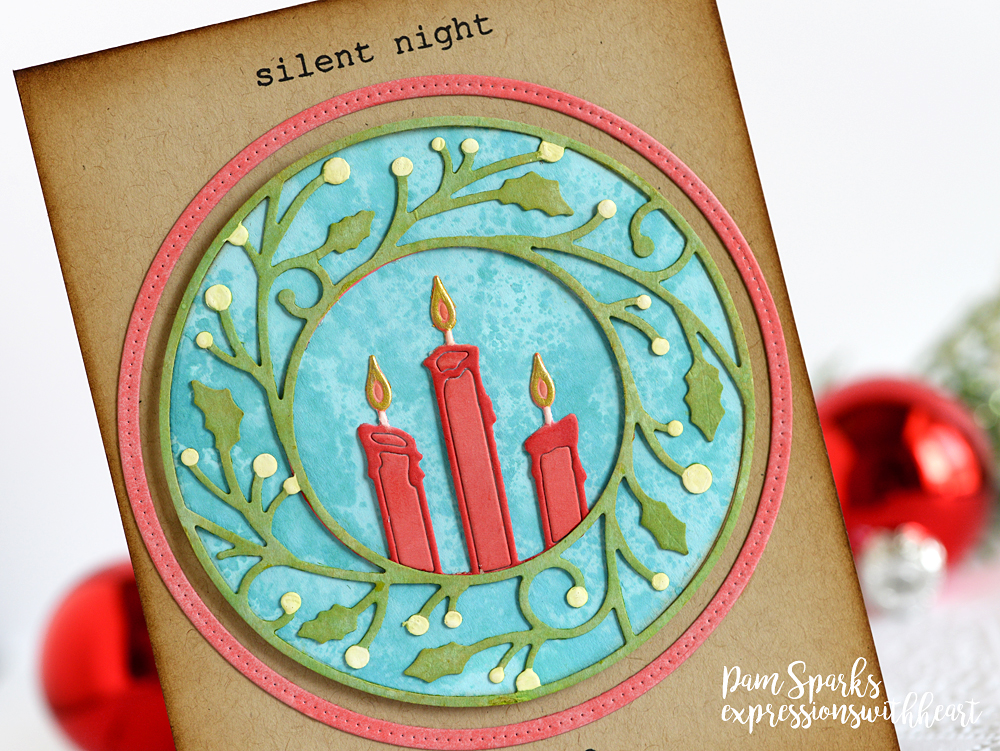
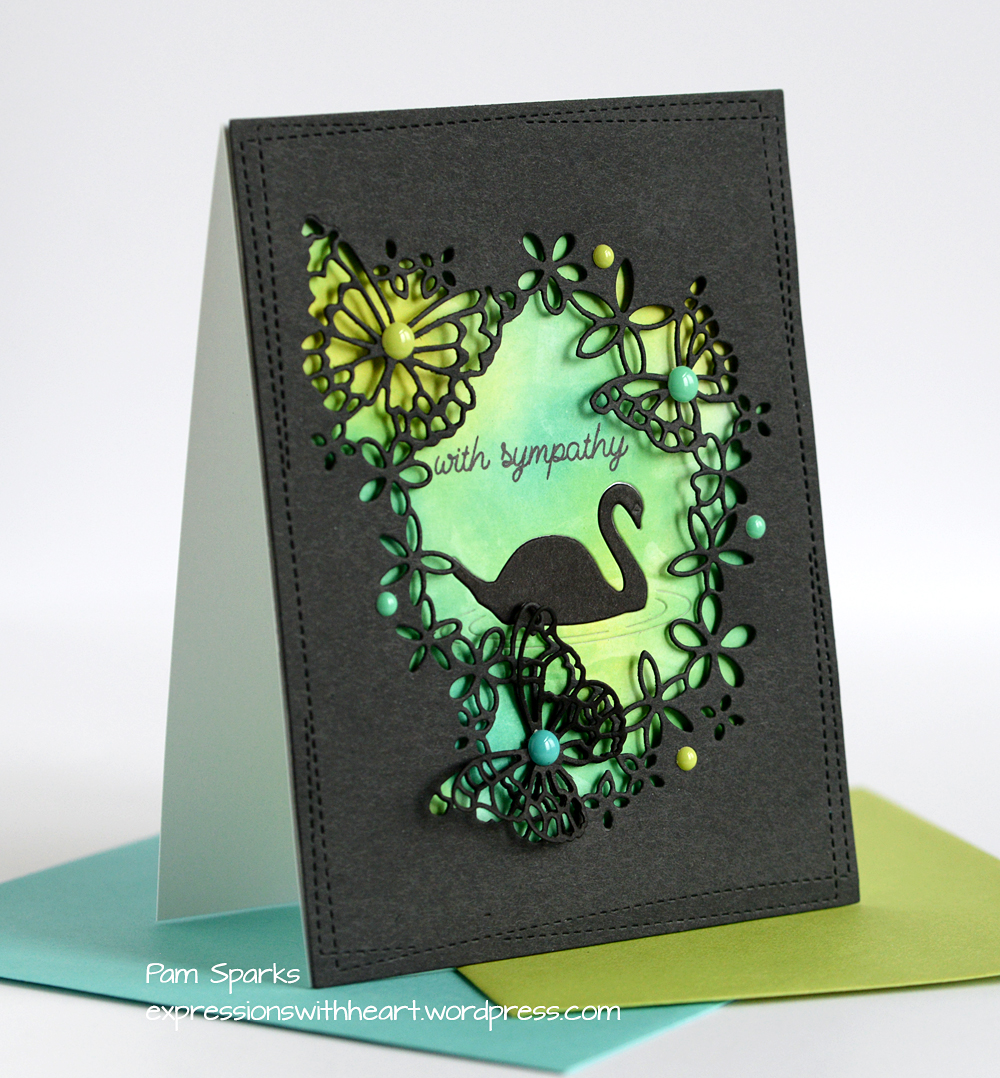
Next one…I used the same dies but inked the pieces with the NEW Distress Oxide ink colors.
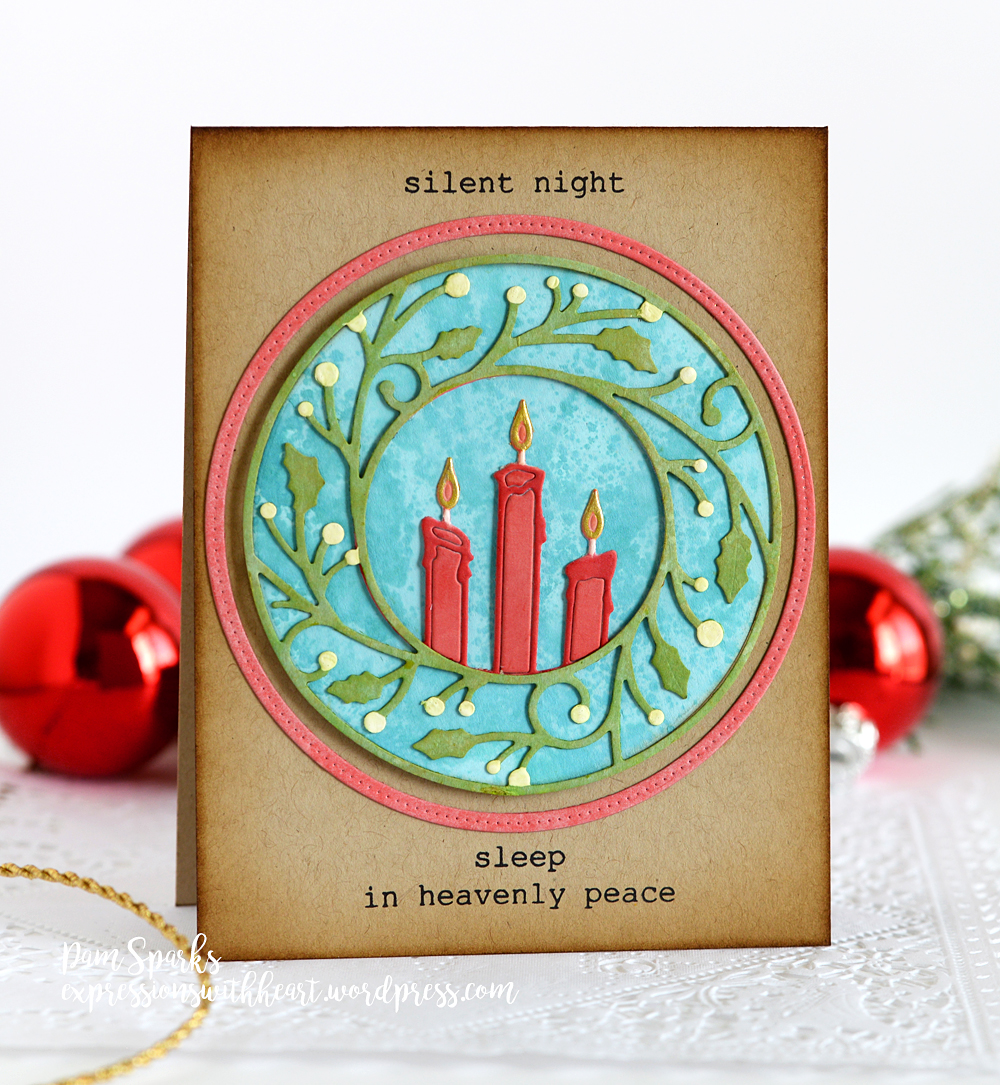
Barn Door on the outer ring and candles. I did use a Copic R27 to color the outline of the candle so there’d be more contrast.
Mowed Lawn and a little Crushed Olive smooshed on for the Holly Frame. White and Gold gel pens for the berries and flame.
I die cut a circle with the Circle Basics die set and inked it with Tumbled Glass, then smooshed on a little Peacock Feathers.
Glue the Holly to the circle, then I mounted it with foam mounting tape to the kraft A2 size card base. The outer ring is glued flat with PVA glue and the pin top Darice glue bottle.
The sentiments are from the NEW Typewriter Holiday Sentiments clear stamp set! LOVE it! Inked and stamped with Ranger Archival black ink pad. Edges inked with Gathered Twigs Distress ink.
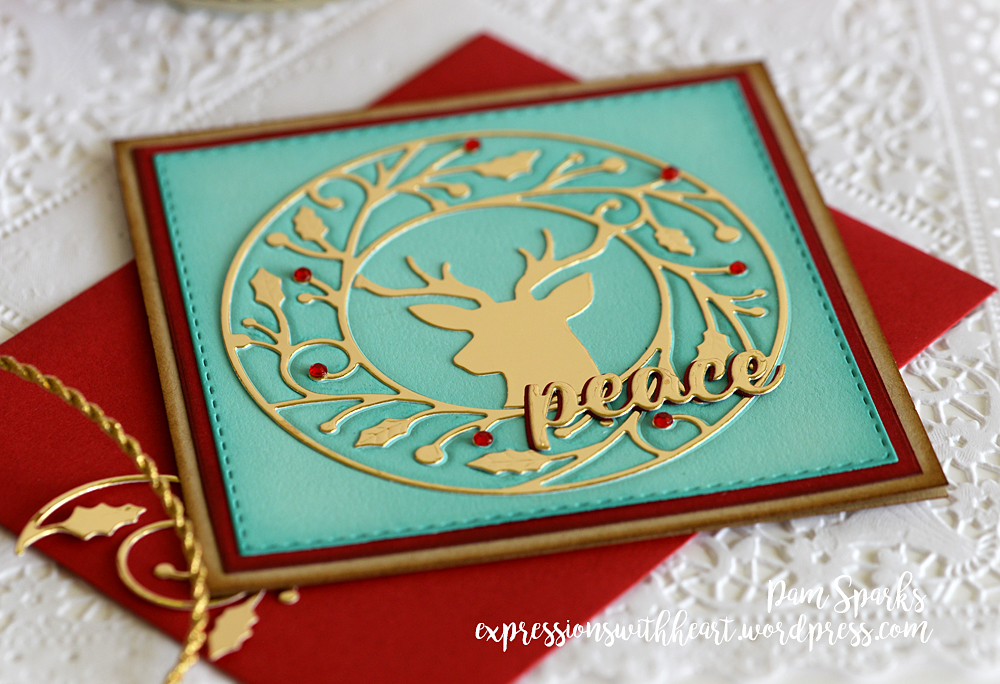
My 3rd card using this NEW Wrapped Holly Circle Frame die is a 4 ½ inch square card.
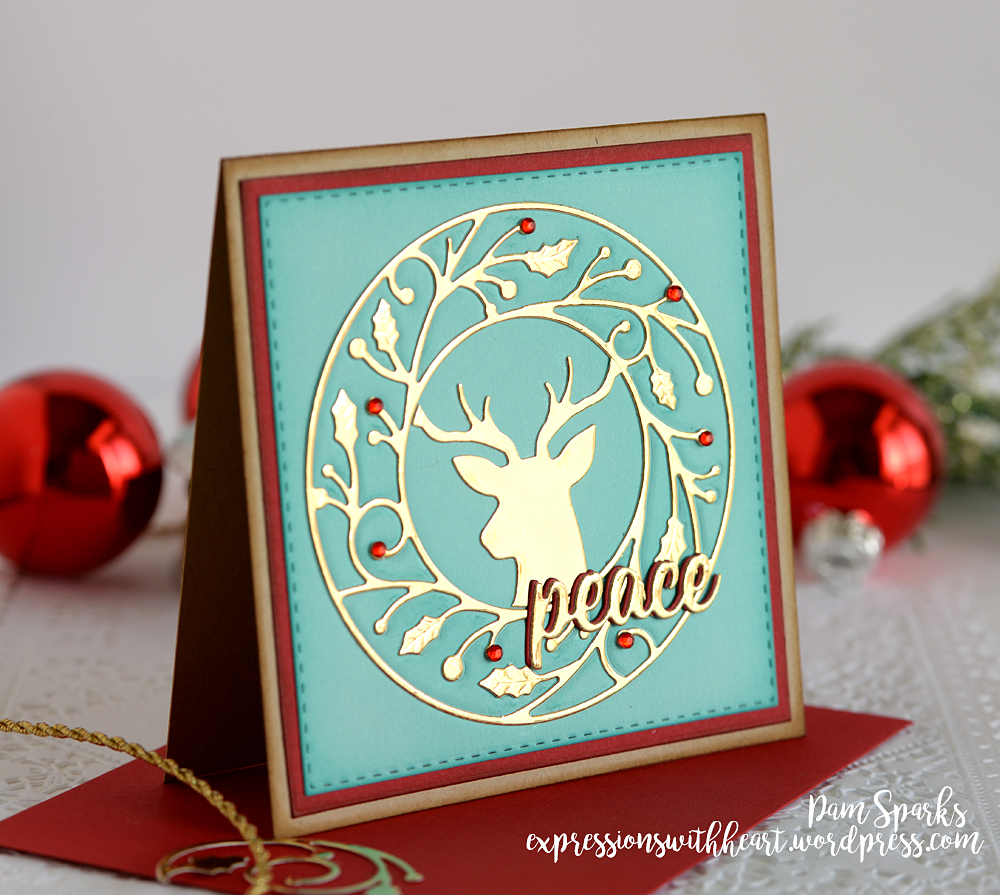
This die is so classy die cut in Gold Foil cardstock! I love it this way. I embossed the holly circle frame in the teal cardstock, inked it a little with Distress Peacock Feathers ink pad and the mini ink blending tool then glued the gold foil diecut holly circle frame over the embossing. Hard to capture in a photo but it just tweaks it and gives a feeling of depth.
For the center on this card, I die cut the NEW Pine Tree Deer Collage die in the gold foil/mirror cardstock, then using a matching center size circle from the Circle Basics die set, I die cut the head and antlers of the deer so they’d fit perfectly in the center! Cool beans! hahahahahaha
The teal square is die cut with the Stitched Square Layers die set and the red square is die cut with the Square Basics die set.
I die cut the NEW Peace Cheshire Script die in gold foil and red cardstock. I glued them together offsetting just a bit so some of the red would show.
I added some Want 2 Scrap red gemstones here and there on the berries.
The layers were adhered to a 4 ½ inch square card base.
Whew, this was a lot for one post, but I wanted you to see all three at one time. 😀 I’m excited to use all the NEW Holiday release. I can’t wait to see what everyone else makes too!
Here’s the NEW Holiday release at Starlitstudio.net and Simon Says Stamp.com
Thanks for stopping by today!

Here’s the products I use to make cards and what I used on the cards in this post…
|
|
|


