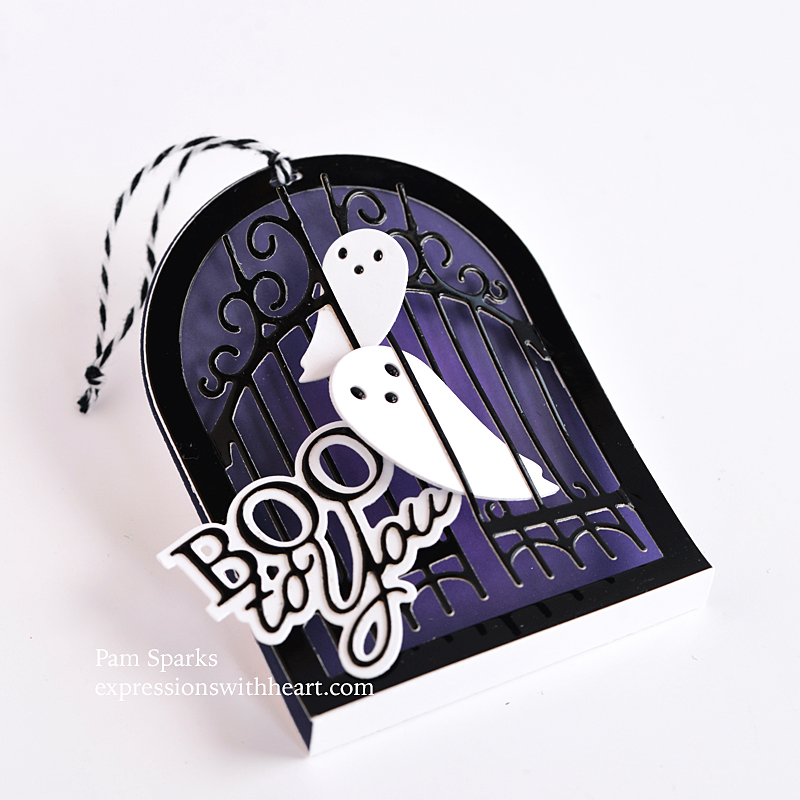
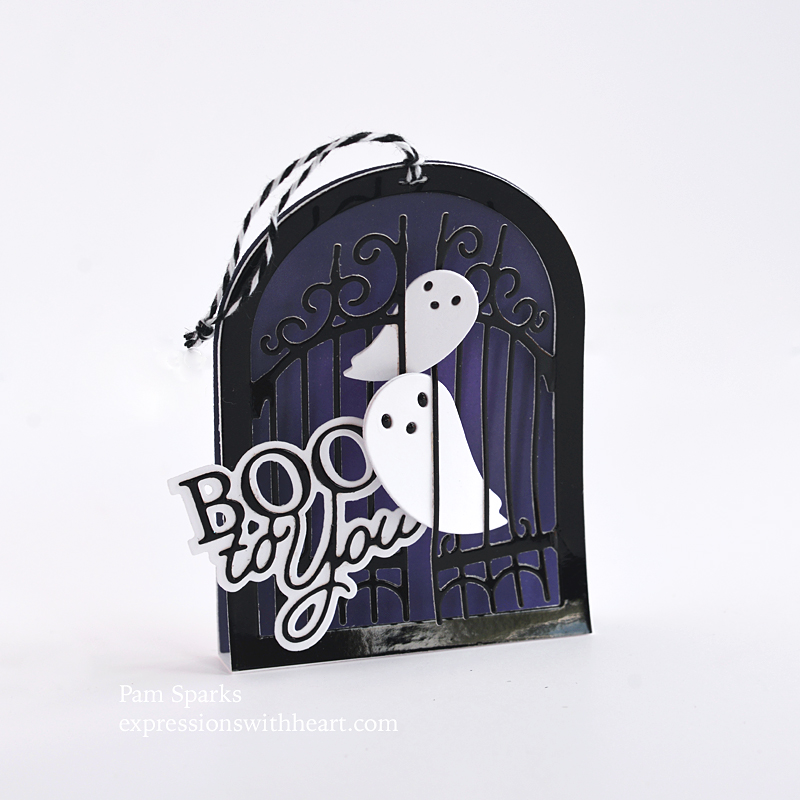
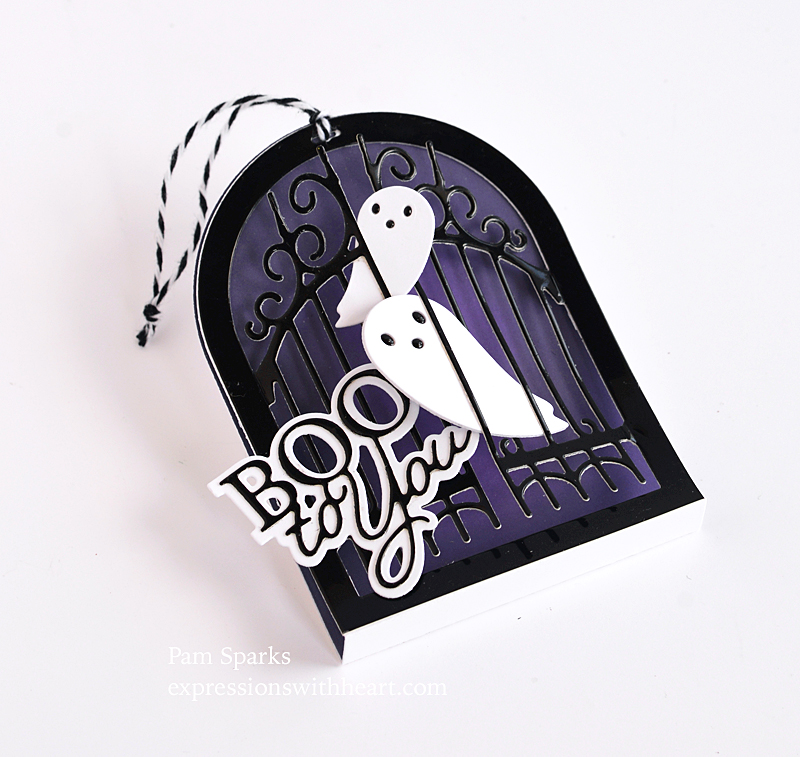
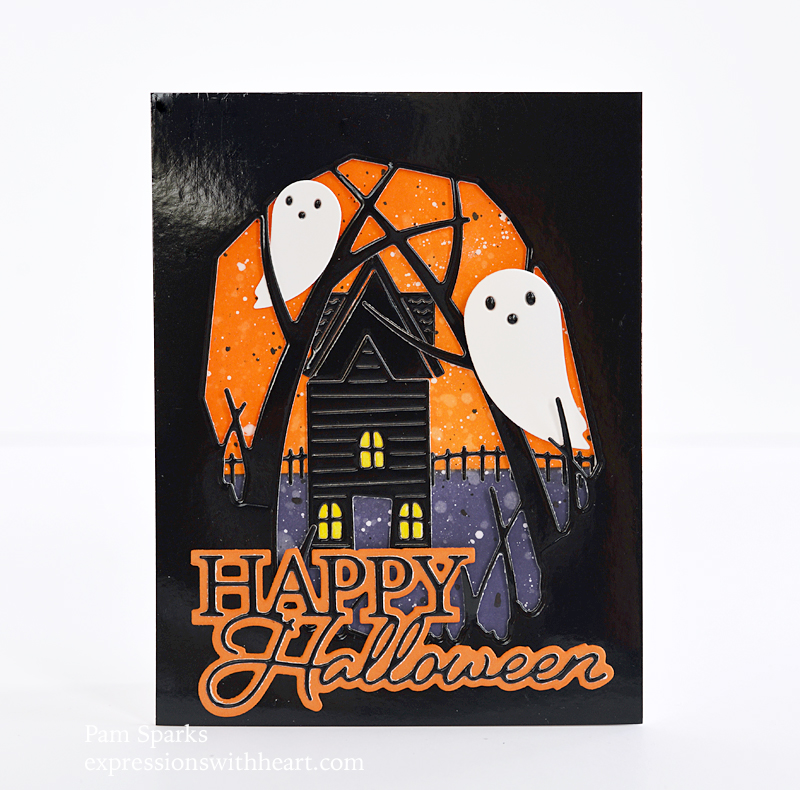
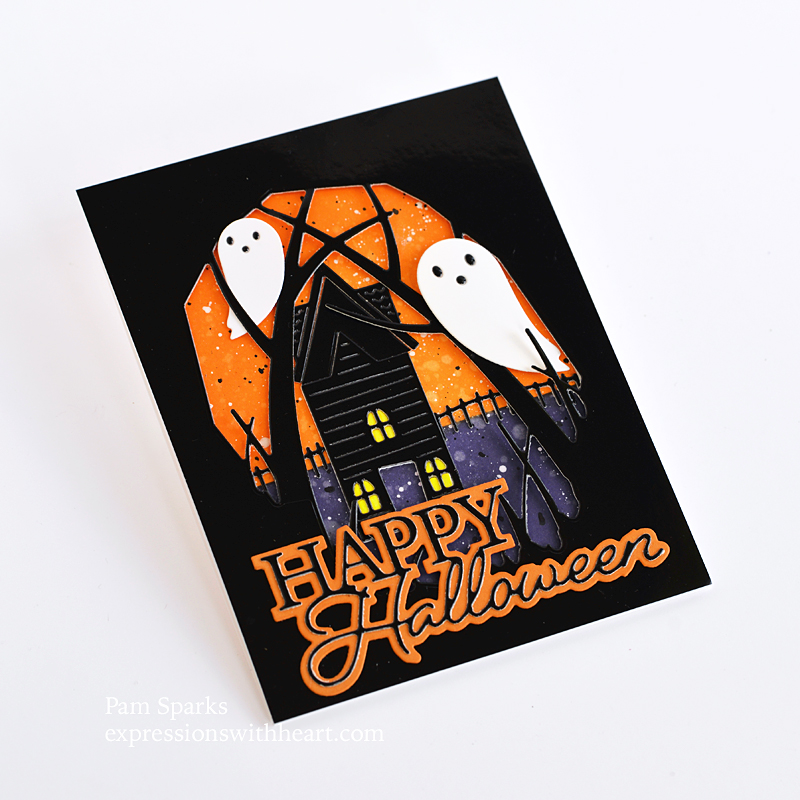
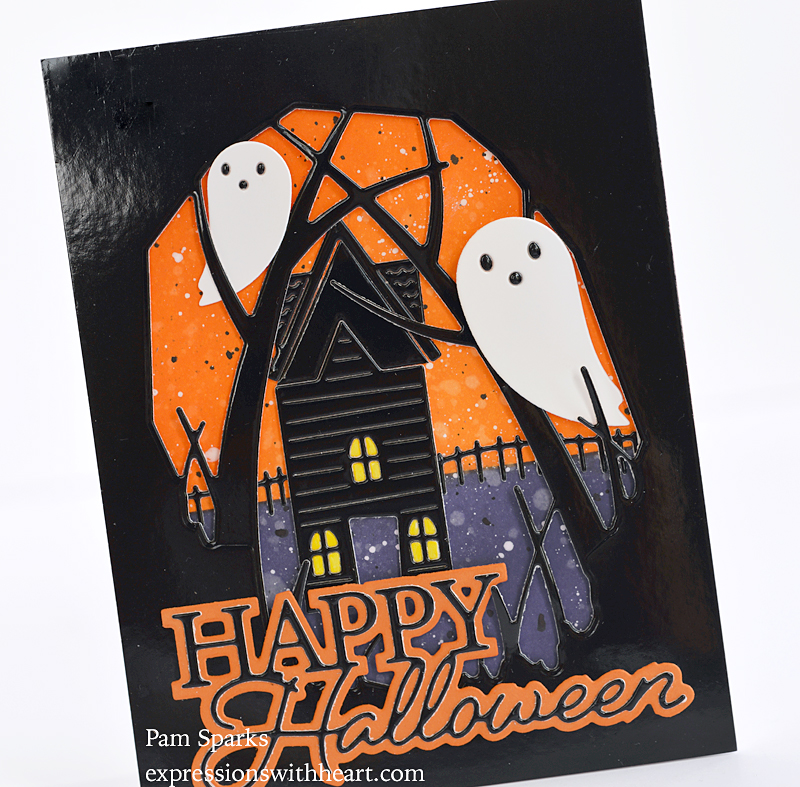
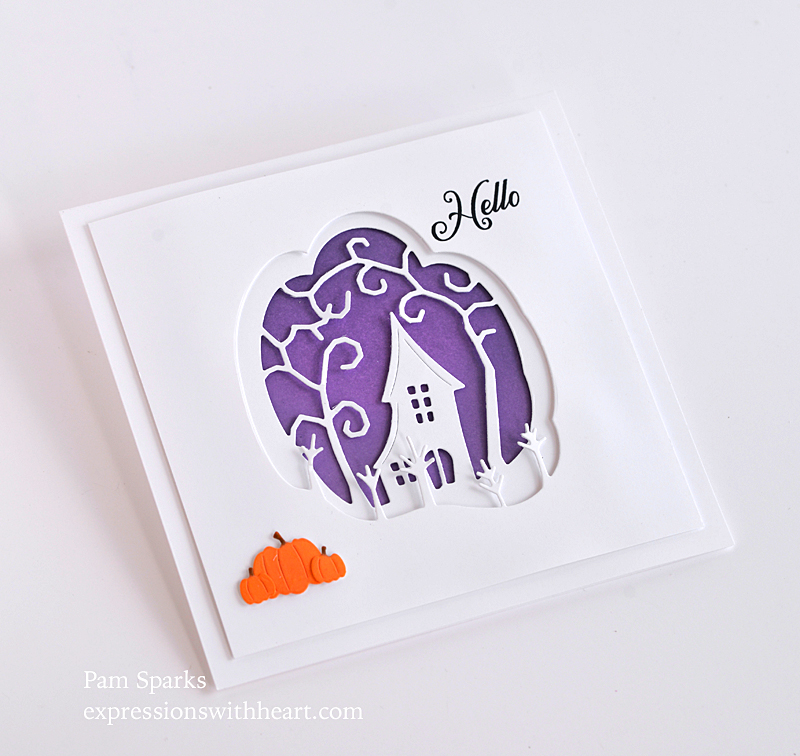
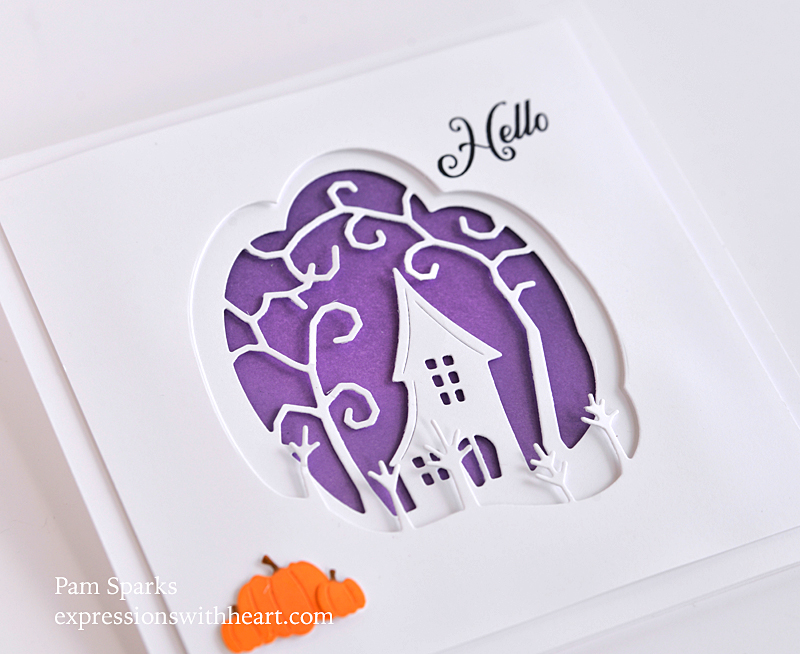
Fall · Halloween · Memory Box · Poppystamps · Starlitstudio · Video

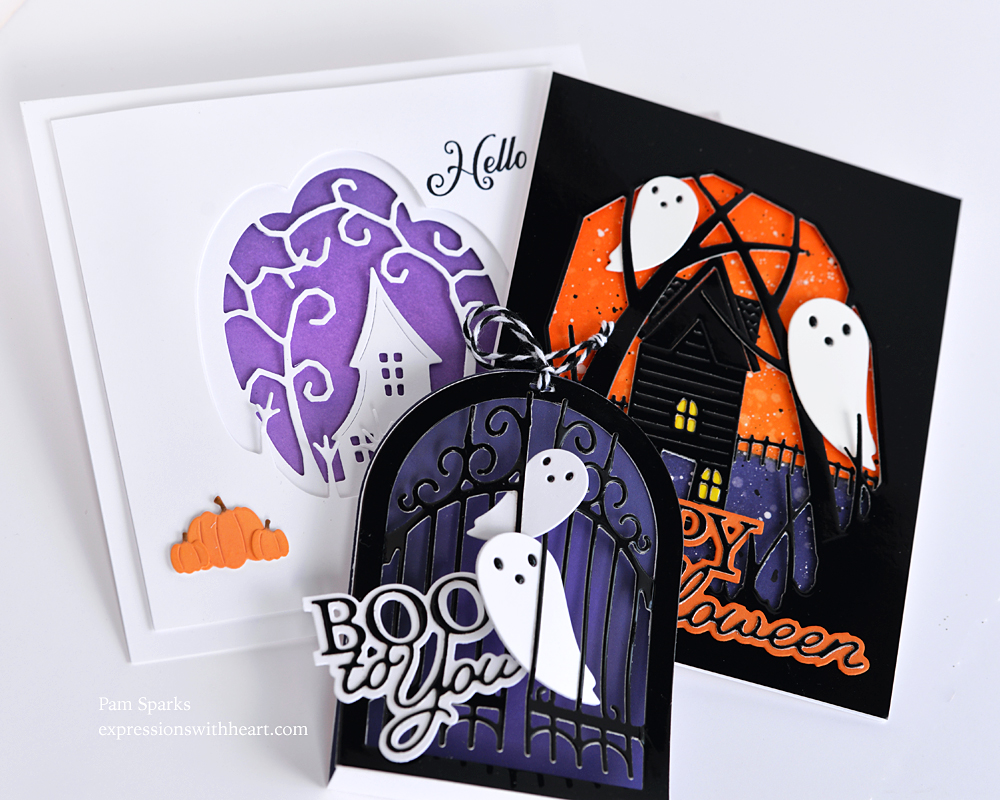
NEW Release Time for Memory Box and poppystamps! Fall and Halloween

When you hit play it will give you options at the bottom.  You have to click for full size!  To close, hit escape. It might take a minute for this to load to full resolution.

Shop the new release at STARLITSTUDIO.NET 

and SIMONSAYSSTAMP.COM

birch press design · cards · CAS · Christmas · Die Piecing · Memory Box · Winter

Birch Press Design Herbarium Plate and Adornment Dove Card…


I’m back!  I didn’t put the glitter cardstock pads away! 

Another die cut and glue fast and easy card you could mass produce! 

Using the NEW Birch Press Design Herbarium plate Layer A and NEW Adornment Dove dies!

I die cut layer A in the blue green and green.  I had to shim the blue green layer with a folded piece of copy paper to completely cut it (the glitter cardstock is thick) so I knew when I ran the green piece through, it wouldn’t completely cut out the design.  When you layer the green under the blue green it really adds to the depth if it has the design partially cut into it.  I should’ve taken a picture!  I hope that makes sense! 

I added two strips of 2 inch scor-tape on the back of the green layer to make sure all the pieces stayed in it and then I just used that to adhere it to a white A2 cardbase.

I glued the blue green layer over the green layer with Tombow Mono Multi liquid glue.

I die cut the solid backer Adornment Dove die in the champagne-ish color glitter cardstock and the outline Adornment Dove in white glitter cardstock.  

I LOVE that there’s a backer die for this dove!


Die cut the berries with scraps of red glitter cardstock… there are only three sets of berries, so easy to glue in if you put small pieces scro-tape on the back of the blue green layer before adhering it to the green layer. 

Die cut the Peace Honey Script die from red and white glitter cardstock and glue it on.  I used small pieces of mounting tape on the leg of the ‘p’ and behind the ‘c’.

Easy! yay!  Another card done…almost… I didn’t stamp the inside yet!  I’ll be sorry later! haha

Thank you for stopping by to see this.  It’s so pretty IRL.  I wish I was a professional photographer that could capture the true glitter and sparkly of this cardstock! 

I’m thinking this dove could be made into an ornament and even layered on a gift loosely with a tag!  So pretty!

Challenges…

Jingle Belles Rock – Blue Christmas

My Time To Craft Christmas – Winter Holiday Decorations for Christmas cards

Beyond the Blue – glitter and sequins


ok – talk to you again soon!

Supplies and Dies I used on this card…

Birch Press Design – 57458 Herbarium…
[ STR | SSS ]
Birch Press Design – 57479 Adornment…
[ STR | SSS ]
Birch Press Design PEACE HONEY SCRIPT…
[ SSS ]
Memory Box – GP1006 Festive Glitter Pad
[ STR | SSS ]
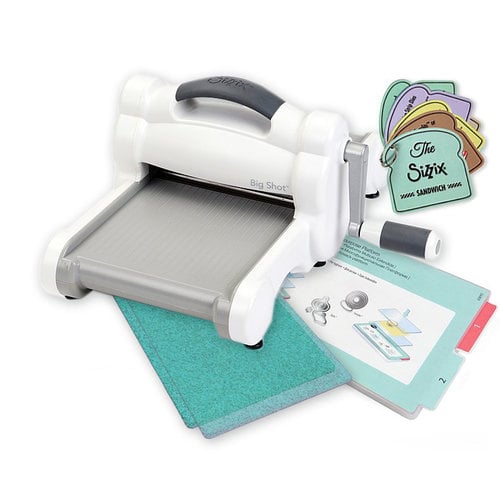
Sizzix – White and Gray – Big Shot…
[ SBC ]
Sizzix – Big Shot Accessory – Tool…
[ SBC ]


birch press design · cards · CAS · Christmas · Die Piecing · Memory Box · Ornament · Winter

Birch Press Design Christmas Ornament Pop Up Easel Card…

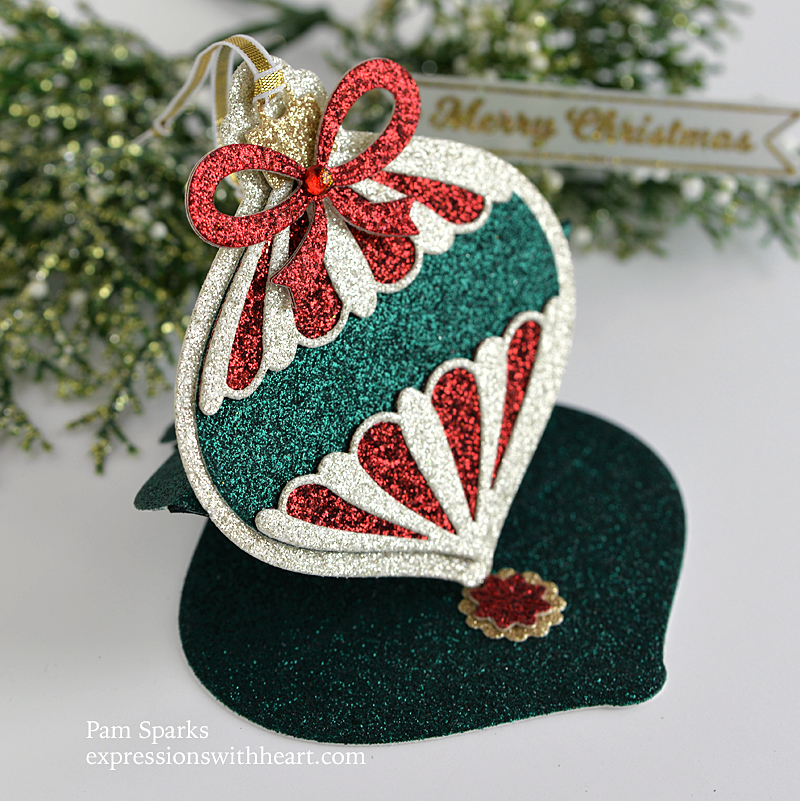
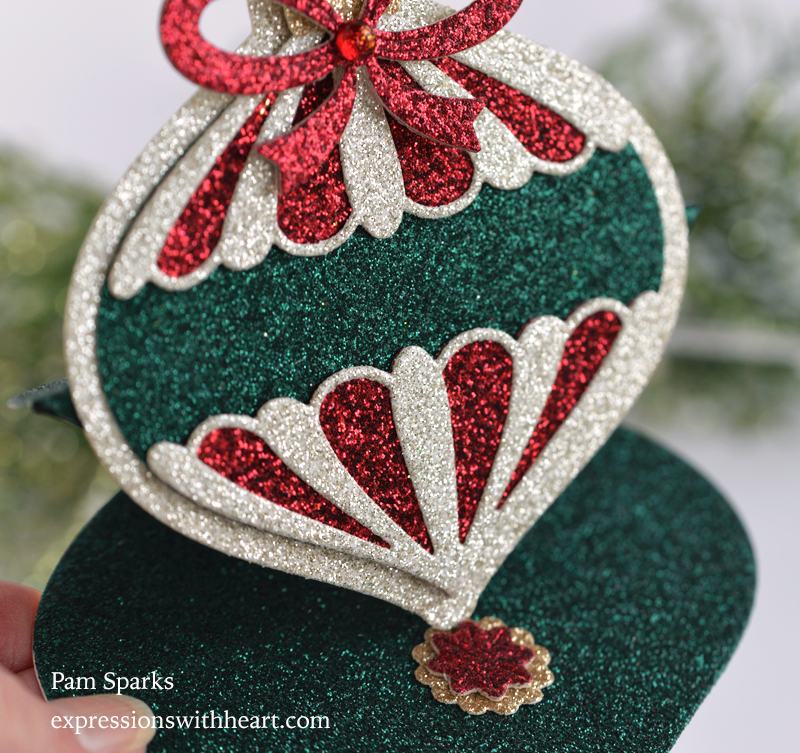
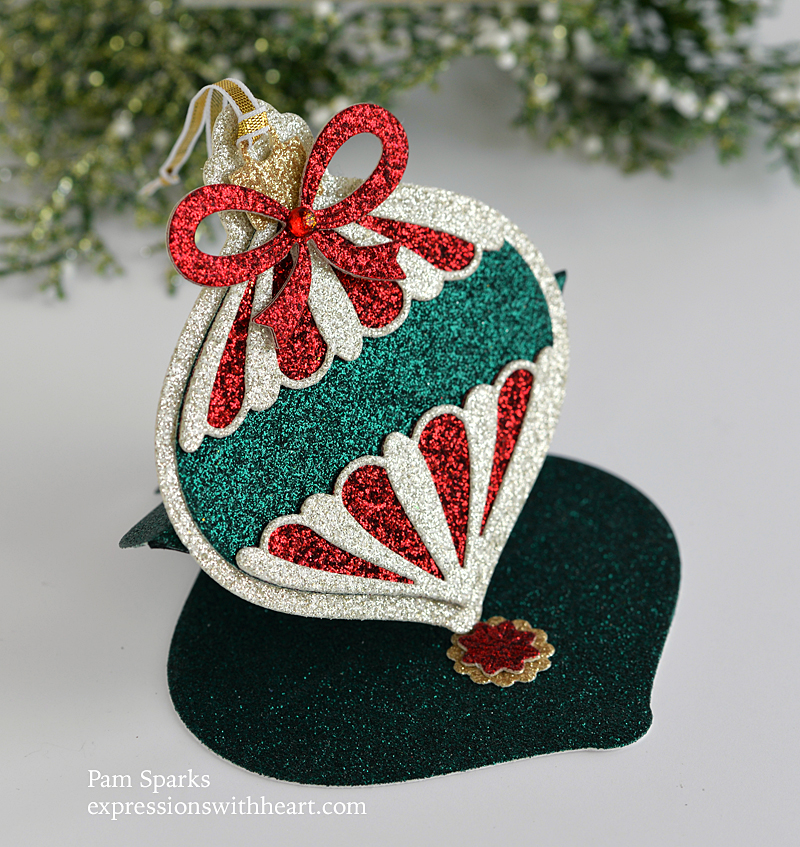
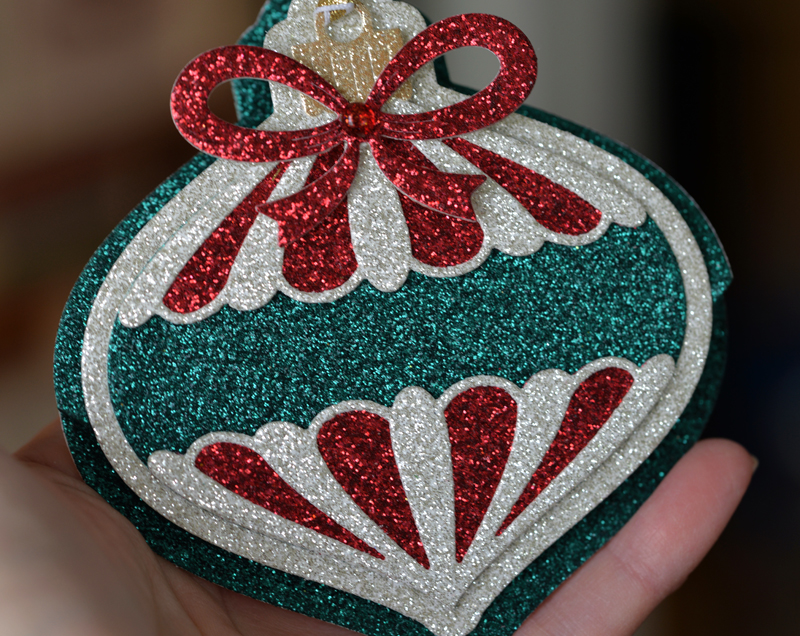
Hi everyone! Welcome to my attempt to show how glittery amazing this glitter cardstock from Memory Box is and how fun to use it with this new BPD release!  I’m sitting here looking at the real card wishing I could just show it to you IRL because it is so sparkly and pretty!!!

This was a fast card to make…all die cutting and so easy with a pad of 6×6 glitter cardstock!

Here it is from the side.  I die cut a white cardstock base with the easel die in the set, then I die cut from the glitter paper and glued it to the white card die cut.  Because of the 6 x 6 size of the glitter cardstock, I had to make it in two pieces.  It worked fine, you really can’t tell it. 

I’m going to say it again… it was so easy to make! lol  Cut and glue!  This would be a great card for a class or a cardmaker get together!

I stamped and heat embossed a sentiment from the BPD Christmas Ornament and Labels stamp and die set but I couldn’t decide if I wanted on the card for the pictures!  So it’s laying off to the side.  I will glue it on when I send it.

So pretty too… just glam it up!

It could easy be made into an ornament to hang on the tree or a gift tag!

It folds up so nice and will easily fit in an A2 envelope and mail for one postage stamp.

I added a Memory Box Christmas Fairy Drop in red on the bow.  Boom!  Done!  Taking pictures, trying to capture glitter cardstock took longer! 

***Bonus – None of this glitter comes off!!!  Thank you Memory Box! lol

Thank you for visiting today!  


Here’s what I used to make this card…

Birch Press Design – 57455 Christmas…
[ STR | SSS ]
Memory Box – GP1006 Festive Glitter Pad
[ STR | SSS ]
Birch Press Design – 8154 Christmas…
[ STR | SSS ]
Memory Box – Christmas Fairy Dewdrops
[ STR | SSS ]
Tombow Mono Multi Liquid Glue
[ STR | SBC | SSS ]
Sizzix – White and Gray – Big Shot…
[ SBC ]

cards · Christmas · Die Embossing · Die Piecing · Distress Ink coloring · Memory Box · Oxide Inks · Techniques · Wreath Building

Merry Christmas in July, Holly Wreath Card and Tutorial

Salutations of the season to all!  And just like that, it’s the end of July!  Let’s get a head start on Christmas cards! 

My card today is from the NEW Birch Press Design Festive Floral release!

I’m using the NEW Holly Wreath Plate die set. Keep reading for a tutorial how I made the wreath without layering!  First the finished card pictures…


Close up showing the NEW Handwritten Merry Christmas and Outline die set… so beautiful! I love how he included the dot of the ‘i’ onto the ‘t’!  No gluing tiny dots this time!  (well except on the wreath hohoho)

A shot from the side…

Sentiment from Birch Press Design Kind Hearts clear stamp set. (gorgeous sentiments in this one)

Here’s how I made this card in pictures…hope it works!  Let me know what you think!  Was it worth it?

I started by die cutting Layer C in Hammermill 100# Color Copy Cover cardstock.  Keep both pieces.

Now, using Layer A (the plate with all the detail), lay the plain wreath you die cut with Layer C into layer A die, right side into the die.

Next we are going to emboss the plain wreath die cut by running it through the die cut machine. From the bottom up you’ll need the standard platform, clear cutting plate, tan (squishy) mat, die cut in the die with cutting blades facing into the mat and on top a clear cutting plate.

(If you have the older multi purpose platform, use it like you would a regular embossing folder. Fold the top layer back.)

Look how cool this is… it’s embossed!

Now we’re going to ink the wreath with Distress ink.  In my picture I grabbed regular Distress ink but when I was making my card, I used Distress Oxide Rustic Wilderness.  ugh.  My regular are out in plain view and my oxide are in a drawer now. Change is hard! lol  I used my oxide brush with regular ink.  There go my eyes rolling at myself again!

Back to layer C – die cut scraps of red cardstock for the berries.

Here you see the back of the inked, embossed wreath…I placed pieces of thin mounting tape over the berry holes.  Link below… I love this mounting tape!

Then turn the wreath over and using a pickup tool of your choice add the berries to the holes and they will stick in place!  Easy!

Ink scraps of white cardstock with Rustic Wilderness Distress ink, cut into pieces to lay over the holly leaves on layer A and run it through the machine.

Turn wreath back over and line it up to layer A to match up your Holly. Then turn it right side up and glue on the Holly.

Remember it’s opposite…

No earthly idea why in this picture the green is a funky color! lol

I wanted to show that the wreath is super fun just inking the solid wreath without embossing too.  At the last minute I thought to splatter it with some white spray ink.  I didn’t go back and splatter my card though.

So I’m showing three variations using these dies differently than they were intended!  Let’s make Christmas cardmaking fun! lol

Holler if you have any questions.  I have some old videos showing how to do embossing with dies too.

Linking to some challenges…

ABC Christmas Challenge – N is for NEW,  O is for OLD (mine is new)

Addicted to Stamps and More – any occasion

Crafty Gals Corner – Christmas in July #233

Simon Says Stamp Wednesday Challenge – Anything Goes

Thank you for stopping by!

Here’s what I used to make this card…

Birch Press Design – 57478…
[ STR | SSS ]
Birch Press Design – 57450 Holly…
[ STR | SSS ]
Birch Press Design – CL8162 Kind…
[ STR | SSS ]
Tombow Mono Multi Liquid Glue
[ STR | SBC | SSS ]
W 023 Spellbinders WIZARD TAN…
[ SSS ]
Sizzix MULTIPURPOSE PLATFORM STANDARD…
[ SSS ]
Sizzix – White and Gray – Big Shot…
[ SBC ]
Sizzix – Big Shot Accessory – Tool…
[ SBC ]
Sizzix Cutting Pads – standard
[ STR | SBC ]
Ranger Ink – Tim Holtz – Distress…
[ SBC | SSS ]
Ranger Ink – Tim Holtz – Distress Ink…
[ SBC | SSS ]
TE Blender Brushes
[ TE ]
Ranger Ink Jet Black Archival Ink Pad
[ SBC | SSS ]
Gingham Red 3/8″
[ RSN ]
Scrapbook Adhesives Crafty Foam Tape…
[ STR ]

All Occasion · cards · Die Piecing · Distress Ink coloring · Embossing Folders · Masculine · Memory Box · Oxide Inks · Summer · Thinking of You

Sending You Some Vitamin Sea!

Hi everyone! Check out the latest release from Memory Box, ‘June Island Vacation’!  I had fun playing with these products!

I embossed the fish with the NEW Ocean Fish 3D Embossing Folder, then I used the NEW coordinating Ocean Fish stencil set to color the fish!  It worked great!

I have no idea what colors these fish should be! lol  I used my mug of dye ink blender brushes!  I didn’t add any ink, I just used the ink that was in the brushes and used the green, blue and bluegreen brushes over yellow.  Orange and red together on the other!

The Ocean Fish Folder comes with matching dies, so I die cut the fish after coloring.

For the background piece, I used the Memory Box Underwater 3d embossing folder on white cardstock, then used my Distress Oxide blender brushes to add color.  Again, just the color that was in the brushes.  I guess I was too lazy to get out the ink pads!  Funny girl yesterday! lol

I used mounting tape to mount the fish to the background piece and added some clear Fairy Drops.

The sentiment is heat embossed from the Deep Blue Ocean clear stamp set released last year.  Awesome sentiments and images in this set.  Dies to match too!

I saw Memory Box Dave’s card on the Memory Box website using the Kelp Collage die, also from last year so I used it too!

The last thing I did was add some clear glitter pen to the fish.  I love how it makes it look like shimmery fish!

This will be a fun card to send to someone feeling under the weather.  I love vitamin C anyway… it’s a staple around this house! lol

Linking to some challenges…

Simon Says Stamp Wednesday Challenge – Make your own background

Shopping Our Stash Challenge – Blending In

Double D Challenges – Creatures In/Under the Sea

Thank you so much for stopping by!  I hope you enjoyed my card and it made you smile.

ttul!

Here’s what I used to make this card…

Memory Box OCEAN FISH 3D Embossing…
[ SSS | STR ]
Memory Box – 88623 Ocean Fish Stencil
[ STR | SSS ]
Memory Box – 94561 Kelp Collage craft…
[ STR | SSS ]
Memory Box – EF1012 Underwater 3D…
[ STR | SSS ]
Memory Box – CL5268D Deep Blue Ocean…
[ STR | SSS ]
Memory Box Clear Stamps DEEP BLUE…
[ SSS ]
Memory Box – Fairy Drops – clear…
[ STR | SSS ]
Gina K Designs SET OF 10 BLENDING…
[ SSS ]
Simon Says Stamp Blending Brush SET…
[ SSS ]
Spectrum Noir CLEAR OVERLAY Sparkle…
[ SSS ]