All Occasion · Birthday · Die Piecing · Distress Ink coloring · Flowers · Hot Foiling · Memory Box · Oxide Inks · Video

Memory Box Magnolia Release and Video…

Hi everyone!  New beautiful dies and paper from Memory Box!  So pretty!  This release gives Hallmark a run for it’s money! lol

Beautiful Magnolia dies and embossing folders with dies too!

Keep scrolling for the video of the release at the end of the post.

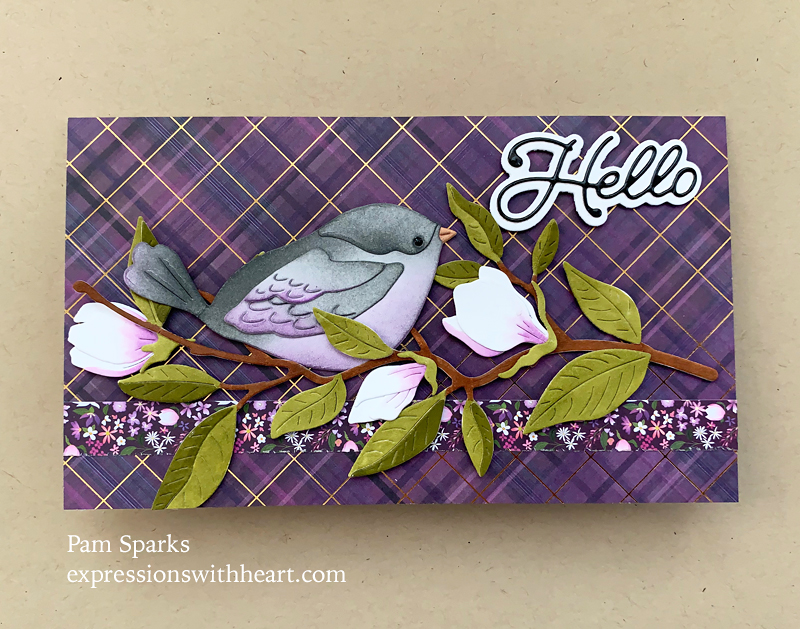
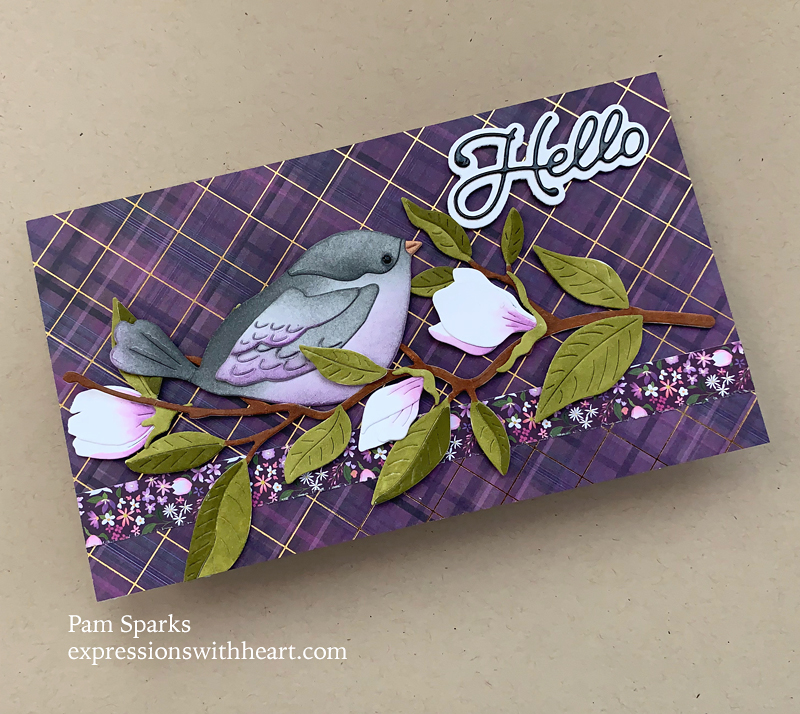
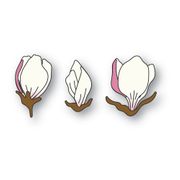
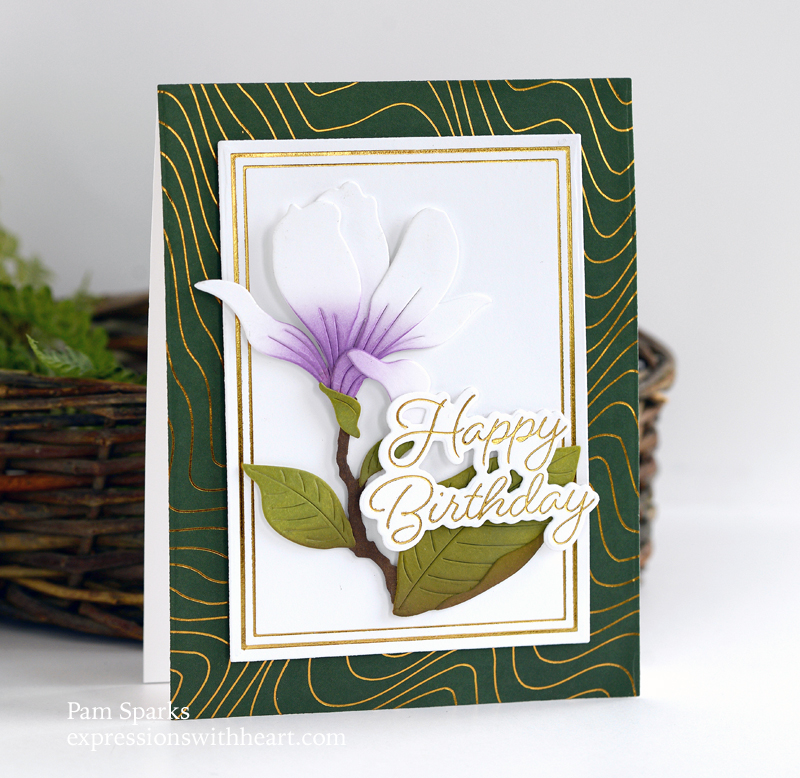
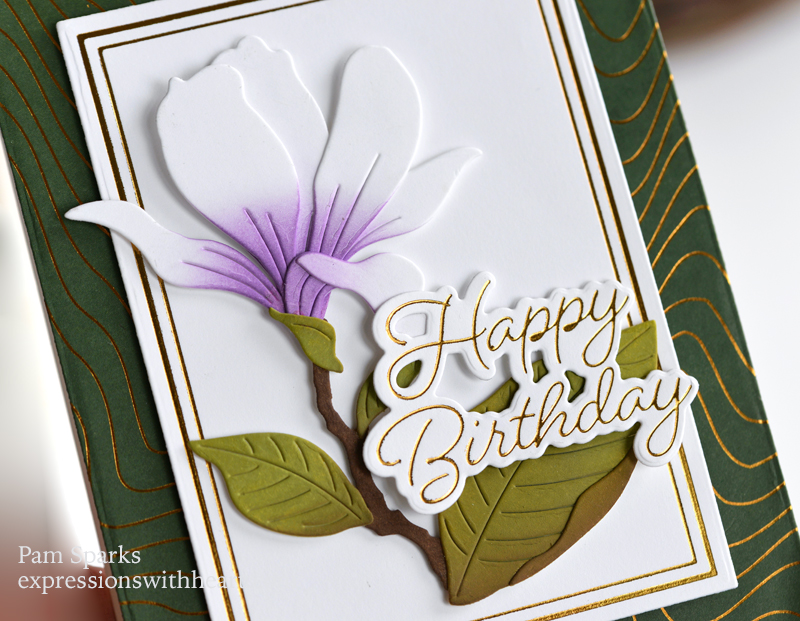
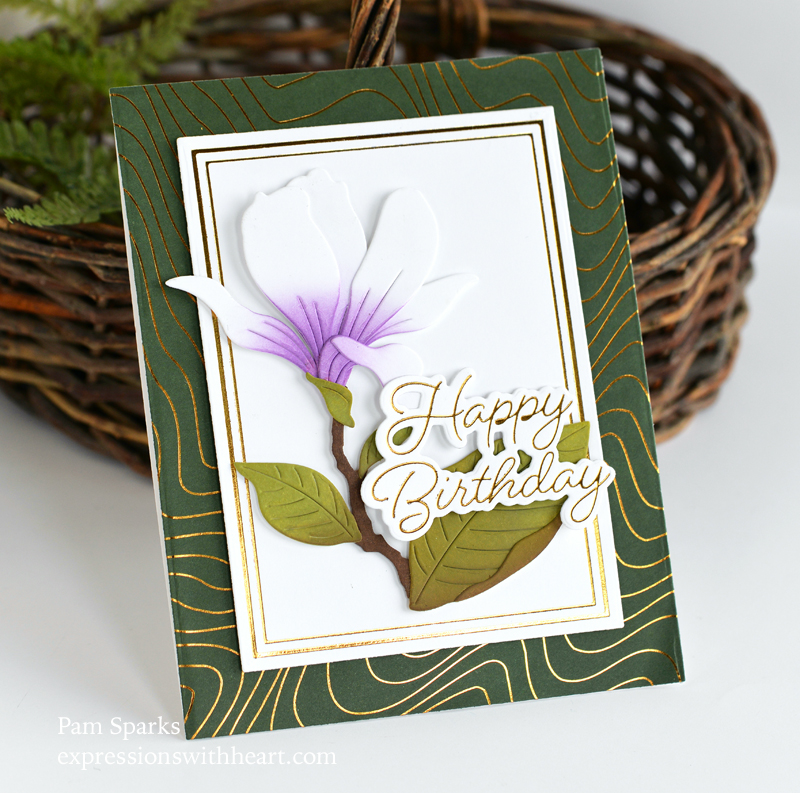
So easy to create too… I die cut the Magnolia Blooming Bud die in white cardstock and blended on Distress Oxide ink with brushes.  I didn’t add any new purple to my brush but for the green I used Peeled Paint and a little Forest Moss.  The brown is Gathered Twigs.

I used the Posh Happy Birthday Hot Foil Plate and Cutting Die set for the sentiment.  I love how pretty it foils up!

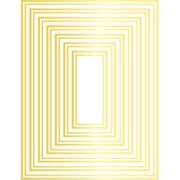
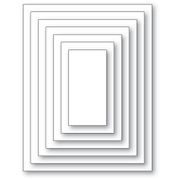
For the rectangle panel I used the Rectangle Double Border Hot Foil Plate and A2 Rectangle Frames Die set.

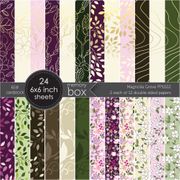
The gold foiled green background is a piece of paper from the new Magnolia Grove 6×6 paper pad.  I die cut it with the largest A2 size die from the A2 Rectangle Frames Die set.’

I didn’t capture the shine that is so beautiful about hot foiling as well as I would’ve liked to.

Here’s a video of the new release and hopefully it will show the shine of the card better than my photos.  It will take a minute to load to full resolution completely so my voice isn’t so muffled.  Click the frame icon in the bottom right corner and it’s much better!

Linking to some challenges…

Just Us Girls Challenge – moodboard

AAA Birthday Challenge – #48 Layer It Up

Use Your Stuff Challenge – #482 Layers

A Place To Start Challenge – anything goes

Thank you for stopping by! Have fun checking out this release!

Here’s shopping links to what I used to make this card…

Memory Box – 94716 Magnolia Blooming…
[ STR | SSS ]
Memory Box – PP1022 Magnolia Grove…
[ STR | SSS ]
Memory Box – MBF011 Posh Happy…
[ STR ]
Memory Box – MBF006 Rectangle Double…
[ STR | SSS ]
Memory Box – 94672 A2 Rectangle…
[ STR | SSS ]
Spellbinders – Glimmer Hot Foil -…
[ SBC | SPL ]
Hammermill WHITE 100 LB SMOOTH…
[ SSS ]
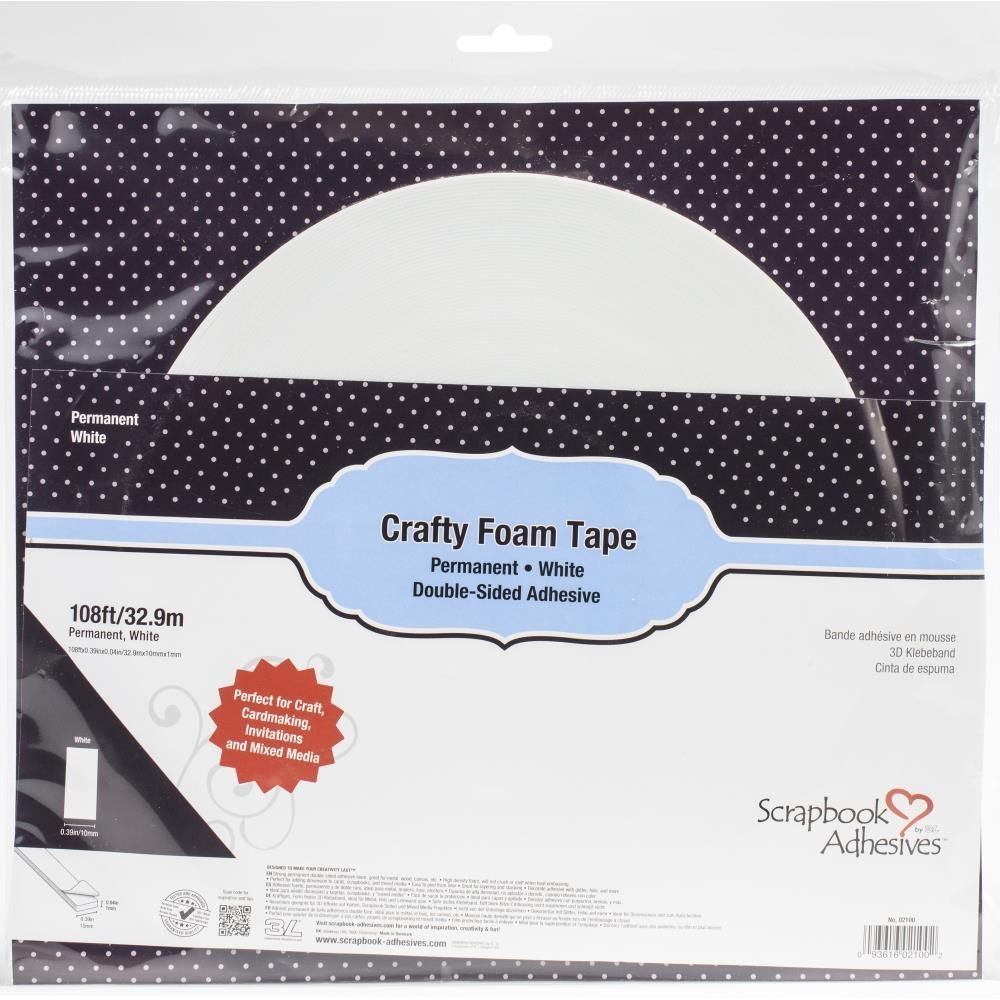
Scrapbook Adhesives Crafty Foam Tape…
[ STR ]
Fiskars Non-Stick Titanium Softgrip…
[ STR ]

All Occasion · cards · copics · Die Piecing · Distress Ink coloring · Flowers · Memory Box · Oxide Inks · Poppystamps · Spring · Thank You

Memory Box Floral Bud and Stems Thanks Card…

Hi everyone!  It feels like Spring here!  A beautiful sunshiny day in Iowa!

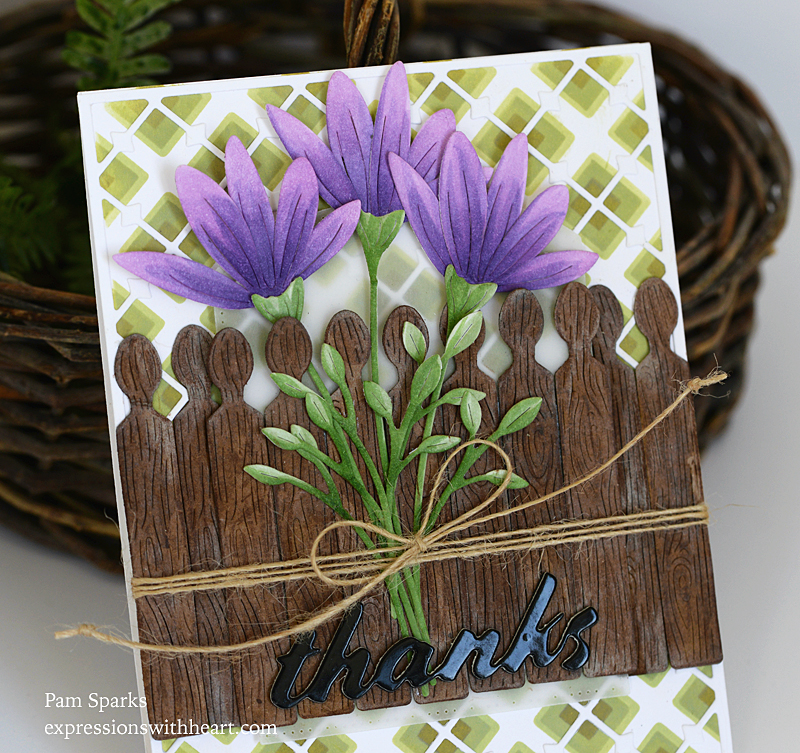
My card today is using NEW dies from Memory Box and NEW Stencil set and die from poppystamps.

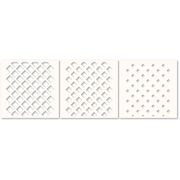
I started by inking the stencil set with three colors of Distress Oxide ink.  Shabby Shutters for the largest square hole stencil,  Peeled Paint for the next size and Forest Moss for the smallest. (it’s greener in real life)

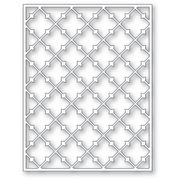
Then I die cut the NEW Pointy Lattice Plate from poppystamps in white cardstock to glue over the top of the stenciled panel.

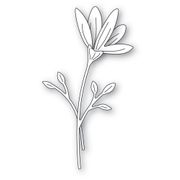
I die cut the NEW Memory Box Floral Bud and Stems die three times and colored with Copics.  I remember the greens I used were YG61, 63, 67.

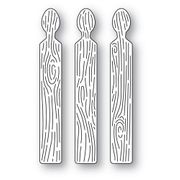
I die cut the NEW Memory Box Woodgrain Fence Pickets from watercolor paper and smooshed them a couple times in Gathered Twigs Distress ink refill and a couple spritzes of water. Then I decided to make them look more weathered and rubbed a white pigment ink pad over them.  I still wasn’t that thrilled so I added some brown color pencil!  How crazy!  Next time I think I’ll die cut them in brown cardstock! hahahahahaha They do look weathered though!

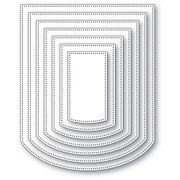
I was following the sketch from the Freshly Made Sketches Challenge blog for my card but I’m too late getting it posted to link up.  There was another panel in the sketch so I die cut the NEW Curved Cap Pinpoint Layers die in vellum.  I think you can see it behind the flowers and pickets.

I used a piece of wide scor-tape to hold the front pickets together… that worked really slick.  Then I wrapped twine/jute cord around the front panel layers before I adhered it to the cardbase.

I die cut the NEW Memory Box Tilted Thanks die from Memory Box Black Glossy Cardstock and two other layers of regular black cardstock and glued them together and glued them to the front of the card.

I don’t have very many pictures because it’s so bright today I ended up taking pictures three times!  Picky camera or is it picky me! ha

I have a question for you though, if you don’t mind replying… When I write a blog post, it’s preset that the font is this gray color.  If I want it black I have to remember to go in and change it.   Do you have a preference?  gray or black?

Thank you for stopping by! I hope to be back with a couple more flower cards!

Here’s what I used to make this card…

Memory Box – 94647 Floral Bud and…
[ STR | SSS ]
Memory Box – 94470 Tilted Thanks…
[ STR | SSS ]
Memory Box – 94646 Curved Cap…
[ STR | SSS ]
Memory Box – 94703 Woodgrain Fence…
[ STR | SSS ]
Poppystamps – 2558 Pointy Lattice…
[ STR | SSS ]
Poppystamps – T104 Deco Diamond…
[ STR | SSS ]
Linen Thread – 40 yds – by the spool
[ STR | TE ]
Hammermill WHITE 100 LB SMOOTH…
[ SSS ]
Memory Box – WP101 Watercolor Paper
[ STR ]
Scor-Tape; Scor Tape
[ STR | SSS ]
double-sided tape holder – holds…
[ STR ]

4 Bar · cards · Christmas · Die Piecing · Distress Ink coloring · Memory Box · Poppystamps · Shabby Chic · Techniques

poppystamps Basic Junk Journal Set…

Hi everyone!  I know!  I know!  You came expecting Easter!  I’ve been thinking about this die set and what I would make with it….then I walked by this little stack of Santas that I’d printed before Christmas and didn’t use and thought one would be adorable with the Journal set!

So I die cut the journal in watercolor paper and did some ink smooshing with Distress Ink Gathered Twigs ink refill and water. I didn’t wait for it to dry on it’s own.  I dried it with the heat tool.

Here’s a video of it… it might be low resolution at first until it completely downloads…even though it’s only 27 seconds!  See it HERE on Instagram…

I had some scraps/strips that I kept of plaid from the Memory Box Jolly Christmas 6×6 pad and I love how they worked out on the front and on the inside!

You can tell what the size of this folder is because there’s a gift card inside.

You could stamp or write in permanent ink on the mirror gold little labels.

close up of the inside circle label…

the back….

And now I’m thinking what a cute tag this would make on an Easter basket!  There’s several dies in the set I didn’t even use!

Linking to some challenges…

Peace on Earth Christmas – anything goes Christmas

The Holly and Ivy Christmas Challenge – anything goes Christmas

AAA Cards – inspired by a song….Up on the House Top!


I’ll link up what I used below.

Thank you so much for stopping by.  I always appreciate your encouraging words and that you come back to visit!


Poppystamps – 2451 Basic Junk Journal…
[ STR | SSS ]
Poppystamps – CB496 Christmas Quotes…
[ STR ]
Memory Box/Open Studio – 30087 Circle…
[ STR | SSS ]
Memory Box – CL5261-D Spirit of…
[ STR | SSS ]
Memory Box – PP1019 Christmas Jolly…
[ STR | SSS ]
double-sided tape holder – holds…
[ STR ]
Scor-Tape; Scor Tape
[ STR | SSS ]
Linen Thread – 40 yds – by the spool
[ STR ]
May Arts NATURAL Twine String Burlap…
[ SSS ]
Bazzill Foil Cardstock – Gold 12×12
[ STR ]
Memory Box – WP101 Watercolor Paper
[ STR ]
Ranger Ink – Tim Holtz – Distress Ink…
[ SBC | SSS ]
Ranger Ink Jet Black Archival Ink Pad
[ SBC | SSS ]
Tombow Mono Multi Liquid Glue
[ STR | SSS | ACH ]
Sizzix – White and Gray – Big Shot…
[ SBC ]


All Occasion · Altenew · birch press design · Birthday · cards · Die Embossing · Die Piecing · Distress Ink coloring · Flowers · Hot Foiling · Memory Box · Spring · Thinking of You · Video

Birch Press Design Jovial Blooms and Leaves Hello Card…

Hello! Some fun blooms to show you today!  I’ll jump right in with a short coloring video.

I used three pinks and three greens from Altenew.  I’ll link the colors at the end of my post.  Really pretty colors in real life.


I dry embossed the BPD hello Sugar Script hot foil plate and die from the Spring of ’22 release with my big shot (in the video you’ll see I did it in gold but didn’t end up using it) and inked it with the Altenew pink set of inks also.

I used the leaves from the NEW Birch Press Design Phlox Blooms and Leaves Contour Layers die set and inked them the same as I did the others in the video.

The background die is BPD Pinpoint Contour Plate die from this year’s Valentine release cut in white cardstock and cut down with the NEW Memory Box A2 Rectangle Frames Die Set.

I love these cute whimsical flowers!

This is an A2 size card.

Linking to some Challenges…

Simon Says Stamp Monday Challenge – Emboss it

The Flower Challenge – Die Cuts or Stencils

Tic Tac Toe – challenge board   I did the Die Cut, Green and Layers row


We’re back to Winter here in Iowa!  A beautiful snow globe kind of day!  Snowing and I love it too! hehe

Holler if you have any questions…have a good rest of the week wherever you are!

Here’s what I used to make this card…

57502 Jovial Blooms and Leaves…
[ STR | SSS ]
Birch Press Design – 57507 Phlox…
[ STR | SSS ]
Birch Press Design – 57511 Pinpoint…
[ STR | SSS ]
Birch Press Design – BPF501 Hello…
[ STR | SSS ]
Memory Box – 94672 A2 Rectangle…
[ STR | SSS ]
Green Fields Crisp Dye Ink Mini Cube Set
[ ALTN ]
Red Cosmos Crisp Dye Ink Mini Cube Set
[ ALTN ]
Mini Ink Blending Tool *new* – 2…
[ STR | SBC | SSS ]
Hammermill WHITE 100 LB SMOOTH…
[ SSS ]
Memory Box – Fairy Drops – clear…
[ STR | SSS ]
Zig 2-Way Glue Pen – Squeeze & Roll…
[ STR | SBC | SSS ]
Scrapbook Adhesives Crafty Foam Tape…
[ STR ]
Tonic Studios – Tim Holtz – Media…
[ SBC | SSS ]
Sizzix – White and Gray – Big Shot…
[ SBC ]
Couture Creations UNIVERSAL 5 x 7…
[ SSS | SPL ]
Gelly Roll Black Glaze Pens
[ STR | SSS ]

All Occasion · cards · Distress Ink coloring · Embossing Folders · Flowers · Foiling · Hot Foiling · Oxide Inks · Spellbinders dies · Techniques

Spellbinders February Release Four Petal Floral 3D Embossing Folder Card…

Hi everyone!  Do you remember the poinsettia embossing folder card I made HERE?  I tried it again with the NEW Spellbinders Four Petal Floral 3D Embossing Folder. 

I did this one a little different.  I ran it through the Big Shot with the embossing folder setup after I inked it up with Antique Linen Distress Ink pad. (regular dye ink)  You ink it on the wrong side, the side that debosses, the design is recessed into the cardstock but you don’t want to go deep this time. Use a thinner sandwich.  I inked it up so it’d be easier to see where to brush on the ink.  The first time I did it I got too much green on the pink. 

I found that I could kinda ‘wash’ the ink off with a damp stiff-ish paint brush, after I deep embossed it and brushed back in the right color.  I missed a few spots though! hehe

Scroll down (last picture) and you’ll see how it looks after ink blending and before the last embossing like the folder is meant to be embossed. 

After inking with yellow, pink, green oxide inks and deep embossing, you ink blend again over the top of all of it with Vintage photo distress oxide ink. 

It’s a super fun, vintage-y, distressed look that the camera makes brighter and deeper color than it really is IRL.

I hot foiled the sentiment on a die cut panel using the Spellbinders Something Special Glimmer Hot Foil Plate and gold hot foil.

I spattered on some gold ink for sparkle and glued on some gold pearls to glam it up… oh and some thin gold cord before I glued it to an A7 size cardbase.

Here’s the not so pretty ink blended panel!  :O  I know… at this point you think, I should quit!  This is NOT working! lol

Never fear….keep going! lol

As to my Hallmark commentary last time… this one is Hallmark size anyway! lol

Linking to some challenges…

The Flower Challenge – Use your latest stamps and dies

Just Us Girls Challenge – Sparkle (I have gold sparkly spatters)

Can You Handle the Pressure – anything goes with an embossing folder

Sunshiny day here today, probably won’t be tomorrow when this posts and I haven’t even made it out!  I can’t believe it’s already Feb, 14th! Weather and time seem to be my go to conversation! ugh.  Sorry!

Hope this finds you creating valentines or something! I’ll talk to you again soon! 

HAPPY VALENTINES DAY!

Shopping links to the products I used… thank you so much for clicking through from here!  I appreciate it and no cost to you!  Valentines SALE!  Go HERE!  Feb. 14 – 20

Spellbinders – Four Petal Collection…
[ SBC | SPL | SSS ]
Spellbinders – Inspired Basics…
[ SBC | SPL ]
Spellbinders – Glimmer Hot Foil -…
[ SBC | SPL | SSS ]
Spellbinders – Glimmer Hot Foil…
[ SBC | SBC | SSS ]