cards · CAS · Christmas · Die Piecing · Distress Ink coloring · Masculine · Memory Box · Winter

Memory Box Layered Cardinal CAS card…

Hi everyone! I’m in love with this CAS (clean and simple) card using the gorgeous NEW Memory Box Layered Cardinal die!

It’s a beauty…do you agree?!  There’s a 46 second video HERE (click where it says ‘play video’)  to show you how easy it is to layer up!  You can make 25 in no time! hoho

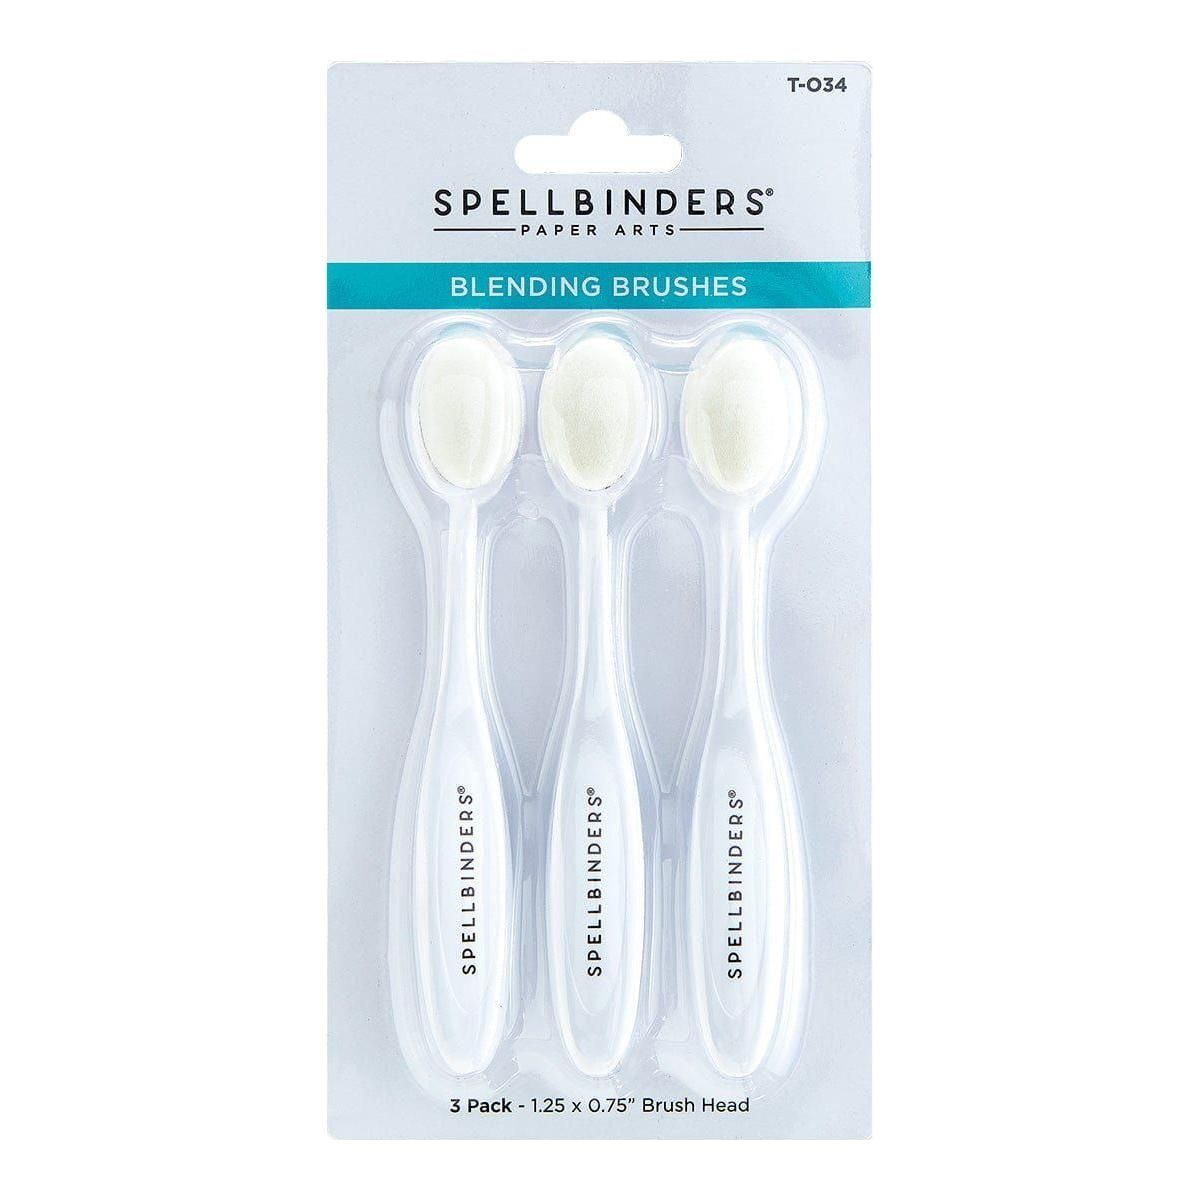
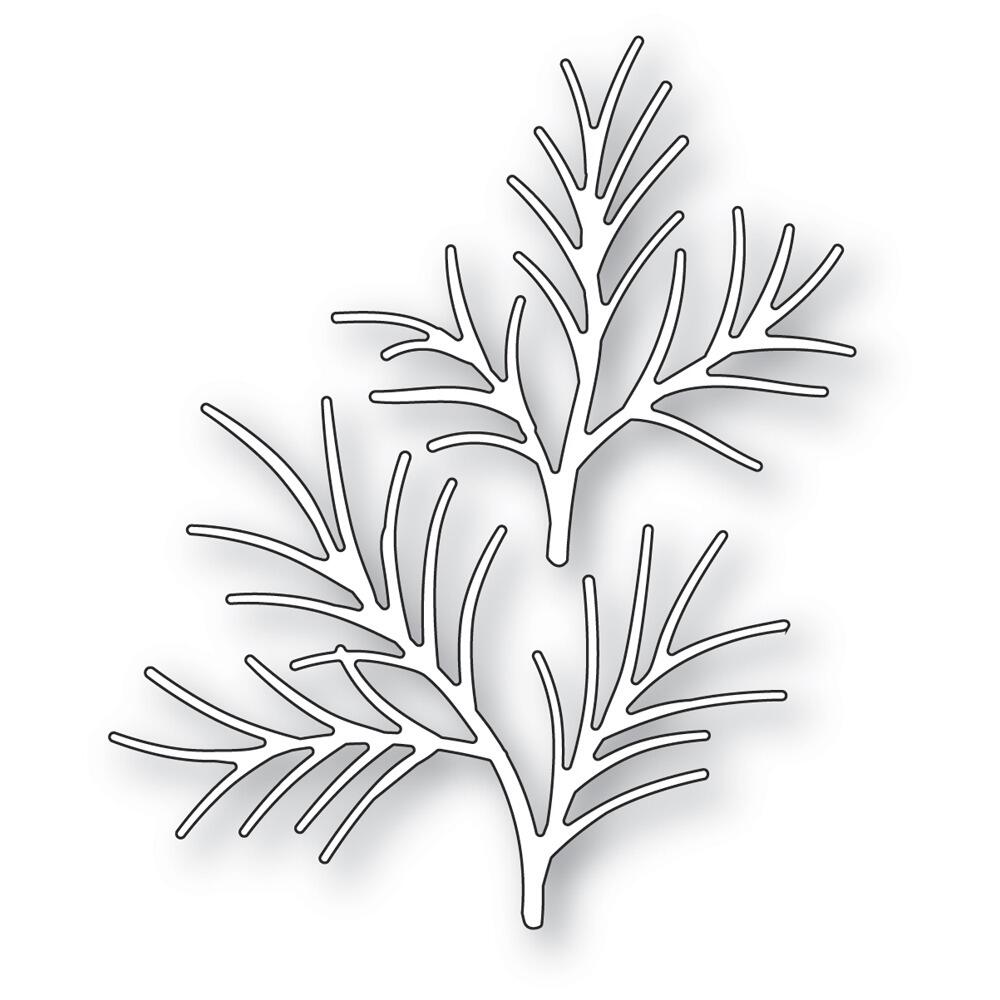
Pretty bird!   I have it sitting on the Memory Box Forest Pine Branch.  I die cut it in kraft cardstock, inked it with some Vintage Photo and Rustic Wilderness regular Distress ink pad and blending brushes.

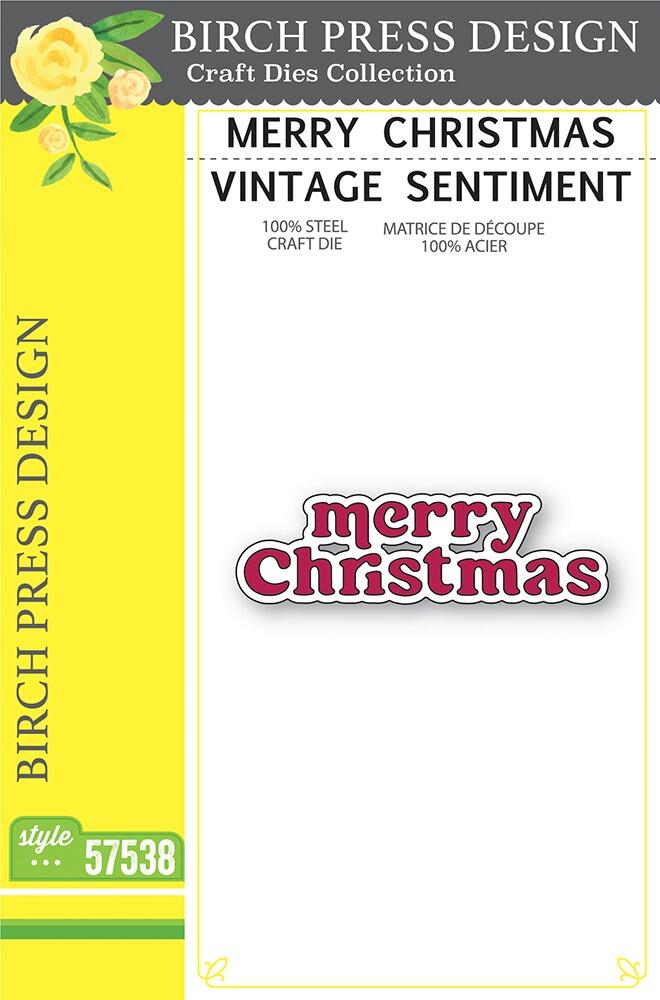
I stamped the sentiment on the front and the one on the inside from the Birch Press Design Glad Tidings New clear stamp set.  It’s a gorgeous set of sentiments.  I’ll link it below.  They stamp beautifully in the MISTI type positioners.

The thought crossed my mind to find something to stamp with the sentiment but I didn’t follow through.  It’s so gorgeous just black on white!

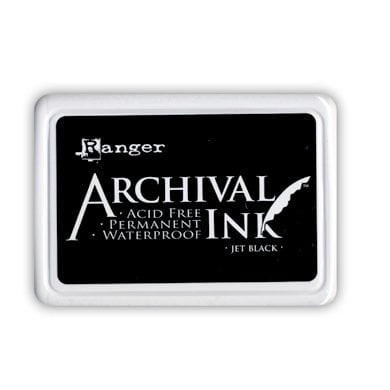
I used Ranger Archival Black ink to stamp it.  I did multiple inking because I wanted it dark…  TIP for you though, make sure you put a protective sheet of copy paper in because it takes longer to dry no matter what ink with mutliple inking times!  It really annoys me when the ink transfers to the top of the card from the sentiment.

This picture and the next two, it’s hard to see the pearls but I edited them so I’m gonna post them! lol

I did blend some Aged Mahogany Distress ink/regular onto the edges of the cardinal after I put it together but I wished I’d done it before I glued it up.

This is an A2 size card.  I used white pearls in 3 sizes from Starlitstudio.net.  I’ll link below.

I mounted the bird with the super thin mounting tape that I love that Starlitstudio also carries. Check below.

I’m linking to some card challenges…

Simply Clean & Simple November Challenge

Scrapping 4 Fun – Christmas Traditional Colors

HLS November Christmas – anything goes Christmas


Triple B November – Birds, Blooms or Butterflies

Peace on Earth #51 – anything goes Christmas


Die Cut Divas November – It’s all about the holidays

Moving Along With the Times – November Christmas Animals

The Holly and The Ivy #151 – anything goes Christmas

Thank you all so much for stopping by and all your encouraging comments!  I haven’t gotten replies sent out as much because so many are anonymous and I’ve been outside some getting the garage and plants ready for Winter.  The porches look so bare!  I do have some Winter baskets to hang out…that helps.

Have a good rest of the week!  I’m working on stuff for our area stamp club annual Christmas party.  It’s this Friday!  Can’t believe it!  We changed to November several years ago because December was just too hectic!

Catch you again soon!

Shopping Links to the products I used for this card…

Memory Box – 94754 Layered Cardinal…
[ STR | SSS ]
Birch Press Design – CL8164 Glad…
[ STR | SSS ]
Memory Box – 94481 Forest Pine Branch…
[ STR | SSS ]
Tiny Pearl Embellishments – flat…
[ STR ]
Scrapbook Adhesives Crafty Foam Tape…
[ STR ]
Ranger Ink Jet Black Archival Ink Pad
[ SBC | SSS ]
Tim Holtz Distress Ink Pad Vintage…
[ SSS | SBC ]
Tim Holtz Distress Ink Pad Rustic…
[ SSS | SBC ]
Tim Holtz Distress Ink Pad Aged…
[ SSS | SBC ]
Blending Brushes – 3 Pack |…
[ SPL ]
Gina K Designs – Mini Blending…
[ SBC | SSS | SBC ]
Simon Says Stamp DETAIL FLAT BLENDING…
[ SSS ]
Tombow Mono Multi Liquid Glue
[ STR | SSS | SBC ]
Neenah Cardstock Classic Crest Ultra…
[ SSS ]
Kraft Extra Heavy Weight Cardstock…
[ HBL ]


birch press design · cards · Christmas · copics · Die Piecing · Flowers · Memory Box · Winter

Memory Box Bundled Bird, Nest and Aurora Snowflake Frame Card…

Hi everyone! Here in Iowa we are dressing warmer like this NEW Memory Box Bundled Bird!

It’s one of the new layering dies and pairs well with the NEW Bird’s Nest and New Small Poinsettia Layers!

He looks just like I feel when I’m all bundled up with a scarf wrapped around my neck! lol

I die cut in white cardstock and colored with Copic Sketch Markers.  Easy to get varying shades of the few colors then.  Colored cardstock would work just as well and use up some of those scraps that we don’t throw away!  Glue the pieces together.  There aren’t very many and it’s easy to see what goes with what.

I die cut the Aurora Snowflake Frame three times and glued it together.  I like doing that for photo sake…I’m not sure I would do it if I wasn’t taking pictures. Everything else is just one layer of cardstock.

I used Birch Press Design Merry Christmas Vintage die for the sentiment.  I die cut it in gold mirror cardstock and Memory Box glossy black cardstock.  I popped out the merry Christmas from the black die cut piece and glued it over the top of the gold die cut piece.  That way I didn’t have to handle the individual letters.  I did add a little piece of my favorite super thin mounting tape to the back of the gold cut to hold the letters in the cut. Then just little dots of Tombow Mono Multi on the back of the black cut to adhere it over the gold.

Die cut the Small Poinsettia Layers and glue them together.

The Bird’s Nest I die cut in kraft and inked with Gathered Twigs Distress Ink and a mini ink blending tool. I adhered it together by laying it over the package picture for placement!

This is an A2 size card.  The blue base panel is a piece of watercolor cardstock that I did some stamping and inking on awhile back but didn’t end up using. I liked it for this card.  A blustery, Winter day blueness!

I added some Memory Box clear Fairy Jewels here and there to lend to that Wintery feel!

Linking my Wintery Bundled Bird Card to some Card Challenges…

Cut it Up Challenge #289 – Add a sentiment

Scrapping 4 Fun Challenges #229 – Traditional Christmas colors

Sisterhood of Crafters Challenge – Get Inky  (the bird coloring and the background panel)

The Holly and the Ivy Challenge – #151 Anything Goes Christmas

Word Art Wednesday Challenge – Anything Goes

Holler if you have any questions!  Thank you so much for stopping by!

Below are links to the products I used to make this card…

Memory Box – 94760 Bundled Bird craft…
[ STR | SSS ]
Memory Box – 94740 Bird’s Nest craft die
[ STR | SSS ]
Memory Box – 94756 Small Poinsettia…
[ STR | SSS ]
Memory Box – 94750 Aurora Snowflake…
[ STR | SSS ]
Birch Press Design – 57538 Merry…
[ STR | SSS ]
Memory Box Fairy Drops • Jewels •…
[ STR | SSS ]
Scrapbook Adhesives Crafty Foam Tape…
[ STR ]
Tombow Mono Multi Liquid Glue
[ STR | SSS | SBC ]
Hammermill WHITE 100 LB SMOOTH…
[ SSS ]
Memory Box – WP101 Watercolor Paper -…
[ STR ]
Bazzill FOIL Cardstock – matte and shiny
[ STR ]
Memory Box – SH44004 Black Glossy…
[ STR | SSS ]
copic sketch markers at Simon Says…
[ SSS | BLIC ]
Ranger Ink Tim Holtz Gathered Twigs…
[ SBC | SSS ]
Ranger Ink – Tim Holtz – Mini Ink…
[ SBC | SSS ]

birch press design · cards · Christmas · Die Piecing · Memory Box · Winter

Birch Press Design Revello Ornament Card…


Hi everyone!  I went all festive on you with this card!  I’m still using up the greenery I made up for this card and then again on this card.  So fun!

I love everything more at Christmas….plaid…gold…green…red…snow and and!  I did try to incorporate kraft cardstock into this but it didn’t work this time. hoho lol


When I post I always wonder what all my readers are up to. I just smile and carry on, knowing you’re all out there creating too!  or shopping! lol

This is an A2 size card.  Die cutting and gluing.  I mounted the ornament with my favorite thin mounting tape but I kept it toward the center so I could stick in the foliage easily.

The ornament topper and bow are from the Christmas Ornament Pop Up Easel die set.   It’s a great set that goes a long with the Revollo die set.  The die to cut the ornament backer is in the Easel set also.  HERE is a post where I used the Christmas Ornament Pop Up Easel set before.


I’m linking to some card challenges…

Simon Says Stamp Wednesday Challenge – anything goes

Use Your Stuff – anything goes

NBUS Never-Before-Used-Schtuff #55- anything goes (Revello Ornament set is NBUS)

Die Cut Divas – October with Birch Press Design, use layering dies

I hope you enjoyed this kinda fancy, festive card!  I had fun making it to share!  Thank you so much for stopping by!  I’ll be back!  I have another card finished to post!

Here’s links to see the products I used for my card…

Birch Press Design – 57464 Revello…
[ STR | SSS ]
Birch Press Design – 57455 Christmas…
[ STR | SSS ]
Memory Box – 94757 Classic Pine…
[ STR | SSS ]
Birch Press Design – 57512 Jolly…
[ STR | SSS ]
Birch Press Design – 57514 Forest…
[ STR | SSS ]
Birch Press Design – 57525 Oval Leaf…
[ STR | SSS ]
Memory Box – ST003 Merry Christmas…
[ STR | SSS ]
Memory Box – PP1021 Magnolia Plaid…
[ STR | SSS ]
Bazzill FOIL Cardstock – matte and shiny
[ STR ]
Sizzix Big Shot Die Cutting Machine…
[ SBC | SSS ]
Sizzix White Tool Caddy Big Shot…
[ SBC | BLIC ]
Sizzix – Big Shot Switch Plus Machine…
[ SBC | BLIC ]
Scrapbook Adhesives Crafty Foam Tape…
[ STR ]
Tombow Mono Multi Liquid Glue
[ STR | SSS | SBC ]
DMC Diamant – metallic thread
[ STR ]

Christmas · copics · Die Piecing · Spellbinders dies · Tags · Winter

Spellbinders October Stamp and Die Club of the Month…

Hi everyone!  The October Stamp and Die of the Month ‘Festive Penguins’ is so fun!  Easy to color and  some cute elements and sentiments too!  How the club works is HERE!  Sign up is through the 27th of the month!  Down to the wire! lol  We have one grandson that absolutely loves penguins so you know where these tags are going.

I just have one picture today… short post! lol

Nothing challenging to the tags.  I used the circle, ornament topper and holly from the NEW Festive Ornaments set. The partial circle for the snow is from the NEW Santa’s Festive Circle Crew set.

I love how everything mixes and matches this time of year!

Some distress inking and splattering for the background. White lines and dots with a white gel pen… oh and the snowflakes on the ice cream cone tag I drew on with the white gel pen also.

Notice how I glued the ornament topper between two layers and just left the hole showing.  I thought that was clever. lol

Linking to some challenges…

The Sisterhood of Crafters – Get Inky

Simon Says Stamp Wednesday – anything goes

Peace On Earth Christmas – anything goes Christmas

Christmas with the Cuties – anything that’s not a card

Thanks so much for stopping by today!

Here’s what I used to make these tags…

Clear Stamp & Die of the Month Club -…
[ SPL ]
Festive Ornaments Etched Dies from…
[ SPL | SBC | SSS ]
Santa’s Festive Circle Crew Etched…
[ SPL | SBC | SSS ]
copic sketch markers at Simon Says…
[ SSS | BLIC ]
Ranger Ink Jet Black Archival Ink Pad
[ SBC | SSS ]
Ranger Ink – Wendy Vecchi – Archival…
[ SBC | SSS | BLIC ]
Tonic Chili Red Bakers Twine 9984e
[ SSS ]
Winsor & Newton Drawing Ink – White,…
[ BLIC ]
Winsor & Newton Drawing Ink – Silver,…
[ BLIC ]


cards · Christmas · Die Piecing · Flowers · Hot Foiling · Spellbinders dies · Winter

Spellbinders October Large Die of the Month Club Card…

Hi everyone!  I had some fun die cutting florals and gold and getting a little bit vintage with this card.

Have you checked out this month’s club offering on the Spellbinders store website HERE?  Awesome stuff again! We’ve come a long way from punches!  hoho! (I still have all my punches, can’t bring myself to part with them.)

I took the club dies a little different direction than what it was designed for but for the most part it’s still intact!

I die cut the house section twice but trimmed it down to where the leaves stop on the sides.  I die cut it in white and inked it with a couple green inks but you could easy die cut it in green and be fine.  Everything that you don’t want to be green is covered by the time you’re finished.

Next I die cut the florals twice… it looks like a lot but it’s surprising that it isn’t!  It goes fast because they’re an easy size to handle and you can see exactly where everything goes!  YAY!

It would’ve been really pretty without being on a black cardbase but I couldn’t decide if it’d be ok or not in the end so I stuck it on a black 5 ½ inch square cardbase.

I really, really like it.  Wish I could show you in person!

Die cut the words.  Hot foil the panel…I didn’t do a great job foiling this piece.  The cardstock was textured and foil works better on smooth.  I didn’t do it over though because I wanted it to look vintage!

I cut a piece of white cardstock 4 ⅛ x 3 inches for the center and aged it with Gathered Twigs Distress ink and a blending brush.  Then I glued the red foiled Christmas Greetings panel flat to the distressed piece and glued the panel to the floral pieces.  You can see by my photos that I was able to get the corners under some of the floral parts.

When you’re gluing, leave your edges without glue and then you can get the panel under the berries, poinsettia and roses.  Not hard at all!

So much fun!  This will be a fun card to leave out on a mantel or on display some place in your home for the season!

Linking my card to some challenges…

Triple B – Blooms

Peace on Earth Christmas – anything goes Christmas

The Holly and the Ivy Christmas – #150 Anything Christmas


Thanks so much for stopping by again!  Thank you for helping me out with comments too!  Let me know if you have any questions!

ttul!

Linking to the products I used for this card below!  Have fun!

Spellbinders Large Die of the Month…
[ EXP ]
Mix & Match Holiday Greetings |…
[ SPL ]
Essential Duo Lines Glimmer…
[ SPL ]
Glimmer Hot Foil Roll – Gold -…
[ SPL | SBC | SSS ]
Spellbinders – Glimmer Hot Foil…
[ SBC | SPL ]
Bazzill FOIL Cardstock – matte and shiny
[ STR ]
Ranger Ink Tim Holtz Gathered Twigs…
[ SBC | SSS ]
Blending Brushes – 3 Pack |…
[ SPL ]
Waffle Flower Crafts – Blending…
[ SBC | SSS ]
Scrapbook Adhesives Crafty Foam Tape…
[ STR ]
Tombow Mono Multi Liquid Glue
[ STR | SSS | SBC ]
Bearly Art Mini 2 fl oz Precision…
[ SPL | SBC | SSS ]
Teal Topaz Color Essentials Cardstock…
[ SPL ]
Lagoon Color Essentials Cardstock…
[ SPL ]
Onyx Color Essentials Cardstock 8.5″…
[ SPL ]
Tiny Pearl Embellishments – flat…
[ STR ]
Uni-Ball Pen Signo Gel GOLD 1.0mm…
[ SSS ]