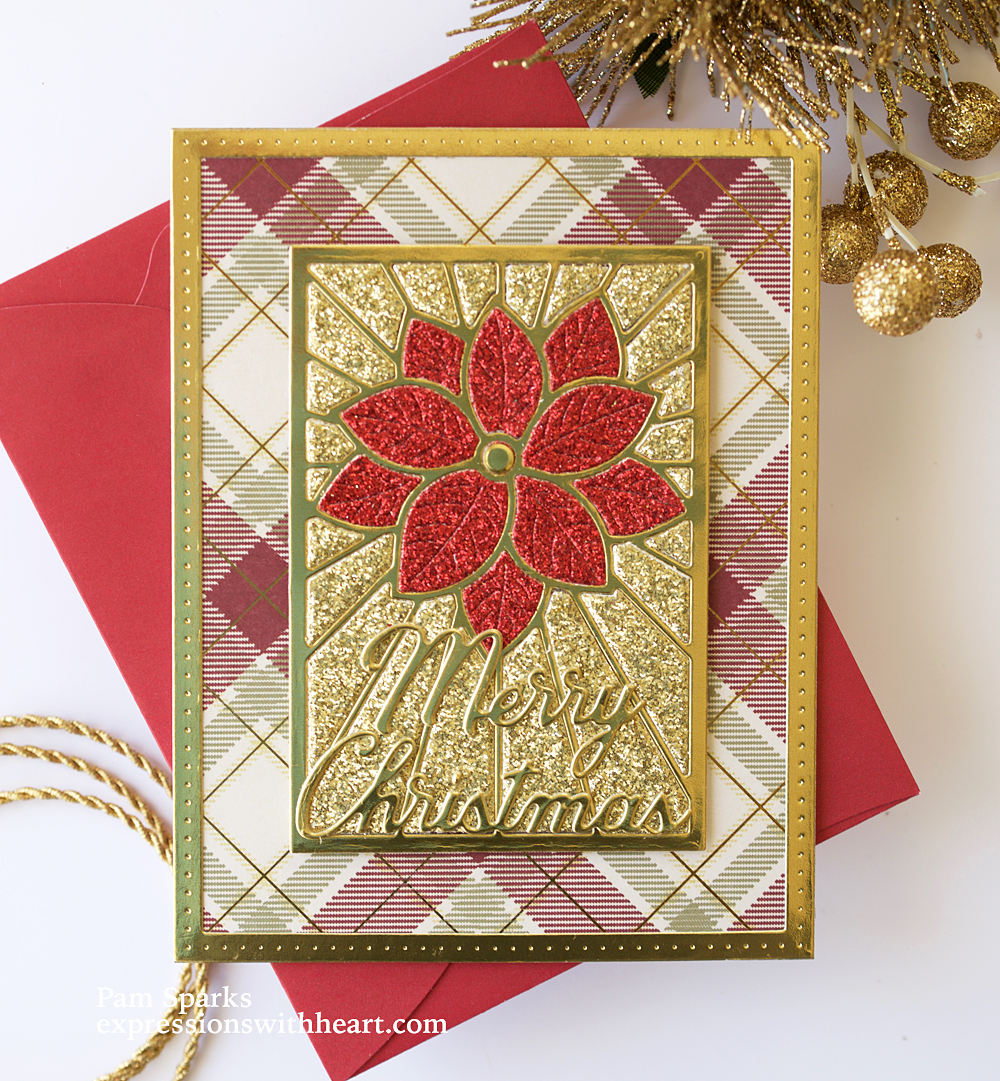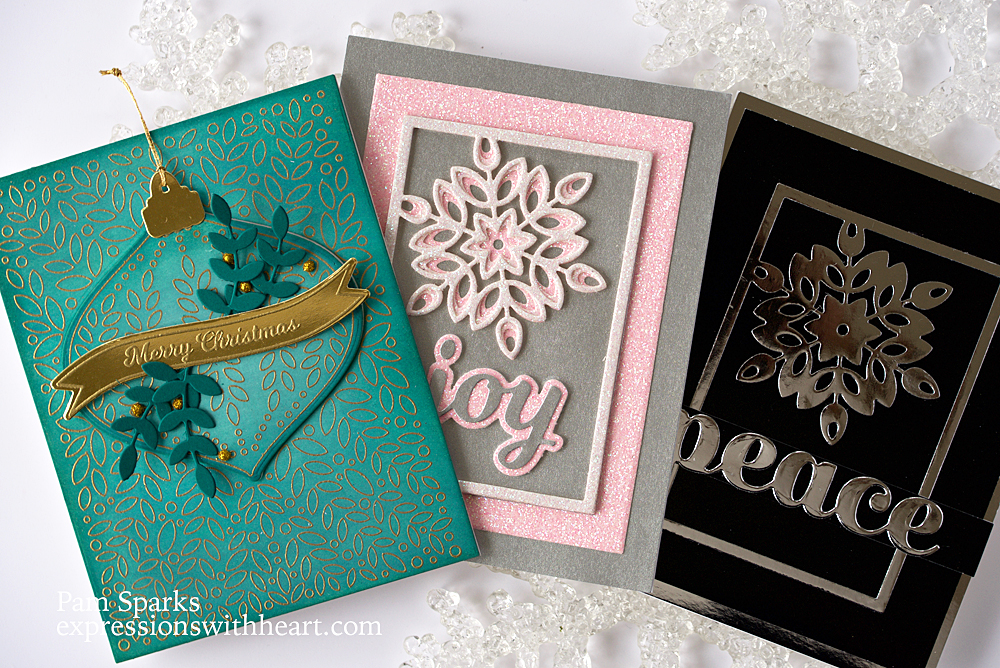
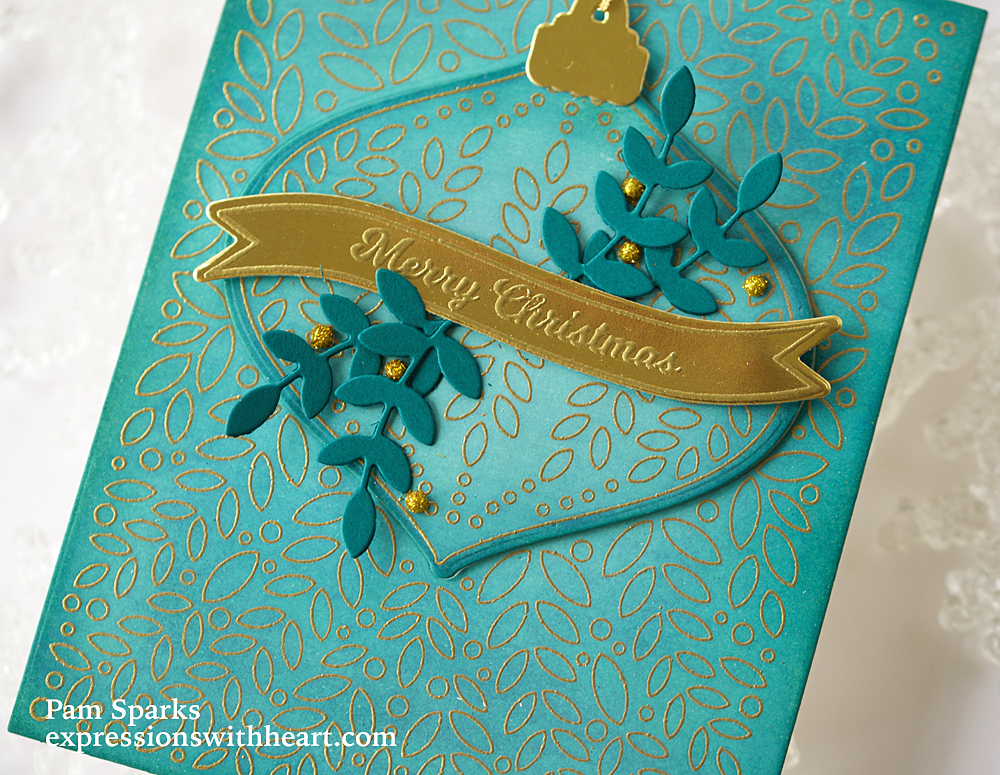
Hi everyone! I had some festive cardmaking time yesterday…no plan…just winging it! I started with the teal-ish looking ornament card using the new BPD Christmas Ornament and Labels stamp set and coordinating die set. This could be made up so many different ways! Here I did some oxide and regular distress ink blending in Peacock Feathers, Speckled Egg and Evergreen Bough.
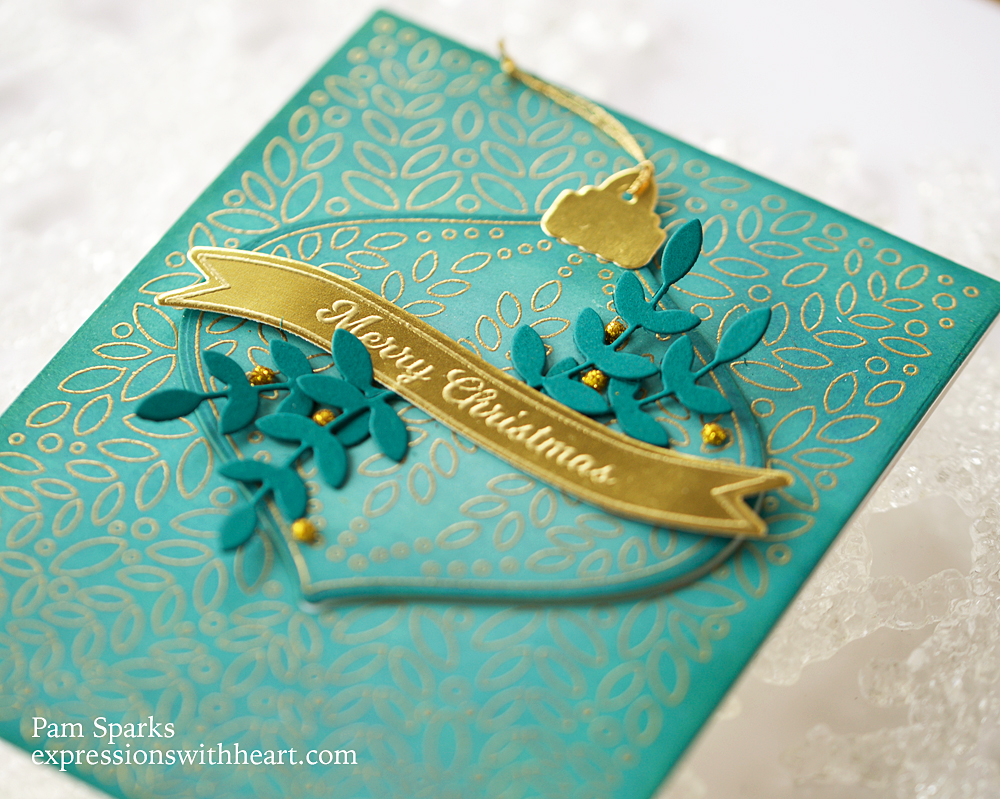
First I heat embossed the stamp in Ranger Detail Gold embossing powder on white cardstock. Then I ink blended. Then I die cut the ornament from that panel. Stamped/heat embossed the label on gold metallic cardstock and die cut it. The greens are from a die included in the coordinating die set. So is the ornament topper. There is a stamp for the topper too but I missed stamping it first!
All three cards are A2 size and mailable.

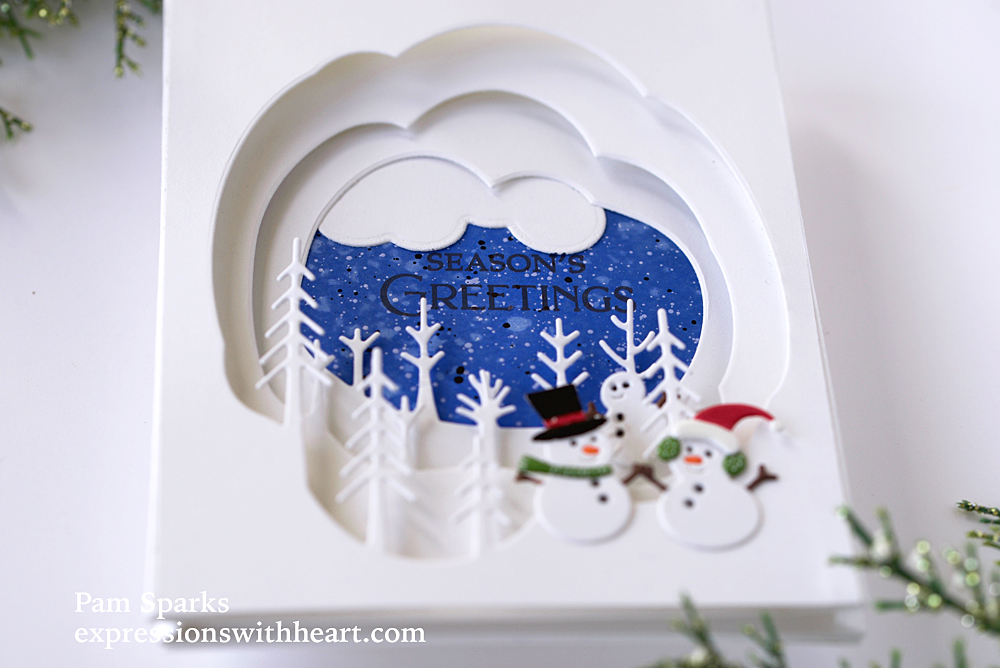
Then I got out the Delicate Pastel Glitter 6×6 cardstock pad.

Birch Press Design is known for their layering dies… this one is the NEW Mini Snowflake Frame and I used all three layers in the three pink glitter colors in this cardstock pad. Glued them together and cut the rectangles with the Baiscs set.

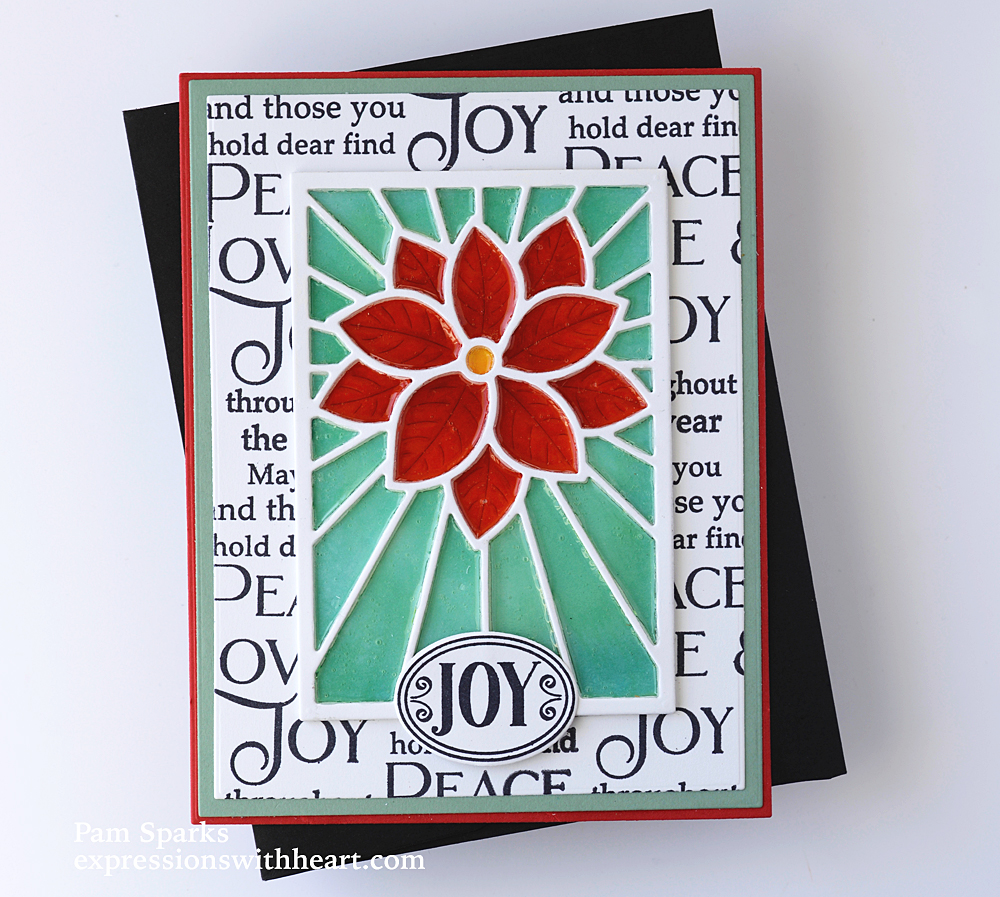
The silver cardstock is a matte silver but it looks super gray here…it’s really prettier IRL! Like the close up picture.
I die cut the BPD Joy Honey Script die… the bottom layer is three glued together.
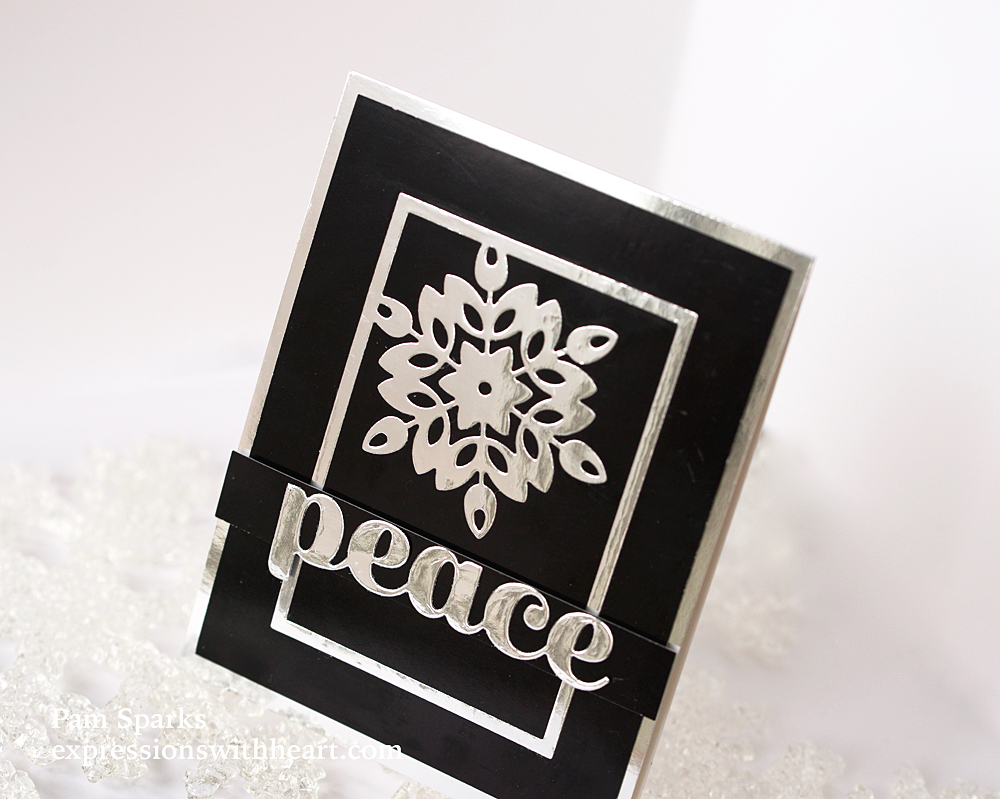
This one, I just used Layer C from the BPD Mini Snowflake Frames and die cut it in the silver from the Polished Foil 6×6 Pad. I glued it to a black glossy cardstock panel that I layered on to another layer of the silver foil paper.

I had a scrap of the glossy black so I glued the die cut Big Peace Sugar Script die to it and layered it over the top with mounting tape.Very CAS but be careful with your glue and glossy cardstocks! eek! (I didn’t check on this Peace die before I made the card. I don’t see that it’s available anymore, there are other peace dies that would work just as well!)

It’s a very striking card in person. I was thinking while working on this that I’ve always done some gold/silver/glossy black cards in the past. What a pretty combo… I need to do it again this year too! lol
I started decorating a little around the house for company over the weekend. I love Christmas and being with family and friends…what I need right now!
God bless your Thanksgiving this year. I am thankful even in the midst of hard. We’ll just keep papercrafting ok?! ❤

Here’s what I used to make these cards…
|