cards · Christmas · Die Piecing · Distress Ink coloring · Embedded Die Cuts · Memory Box · Poppystamps · Techniques

Memory Box Poinsettia Pillar and Radiant Frame cards…

pam-sparks-poinsettia-pillar-glitter

Hi everyone! I’ve been making cards…just not doing a good job of getting them posted! I finish one and get excited about something else laying there and have to make! lol  Then my camera setting got changed and I didn’t realize it and couldn’t figure out what was wrong with my pictures!  Finally saw the problem this a.m.! SCREAM!

I have posted a couple videos on instagram though…click the link in my side bar and you can see them even if you don’t have an account. Be sure to click the like button while you’re there!  It’s amazing how much that encourages a gal!  I love hearing from you if you can comment too!

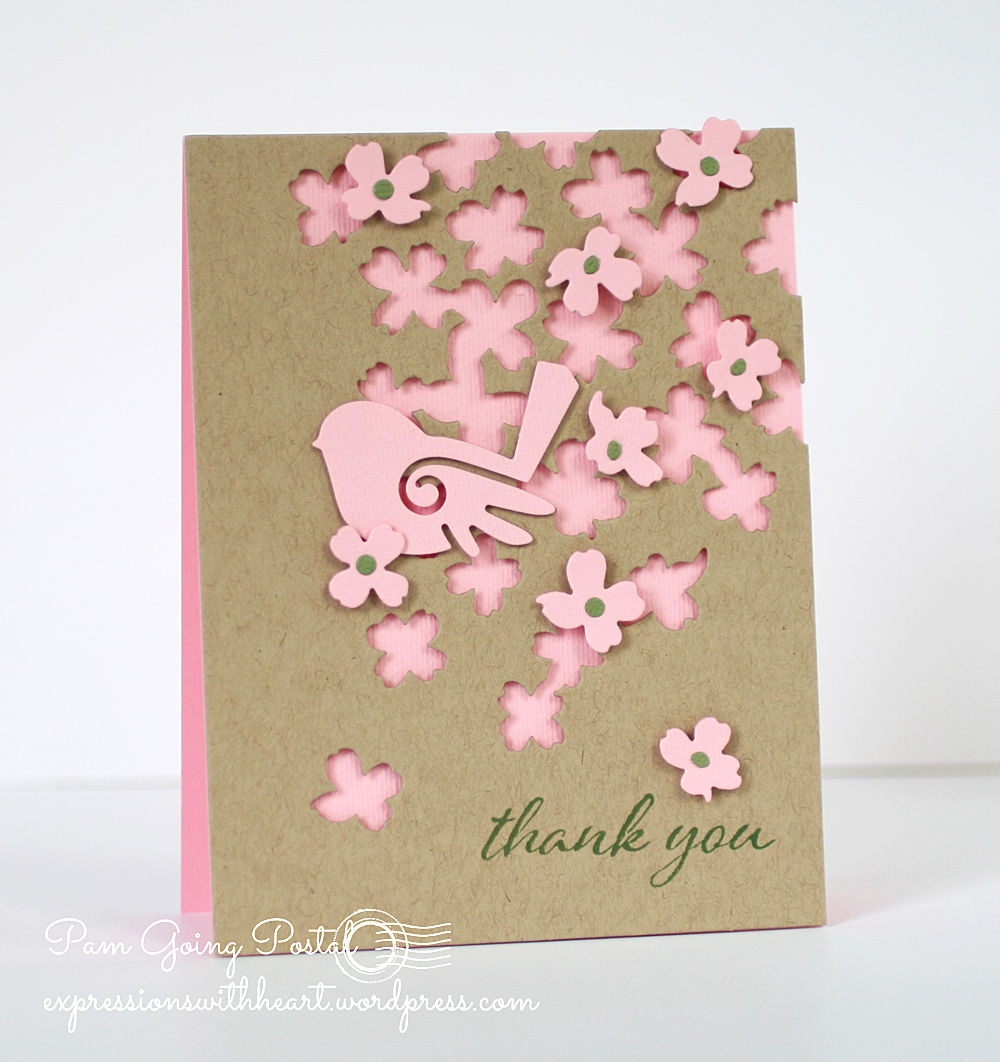
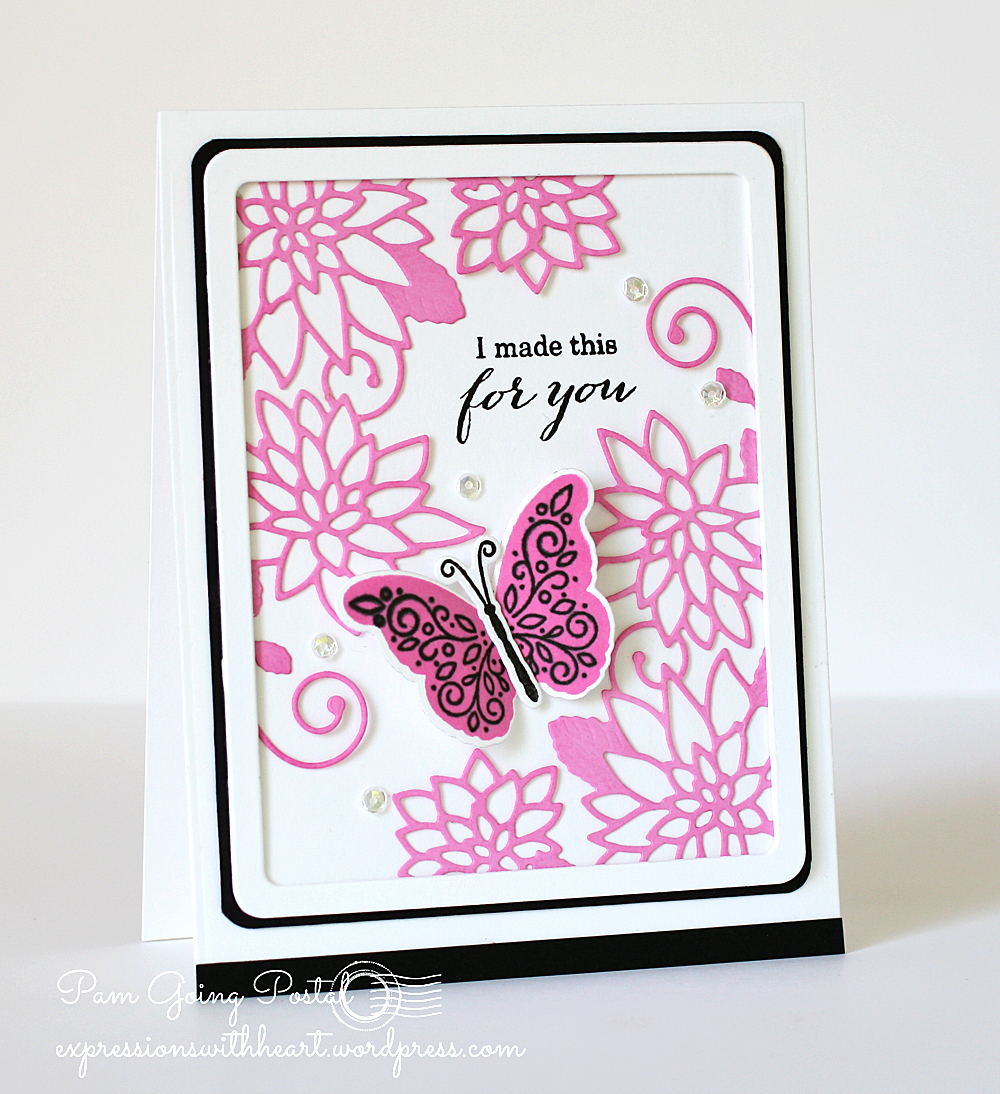
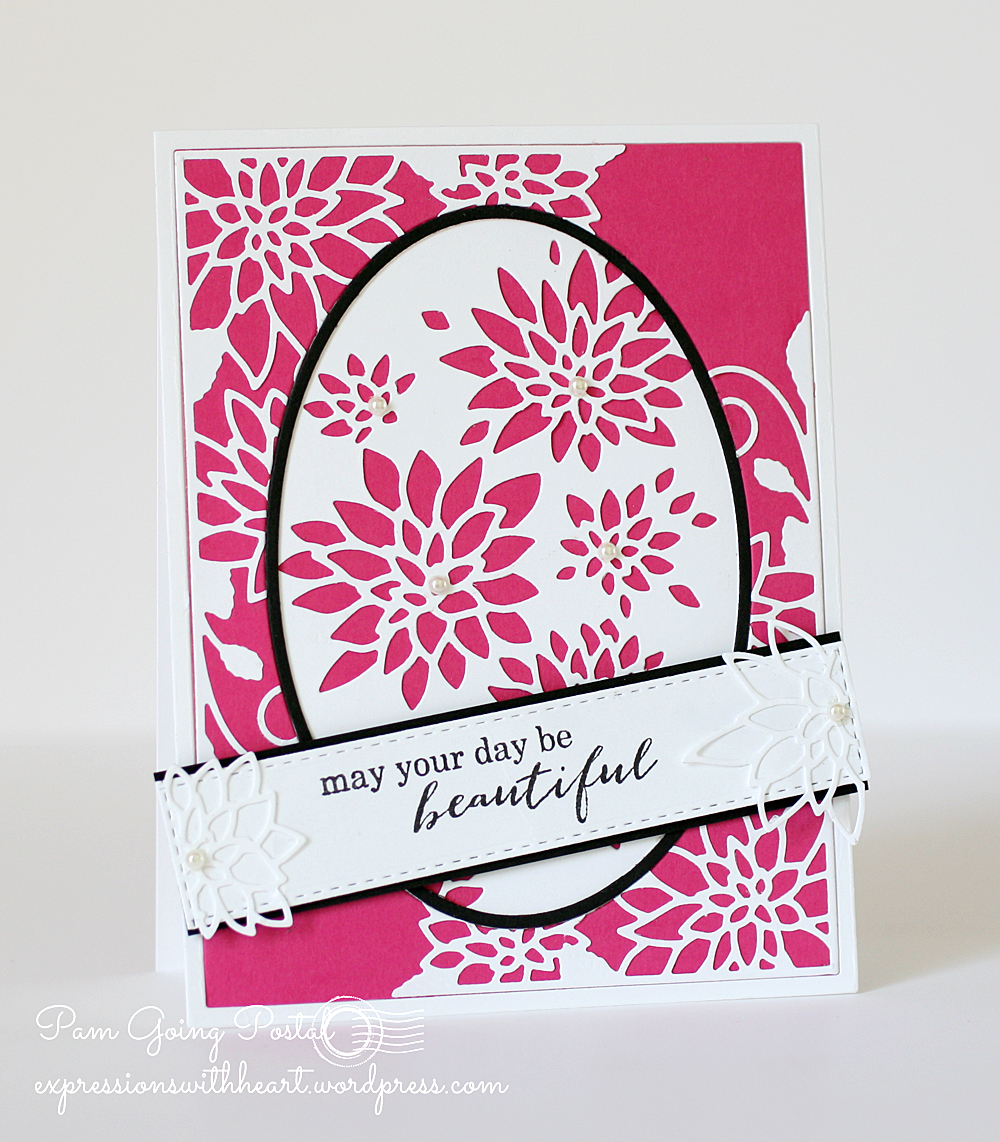
My cards today are using the Memory Box Poinsettia Pillar, Radiant Frame dies and the poppystamps cottage platform and Swirled Love dies.  I cut the platform twice in one 4.25 x 5.5 piece of card-stock.  This was not what I intended to do with it at all! lol  I’ll still have to do the other soon! That’s what happens when you leave a piece laying around not finished!

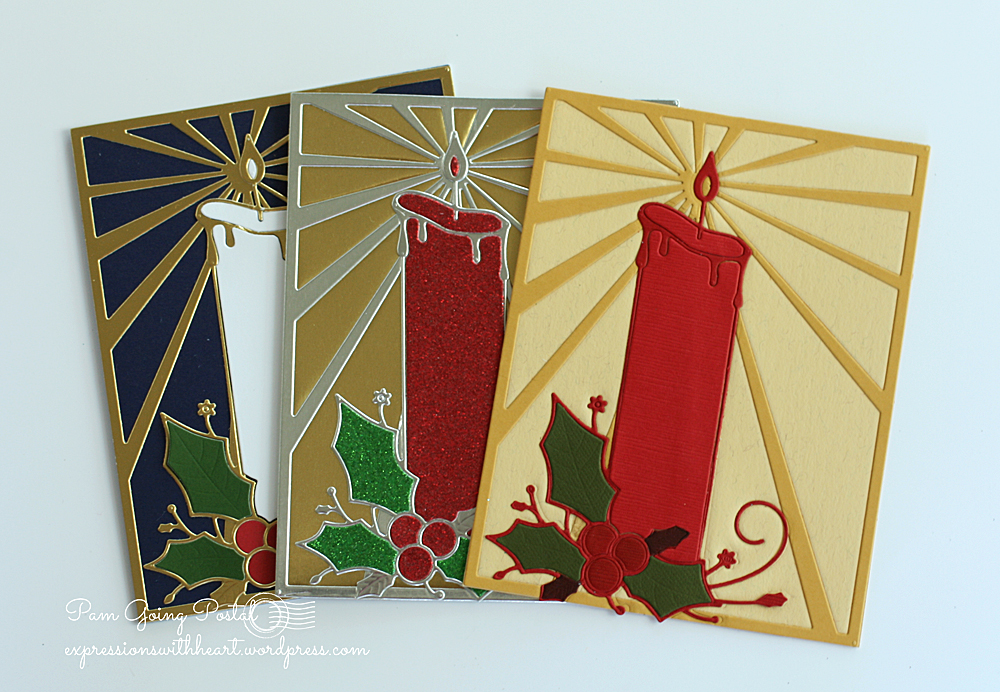
American Crafts Glitter card-stock and Bazzill Gold Foil card-stock from Starlitstudio 

pam-sparks-poinsettia-pillar

I die cut everything for this card from white card-stock and inked with Distress Ink pads and the ink blending tools. Festive Berries, Candied Apple, Peeled Paint, Tumbled Glass, Broken China and Fossilized Amber.

Wishing Script is a poppystamps die that coordinates with the poppystamps Christmas Greetings clear stamp setI die cut Wishing three times and glued them together with Tombow Mono Multi glue.

OHHHHH – don’t forget the enamel dots I made myself with the NEW Nuvo Drops and Ranger Enamel Accents!  Move over sequins! lol (I make the dots on scrap release paper from scor-tape, then glue them to my card when they’re dry, cuz I could easy mess up my card I’m sure!)

This last picture is of three cards I started and never finished with these same dies.  I thought I’d go ahead and show them so you could see more color schemes…the sky is the limit!

pam-sparks-poinsettia-pillar-trio

Thanks for stopping by again!  I’ll be back real soon because I have more and will be showing the ‘even more’ NEW Memory Box and poppystamps release!  So many beautiful dies!  TFL! and TTUL!

cards · Memory Box · Poppystamps · Shaker Card · Techniques · Tutorials · Video

Shaker Card Video Tutorial…

In case you’re curious how I made the poppystamps Grand Hour Glass Shaker card last week, here’s a video.  There is a super cute little Small Hour Glass die also!  So fun to get creative with dies!  The Balloon Shaker card was made the same way. Scroll down or click HERE for the card photos.  TFL!

Watch it on You Tube HERE

TTUL! Have fun making!

Shopping links…

cards · CAS · Die Piecing · Memory Box · Poppystamps · Spring · Summer · Techniques

poppystamps Dogwood Blossom and Swirly Bird…

Pam Sparks Dogwood Trio

Happy Wednesday everyone!  Today I’m posting some easy on the eyes cards… hehe  Is there a color that doesn’t go with kraft card-stock?  I don’t know of any right off the top of my head! lol  Today it’s ‘pinks’ turn.

And what better way to use pink than these beautiful poppystamps Dogwood Blossom dies!  I’ll put links to all the dies below in Inlinkz since the post is gonna be a little picture heavy.

Pam Sparks Dogwood Blossom Corner

I started off with this Dogwood Blossom Corner die and one thing lead to another! lol  (I used my embedding die technique, video how to under the blog header video tab and titled Adhering Intricate Dies)

Pam Sparks Dogwood Blossom Triptych

and why not just use them all in pink and kraft?! lol

Pam Sparks Falling Dogwood

It’s not been a sunshiny week here so these cards are cheering me up and I needed some thank you cards. Win, win! hehe

Linking up…

Simon Says Stamp Wednesday Challenge – Anything Goes

Simon Says Stamp August Work it Wednesday

Die Cuttin’ Divas – Anything Goes

Addicted to Stamps and More – Clean and Simple

Thanks for stopping in again… tomorrow is Taylored Expressions release day and I’ve got some fun cards to share!  Hope you’ll come back!

Dies and Supplies I used on these cards…

Birthday · cards · CAS · Die Piecing · Embedded Die Cuts · Memory Box · Poppystamps · Summer · Techniques

poppystamps Weeping Willow three ways…

Pam Sparks Weeping Willow Birthday

Hi everyone! Just wanted to share some cards that I came up with after playing around with the poppystamps Weeping Willow dies.  This first one is using my Embedded dies technique…HERE’S the video for how to do it.

This die has more waste to remove than the die I used in the video but I love how it turns out. My pictures don’t do it justice…rainy day…

Use the release paper from the Scor-tape to hold the cut in the die while you’re removing the little waste pieces…

Linking to the Seize the Birthday Challenge – Birds, Bees or Butterflies

The next picture is an iPhone photo and before I added the bird but I like how it shows the detail when it’s laying flat.

Pam Sparks Weeping Willow Birthday Close Flat

The happy birthday sentiment is from the Ornamental Butterflies stamp set. A simple but elegant look.

Pam Sparks Weeping Willows Summer

For this Happy Summer card, I used both the poppystamps Weeping Willow dies, the Memory Box Summerville Landscape die  and the sentiment from the poppystamps Flower Patch stamp set.

And the last one for today…

Pam Sparks Weeping Willow Hello

The Weeping Willow die again, the butterflies from the Ornamental Butterflies stamp set and the Fancy Hello die. 

The pattern paper is an old Memory Box pattern that isn’t available anymore. Sorry about that. I just thought I’d have a try at using a pattern paper for a change! lol

I’ll add some links below… Happy 4th of July weekend and thanks for taking the time to stop by and look!

p.s. Memory Box and poppystamps Christmas cards coming soon.  Working on cards for classes but I’ll make some to share here too!

Supplies… 

Birthday · cards · CAS · Die Piecing · Memory Box · Poppystamps · Techniques

Memory Box Chrysanthemum Corner and Collage dies…

Pam Sparks Chrysanthemum Corners Butterfly

Happy Saturday to you kindred stamper and card maker friends! I’m back again with two more Chrysanthemum flower cards.  I don’t think I will ever forget how to spell that after typing it so many times this week! lol

My first card uses the Chrysanthemum Corner die, one of the frames from the Shaker Rectangle Frames die set, a layer for behind the corners, cut from the Studio Rectangle Layers die set and the Ornamental Butterflies stamp set.

I made it a very basic card…I die cut the corner two times in TE Premium Strawberry Milkshake cardstock and glued them to the Rectangle Layer cut in the top left and bottom right corners. I had to snip off just a teeny bit of the corners because the layers and the frame dies have rounded corners.

Stamp the sentiment from the stamp set Ornamental Butterflies with Versafine Onyx ink… I used the MISTI.

Then I used my Perfect Layers Rulers to cut the 1/16th inch black cardstock mat behind the rectangle and corner rounded the corners with a corner rounder punch.

Stamp and die cut the Butterfly from the Ornamental Butterflies stamp and die sets. I stamped the solid background butterfly in TE Premium Strawberry Milkshake Dye ink.

I die cut 3 of the frame dies, glued them together and then glued them on top of the Chrysanthemum Corners piece.

Adhere that to an A2 size cardbase and add an approx. ⅜ inch strip of black cardstock at the bottom edge on the front.  Glue on the butterfly and a few clear sequins.

Linking to the Crazy 4 Challenges blog – Add a butterly


Pam Sparks Chrysanthemum Oval 4

For this card I started with the Oval Master Frame die. I wanted to create a lace type effect on top of the TE Lollipop cardstock i part. So I die cut the Oval Master die in Lollipop, two Chrysanthemum Corners in white cardstock, glued them to the Lollipop, fit it back in the Oval Master Frame die to cut the corner flowers off that were hanging over the inner oval center  and sent it through the Big Shot again.

Interesting effect. It really flattened the corner cuts and lightly embossed them into the Lollipop piece…rather cool. I want to do it again and not put the white corners on, just show the light embossing.

I die cut the Chrysanthemum Collage die in white cardstock and layered it on top of lollipop cardstock.  You can use the oval you cut when you cut it for the background piece, just be sure you get it centered good.

Die cut the Oval Master Frame in white cardstock for the outer thin frame.  Just keep all your extra pieces in the envelope the die comes in. You never know when they’ll come in handy!  : )

I die cut a piece of black cardstock in the Oval Master Frame to get the skinny oval frame. It wasn’t hard to glue in at all!

Layer it up and then work on the banner.  I used the largest die in the Stitched Rectangle die set. Cut a strip of white cardstock and then place it back in the rectangle die to cut it to the long banner-ish shape.

Stamp the banner with the sentiment from the Ornamental Butterflies again, using the MISTI and Versafine Onyx Black ink.

Cut up the leftover white Chrysanthemum pieces and glue them on the ends. I added a few baby pearls to make it a little fancier.

More birthdays coming up and other fun things… is there time for patriotic cards?  The 4th of July always sneaks up on me! hehe

Thanks for stopping by so many times this week. It’s been fun! Happy weekend!

Heads up!  Die cutting sale – I have to check out this Big Shot accessory caddy!

HEADER-7-sizzling-days-4-DIE-CUTTING


Links to the supplies I used on these cards…