I just added a picture and I wanted to tell you that I finally got a person at wordpress that knew how to fix a couple problems I’ve reported to them about my blog. I’m happy to say my photos are clickable again if you want to see them full size! YAY!

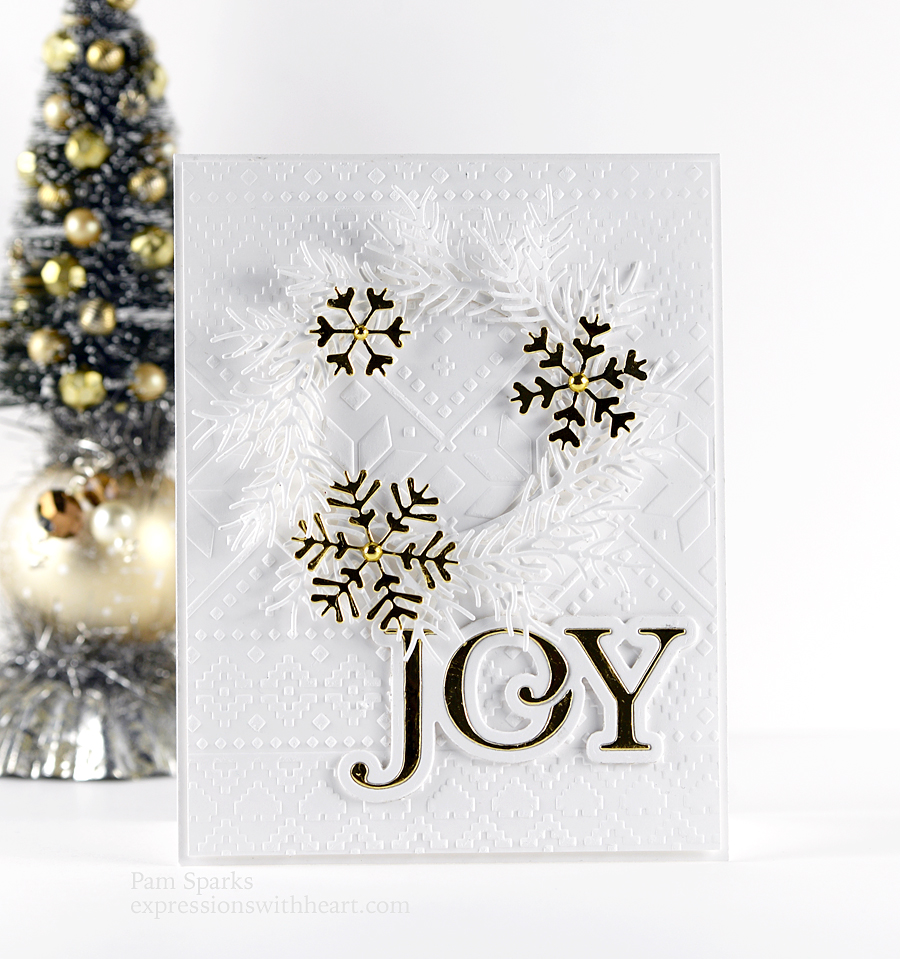
Hi everyone! This card is so frosty beautiful! Christmas JOY is coming!
I saw a card on Instagram that I don’t have the supplies for so I used what I have. I will give her credit for inspiring me over there.
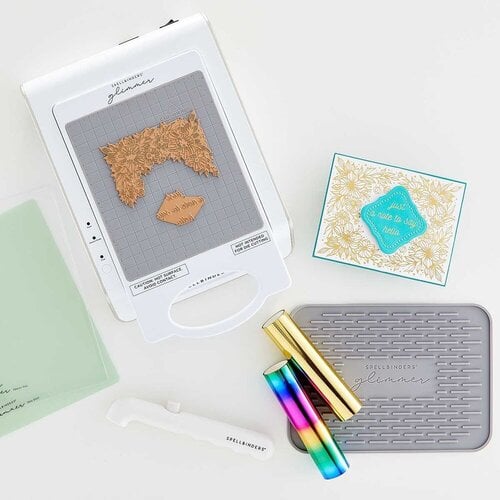
Spellbinders Ski Lodge Embossing Folder for the background panel. So pretty! Embossing folders are all the rage this year and it’s because they are beautiful and add so much texture to the finished card.
AND I have GREAT NEWS! Ski Lodge is half price with the SALE at Spellbinders that just started today! HERE! I will link it below too if you want to finish the post before you go…
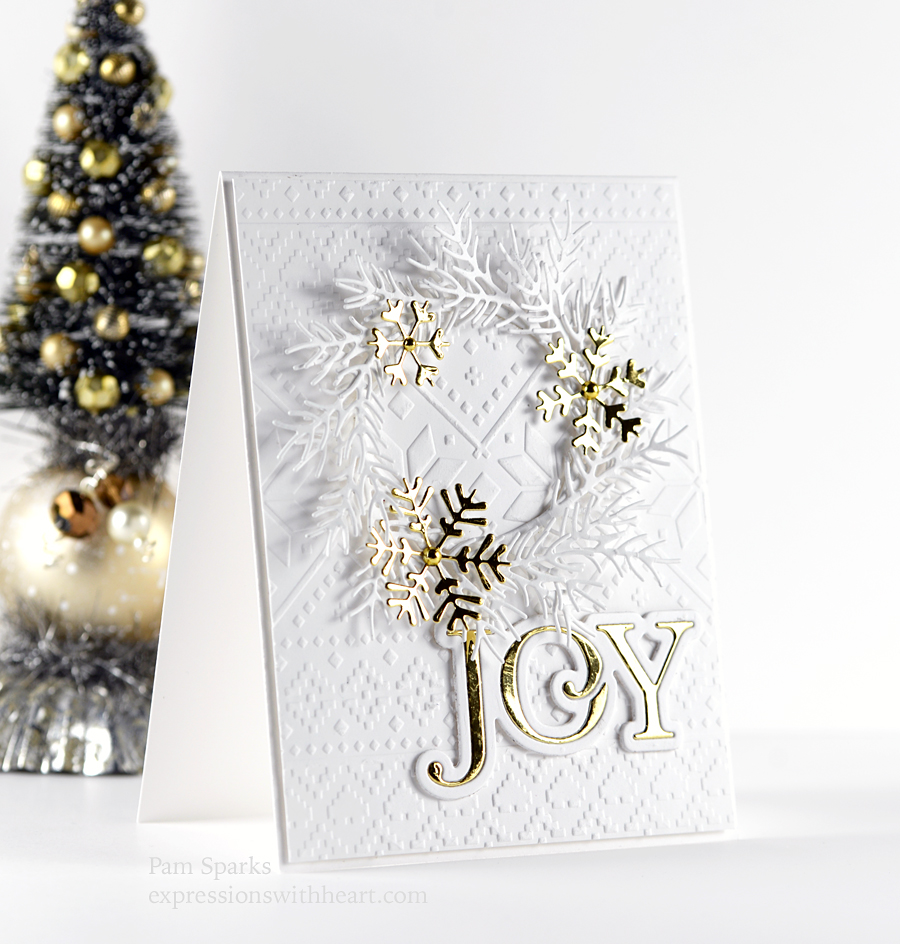
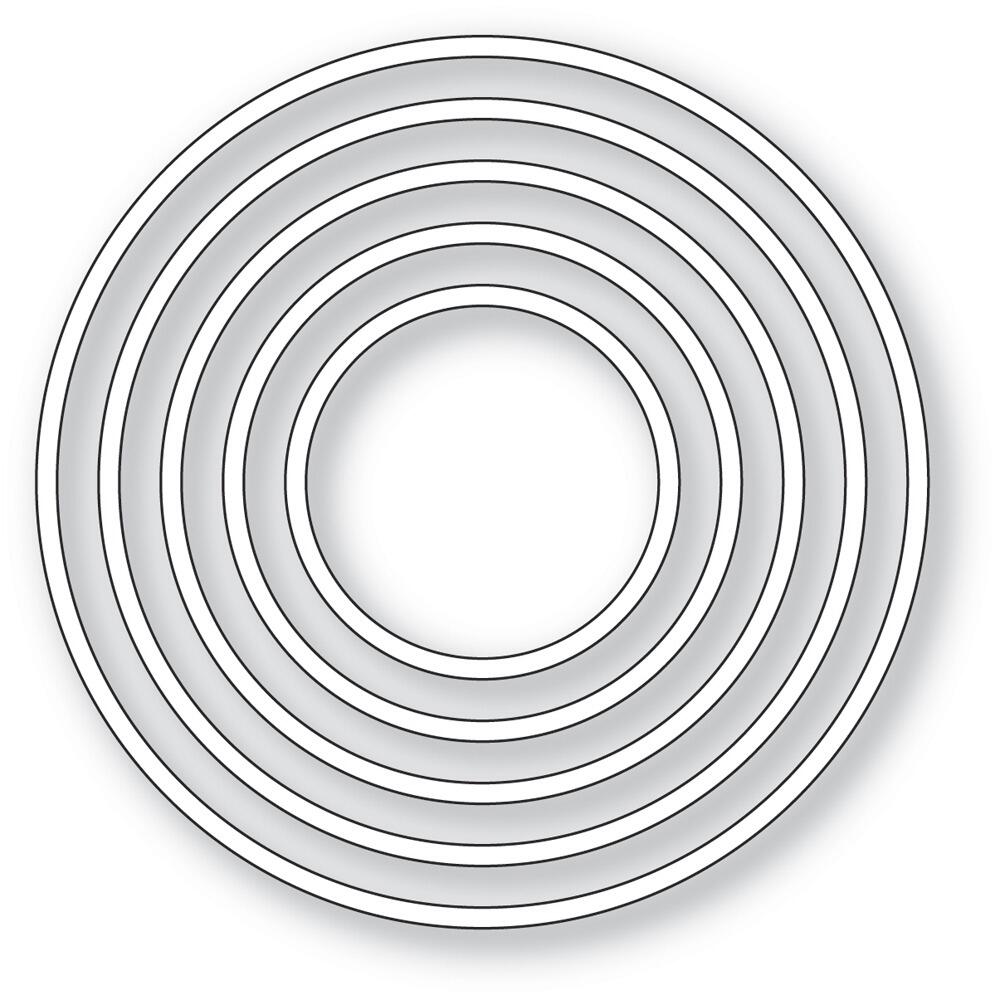
I used poppystamps Shasta Twigs for the wreath, Memory Box Alpine Snowflakes and Brilliant Joy finish out the card. Oh, I did use one of the NEW poppystamps Simple Rings dies for the wreath base.
I figured out the placement of the pine branches and then it glued together easily. I only put glue on the ends of the branches and I used the small one from the die set.
I have way too many pictures today. Messing around with lights and editing when I should’ve been doing other things! lol Like making more cards! hoho

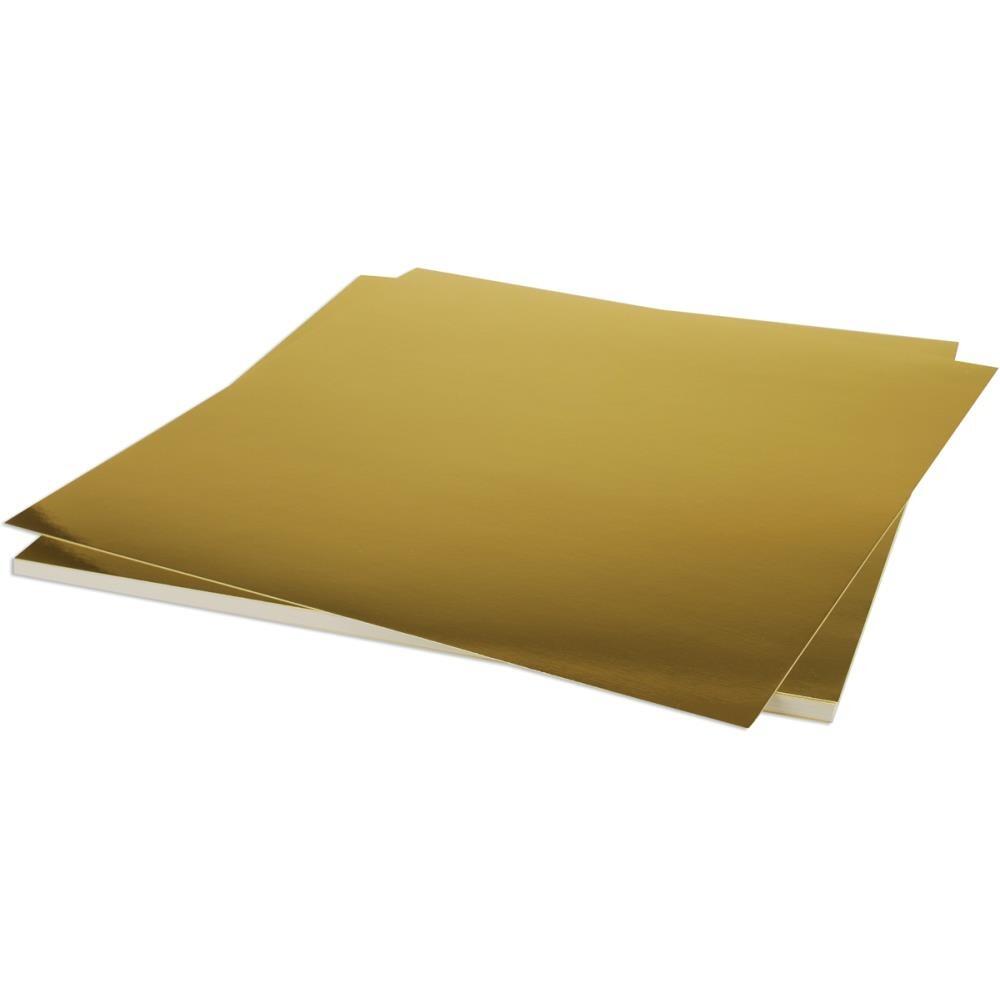
I die cut and embossed using Hammermill Color Copy Cover 100# cardstock and Gold Foil cardstock. I’ll link everything below.
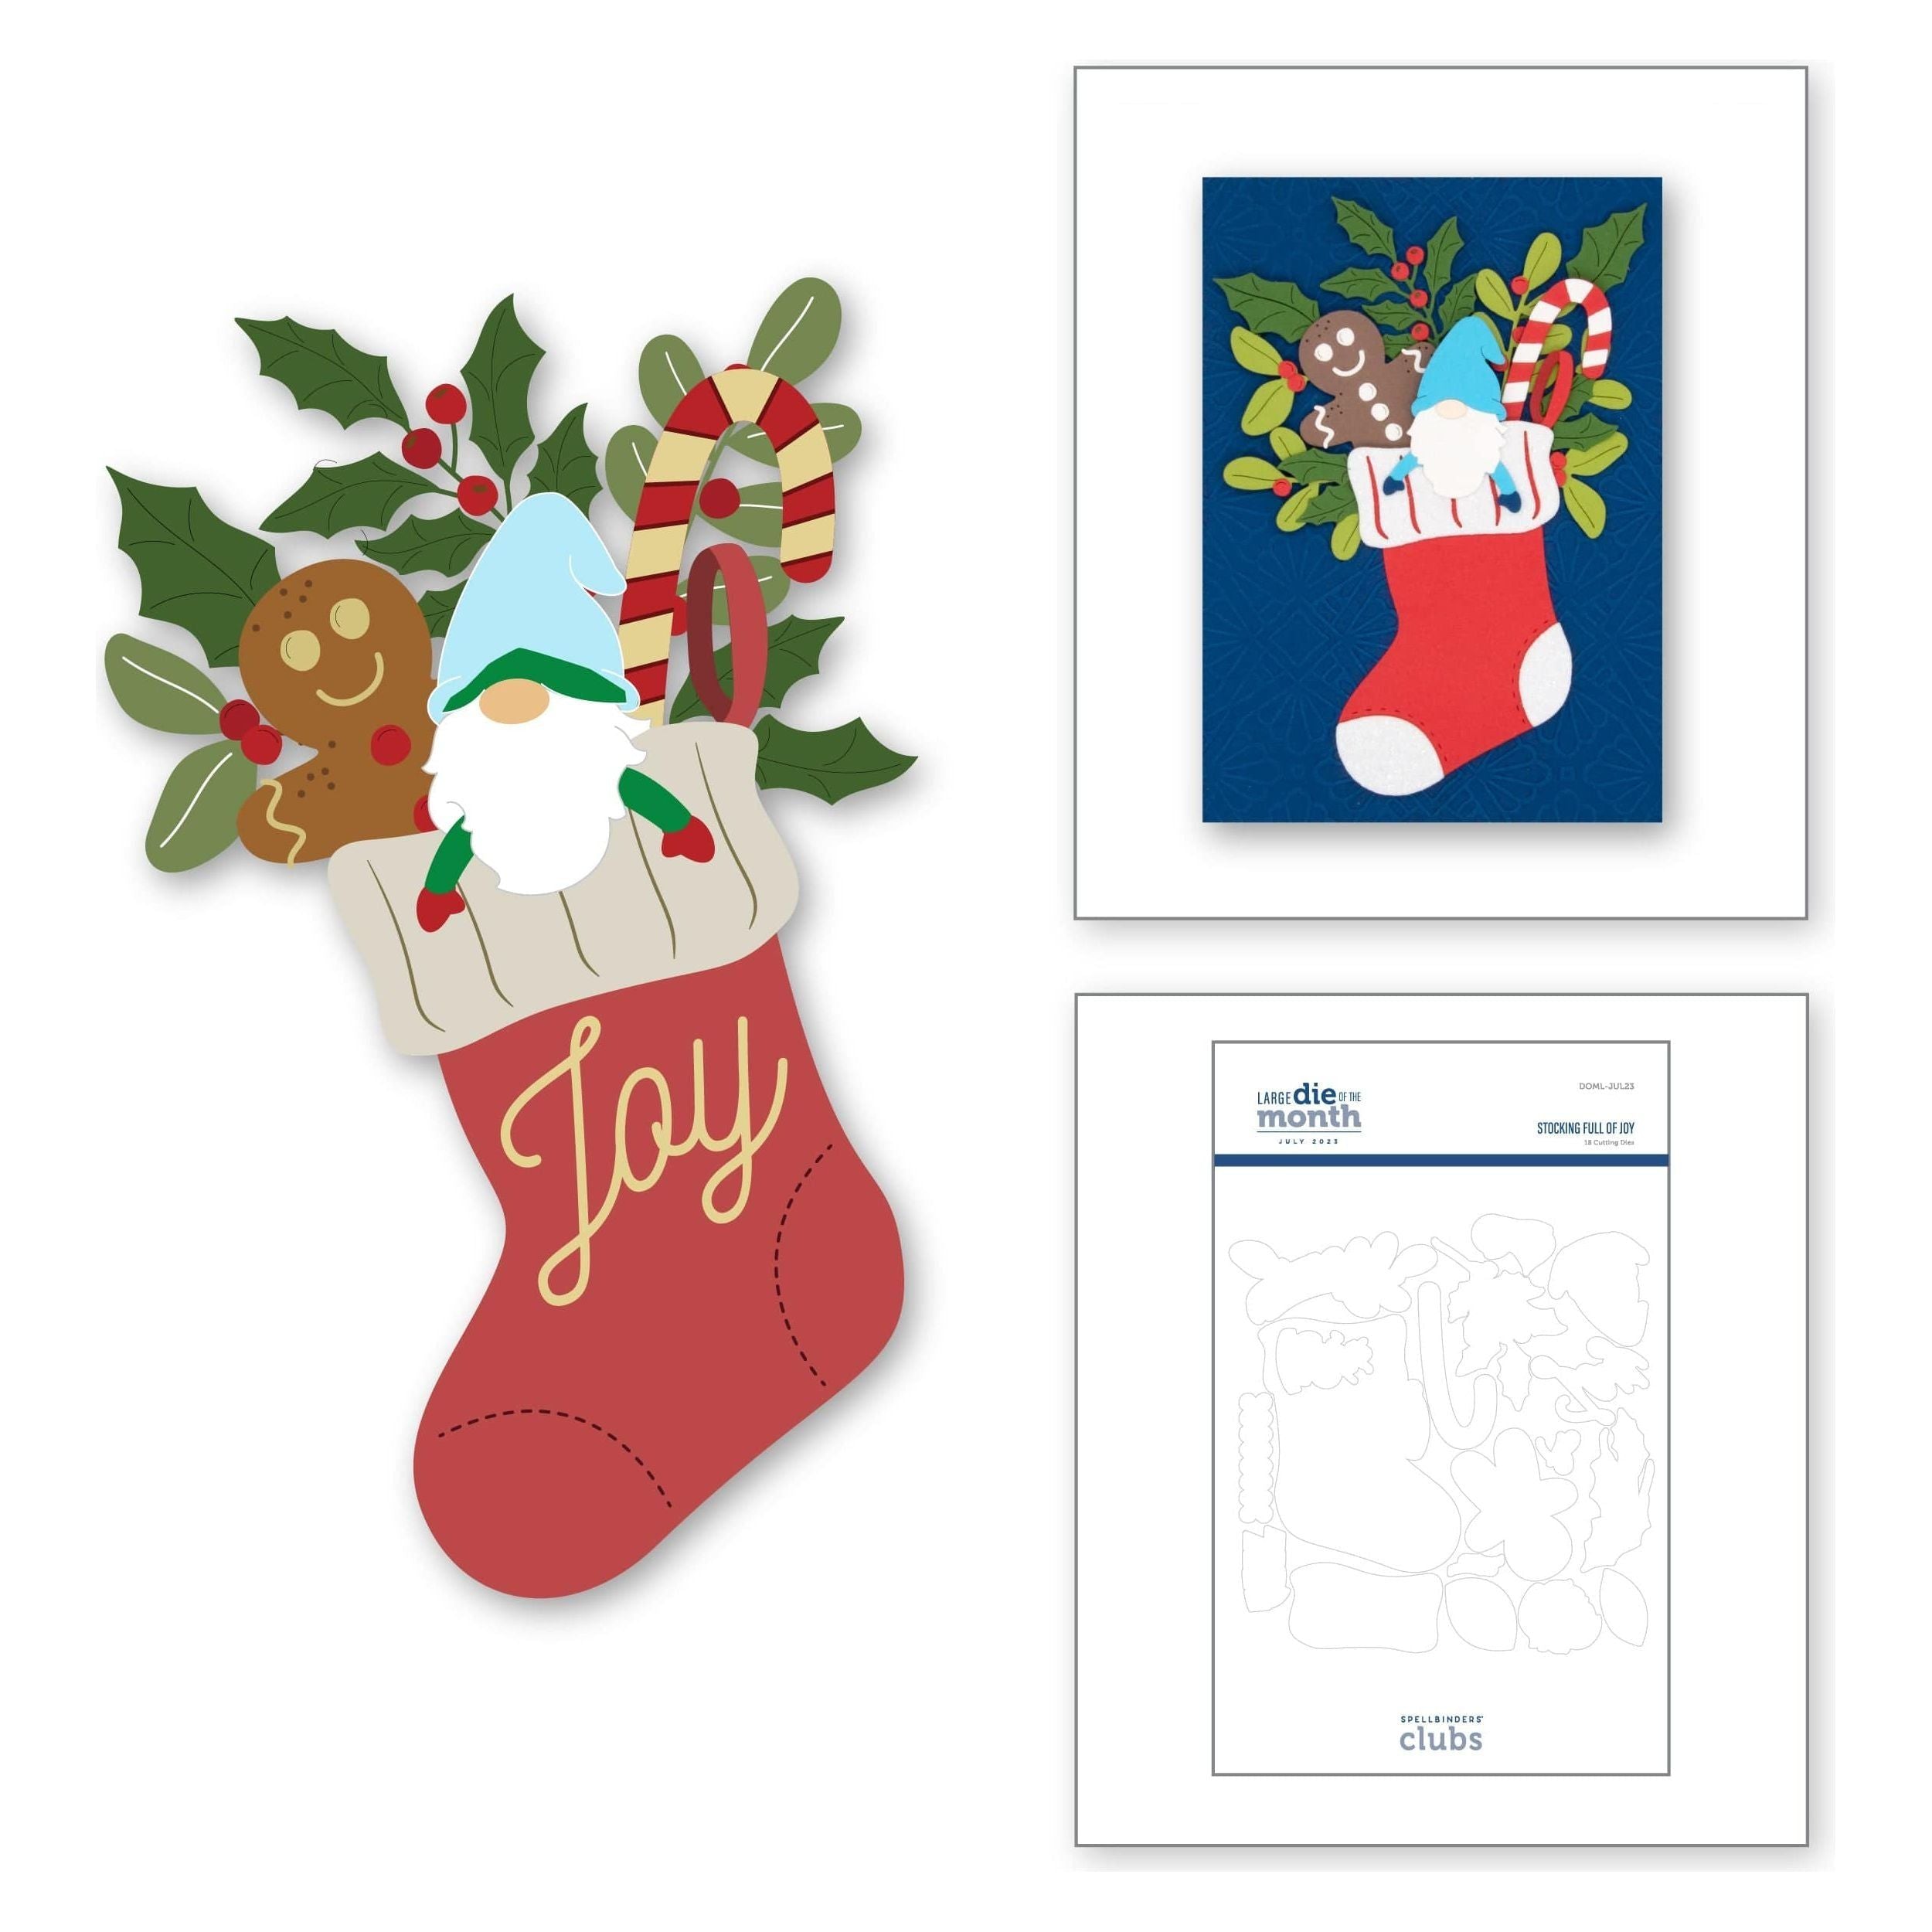
I love this Brilliant JOY die so much. I probably should do a minute video on how I put it together so there’s no small gluing the letters in! Love that!
First I die cut the base in white cardstock, then the detail JOY top layer in white and gold cardstocks.
On the base layer, I lightly scribble Tombow mono multi glue over all of the base.
Then stick on the white outer outline from the detail JOY cut.
Then take the gold letters out of the gold detail cut and stick them in. The glue is already there! Boom!

It’s an A2 size card.
I trimmed the embossed panel down to 4 x 5 ¼ before I adhered it to the cardbase with the super thin mounting tape I love.

Now I see this Pine Branch set isn’t available anymore. Sorry about that. Search it by name or shop your stash!
Linking to some challenges…
Can You Handle the Pressure? – anything goes (optional twist is turkey/thanksgiving but you don’t have to)
Peace on Earth #51 – anything Christmas goes
Die Cut Divas – It’s all about the holidays
HLS November Christmas – anything goes

Holler if you have any questions! I’ll be here working! lol I can’t believe Thanksgiving is next week! ❤
It’s fun to see some sales before the holiday. I never have time the holiday weekend! Have FUN!
ttul!

Spellbinders Black Friday Sale!

Links to the Dies and Supplies I used to make this card…
$7 off code at Simon Says Stamp with code ‘WRAP23’ Expires 12/31/23
|


 I loved the idea of bringing in the jingle bell concept in the sentiment too. So I used the Jingle All the Way from the ‘Make it Merry Sentiments’ banner set… Love it!