Hi everyone!!! I’m so excited to get on here and start sharing the cards I’m working on with the NEW Memory Box and poppystamps release! YES! My favorite time of year!
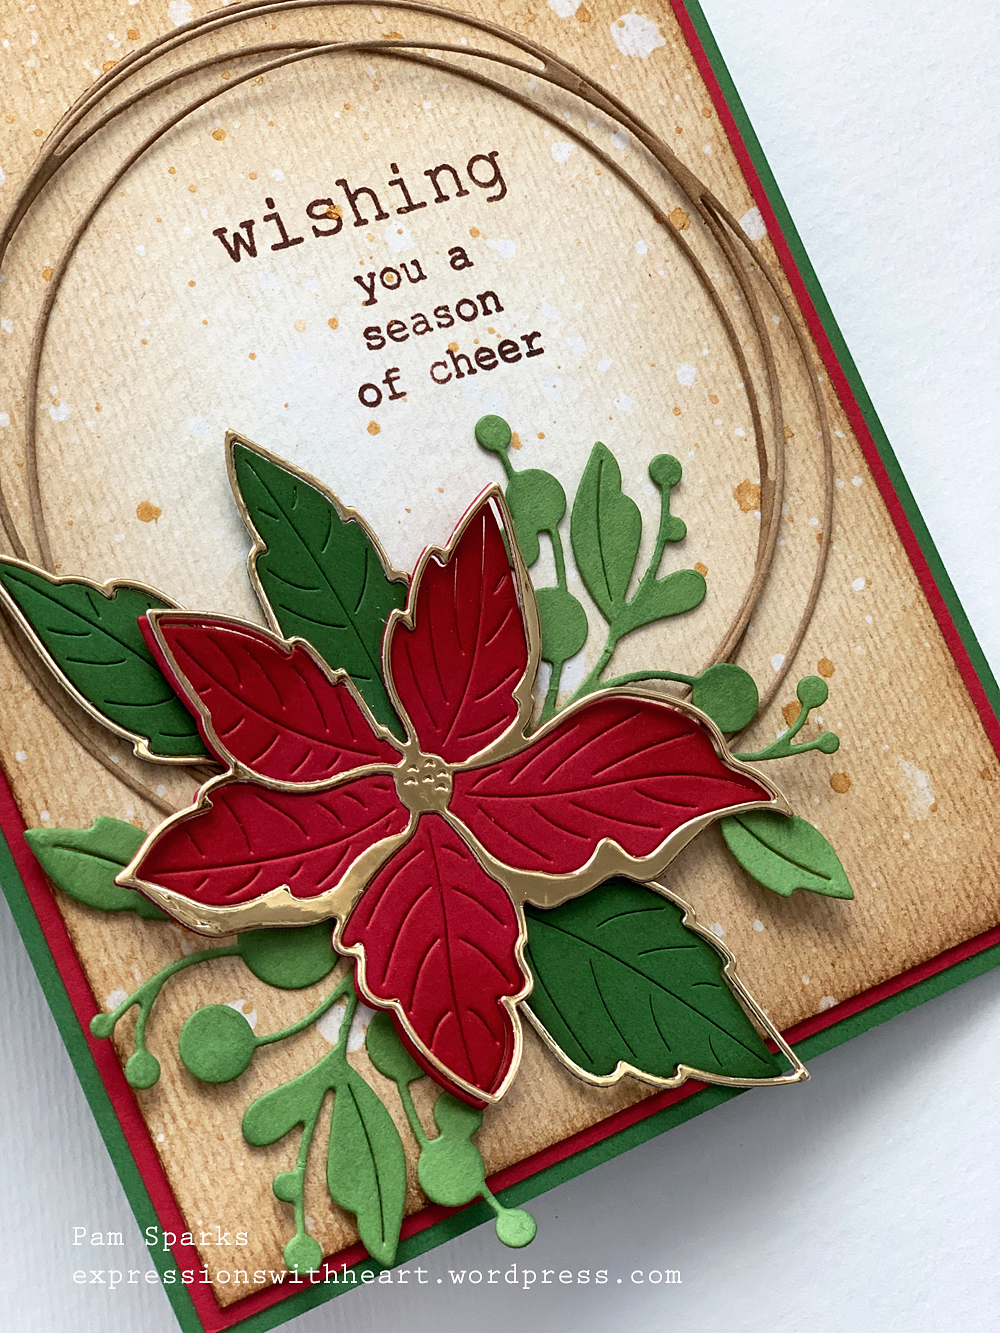
I had to use this gorgeous NEW Ruffled Poinsettia first! I LOVE it! So, so pretty!
I think it’s pretty straight forward but if you have any questions holler! Nothing new as far as techniques go.
The sentiment is from the NEW clear stamp set called Mistletoe Swag. I love the images and the name! lol
I die cut the largest shape from the NEW Stylish Frame Trio die set two times and off set them. They are only glued under the poinsettia. I’m in love with this set too! 😀
Then I die cut two of the NEW Silverdale Branch and trimmed them down to tuck under the petals. Yes, I love this die too!
My next card…
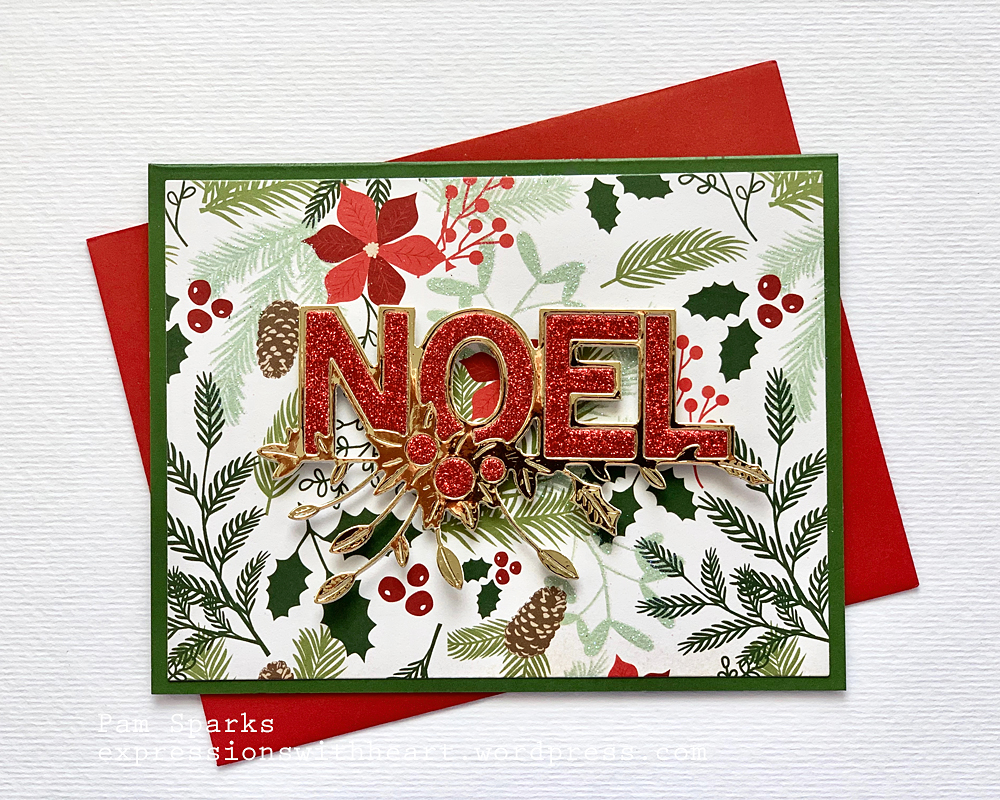
This beautiful NEW Festive Noel die from poppystamps is the only die I used on this card!
I die cut it in Gold mirror/foil cardstock and in red glitter cardstock.
The pattern paper is from a few years ago but I’m going to link up some new patterns that I think would work beautifully also!
I used foam tape that I cut down to fit on the back of this… very easy to do because the letters are wide! YAY!
I got carried away with pictures.. hehe
Noel is an A2 size card and the Ruffled Poinsettia is somewhere between in A6 and A7. It fill fit in an A7 envelope for sure.
Bring out the Christmas CD’s and start your cardmaking!
Thank you for stopping by! I’ve been sad to not post yet this week but we had a family deal we had to take care of…not pleasant but now I can make cards again. So thankful for cardmaking and cardmaker friends! I’ll be back soon!
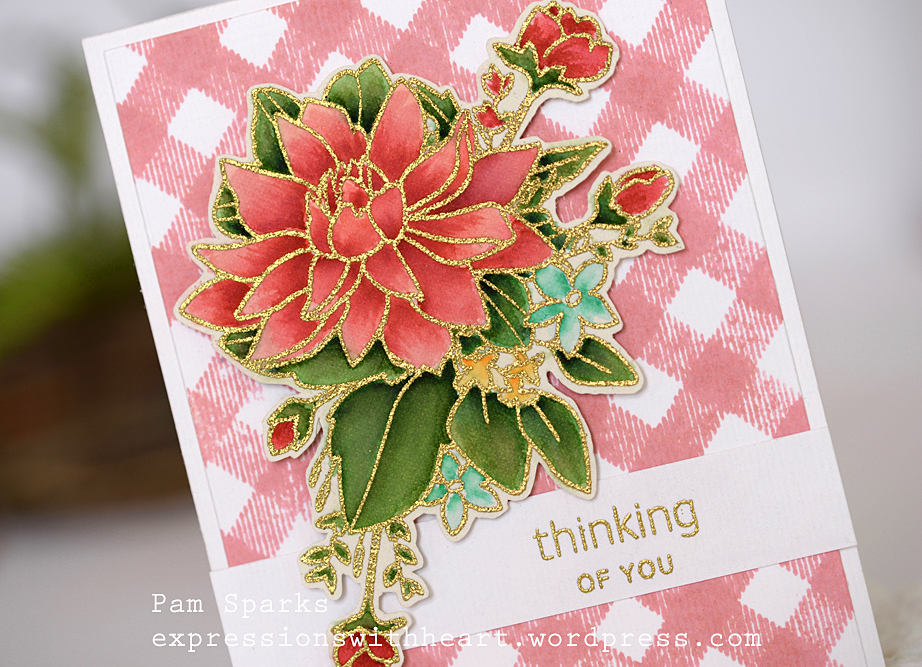
Hi everyone! Switching gears from cute to floral! I love this new clear stamp set from poppystamps! So pretty gold embossed and watercolored with Karin Markers, water and a paintbrush.
I stamped the poppystamps Picnic Plaid clear stamp using the Tim Holtz Travel Stamp Platform on Hobby Lobby Masters Touch watercolor card. I love using this stamp platform for big stamps because I can leave the stamp on the lid then take just the lid/stamp to the sink to wash it after stamping! So easy to clean up that way.
I stamped the plaid with Taylored Expressions Premium Dye Ink, first in Pink Champagne and then to get it a little pinker, I inked and stamped it again with Cupcake. I was trying to match the Karin markers I used for watercoloring.
I heat embossed the image and sentiment with gold embossing powder. Then started coloring!
My Karin Markers (from Poland) were a gift from an amazing, dear, friend back in March. (the dreaded birthday was awesome this year) It looks like Simon Says Stamp is bringing them in but nothing in stock yet. To see my other card I colored with them, select my Karin Markers category over on the right. You can use any watercolors to color stamp images though and I plan to do some more with this beautiful image!
Karin Markers are Brush Pens and beautiful for Modern Brush Calligraphy! I’ve been practicing on that when I sit down at night… pretty fun! I’ve always enjoyed lettering but have only pursued it a couple times and never kept up with it. Here’s hoping I do better this time. It’s fun to do with the grandkids also.
ok – well, I’ll wrap this up and say, thanks for coming over! Hope you feel like coloring now! I need to keep coloring/practicing! Don’t look at my coloring to close! lol
ttul,
Products I used to make this card… (coupon code for $5 off at SSS is HEAT899, expires 8/15 at 11:59 pm ET)
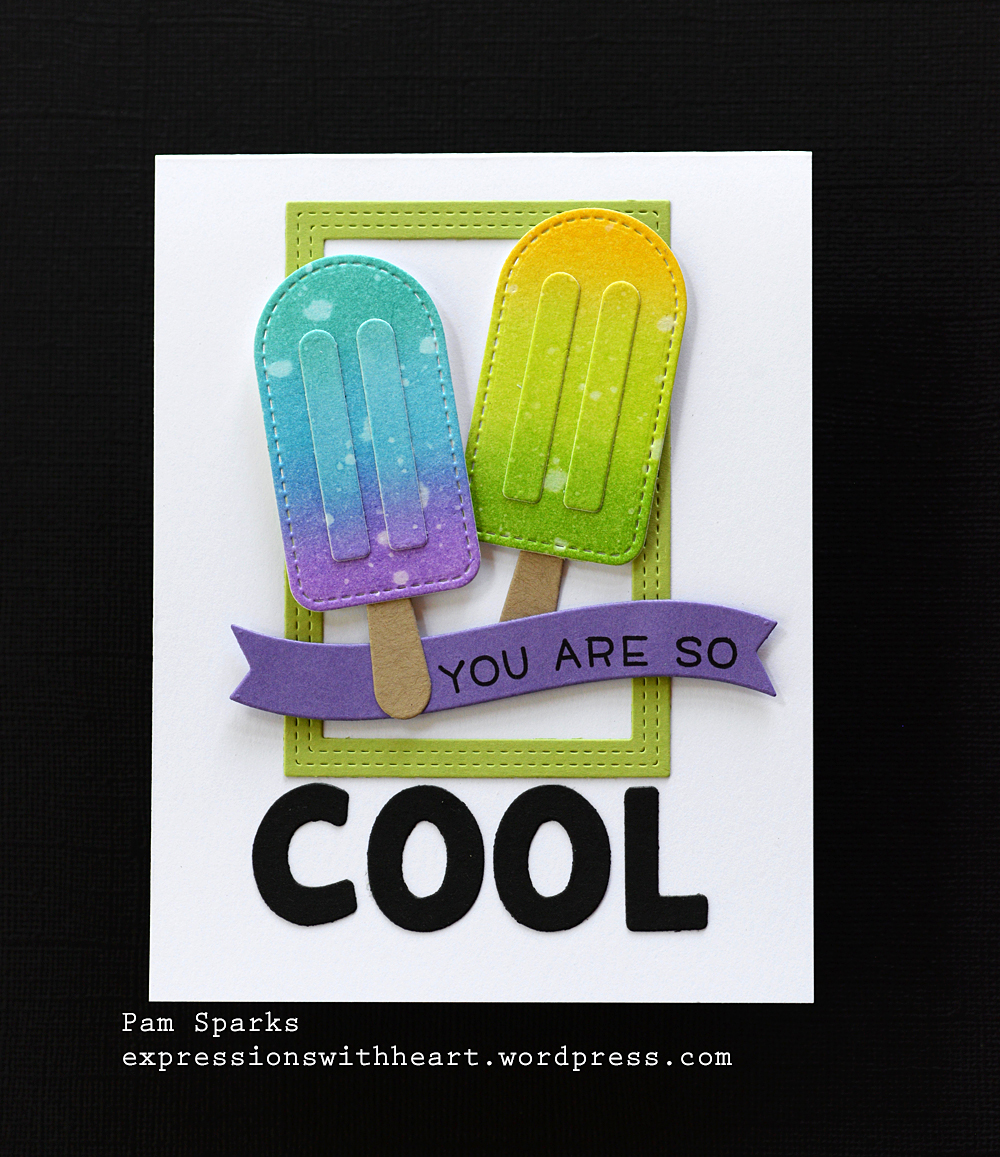
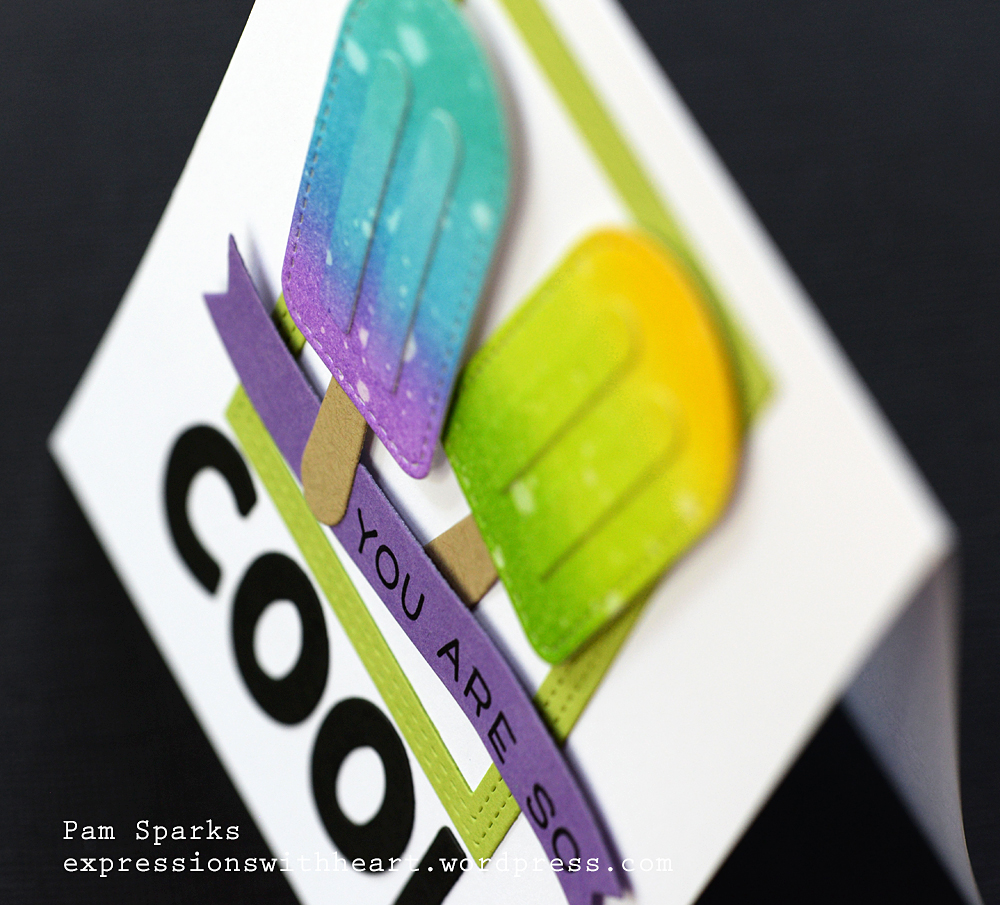
Hi everyone! I should be doing housework but here I am writing a post because I’m behind getting birthday cards posted and it’s time for new things! ok – I wonder when there aren’t new things in this papercrafting industry!
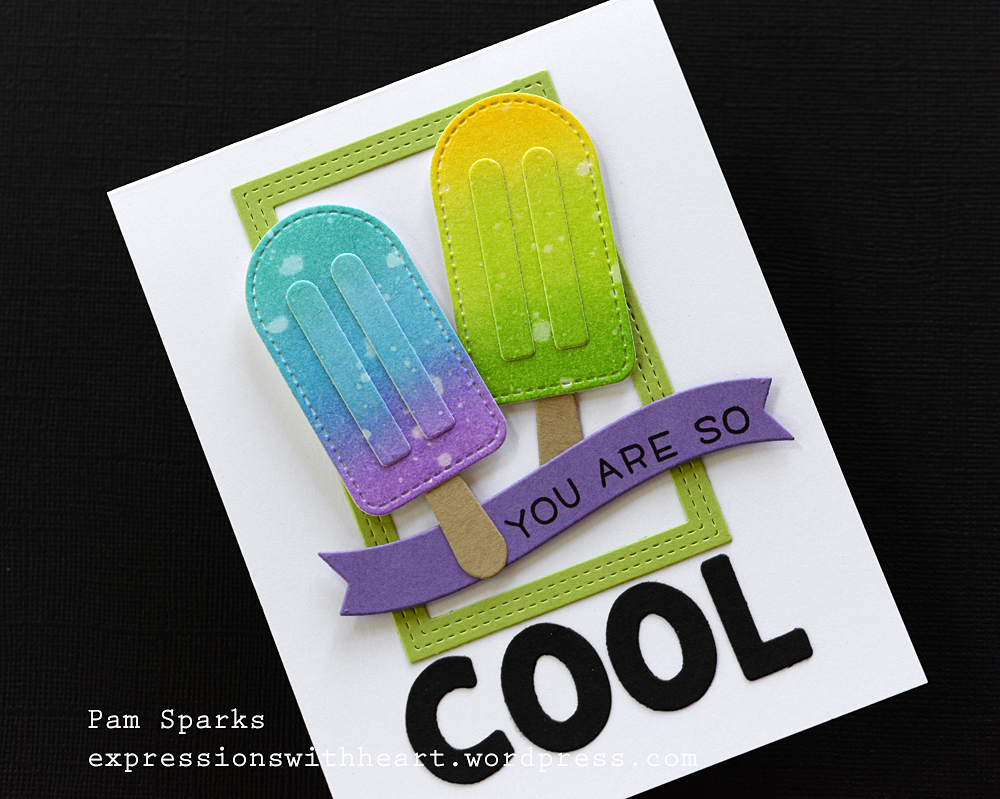
Here’s a card for one of our grands that just turned 13!
I was inspired by Nancy’s card here. I don’t have the pattern paper but otherwise, I just plain copied her… such an awesome design!
I used oxide inks on Bristol Smooth card, some water splatters, die cutting and gluing… very straight forward!
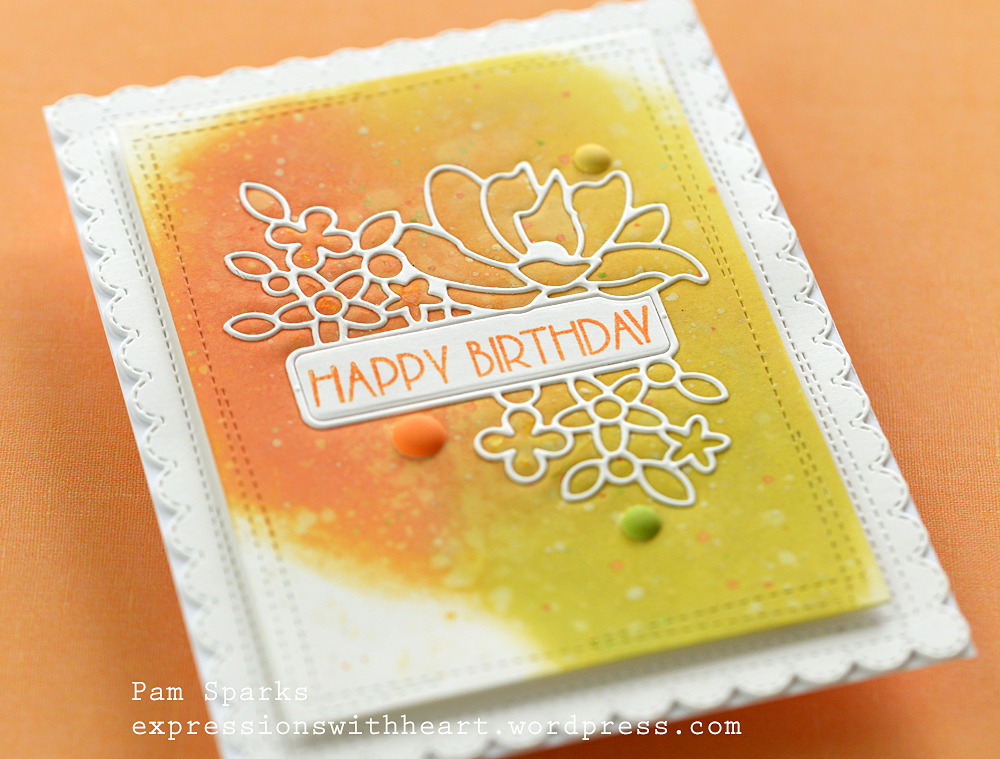
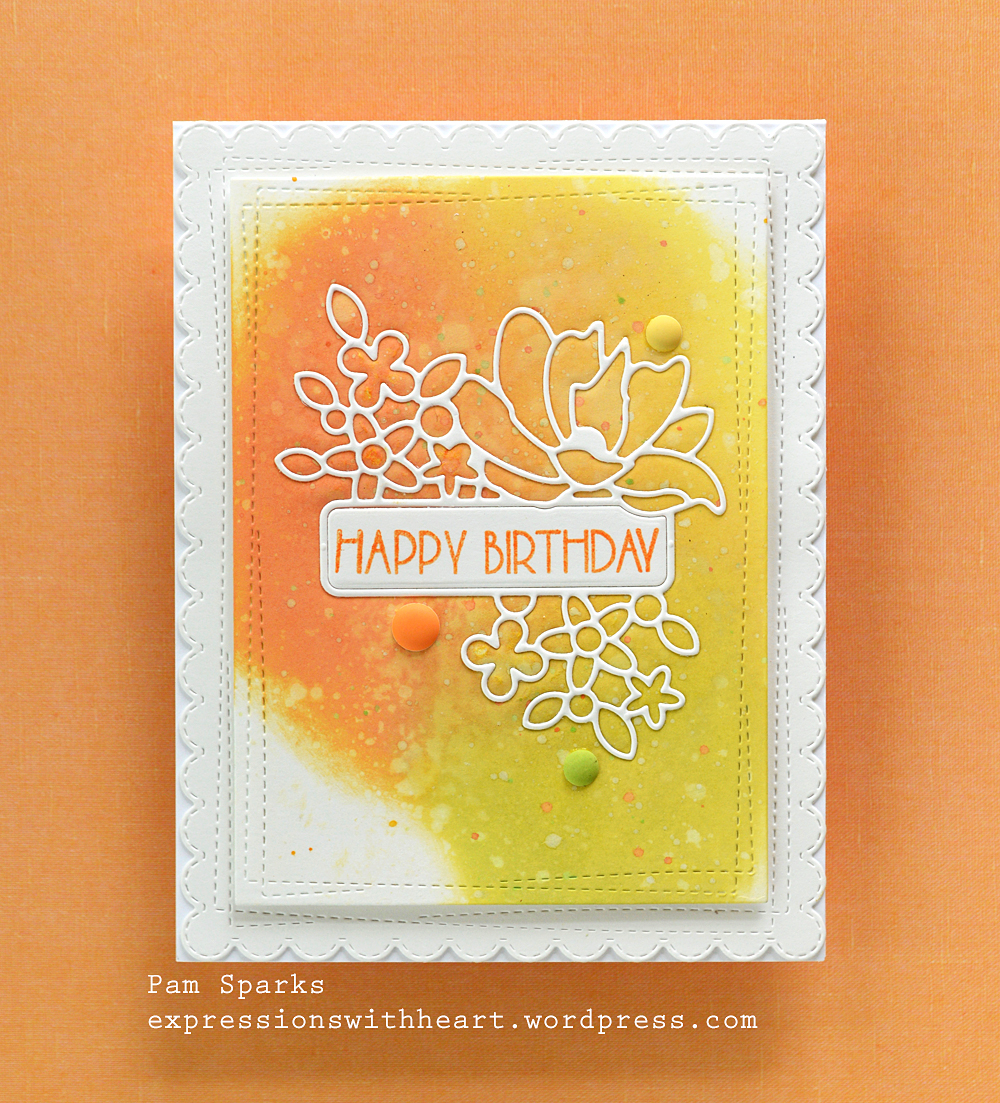
I ended up with several photos so I’ll just post away…
So happy with the color combo… I think you could use any Summer colors though for this!
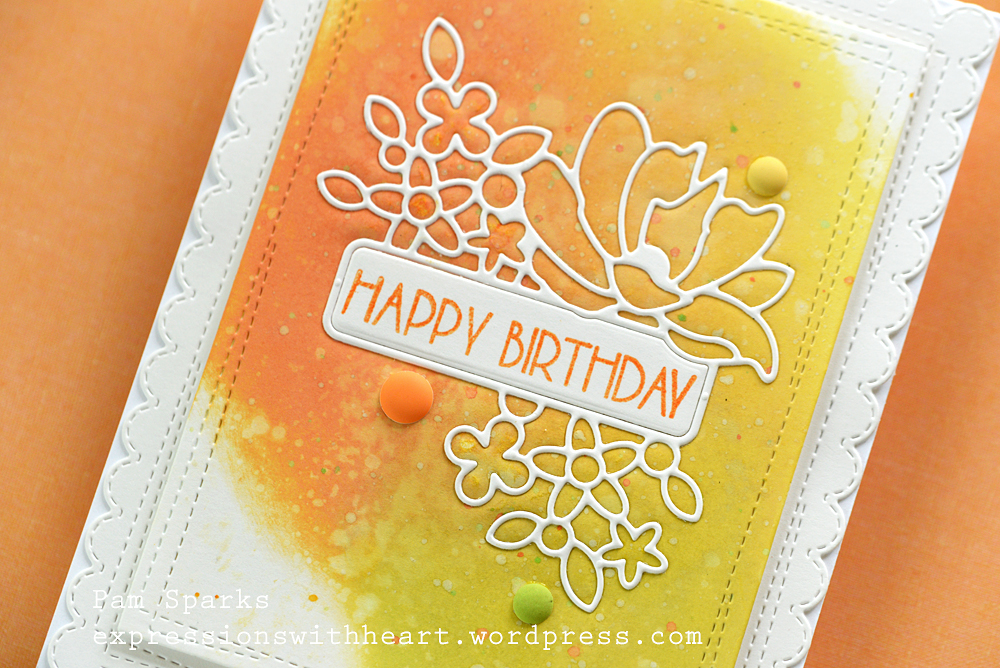
Hi cardmakers and friends! I’m making my way through the new Memory Box release.
Today I revisited my Embedding Technique… it’s one of my faves for this type of die! My video explaining the process is HERE. When I made the video though, we weren’t using as heavy a cardstock as we do now. Today I used Canson Smooth Bristol in the orange cover pad. I did it just like the video except that I ran it through my Big Shot and then back.
So cool, I just love the ease of adhering the die this way and the bit of dimension that looks so professional!
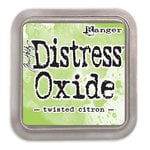
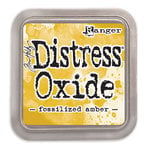
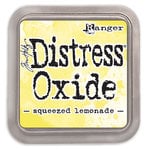
Some distress oxide inking on the Memory Box Wrapped Stitch Rectangles die cut panel. (die cut and ink this panel before you embed the die cut to it) I used Squeezed Lemonade, Fossilized Amber, Spiced Marmalade and Twisted Citron.
I spattered with water, white paint, spiced marmalade Distress Ink refill and twisted citron Distress Ink refill.
I die cut another panel with the Memory Box Wrapped Scalloped Rectangle and mounted the inked panel to it with mounting tape.
Then adhered it to an A2 card base.
I stamped a sentiment in the Label opening with the MISTI and the Archival Distress Spiced Marmalade Ink pad. The sentiment is from the poppystamps Birthday Blowout clear stamp set.
I added a few matte enamel dots. I like it! lol Sunshiny, Summery colors!
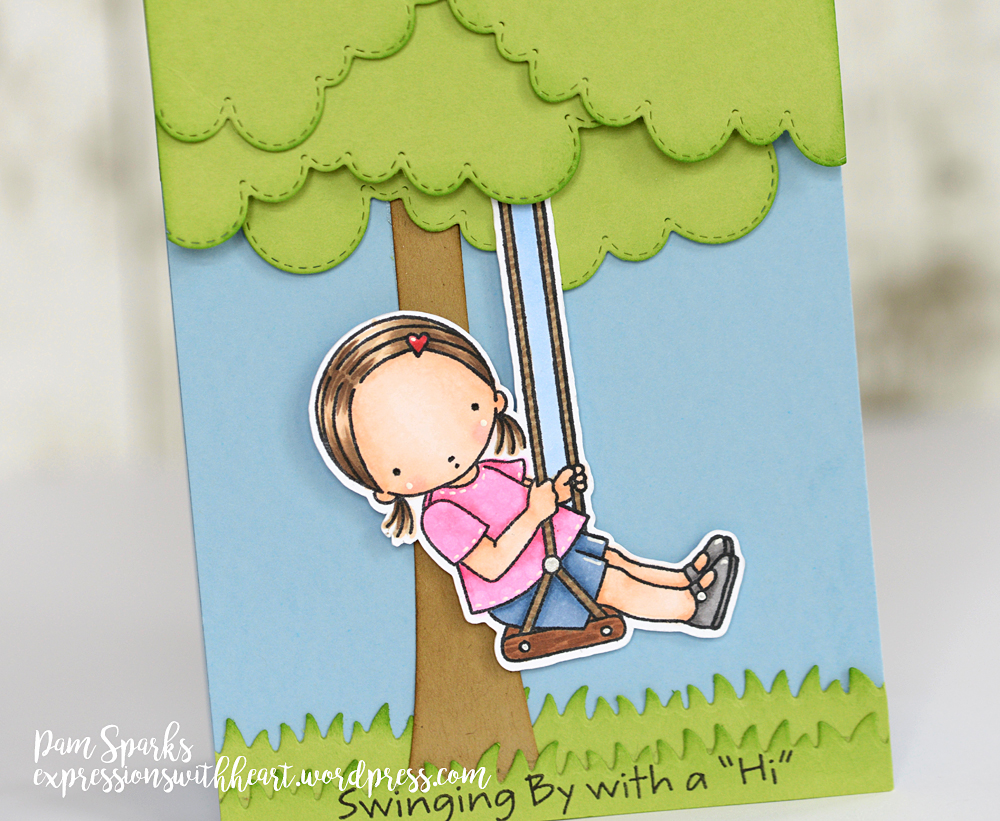
Hi everyone! When this cute gal came out awhile back I knew I had to have her! We have one granddaughter that especially loves to swing and she loves cards too! I love it when the idea for personalizing a card comes easy!
Here’s my version of the swinging ‘whee’ girl in action…she’s cute! You can see it a lot better on You Tube, HERE.
I basically followed MFT’s video but I used dies I already owned. I added a tree trunk from the Memory Box Weeping Willow Tree Cutting Plate but I see it’s discontinued. There are other tree dies though that would work… like this one HERE. You could also hand cut one really easy. I haven’t seen anyone else using a tree trunk but I think it makes it look more realistic… when I first saw the cards made up, I thought weird, green clouds! lol
I used poppystamps Stitched Cloudline dies and die cut them and the grass borders from Taylored Expressions Granny Smith cardstock. I’m really happy with how they turned out!
I stamped her in the MISTI with Memento Tuxedo Black ink on Neenah Classic Crest Solar White cardstock and die cut her then colored her with Copic Sketch Markers. Hair E21, E43, 44, 47, Skin E000, YR000, E00, E01, R20, Shirt E02, 04, Shorts B 91, 93, 95, 97, Shoes T1,3, 5, Swing seat and rope E20’s, white space between the swing ropes is colored with B21.
I stamped the sentiment from the set in the MISTI with Black Archival ink.
My cardbase is Gumball cardstock from Bazzill or Taylored Expressions has it also. Links below…
Thanks for ‘swinging’ by today! Holler if you have any questions!
Here’s some links to stuff I used to make this card…thank you so much for supporting me and my blog! I appreciate it!