Christmas · copics · Die Piecing · Spellbinders dies · Tags · Winter

Spellbinders October Stamp and Die Club of the Month…

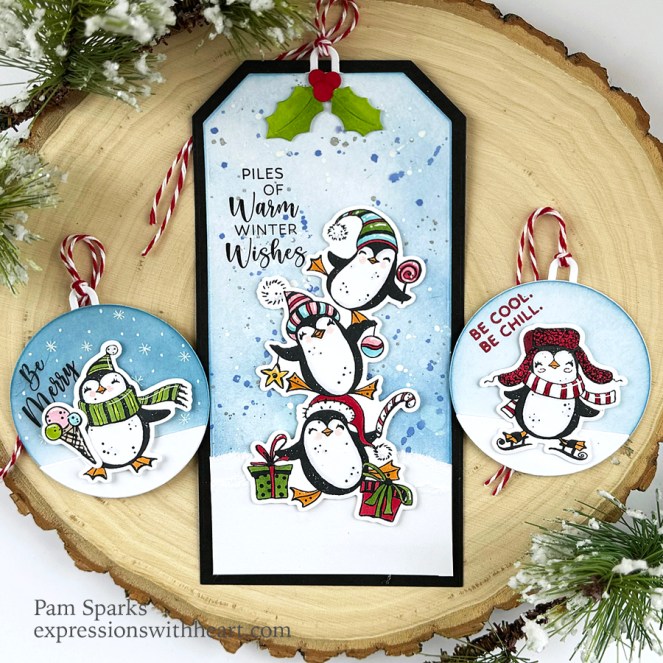
Hi everyone!  The October Stamp and Die of the Month ‘Festive Penguins’ is so fun!  Easy to color and  some cute elements and sentiments too!  How the club works is HERE!  Sign up is through the 27th of the month!  Down to the wire! lol  We have one grandson that absolutely loves penguins so you know where these tags are going.

I just have one picture today… short post! lol

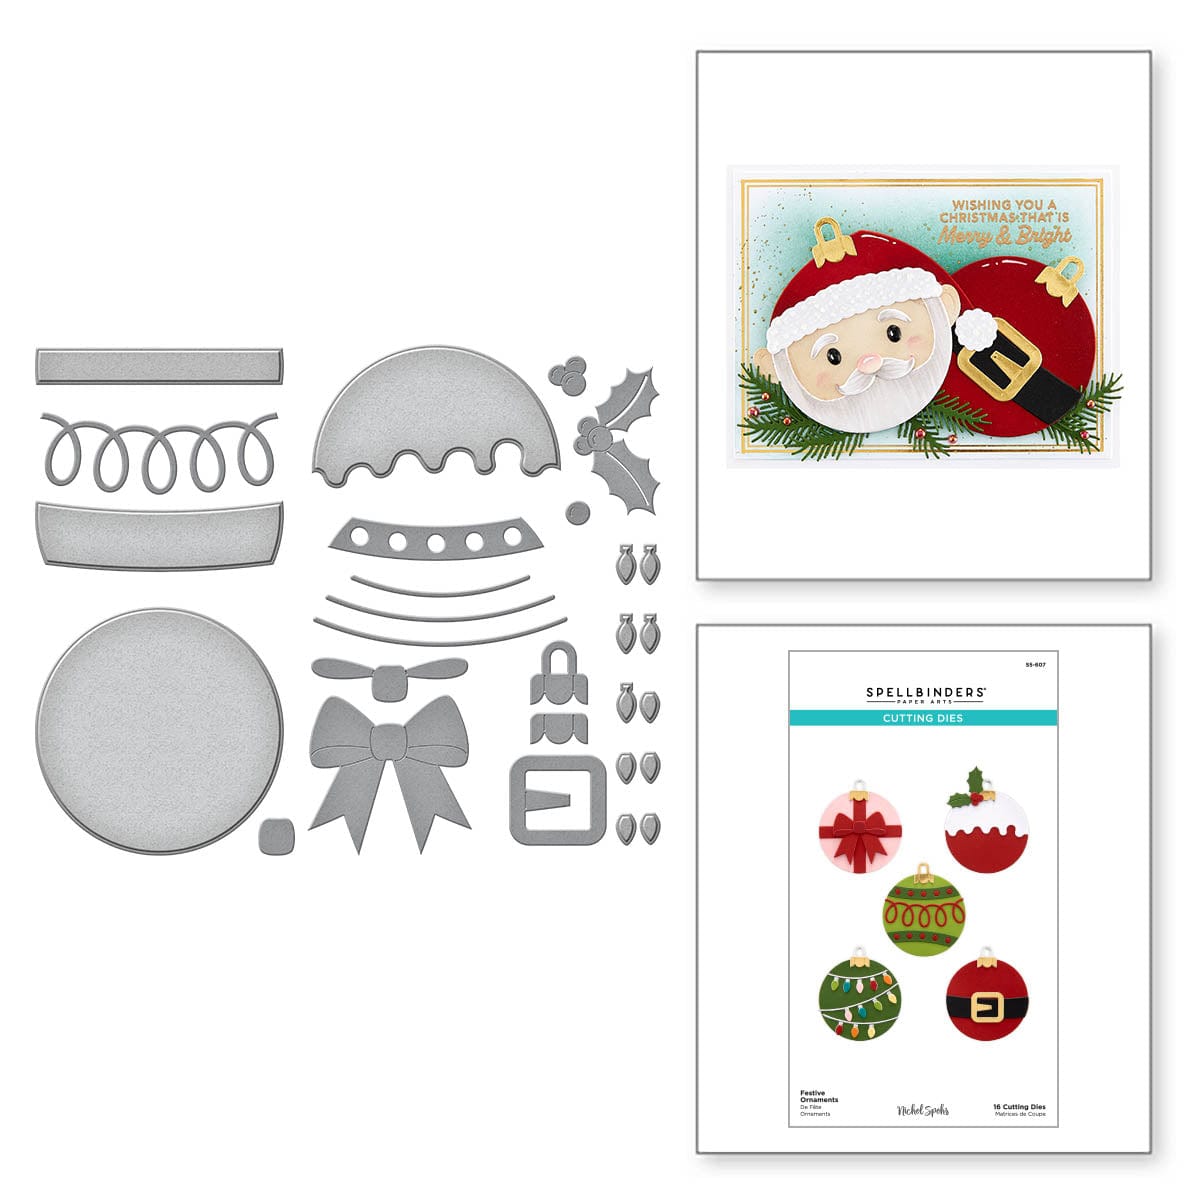
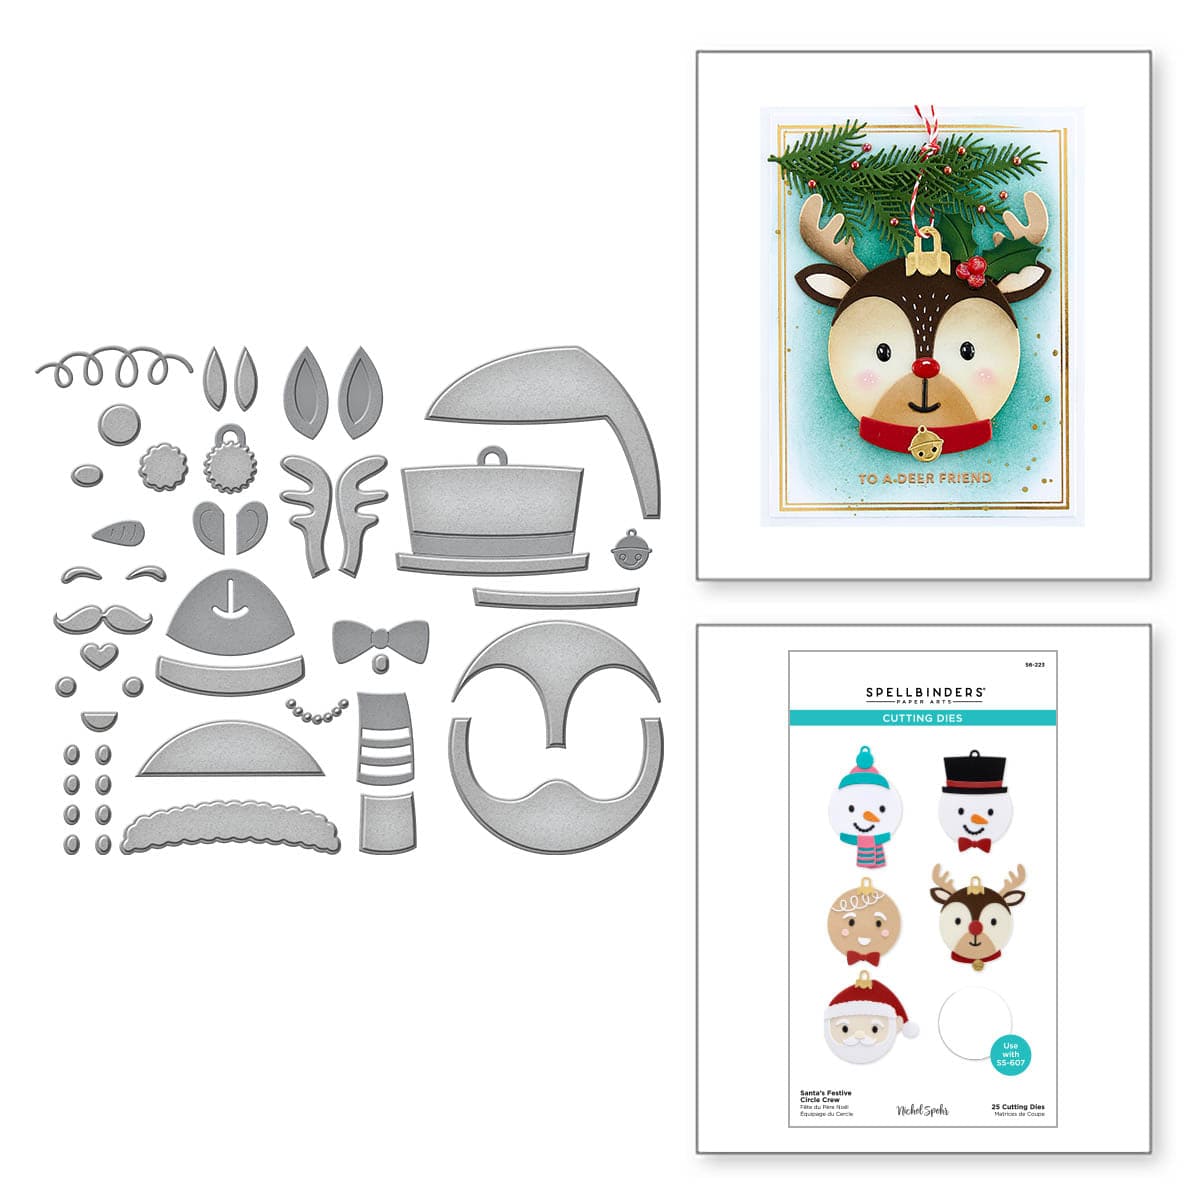
Nothing challenging to the tags.  I used the circle, ornament topper and holly from the NEW Festive Ornaments set. The partial circle for the snow is from the NEW Santa’s Festive Circle Crew set.

I love how everything mixes and matches this time of year!

Some distress inking and splattering for the background. White lines and dots with a white gel pen… oh and the snowflakes on the ice cream cone tag I drew on with the white gel pen also.

Notice how I glued the ornament topper between two layers and just left the hole showing.  I thought that was clever. lol

Linking to some challenges…

The Sisterhood of Crafters – Get Inky

Simon Says Stamp Wednesday – anything goes

Peace On Earth Christmas – anything goes Christmas

Christmas with the Cuties – anything that’s not a card

Thanks so much for stopping by today!

Here’s what I used to make these tags…

Clear Stamp & Die of the Month Club -…
[ SPL ]
Festive Ornaments Etched Dies from…
[ SPL | SBC | SSS ]
Santa’s Festive Circle Crew Etched…
[ SPL | SBC | SSS ]
copic sketch markers at Simon Says…
[ SSS | BLIC ]
Ranger Ink Jet Black Archival Ink Pad
[ SBC | SSS ]
Ranger Ink – Wendy Vecchi – Archival…
[ SBC | SSS | BLIC ]
Tonic Chili Red Bakers Twine 9984e
[ SSS ]
Winsor & Newton Drawing Ink – White,…
[ BLIC ]
Winsor & Newton Drawing Ink – Silver,…
[ BLIC ]


Christmas · copics · Die Piecing · Embossing Folders · Memory Box · Oxide Inks · Winter

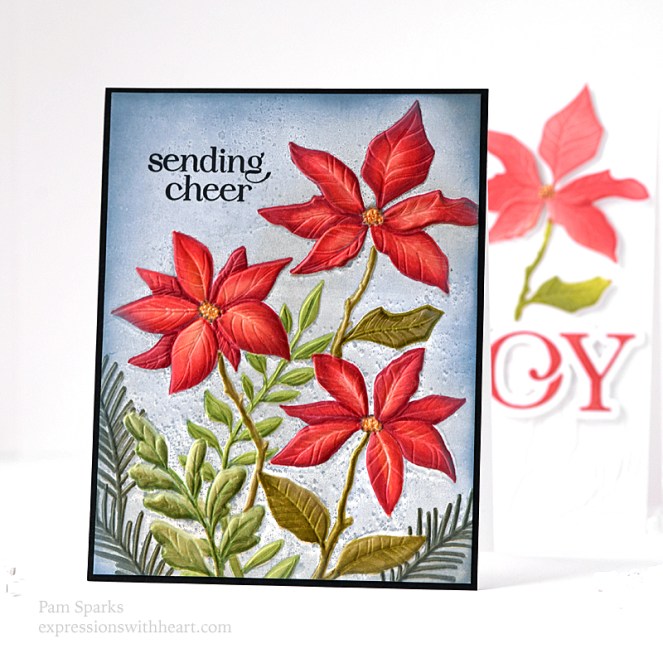
Two Cards with Memory Box Perfect Poinsettias 3D Embossing Folder and Brilliant Joy…

Hi everyone! It’s a two card Thursday here and I wanted to go back and make a third but I got sidetracked!

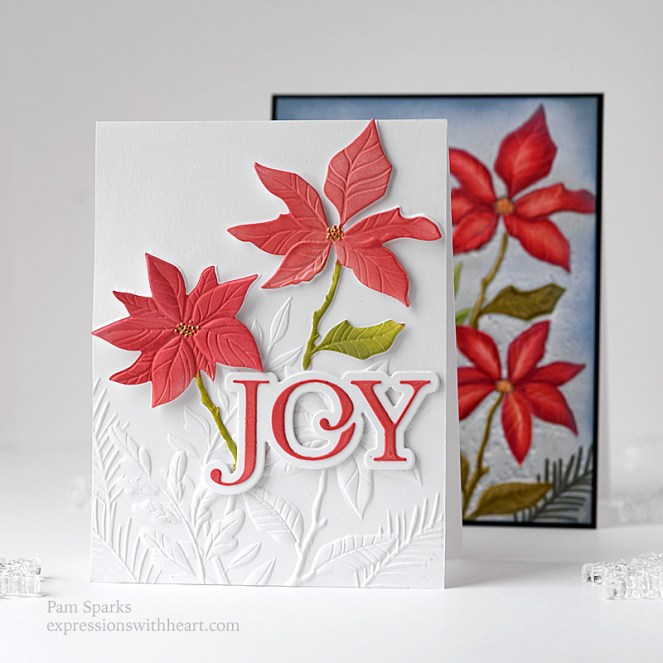
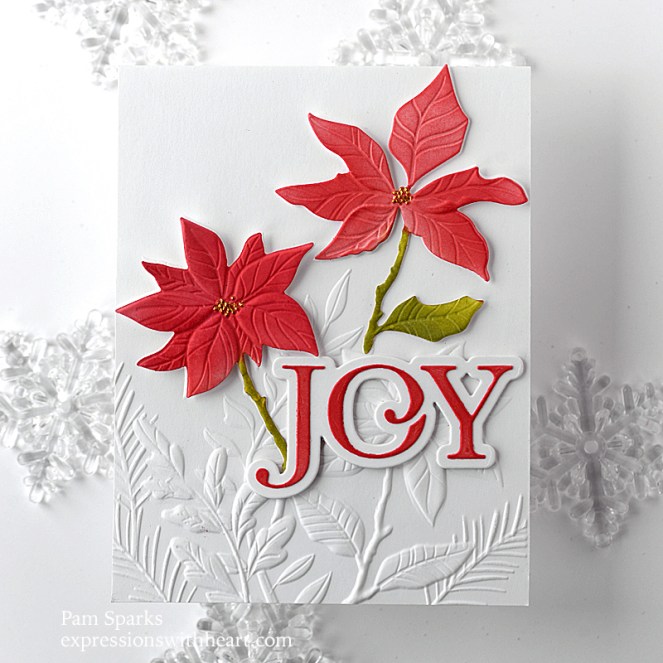
I started with this NEW Memory Box Perfect Poinsettias 3D embossing folder embossed in white and left it white. I used the two coordinating dies that come with the set and die cut them in white cardstock, then placed them in the folder to emboss them also.  (I used removable tape to keep them in place)  I inked the embossed die cut poinsettias with my red and green Distress Oxide brushes.  I didn’t add more ink.

This picture is really light but I wanted to include it because it’s more the color of what the poinsettias are IRL. Editing enhances the color.

Which is fine…it’s pretty darker also!

I die cut the NEW Memory Box Brilliant JOY dies in white and inked up the outline letters with the red brush also, then removed them from the background and glued them to the matting layer.

Then I decided I wanted to try another method with the folder.

I brayered the folder with the Stormy Sky Distress Oxide ink pad.

Then I colored the poinsettias and greenery with Copic Sketch Markers.  When I finished coloring I ran it back through the folder….I kinda wish I hadn’t done that because it shifted a hair.  A little detail is lost in coloring with a wet medium so I wanted to get it back. oops.

Still beautiful though!  I’m probably bias after coloring it! lol

Sorry about so many pictures this time.  I was messing around with pictures using light from a different window.  Oh eek!  A photographer I am not!  Even after all these years!  I keep trying though!  I think it’s just trying to please ‘my eye’ really and drive myself crazy! haha!

Holler if you have any questions!

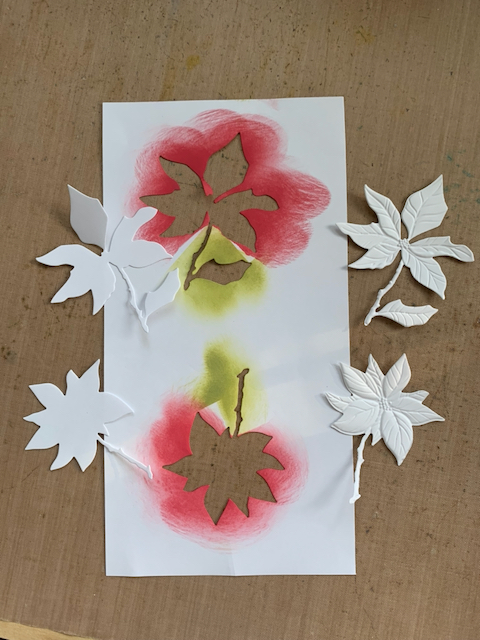
oh, I wanted to show you this too.  I did have another embossed piece I messed around with but it wasn’t something I could finish without starting over.  Ignore the die cut flowers…see the mask with red and green inking?  It’s a piece of copy paper that I die cut to use as a mask.

On an embossed panel you can mask these two poinsettias off and ink the flowers without using the die cuts.  The only drawback is there is a third flower.  I solved that by putting the die cut sentiment JOY over the flower that doesn’t have a die!  Cool!  Sorry I don’t have a card to show doing this yet.

Linking my cards to some challenges…

Simon Says Stamp Wednesday Challenge – Christmas

Krafty Chicks Challenge – Christmas

The Flower Challenge #85 – anything goes

Thank you so much for stopping by!  Have a fun rest of the week and weekend creating! Talk to you again soon!

Dies and Supplies I used to make this card…

Memory Box – EF1037 Perfect…
[ STR | SSS ]
Memory Box – 94759 Brilliant Joy…
[ STR | SSS ]
Memory Box – CL5285 Shining Star…
[ STR | SSS ]
Winsor & Newton Drawing Ink – Gold,…
[ BLIC ]
Copic Sketch Markers and Sets | BLICK…
[ BLIC | SSS ]
Tombow Mono Multi Liquid Glue
[ STR | SSS | SBC ]
Scrapbook Adhesives Crafty Foam Tape…
[ STR ]
Waffle Flower Crafts – Blending Brushes
[ SBC | SSS ]
Tim Holtz Distress Oxide Ink Pad…
[ SSS | SBC ]
Ranger Ink Tim Holtz Peeled Paint…
[ SBC | SSS ]
Sizzix Big Shot Die Cutting Machine…
[ SBC | SSS ]
Sizzix White Tool Caddy Big Shot…
[ SBC | BLIC ]
American Crafts – Sticky Thumb…
[ SBC ]
Ranger Ink – Tim Holtz – 2.25 Inch…
[ SBC | SSS | SSS ]
Neenah Cardstock Classic Crest Ultra…
[ SSS ]

cards · Christmas · copics · Die Piecing · Spellbinders dies · Winter

Big Jolly Santa Small Die of the Month from Spellbinders…

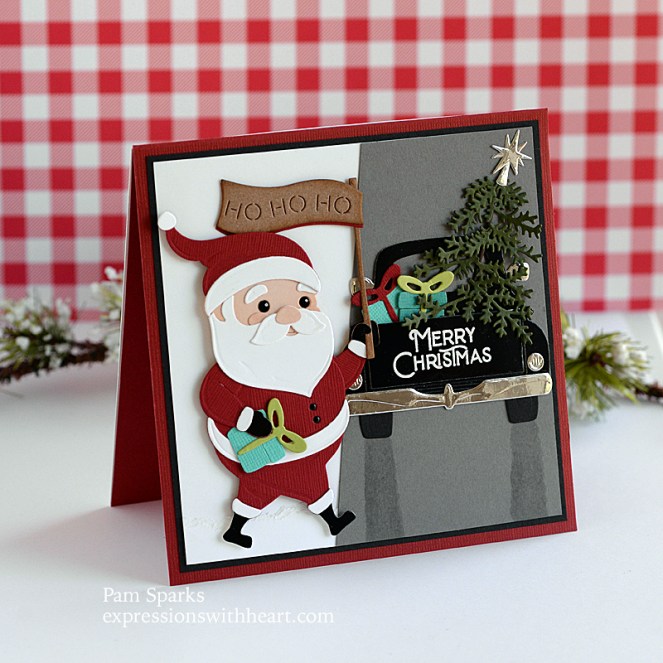
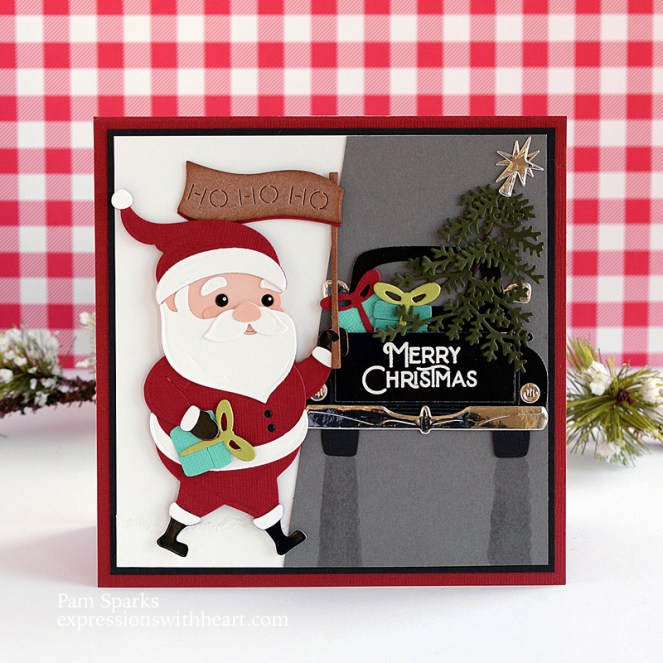
Hi everyone!  I tried my hand at scene making again!  Big Jolly Santa needed a vehicle! A modern day 4 wheel drive! lol Speedy delivery!

Here’s my take on Spellbinders Small Die of the Month club for October.

Learn about Spellbinders Clubs HERE

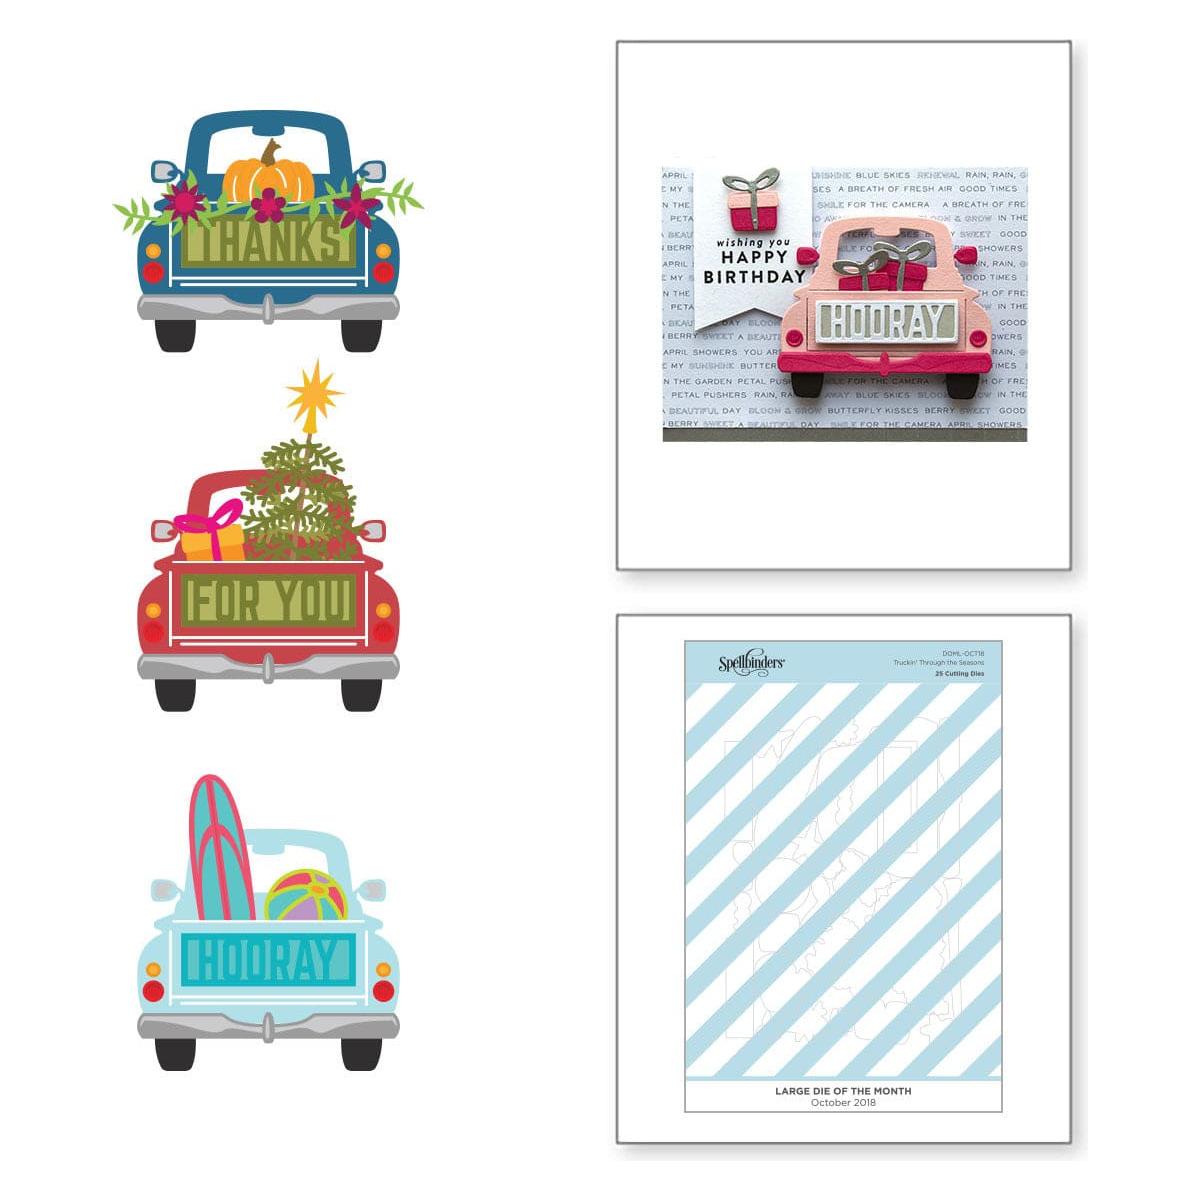
The pick up is still available! I’ll link it at the bottom of my post.

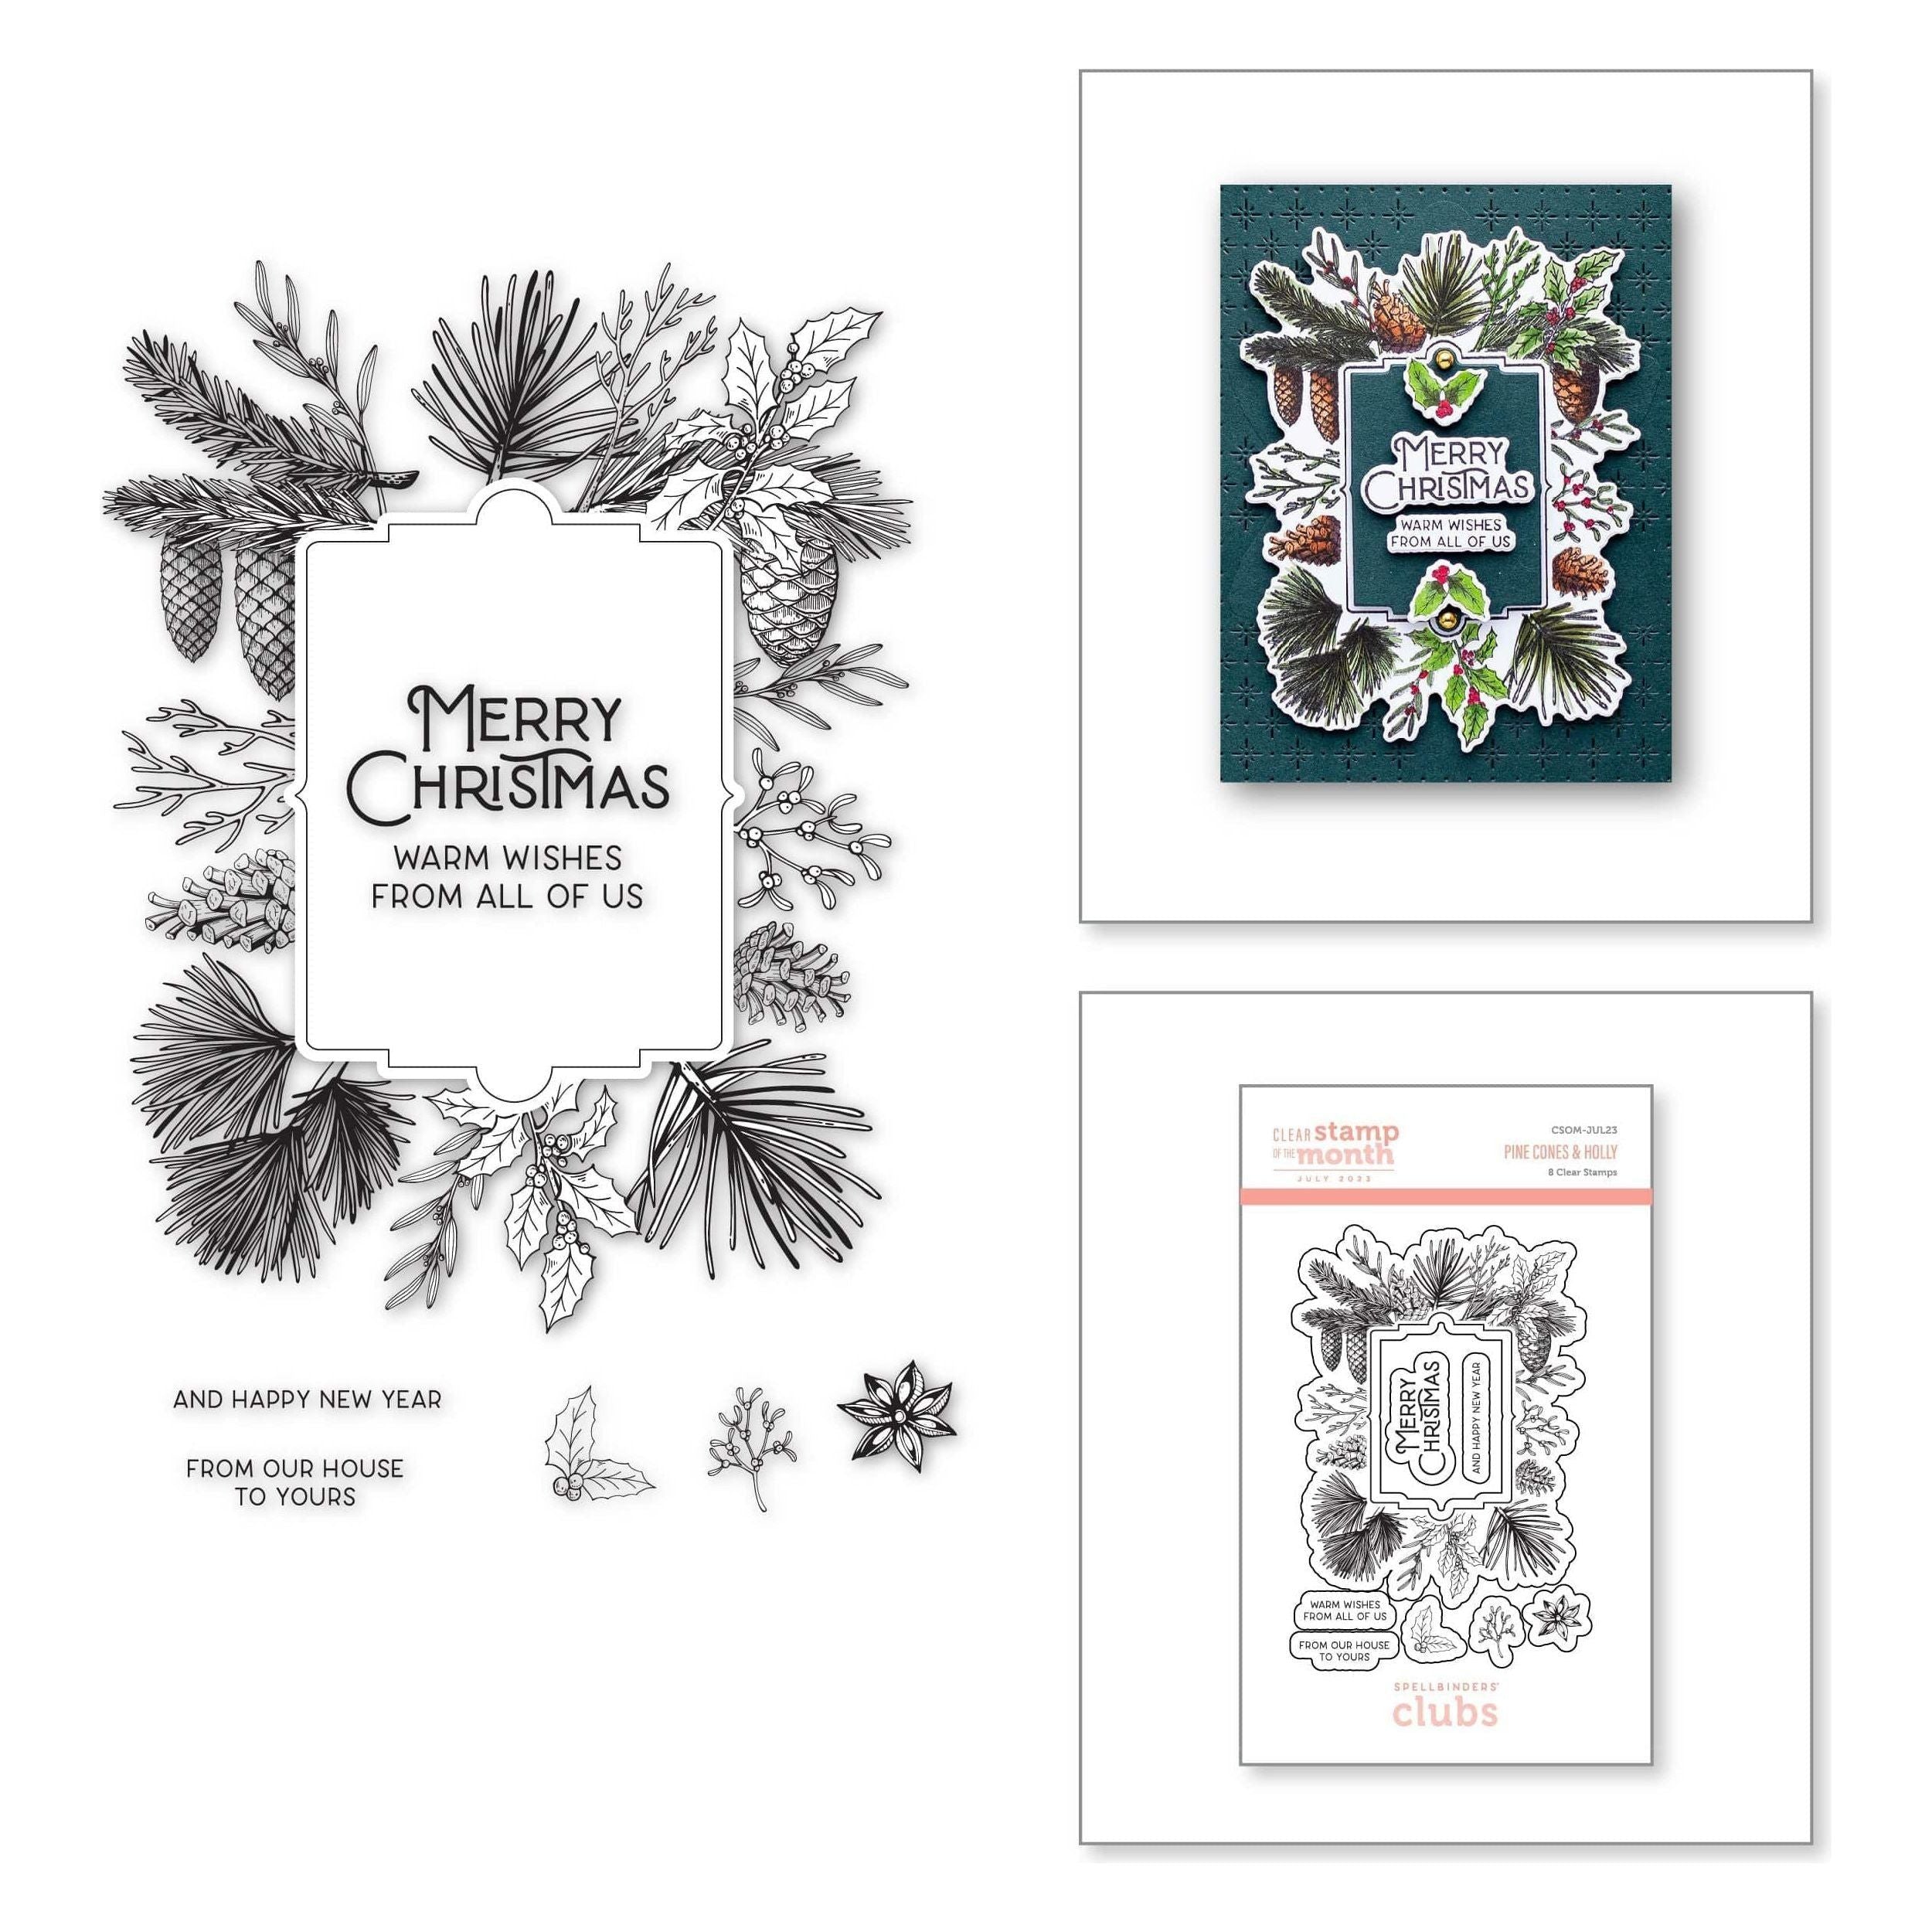
Die cutting and gluing again but I did stamp the tailgate of the pick up with the Merry Christmas from July’s Clear Stamp and Die set of the month.  I’ll link it up at the bottom of my post.

Such a cute Santa and very easy to put together with lines that tell you where things go!

I cut a piece of gray cardstock for the concrete and used a Copic Sketch Marker to color in the tire tracks.

The white panel the scene is built on is 5 ½ in. x 5 ½ in. Then I matted with black cardstock and then on to a 6×6 square cardbase.

I used glossy black cardstock to die cut the truck and silver foil cardstock to die cut the bumper, tail lights and mirrors.

On second thought, I think he’s in a parade! lol

Hope you enjoyed another whimsical Christmas card!

Thank you for stopping by my blog! We need our cardmaking therapy more than ever right now.

Talk to you again soon!

P.S.  I don’t know what happened for commenting but something has changed.  It looks like if you choose the envelope icon and just type in your name it will let you comment.  Sorry, I hate it when they change things. (supposedly making it easier, ha, for who?)  I can’t reply with a thank you if I don’t see an email or name though. boo.

Small Die of the Month Membership –…
[ SPL ]
Truckin Through the Seasons | Large…
[ SPL ]
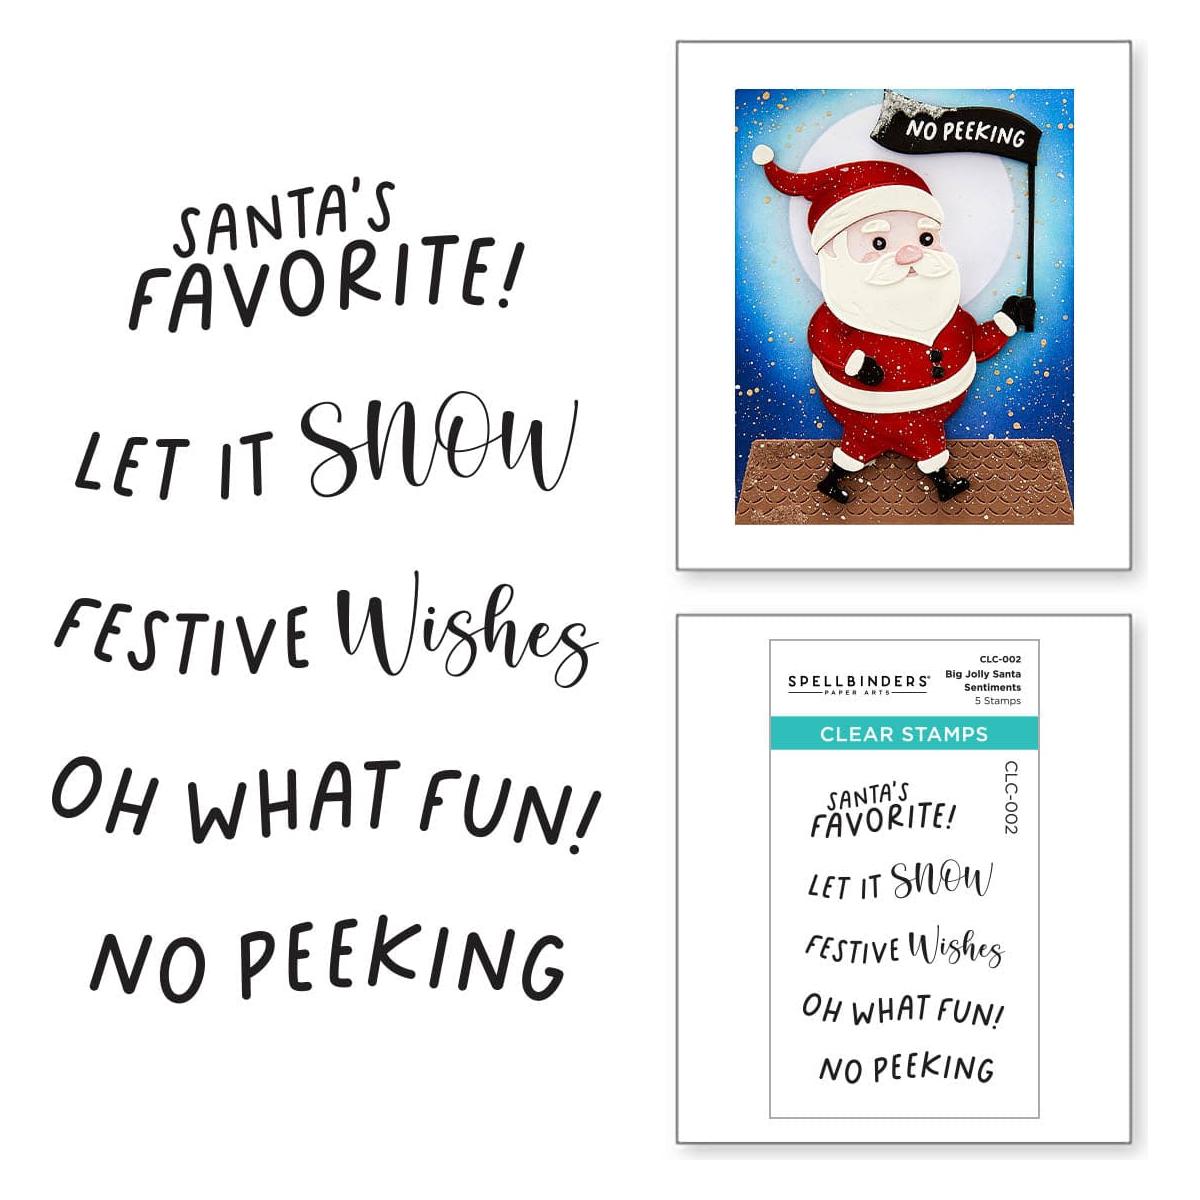
Big Jolly Santa Sentiments Clear…
[ SPL ]
Pine Cones & Holly – Clear Stamp of…
[ SPL ]
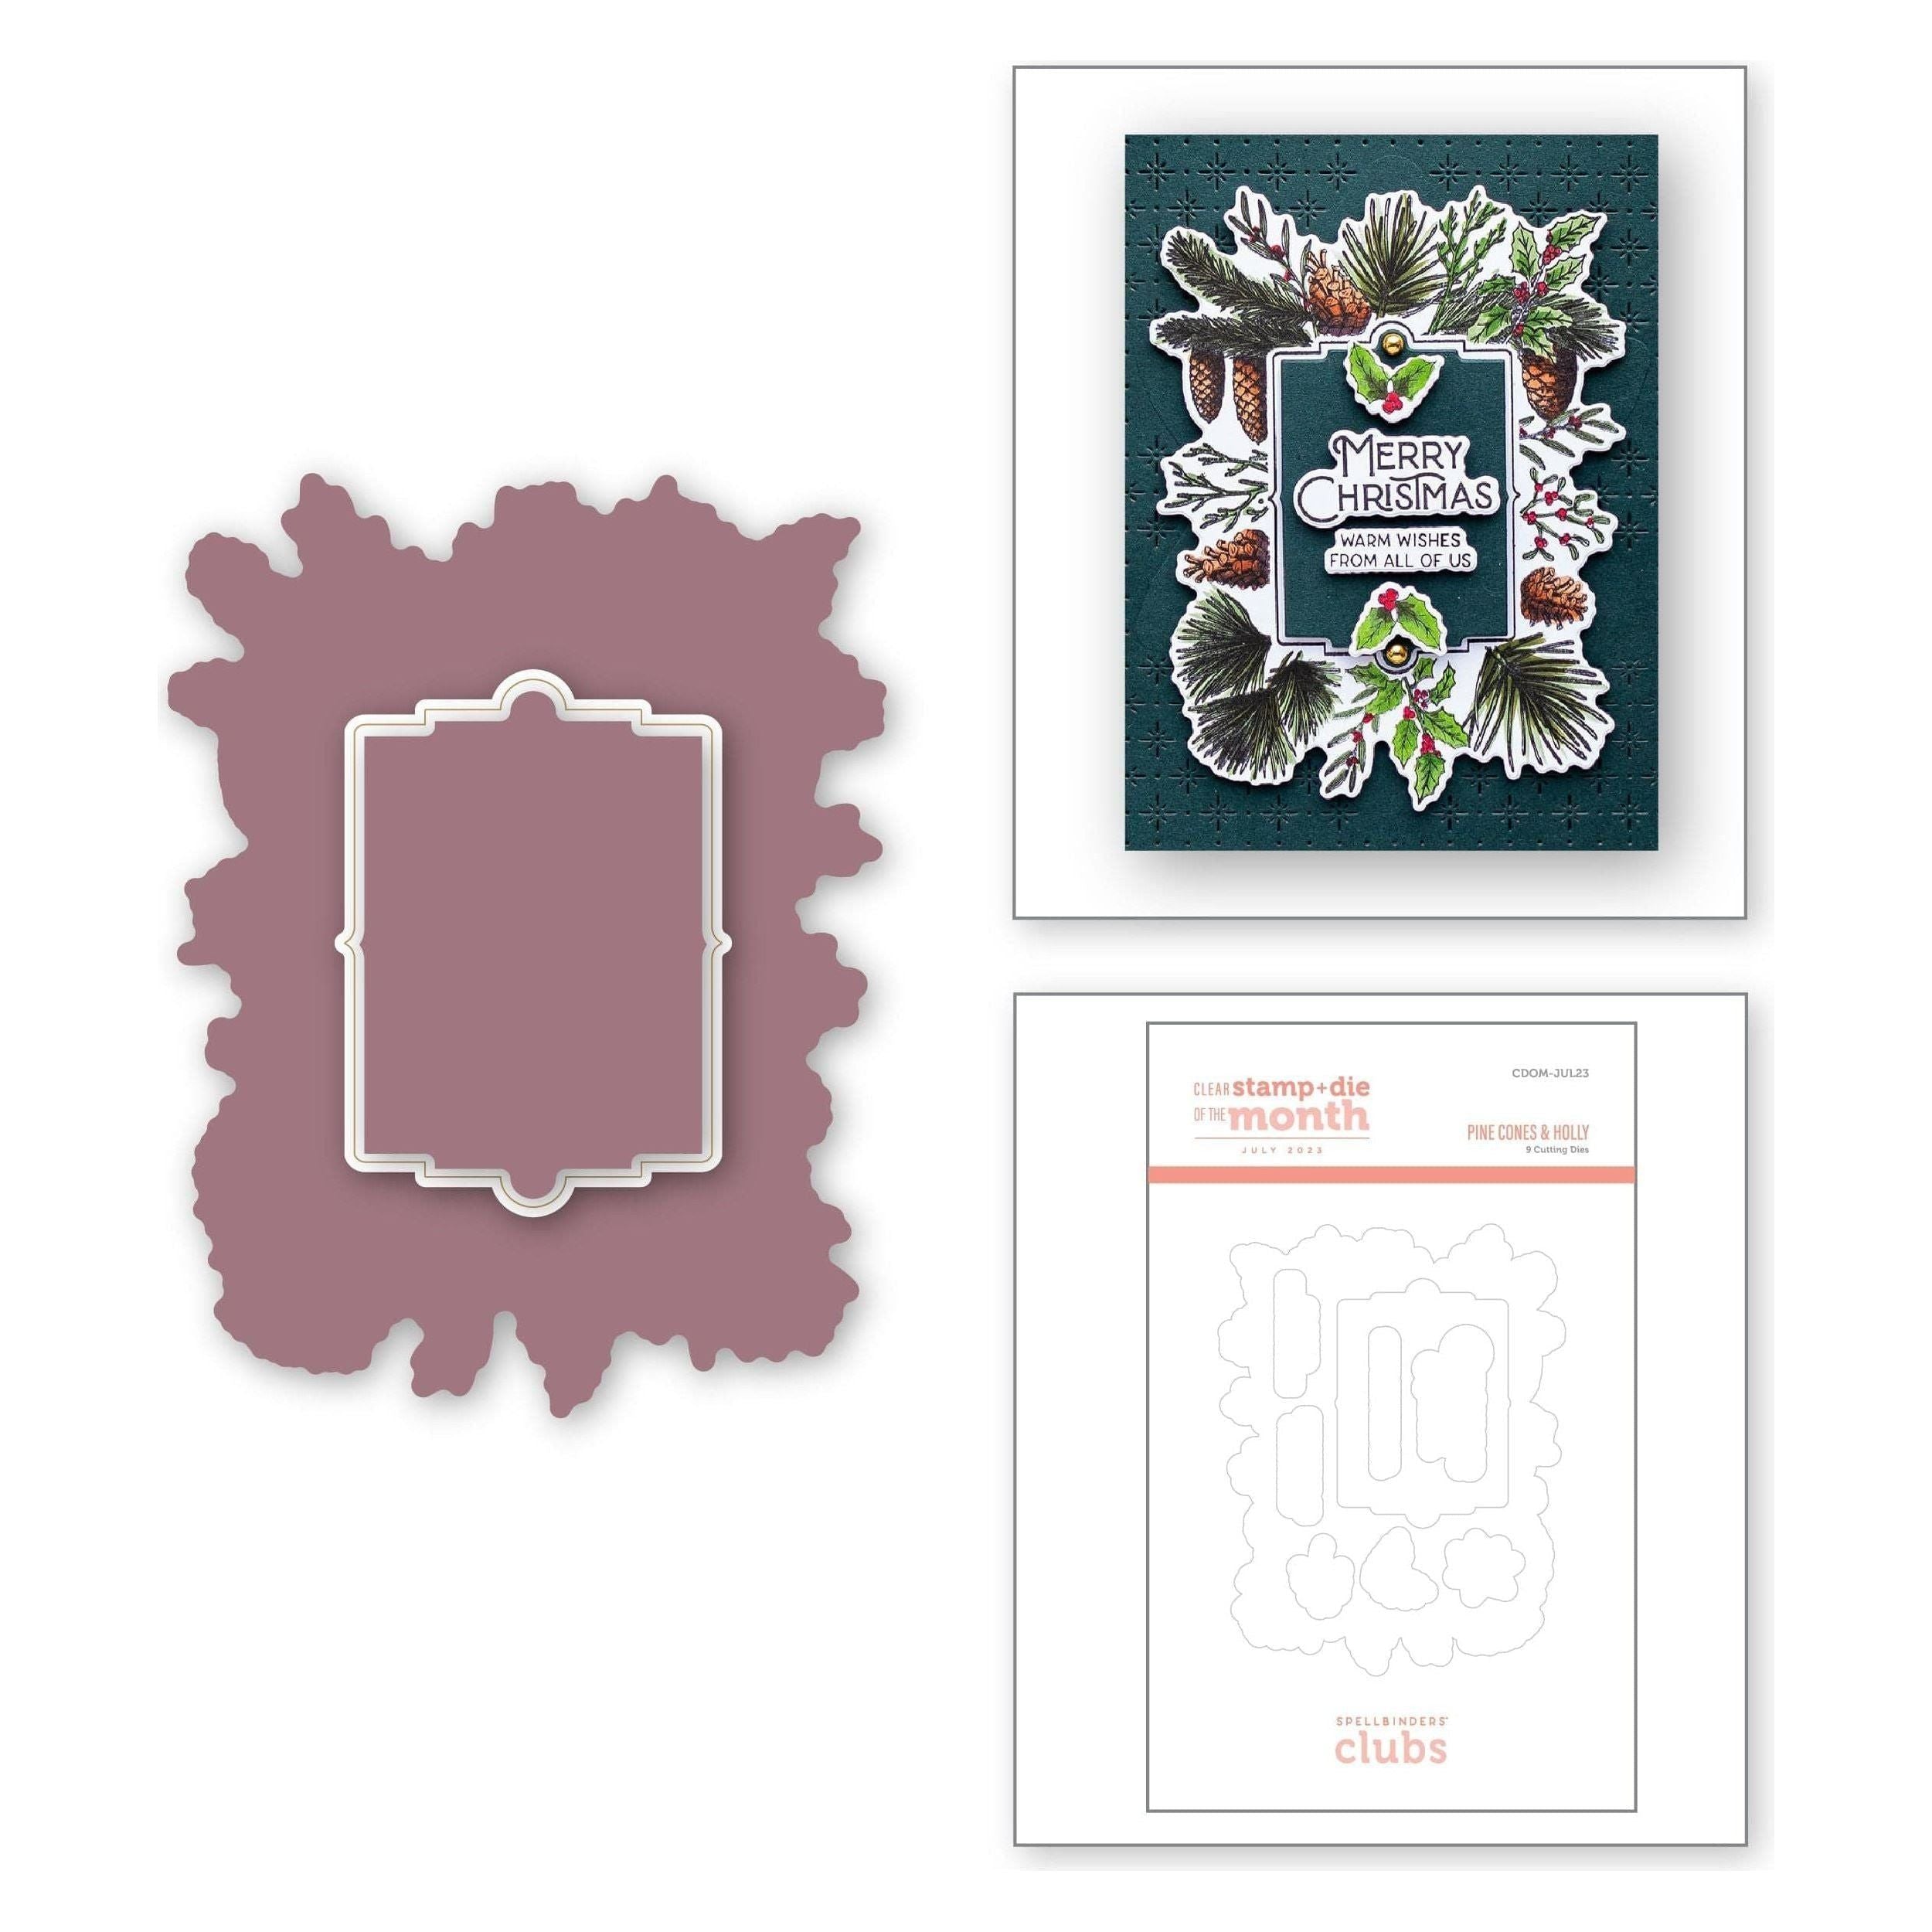
Pine Cones & Holly Die Set – (Dies…
[ SPL ]
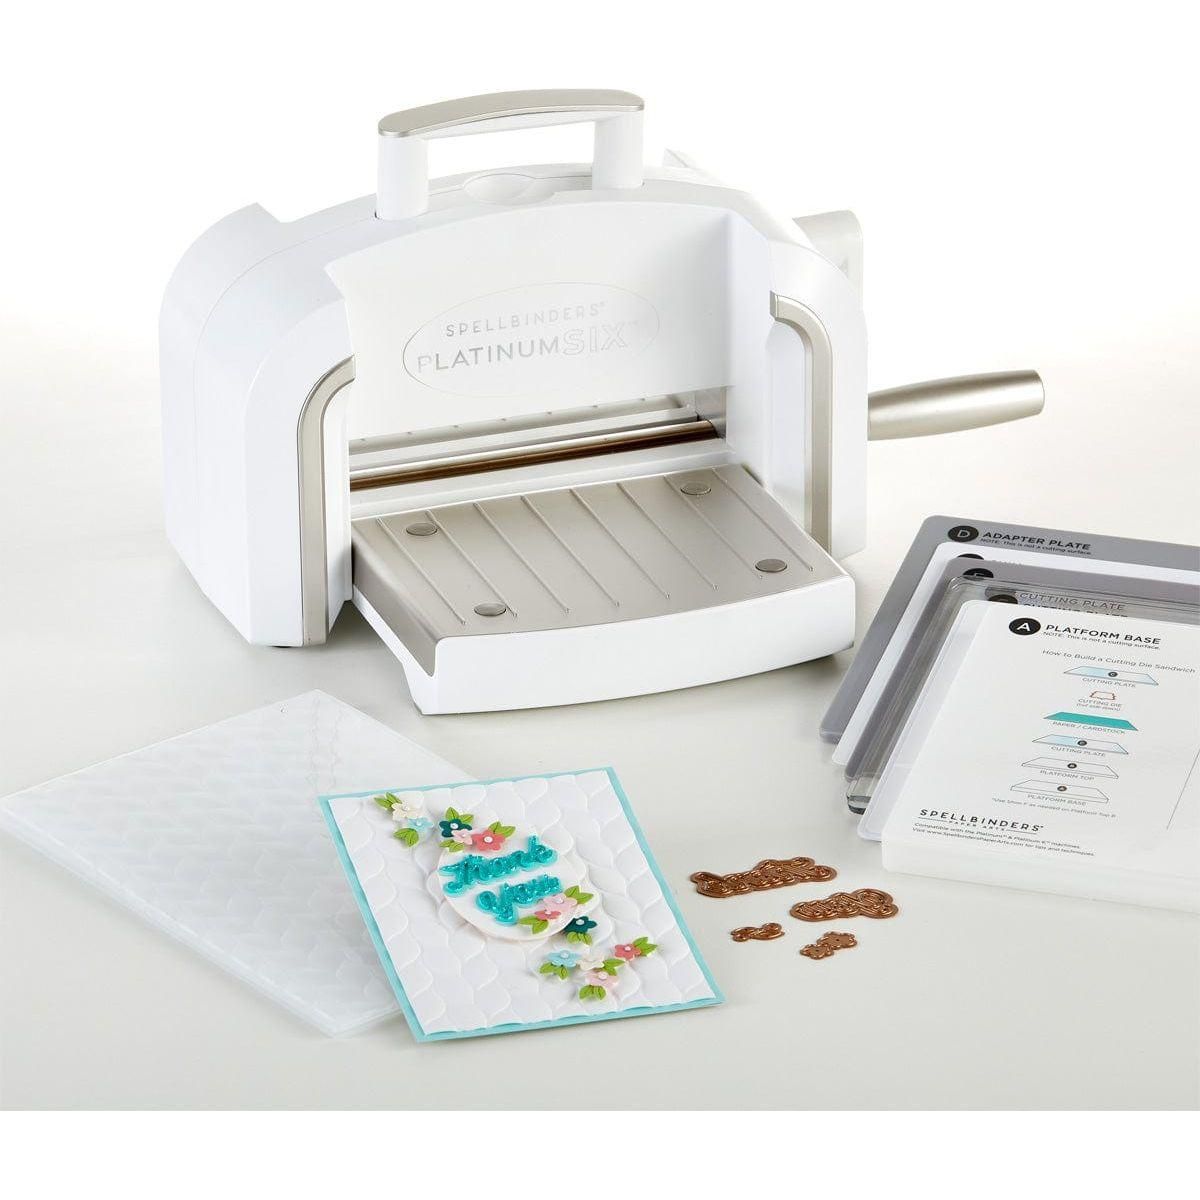
New & Improved Platinum SIX Machine…
[ SPL | SSS ]
Cardstock, Paper, & Envelopes |…
[ SPL ]
Tombow Mono Multi Liquid Glue
[ STR | SSS | SBC ]
Scrapbook Adhesives Crafty Foam Tape…
[ STR ]

cards · Christmas · copics · Die Piecing · Easel · Memory Box · Oxide Inks · Poppystamps · Snowman · Winter

poppystamps Sweet Nordic Snowman Snowglobe Easel Card…

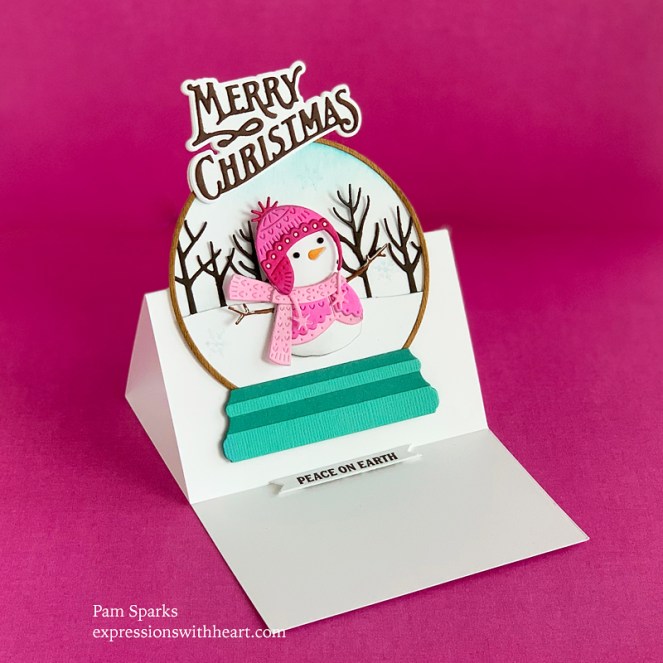
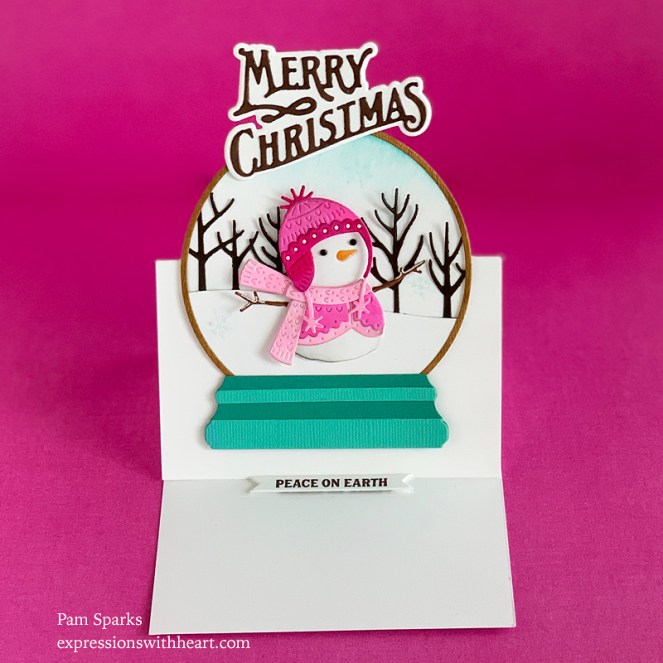
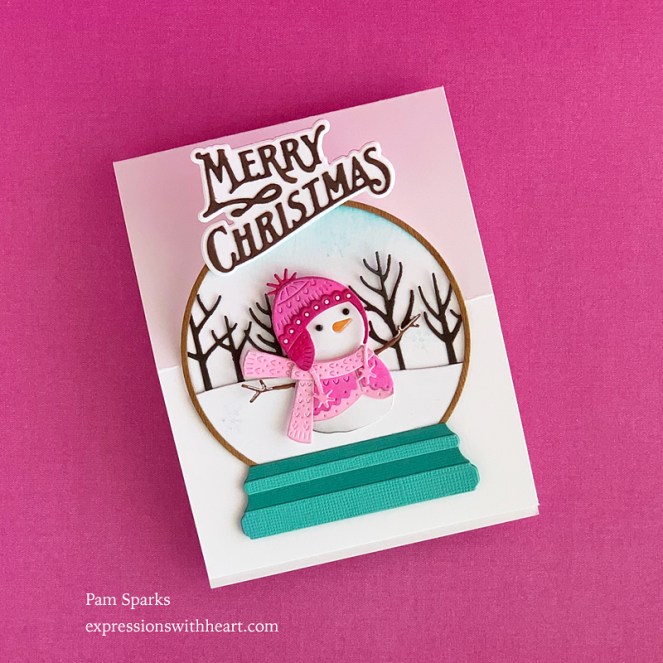
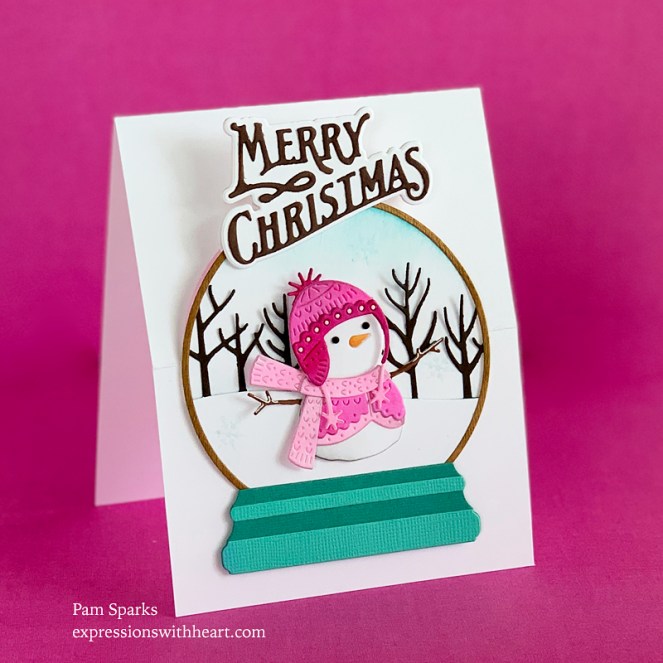
Hi everyone!  I had fun making this cute, easy easel snowglobe card. Click/tap on the bottom right corner to size it to your device.

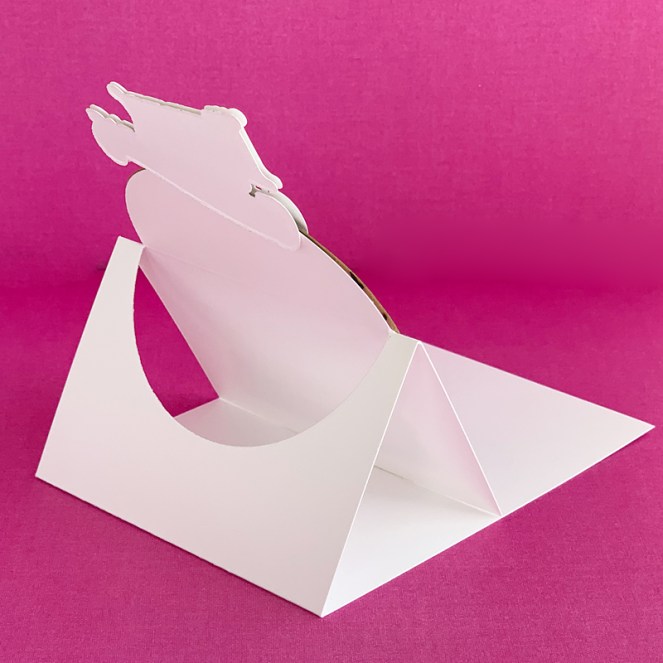
Partial diecut a circle in a regular A2 size cardbase and you’re ready to add the snowglobe!

I die cut the images, NEW Sweet Nordic Snowman and NEW Lavish Merry Christmas,  in white cardstock and colored with Copic Sketch markers.

A little Tumbled Glass Oxide ink in the sky and a few little snowflakes from the NEW Shining Star stamp set stamped in the same ink except I stamped off first before stamping them on the card.

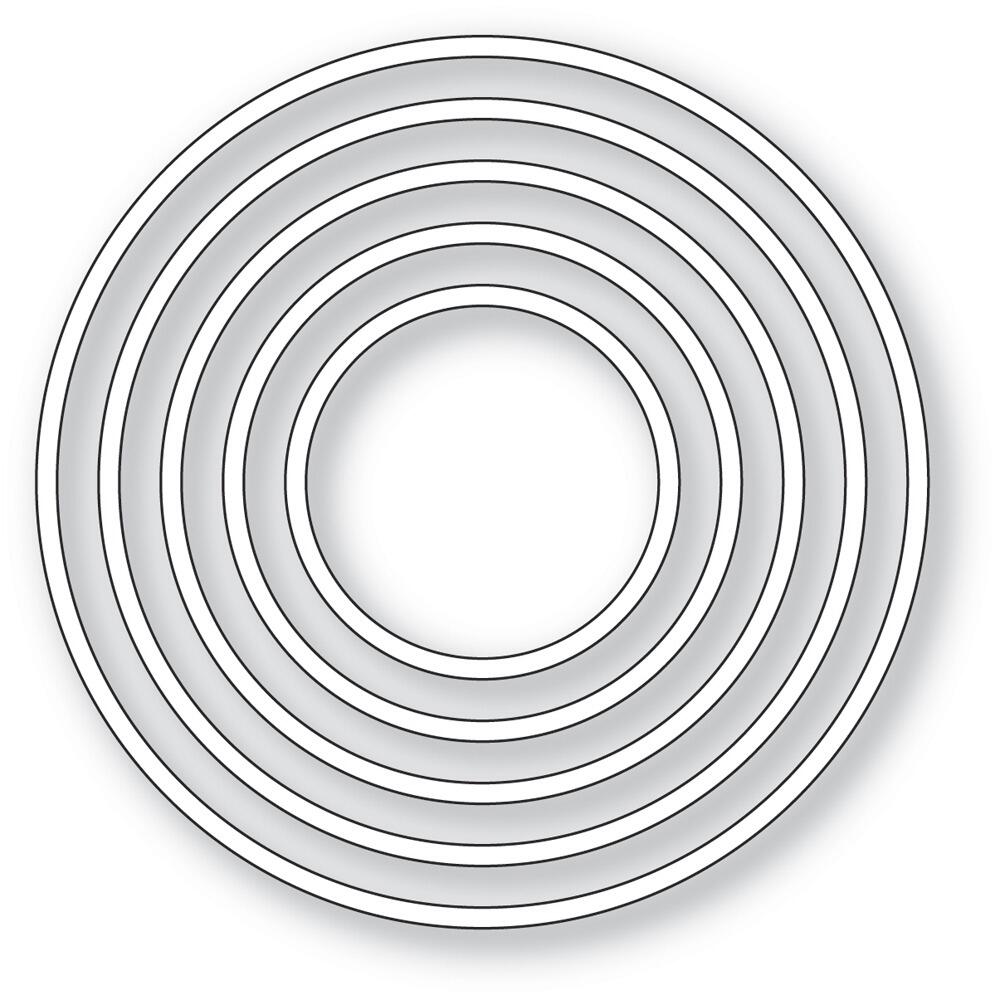
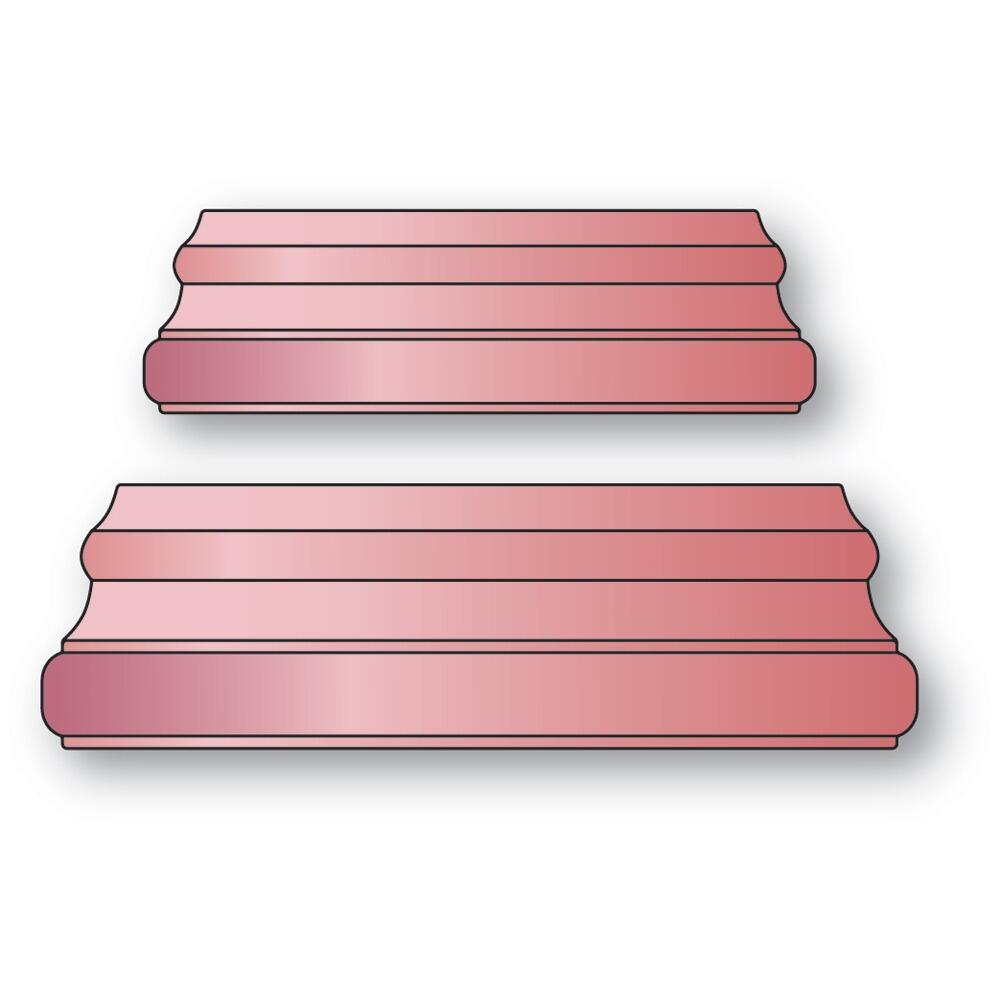
The NEW Simple Rings circle frame is cut from Memory Box woodgrain cardstock and the NEW Snowglobe Base is cut from old Bazzill cardstock.

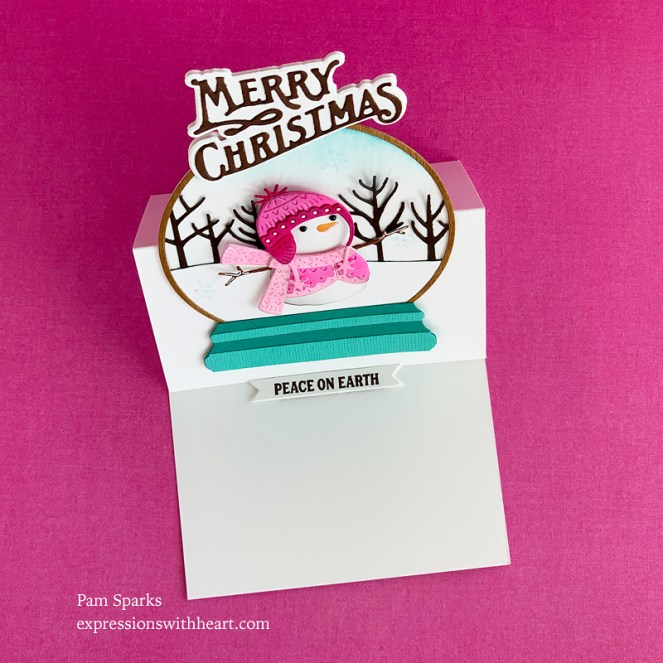
Here’s a bunch of pictures.  So cute!

Peace on Earth is from the NEW Christmas Banners stamp set.  Dies for cutting them out too!

It will lay flat or stand like a regular A2 size card also.

I hope this cutie made you smile!  She was easy to put together and I love this treeline background die!  It’s part of the NEW Whittle Field and Trees!  Super neat die set!

Have a great weekend!  I’m hoping to get some apples processed and bread made and cards made and and and! haha

Here’s the products I used to make this cute card!

Poppystamps – 2576 Sweet Nordic…
[ STR | SSS ]
Poppystamps – 2577 Whittle Field and…
[ STR | SSS ]
Poppystamps – 2575 Simple Rings craft…
[ STR | SSS ]
Poppystamps – 2578 Snowglobe Bases…
[ STR | SSS ]
Poppystamps – 2590 Lavish Merry…
[ STR | SSS ]
Poppystamps – CB513 Christmas Banners…
[ STR ]
Memory Box – CL5285 Shining Star…
[ STR | SSS ]
Tombow Mono Multi Liquid Glue
[ STR | SSS | SBC ]
Memory Box – 30087 Circle Basics Set…
[ STR | SSS ]


All Occasion · cards · copics · Die Piecing · Fall · Flowers · Spellbinders dies · Thinking of You

Spellbinders September Die of the Month Card…

Hi everyone!  I’m late with my card for this month but I know a lot of you will be getting your club soon so I still want to share!

I have to say I loved putting this collection together!  Spellbinders dies are really well thought out and easy to stick together.

Here’s a short video with some tips I wanted to share…click/tap the bottom right corner to get full frame and full resolution.  It might take a few seconds to load.

Happy Fall is from the September Large Die of the Month Club.

Just die cutting, gluing and flower arranging.  Flower arranging takes me almost as much time as taking the pictures of the card!  Season change again and natural light is tricky for me!

Oh, when I wanted the green darker for stems and parts of the boots I used a copic marker to go over it.  Quick!  Then I edged everything with coordinating brushes, just using the ink that was in them.

So fun creating with this set!

I’ll come back later and add a link to the set when it’s back in the Spellbinders store.

Linking to some challenges…

Triple B: September Challenge – Birds, Blooms and Butterflies

Simon Says Stamp Wednesday Challenge – Anything Goes

Addicted To Stamps and More #455 – Die Cuts and/or Stencils

Thank you so much for stopping by! Happy Fall!