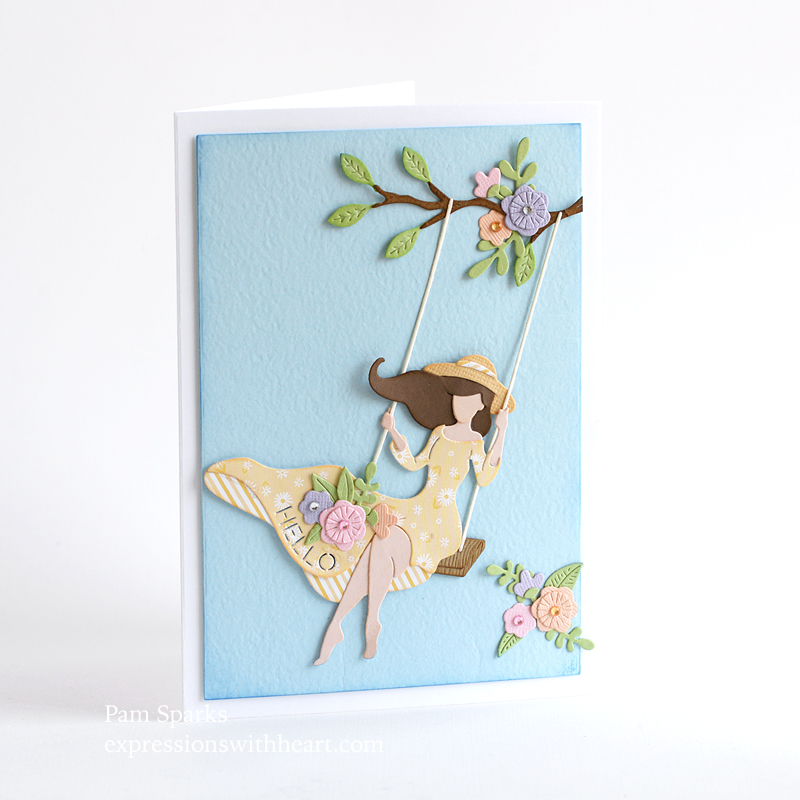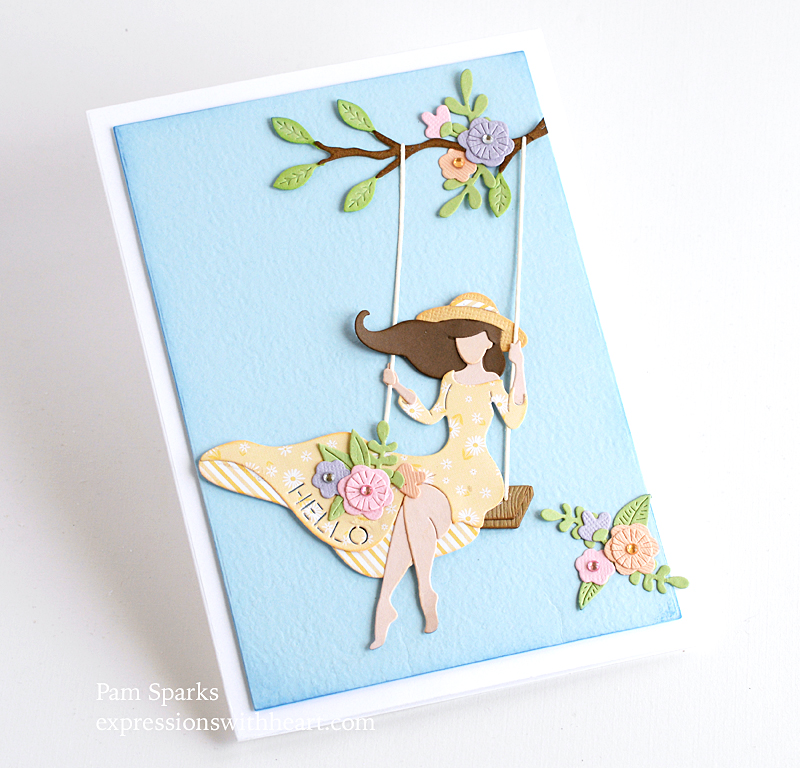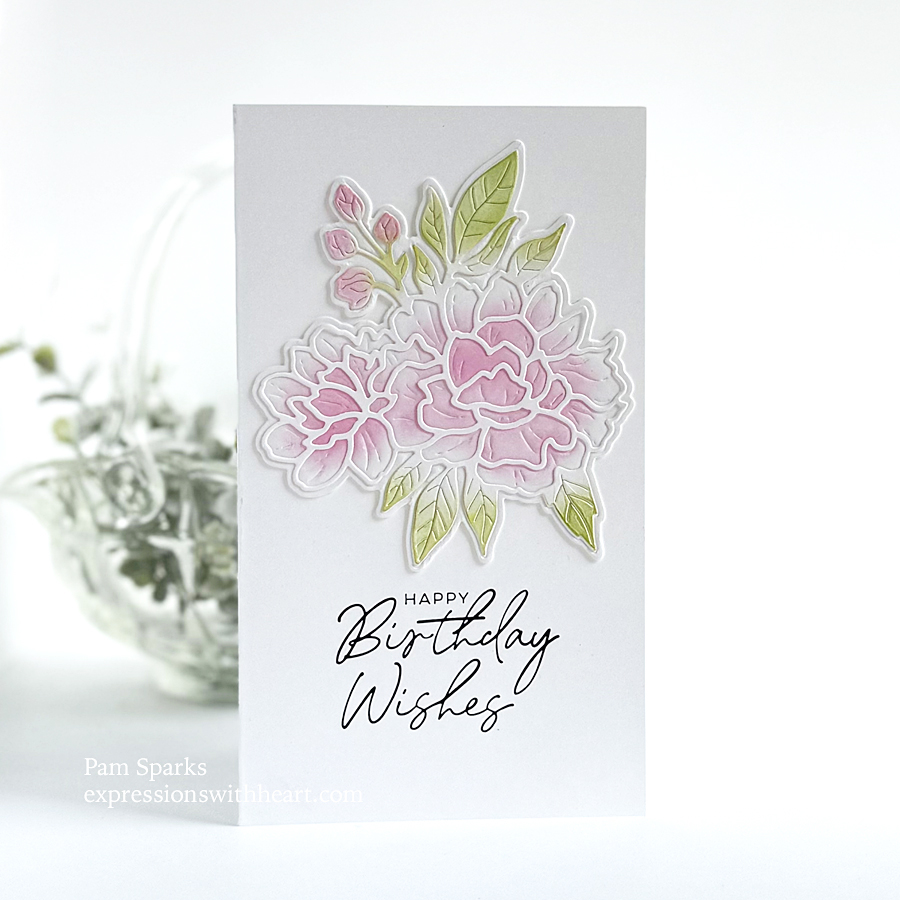
Hi everyone! A cheery Spring peony clean and simple card to share with you today! NEW from Spellbinders and designed by Yana Smakula….so pretty! It can be made with so many techniques!
I started by die cutting both dies in the set from white Hammermill cardstock.

Next I placed the floral die face down on the larger plain white die cut, taped the die in place and ran it through my die cutting machine with the tan mat so the design is impressed (you don’t want it to cut) into the die cut.
I inked up this impressed piece with Distress Oxide Kitsch Flamingo ink and a small ink blending brush.
Then on the floral outline white die cut, Inked the peony buds and leaves with Distress oxide inks and small brushes.
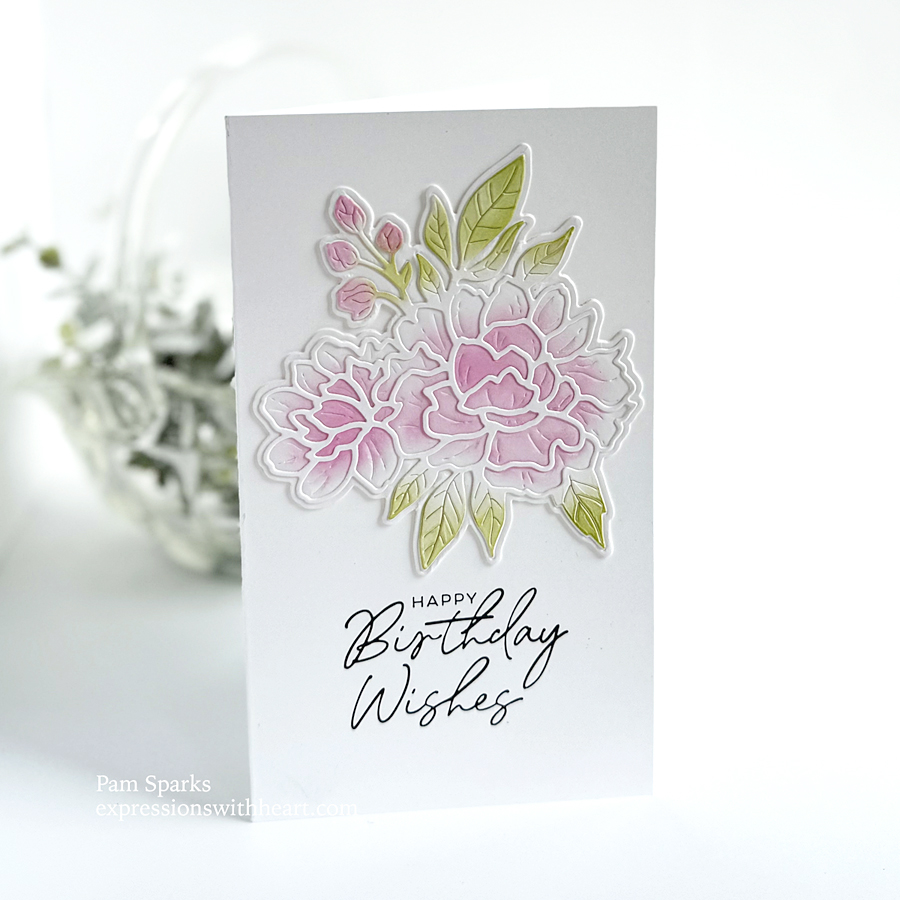
It’s a fast way to color die cuts for sure! It’s really pretty in real life too… softer looking than in the photos.
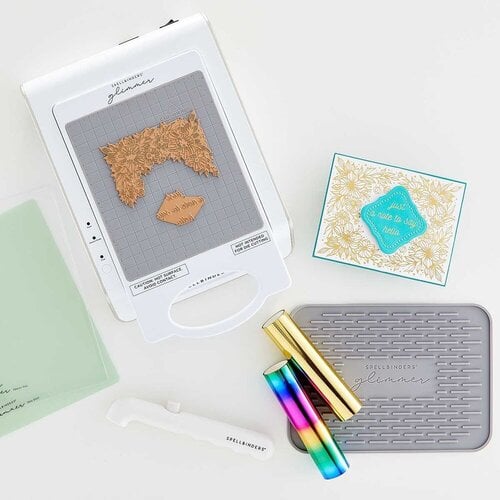
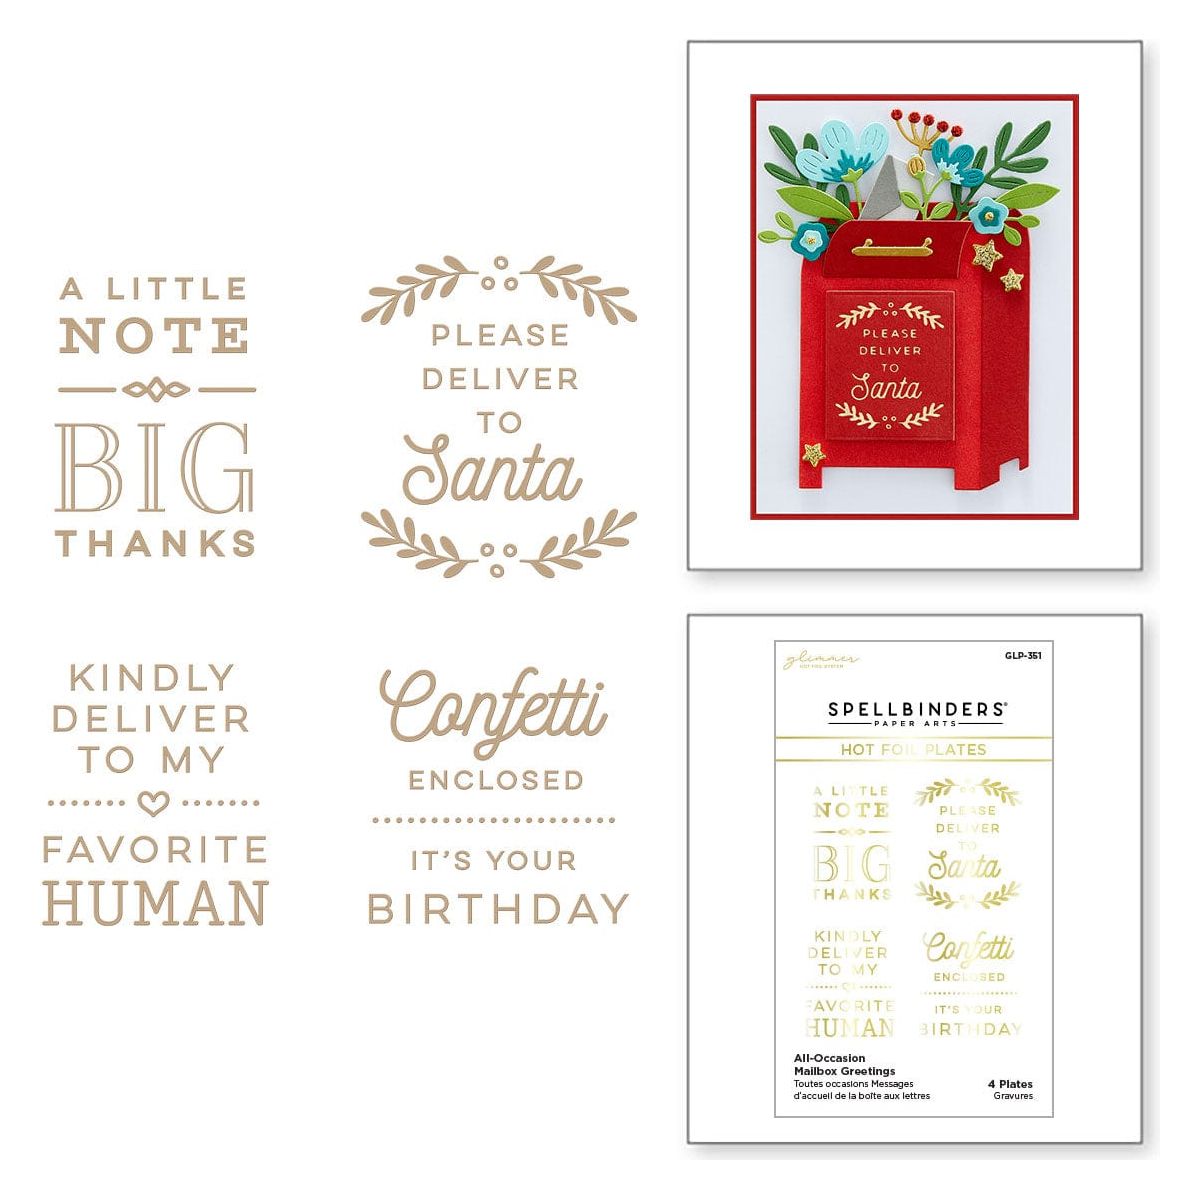
The sentiment is from a wonderful NEW Press Plates set also from Yana. I don’t have the Press Plate system so I used Spellbinders black foil and foiled the Happy Birthday Wishes directly to the card front! It looks so professional!
My card is 4 in. x 7 in. so it will need an A7 envelope but will still mail for one forever postage stamp.
Linking to some challenges…
Simply Clean & Simple April 2024 – anything goes, optional weather
Four Season Challenge – anything goes Spring
Triple B: April 2024 – Blooms for me this time
I’m sure a lot of you are thinking of gardens and flowers this time of year! My daughters are really into house plants so that’s been fun. I made 55 shower invitations! That’s why I’ve been rather MIA! lol Fun times!
Wishing you a beautiful Spring day!

Here’s links to the products I used to make this card…SPL is Spellbinders…SSS is Simon Says Stamp…. SBC is Scrapbook. com… STR is Starlitstudio. net. Thank you so much for shopping through my linkdeli links. It helps offset the cost of the blog and linkdeli and no cost to you! I appreciate it!


|


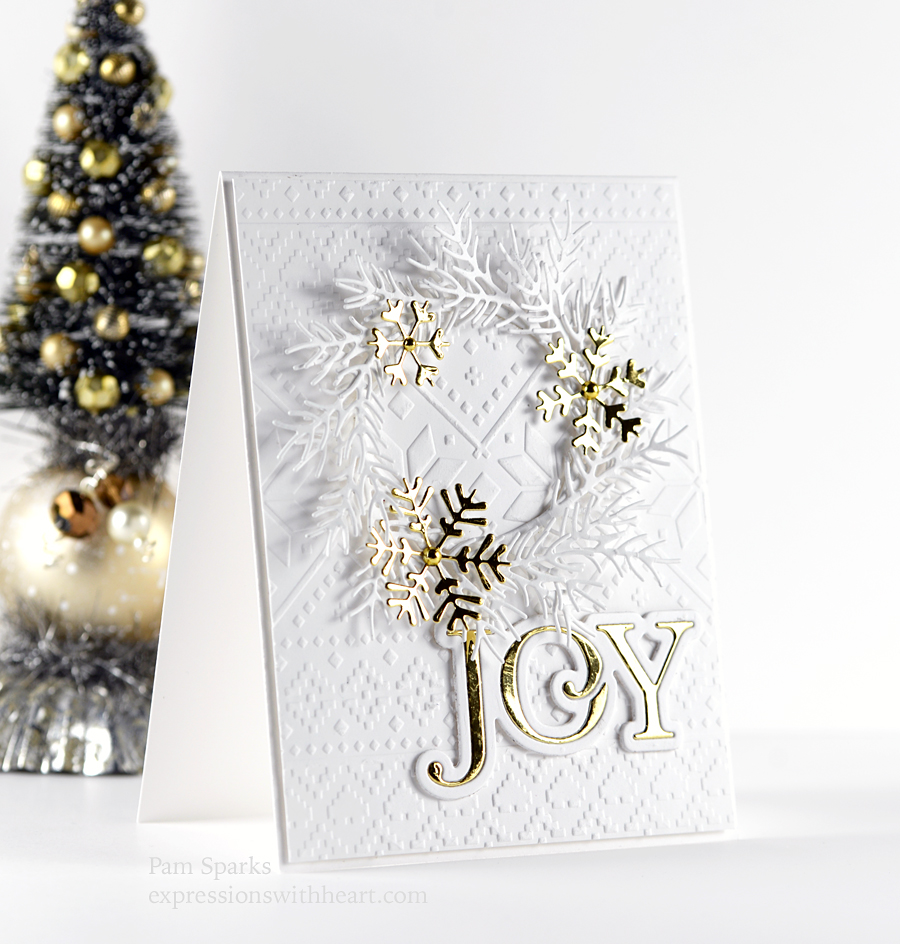
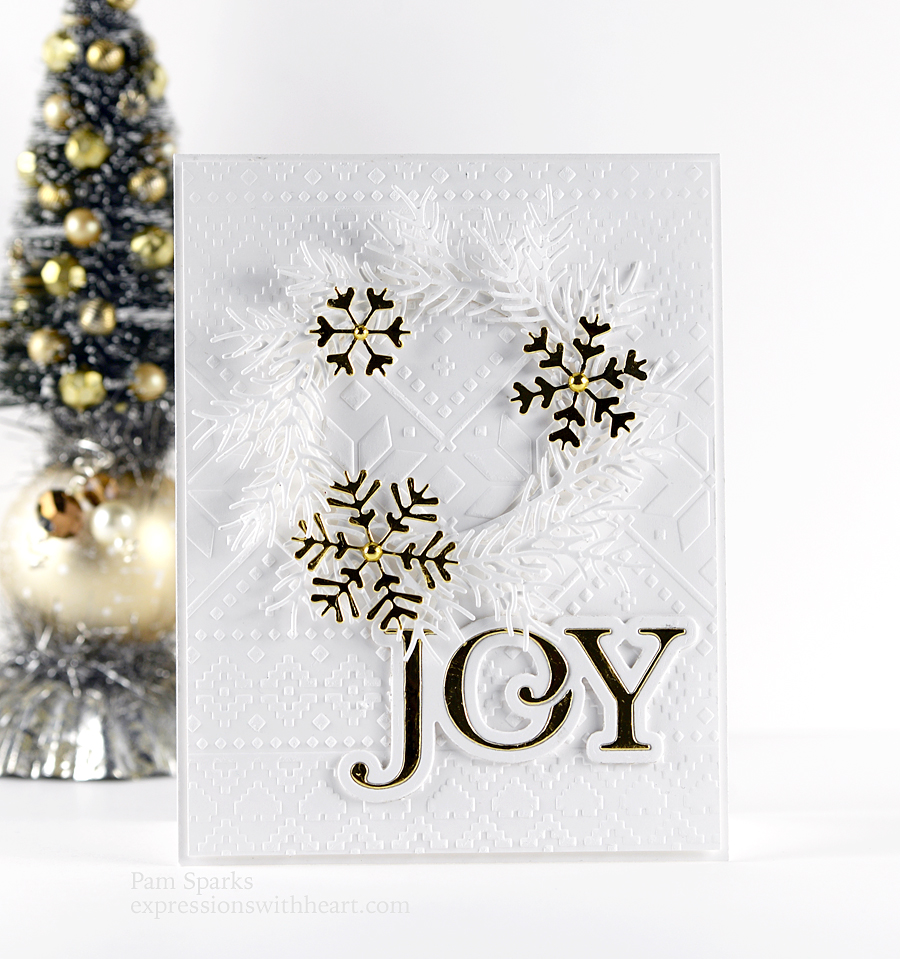


 I stamped the sentiment on the front and the one on the inside from the Birch Press Design Glad Tidings New clear stamp set. It’s a gorgeous set of sentiments. I’ll link it below. They stamp beautifully in the MISTI type positioners.