Hi everyone! I’m late with my card for this month but I know a lot of you will be getting your club soon so I still want to share!
I have to say I loved putting this collection together! Spellbinders dies are really well thought out and easy to stick together.
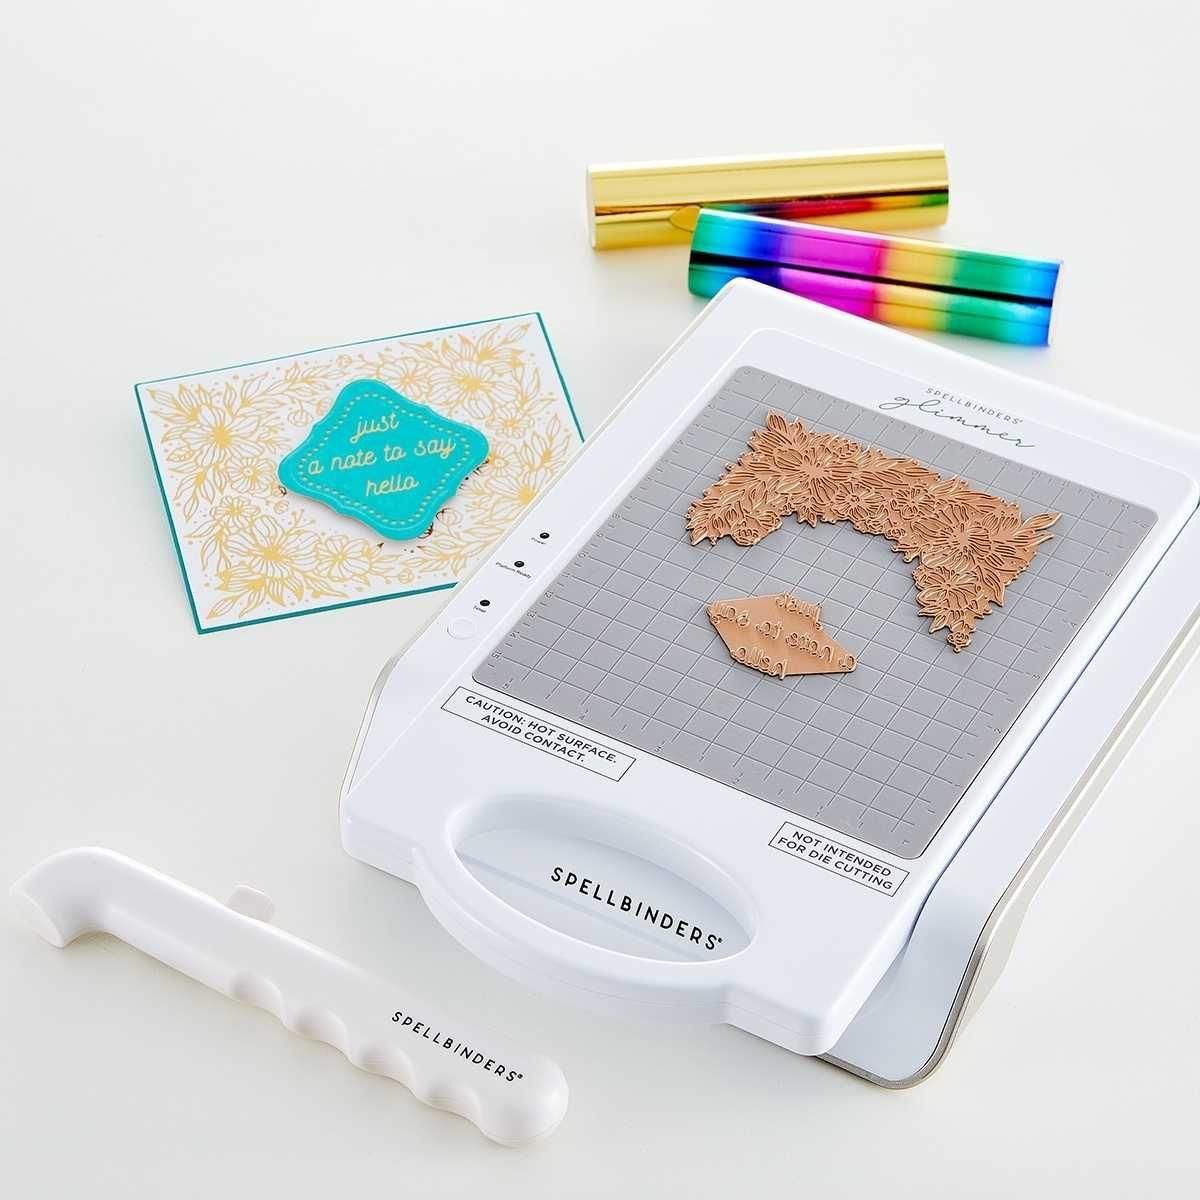
Here’s a short video with some tips I wanted to share…click/tap the bottom right corner to get full frame and full resolution. It might take a few seconds to load.
Happy Fall is from the September Large Die of the Month Club.

Just die cutting, gluing and flower arranging. Flower arranging takes me almost as much time as taking the pictures of the card! Season change again and natural light is tricky for me!
Oh, when I wanted the green darker for stems and parts of the boots I used a copic marker to go over it. Quick! Then I edged everything with coordinating brushes, just using the ink that was in them.
So fun creating with this set!
I’ll come back later and add a link to the set when it’s back in the Spellbinders store.
Linking to some challenges…
Triple B: September Challenge – Birds, Blooms and Butterflies
Simon Says Stamp Wednesday Challenge – Anything Goes
Addicted To Stamps and More #455 – Die Cuts and/or Stencils
Thank you so much for stopping by! Happy Fall!


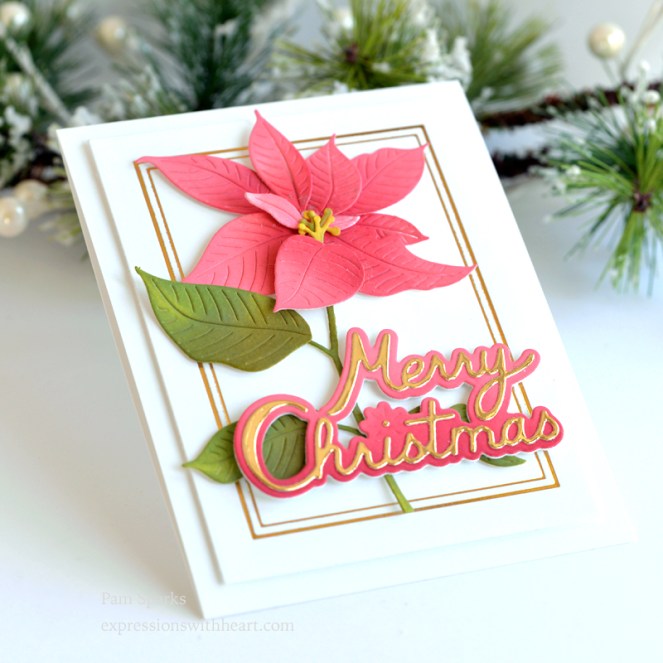
 Hi everyone! I’m getting a poinsettia card posted before you can buy them in the stores! I always look forward to them showing up for sale! The seas of poinsettias when you walk in the door!