cards · Christmas · Die Piecing · Simon Says Stamp

Simon Says Stamp Diecember Shimmer Oval Die Card…

Hi everyone!  I hope you’re starting to receive some handmade cards!  I hope to get mine mailed out this weekend!

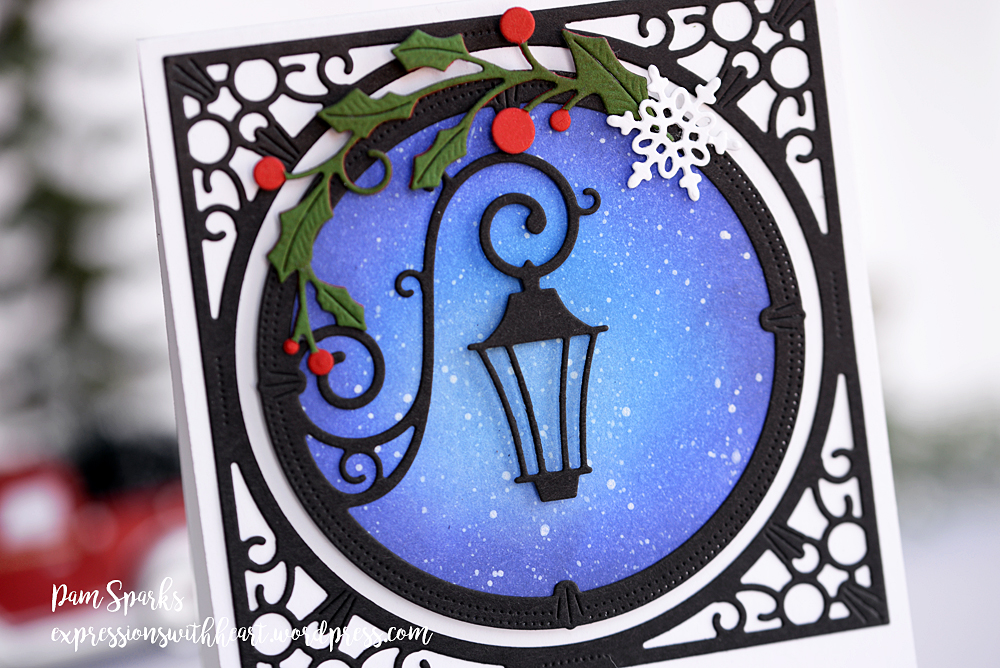
Today’s post is about this new die from Simon Says Stamp, Shimmer Oval.  This was so easy to make!

I die cut in 110# Neenah Classic Crest Solar White cardstock.  I do shim but I use copy paper, not the metal shim.  I just add a folded piece of copy paper on top of my top cutting plate and cut with the die blades up.  This one I used two folded pieces of copy paper, so 4 layers.

Then the oval white panel and the gold glitter panel I die cut with Memory Box Rectangle Basics dies.

I heat embossed the sentiment from SSS Inside Christmas Greetings clear stamp set on a piece of vellum with Ranger super fine detail gold embossing powder.

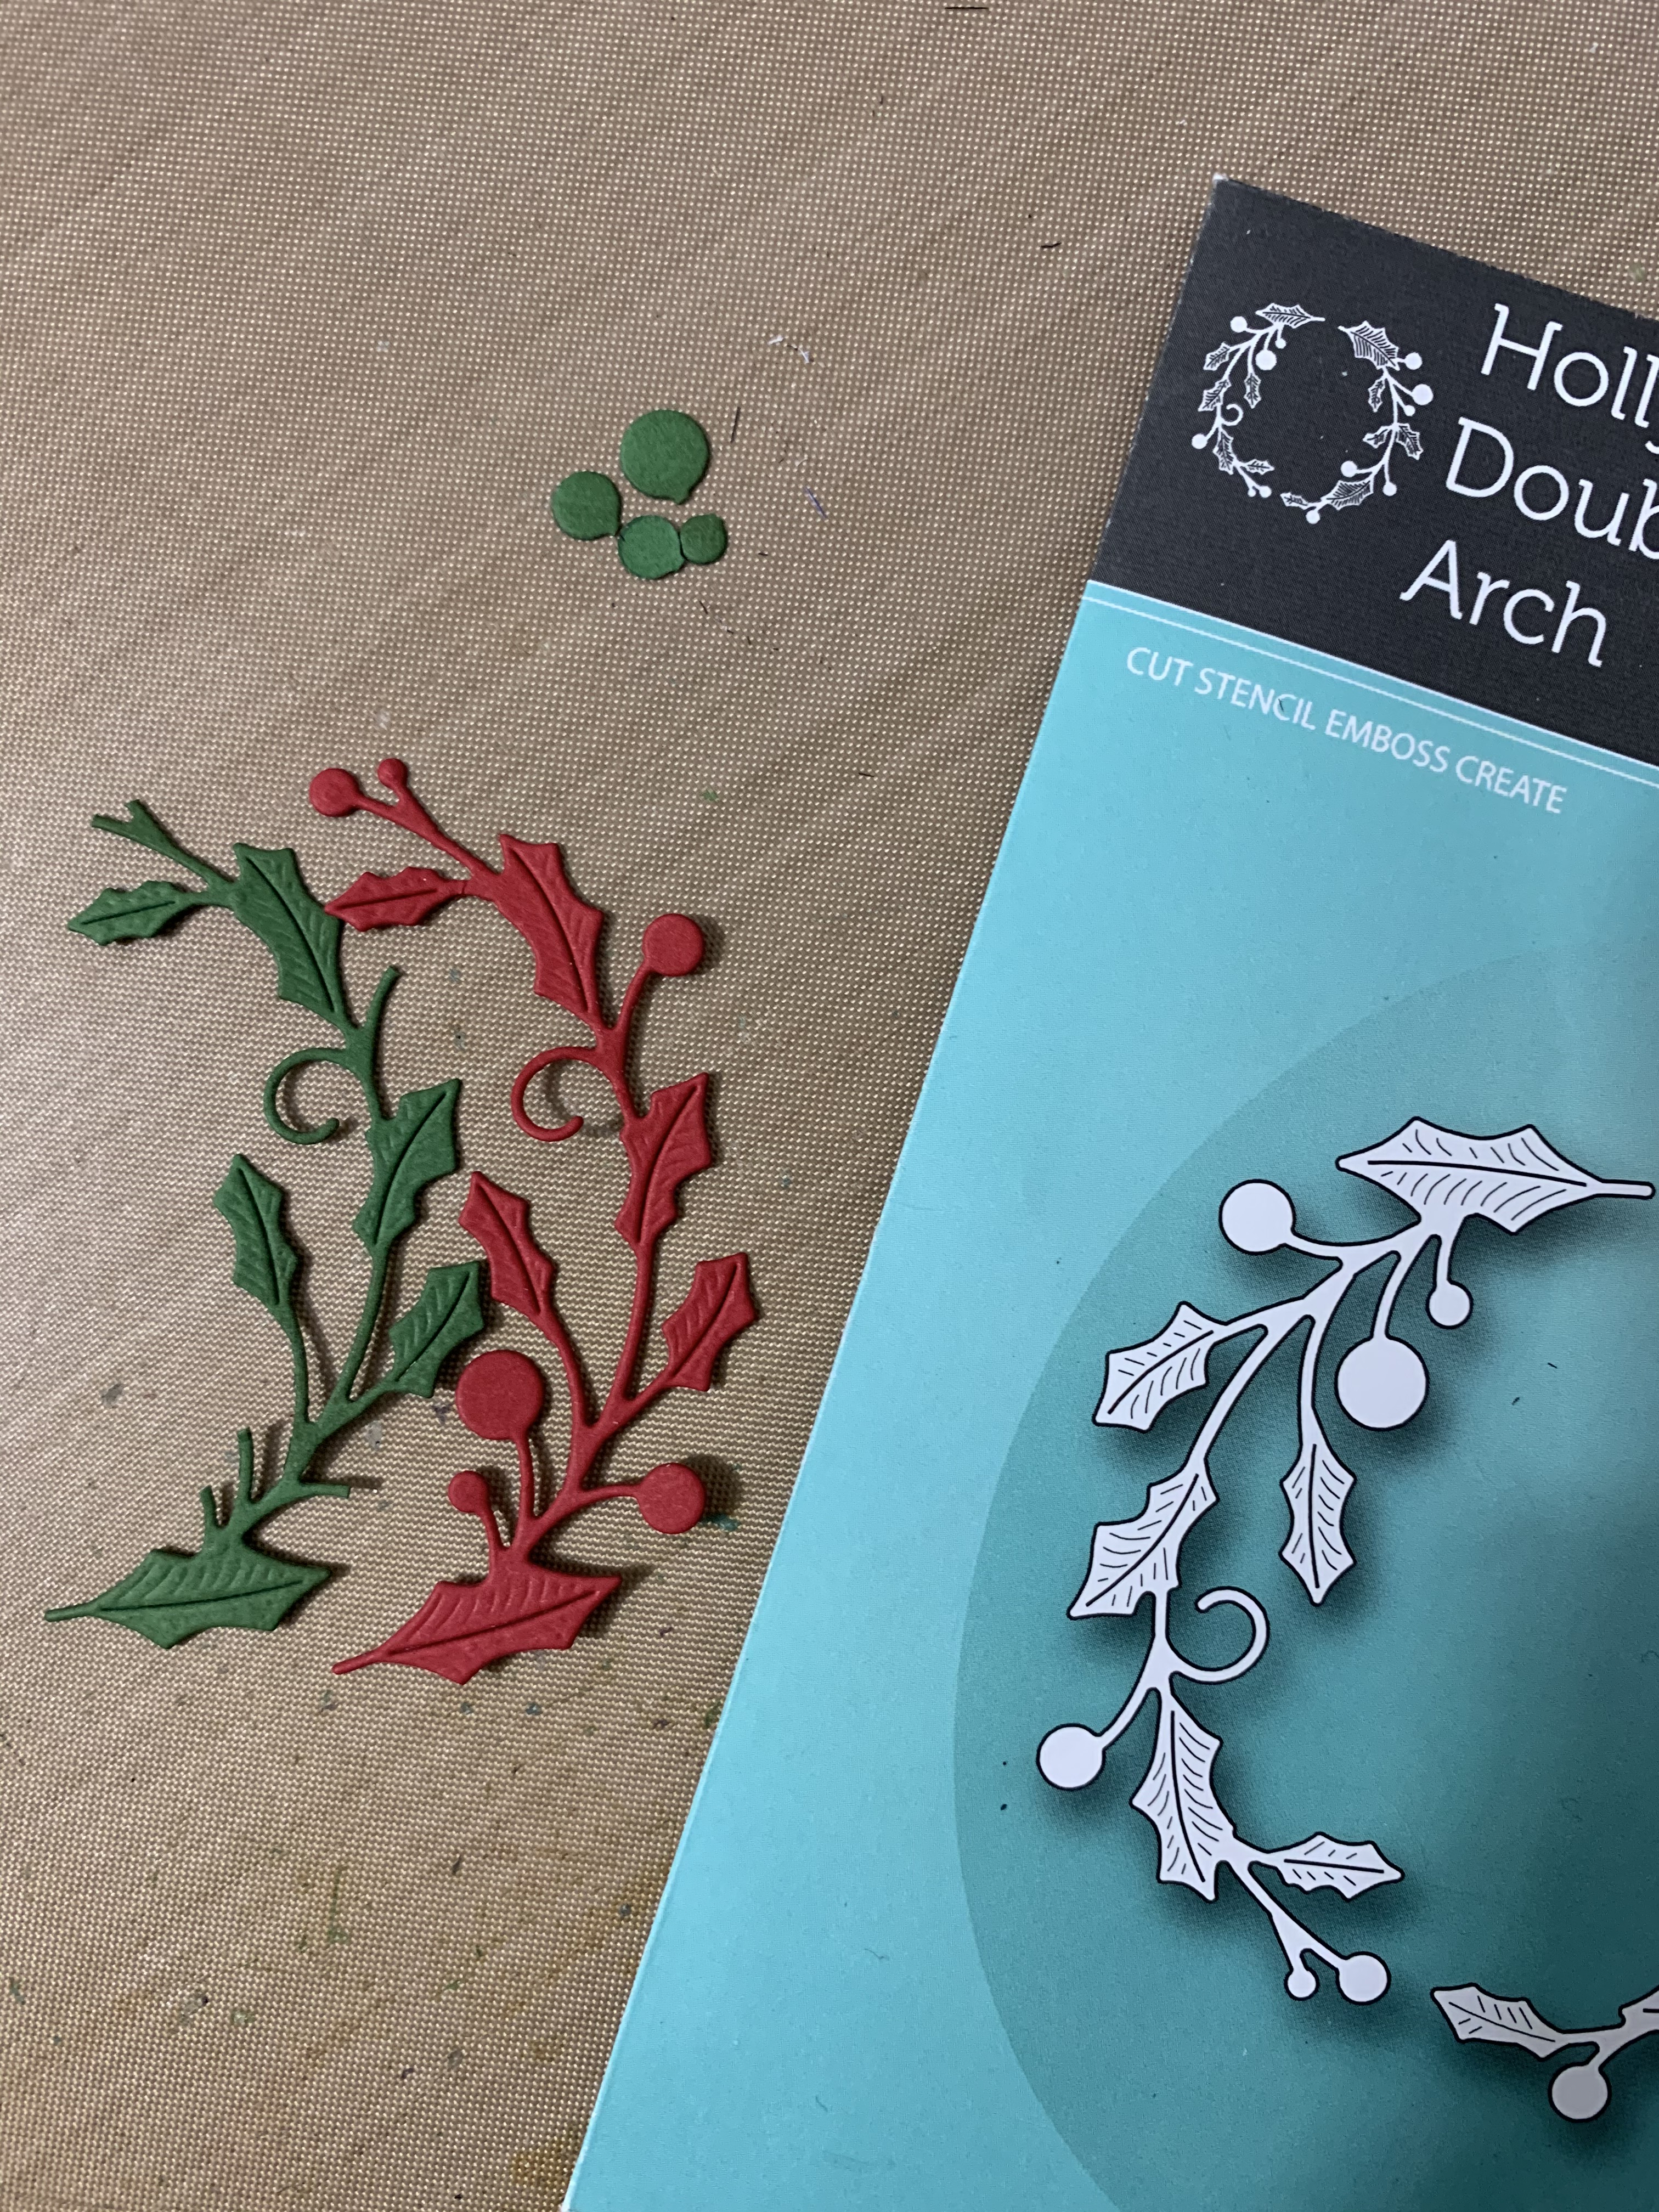
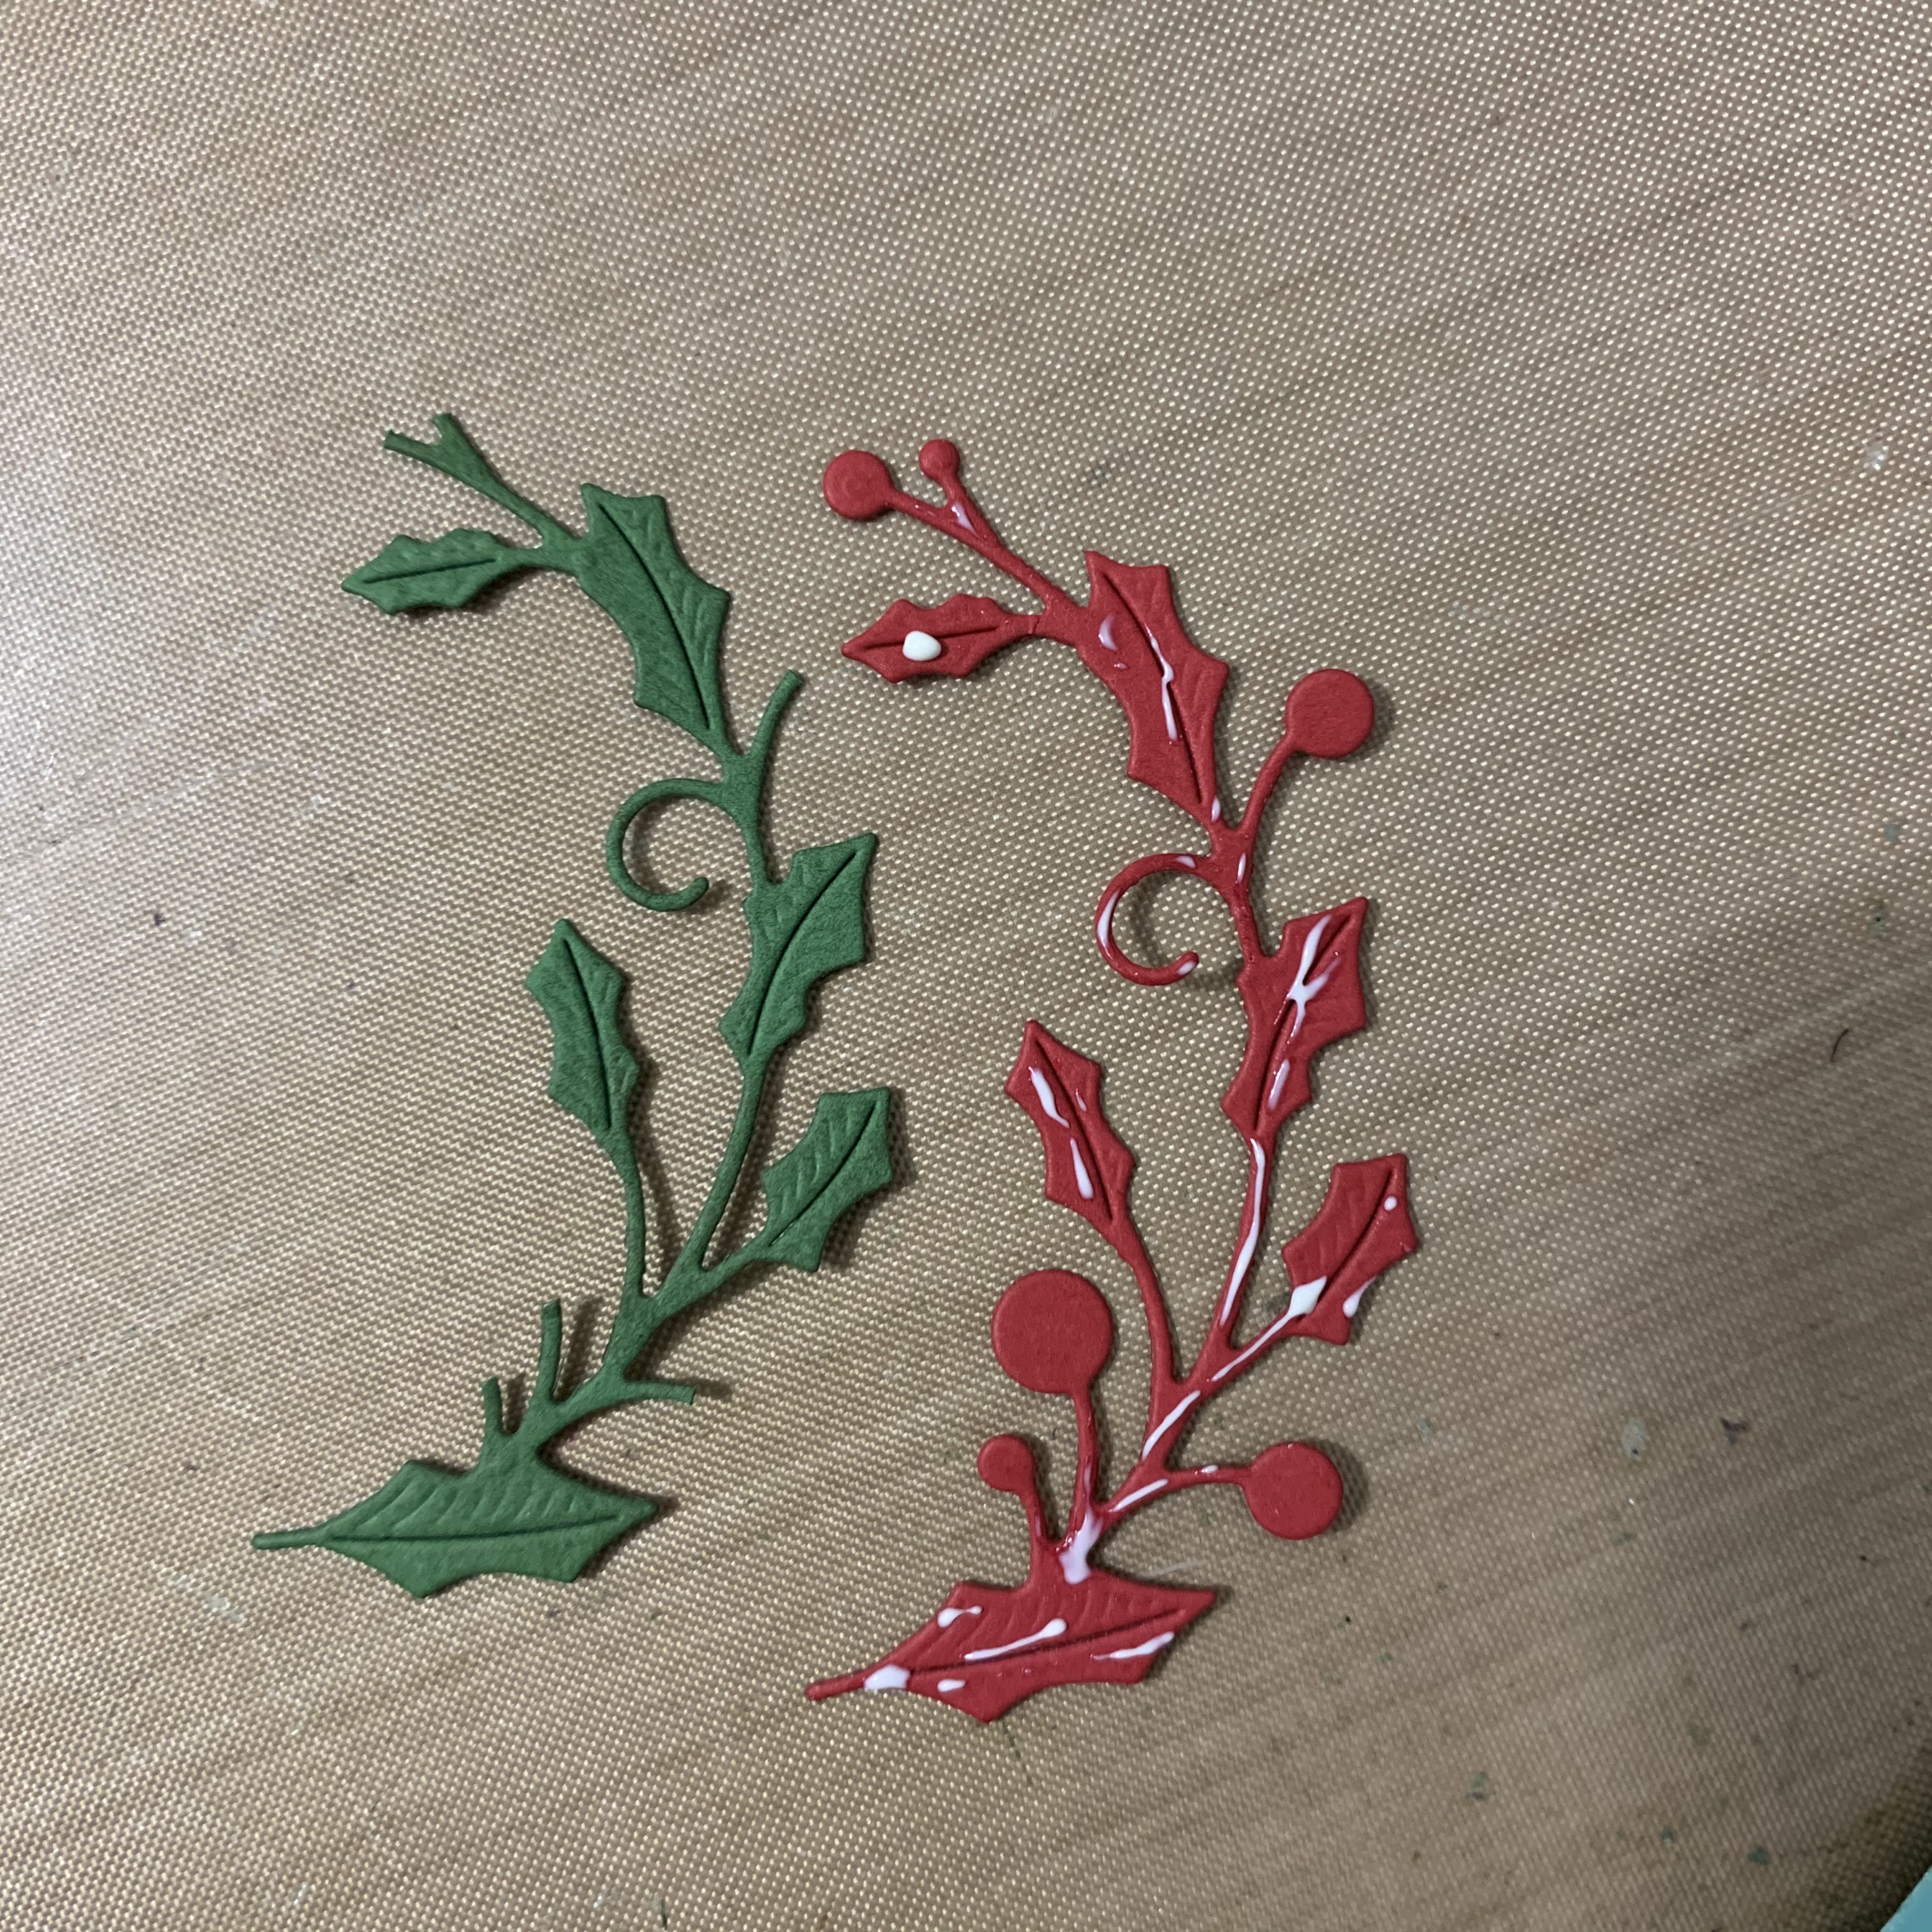
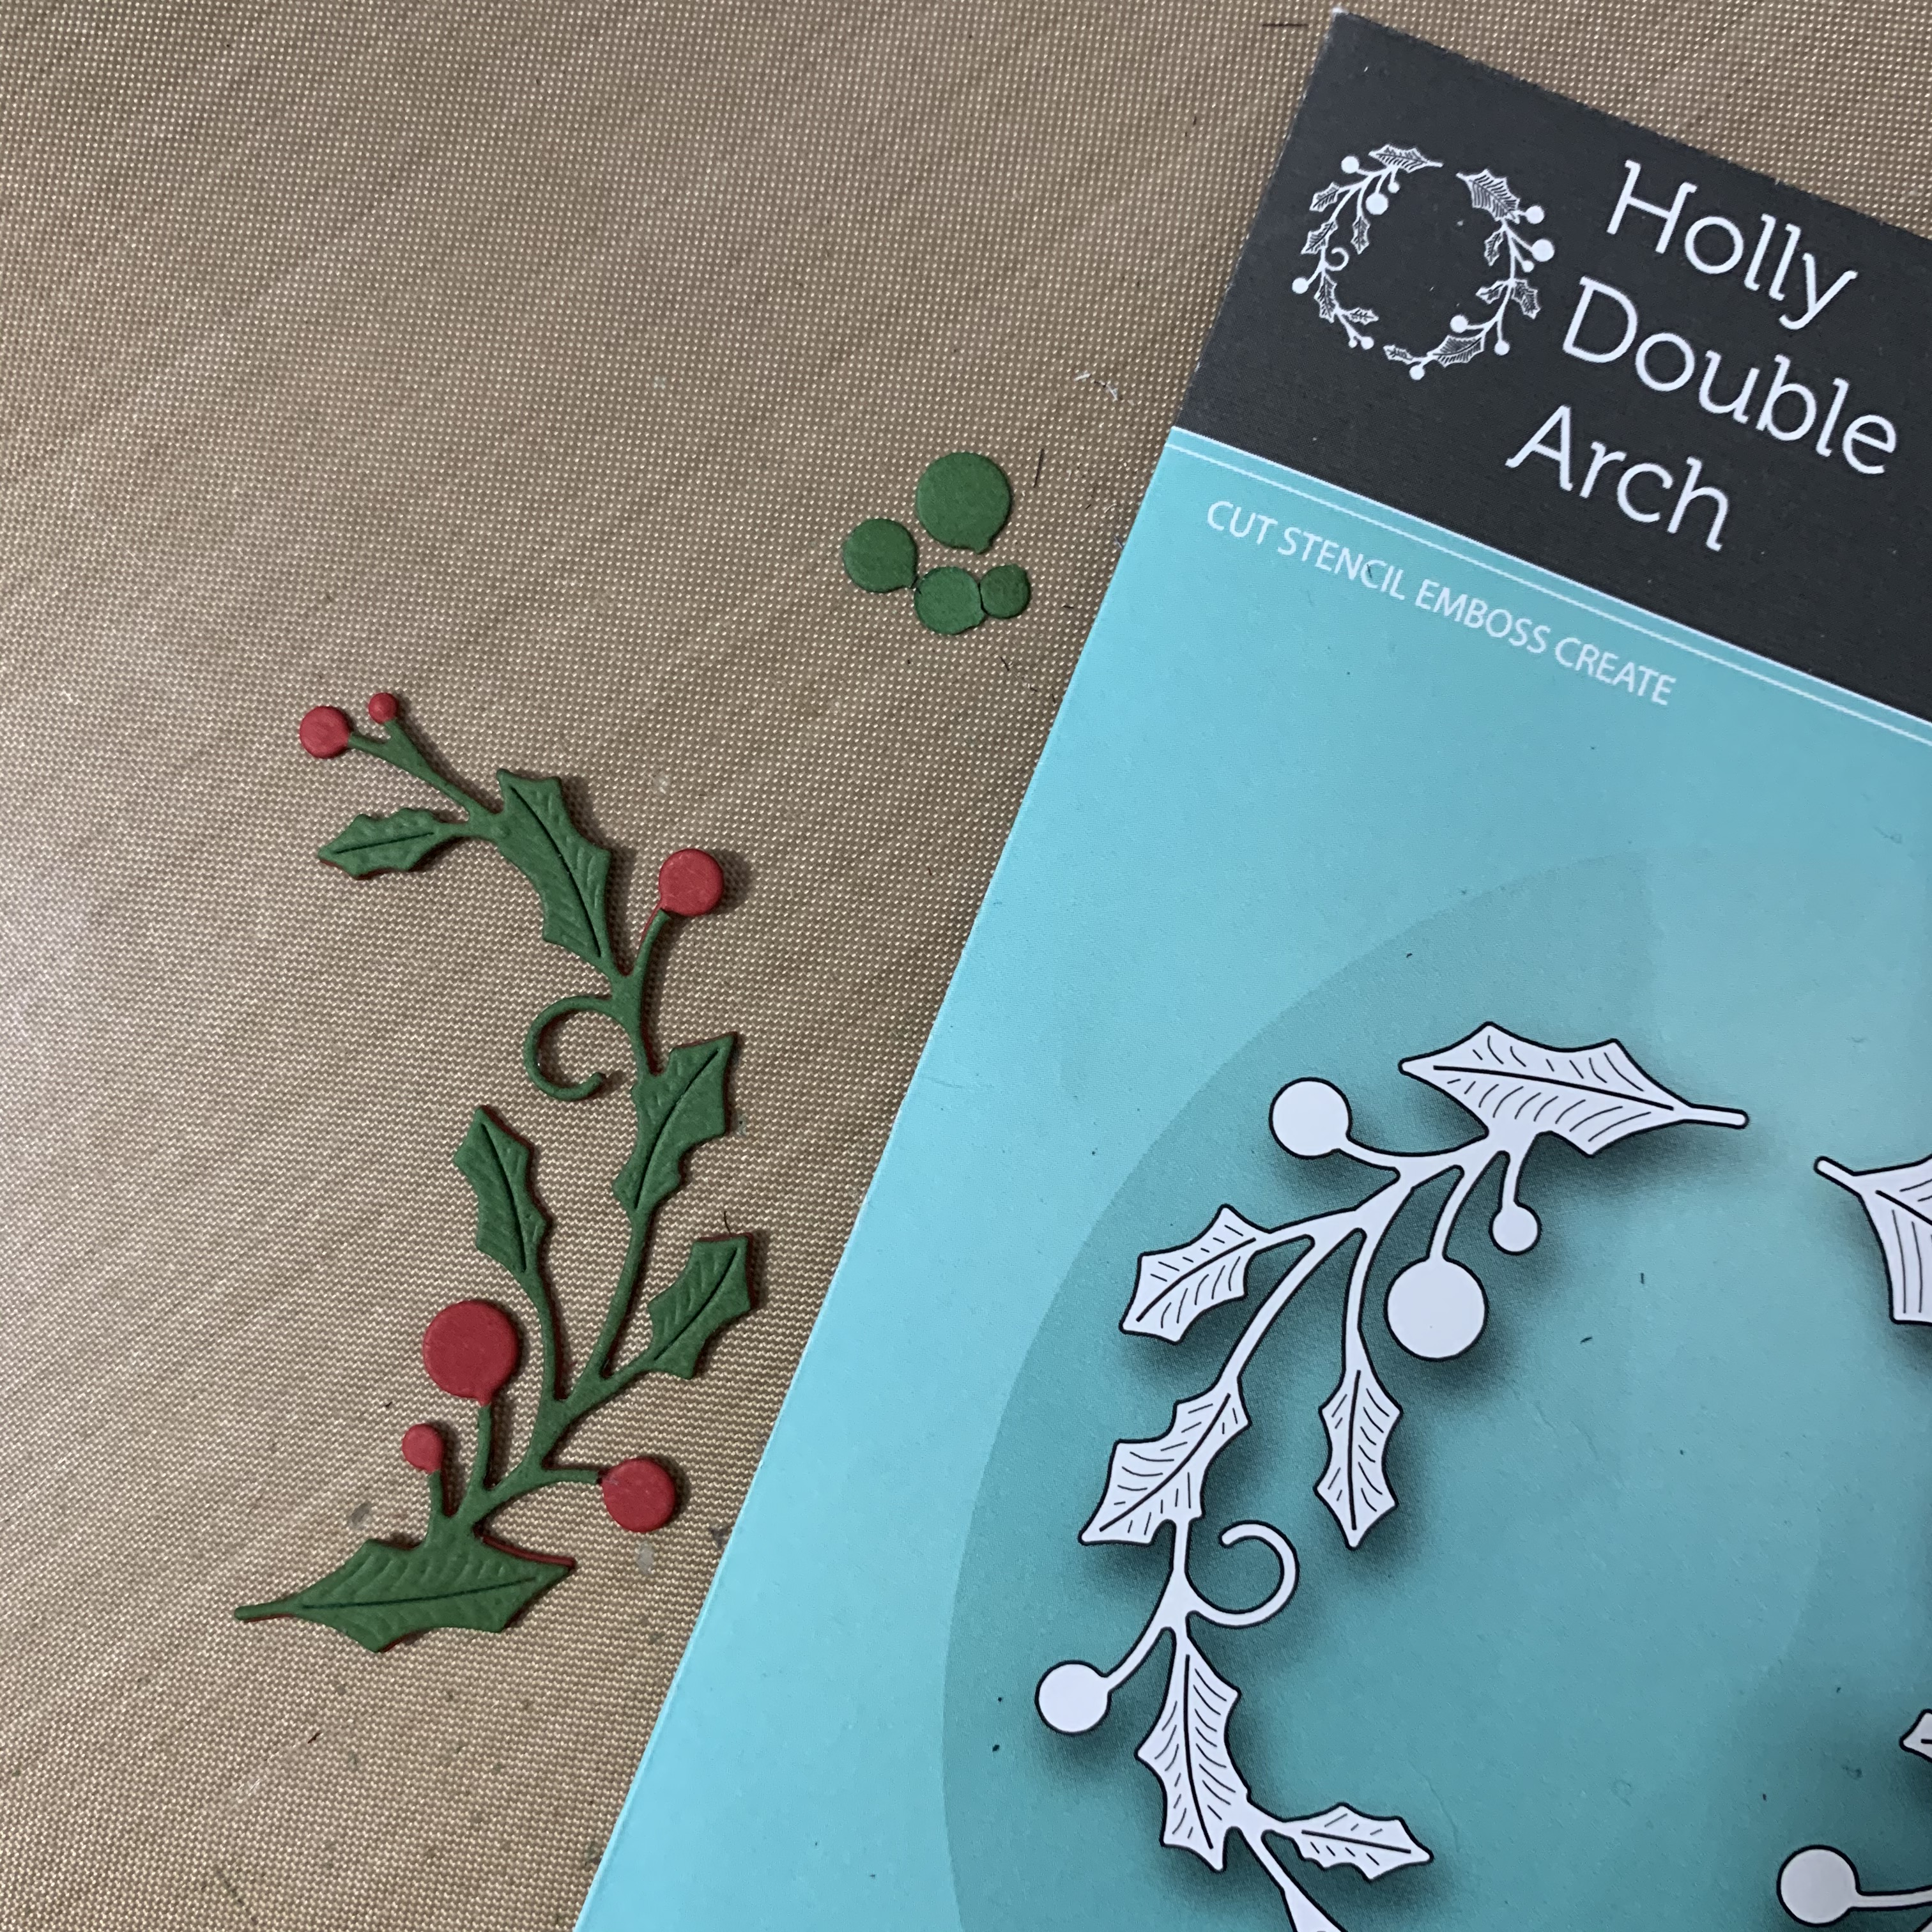
I die cut two of the mistletoe dies from the SSS Christmas Foliage die from Diecember Release also.  I added Ranger Gold glitter stickles to the berries.  I debated adding them but I gave myself a talking to.  I’m always wanting to leave things plain, so I had to ask myself why did I buy gold glitter stickles then?!  So I put them on the berries. ha!

I glued the gold glitter cardstock panel to the white A2 cardbase first.  Then I adhered the white oval panel with strips of foam mounting tape.  The white floral oval is glued flat on the inside of the popped up oval panel.

I prepared the vellum panel by creasing the folds on each end before I stuck the white panel down, making it easier to adhere after I placed the inside floral oval.

Then I just glued the ends of the mistletoe cuts.


I still have to stamp something on the inside.  In fact most of my cards that I need to get mailed still need stamped on the inside.  I am always sorry I don’t do that when I make the card. moan.  Oh well, I’ll set up the platforms and get them stamped!  hehe

Thanks for stopping by!  Happy stamping, shopping, whatever phase you’re in!  Relaxing would be nice! haha

Shopping links below…

Simon Says Stamp SHIMMER OVAL Wafer…
[ SSS ]
Simon Says Stamp CHRISTMAS FOLIAGE…
[ SSS ]
Simon Says Clear Stamps INSIDE…
[ SSS ]
Ranger Embossing Powder SUPER FINE…
[ SSS ]
WOW DUAL SPEED HEAT TOOL WZHT-USA
[ SSS | SSS ]
Tombow MONO MULTI Liquid Glue Two…
[ SSS ]

cards · Christmas · Die Piecing · Memory Box · Poppystamps · Winter

Memory Box Hanging Lantern and Holly Double Arch Card…

Hi everyone!  and on the inside it says “Celebrate the Season”  from the same stamp set by poppystamps, Art Deco Celebrate Christmas.  I hope you’ve been doing just that!

We have been here!  Our family is having so much fun this Christmas.  It was so nice last week I took grandkids shopping every afternoon except for one and that one I went with one of our daughters.  Then Monday we braved the bitter wind and cold temps to drive 25 miles to Hobby Lobby for the last 4.  We have a wonderful lot of grands!  😀

Now, I’m working on my spreadsheet of who gets what for presents and stocking stuffers. :O lol

I wanted to show you this card I made for the stamp club gals I meet with once a month here.

I used the Memory Box Hanging Lantern die from last year… the new Holly Double Arch die from this year and the smallest snowflake from the poppystamps 2016 Ava Snowflakes set.

Some Distress Oxide inking on the circle…three bluish ones… spatter with white acrylic paint of white liquid watercolor.

Here’s 3 pictures of how I did the Holly Double Arches…

I die cut in red and green…

Then I clipped off the green berries…

I glued the green cut on top of the red cut being sure to line everything up…

and there you have it!  So easy when you’re making multiples!

I used mounting tape under the circle and the top and bottom of the lantern but everything else is glued flat.

So happy to share a card with you again… I’m sure I’ll be back with more… so much I still want to do! eek! Not sure it’s humanly possible! ha!

Thank you for stopping by!

Some shopping info!

There’s NEW Memory Box products at Starlit Studio!!! Always on special! Click STR link below

Simon Says Stamp is running a special with 15% off Memory Box right now too… just click a SSS link below if you want to look! Use code MBX554

Memory Box HANGING LANTERN FRAME…
[ SSS ]
Memory Box – 94304 Harvest Double…
[ STR ]
Art Deco Celebrate Christmas clear…
[ PPP ]
Welcome to Poppystamps –
[ PPP ]
Sizzix – Big Shot Accessory – Tool…
[ SBC | SBC ]
Sizzix – Big Shot Machine – White and…
[ SBC | SZZ | SSS | SBC ]

Birthday · cards · Christmas · copics · Cottage Cutz · Die Piecing · Winter

Cottage Cutz Peeker Snowmen Birthday Card…

Cute card warning….and these snowmen fit the part! It’s a dreary windy, rainy day here. A little blog cheer is called for!

My white pen was acting up…grrr.  The cardinals have a dot of black enamel accents on their eyes.

I die cut the snowmen in white and colored all the parts with Copic Sketch Markers.

I die cut the music in black and left it complete…die cut it again in white and cut out the snowflakes and glued them over the black ones.

The background is Distress Oxide inks and the mini ink blending tools…Salty Ocean, Blueprint Sketch, Chipped Sapphire and Black Soot.

This is for our oldest daughter that was born on Christmas Day!

I was inspired by Leslie Miller’s 2nd card HERE.  It’s funny the twists and turns a card takes as it comes to life!  Kinda like Frosty! lol


Thank you for stopping by today!  Have a fun shopping weekend!  Here’s the stores I link to as an affiliate.  Thank you so much for clicking through my blog when you can!

Taylored Expressions Craft Store -…
[ TE ]
Simon Says Stamp World’s Largest…
[ SSS ]
Impression Obsession Rubber Stamps
[ IST ]
Scrapbook.com – Ideas, Supplies,…
[ SBC ]
Art Supplies, Crafts & Framing |…
[ BLIC ]
Home | Sizzix.com
[ SZZ ]
Spellbinders Paper Arts – Die Cut,…
[ SPL ]
My Favorite Things | Clear Stamps &…
[ MFT ]


Shopping links for what I used…

CottageCutz Peeker Snowmen
[ SCR ]
CottageCutz Icicle Border (7″ Long)
[ SCR ]
Simon Says Stamp JINGLE SNOWFLAKES…
[ SSS ]
Carta Bella 12×12 Double-Sided…
[ STR | SBC ]
Copic Sketch Markers
[ BLIC | SBC | TE | SSS ]
Sizzix Big Shot Machine Only (White &…
[ SZZ | SBC | SBC | SSS ]


cards · CAS · Christmas · Die Piecing · Distress Ink coloring · Memory Box · Poppystamps · Winter

poppystamps Cottage Window Scene Card…


Hi cardmakers and friends…welcome to my Country Winter Wonderland on a card post today!

I pulled out some scene dies from last year to use with this NEW poppystamps Cottage Window die. The house is from the NEW poppystamps Village Houses die and I embellished the card with the NEW poppystamps Holly Outline die.

This could easy be a Winter thank you card or any occasion card for after Christmas!

I left the holly cut in the die, turned it over and inked it through the holes in the die, similar to stenciling… pouncing and adding color with the mini ink blending tools. Fun to do something a little different.

I stamped the sentiments from the Memory Box Mistletoe Swag stamp set using the Precision Press Advanced Stamping Tool.

For the scene behind the window I used poppystamps Open Hillside and Sloping Hillside dies.  There are so many Memory Box or poppystamps dies that would work though. YES!

The two tree pieces are glued together flat and the house is glued together and then glued to the scene flat.  Then using mounting tape around the window frame I adhered the scene pieces to the window, then I added another layer of mounting tape to the frame to stick it to the A2 cardbase.  It will still go through the mail for one stamp, it’s not to thick. 😀

I added the Holly Outline die cut with mounting tape also, just one layer though.   That’s it!  I really love this! I didn’t spray it all sparkly or frosty but you sure could!  I debated whether to or not! lol  I wish you could see it in person!

Thank you all for stopping by today!  It’s so fun to show and tell!  I hope it inspires you and if you ever want to send me pictures of what you make or link me up if you’re posting, I love to see other’s show and tell too!  I love inspiration!

Take care and have a beautiful, thankful week! I am thankful for you!

Here’s what I used to make this card…

Poppystamps – 2238 Cottage Window…
[ STR | SSS ]
Poppystamps – 2272 Village Houses…
[ STR | SSS ]
Poppystamps – 2258 Holly Outline…
[ STR ]
Memory Box – CL5247 Mistletoe Swag…
[ STR | SSS ]
Poppystamps – 1867 Open Hillside…
[ STR ]
Poppy Stamps SLOPING HILLSIDE Craft…
[ SSS | PPP ]
We R Memory Keepers – Precision Press…
[ SBC | SSS ]
We R Memory Keepers – Mini Precision…
[ SBC | SSS ]
Sizzix – Big Shot Machine – White and…
[ SBC | SBC | SZZ | BLIC ]

And SHOP Simon Says Stamp for the DOORBUSTERS!

There’s tons more when you click the link! The products in the ad are NEW and just for this promotion!

cards · CAS · Die Piecing · Distress Ink coloring · Poppystamps · Winter

poppystamps O Holy Night and Holly Frame and Stencil Card…

Are you singing yet? I’m not out-loud at the moment but I am inside! lol

I started this card by die cutting the NEW poppystamps Holly Frame die in white cardstock and using the stencil that came with the die to color the holly leaves.

I’m really happy with this green!  I used the mini ink blending tools and 3 Distress Ink pads in Evergreen Bough first, Pine Needles second and the last one over the top is Mowed Lawn.  I love this combo and it’s even prettier IRL!  I colored the berries with R27 Copic Sketch marker, then laid the stencil back on and spattered with Heidi Swapp’s Gold spray.

The circle of white cardstock you get when you diecut the frame, I colored with Red Distress ink pads and mini ink blending tools.  I started with Worn Lipstick, then Candy Apple, then Festive Berries, then a little Aged Mahogany around the edges. I love how this combo worked up too!  I spattered it with gold ink also.  I use a dropper to get the gold out of the spray bottle and put a little out on a clear block and brush it off the edge of the block with a paintbrush to spatter the cardstock.

I die cut the NEW poppystamps O Holy Night Flourish die in metallic gold cardstock, just one layer this time.  I did put little pieces of mounting tape under some of the letters though so it wouldn’t fall in.

A pretty card but not real labor intensive either!  YAY!  I just love how it turned out!

I used mounting tape under the holly leaves and cut strips of mounting tape to go around the outside rectangle part of the frame. Then on to the cardbase.  I glued the red piece directly onto the cardbase, it’s not mounted up.

An A2 size card and it should go through the mail great, I like using a larger envelope such as an A6 or 7 to protect the corners.  Still the same price. I love the presentation of it being in the right size envelope though and if I remember, I put it in an A2 envelope first then into the larger one.

Thank you for stopping by today!  I have another Winter scene card going up tomorrow.  Then it’s Thanksgiving with the family and then some Christmas decorating around the house, which I’m sure most of you will be doing too!  YAY!  See you tomorrow!

Links to what I used to make this card…

Poppystamps – 2283 Holly Frame and…
[ STR | SSS ]
Poppystamps – 2270 O Holy Night…
[ STR | SSS ]
Heidi Swapp GOLD LAME Color Shine 00791
[ SSS ]

Scrapbook.com