
When you hit play it will give you options at the bottom. You have to click for full size! To close, hit escape. It might take a minute for this to load to full resolution.
Shop the new release at STARLITSTUDIO.NET
When you hit play it will give you options at the bottom. You have to click for full size! To close, hit escape. It might take a minute for this to load to full resolution.
Shop the new release at STARLITSTUDIO.NET

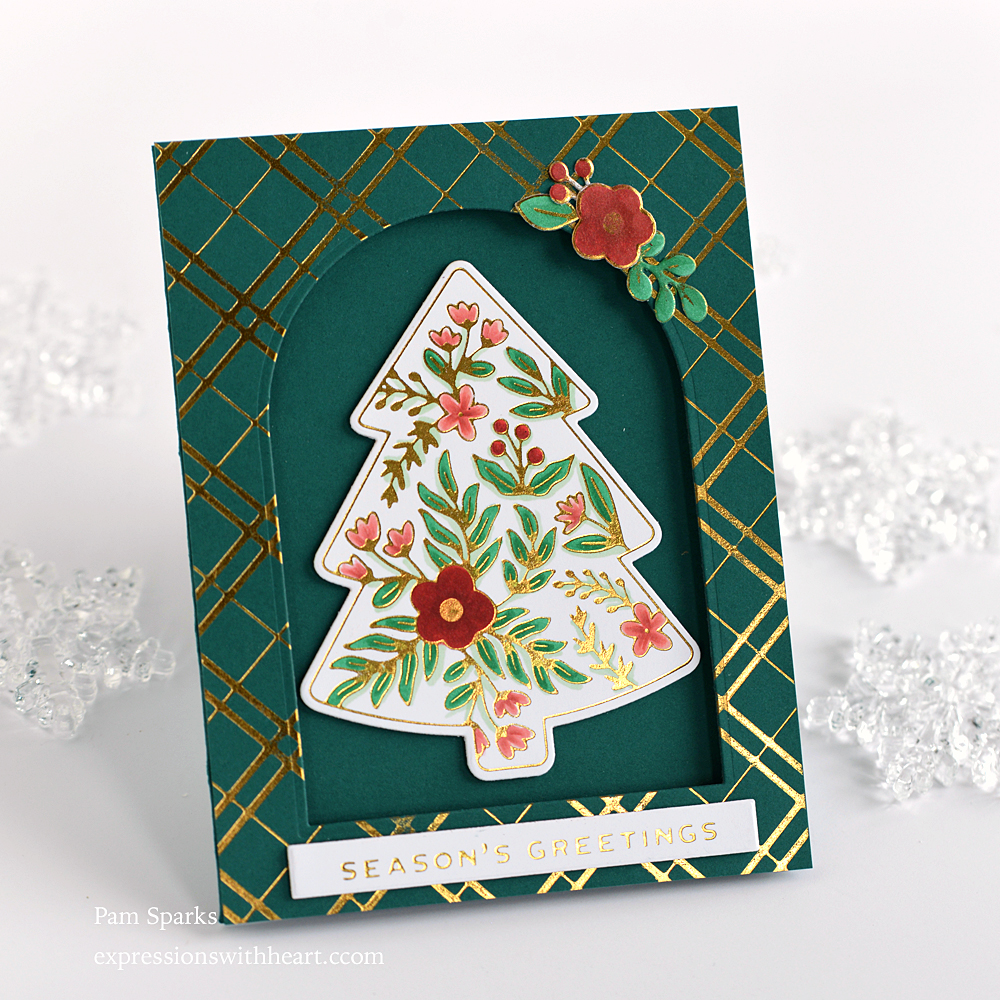
Hi everyone! I’m feeling festive on this second Friday of August already! This is such a pretty hot foil plate set! Easy and fast to add some touches of color too!
I used the Plaid Tidings Background Glimmer Hot Foil Plate on the top layer. While I was deciding what I was going to do for this card, I also just embossed this plate through my machine… it worked great!
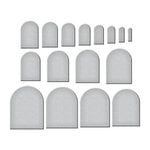
After I foiled the Plaid, I die cut one of the Essential Arches Dies in the panel. I used mounting tape to raise it up on the cardbase.

I hot foiled a sentiment from the Christmas Magic Glimmer Hot Foil Plate set. I haven’t tried embossing these yet but I want to. I hope it works!
The smallest die in the Precision Layering Mini Slimline B die set works perfect for cutting out these sentiments! YAY!
A2 size card…one more for the stash!
That’s all there is to it! Holler if you have any questions! Have a wonderful weekend!

Here’s what I used to make this card…
|

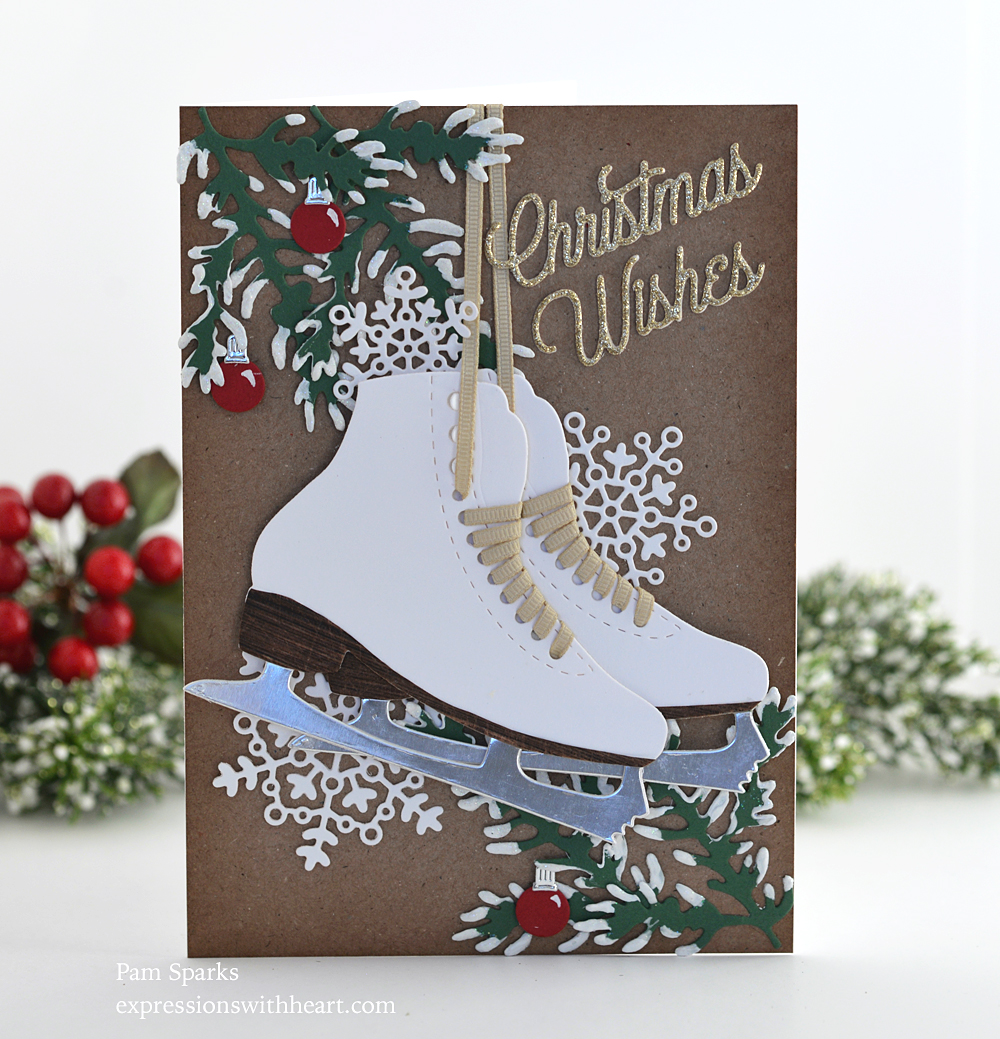
Hello! Sharing some icy Christmas wishes today! I know, I know… I don’t wanna think about that yet either! It’s cooled off a little here but still…humidity means the corn is growing or drying out I guess.

I loved ice skating when I was growing up. There was a park in the city that closed a street for sledding and made a pond for ice skating. My dad would take us a lot during the Winter…so fun!
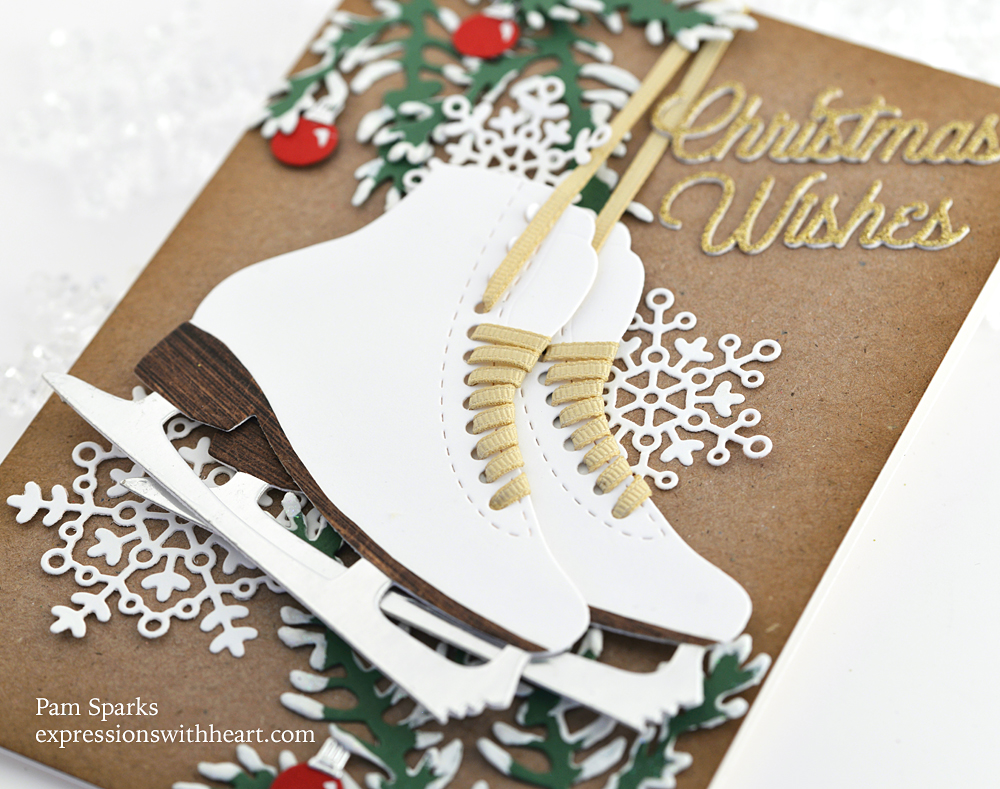
I die cut the NEW Ice Skate Etched die from Spellbinders in white cardstock two times. In a woodgrain pattern paper for the sole and in silver cardstock for the blades.

I have a bunch of ¼ in. grosgrain ribbon but none in white. boo. I used the tan and tried not to sweat it! lol
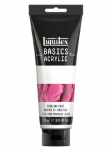
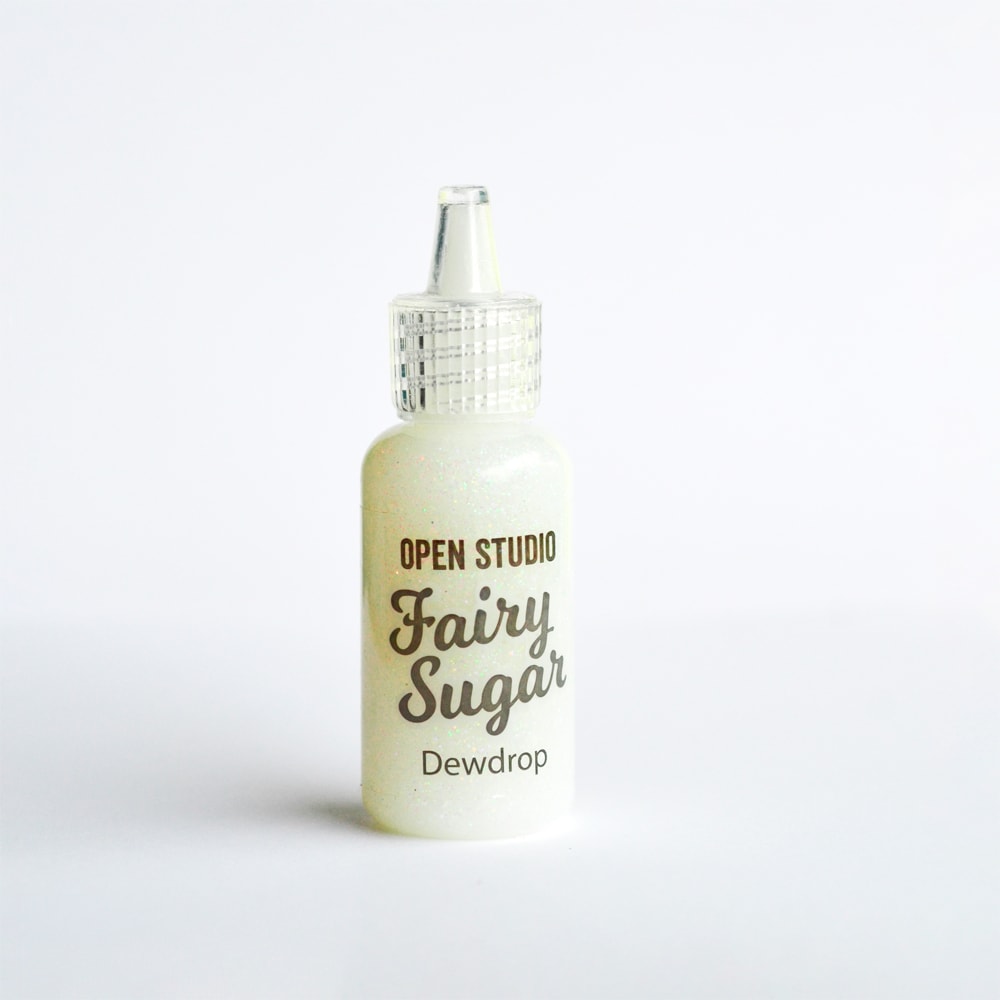
I used one of the branches from the NEW Winter Evergreen Foliage die set, die cut it 4 times, added some white acrylic molding paste and Memory Box Fairy Sugar Dewdrop liquid glitter glue on the tips of the branches.
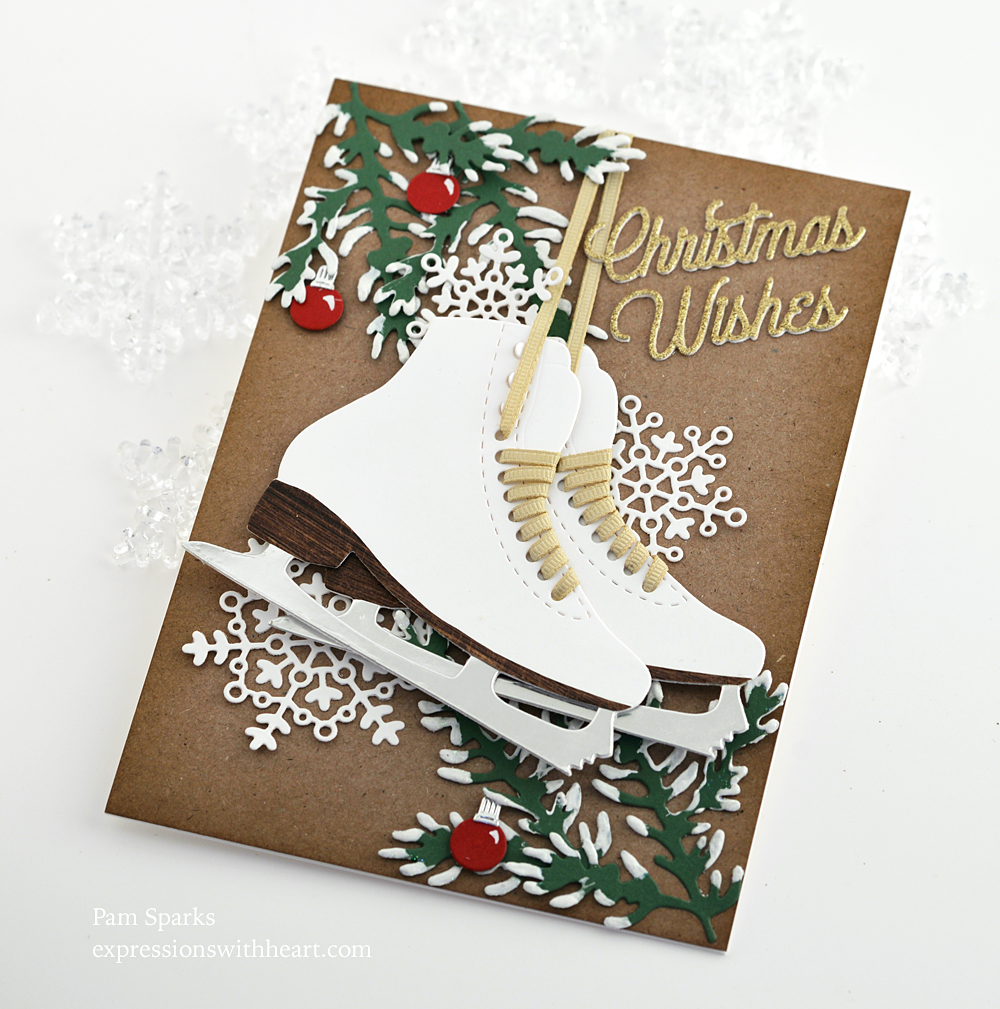
Christmas Wishes is from the New Mix and Match Holiday Greetings die set. I cut it in gold glitter cardstock and white cardstock, glued them together for a little more thickness, then glued directly to the cardbase.
I used the Kaleidoscope Snowflake set again for the three snowflakes. (I used them on the Winter Mailbox a couple posts back)
Almost done but missing that pop of red so I had to cut some ornament balls from the NEW More Holiday Decorations die set. Then I was happy and glued my 5×7 panel to an A7 size white cardbase.
Die cutting and gluing again! I need to stamp something! lol
Linking to some Challenges…
The Holly and Ivy Christmas Challenge – anything Christmas goes
Craftyhazelnut’s Christmas Challenge – anything Christmas goes
Merry Little Christmas challenge – anything Christmas goes
The 12 Months of Christmas Link Up – Anything Goes Christmas
thank you for visiting my blog! I hope you’re inspired to make some Christmas cards and share!
Dies and Supplies I used to make this card…
|

I’m back! I didn’t put the glitter cardstock pads away!
Another die cut and glue fast and easy card you could mass produce!
Using the NEW Birch Press Design Herbarium plate Layer A and NEW Adornment Dove dies!

I die cut layer A in the blue green and green. I had to shim the blue green layer with a folded piece of copy paper to completely cut it (the glitter cardstock is thick) so I knew when I ran the green piece through, it wouldn’t completely cut out the design. When you layer the green under the blue green it really adds to the depth if it has the design partially cut into it. I should’ve taken a picture! I hope that makes sense!
I added two strips of 2 inch scor-tape on the back of the green layer to make sure all the pieces stayed in it and then I just used that to adhere it to a white A2 cardbase.

I glued the blue green layer over the green layer with Tombow Mono Multi liquid glue.
I die cut the solid backer Adornment Dove die in the champagne-ish color glitter cardstock and the outline Adornment Dove in white glitter cardstock.
I LOVE that there’s a backer die for this dove!

Die cut the berries with scraps of red glitter cardstock… there are only three sets of berries, so easy to glue in if you put small pieces scro-tape on the back of the blue green layer before adhering it to the green layer.
Die cut the Peace Honey Script die from red and white glitter cardstock and glue it on. I used small pieces of mounting tape on the leg of the ‘p’ and behind the ‘c’.
Easy! yay! Another card done…almost… I didn’t stamp the inside yet! I’ll be sorry later! haha
Thank you for stopping by to see this. It’s so pretty IRL. I wish I was a professional photographer that could capture the true glitter and sparkly of this cardstock!
I’m thinking this dove could be made into an ornament and even layered on a gift loosely with a tag! So pretty!
Challenges…
Jingle Belles Rock – Blue Christmas
My Time To Craft Christmas – Winter Holiday Decorations for Christmas cards
Beyond the Blue – glitter and sequins
ok – talk to you again soon!
Supplies and Dies I used on this card…
|

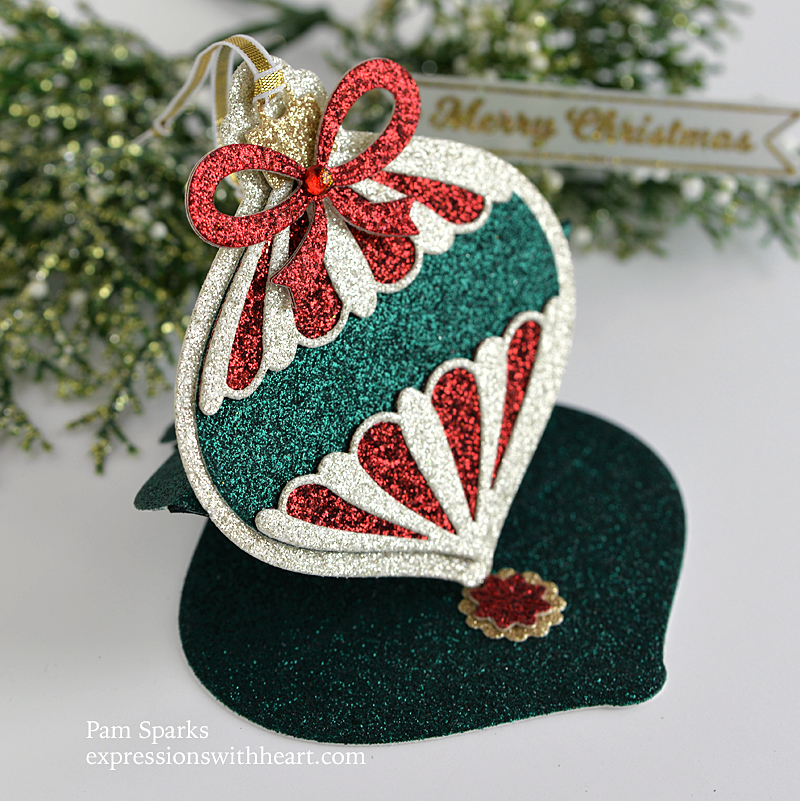
Hi everyone! Welcome to my attempt to show how glittery amazing this glitter cardstock from Memory Box is and how fun to use it with this new BPD release! I’m sitting here looking at the real card wishing I could just show it to you IRL because it is so sparkly and pretty!!!
This was a fast card to make…all die cutting and so easy with a pad of 6×6 glitter cardstock!

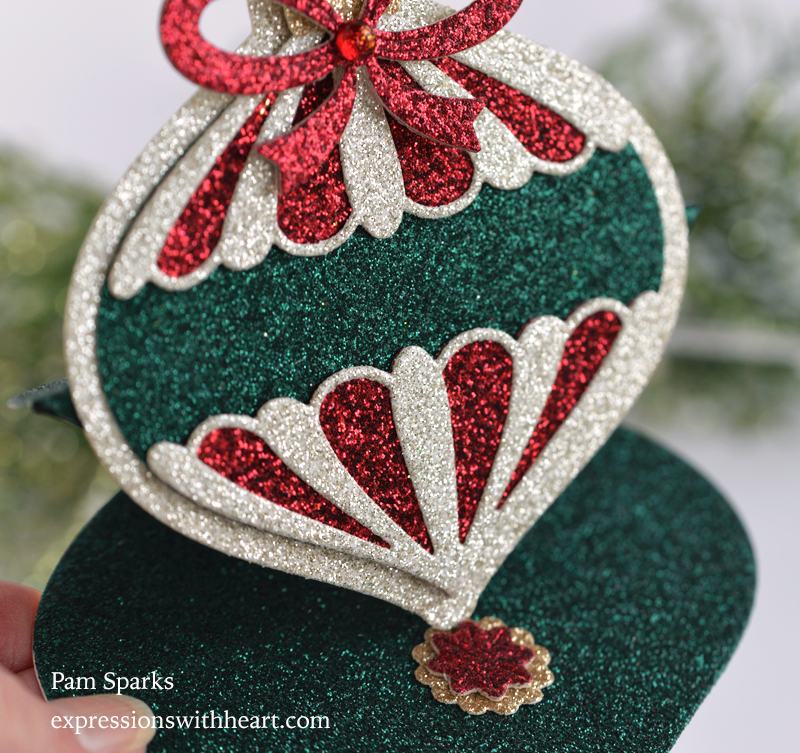
Here it is from the side. I die cut a white cardstock base with the easel die in the set, then I die cut from the glitter paper and glued it to the white card die cut. Because of the 6 x 6 size of the glitter cardstock, I had to make it in two pieces. It worked fine, you really can’t tell it.

I’m going to say it again… it was so easy to make! lol Cut and glue! This would be a great card for a class or a cardmaker get together!
I stamped and heat embossed a sentiment from the BPD Christmas Ornament and Labels stamp and die set but I couldn’t decide if I wanted on the card for the pictures! So it’s laying off to the side. I will glue it on when I send it.
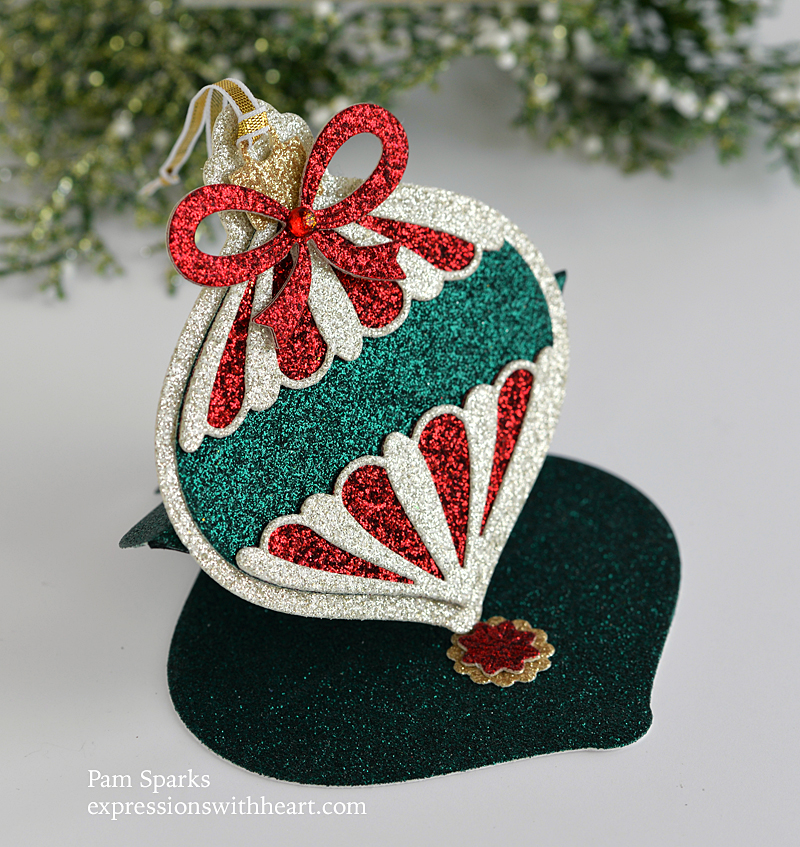
So pretty too… just glam it up!
It could easy be made into an ornament to hang on the tree or a gift tag!
It folds up so nice and will easily fit in an A2 envelope and mail for one postage stamp.
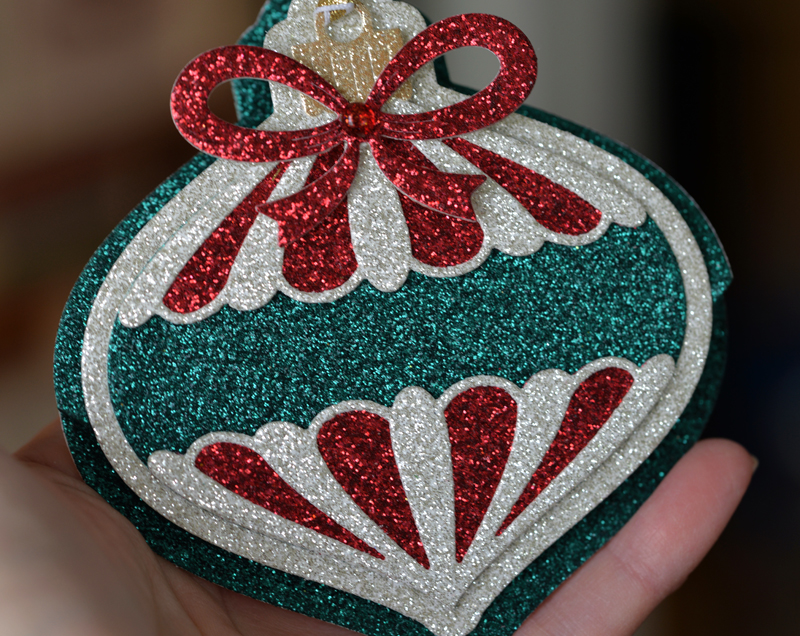
I added a Memory Box Christmas Fairy Drop in red on the bow. Boom! Done! Taking pictures, trying to capture glitter cardstock took longer!
***Bonus – None of this glitter comes off!!! Thank you Memory Box! lol
Thank you for visiting today!
Here’s what I used to make this card…
|


