cards · Distress Ink coloring · Easter · Memory Box · Poppystamps · Spring

poppystamps Freida Curve, Happy Easter Curve and Serene Rabbit dies…

Hi everyone! Here comes Peter Cottontail! I’m not sure the best way to show all the Easter cards I have…getting close to the wire. Do you have an opinion?  Two cards in a post?  Two posts a day? There are a lot of pictures. I know I need to get them out there so you can shop if you want!

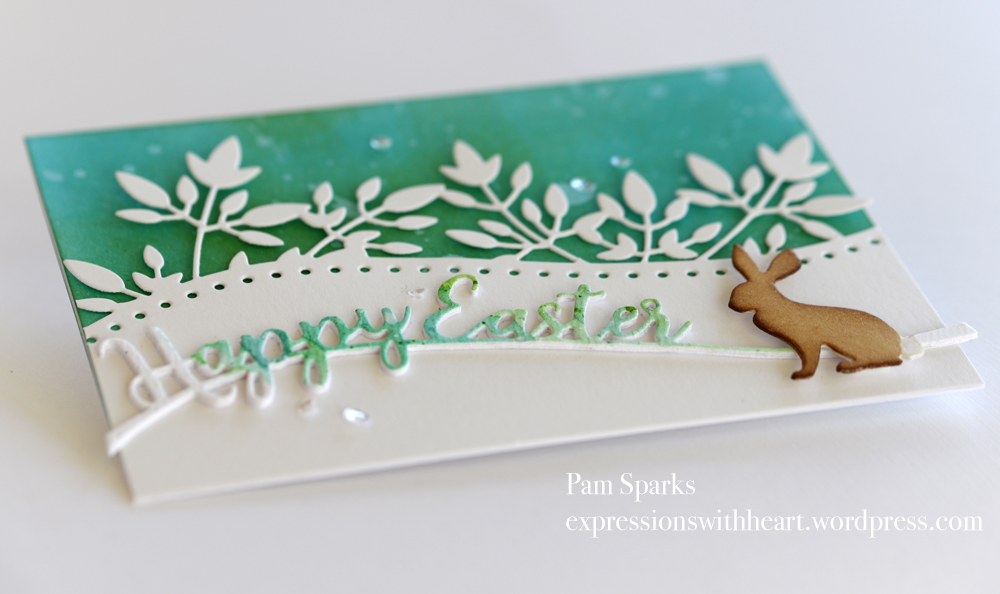
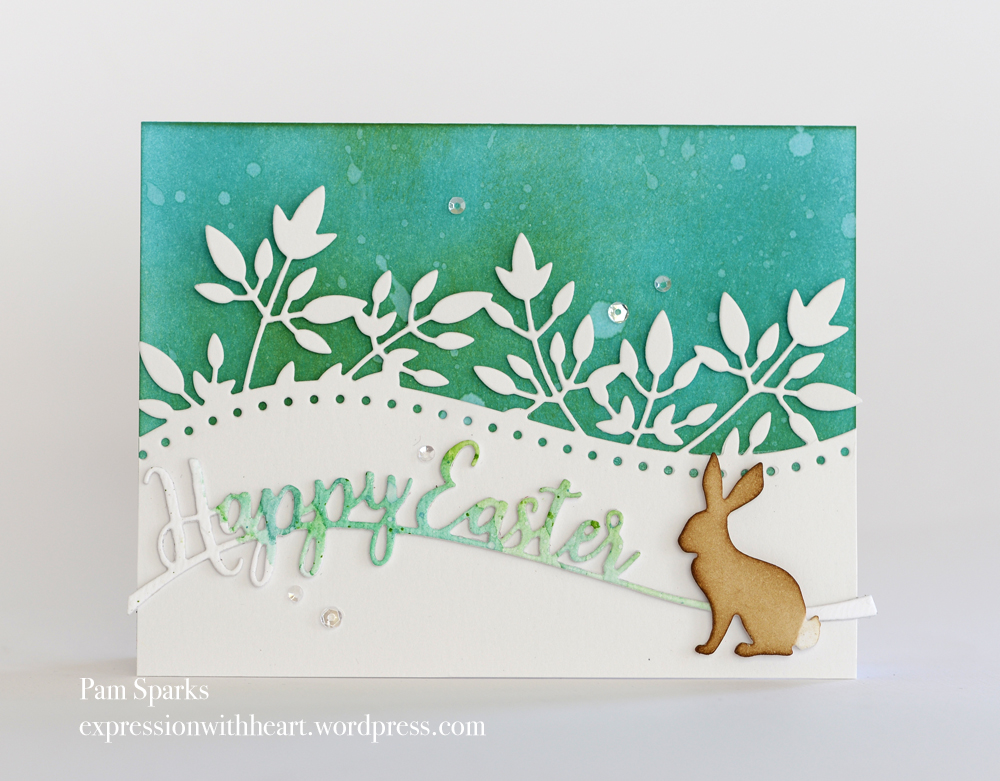
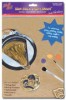
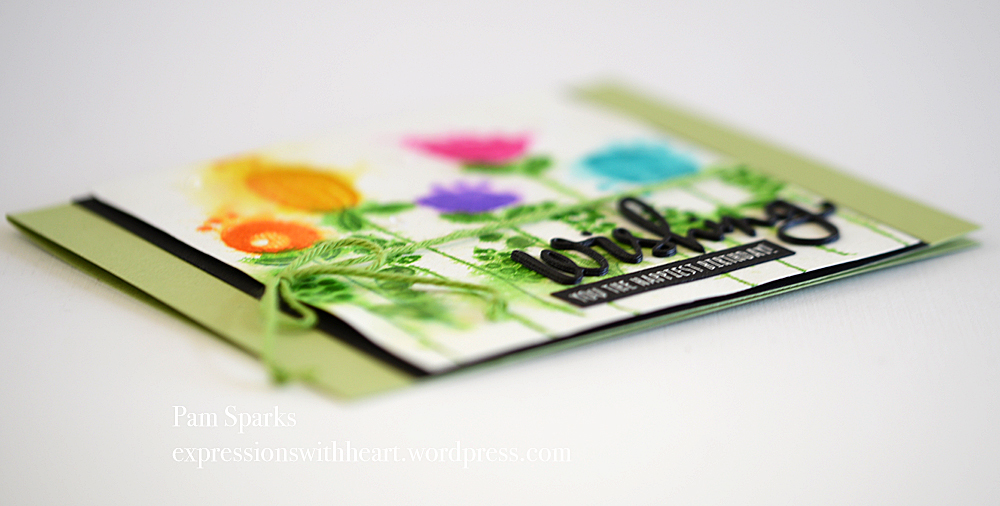
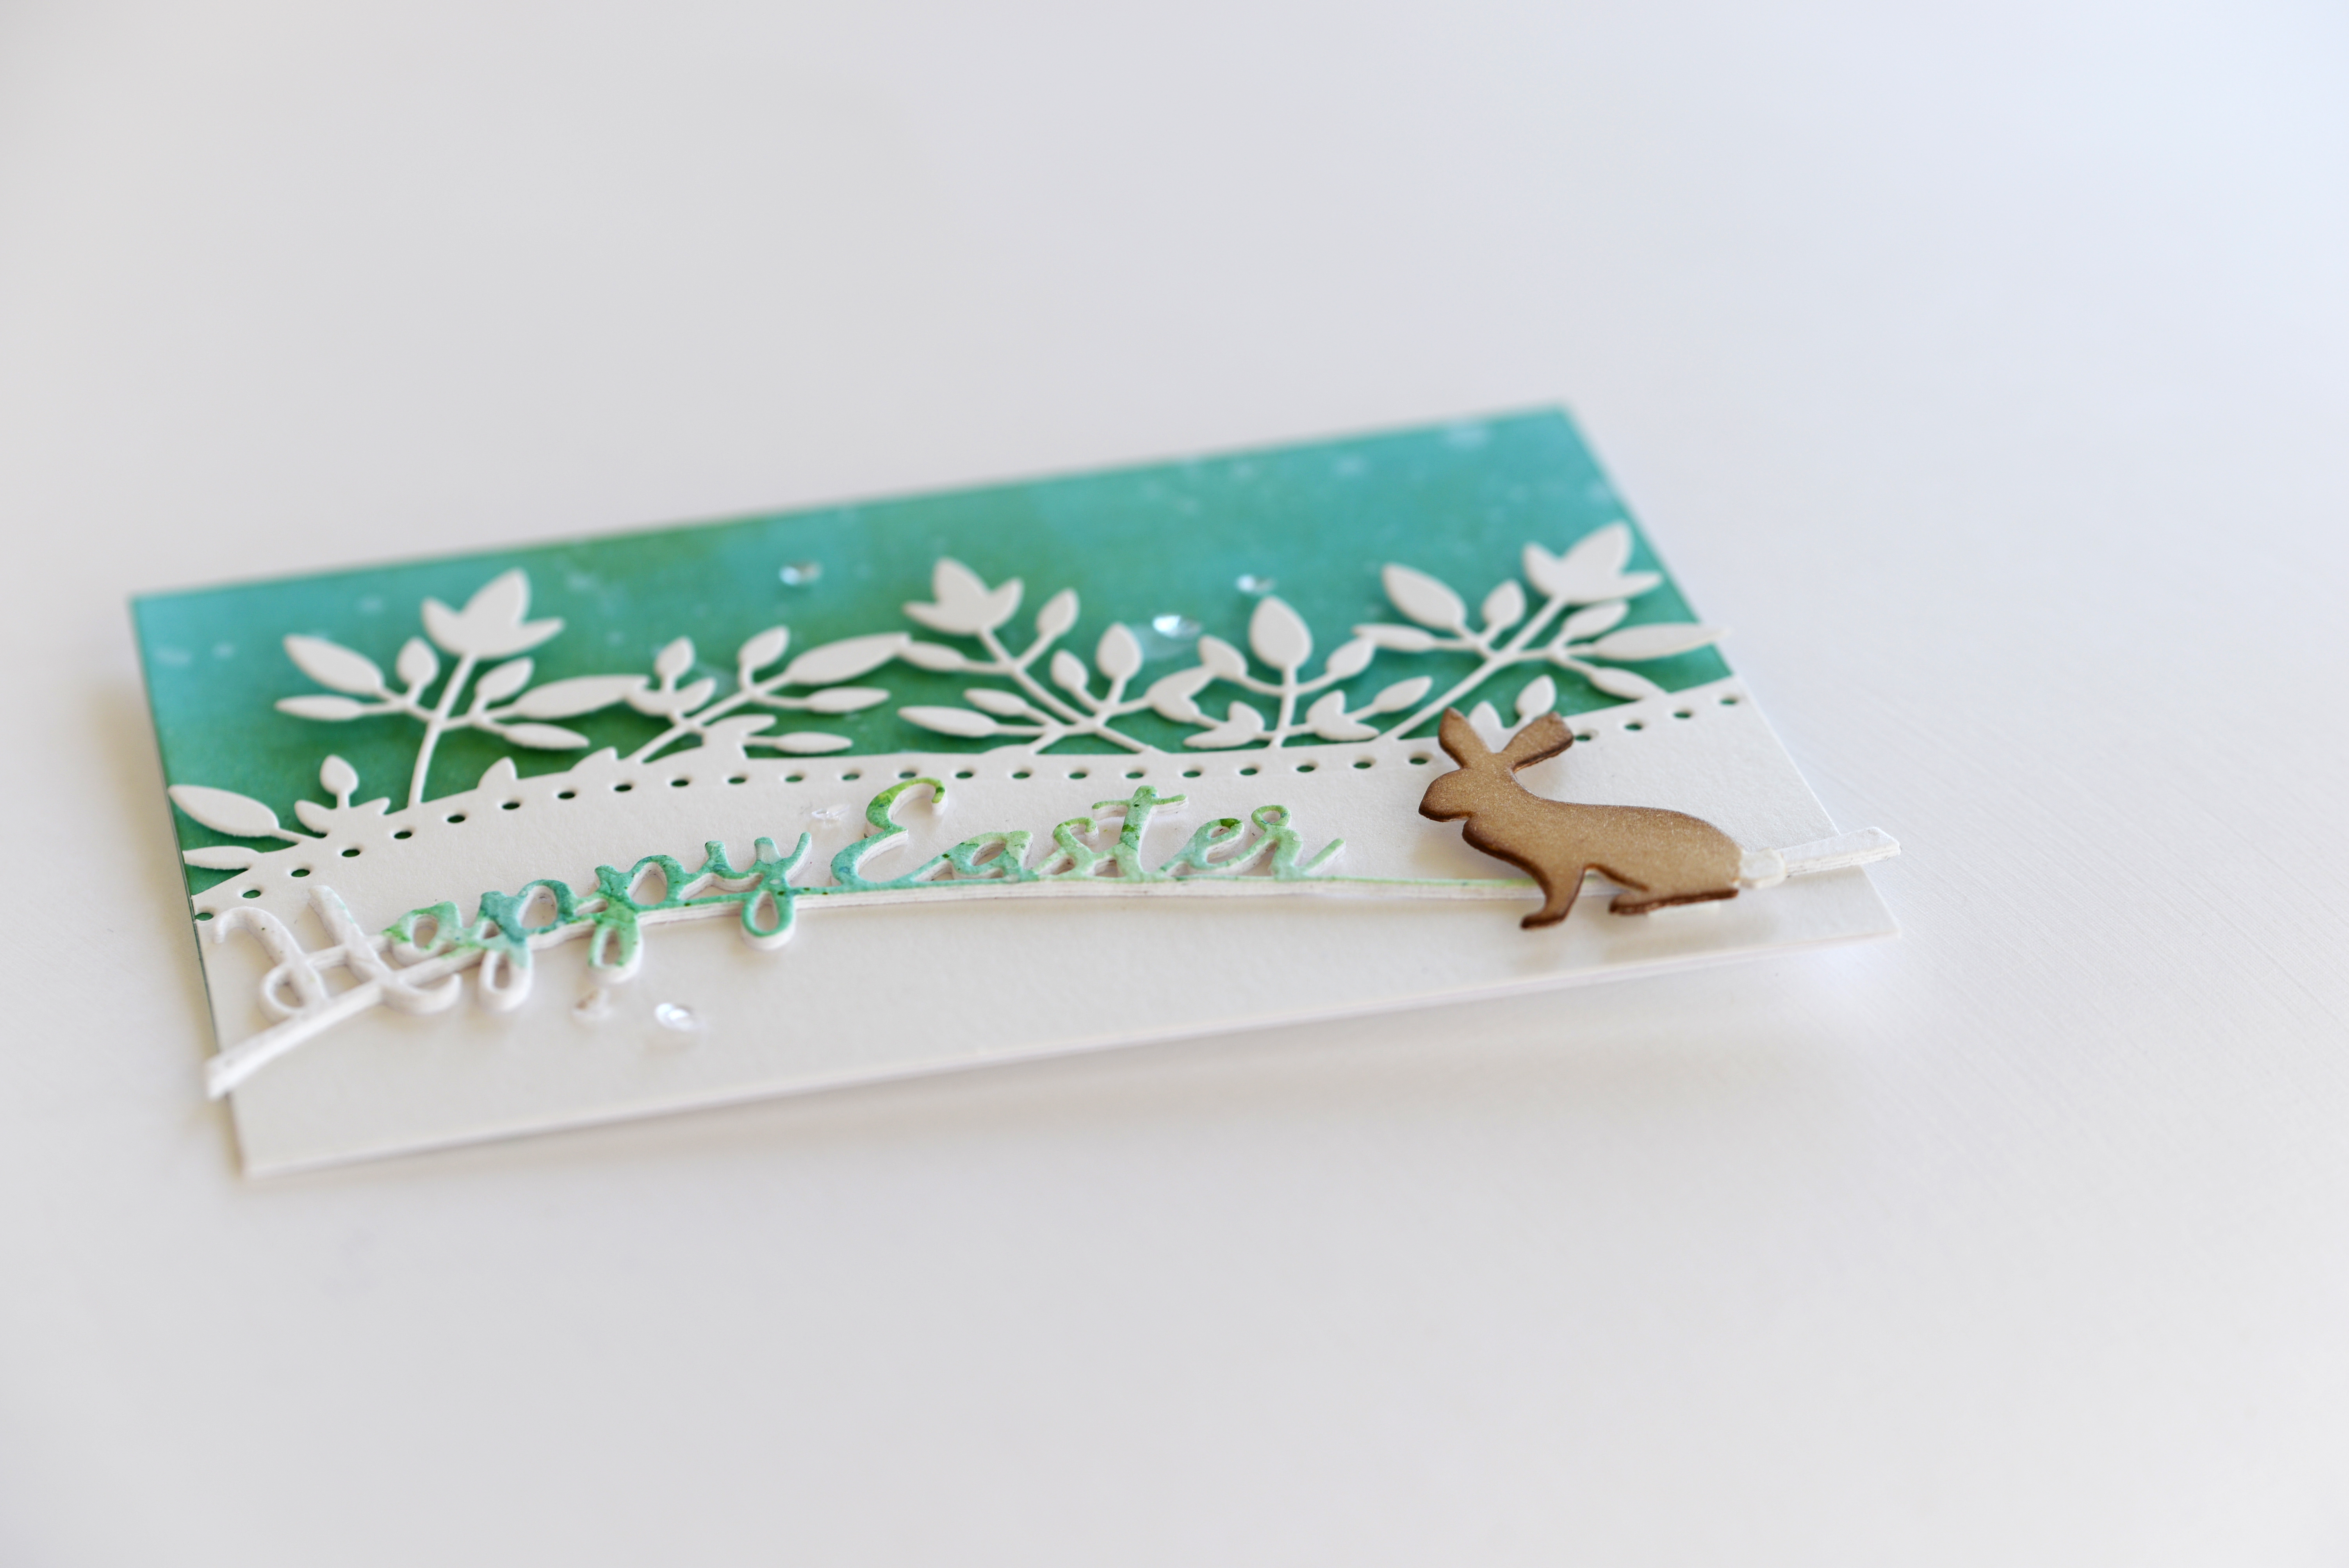
I made a watercolor background with Distress inks and cut the Happy Easter Curve die out of it…in the card I’ll post tomorrow, you’ll see what I did with the negative of the cut.

Linking to the CAS Watercolor Card Challenge – Spring

and The Crafty Addicts Challenge – Anything Goes/CAS

and CASology Challenge – Foliage

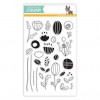
I die cut the Freida Curve die from White card-stock.

The Rabbit is die cut from white card-stock and inked with Distress Ink Gathered Twigs and the ink blending tool.  I masked off his tail so it wouldn’t get too dirty! hehe

The Mixed Media card panel is cut from the Rectangle Basics die and ink blended with Distress Inks and the ink blending tools and spattered with some water droplets. The rectangle panel is taped with ATG to an A-2 size card base.

Two sizes of Pretty Pink Posh sequins glued here and there finish it off.

Thanks for visiting my blog today!  I’ll put links to everything below and let me know what you think?  If you mind 2 or 3 cards in a post or more posts a day? TY!

offer expires on March 19th at Midnight PST


Here’s what I used on my card today…

cards · CAS · Distress Ink coloring · Memory Box · Spring

Memory Box Pot of Gold, Best of Luck…

The cards I’m going to be showing you the next couple weeks, I made two and three weeks ago…I’m not sure I’m going to be able to remember all the details. Warning… hehe

I’m sure this is a Distress Ink watercolor background.  I was stuck on Twisted Citron and Cracked Pistachio for awhile so I hope this is right.  I used a Memory Box stencil for the little dots coming out of the Pot of Gold.

To get the perfect A-2 size rectangle panel, I used the new Memory Box Rectangle Basics die set.  I LOVE this set…so many rectangles.  I use it on almost every card! Love it!  Die cut and adhere it to the card-base.

I simply die cut the pot in silver metallic card-stock and the coins in gold metallic card-stock.  Watercolor paper for the background.  The die cut sentiment is from Memory Box and glued to a strip of black card-stock.

I hope I can make some more backgrounds like this!  Now that I’m seeing it again, I like it!

I’ll link to the products I used below. Just thought of something…wouldn’t it be fun to add a ‘c’ to the luck and have “best of cluck” with some hens! YES it would! haha

Linking to some challenges…

Color Throwdown – color challenge

Simon Says Stamp Wednesday Challenge – Bit o’ Green

CAS-ual Fridays Challenge – off the edge

Happy Little Stampers March Anything Goes with Dies

Happy Little Stampers March Watercolor Challenge

Inspirational Challenges – Watercolor  Thank you ladies for the top pick!

Scrapyland Challenge – Favorite Holiday

Thanks for stopping by!

Products I used for this card…

cards · Die Piecing · Distress Ink coloring · Memory Box · Poppystamps · Spring

Memory Box Happiness and poppystamps Tendril Demi Frame…

It’s looking like Spring all over blog land but we finally got snow here in SE  Iowa! I love how bright it is and the sun is shining! yay!

I have a lot of Spring cards to share though so I better get to it!

Some ink blending with Distress Ink Cracked Pistachio, Peacock Feathers and Shaded Lilac…heat embossed sentiment and then the panel hooked under the scroll parts of two cuts of the Tendril Demi Frame die. Whew. Easy!  The hard part was getting a picture of it for some reason.

It’s been challenging to find card-stocks that blend easy.  Have you noticed that?  What are your favorites for ink blending?  I really like the heavier weight Mixed Media pads, but what I used today is Strathmore Premium, Super Smooth 80# Ultimate White card-stock.  I purchased a ream of it from Marcos Paper a few years ago.  Just happened to try it and wow, I like it for this! Good deal. lol

I’ll link below to what I used…

Thanks so much for stopping by! You’re what keeps me coming back here and posting! lol  ‘preciate it and your comments so much.  Thank you!

Products I used for my card today…

Birthday · cards · Distress Ink coloring · Simon Says Stamp · Watercolor

Simon Says Stamp New Beginnings Release…Artsy Flower Parts

So happy to share a card with you today using the NEW Artsy Flower Parts stamp set from the New Beginnings release available today!  Such sweet flowers!  I love this set already!

I spritzed a piece of Canson Montval watercolor paper with water and then stamped the images inked with Distress Inks.  After everything was inked and stamped I spritzed with water again to cause the inks to bleed.  I kept it in the MISTI stamping tool to dry so the magnets held it down to keep it from warping.

Here’s a capture of the layered up wishing die cut.  I die cut it three times and glued them together with Tombow Mono Multi liquid glue.

I heat embossed the sentiment with white embossing powder on black card-stock and trimmed it with an Omnigrid ruler and finger knife.

Tied on some twine, layered it on black card-stock and then on this celery green card-base.

Linking to…

Simon Says Stamp Wednesday Challenge – For a special lady/girl

Seize the Birthday – anything goes birthday

You can click on the logo to go to the new release. The products I used are linked below in Inlinkz.

Thanks so much for stopping by again this week!  Happy creating!

Products I used to make this card…

Birthday · cards · Die Piecing · Memory Box · Winter

Echo Park Mister Fox Snow-globe Birthday card…

Hi everyone!  I’m back with another birthday card…this snowglobe card is for one of our granddaughters that just turned 12!  Lilli loves to stamp and die cut.  She will sit and do tedious die creating even!  A gal after her Grandma’s heart for sure! lol

When I saw this Fox die I just had to have it.  I don’t know why, if you know me, you know I’m not an animal lover! A lot of my friends are, so I keep good company! lol  I love cute stamp and die critters though!

To come up with this snow-globe shape, I used the Memory Box Circle Basics die and the Memory Box Snow-globe Open Studio Bases die set.  It was easy to make the front but I took the challenge and did partial die cutting to make the card base because I wanted it to be the snow-globe shape too.  It worked great!

With a pencil I outlined the card front onto the card base. I cut the circle part of the base by keeping the fold below the cutting line on the circle so it wouldn’t be cut when I ran it through the machine. I stopped cutting the circle when it got to where the base started by lining the cutting plate up at the stopping point before I ran it through the machine.

Then I lined up the base to the pencil line and used a little piece of broken cutting plate at an angle on both sides (one side at a time) so the top of the base wouldn’t cut when I ran it through the machine!   I was tickled with how it came out and even more tickled that it worked the first time! hehe

So don’t throw broken cutting plates away…that’s my tip for the day!

You’ll find the Circle basics die set HERE, the Parker Alphabet dies HERE, the Snow-globe Base HERE (wouldn’t you know, the snow-globe bases are discontinued, I found them at this site though when I googled),  the Pattern Paper I used HERE, the flower sticker HERE  and the Fox HERE.

Linking to some challenges…

Seize the Birthday – Anything Goes

The Paper Players – Cut it Out

Simon Says Stamp Wednesday – For a special lady/girl

Thanks for stopping by!  Thank you for the wonderful comments and emails!  I love hearing from you!