Hi everyone! Are you thinking of Fall colors these days? Is this you? There’s something about every season that I love but Christmas is my fave. I truly miss the Summer nights when it’s light until almost ten though!
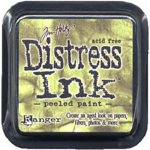
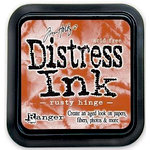
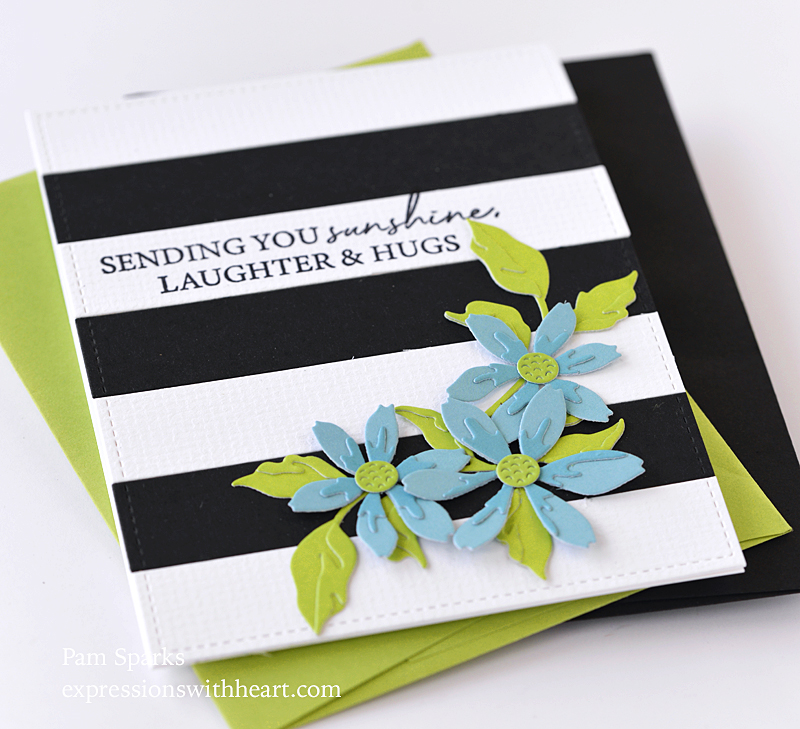
I started with a die cut A2 size piece of Canson Bristol from their orange pad. Using ink blending brushes and regular Distress Ink pads I started with Peeled Paint at the bottom, added a little Forest Moss, then moved to Spiced Marmalade and Rusty Hinge, then the top is Wild Honey!

Yes there is a pattern. I took an old Memory Box stencil, Raymelle #88541, but any stencil would work, laid it over my inked panel and with a wet paper towel I dabbed off the color through the stencil. I LOVE it! I kept it very subtle…didn’t take off much ink really.
I die cut the NEW Harvest Oval Frame four times from natural color cardstock and glued them together instead of using foam tape this time. Glued them directly to the inked card panel

I die cut the leaves and acorns from the NEW Fanciful Fall Leaves die in the same Bristol cardstock and inked with the same ink pads that I did the card panel.
I forgot to say that I heat set the ink blended panel with my heat tool and heat embossed the sentiment with Ranger Super Fine Gold embossing powder before I glued on the oval.
The sentiment is from the Memory Box Harvest Love and Kindness clear stamp set. I inked it with Black pigment ink because I get a sharper image using black then using clear ink, in the MISTI so I could do it over and over a few times so I get a good coating but I don’t squish it to death when I’m stamping it. I have a press tool that our grandson 3D printed for me… I really like having it. I know there are several out there on the market.

I think that’s it! This would be an easy card to make multiples of.
Thank you for stopping by! I hope you’re enjoying the new releases from Memory Box, poppystamps and Birch Press Design!

Here’s the products I used to make this card…
|