All Occasion · Birthday · cards · CAS · Die Piecing · Distress Ink coloring · Embossing Folders · Flowers · Oxide Inks · Spellbinders dies · Summer · Thinking of You

Spellbinders Hello Blooms Stencil and Die Card…

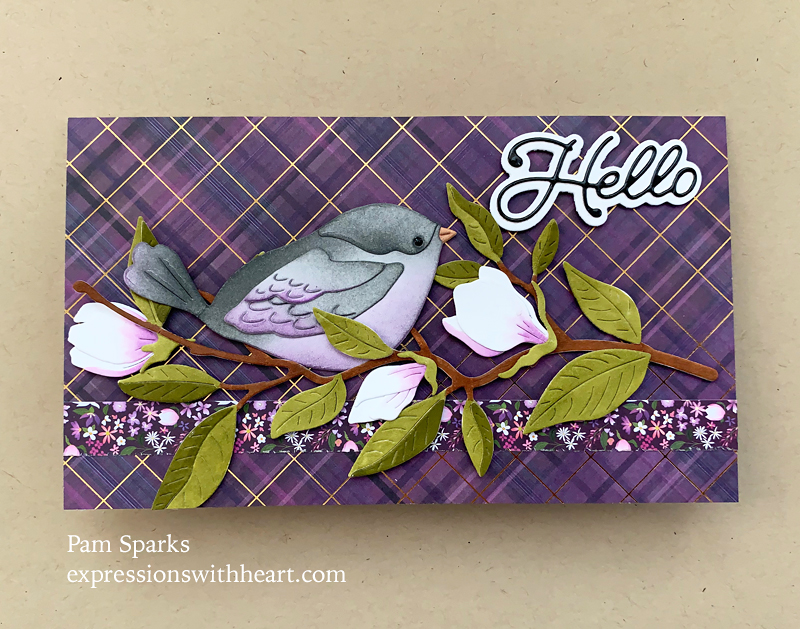
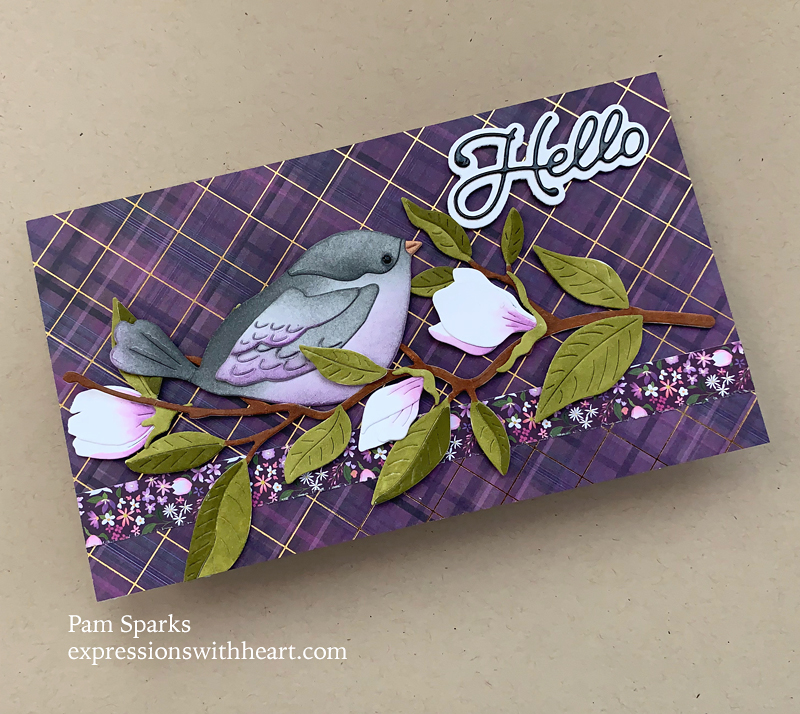
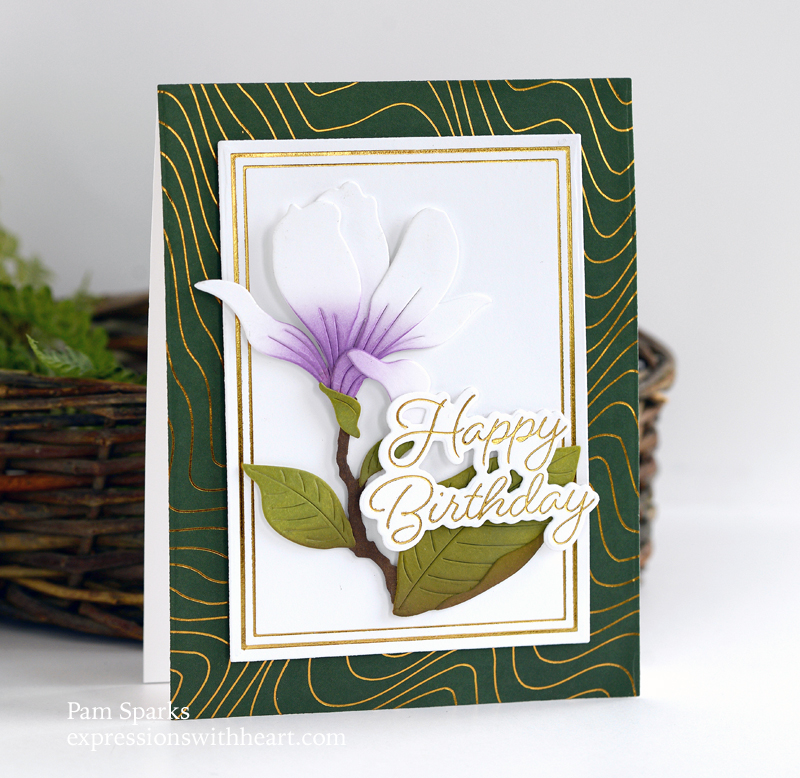
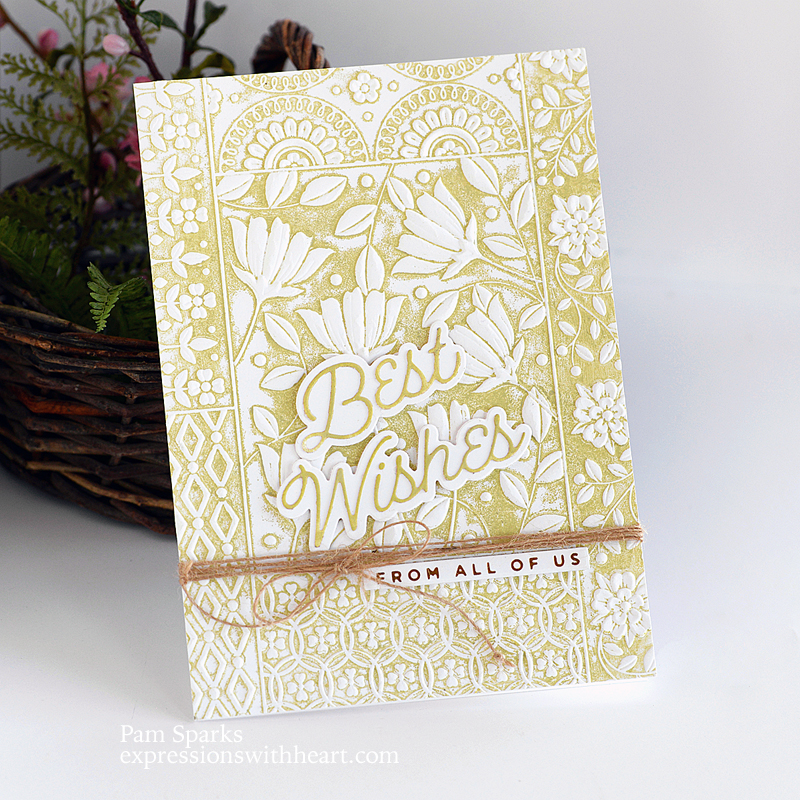
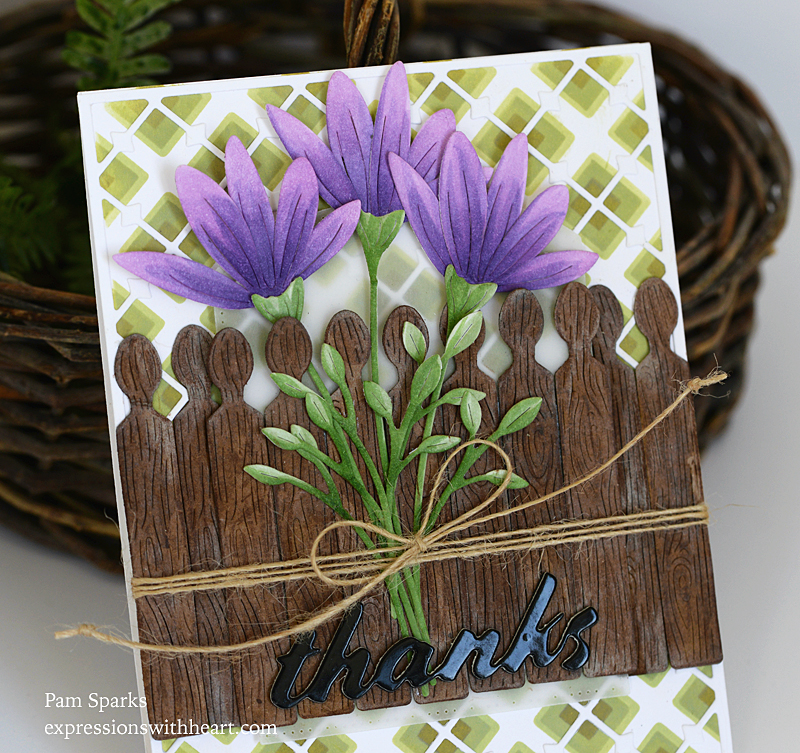
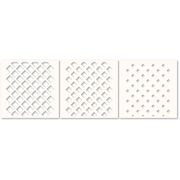
Hello friends and cardmakers!  A super fun card to share with you today!  Have you tried the new stencils like this?   I don’t know why but it’s so satisfying to color in this clean and simple way!  Fast too!

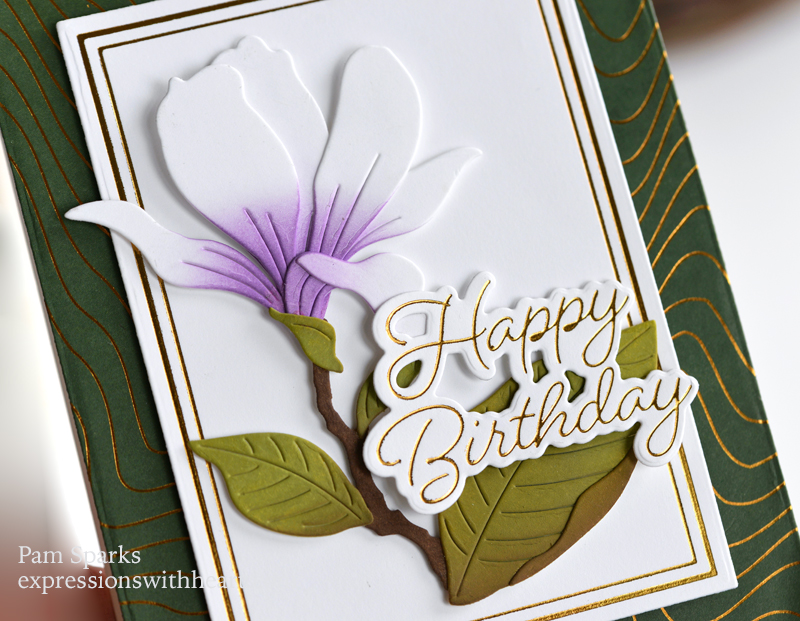
I used Distress Oxide inks, Peacock Feathers, Pine Needles, Abandoned Coral, Mowed Lawn, Rustic Wilderness and Ground Espresso with blending brushes through the stencil.  I cleaned the stencil between colors.

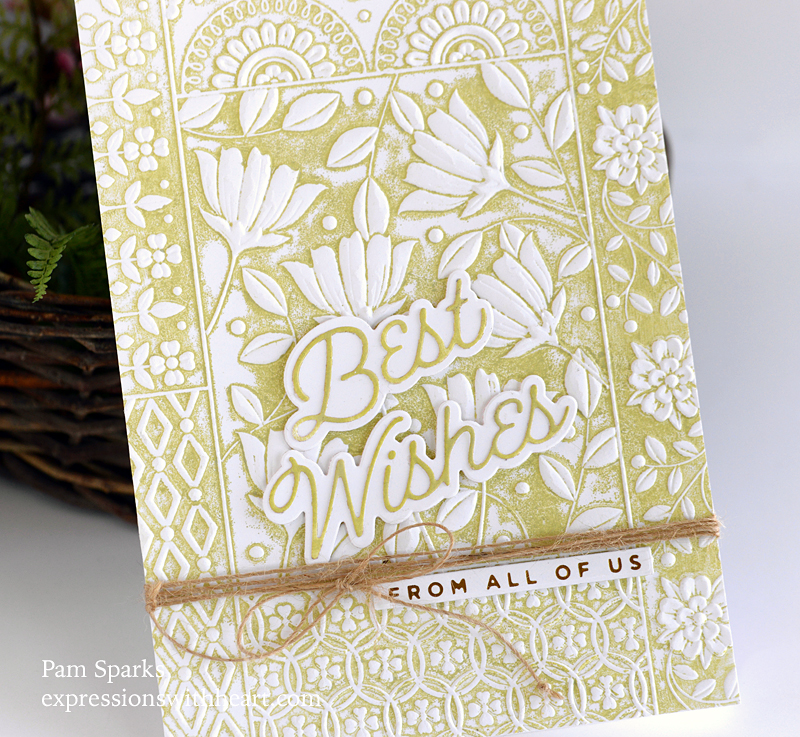
For the background, I ran the A2 size Spellbinders Simply Perfect Florets Embossing Folder through the die cut machine and trimmed it down and matted it with thin mounting tape to an A2 White cardbase.  So cute!  I love this folder and it matches this floral so well!

I LOVE this script hello die that is included with the coordinating die set!  I did it up white on white…pleasing to my eye! lol

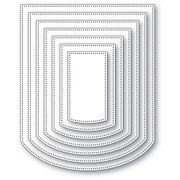
I did my coloring through the stencil first but now that I’ve done it once, next time I’m going to die cut a  white panel, keep the die cut in the panel, then do the coloring through the stencil so I can get the margins better.  I had to do a little trimming after I die cut because the white margin was more in a few places.

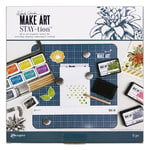
I used the large Wendy Vecchi Make Art station to hold things in place.

Linking to some challenges…

Tic Tac Toe Challenge – diagonal on the graphic, Ink Blending, Free and Floral

Triple B Challenge – Blooms

The Flower Challenge #81 – your favorite flower

Stencil Fun Challenge – Layer Stencils

Links below to what I used to make this card!

Thanks so much for stopping by!  I hope you enjoyed my hello!

Product shopping list….click/tap on the abbreviations for the stores under the item to see!

Spellbinders – Glimmer Cardfront…
[ SBC | SSS ]
Spellbinders – Glimmer Cardfront…
[ SBC | SSS ]
Spellbinders – Simply Perfect…
[ SBC | SSS ]
Ranger Ink – Wendy Vecchi – Make Art…
[ SBC | SSS ]
Scrapbook Adhesives Crafty Foam Tape…
[ STR ]
Hammermill WHITE 100 LB SMOOTH…
[ SSS ]
Ranger Ink – Tim Holtz – Distress…
[ SBC | SSS ]
Ranger Ink – Tim Holtz – Distress…
[ SBC | SSS ]
Ranger Ink – Tim Holtz – Distress…
[ SBC | SSS ]
Ranger Ink Tim Holtz Mowed Lawn…
[ SBC | SSS ]
Ranger Ink – Tim Holtz – Distress…
[ SBC | SSS ]
Ranger Ink – Tim Holtz – Distress…
[ SBC | SSS ]
Waffle Flower Crafts – Blending Brushes
[ SBC | SSS ]
Simon Says Stamp DETAIL FLAT BLENDING…
[ SSS ]
Spellbinders – Card Shoppe Essentials…
[ SBC ]
Spellbinders – Universal Plate System…
[ SBC ]
New & Improved Platinum SIX Machine…
[ SPL ]
Zig 2-Way Glue Pen – Squeeze & Roll…
[ STR | SBC | SSS ]

All Occasion · Birthday · cards · copics · Die Piecing · Distress Ink coloring · Flowers · Get Well · Memory Box · Mini Slim Card · Oxide Inks · Poppystamps · Spring · Thank You · Thinking of You

Memory Box Magnolia Leaf Brand, Magnolia Bud Trio and Backyard Wren Mini Slimline Card…

This card says hello for me!  I had fun looking through the new paper pads and playing ‘matchy’! hahahaha  Almost felt like I was quilting again!

This release is stretching me!  I rarely use purple but not this time!  Purple it is!

This is such a sweet bird die… NEW….Backyard Wren.  So sweet and Memory Box just put a post up on Instagram showing it in all different colors!  So I decided I could use purple!  Why not!

I took pictures with a white background too but they look so washed out, I’m not posting them!  Crazy what a difference!

Cards always look better IRL even with all the awesome technology we have these days!

I die cut the Magnolia Leaf Branch, Magnolia Bud Trio and Backyard Wren in white Hammermill cardstock. I colored the branch and buds with Copic Sketch Markers and the wren with my distress oxide ink blending brushes.  I didn’t ink them just used the ink that was in them already.

I like coloring dies and cutting from colored cardstock.  I was thinking of the branch this time and knew I’d want the branch brown and leaves green.  It’d be really easy to do colored cardstock also…next time!

I used a new poppystamps die for the sentiment, Hello Moonlight Script.  What a fun name! What a beautiful font!  The white cardstock is Hammermill and the black is Memory Box Glossy Black. I love that cardstock so much.  I’m on my last sheet from the ten pack!

The pattern paper is the NEW 6×6 pads from Memory Box!   I’ll link them below with everything else.

Linking to some challenges!

Papercraft Challenges – Spring

Word Art Wednesday Challenge – anything goes

Thanks so much for stopping by!  I hope you enjoyed this sweet wren card!

To see the products  I used and shop, click/tap the abbreviations below the item…

Memory Box – 94723 Backyard Wren…
[ STR | SSS ]
Memory Box – 94721 Magnolia Leaf…
[ STR | SSS ]
Memory Box – 94718 Magnolia Bud Trio…
[ STR | SSS ]
Poppystamps – 2509 Hello Moonlight…
[ STR | SSS ]
Memory Box – PP1021 Magnolia Plaid…
[ STR | SSS ]
Memory Box – PP1022 Magnolia Grove…
[ STR | SSS ]
Memory Box BLACK GLOSSY 8.5×11 Paper…
[ SSS | STR ]
Hammermill WHITE 100 LB SMOOTH…
[ SSS ]
Copic
[ SSS | BLIC ]
Scrapbook Adhesives Crafty Foam Tape…
[ STR ]
Kuretake ZIG Memory System Squeeze…
[ SBC | STR | SSS ]
Sizzix – White and Gray – Big Shot…
[ SBC ]

All Occasion · Birthday · Die Piecing · Distress Ink coloring · Flowers · Hot Foiling · Memory Box · Oxide Inks · Video

Memory Box Magnolia Release and Video…

Hi everyone!  New beautiful dies and paper from Memory Box!  So pretty!  This release gives Hallmark a run for it’s money! lol

Beautiful Magnolia dies and embossing folders with dies too!

Keep scrolling for the video of the release at the end of the post.

So easy to create too… I die cut the Magnolia Blooming Bud die in white cardstock and blended on Distress Oxide ink with brushes.  I didn’t add any new purple to my brush but for the green I used Peeled Paint and a little Forest Moss.  The brown is Gathered Twigs.

I used the Posh Happy Birthday Hot Foil Plate and Cutting Die set for the sentiment.  I love how pretty it foils up!

For the rectangle panel I used the Rectangle Double Border Hot Foil Plate and A2 Rectangle Frames Die set.

The gold foiled green background is a piece of paper from the new Magnolia Grove 6×6 paper pad.  I die cut it with the largest A2 size die from the A2 Rectangle Frames Die set.’

I didn’t capture the shine that is so beautiful about hot foiling as well as I would’ve liked to.

Here’s a video of the new release and hopefully it will show the shine of the card better than my photos.  It will take a minute to load to full resolution completely so my voice isn’t so muffled.  Click the frame icon in the bottom right corner and it’s much better!

Linking to some challenges…

Just Us Girls Challenge – moodboard

AAA Birthday Challenge – #48 Layer It Up

Use Your Stuff Challenge – #482 Layers

A Place To Start Challenge – anything goes

Thank you for stopping by! Have fun checking out this release!

Here’s shopping links to what I used to make this card…

Memory Box – 94716 Magnolia Blooming…
[ STR | SSS ]
Memory Box – PP1022 Magnolia Grove…
[ STR | SSS ]
Memory Box – MBF011 Posh Happy…
[ STR ]
Memory Box – MBF006 Rectangle Double…
[ STR | SSS ]
Memory Box – 94672 A2 Rectangle…
[ STR | SSS ]
Spellbinders – Glimmer Hot Foil -…
[ SBC | SPL ]
Hammermill WHITE 100 LB SMOOTH…
[ SSS ]
Scrapbook Adhesives Crafty Foam Tape…
[ STR ]
Fiskars Non-Stick Titanium Softgrip…
[ STR ]

All Occasion · cards · CAS · Die Piecing · Embossing Folders · Flowers · Hot Foiling · Oxide Inks · Spellbinders dies · Uncategorized

Spellbinders April 3D Embossing Folder Club…

Hi everyone! I kept this card clean and simple… A7 size. Embossing Folder FUN! ❤

Shabby Shutters Distress Oxide swiped directly on the smooth side of the NEW April 3D Embossing Folder.  I love it!  So many different ways to ‘do it up’!

It’s really a greener green in real life.

I used the Best Wishes sentiment from the April Large Die of the Month Club set.

‘From All Of Us’ is from the Essential Glimmer Sentiments Hot Foil Plates set.  A neat variety of sentiments!

One thing I tried but didn’t finish was, after I did this same first step, I took another color oxide ink pad and swiped it over the top/raised areas and it worked great too!  Lots of ideas out there!  People are so creative!

Linking to challenges…

Can You Handle the Pressure – anything goes

Addicted to CAS – Garden

Thanks for stopping by my blog again this week!  I’ll be back soon…more NEW stuff to show!

Here’s what I used to make this card…

3D Embossing Folder of the Month…
[ SPL ]
Large Die of the Month Membership –…
[ SPL ]
Essential Glimmer Sentiments –…
[ SPL | SBC | SSS ]


All Occasion · cards · copics · Die Piecing · Distress Ink coloring · Flowers · Memory Box · Oxide Inks · Poppystamps · Spring · Thank You

Memory Box Floral Bud and Stems Thanks Card…

Hi everyone!  It feels like Spring here!  A beautiful sunshiny day in Iowa!

My card today is using NEW dies from Memory Box and NEW Stencil set and die from poppystamps.

I started by inking the stencil set with three colors of Distress Oxide ink.  Shabby Shutters for the largest square hole stencil,  Peeled Paint for the next size and Forest Moss for the smallest. (it’s greener in real life)

Then I die cut the NEW Pointy Lattice Plate from poppystamps in white cardstock to glue over the top of the stenciled panel.

I die cut the NEW Memory Box Floral Bud and Stems die three times and colored with Copics.  I remember the greens I used were YG61, 63, 67.

I die cut the NEW Memory Box Woodgrain Fence Pickets from watercolor paper and smooshed them a couple times in Gathered Twigs Distress ink refill and a couple spritzes of water. Then I decided to make them look more weathered and rubbed a white pigment ink pad over them.  I still wasn’t that thrilled so I added some brown color pencil!  How crazy!  Next time I think I’ll die cut them in brown cardstock! hahahahahaha They do look weathered though!

I was following the sketch from the Freshly Made Sketches Challenge blog for my card but I’m too late getting it posted to link up.  There was another panel in the sketch so I die cut the NEW Curved Cap Pinpoint Layers die in vellum.  I think you can see it behind the flowers and pickets.

I used a piece of wide scor-tape to hold the front pickets together… that worked really slick.  Then I wrapped twine/jute cord around the front panel layers before I adhered it to the cardbase.

I die cut the NEW Memory Box Tilted Thanks die from Memory Box Black Glossy Cardstock and two other layers of regular black cardstock and glued them together and glued them to the front of the card.

I don’t have very many pictures because it’s so bright today I ended up taking pictures three times!  Picky camera or is it picky me! ha

I have a question for you though, if you don’t mind replying… When I write a blog post, it’s preset that the font is this gray color.  If I want it black I have to remember to go in and change it.   Do you have a preference?  gray or black?

Thank you for stopping by! I hope to be back with a couple more flower cards!

Here’s what I used to make this card…

Memory Box – 94647 Floral Bud and…
[ STR | SSS ]
Memory Box – 94470 Tilted Thanks…
[ STR | SSS ]
Memory Box – 94646 Curved Cap…
[ STR | SSS ]
Memory Box – 94703 Woodgrain Fence…
[ STR | SSS ]
Poppystamps – 2558 Pointy Lattice…
[ STR | SSS ]
Poppystamps – T104 Deco Diamond…
[ STR | SSS ]
Linen Thread – 40 yds – by the spool
[ STR | TE ]
Hammermill WHITE 100 LB SMOOTH…
[ SSS ]
Memory Box – WP101 Watercolor Paper
[ STR ]
Scor-Tape; Scor Tape
[ STR | SSS ]
double-sided tape holder – holds…
[ STR ]