cards · Christmas · Die Piecing · Embossing Folders · Memory Box · Oxide Inks · Winter

Memory Box Happy Dance Bird Merry Christmas Card…

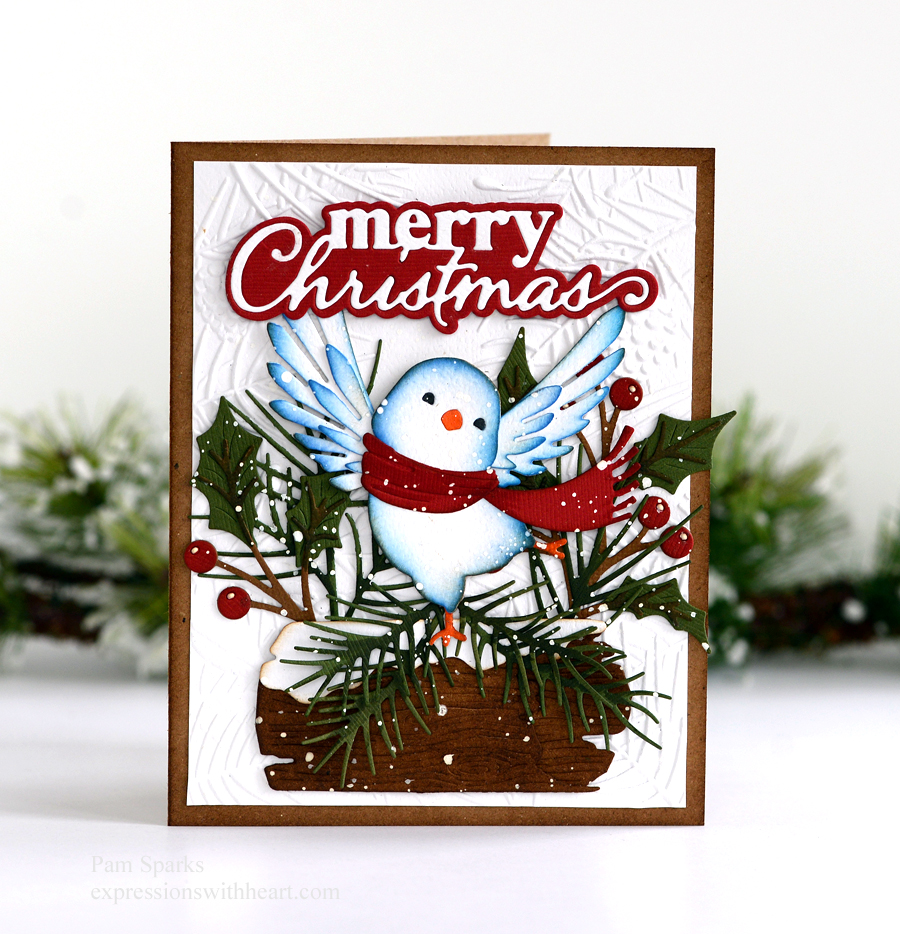
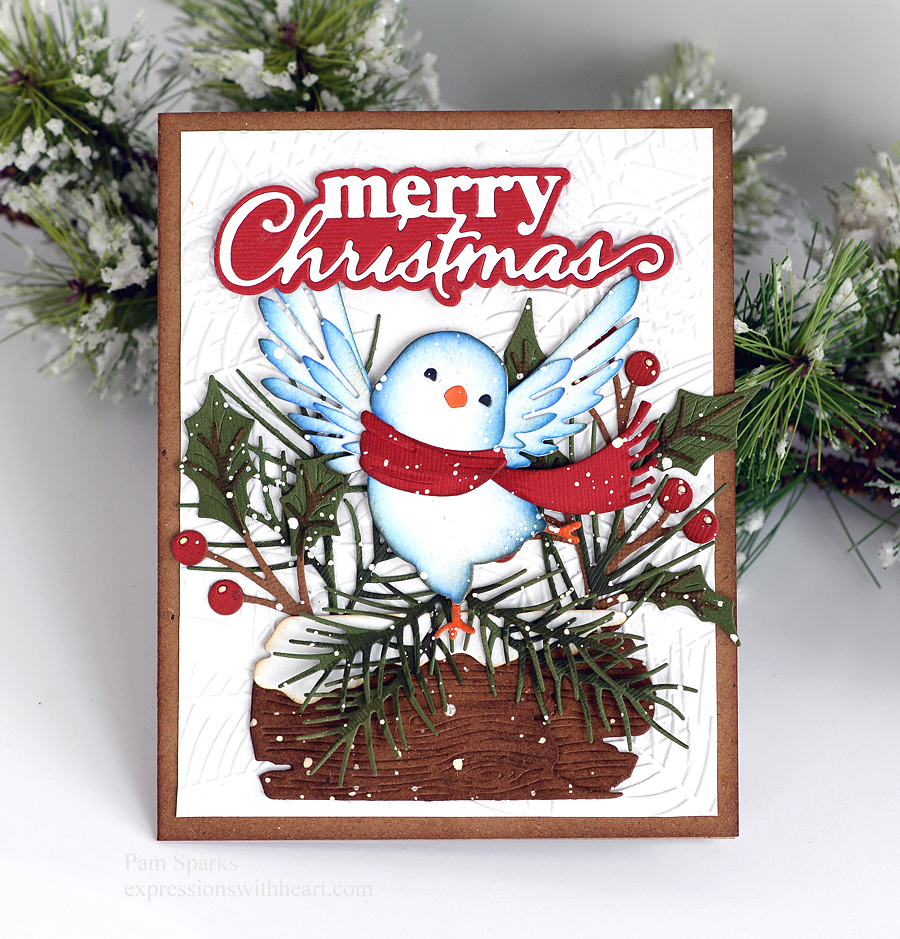
oh happy day, I mean bird! So cute and festive on the snowy log!  I love making Christmas cards with foliage, greenery and brown elements.

The Happy Dance Bird and Merry Christmas Stylish Script dies are from the newest Memory Box release.  I die cut the bird in white and inked in some blue oxides and then a little gathered twigs too.

The background panel I embossed with the Pinecone and Berries 3D embossing folder in white cardstock. The colors really pop against embossed white!

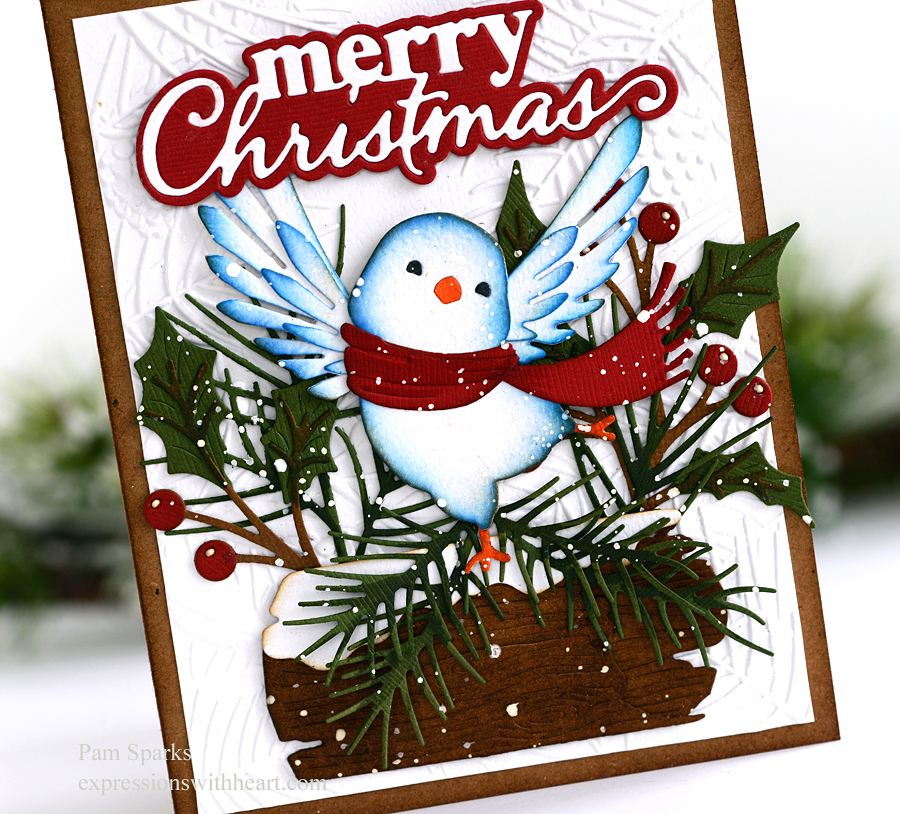
I used a bunch of other dies but you could easy use whatever you have.  This birdie could stand on about anything! Maybe even be a tree topper! lol

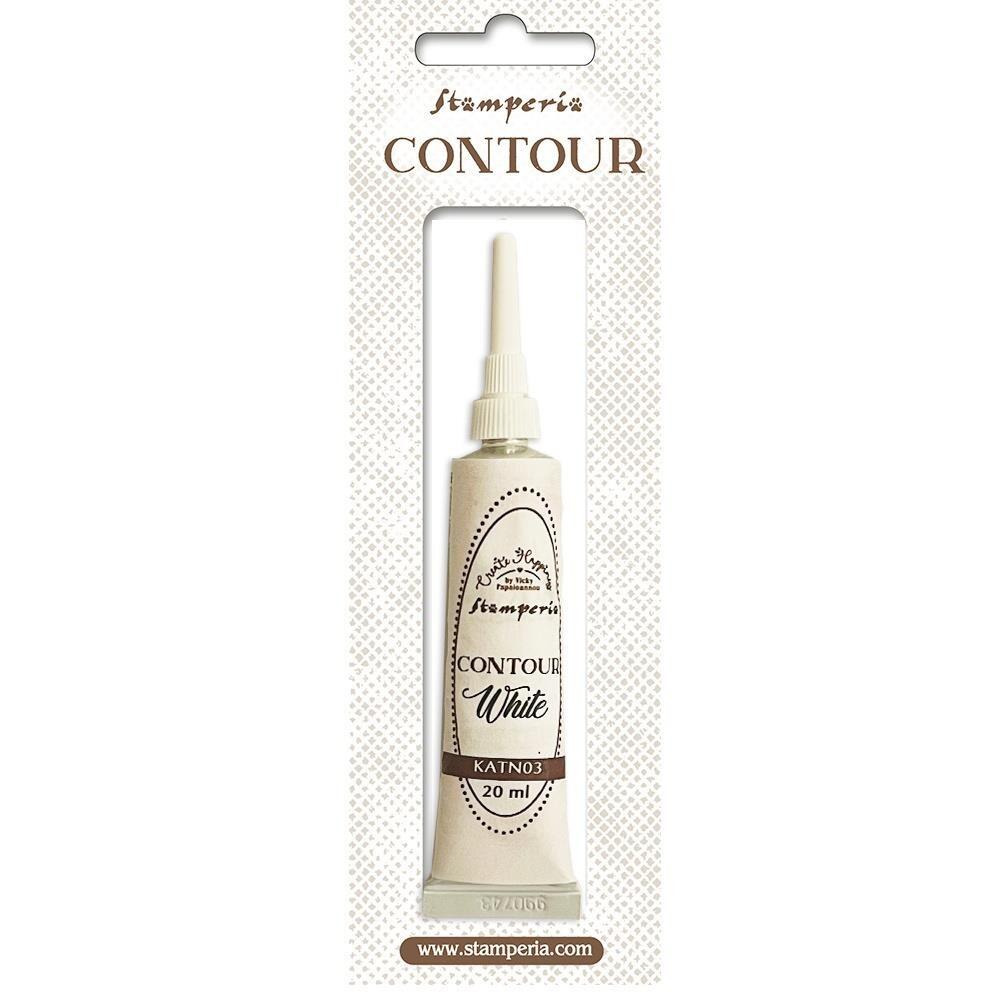
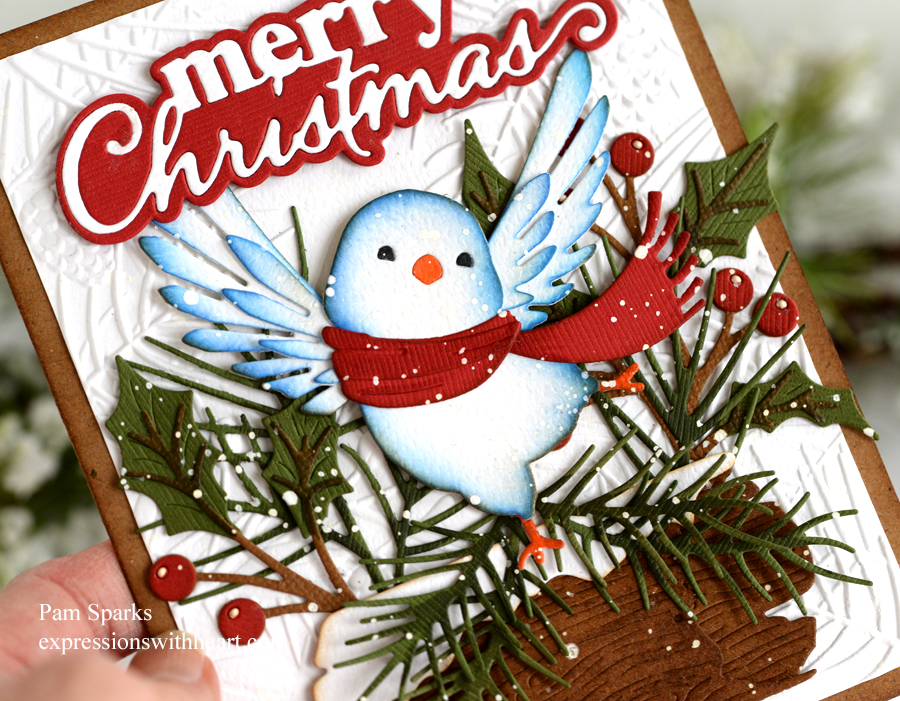
Notice the little dots of white on the berries…it’s the new White Contour tube that Cindy from Starlitstudio sent me to try!  WOW!  It’s the best white of any so far and there’s sure been a lot.  It makes the best dots down to this teeny tiny easy! I’m so impressed!  I’m getting the gold next. hehe

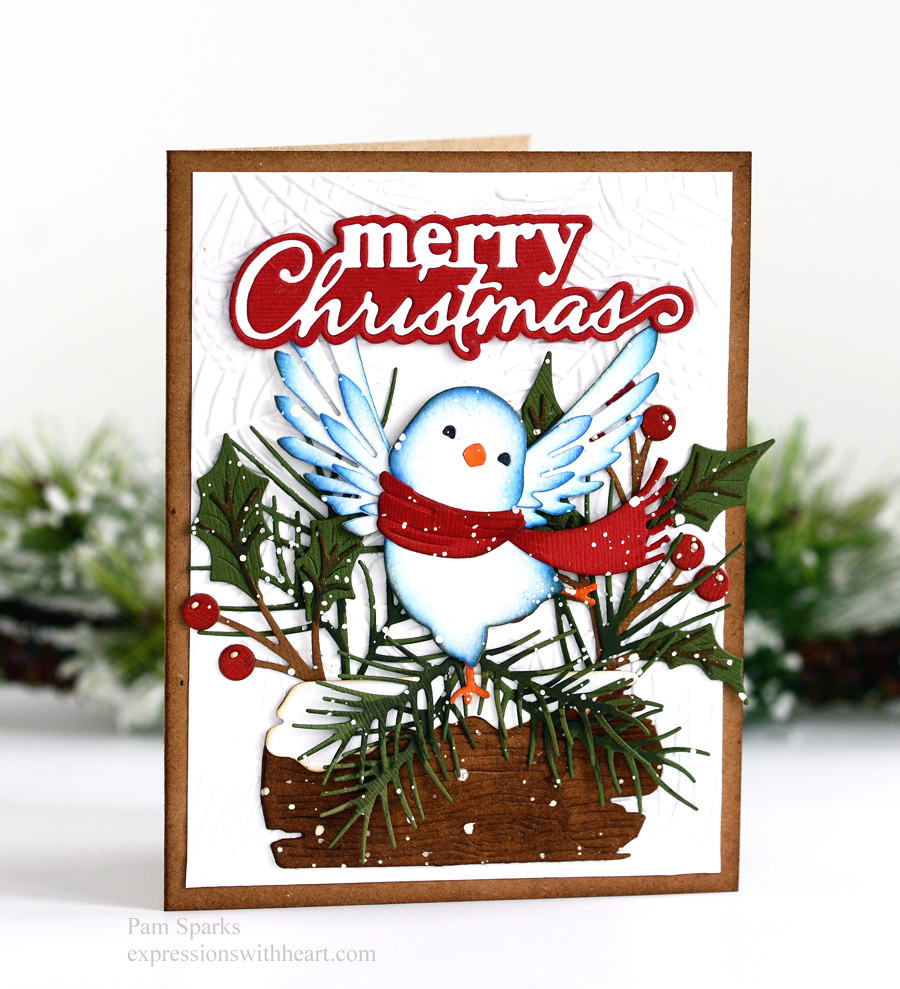
I took a bunch of pictures, posting several because the lighting shows some things better.

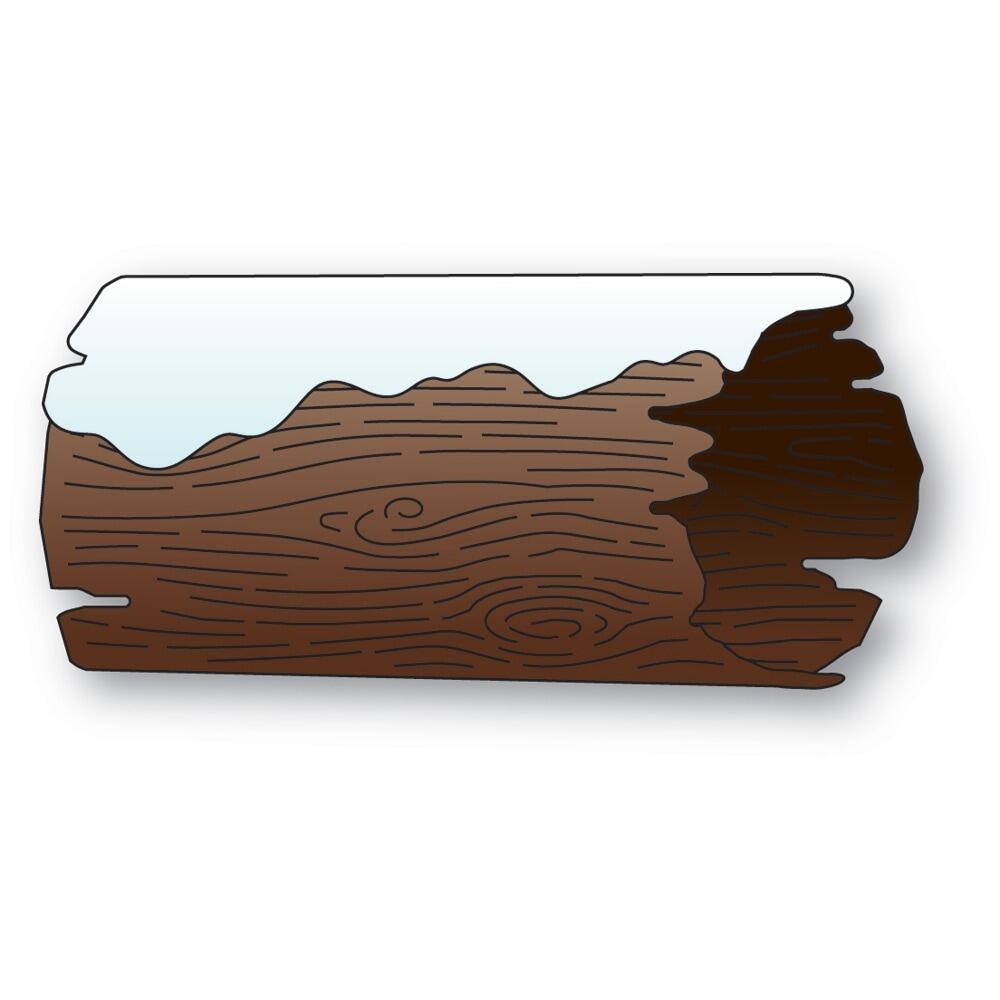
The Snowy Log is one of my favorite accessory type dies and so easy to make up too!  The wood grain happens when you die cut it!  No extra step to achieve it! yay!

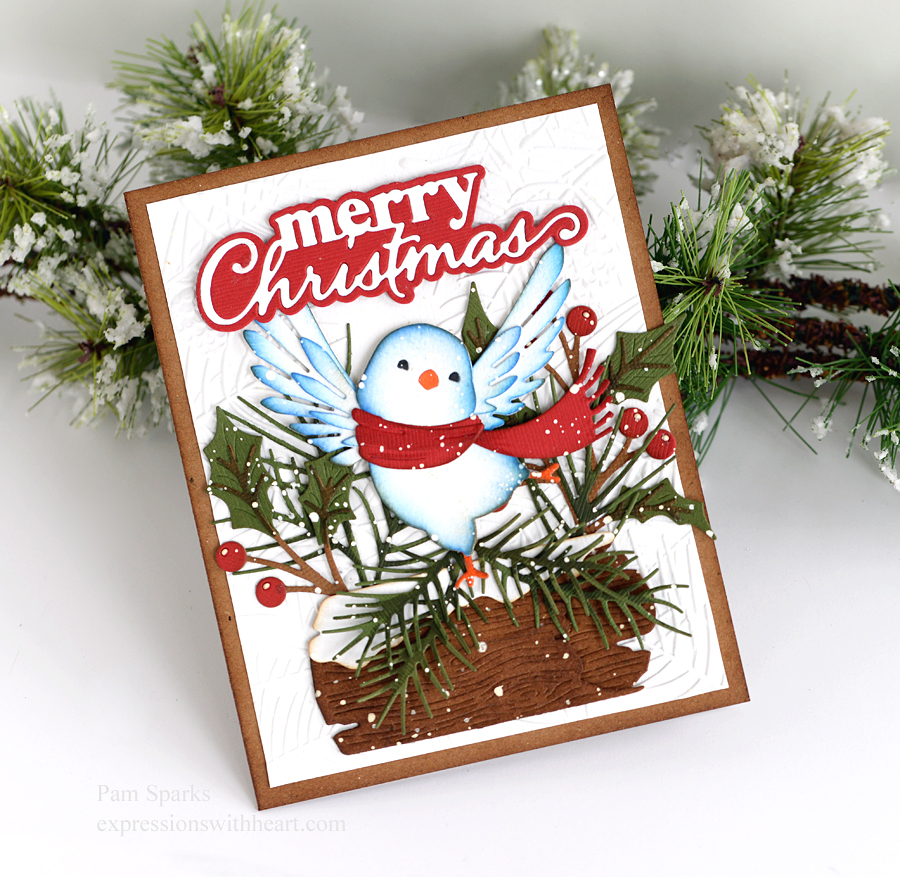
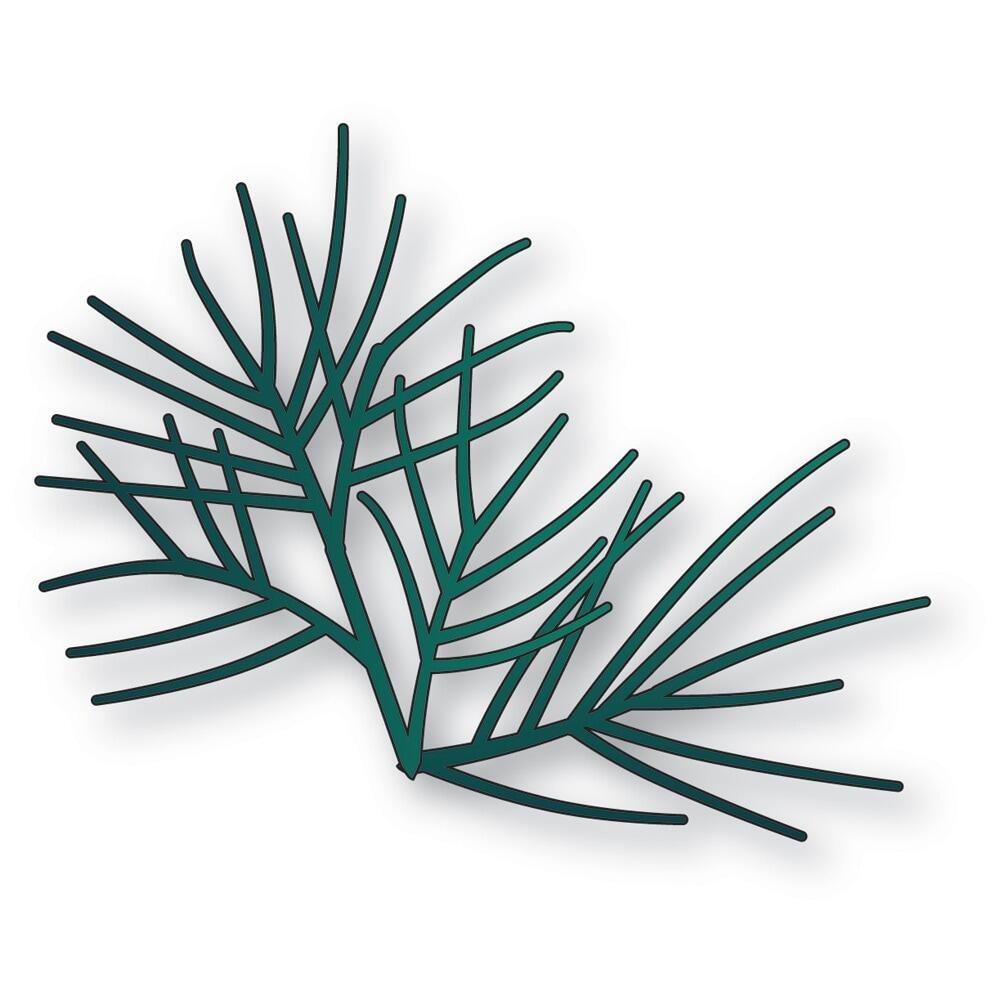
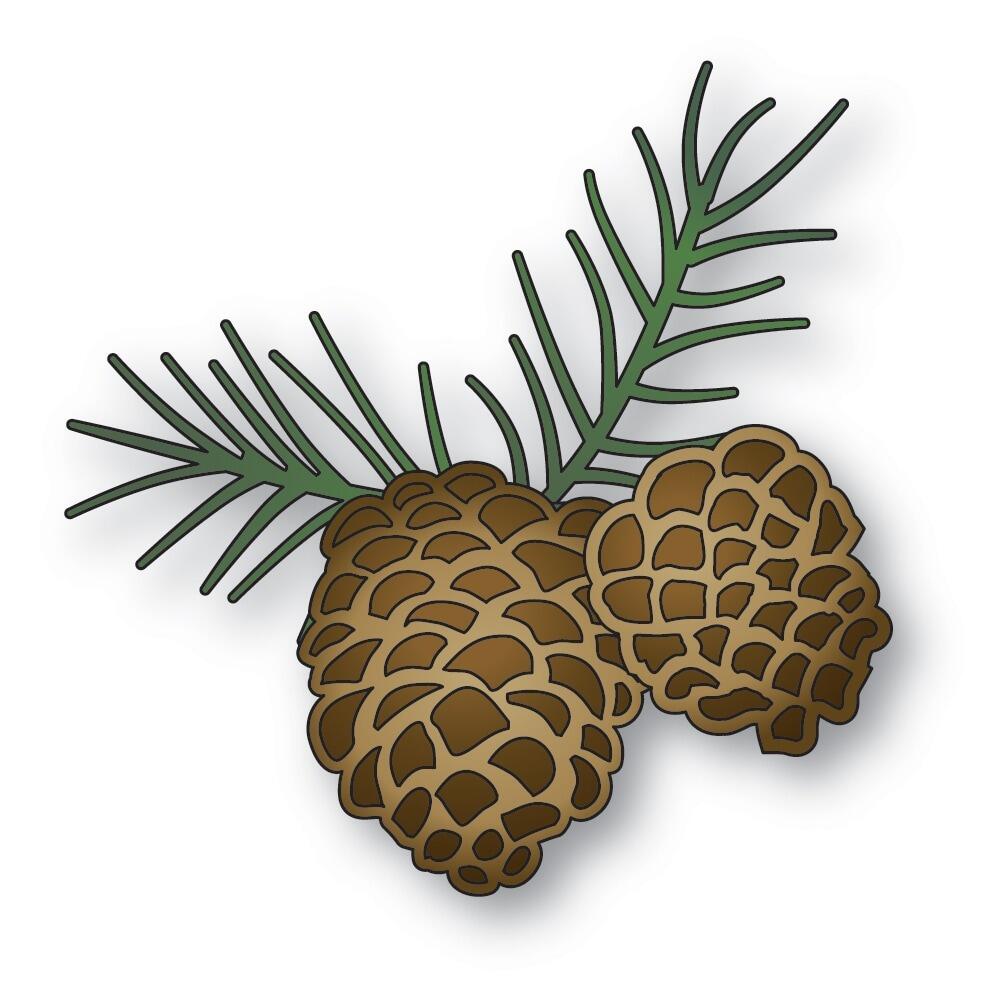
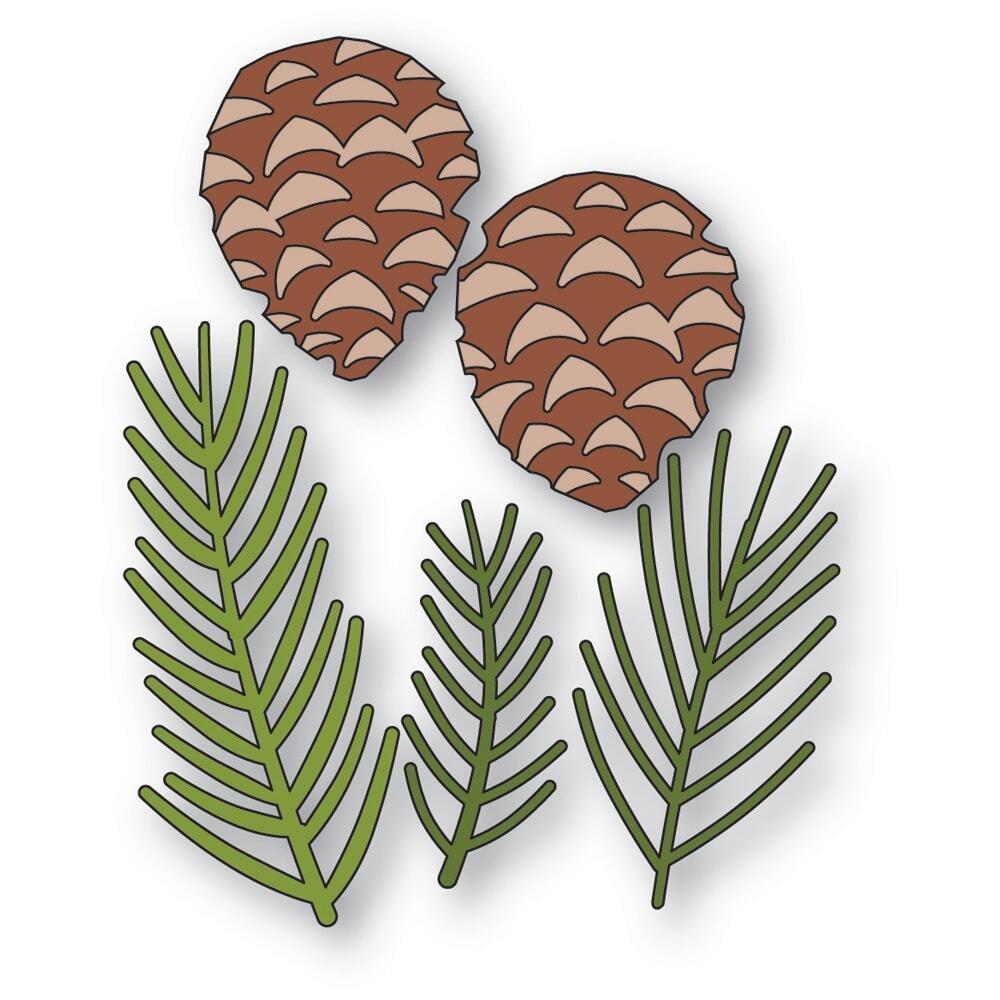
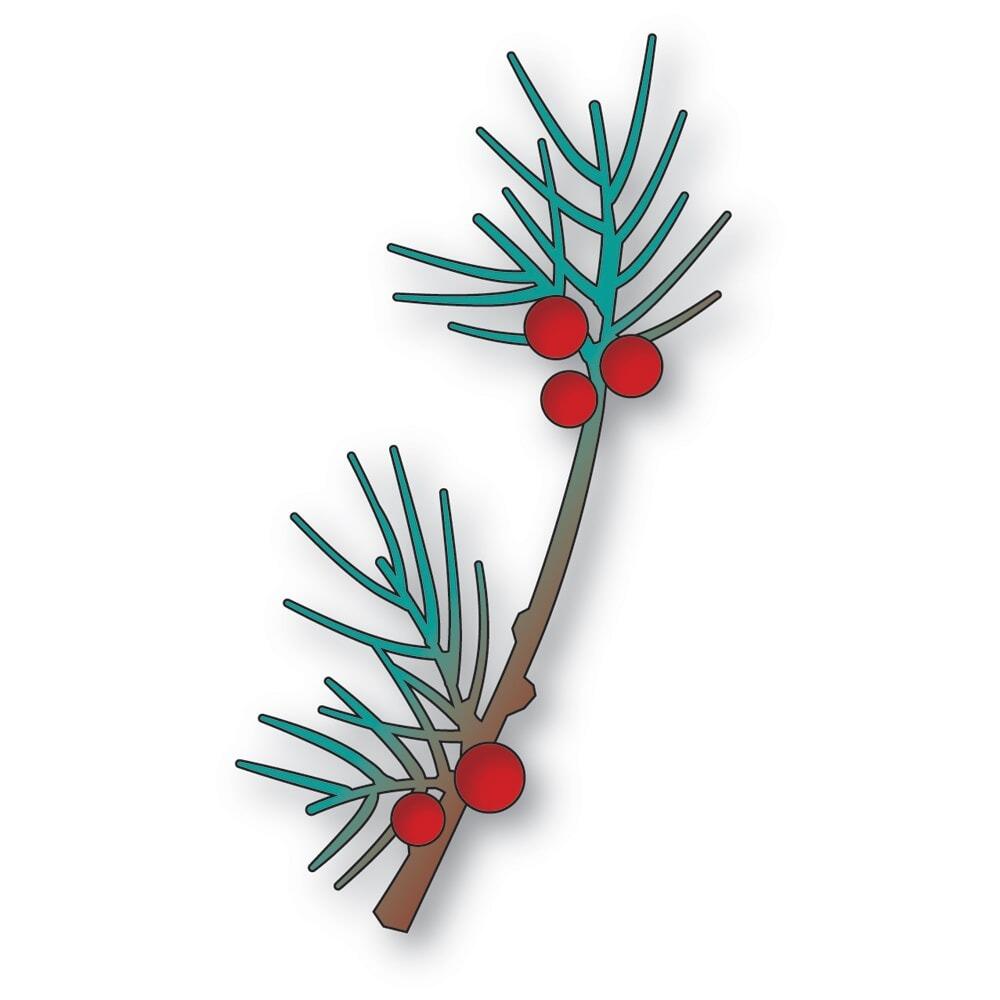
Pine Branches and Pinecone Duo dies for the pine elements.

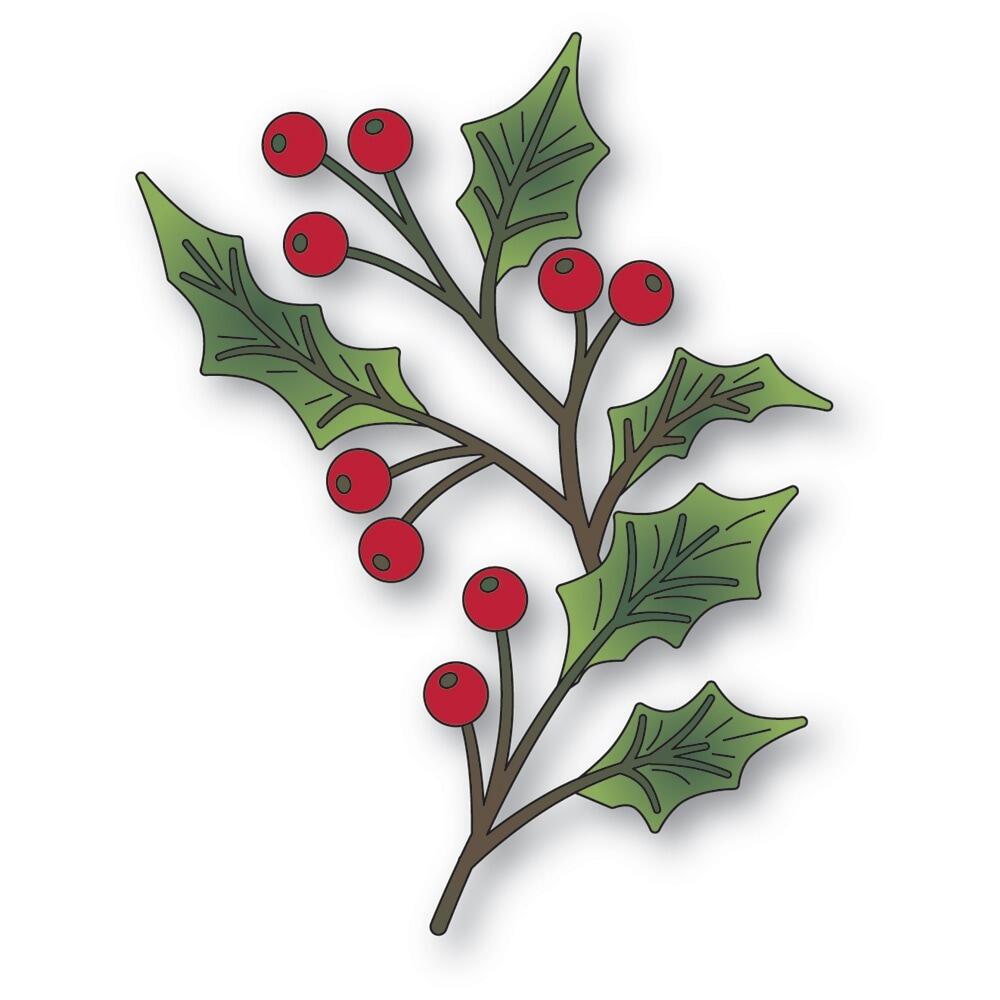
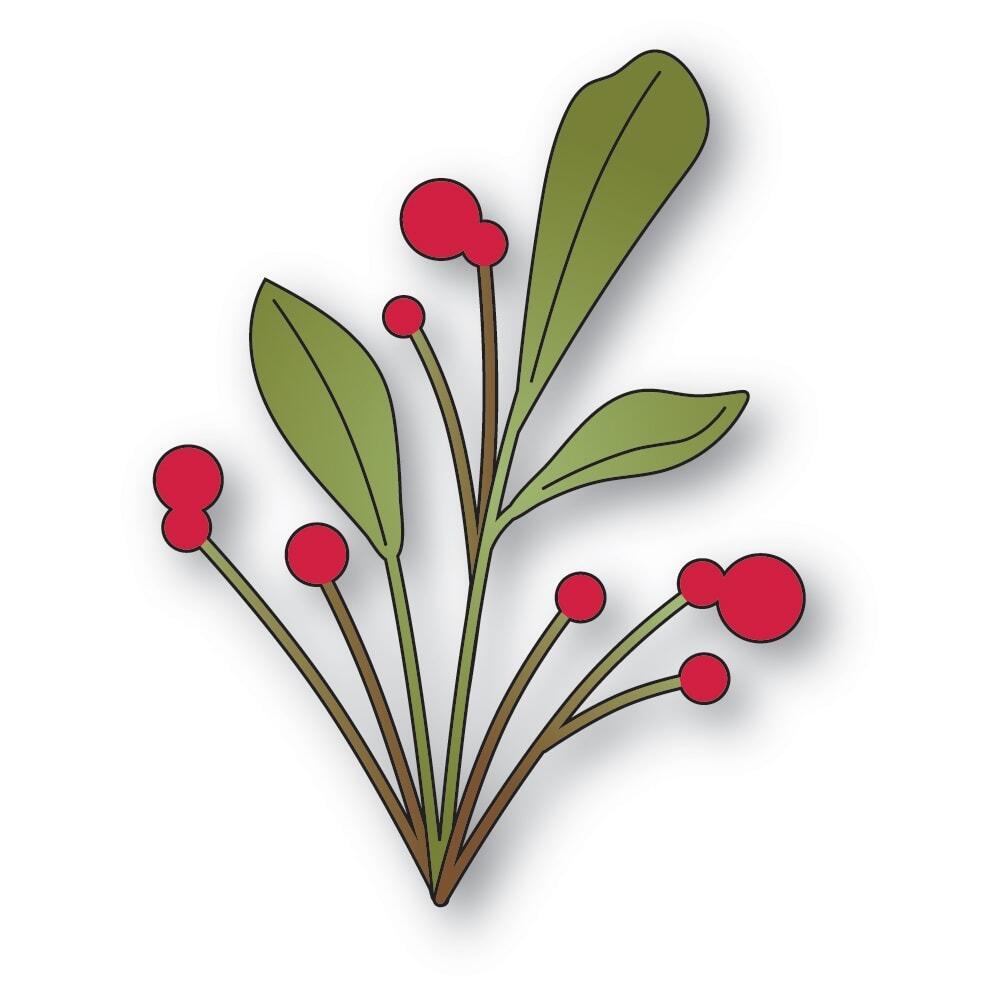
Festive Holly for the greenery elements.

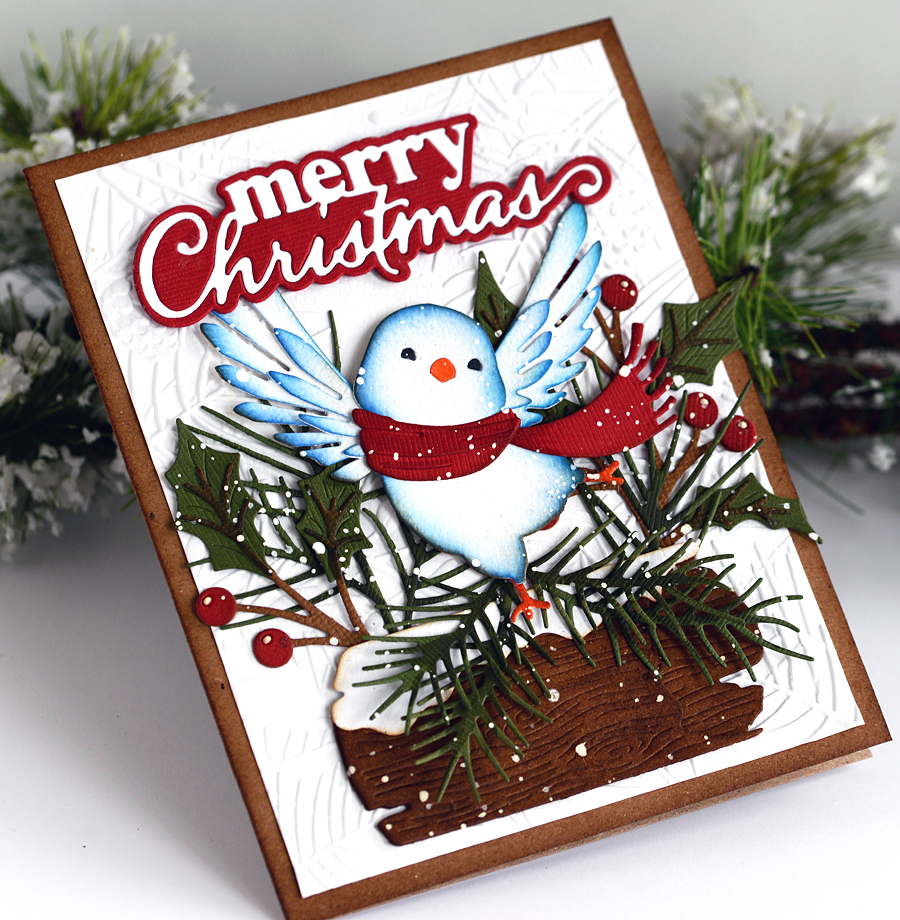
So cute!  This bird has personality and sure to bring a smile to the receiver!

The white panel is A2 size but I wanted some of the card base to show so it’s going to need an A6 or A7 envelope to mail.  It shouldn’t need any extra postage.

I’m going to link my card to some challenge blogs…

Simon Says Stamp Wednesday Challenge – Get Ready For Christmas

52 Christmas Card Throwdown – October Color Challenge,  Red, Green and Brown

The Christmas Kickstart #103 – Snow Alert

Allsorts Challenge #834 – Traditional Christmas Colors or anything goes

I hope you enjoyed this happy card and are inspired to make some Christmas cards.  I inspired myself! lol

Take care and enjoy this beautiful Fall season!

Links to what I used if you want to shop….click on the abbreviations,  SLS is Starlitstudio, SSS is Simon Says Stamp, SBC is Scrapbook .com   Thank you so much for stopping by!

p.s. the last four dies in the grid are from the new release.  I don’t have them to use but I think they would work with the bird too.

Memory Box – 94920 Happy Dance Bird…
[ STR | SSS ]
Memory Box – 94936 Merry Christmas…
[ STR | SSS ]
Memory Box – 94801 Festive Holly…
[ STR ]
Memory Box – 94817 Pine Branches…
[ STR | SSS ]
Memory Box – 94802 Pinecone Duo craft…
[ STR | SSS ]
Memory Box – 94821 Snowy Log craft die
[ STR | SSS ]
Memory Box – EF1043 Pinecones and…
[ STR | SSS ]
Stamperia Create Happiness Contour Liner
[ STR ]
Winsor & Newton Drawing Ink – White,…
[ BLIC ]
Nuvo Deluxe Clear Drying Adhesive;…
[ STR ]
Scrapbook Adhesives Crafty Foam Tape…
[ STR ]
Memory Box – 94912 Forest Holly Sprig…
[ STR | SSS ]
Memory Box – 94913 Pine Needles and…
[ STR | SSS ]
Memory Box – 94914 Berry Splash craft…
[ STR | SSS ]
Memory Box – 94916 Pine Berry Branch…
[ STR | SSS ]

All Occasion · Birthday · cards · copics · Oxide Inks · Simon Says Stamp · Summer

Simon Says Stamp You Are My Favorite Release…

Hello!  I know… long time no see!  I’m still here! My card today is using products from the last two Simon Says Stamp releases.  You Are My Favorite and Rain or Shine.  It turned out so fun!

A  5 ½ inch square card.

I heat embossed the NEW Wavy Background with Clear  embossing powder, then ink blended the panel with Distress and Oxide inks to make it look like water.

Birthday and Get Whale sentiments in this cute Get Whale Soon stamp set.

I stamped with Tuxedo Black Memento ink on Hammermill cardstock.  I don’t have the die set so I used my Scan n Cut. Then I colored with Copic Sketch Markers.  I forgot to add white gel pen accents though!  I think that would make it the little bit extra!  oops!

I used the thin mounting tape that I love to adhere the images to the card panel.  The little bubbles are glued directly to the panel.

Lots of pictures!  The color is more saturated in real life.

Such cute images! Whales with personality, sure to cheer for any occasion!

I hope this finds you enjoying Spring and all the pretty flowers.  I have hanging baskets on the back porch and ferns on the front porch but we haven’t had much sun yet.  I have some hydrangea bushes that the buds always get frozen off over the Winter or something so they have to start over from the ground up. ugh.  We’ll have lots of buds by the time it freezes again in the Fall!  Crazy!

Check out the new releases!  I’ll link below.

We’re getting ready for a wedding in two weeks!  eek!  So fun!  Our oldest granddaughter is getting married!  I love the shoes I bought to wear! lol

I’ll be posting a wedding card I hope!  I’ll show the tag I made for her shower then too!

take care and ttul!

Check out the new releases and products I used to make this card…

Simon Says Clear Stamp Wavy…
[ SSS ]
Simon Says Clear Stamps Get Whale…
[ SSS ]
Simon Says Stamp Get Whale Soon Wafer…
[ SSS ]
Simon Says Stamps and Dies Get Whale…
[ SSS ]
Hammermill WHITE 100 LB SMOOTH…
[ SSS ]
copic sketch markers at Simon Says…
[ SSS ]

Distress Ink coloring · Easter · Oxide Inks · Simon Says Stamp

Simon Says Stamp Favorite Things Release…

Hi everyone!  Simon Says Stamp sent me this delightful stamp set to play with for this release!  It’s a big set… 6 x 8!  So I set to work!

Using the Tim Holtz Framed Tags set I die cut tags in kraft and white cardstocks.

I made a little box to hold something a treat or in this case a little box of washi tape postage stickers.  I scored two tags two inches from the bottom, folded and taped together to make this little tent box.

I stamped the bunny in PottingSoil Archival ink, then colored it in with color pencils.

I stamped the Happy Easter in white pigment ink and then pink distress oxide over the top.  I used a couple pinks.  It’s so great you can stamp over the top if you’re not happy when you use the MISTI.

OH, and I got out the old eyelet stash! Some cord tied the two tags together and it was finished!  I love it! haha

Then I made more tags….

I know the bunnies look black but it’s still the Potting Soil (brown) ink pad.

I stamped the small tag with flowers in white and then color penciled over the top.

I stamped some of the foliage stamps around the images on the tags and the box tent.  The grass on the big tag is drawn on with a color pencil.

I love how they turned out!

ok – for some white tags…

Same stamp set!  I stamped the eggs, leaves and Spring Blessings sentiment in Distress Oxide inks. Greetings and the floral images in Versafine Black ink.  Then ink blended over the florals on the medium size tag.  Be sure you let the black ink dry!  I had a little smearing.

Then I tied them together!  Fun!

Holler if you have any questions and enjoy shopping the release!  I’ll put links below and I’ll thank you now for clicking from my blog if you do!  I appreciate it!

Here’s the products I used to make these tags…

Favorite Things – Simon Says Stamp
[ SSS ]
PREORDER Simon Says Stamp and Dies…
[ SSS ]
PREORDER Simon Says Clear Stamps…
[ SSS ]
PREORDER Simon Says Stamp Blessings…
[ SSS ]
Ranger Wendy Vecchi Archival Potting…
[ SSS ]
Ranger Wendy Vecchi Archival Potting…
[ SSS ]
Simon Says Stamp Pigment Ink Pad…
[ SSS ]
Prismacolor Premier Colored Pencils…
[ SSS ]
49 and Market Artoptions Rouge…
[ SSS ]


cards · CAS · Distress Ink coloring · LOVE · Oxide Inks · Simon Says Stamp · Valentine

Simon Says Stamp Falling in Love Stencil Card…

I haven’t made much for kraft and red this year!  Shocking I know! lol  Here I have Lumberjack Plaid, Picked Raspberry and Kitsch Flamingo Oxide Inks blended on kraft cardstock.  I love how it turned out!

It’s a 6×6 stencil so I made a 6×6 piece, trimmed it down and adhered the extra strip to the back of my card!  I love how it looks!

The sentiments are from the Simon Says Stamp Love Greetings Mix stamp set…on sale right now! I’ll link you below.

I stamped the I LOVE YOU in black on kraft in the MISTI, then trimmed it out with a paper trimmer. Mounted it with the thin mounting tape I love.

I stamped You Captured in the MISTI also.  I did have to go over it with a black micron pen though because the black didn’t show up great over the oxide ink.  I should’ve let it dry longer I bet.

I added three black enamel dots.

The camera picks up the color more than it looks IRL.  It’s more muted/chalky looking in person.

I can’t believe Valentines Day is in four days.  I guess I won’t be mailing any this year. ugh

Do you mail Valentines?

I’m linking to some challenges…

Simon Says Stamp Wednesday Challenge – totally inspired by the Love is in the Air theme

Stencil Fun Challenge – Stencils with optional pinks and/or reds, totally inspired by the option!

Word Power Feb. 2025  Challenge – sentiment is the focus

Addicted to Stamps and More Challenge  #485 – diecuts and/or stencils

Inkspirational Challenge #334 – Red and Pink

Thank you so much for stopping by my blog today!  Happy cardmaking!

Here’s what I used to make this card…

Simon Says Stamp Stencil Falling in…
[ SSS ]
Simon Says Clear Stamps LOVE…
[ SSS ]
Doodlebug BEETLE BLACK GLITTER…
[ SSS | SSS | SSS | SSS ]
Tsukineko VersaFine ONYX BLACK Ink…
[ SSS ]
MINI MISTI PRECISION STAMPER 6×7…
[ SSS | SSS | SSS ]
MISTI PRECISION STAMPER VERSION 2.0…
[ SSS | SSS | SSS ]
Tim Holtz Distress Lumberjack Plaid…
[ SSS ]
Tim Holtz Distress Oxide Ink Pad…
[ SSS ]
Tim Holtz Distress Picked Raspberry…
[ SSS ]
Tim Holtz Distress Oxide Ink Pad…
[ SSS ]
Tim Holtz Distress Kitsch Flamingo…
[ SSS ]
Tim Holtz Distress Oxide Ink Pad…
[ SSS ]
Rainbow Splash Large Blending Brushes…
[ SSS | SSS | SSS | SSS ]
Simon Says Stamp Pawsitively Perfect…
[ SSS | SSS | SSS ]
Tim Holtz Tonic Guillotine Comfort…
[ SSS ]

Birthday · cards · Die Piecing · Oxide Inks · Spellbinders dies · Stencils

Spellbinders Stencil of the Month Club Birthday Card…

Hello!  I know…this is unexpected!  It was kinda fun to switch to a birthday card today!

I wasn’t sure about this stencil set and birthday cake either but it turned out so fun!

I started with picking five colors of oxide ink, Wilted violet, Kitsch Flamingo, Picked Raspberry, Cracked Pistachio and Lucky Clover.  Using the brush ink blending tools I set to work!  I use the Wendy Vecchi Magnetic board to do stenciling.

Here’s a close up picture…I used Spellbinders cardstock for the cake and party time sentiment.

I used the Tiny Attacher on the corners of the tag and to hold the ribbon in place.

Spellbinders Nested Mini Label and Nested Postage Labels & Tag dies.

It’s like an eighth of an inch bigger than an A2 size card because I wanted more of the cardbase to show.

Are you familiar with how the Spellbinders Monthly Clubs work?  You can find all the details in my links below that take you to their webstore.  If you purchase the Deluxe Caboodle Value Club membership you receive a monthly bonus item.  This month it’s this ‘Party Time Cake’! So cute!

Thank you so much for stopping by and send me an email if you have any questions!  Now it’s back to Christmas programming! lol

Here’s the products I used to make this card…

The Deluxe Caboodle Value Club…
[ SPL ]
Stencil of the Month Membership -…
[ SPL ]
Stitched Floral Flip Frame Etched…
[ SPL ]
Nested Postage Labels & Tag Etched…
[ SPL | SPL | SSS ]
Ranger – Wilted Violet Distress Oxide…
[ SPL | SSS | SBC ]
Tim Holtz Distress Oxide Ink Pad…
[ SSS | SBC ]
Tim Holtz Distress Oxide Ink Pad…
[ SSS | SBC ]
Tim Holtz Distress Oxide Ink Pad…
[ SSS | SBC ]
Tim Holtz Distress Oxide Ink Pad…
[ SSS | SBC ]
Idea-ology – Tim Holtz- Tiny Attacher…
[ SBC | SSS ]
Idea-Ology Tiny Attacher Refill…
[ STR | SSS | SBC ]
Wendy Vecchi MAKE ART Stay-tion -…
[ SPL | SSS | SBC ]