All Occasion · Birthday · cards · Die Piecing · Flowers · Hot Foiling · Memory Box · Mini Slim Card · Poppystamps · Thank You

NEW Memory Box Cards…

Hello!  I’m enjoying the sunshine today!  It really warms up the house…thankful for that in this below zero weather we’ve been having!

Meanwhile flowers are growing in my stamp room!

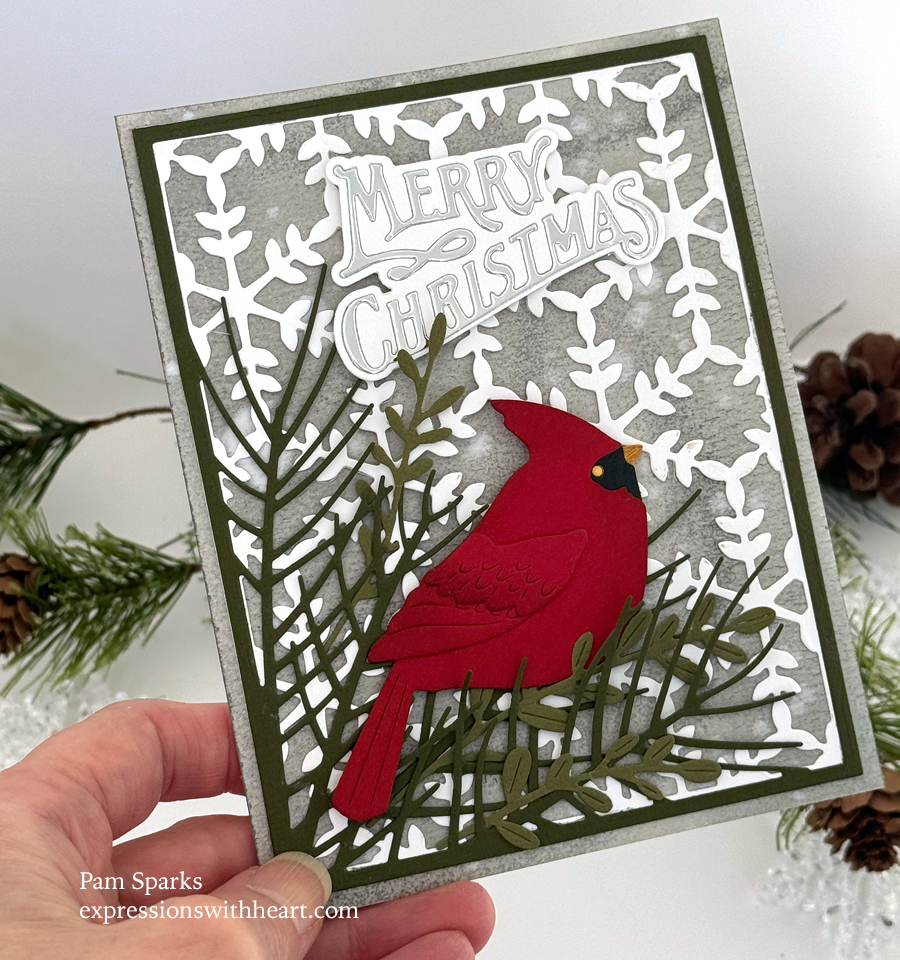
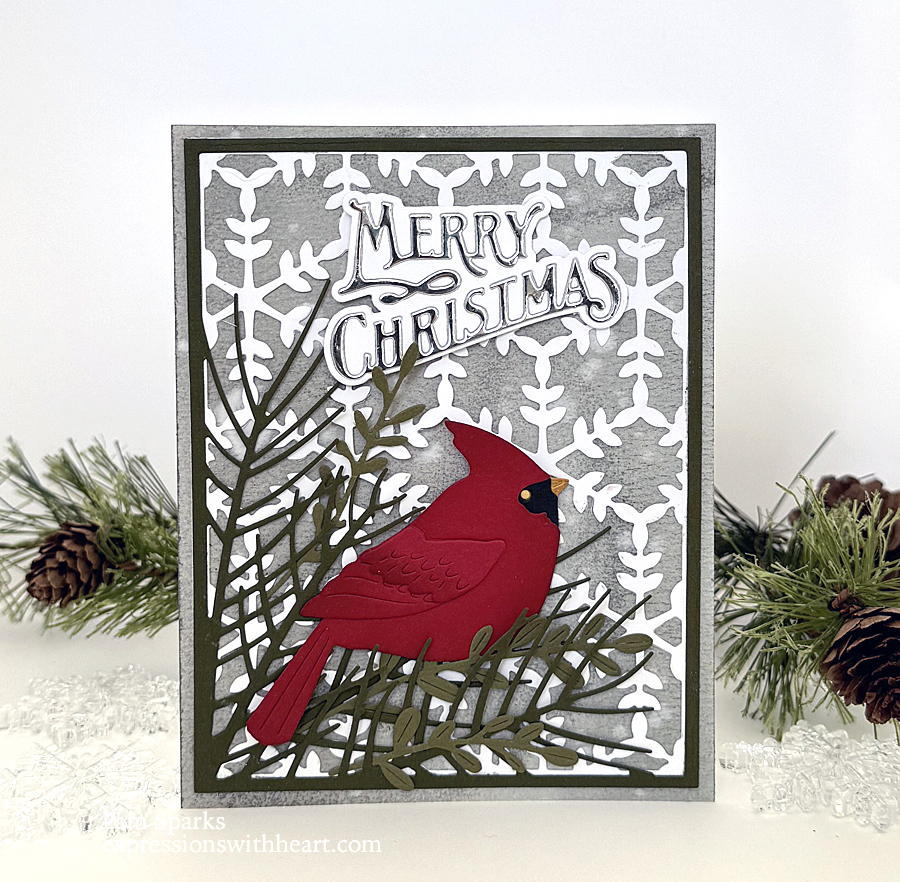
Two cards to share with you today…NEW dies and NEW papers!

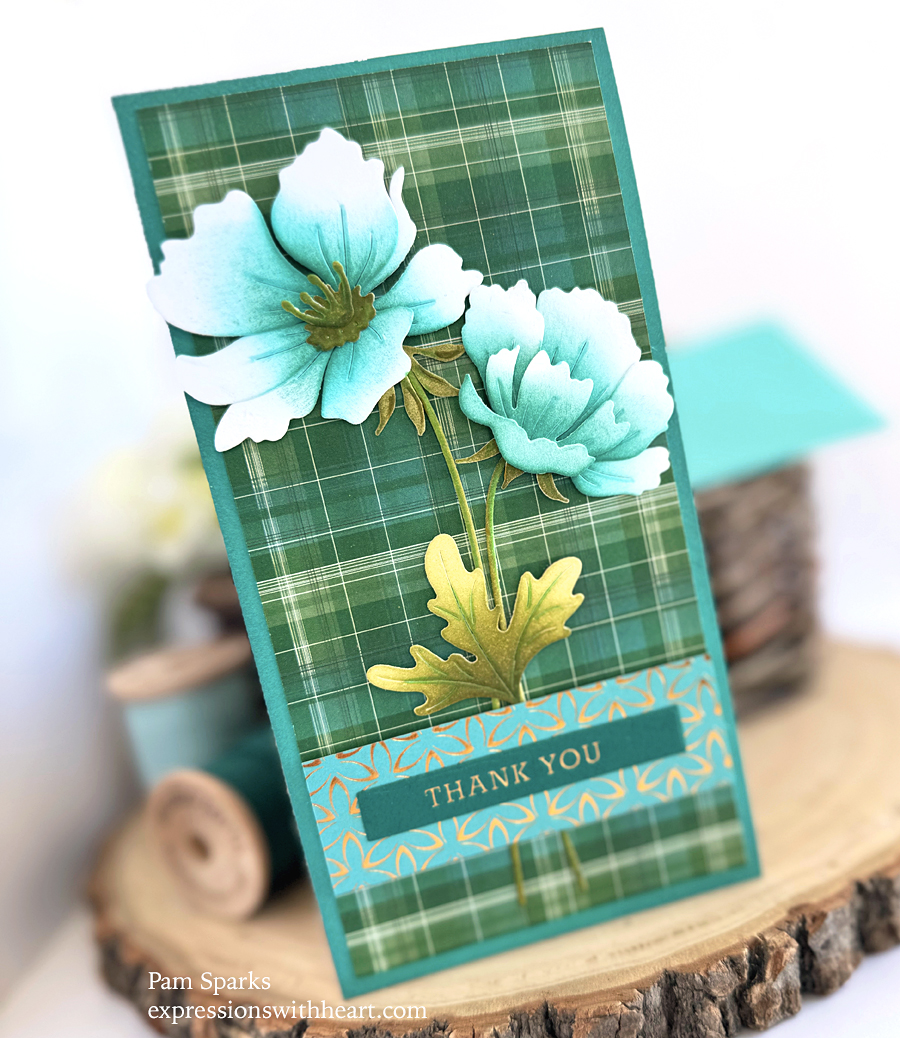
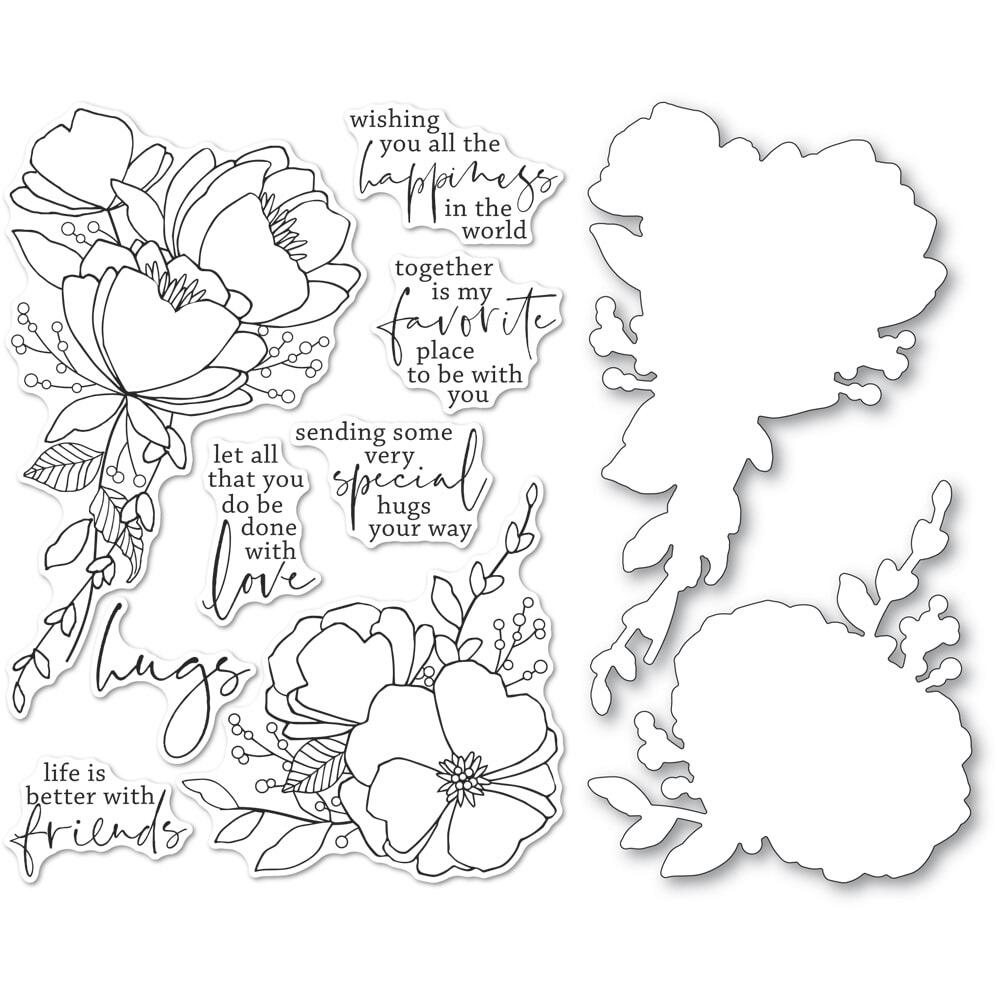
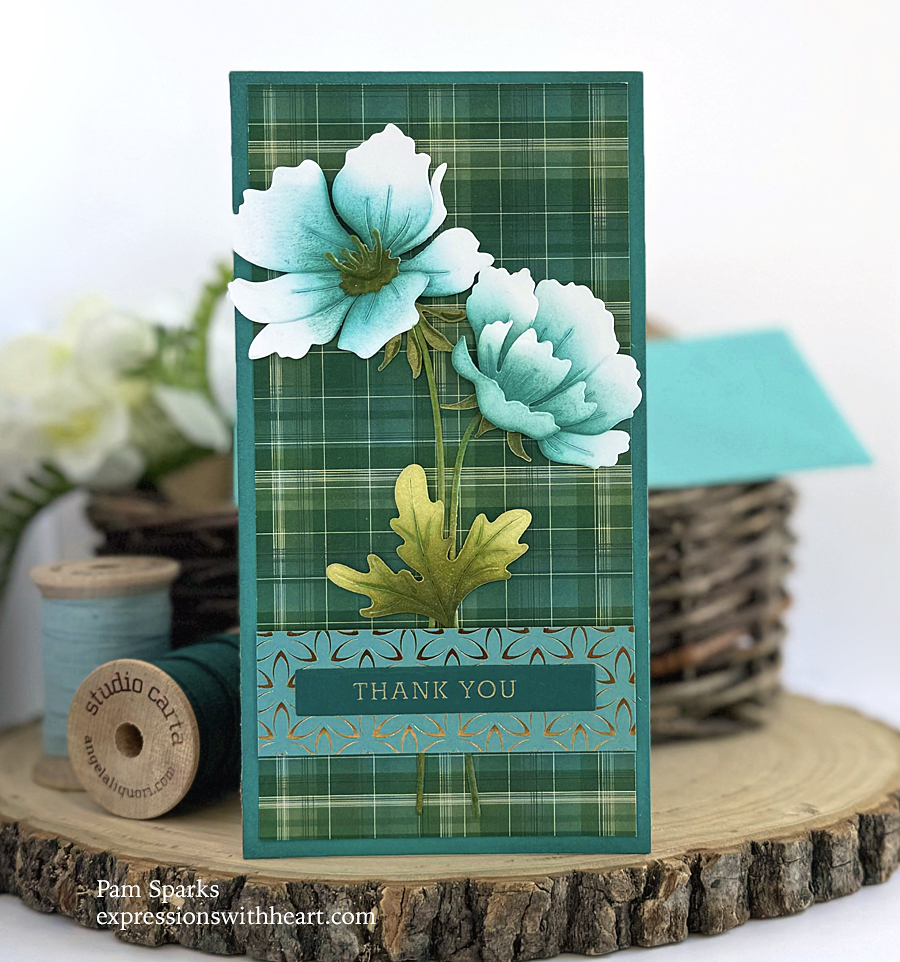
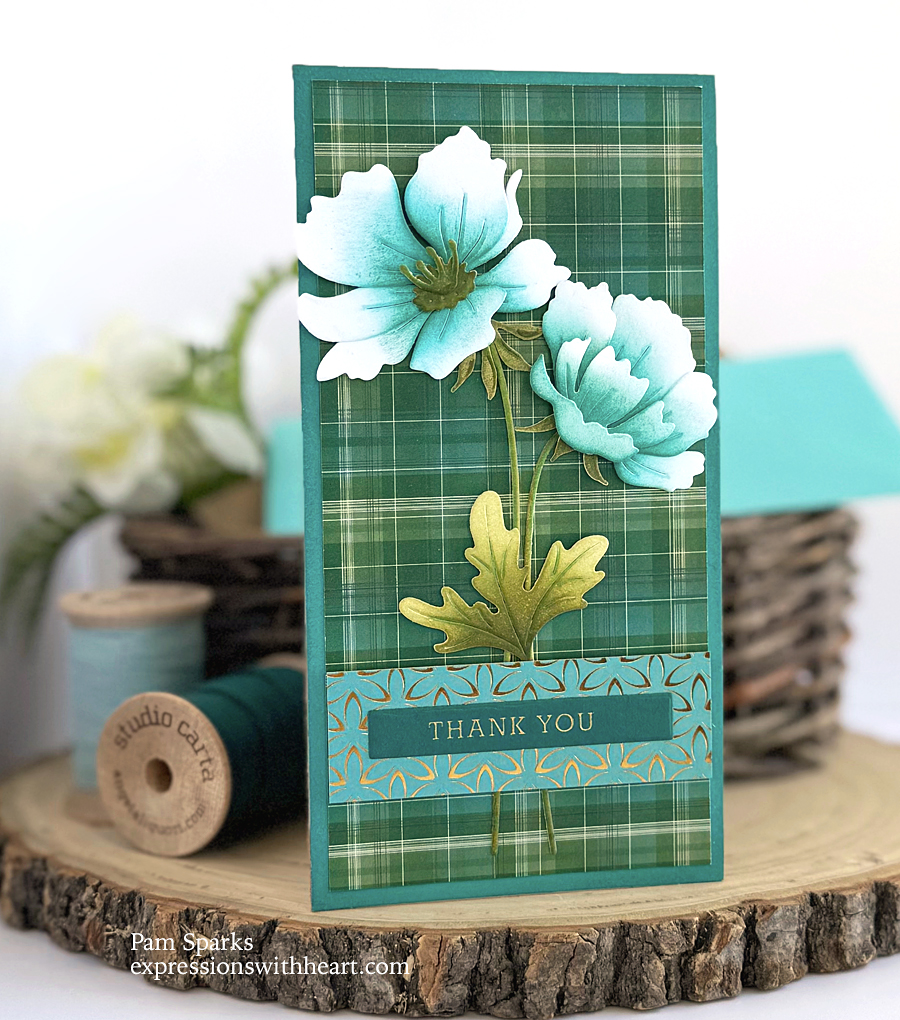
I inked up the NEW Blooming Anemone and NEW Elegant Anemone dies with Distress Ink and the mini blending tools.  I die cut the florals from Bristol cardstock and used Peacock Feathers and Pine Needles Distress Inks.

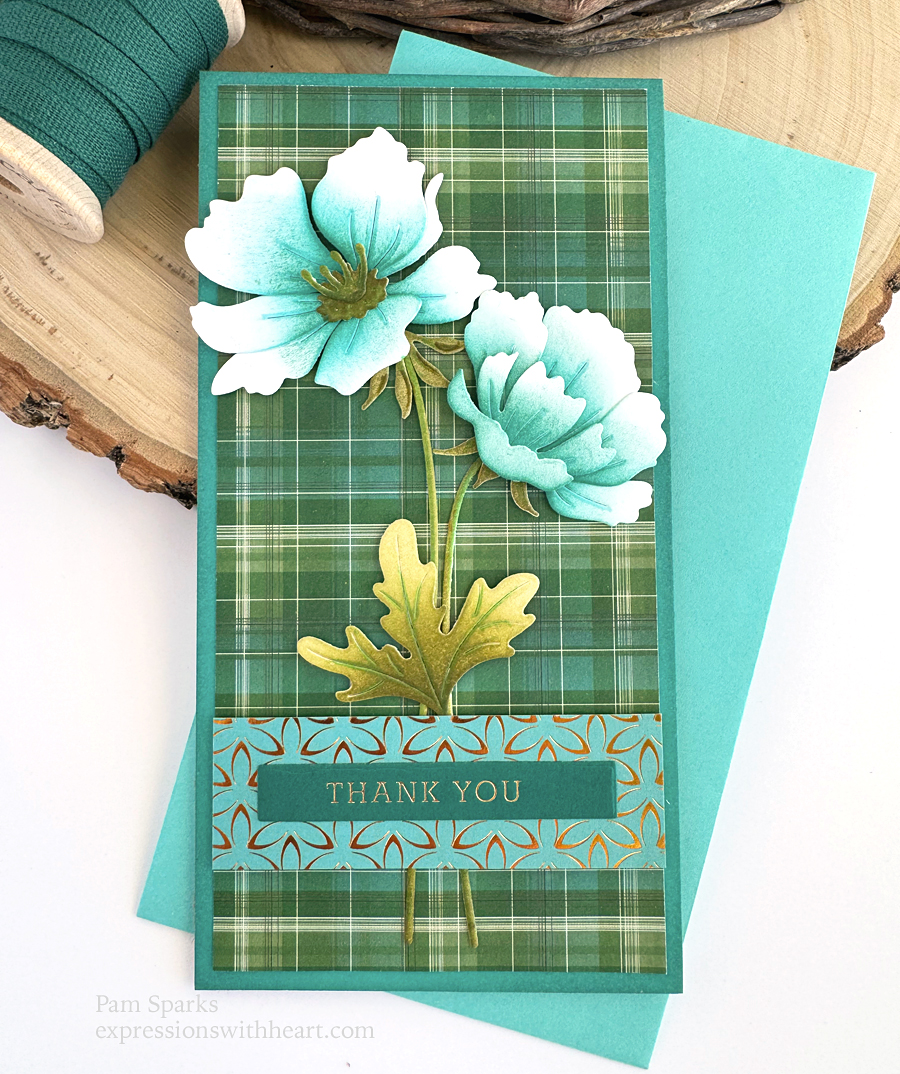
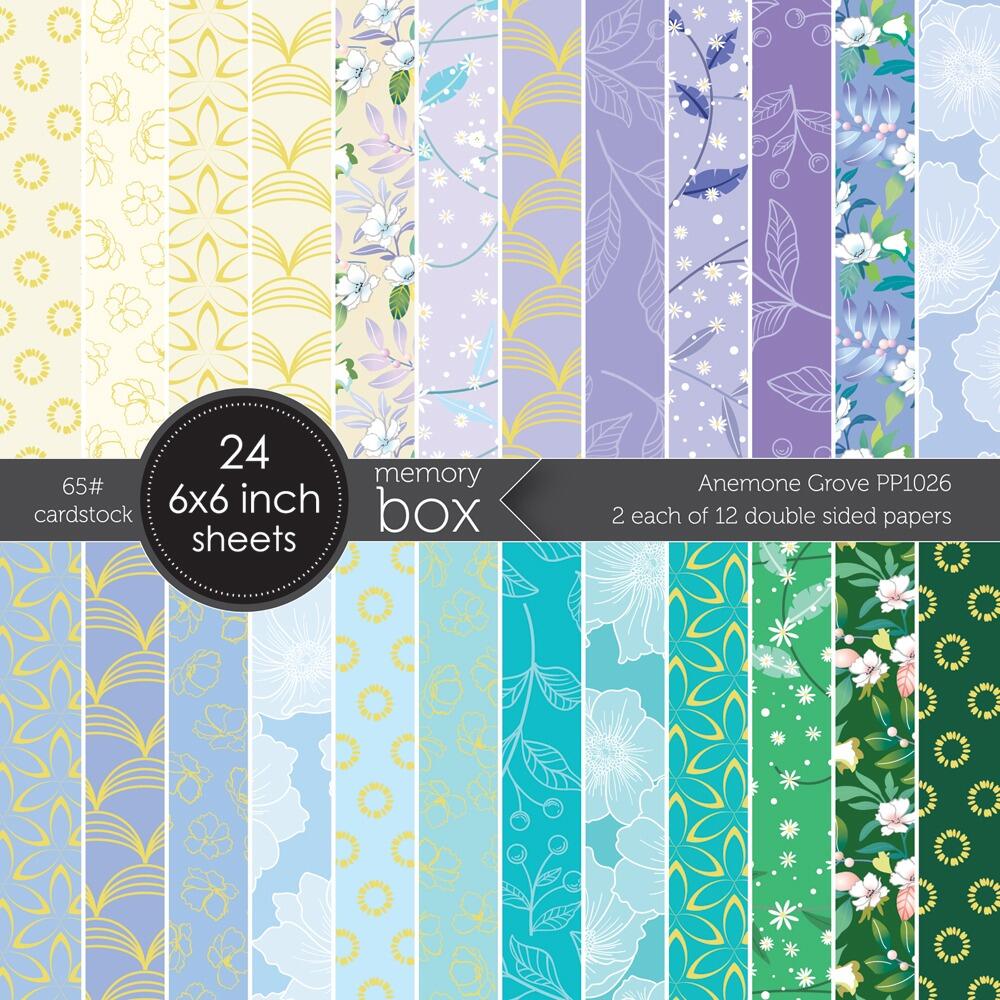
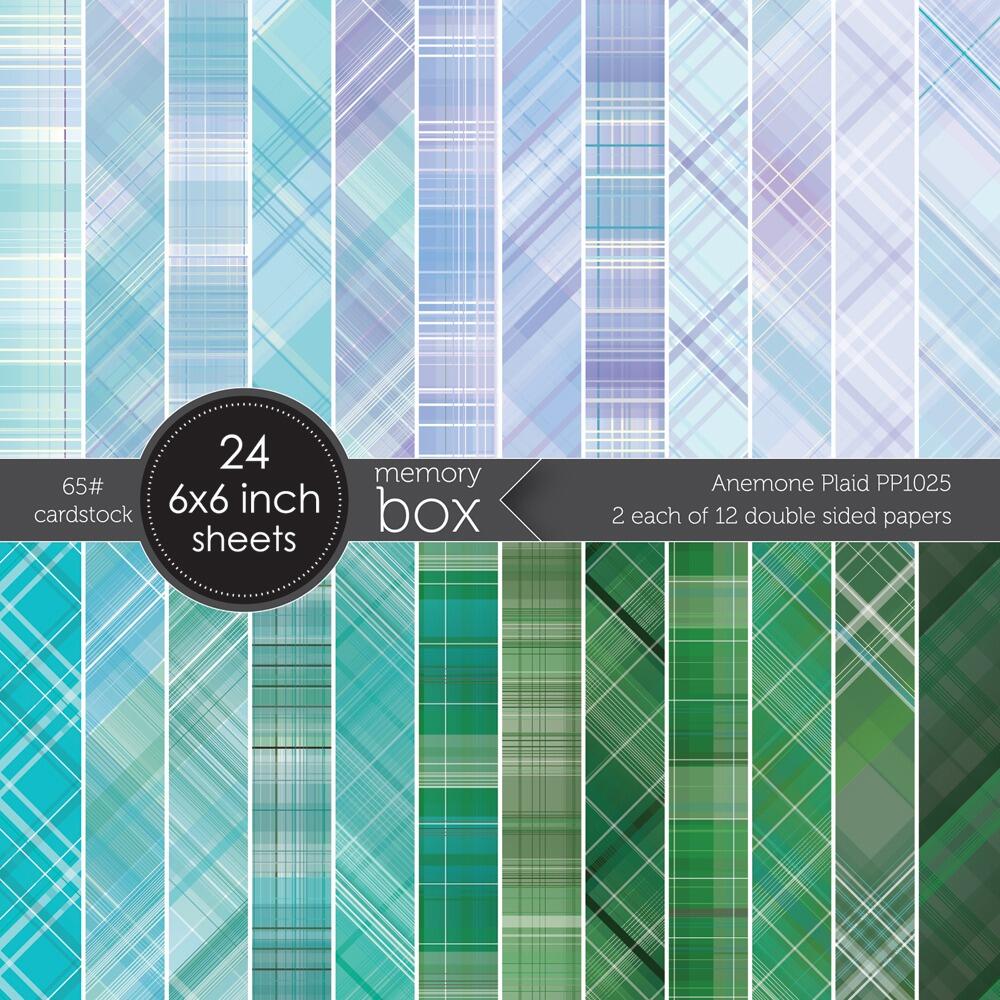
Two NEW 6×6 paper pads from Memory Box, Anemone Plaid and Anemone Grove.

I made this card base a mini slimline size. I do love this size…just something charming about it with the florals, inking and plaid.  Wish I could show it to you in person!

The florals are so easy to put together.  I love that.  I just follow the pattern on the envelope by laying the pieces on top of the picture!

Oh, the greens I used for the stems and leaves…Shabby Shutters, Peeled Paint and Forest Moss Distress Ink.

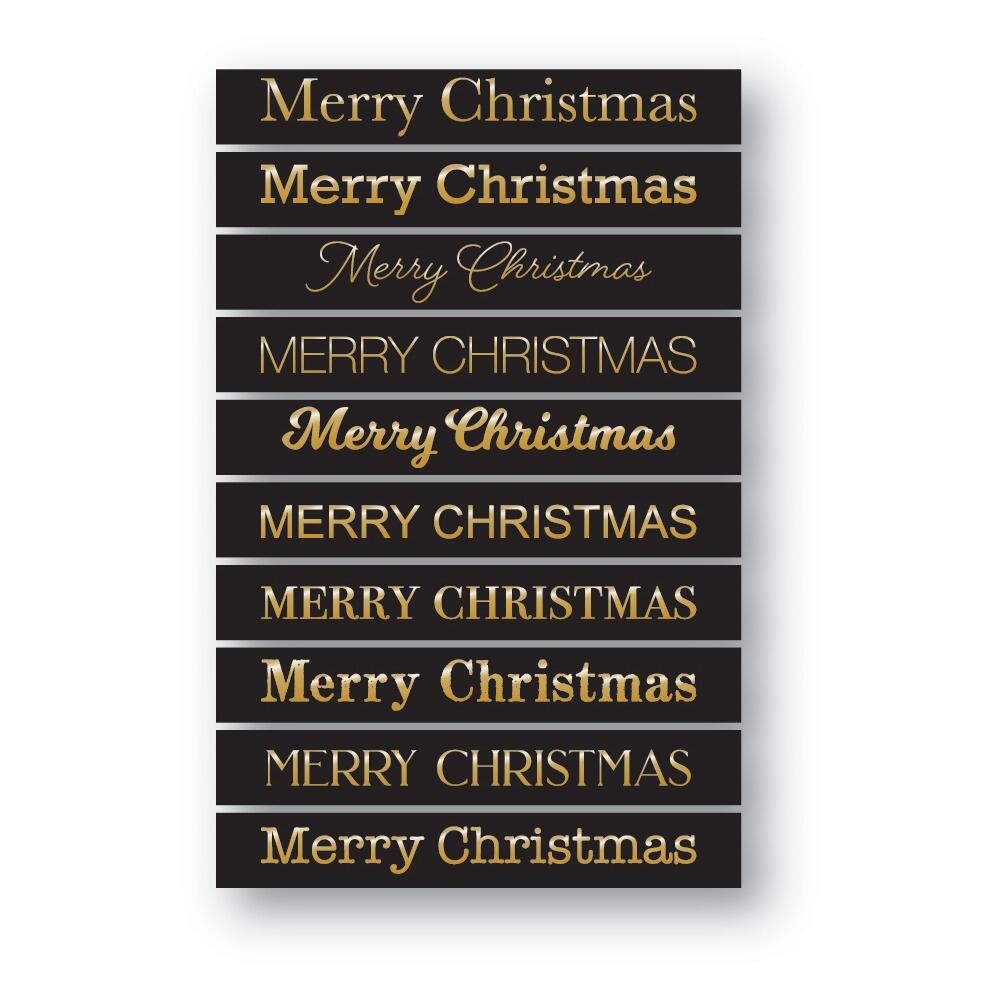
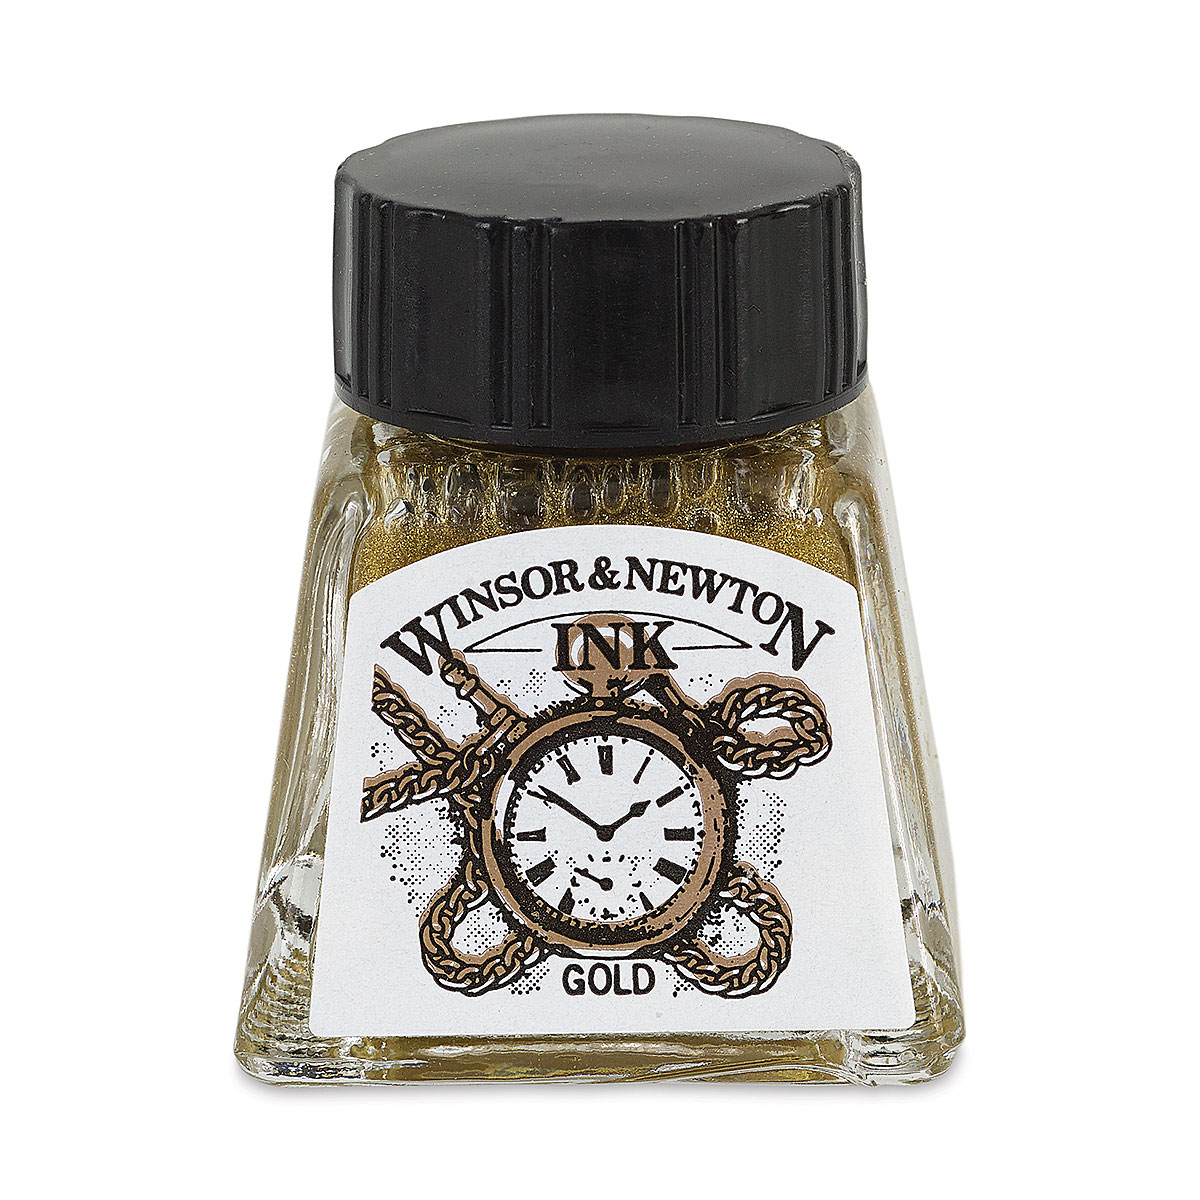
I used a poppystamps sentiment from the Modest Greetings 1 hot foil and cut die set.  Spellbinders gold hot foil.

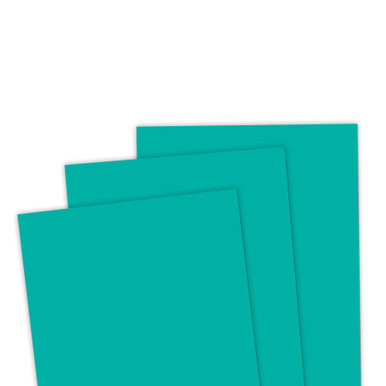
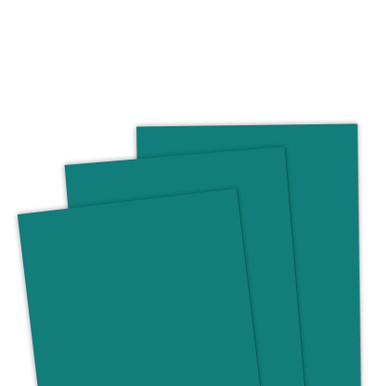
Taylored Expressions Cardstock… I’ll link below.

The ribbon rolls in my photos are HERE

Linking this card to some challenges…

Triple B January 2024 Challenge – Blooms

Simon Says Stamp Wednesday Challenge – Let’s Have Some Fun!

NBUS Challenge #58 – Never Before Used Stuff!

Next card…

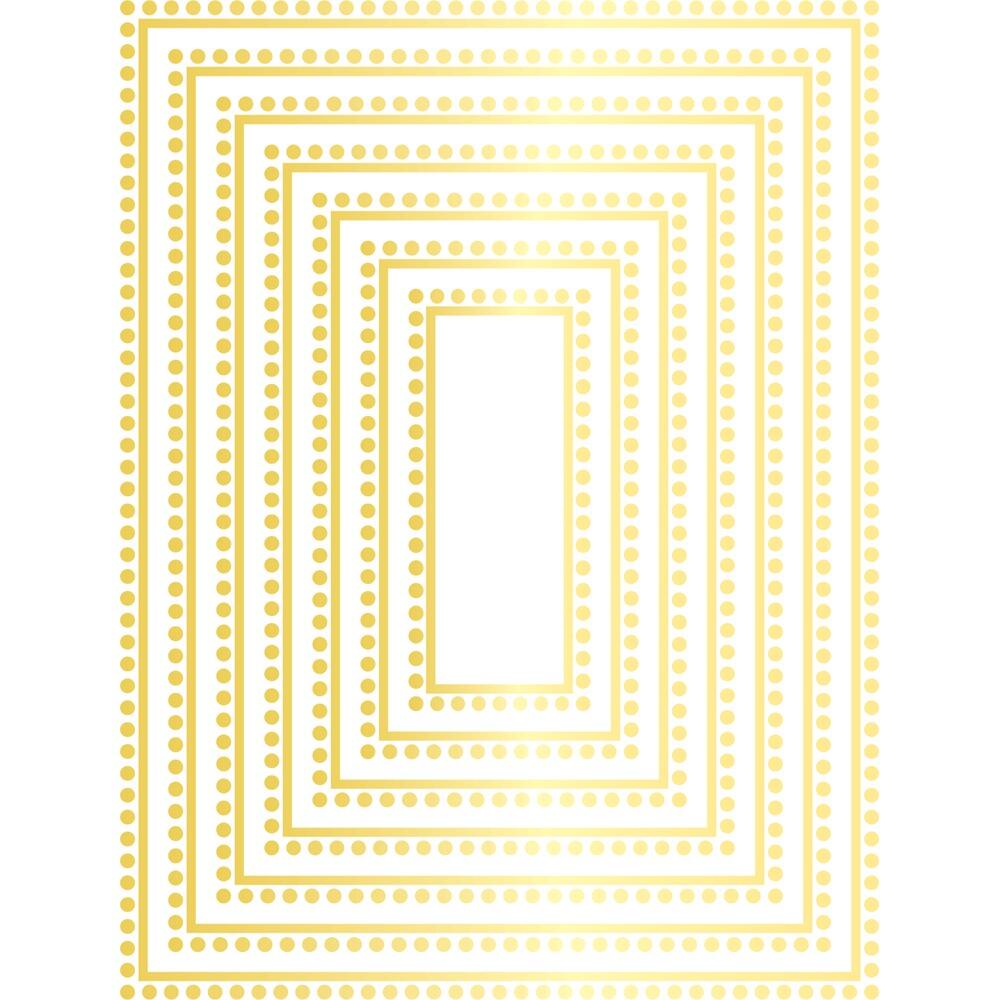
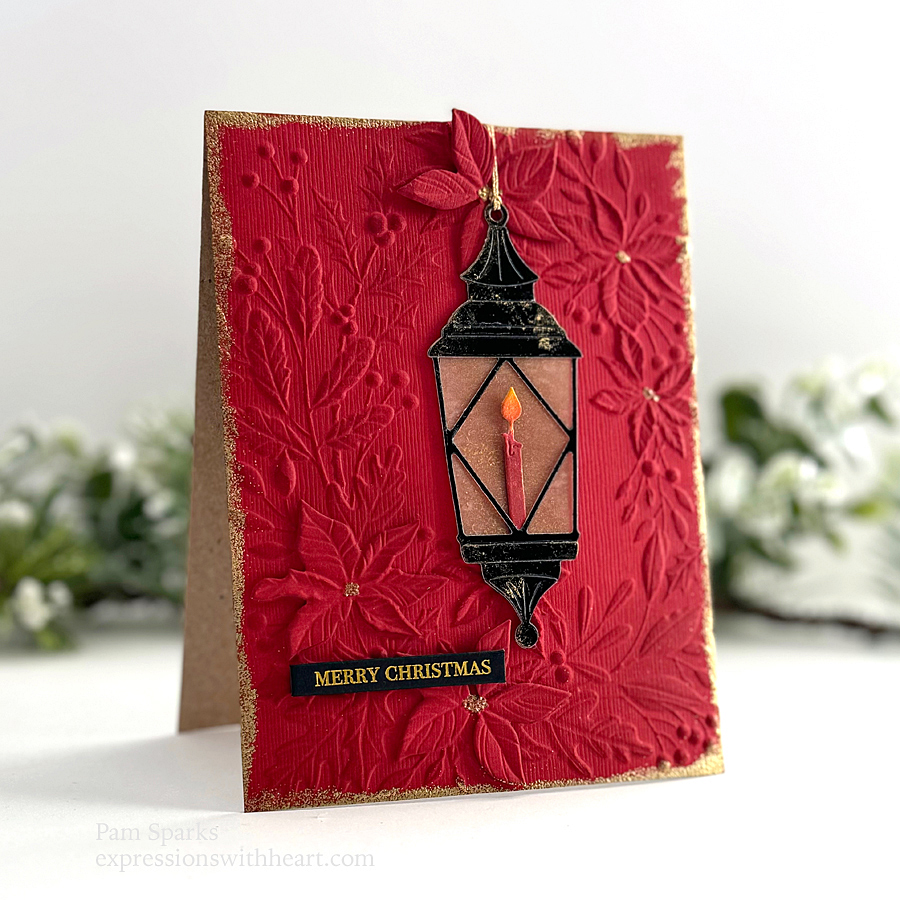
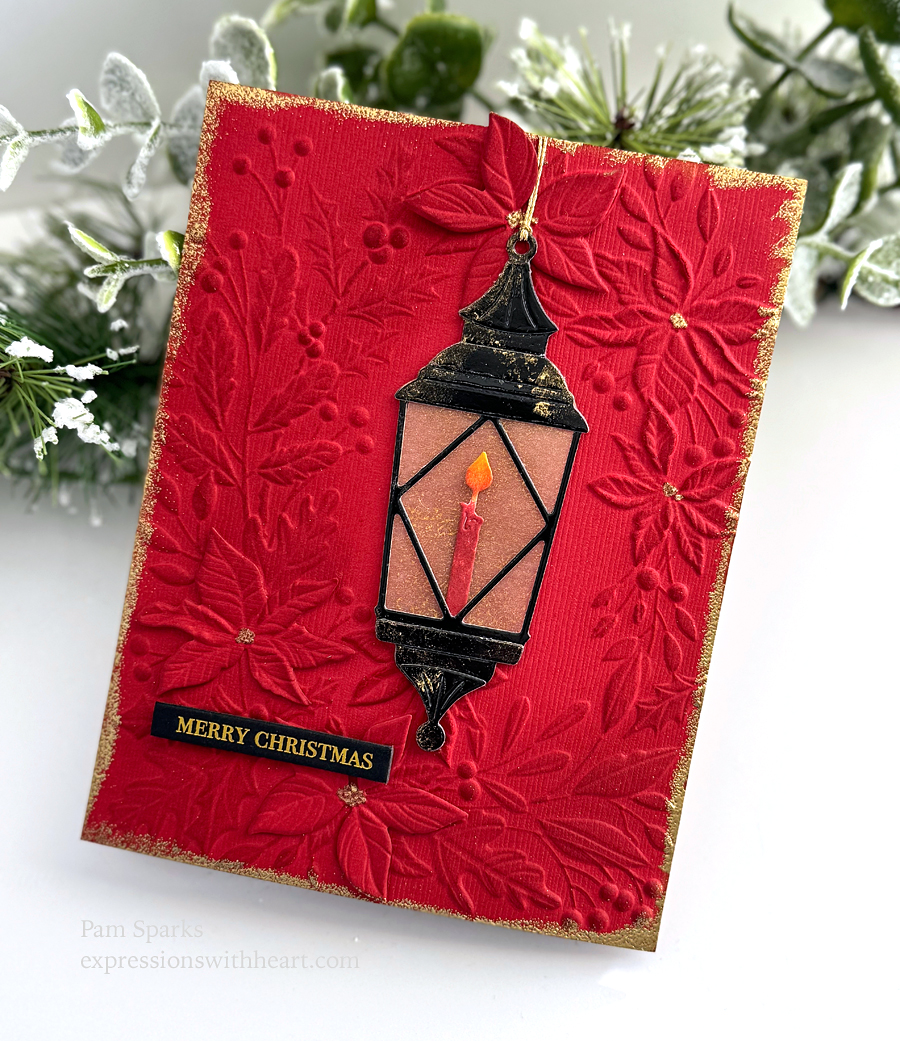
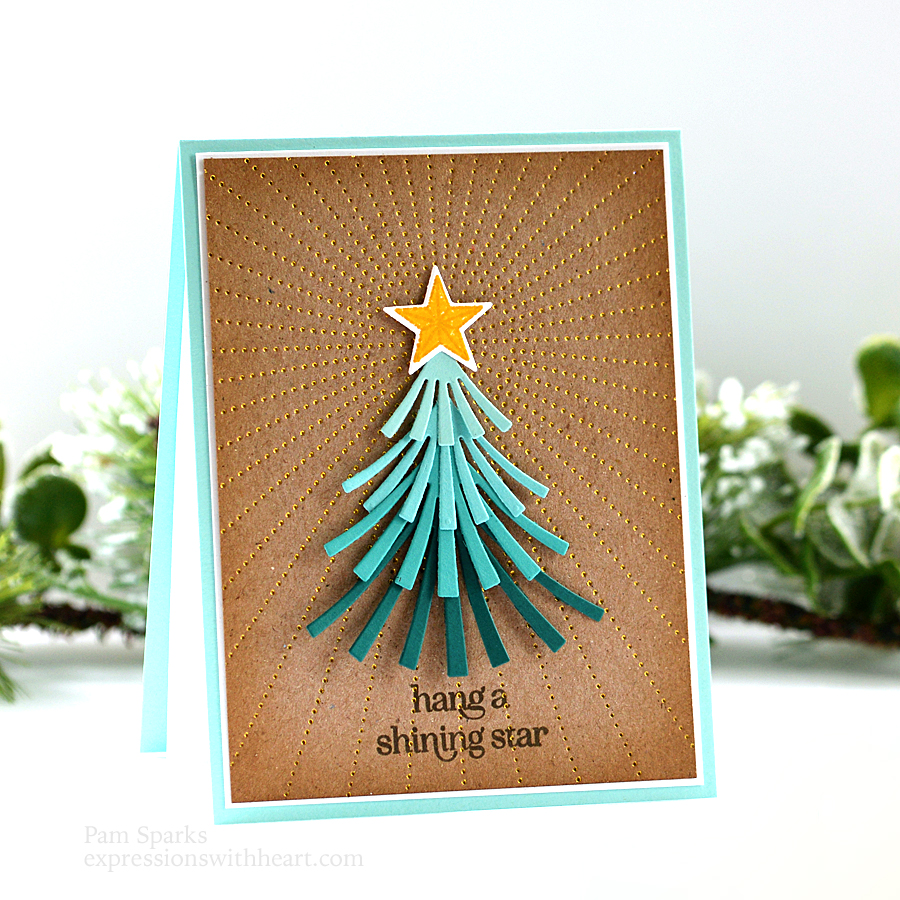
A NEW hot foild plate, Rectangle Dot Border.  I love how it looks like a faux spotlight!

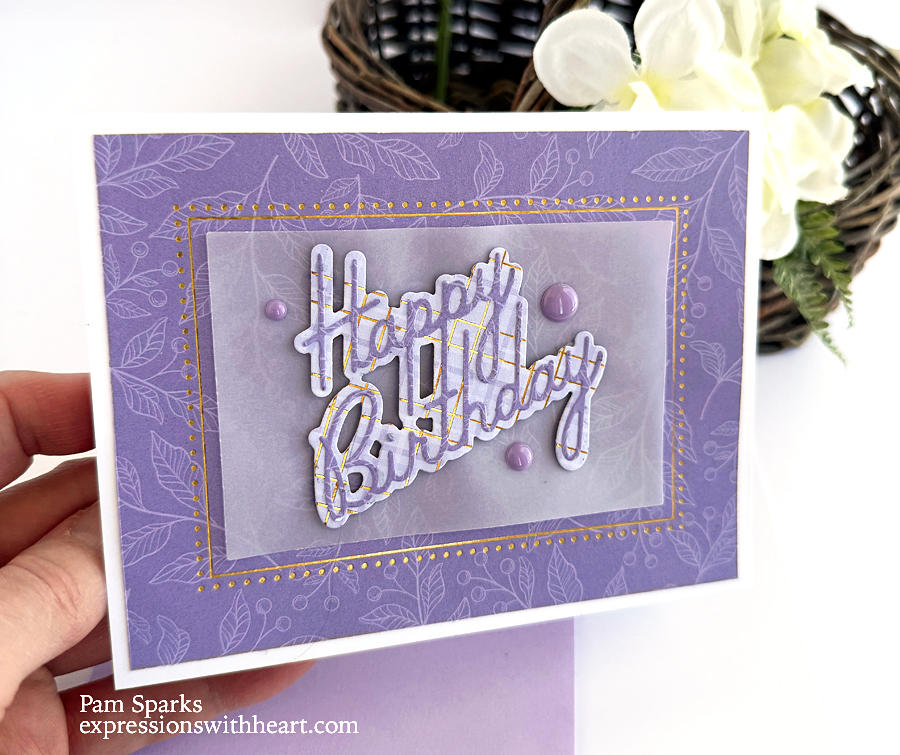
I used the NEW Happy Birthday Debut Script die cut from the NEW Anemone Grove 6×6 paper pad, tone on tone piece that I used for the background panel.  For the Happy Birthday Debut Script backer, I used plaid from the NEW Anemone Plaid 6×6 paper pad.

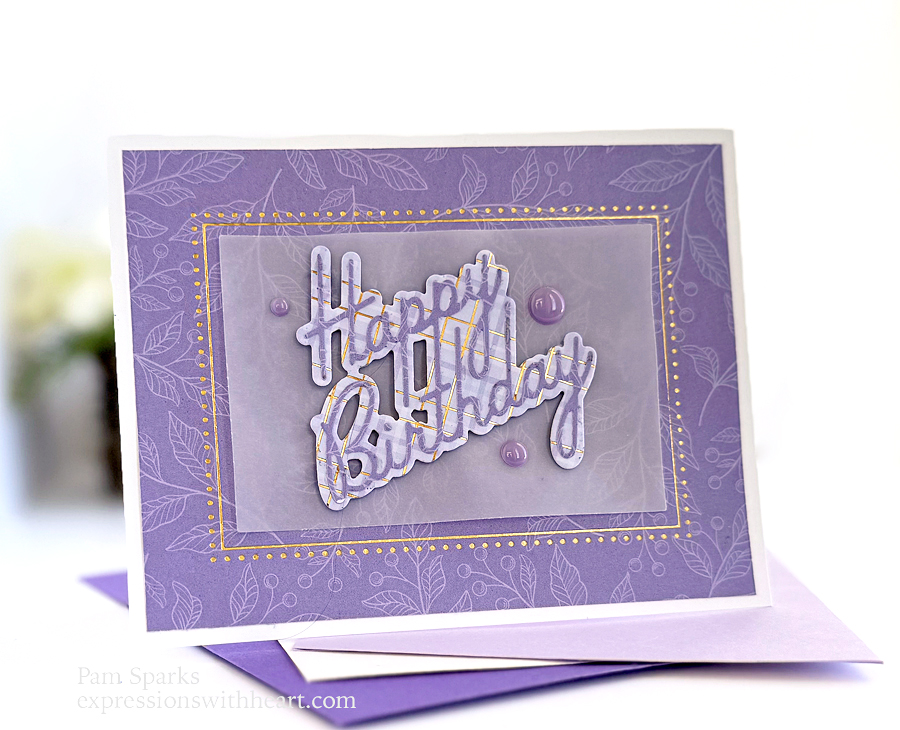
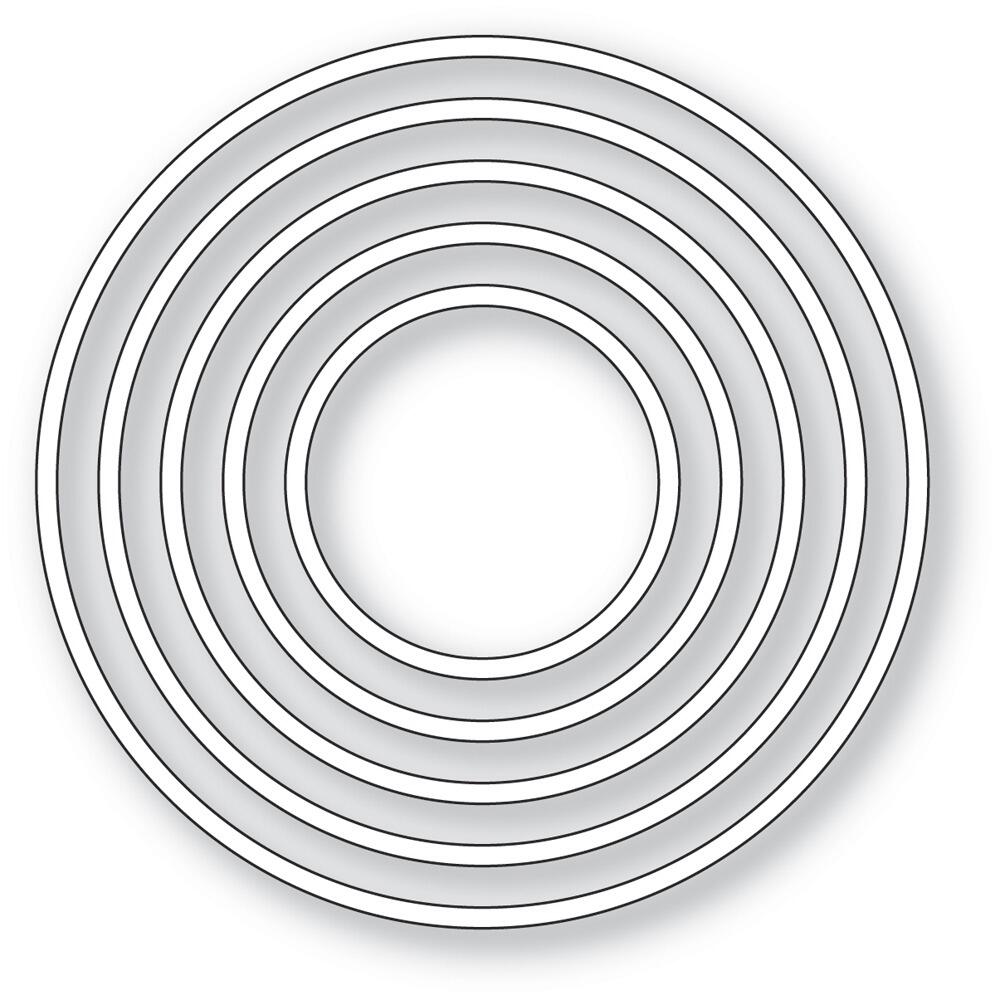
I die cut a rectangle of vellum to fit inside the hot foil frame using the Rectangle Basics die set.

Everything is layered on an A2 White cardbase.

Three Doodlebug Design enamel dots for a little something!

I mounted the sentiment with the thin mounting tape I love, to the vellum panel first so I’d know where I could put glue on the back of the vellum to adhere it to the purple pattern paper.

Linking my Happy Birthday card to a new challenge!  Check it out!

Word Power #1 – a challenge using sentiments as the focus

That’s pretty much it!  Holler if you have any questions! Thank you so much for stopping by!

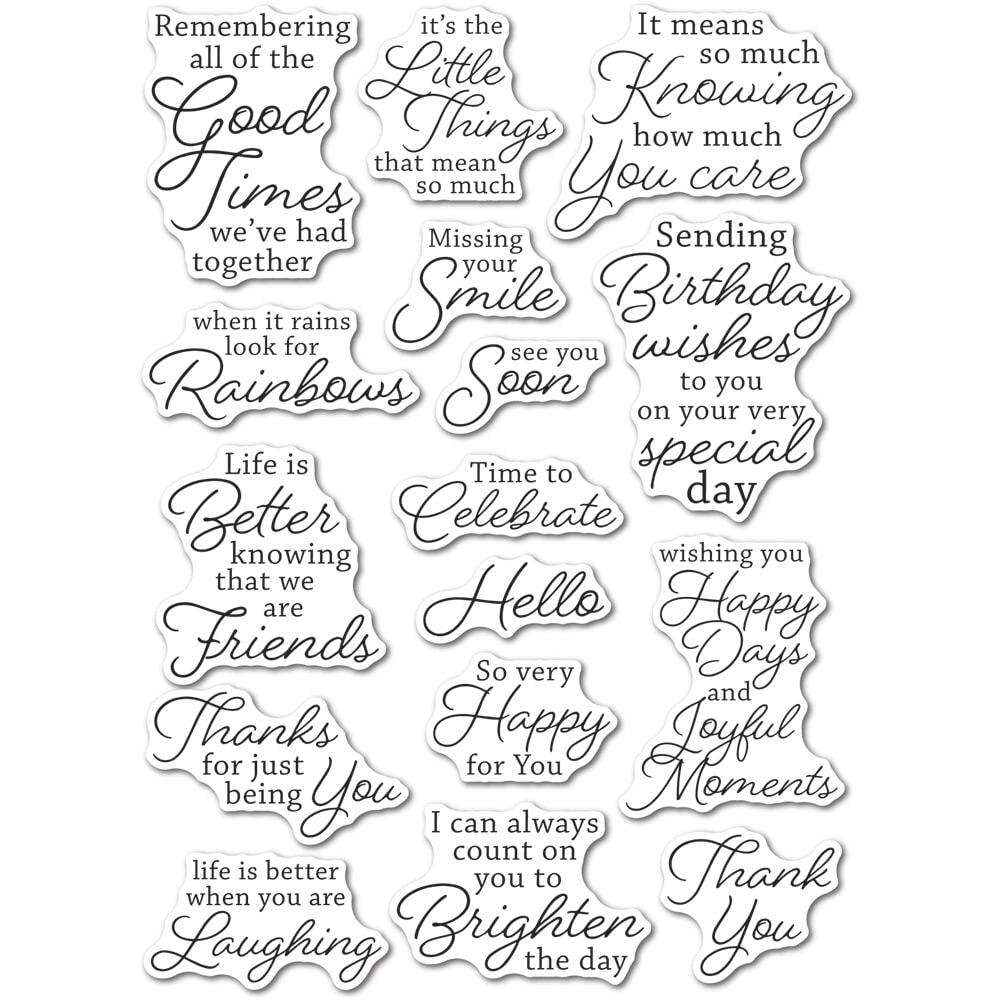
Links to what I used to make these two cards… I added some sentiment stamp sets to the end because I’m always looking for sentiments for the inside so I figure you might be too!

Memory Box – 94770 Blooming Anemone…
[ STR | SSS ]
Memory Box – 94769 Elegant Anemone…
[ STR | SSS ]
Memory Box – PP1026 Anemone Grove 6×6…
[ STR | SSS ]
Memory Box – PP1025 Anemone Plaid 6×6…
[ STR | SSS ]
Poppystamps – PSF802 Modest Greetings…
[ STR | SSS ]
TE Premium Cardstock – Blue Raspberry…
[ TE ]
TE Premium Cardstock – Poblano Pepper…
[ TE ]
Scrapbook Adhesives Crafty Foam Tape…
[ STR ]
Tombow Mono Multi Liquid Glue
[ STR | SBC | SSS ]
Glimmer Hot Foil Roll – Gold -…
[ SPL | SBC | SSS ]
Memory Box – 94773 Happy Birthday…
[ STR | SSS ]
Memory Box – MBF010 Rectangle Dot…
[ STR | SSS ]
Memory Box/Open Studio – 30086…
[ STR | SSS ]
Hammermill WHITE 100 LB SMOOTH…
[ SSS ]
Doodlebug Design – Stickers -…
[ SBC | STR ]
Memory Box – CL5266 Joyful Moments…
[ STR ]
Memory Box – CL5276 Friends and…
[ STR ]
Memory Box – CL5265-D All the…
[ STR ]
Poppystamps – CB498 Diamond…
[ STR ]
Poppystamps – CL499 Art Deco Birthday…
[ STR ]
Poppystamps – CL505 Art Deco…
[ STR ]
Poppystamps – CL509 Colorful Life…
[ STR ]
Birch Press Design – CL8163 Kind…
[ STR ]

cards · Christmas · Die Piecing · Distress Ink coloring · Masculine · Memory Box · Poppystamps · Simon Says Stamp · Winter

Simon Says Stamp Pine Frame From The DieCember Release…

Hi everyone!  All the joys of the season to you! Have you seen a cardinal lately?  I don’t see them around here.  Maybe once or twice in 30 years!

I wanted to use the Memory Box Layered Cardinal die again and it worked perfect with this NEW Simon Says Stamp Corner Pine Frame designed by Memory Box in partnership with SSS.

So beautiful and so easy to put together too.

I did shim this pine frame with two pieces of copy paper when I die cut it.

I added the three branches from the New Memory Box Layered Greenery Stems.  A little filler.

The background panel is one of the watercolor panels I made following Jill Foster’s tutorial on You Tube.  It’s on the Penny Black You Tube page.

I used the NEW Memory Box Aurora Snowflake Frame between the watercolor panel and the Corner Pine Frame.

The NEW poppystamps Lavish Merry Christmas die cut in white and silver for the sentiment!

Linking to some challenges…

Peace on Earth #54 – anything goes Christmas (totally inspired by the bottom right corner photo in the inspiration photo!)

Triple B Challenge – Birds for me this time

The Sisterhood of Crafters – Christmas

I really love this nature take on a Christmas card.  Hope it makes you smile too.

All the best to you and yours for a beautiful celebration of Christ’s birth!  God bless you all!

Shopping links to what I used for this Merry Christmas card…

Simon Says Stamp Corner Pine Frame…
[ SSS ]
Memory Box Layered Cardinal Dies 94754
[ SSS ]
Memory Box Layered Greenery Stems…
[ SSS ]
Memory Box Aurora Snowflake Frame Die…
[ SSS ]
Poppy Stamps Lavish Merry Christmas…
[ SSS ]
Strathmore WATERCOLOR PAPER PAD…
[ SSS ]
Hammermill WHITE 100 LB SMOOTH…
[ SSS ]
Tonic CHROME SILVER Mirror Card Gloss…
[ SSS ]
Tombow MONO MULTI Liquid Glue Two…
[ SSS ]

cards · Christmas · Die Piecing · Embossing Folders · Flowers · Memory Box · Winter

Memory Box Poinsettia Corner 3D and Vintage Lantern Card…

Hi everyone!  Hopping back on the blogging train after some time with family and attempting to get started on Christmas decor around the house!

I had this NEW Memory Box 3D folder laying out to do next and thought maybe the lantern would be fun in the empty space.

I die cut the NEW Memory Box Vintage Lantern in MB glossy black cardstock, dabbed on a little gold acrylic paint to the black and a piece of vellum.  I hand cut the vellum to go behind the lantern.  When I turned the vellum over to blend on some gathered twigs distress ink on the back of the vellum, it made the acrylic ink go kinda mottled.  I was like, I’m ok with that but how will I describe it! lol

I die cut the two dies twice, that come with the 3D folder and embossed them in the folder but I only used three of them on the finished card.

After I embossed the panel, I went over it with Fired Brick Distress ink and the mini ink blending tool.

Then I got out the Delicata gold ink pad and ink blended a little around the edges, then decided to add gold embossing powder to the edges and heat embossed it!

I used one of the NEW Memory Box Merry Christmas Foil Greetings Black Tab Strips.

I painted Gold Calligraphy ink on the poinsettia centers.

I colored the candle with distress inks too.

I’m linking my card to some challenges…

Can You Handle The Pressure – anything goes with Christmas twist

Die Cut Divas – flowers

Peace on Earth #53 – anything goes Christmas

Merry Little Christmas #53 – always anything goes Christmas

NBUS #57 – never before used stuff

Fun…I love making Christmas cards and tags.  Back to the crafting board!  Lots to do!

Here’s the products I used if you want to shop…no extra cost to you to click through my links!  Thank you so much!

Memory Box – 94743 Vintage Lantern…
[ STR | SSS ]
Memory Box – EF1038 Poinsettia Corner…
[ STR | SSS ]
Memory Box – ST003 Merry Christmas…
[ STR | SSS ]
Memory Box – SH44004 Black Glossy…
[ STR | SSS ]
Tsukineko GOLDEN GLITZ Delicata Ink…
[ SSS ]
Ranger Ink – Tim Holtz – Mini Ink…
[ SBC ]
Tim Holtz Distress Ink Pad Fired…
[ SSS | SBC ]
Ranger Embossing Powder SUPER FINE…
[ SSS | SBC ]
Winsor & Newton Drawing Ink – Gold,…
[ BLIC ]


cards · Christmas · Die Piecing · Hot Foiling · Memory Box · Poppystamps · Winter

poppystamps Wide Pine Needle Shoots Die Card…

Hi everyone!  Are you thinking about turkey and trees?! lol  I decided to make up this tree this morning.  It’s so cute and could be made up in every color in lots of ways! So here’s one version!

I used the NEW Memory Box Shining Star stamp set for the star at the top of the tree and the sentiment ‘trunk’ and the sentiments inside. Stamped with Potting Soil Archival Ink pad in the MISTI.

I dug around in my ‘star’ category of MB dies and found the Starry Collage die had the size star to die cut the one in this stamp set.

An A2 size card…I foiled a kraft panel with the Memory Box Dot Burst Hot Foil Plate and trimmed it to 3 ⅞ in. x 5 ⅛ in., edged it with a little Gathered Twigs Distress ink and the mini ink blender.

Layered it on a white piece leaving a small margin, then on to the cardbase.

I used Taylored Expressions cardstock.  I’ll link below.

I think that’s everything…holler if you have any questions.  Have a creative rest of the week with paper and food! hehe

Below is what I used to make this card and some sales you might be interested in!  Thank you so much for supporting my card making and blogging.  I truly appreciate it!

Starlitstudio.net

Great prices everyday!


Simon Says Stamp.com 

Use code WRAP23 for $7 off


Scrapbook.com

Spellbinders


Poppystamps – 2579 Wide Pine Needle…
[ STR | SSS ]
Memory Box – MBF003 Dot Burst Hot…
[ STR | SSS ]
Memory Box – CL5285 Shining Star…
[ STR | SSS ]
Memory Box – 94631 Starry Collage…
[ STR | SSS ]
Tim Holtz Distress Oxide Ink Pad…
[ SSS | SBC ]
Tim Holtz Distress Ink Pad Fossilized…
[ SSS | SBC ]
Ranger Wendy Vecchi Archival POTTING…
[ SSS | SBC ]
Glimmer Hot Foil Roll – Gold -…
[ SPL | SBC ]
TE Premium Cardstock – Confetti Cake…
[ TE ]
TE Premium Cardstock – Cookie Monster…
[ TE ]
TE Premium Cardstock – Blue Raspberry…
[ TE ]
TE Premium Cardstock – Poblano Pepper…
[ TE ]
Neenah Cardstock Classic Crest Ultra…
[ SSS ]
Kraft Extra Heavy Weight Cardstock…
[ HBL ]
Scrapbook Adhesives Crafty Foam Tape…
[ STR ]

cards · CAS · Christmas · Die Piecing · Embossing Folders · Memory Box · Poppystamps · Spellbinders dies

A Pine Wreath with Snowflakes and JOY card…

I just added a picture and I wanted to tell you that I finally got a person at wordpress that knew how to fix a couple problems I’ve reported to them about my blog.  I’m happy to say my photos are clickable again if you want to see them full size!  YAY!


Hi everyone!  This card is so frosty beautiful!  Christmas JOY is coming!

I saw a card on Instagram that I don’t have the supplies for so I used what I have.  I will give her credit for inspiring me over there.

Spellbinders Ski Lodge Embossing Folder for the background panel.  So pretty!  Embossing folders are all the rage this year and it’s because they are beautiful and add so much texture to the finished card.

AND I have GREAT NEWS!  Ski Lodge is half price with the SALE at Spellbinders that just started today!  HERE! I will link it below too if you want to finish the post before you go…

I used poppystamps Shasta Twigs for the wreath,  Memory Box Alpine Snowflakes and Brilliant Joy finish out the card.  Oh, I did use one of the NEW poppystamps Simple Rings dies for the wreath base.

I figured out the placement of the pine branches and then it glued together easily.  I only put glue on the ends of the branches and I used the small one from the die set.

I have way too many pictures today.  Messing around with lights and editing when I should’ve been doing other things! lol  Like making more cards! hoho

I die cut and embossed using Hammermill Color Copy Cover 100# cardstock and Gold Foil cardstock.  I’ll link everything below.

I love this Brilliant JOY die so much.  I probably should do a minute video on how I put it together so there’s no small gluing the letters in!  Love that!

First I die cut the base in white cardstock,  then the detail JOY top layer in white and gold cardstocks.

On the base layer, I lightly scribble Tombow mono multi glue over all of the base.

Then stick on the white outer outline from the detail JOY cut.

Then take the gold letters out of the gold detail cut and stick them in.  The glue is already there! Boom!

It’s an A2 size card.

I trimmed the embossed panel down to 4 x 5 ¼ before I adhered it to the cardbase with the super thin mounting tape I love.

Now I see this Pine Branch set isn’t available anymore.  Sorry about that.  Search it by name or shop your stash!

Linking to some challenges…

Can You Handle the Pressure? – anything goes (optional twist is turkey/thanksgiving but you don’t have to)

Peace on Earth #51 – anything Christmas goes

Die Cut Divas – It’s all about the holidays

HLS November Christmas – anything goes

Holler if you have any questions!  I’ll be here working! lol   I can’t believe Thanksgiving is next week!  ❤

It’s fun to see some sales before the holiday.  I never have time the holiday weekend!  Have FUN!

ttul!

Spellbinders Black Friday Sale!

Links to the Dies and Supplies I used to make this card…

$7 off code at Simon Says Stamp with code ‘WRAP23’ Expires 12/31/23

Ski Lodge Embossing Folder |…
[ SPL | SSS | SBC ]
Memory Box – 94759 Brilliant Joy…
[ STR | SSS ]
Memory Box – 94680 Alpine Snowflakes…
[ STR | SSS ]
Poppystamps – 2575 Simple Rings craft…
[ STR | SSS ]
Tiny Pearl Embellishments – flat…
[ STR ]
Bazzill FOIL Cardstock – matte and shiny
[ STR ]
Hammermill WHITE 100 LB SMOOTH…
[ SSS ]
Tombow Mono Multi Liquid Glue
[ STR | SSS | SBC ]
Scrapbook Adhesives Crafty Foam Tape…
[ STR ]