All Occasion · Birthday · cards · Die Piecing · Flowers · Hot Foiling · Memory Box · Mini Slim Card · Poppystamps · Thank You

NEW Memory Box Cards…

Hello!  I’m enjoying the sunshine today!  It really warms up the house…thankful for that in this below zero weather we’ve been having!

Meanwhile flowers are growing in my stamp room!

Two cards to share with you today…NEW dies and NEW papers!

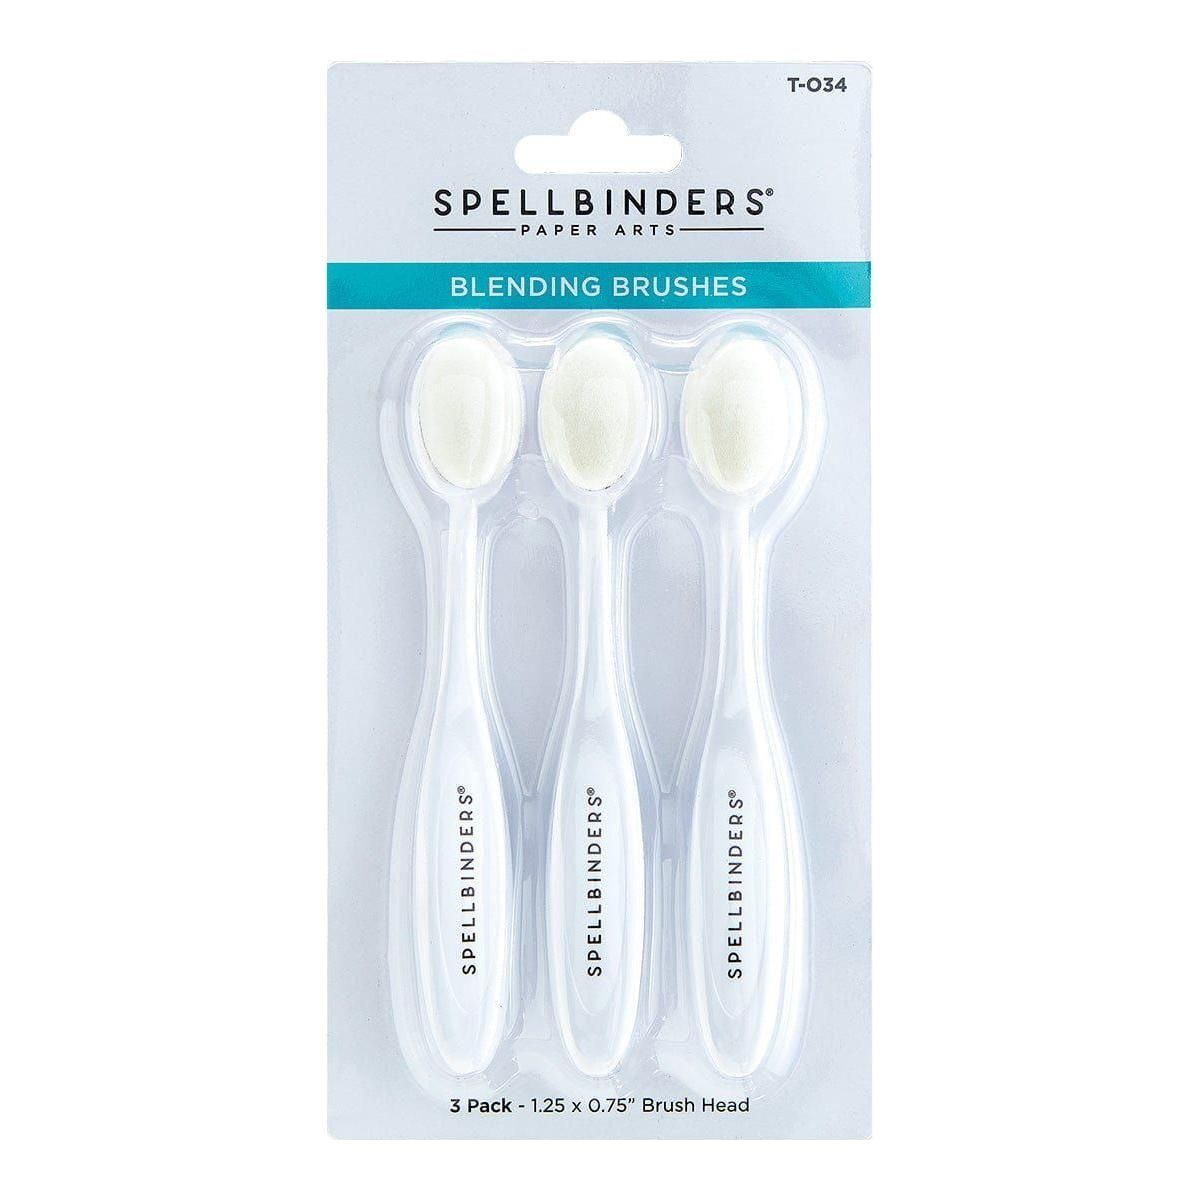
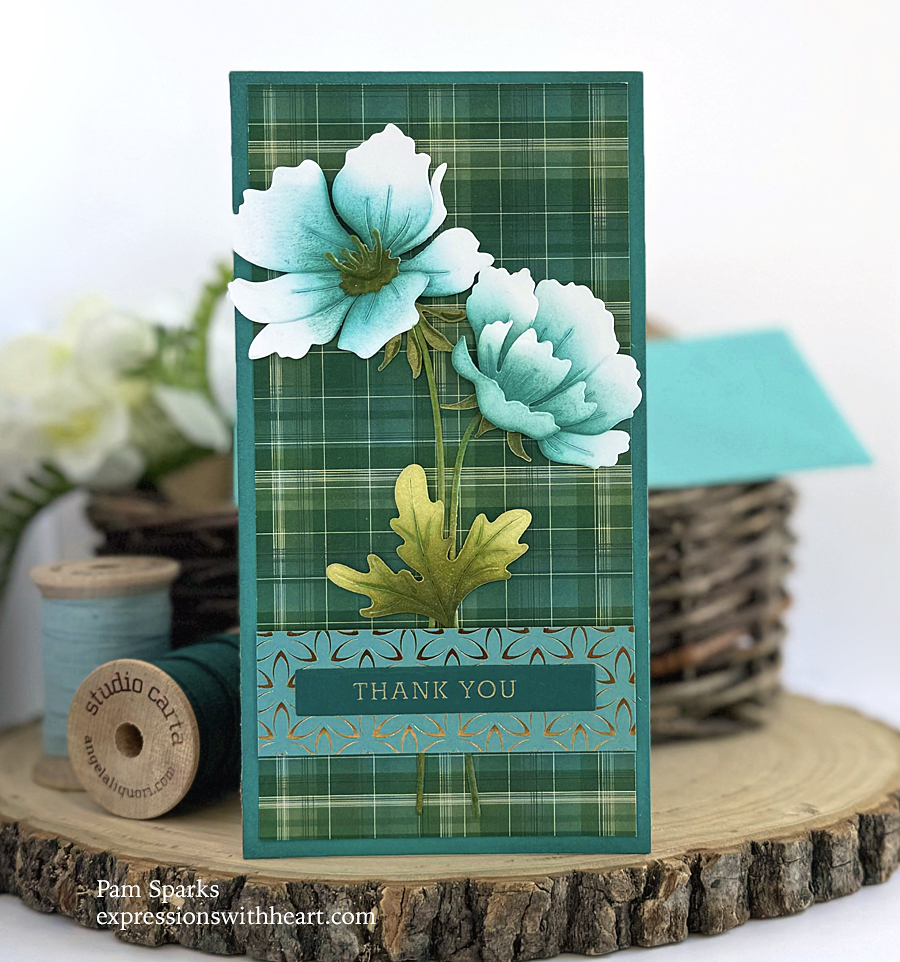
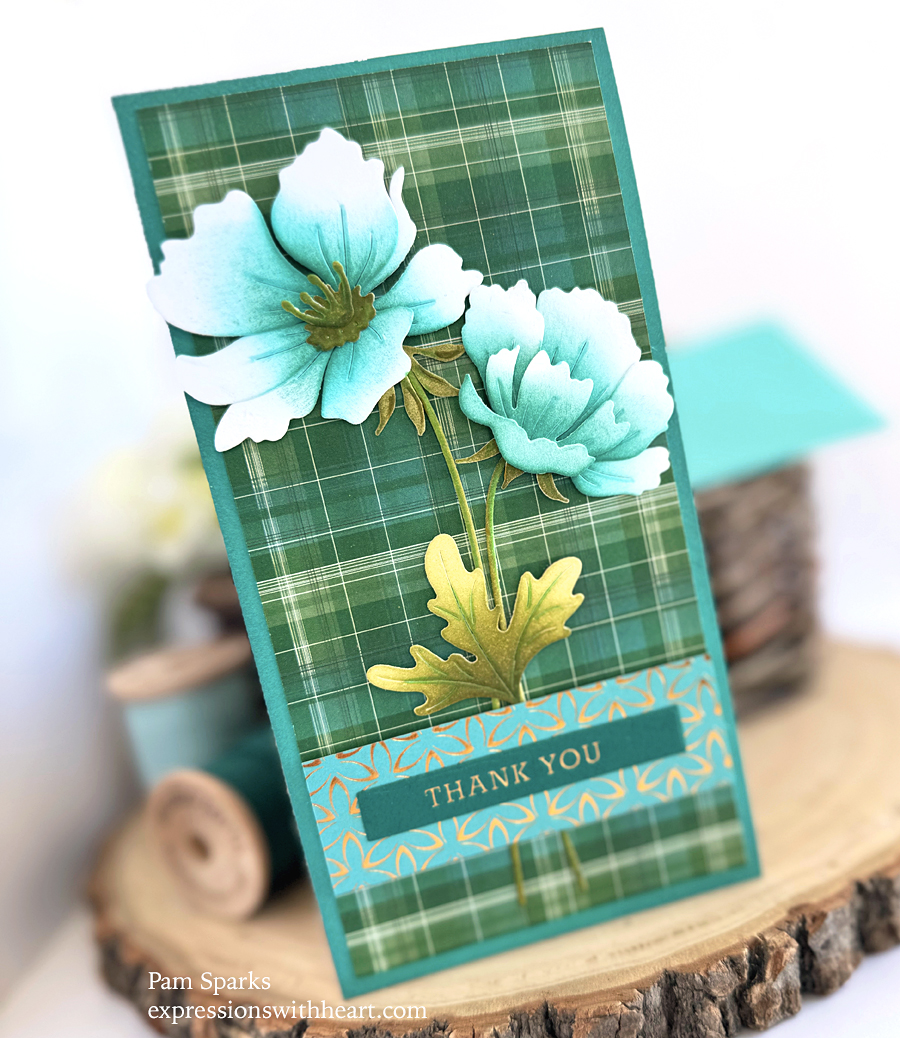
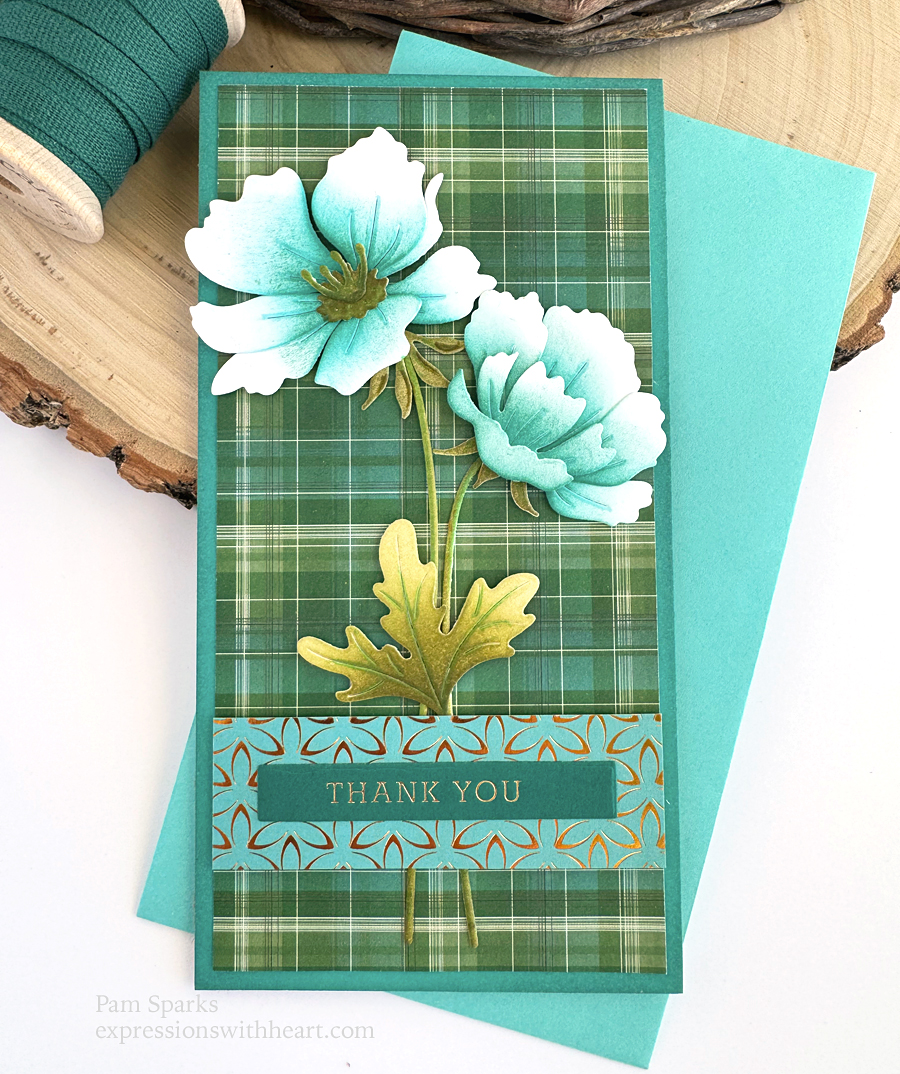
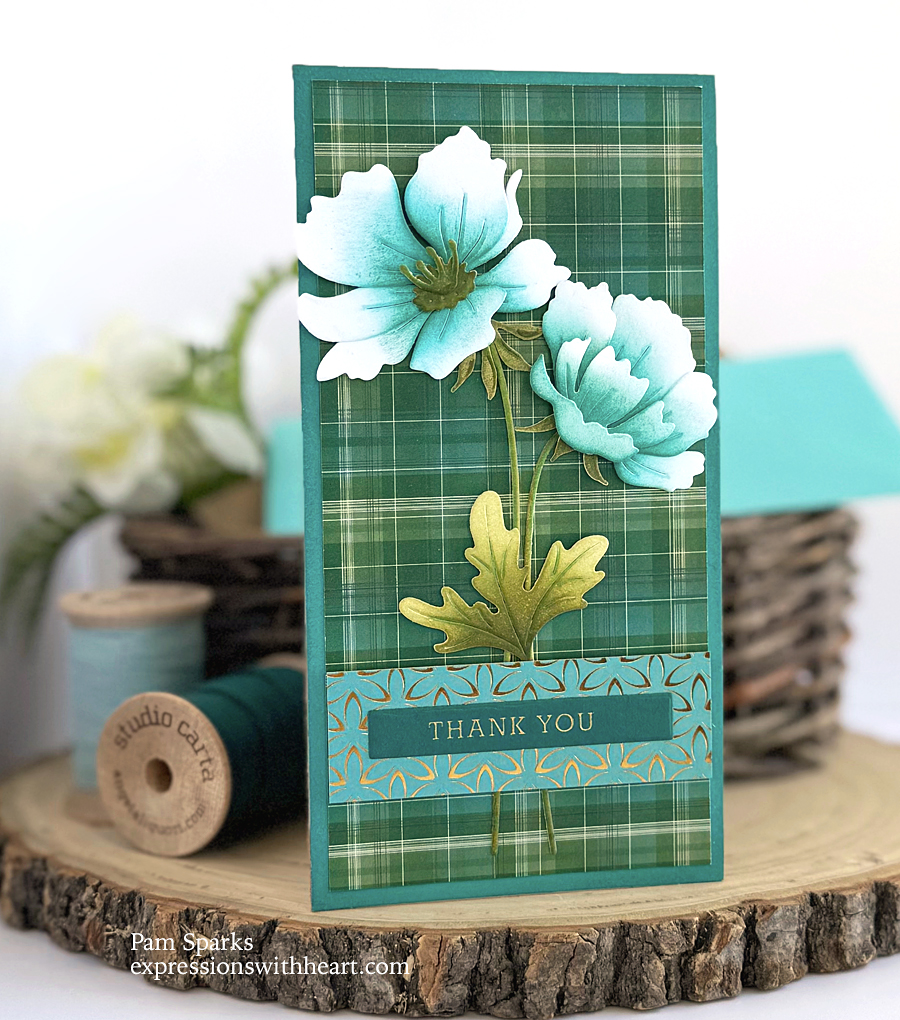
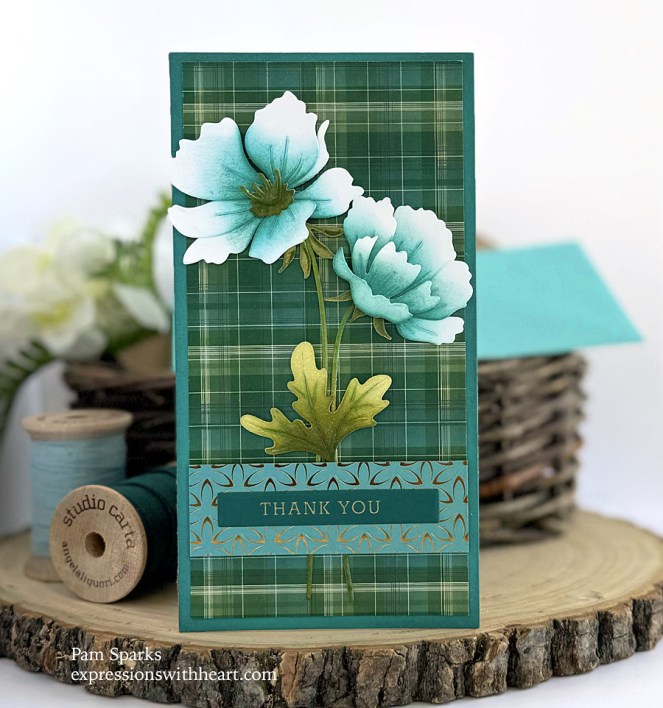
I inked up the NEW Blooming Anemone and NEW Elegant Anemone dies with Distress Ink and the mini blending tools.  I die cut the florals from Bristol cardstock and used Peacock Feathers and Pine Needles Distress Inks.
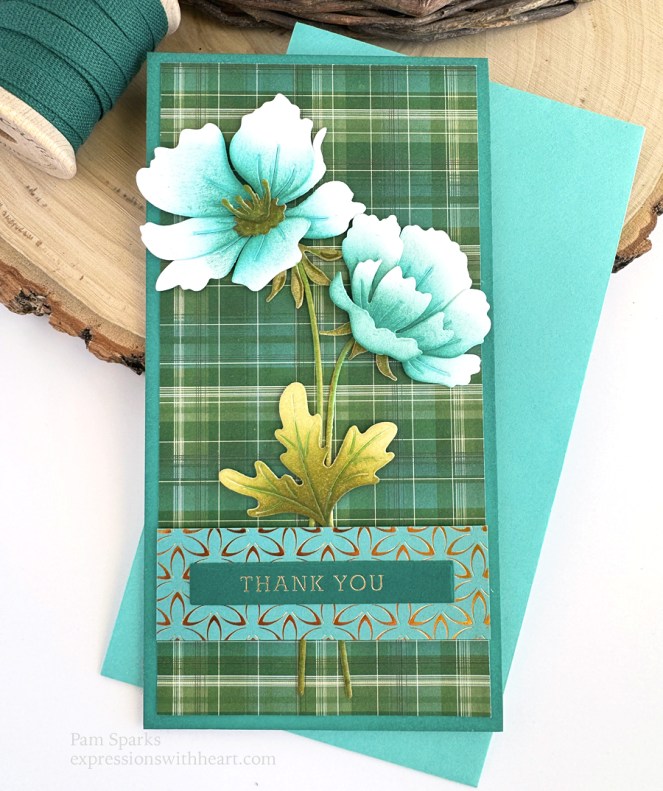
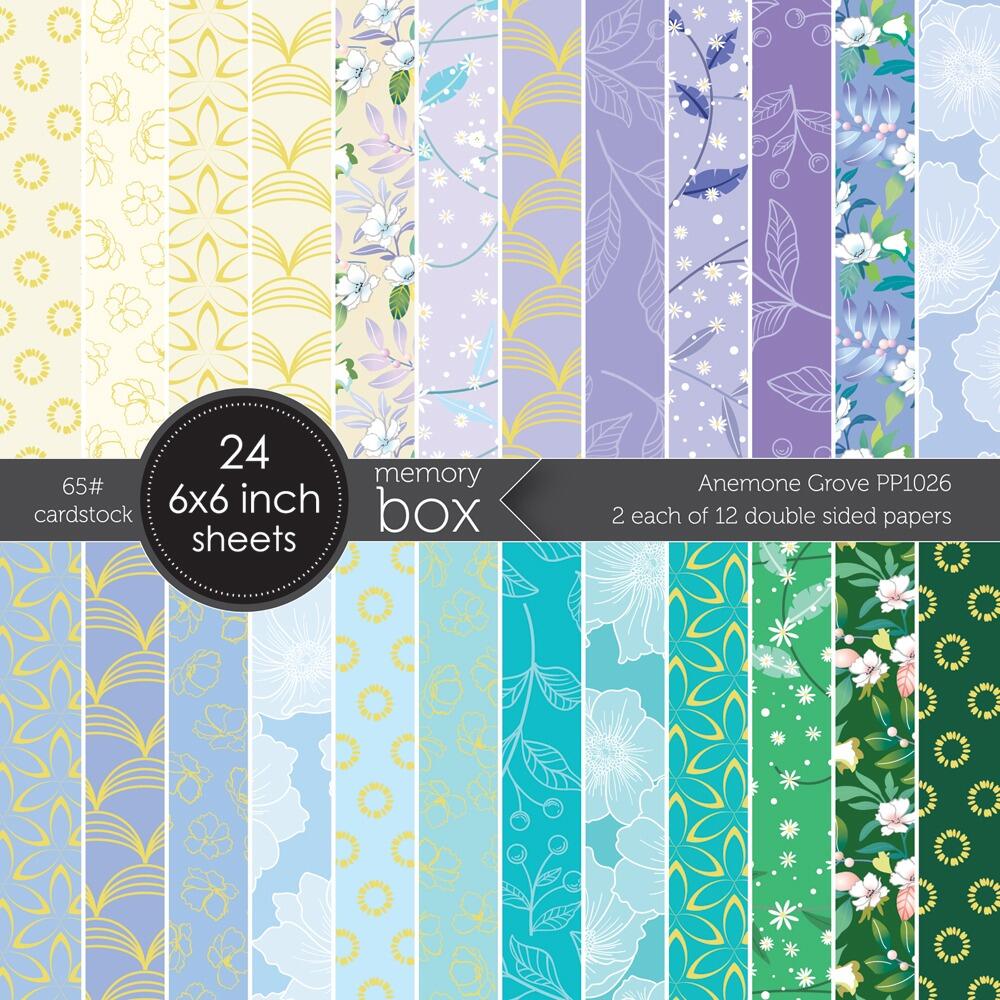
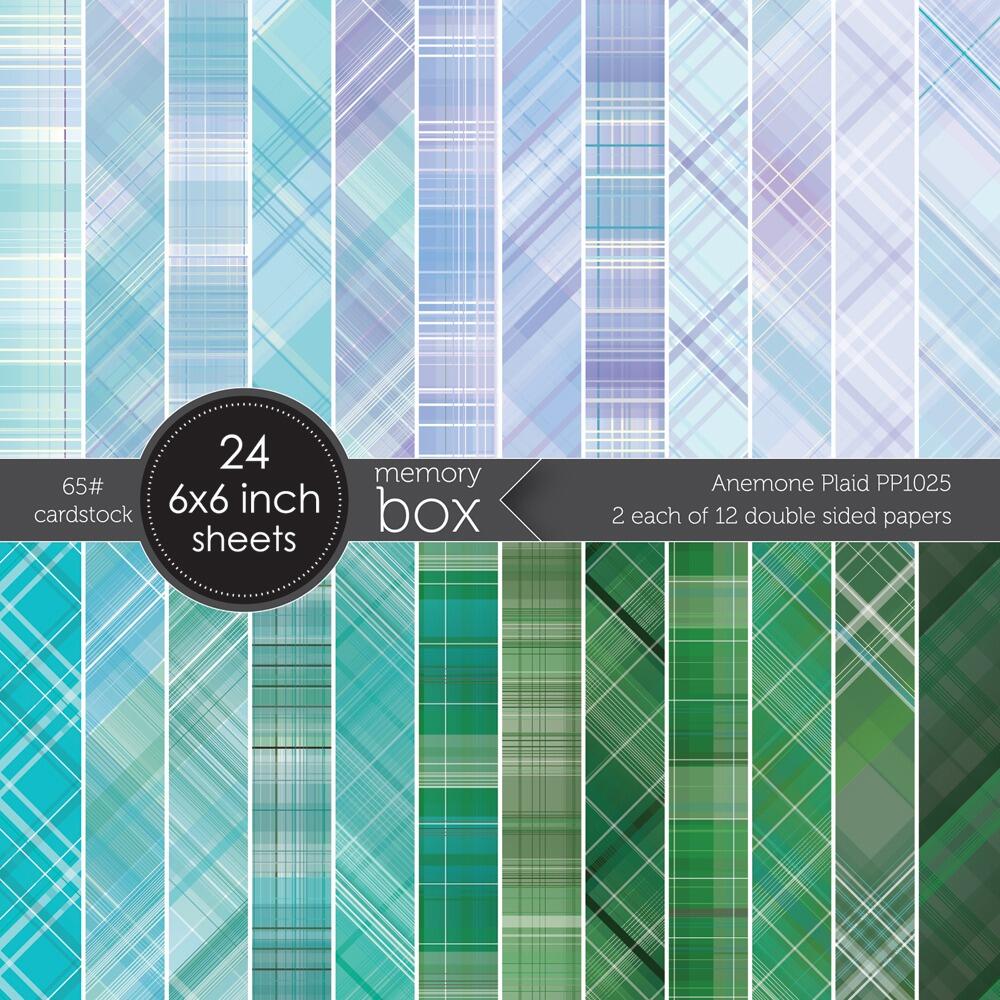
Two NEW 6×6 paper pads from Memory Box, Anemone Plaid and Anemone Grove.

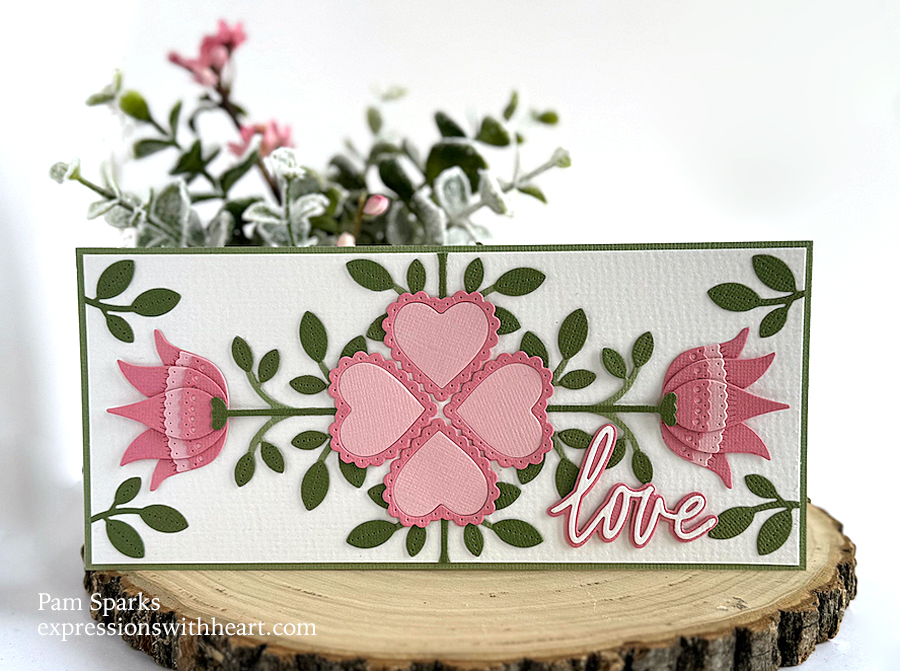
I made this card base a mini slimline size. I do love this size…just something charming about it with the florals, inking and plaid.  Wish I could show it to you in person!
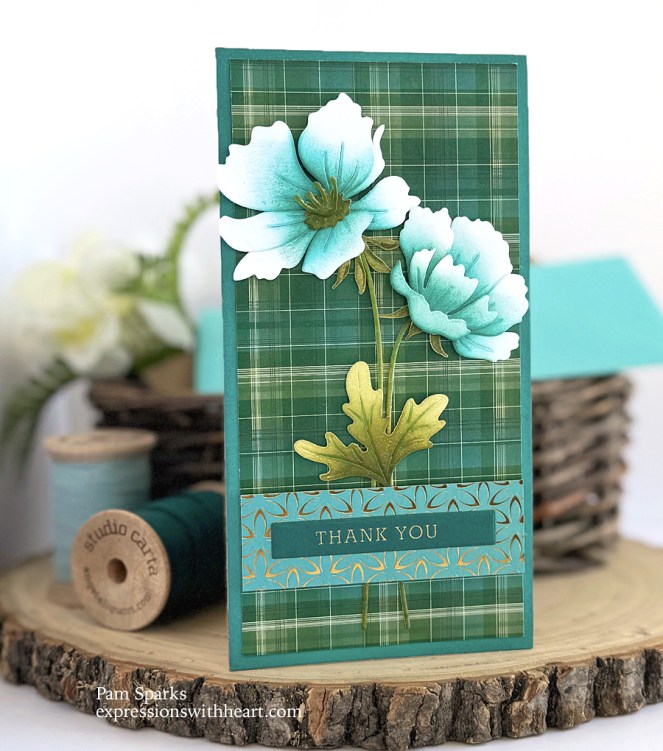
The florals are so easy to put together.  I love that.  I just follow the pattern on the envelope by laying the pieces on top of the picture!

Oh, the greens I used for the stems and leaves…Shabby Shutters, Peeled Paint and Forest Moss Distress Ink.

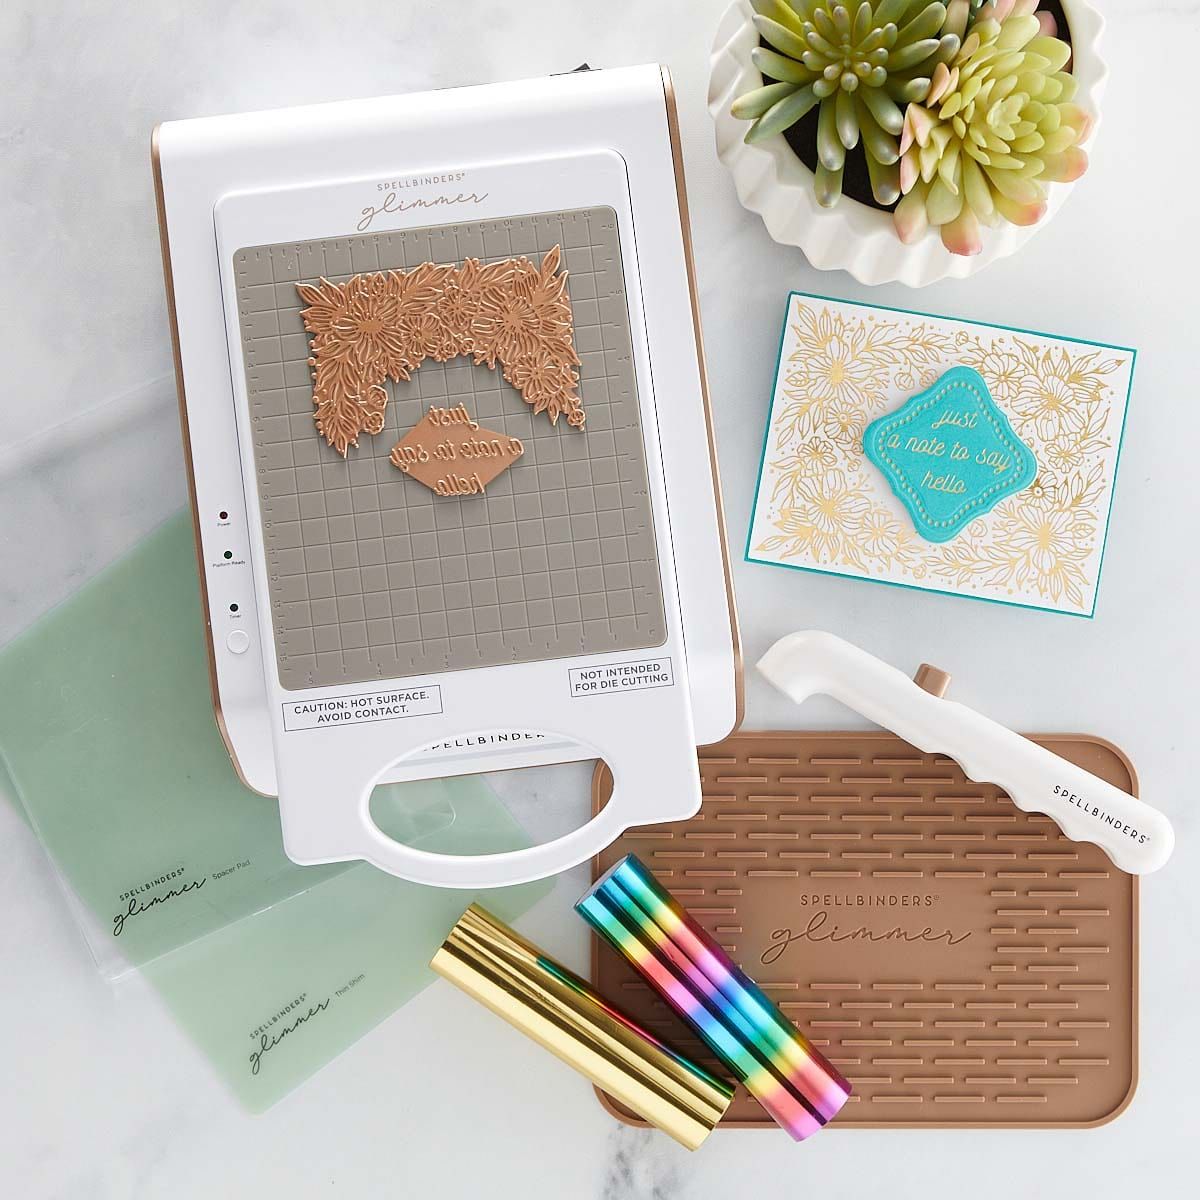
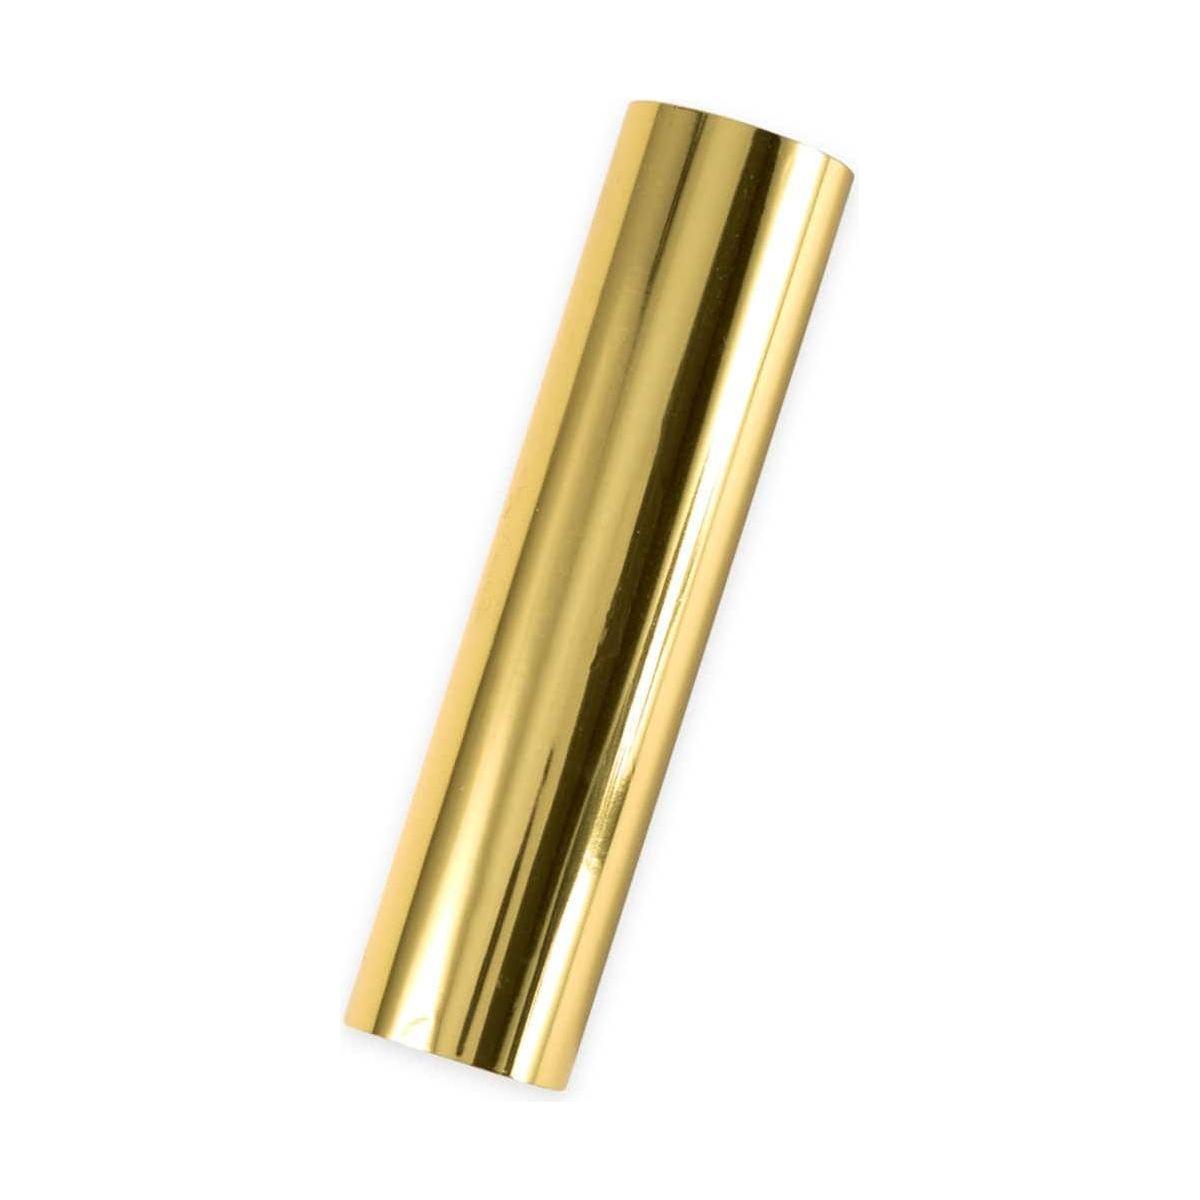
I used a poppystamps sentiment from the Modest Greetings 1 hot foil and cut die set.  Spellbinders gold hot foil.

Taylored Expressions Cardstock… I’ll link below.

The ribbon rolls in my photos are HERE

Linking this card to some challenges…

Triple B January 2024 Challenge – Blooms

Simon Says Stamp Wednesday Challenge – Let’s Have Some Fun!

NBUS Challenge #58 – Never Before Used Stuff!

Next card…
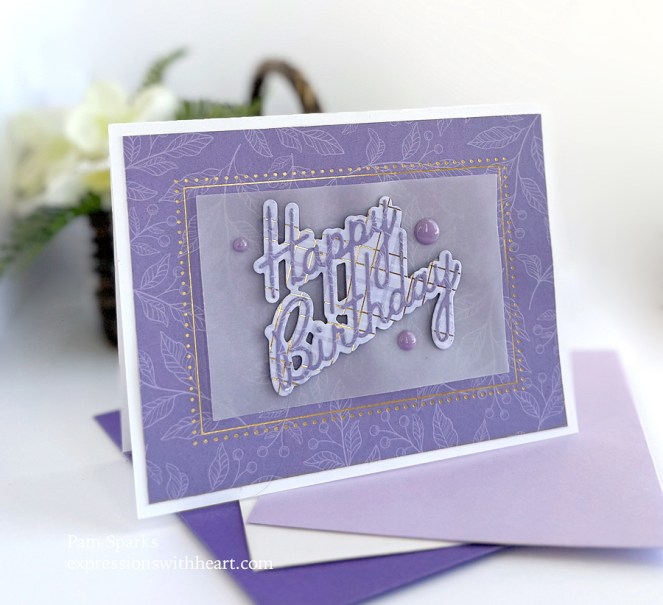
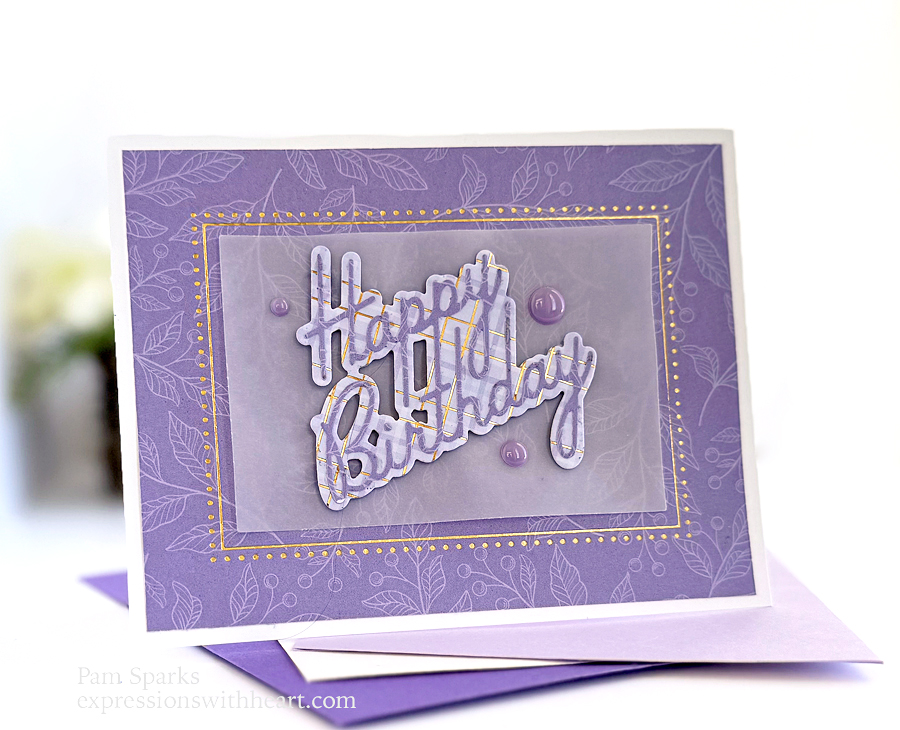
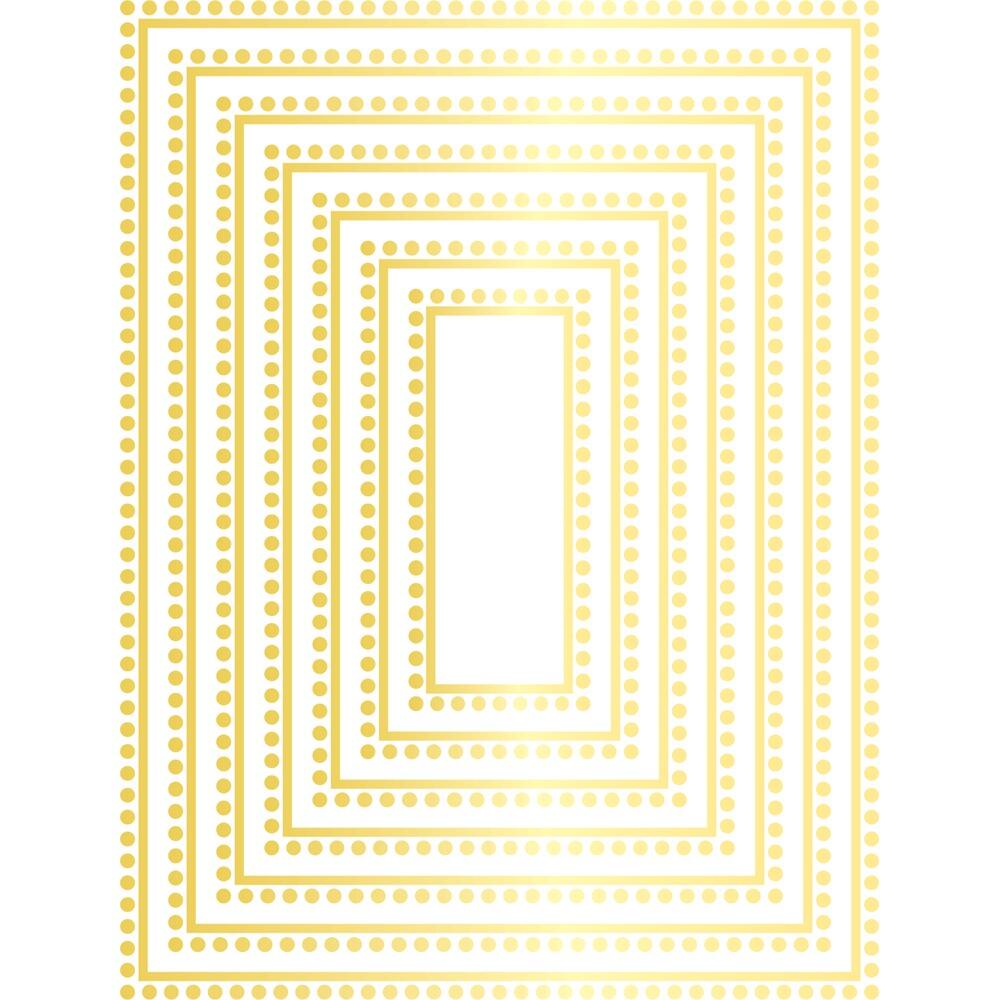
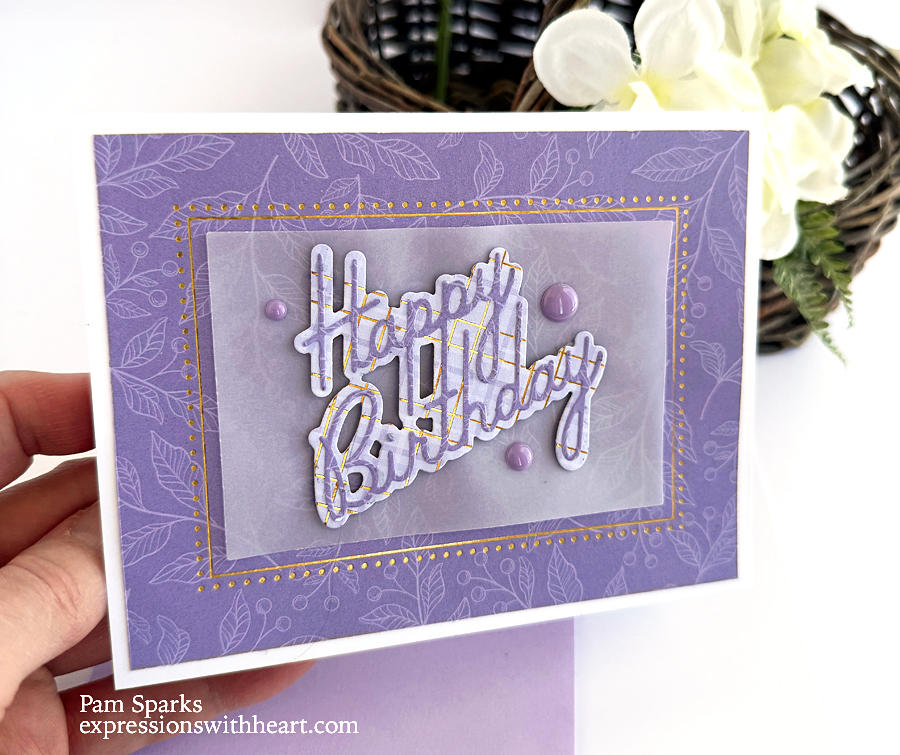
A NEW hot foild plate, Rectangle Dot Border.  I love how it looks like a faux spotlight!

I used the NEW Happy Birthday Debut Script die cut from the NEW Anemone Grove 6×6 paper pad, tone on tone piece that I used for the background panel.  For the Happy Birthday Debut Script backer, I used plaid from the NEW Anemone Plaid 6×6 paper pad.
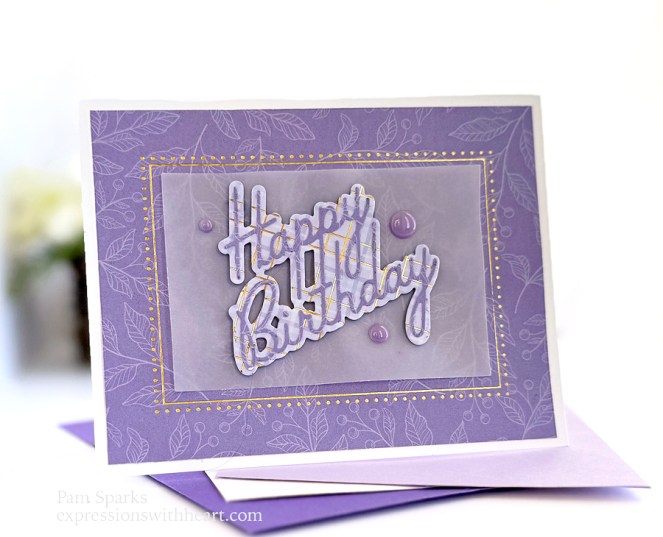
I die cut a rectangle of vellum to fit inside the hot foil frame using the Rectangle Basics die set.

Everything is layered on an A2 White cardbase.

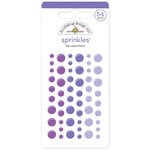
Three Doodlebug Design enamel dots for a little something!

I mounted the sentiment with the thin mounting tape I love, to the vellum panel first so I’d know where I could put glue on the back of the vellum to adhere it to the purple pattern paper.

Linking my Happy Birthday card to a new challenge!  Check it out!

Word Power #1 – a challenge using sentiments as the focus

That’s pretty much it!  Holler if you have any questions! Thank you so much for stopping by!

Links to what I used to make these two cards… I added some sentiment stamp sets to the end because I’m always looking for sentiments for the inside so I figure you might be too!

Memory Box – 94770 Blooming Anemone…
[ STR | SSS ]
Memory Box – 94769 Elegant Anemone…
[ STR | SSS ]
Memory Box – PP1026 Anemone Grove 6×6…
[ STR | SSS ]
Memory Box – PP1025 Anemone Plaid 6×6…
[ STR | SSS ]
Poppystamps – PSF802 Modest Greetings…
[ STR | SSS ]
TE Premium Cardstock – Blue Raspberry…
[ TE ]
TE Premium Cardstock – Poblano Pepper…
[ TE ]
Scrapbook Adhesives Crafty Foam Tape…
[ STR ]
Tombow Mono Multi Liquid Glue
[ STR | SBC | SSS ]
Glimmer Hot Foil Roll – Gold -…
[ SPL | SBC | SSS ]
Memory Box – 94773 Happy Birthday…
[ STR | SSS ]
Memory Box – MBF010 Rectangle Dot…
[ STR | SSS ]
Memory Box/Open Studio – 30086…
[ STR | SSS ]
Hammermill WHITE 100 LB SMOOTH…
[ SSS ]
Doodlebug Design – Stickers -…
[ SBC | STR ]
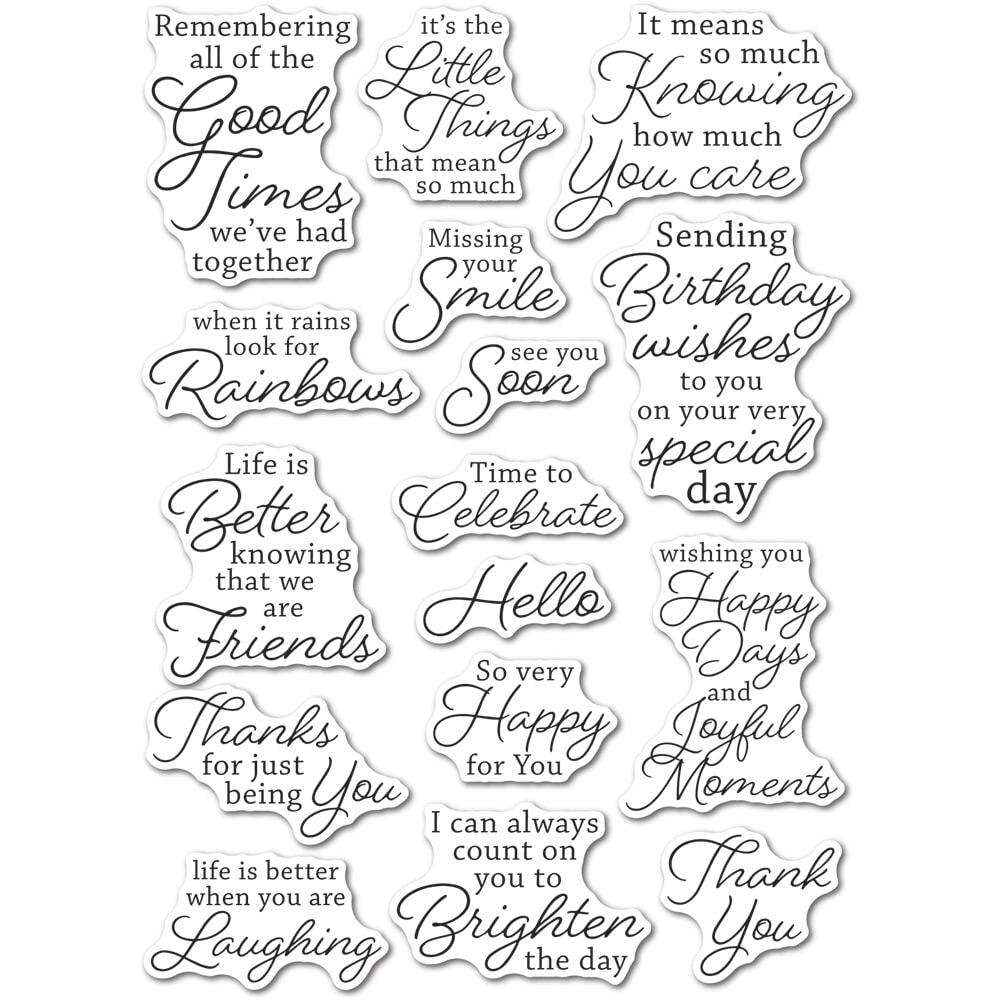
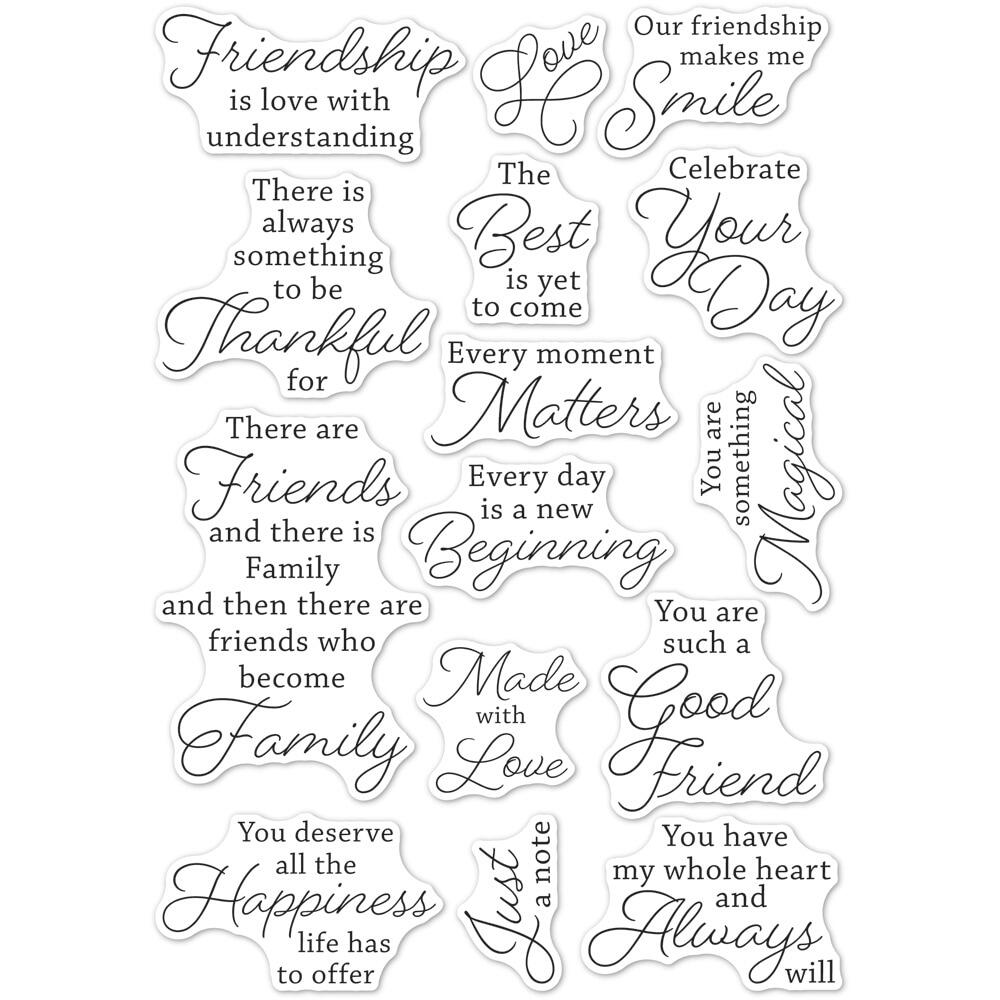
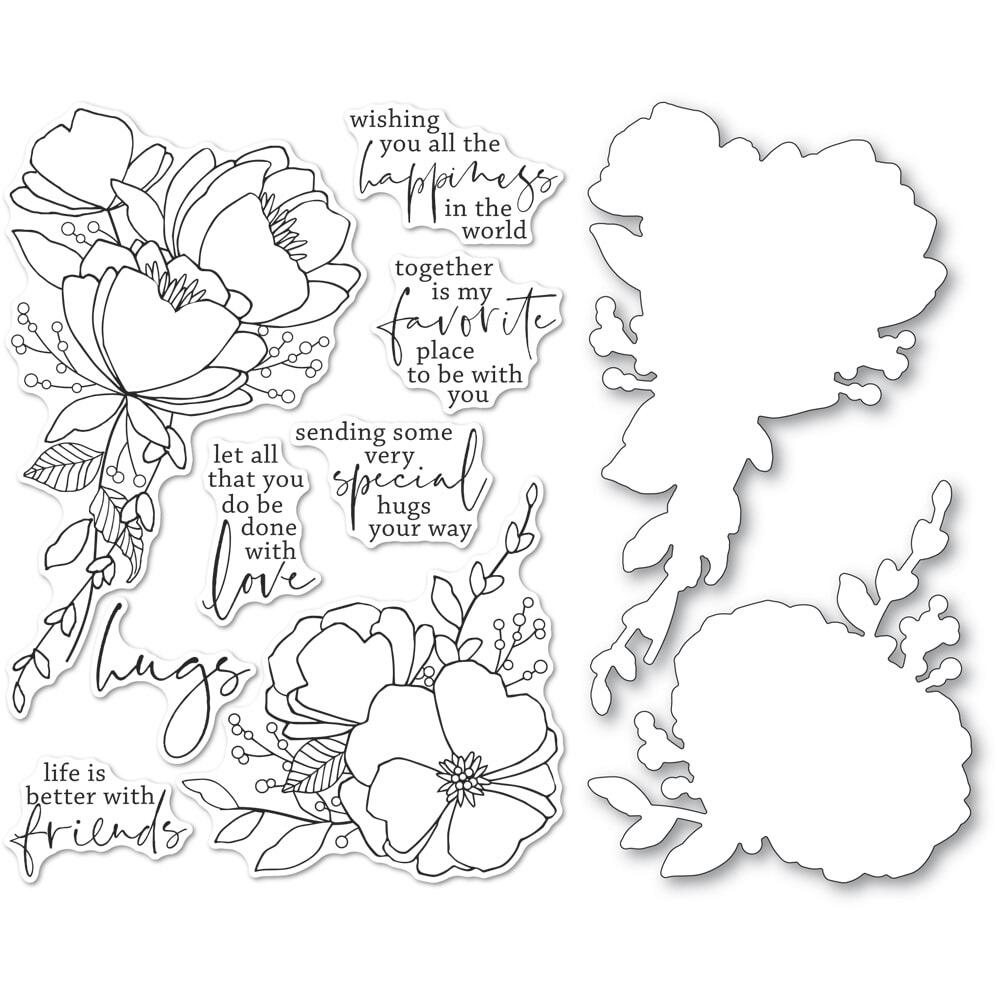
Memory Box – CL5266 Joyful Moments…
[ STR ]
Memory Box – CL5276 Friends and…
[ STR ]
Memory Box – CL5265-D All the…
[ STR ]
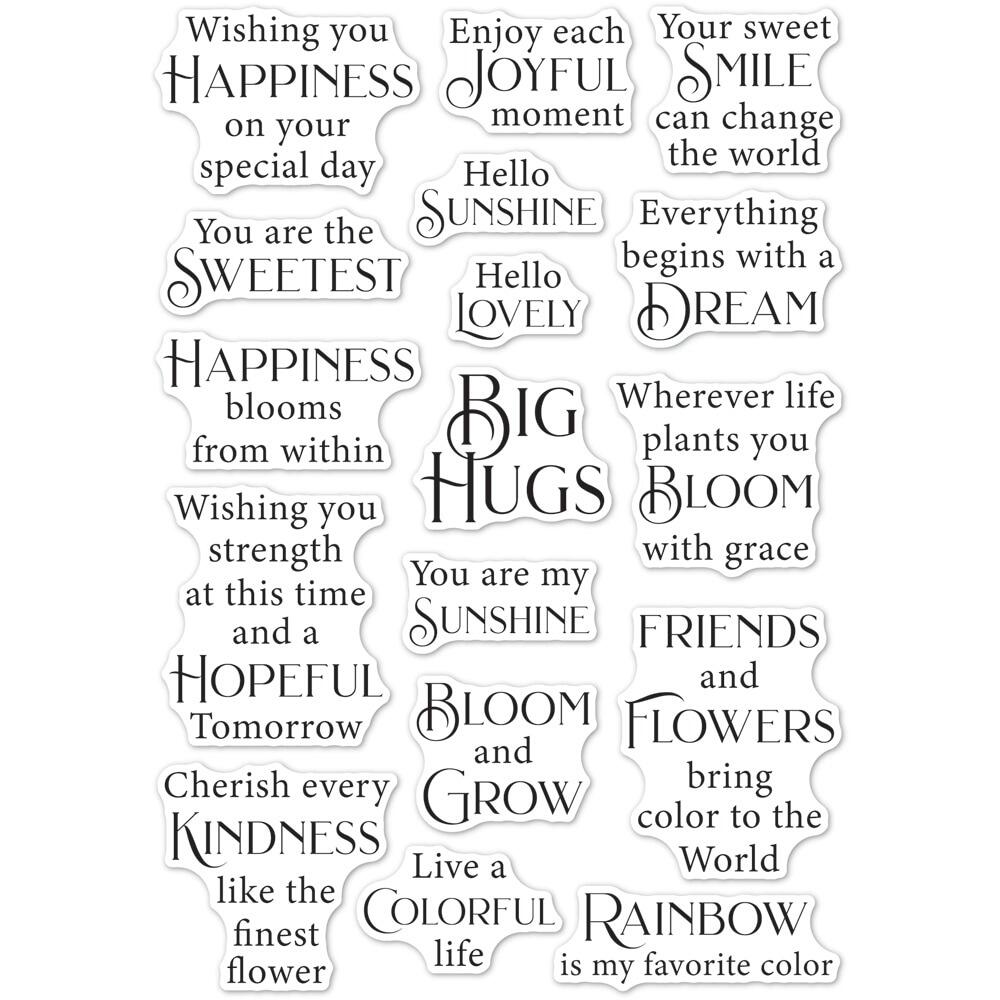
Poppystamps – CB498 Diamond…
[ STR ]
Poppystamps – CL499 Art Deco Birthday…
[ STR ]
Poppystamps – CL505 Art Deco…
[ STR ]
Poppystamps – CL509 Colorful Life…
[ STR ]
Birch Press Design – CL8163 Kind…
[ STR ]

All Occasion · Birthday · cards · CAS · Distress Ink coloring · Flowers · Hot Foiling · Spellbinders dies · Stencils · Valentine

Spellbinders NEW Stencil Club!

Hi everyone! Here we are after Christmas and moving right on to the New Year faster that the speed of light!

Have you heard about the NEW Spellbinder stencil of the month club?  I’m sure you have cuz I’m late getting my card posted for December and it’s already closed!  Usually you can order them a month later though.

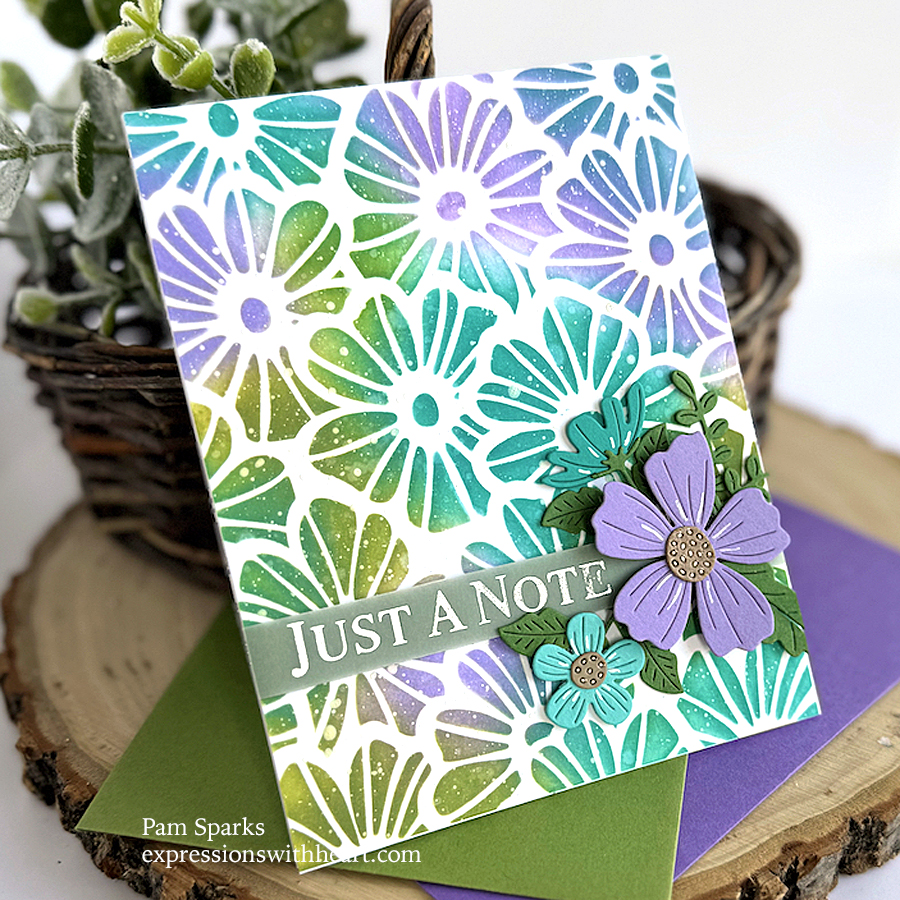
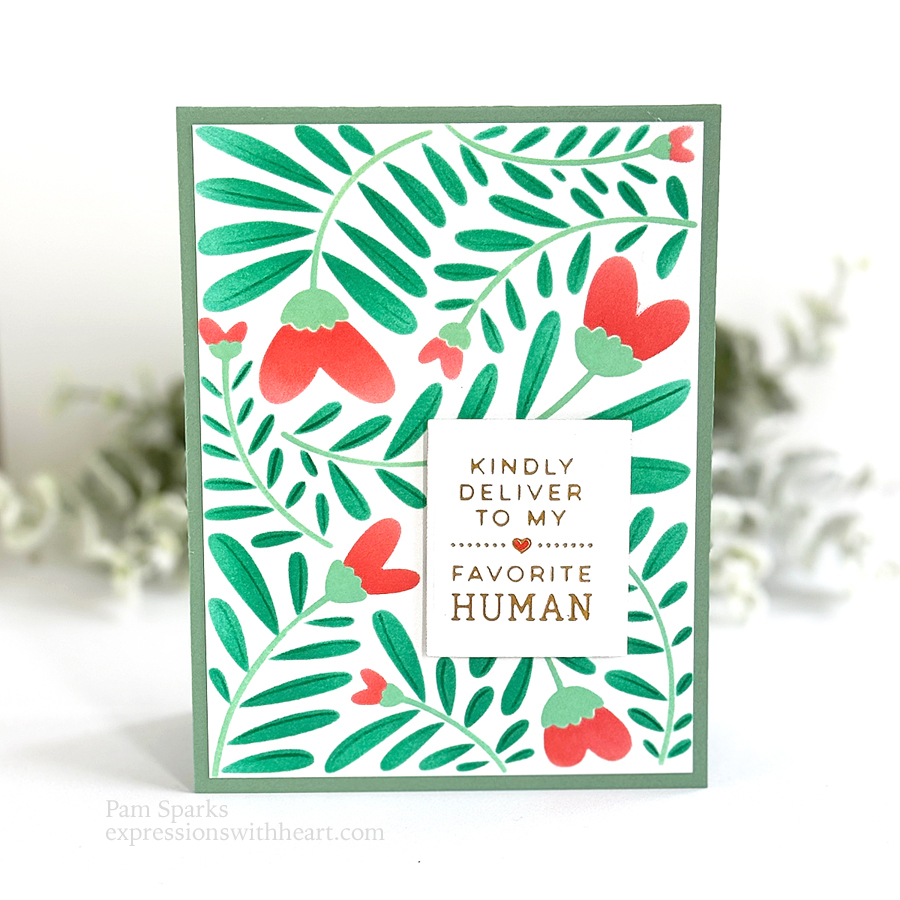
This set has four stencils.  I used Distress inks and the mini circle Tim Holtz blending tools.

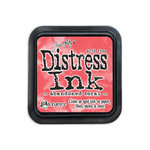
I used Cracked Pistachio, Lucky Clover and Pine Needles for the greenery.  For the heart flowers I put down Kitsch Flamingo first, then some Worn Lipstick and Abandoned Coral! lol  You sure wouldn’t need to use all the pinks/reds! lol

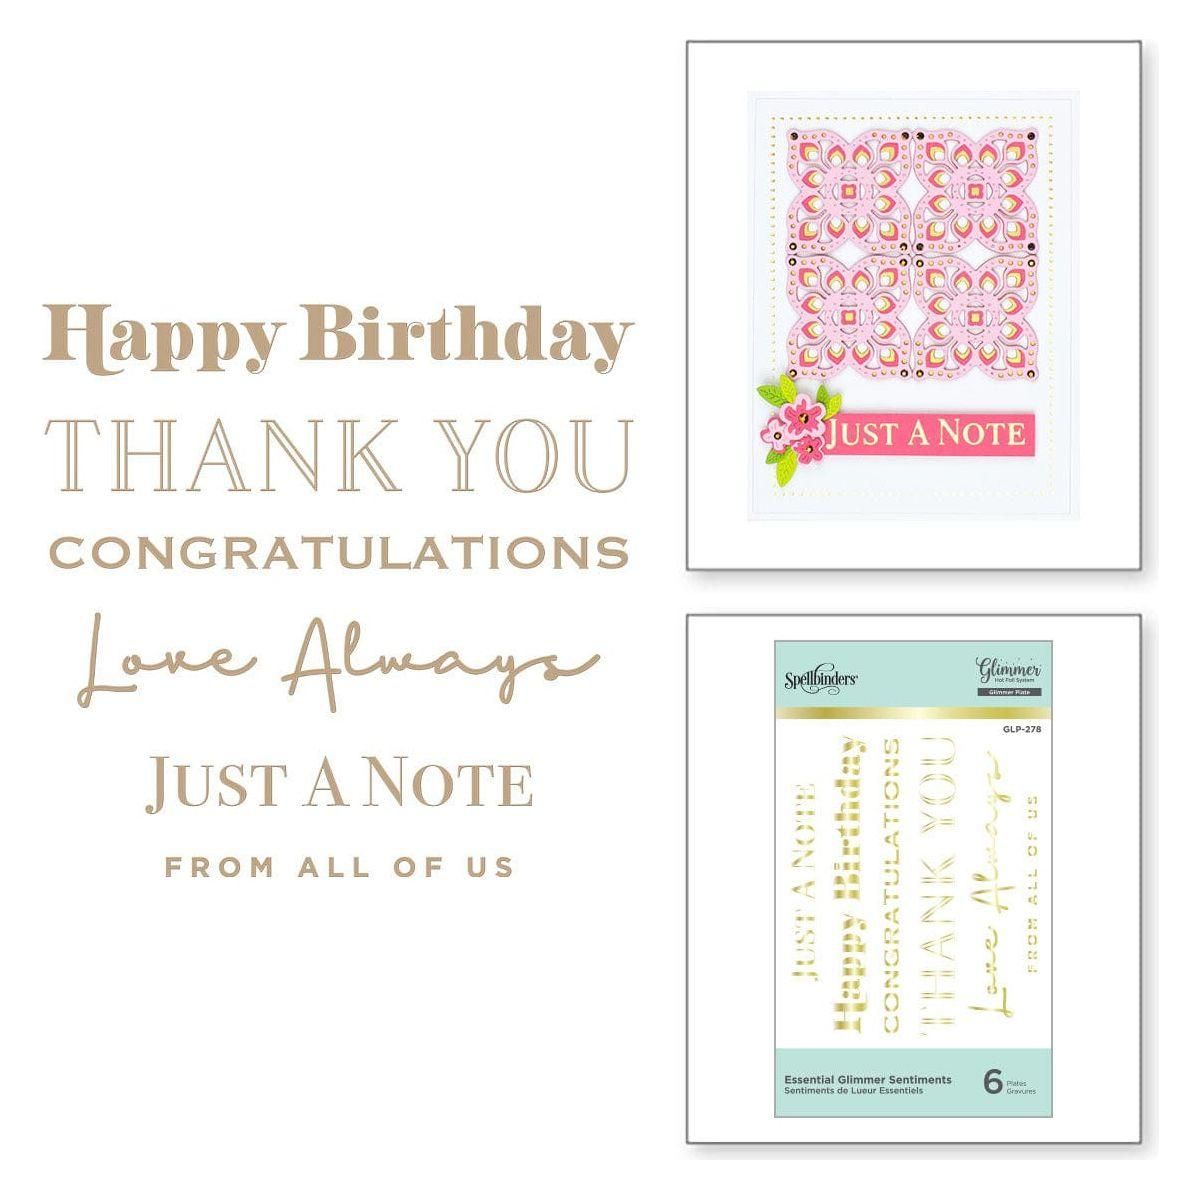
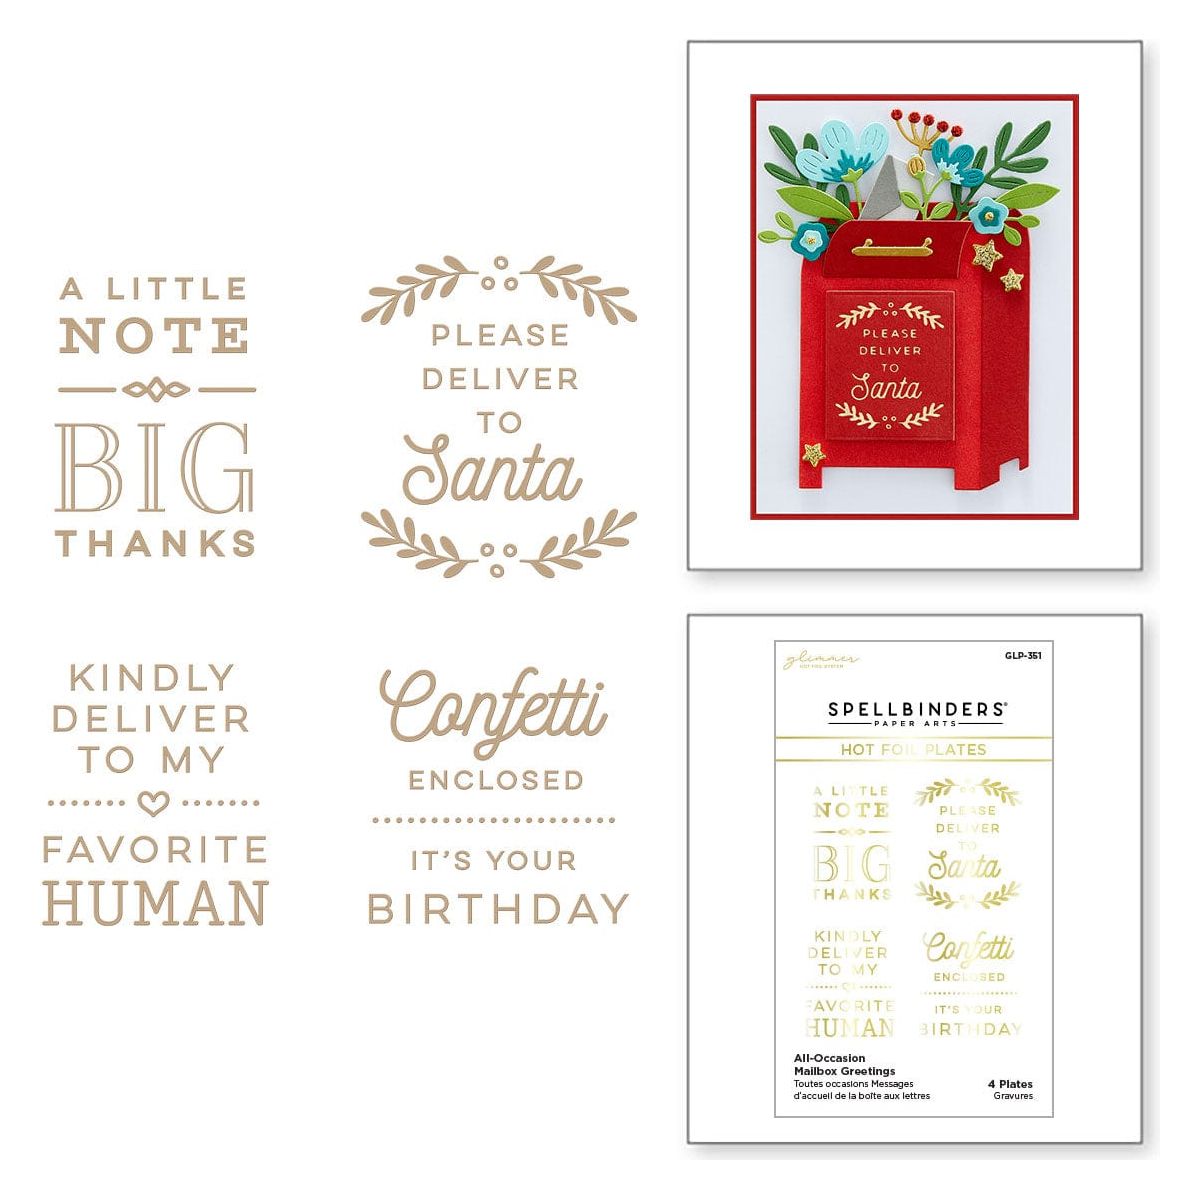
I hated to cover up all the stenciling so I went with a fun hot foiled sentiment from the Spellbinder All Occasion Mailbox Greetings Hot Foil set.

I really like how clean and simple it turned out plus it was fast to make!

It’s an A2 size card and completely mailable! I noticed the post office was running cards through the machines even if they had ‘hand cancel’ and extra postage on them.  That is really frustrating.  I even received cards that were completely rigid that had been machined. So cardmakers just put a stamp on it and call it good!  I even received a pkg that was a stamp set and a die, weighed 1.8 ounces and only had one forever stamp on it and it still came intact and no extra postage envelope wanting me to pay extra!  All this technology isn’t speeding things up or accurate!  HOHOHO!

Thank you so much for stopping by today!  I went MIA because I needed to get some house stuff done and be ready with gifts and 27 ppl on Christmas Eve day!  WOW!  Did we have fun!  Still smiling about it.  I thank God for our family every day!  I hope you had a blessed Christmas too. Talk to you again soon!

Here’s what I used to make this card…

Stencil of the Month Membership -…
[ SPL ]
All-Occasion Mailbox Greetings…
[ SPL | SBC | SSS ]
Ranger Ink – Tim Holtz – Distress Ink…
[ SBC | SSS ]
Ranger Ink – Tim Holtz Distress Ink…
[ SBC | SSS ]
Ranger Ink – Tim Holtz – Distress Ink…
[ SBC | SSS ]
Ranger Ink – Tim Holtz – Distress Ink…
[ SBC | SSS ]
Ranger Ink – Tim Holtz – Distress Ink…
[ SBC | SSS ]
Tim Holtz Distress Ink Pad Pine…
[ SSS ]
Neenah Cardstock Classic Crest Ultra…
[ SSS ]
Glimmer Hot Foil System | Spell…
[ SPL | SSS ]
Glimmer Hot Foil Roll – Gold -…
[ SPL | SBC ]
Hammermill WHITE 100 LB SMOOTH…
[ SSS ]
TE Premium Cardstock – Spearmint -…
[ TE ]
Tombow Mono Multi Liquid Glue
[ STR | SSS | BLIC | SBC ]
Scrapbook Adhesives Crafty Foam Tape…
[ STR ]


cards · Christmas · Die Piecing · Distress Ink coloring · Flowers · Spellbinders dies · Stencils

Spellbinders Dancin’ Gingerbread Card and Two Layered Joy Tree Stencil & Die Cards…

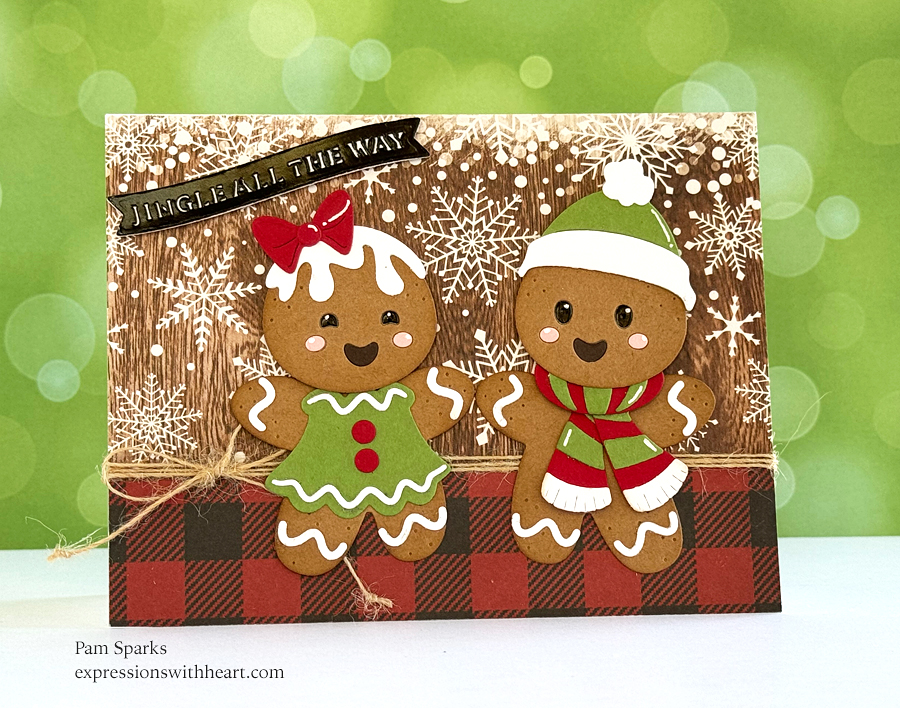
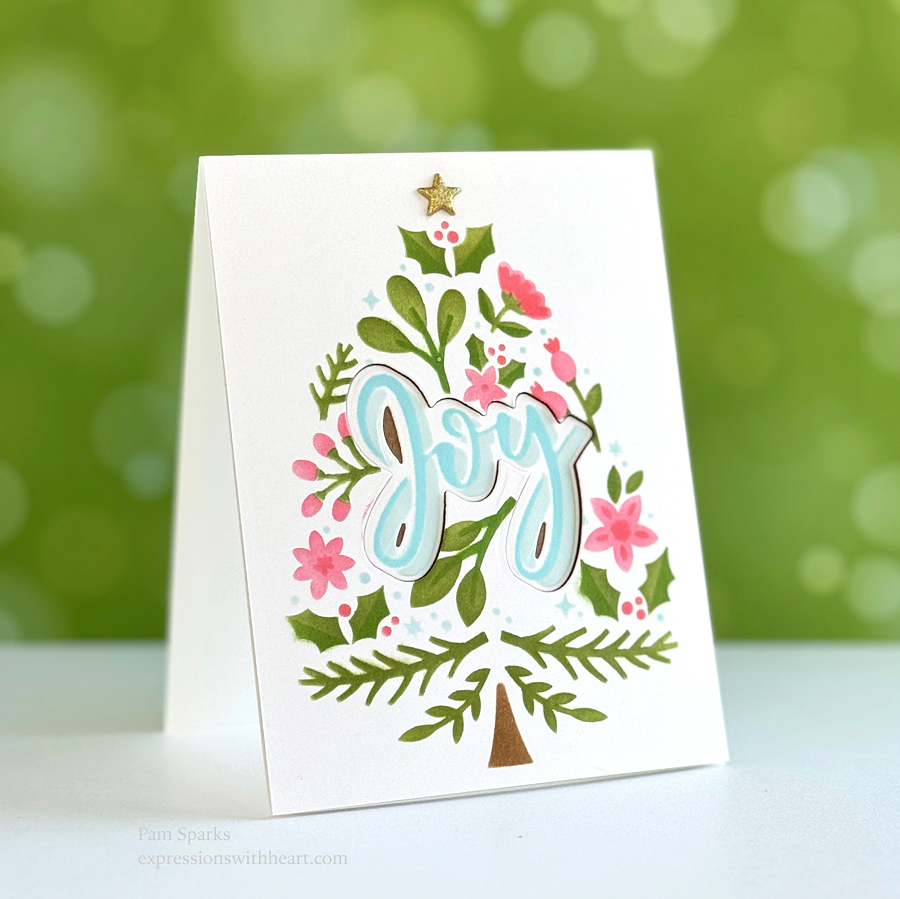
Hi everyone!  Getting festive with the gingerbread and trees today!  I love these characters from Spellbinders every year!  So so cute!

I also love these stencil and die sets!  I have this one and the Merry Christmas one.  I didn’t get the Merry Christmas one made into a card yet!  eek!  If only we didn’t need to do laundry, eat and sleep, oh and shop! hoho!

ok – Back to the gingers…

The green is bright!  But tealish and red would be so cute too!  I was going traditional but boom!  It’s bright for me! lol

So for all you green lovers, this one’s for you!

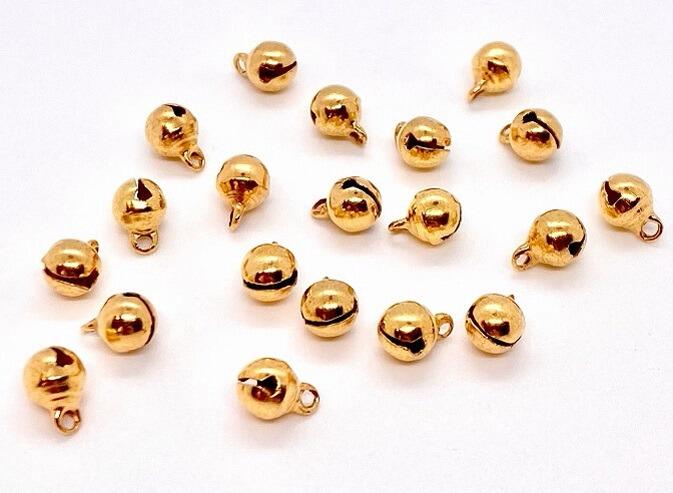
Now I wish I’d tied on a little jingle bell!  I even have some!  I will have to do that and just pay extra postage!  It’s only money, right?!  ha!

I used regular Distress inks on my JOY cards.  Peeled Paint, Mowed Lawn, Worn Lipstick and Abandoned Coral. We were making these Thanksgiving day afternoon.  I copied Anya, one of my granddaughter’s colors!

I think we used Altenew colors for the Joy.  I can’t remember the names now.

One more picture of one stenciled on Hobby Lobby extra heavyweight kraft cardstock.  Pretty sure I used Distress Oxides on this one but more the Lucky Clover ones for the greens.

I hope your cardmaking is coming a long.  I have plenty to do still!

We started out this week hearing one of our granddaughter’s playing with one of our grandson’s fiance (wedding in March) yesterday morning…a string duet… it was so, so beautiful!

Tuesday night is a choir concert for a bunch of the grands…makes me so happy!

You all take care and all the joys and blessings of the season to you and yours!

Codes for Simon Says Stamp right now…use one… Wrap23 ($7 off)….Merry ($5 off)  Random sales at Scrapbook.com and Starlitstudio.net is always a discount!

Here’s the products I used for these three cards…

Spellbinders – Dancin’ Christmas…
[ SBC | SSS | SPL ]
Spellbinders – Layered Christmas…
[ SBC | SSS | SPL ]
Spellbinders – Make It Merry…
[ SBC | SSS | SPL ]
Spellbinders – Layered Christmas…
[ SBC | SSS | SPL ]
May Arts NATURAL Twine String Burlap
[ SSS ]
Memory Box – SH44004 Black Glossy…
[ STR | SSS ]
Kraft Extra Heavy Weight Cardstock…
[ HBL ]
Neenah Cardstock Classic Crest Ultra…
[ SSS ]
TE Premium Cardstock – Cherry Pop -…
[ TE ]
TE Premium Cardstock – Peapod -…
[ TE ]
miniature jingle bells – 5mm – pkg of 20
[ STR ]

cards · Christmas · Die Piecing · Embossing Folders · Flowers · Memory Box · Winter

Memory Box Poinsettia Corner 3D and Vintage Lantern Card…

Hi everyone!  Hopping back on the blogging train after some time with family and attempting to get started on Christmas decor around the house!

I had this NEW Memory Box 3D folder laying out to do next and thought maybe the lantern would be fun in the empty space.

I die cut the NEW Memory Box Vintage Lantern in MB glossy black cardstock, dabbed on a little gold acrylic paint to the black and a piece of vellum.  I hand cut the vellum to go behind the lantern.  When I turned the vellum over to blend on some gathered twigs distress ink on the back of the vellum, it made the acrylic ink go kinda mottled.  I was like, I’m ok with that but how will I describe it! lol

I die cut the two dies twice, that come with the 3D folder and embossed them in the folder but I only used three of them on the finished card.

After I embossed the panel, I went over it with Fired Brick Distress ink and the mini ink blending tool.

Then I got out the Delicata gold ink pad and ink blended a little around the edges, then decided to add gold embossing powder to the edges and heat embossed it!

I used one of the NEW Memory Box Merry Christmas Foil Greetings Black Tab Strips.

I painted Gold Calligraphy ink on the poinsettia centers.

I colored the candle with distress inks too.

I’m linking my card to some challenges…

Can You Handle The Pressure – anything goes with Christmas twist

Die Cut Divas – flowers

Peace on Earth #53 – anything goes Christmas

Merry Little Christmas #53 – always anything goes Christmas

NBUS #57 – never before used stuff

Fun…I love making Christmas cards and tags.  Back to the crafting board!  Lots to do!

Here’s the products I used if you want to shop…no extra cost to you to click through my links!  Thank you so much!

Memory Box – 94743 Vintage Lantern…
[ STR | SSS ]
Memory Box – EF1038 Poinsettia Corner…
[ STR | SSS ]
Memory Box – ST003 Merry Christmas…
[ STR | SSS ]
Memory Box – SH44004 Black Glossy…
[ STR | SSS ]
Tsukineko GOLDEN GLITZ Delicata Ink…
[ SSS ]
Ranger Ink – Tim Holtz – Mini Ink…
[ SBC ]
Tim Holtz Distress Ink Pad Fired…
[ SSS | SBC ]
Ranger Embossing Powder SUPER FINE…
[ SSS | SBC ]
Winsor & Newton Drawing Ink – Gold,…
[ BLIC ]


birch press design · cards · Christmas · copics · Die Piecing · Flowers · Memory Box · Winter

Memory Box Bundled Bird, Nest and Aurora Snowflake Frame Card…

Hi everyone! Here in Iowa we are dressing warmer like this NEW Memory Box Bundled Bird!

It’s one of the new layering dies and pairs well with the NEW Bird’s Nest and New Small Poinsettia Layers!

He looks just like I feel when I’m all bundled up with a scarf wrapped around my neck! lol

I die cut in white cardstock and colored with Copic Sketch Markers.  Easy to get varying shades of the few colors then.  Colored cardstock would work just as well and use up some of those scraps that we don’t throw away!  Glue the pieces together.  There aren’t very many and it’s easy to see what goes with what.

I die cut the Aurora Snowflake Frame three times and glued it together.  I like doing that for photo sake…I’m not sure I would do it if I wasn’t taking pictures. Everything else is just one layer of cardstock.

I used Birch Press Design Merry Christmas Vintage die for the sentiment.  I die cut it in gold mirror cardstock and Memory Box glossy black cardstock.  I popped out the merry Christmas from the black die cut piece and glued it over the top of the gold die cut piece.  That way I didn’t have to handle the individual letters.  I did add a little piece of my favorite super thin mounting tape to the back of the gold cut to hold the letters in the cut. Then just little dots of Tombow Mono Multi on the back of the black cut to adhere it over the gold.

Die cut the Small Poinsettia Layers and glue them together.

The Bird’s Nest I die cut in kraft and inked with Gathered Twigs Distress Ink and a mini ink blending tool. I adhered it together by laying it over the package picture for placement!

This is an A2 size card.  The blue base panel is a piece of watercolor cardstock that I did some stamping and inking on awhile back but didn’t end up using. I liked it for this card.  A blustery, Winter day blueness!

I added some Memory Box clear Fairy Jewels here and there to lend to that Wintery feel!

Linking my Wintery Bundled Bird Card to some Card Challenges…

Cut it Up Challenge #289 – Add a sentiment

Scrapping 4 Fun Challenges #229 – Traditional Christmas colors

Sisterhood of Crafters Challenge – Get Inky  (the bird coloring and the background panel)

The Holly and the Ivy Challenge – #151 Anything Goes Christmas

Word Art Wednesday Challenge – Anything Goes

Holler if you have any questions!  Thank you so much for stopping by!

Below are links to the products I used to make this card…

Memory Box – 94760 Bundled Bird craft…
[ STR | SSS ]
Memory Box – 94740 Bird’s Nest craft die
[ STR | SSS ]
Memory Box – 94756 Small Poinsettia…
[ STR | SSS ]
Memory Box – 94750 Aurora Snowflake…
[ STR | SSS ]
Birch Press Design – 57538 Merry…
[ STR | SSS ]
Memory Box Fairy Drops • Jewels •…
[ STR | SSS ]
Scrapbook Adhesives Crafty Foam Tape…
[ STR ]
Tombow Mono Multi Liquid Glue
[ STR | SSS | SBC ]
Hammermill WHITE 100 LB SMOOTH…
[ SSS ]
Memory Box – WP101 Watercolor Paper -…
[ STR ]
Bazzill FOIL Cardstock – matte and shiny
[ STR ]
Memory Box – SH44004 Black Glossy…
[ STR | SSS ]
copic sketch markers at Simon Says…
[ SSS | BLIC ]
Ranger Ink Tim Holtz Gathered Twigs…
[ SBC | SSS ]
Ranger Ink – Tim Holtz – Mini Ink…
[ SBC | SSS ]