cards · CAS · Color Pencil · Distress Ink coloring · Paper Smooches · Spring · Summer · Watercolor

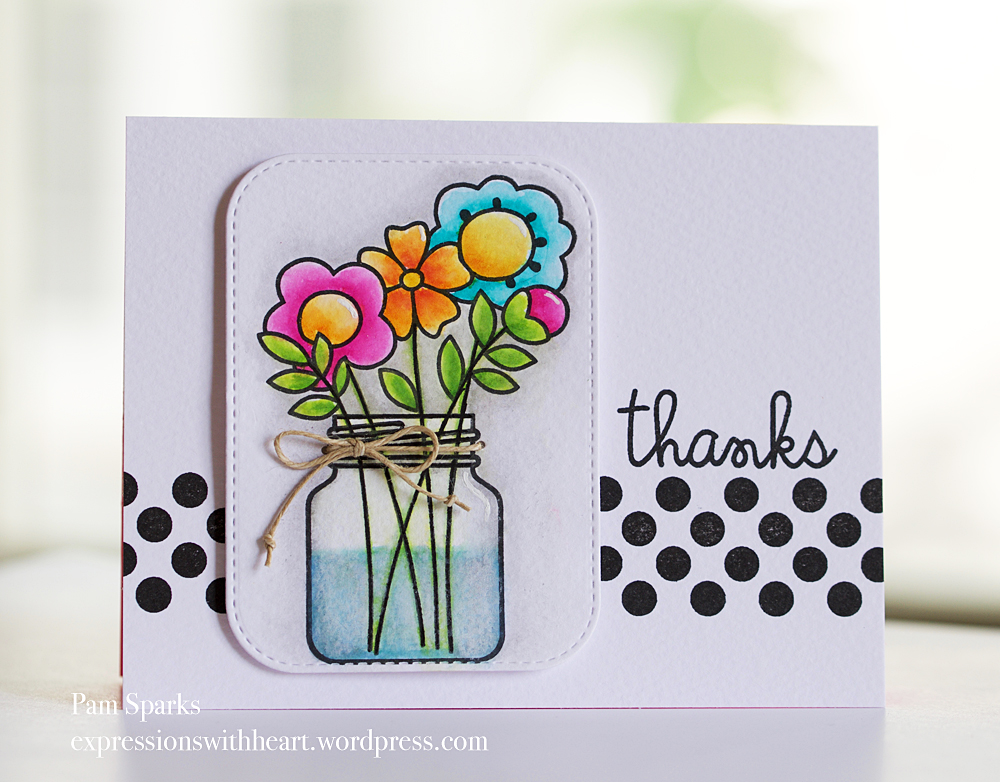
Paper Smooches Best Buds Flower card…

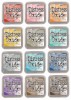
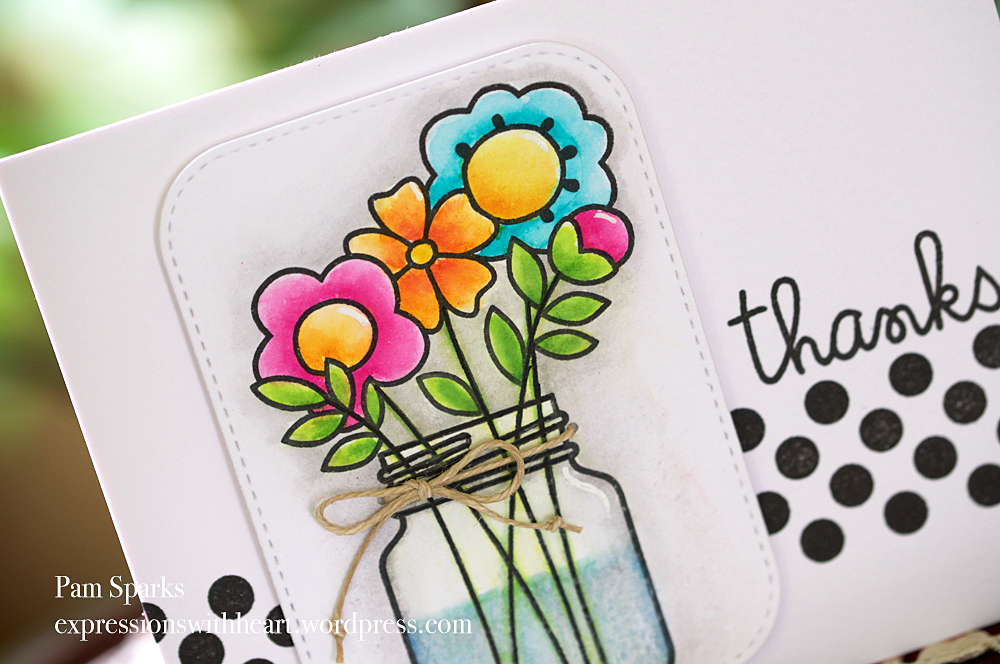
Here’s that second card I had the gals make at our stamp club party Friday.  I colored this one at home though with Distress Ink refills.

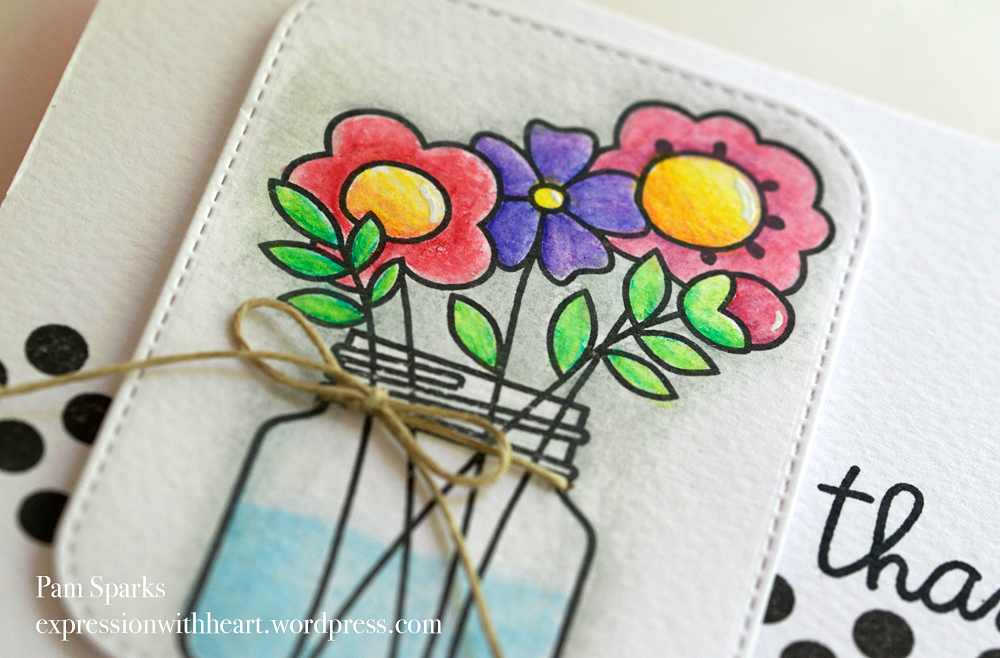
At the party, I had the gals use Prismacolor Watercolor Pencils and the blue waterbrush filled with water from this set HERE. These waterbrushes are really cheap but they hold up really well.  I buy them for the kids and end up using them myself! lol

The photo below is a close up of the watercolor pencil one. 

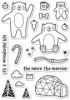
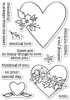
Very fun to color…love this sweet image from Paper Smooches Best Buds stamp set  HERE or HERE.  I don’t own the dies so I cut it with the My Favorite Things Inside and Out Rounded Rectangles Stax. If you want the dies to match, they are HERE.

The polka dot border is from the Geo-Graphic stamp set and the thanks sentiment is from the Sentiment Sampler stamp set HERE and HERE.

I stamped with Taylored Expressions Oreo Black ink and used Crafter’s Companion Watercolor paper.

Linking up…

 Paper Smooches GD – Search for July

Craft Stamper Magazine – Anything Goes Stamping Challenge

The Flower Challenge #9 – Anything Goes 

Thanks for stopping by today and thank you so much for your comments and help with my question yesterday!  I appreciate your views, comments and clicking so much! Hope you get to make a card today!

SaveSave

SaveSave

SaveSave

SaveSave

Birthday · cards · CAS · Die Piecing · Distress Ink coloring · Masculine · Memory Box · Poppystamps · Spring

3 Memory Box/poppystamps cards to share today…

Hello and happy to welcome you back to my blog! I had fun using some Distress Oxide inks again… all the rage these days!  Don’t you love new stuff?! I sure do! lol

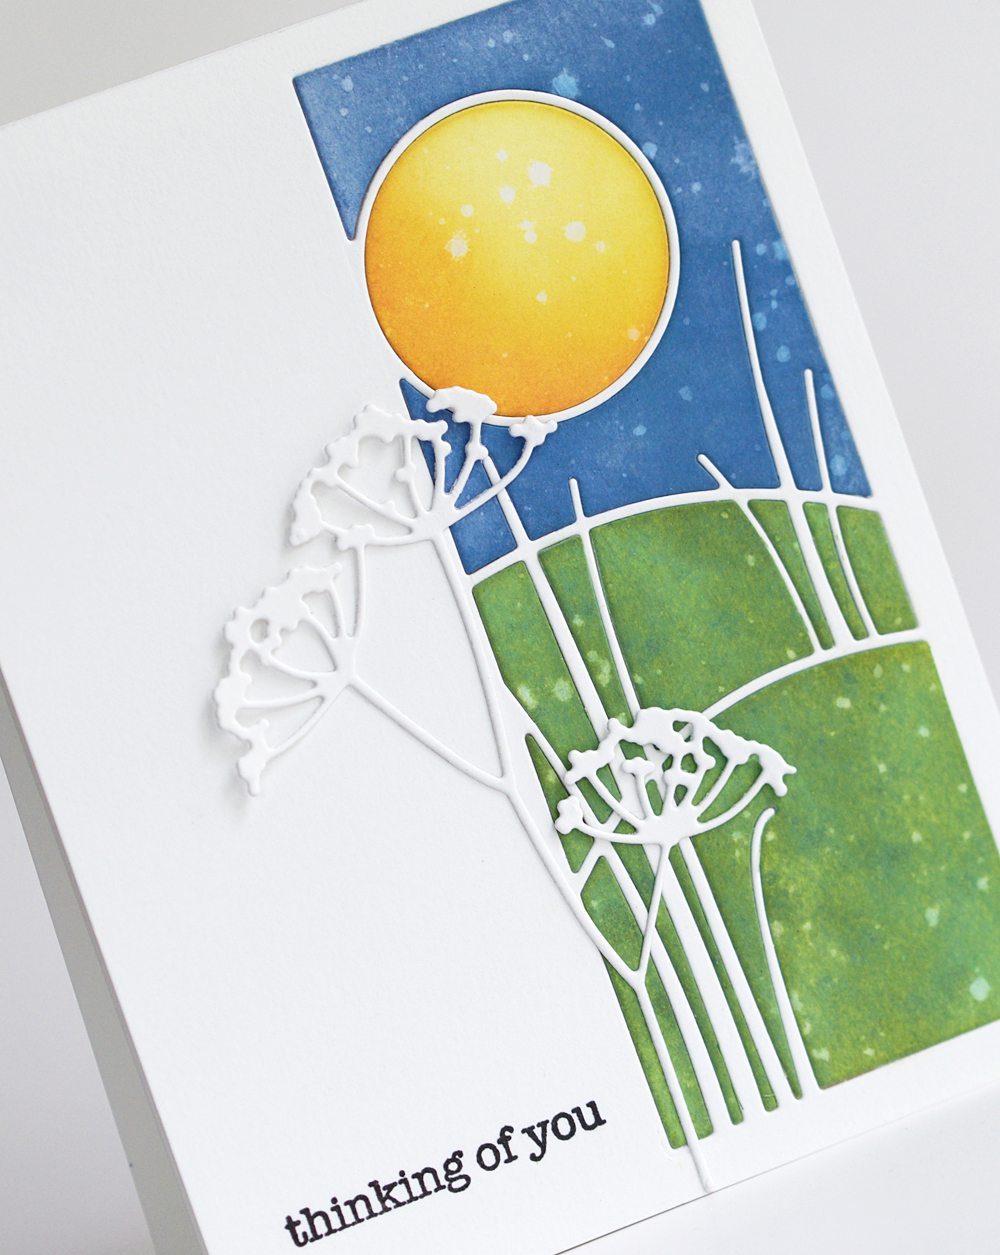
Here I’ve die cut the Grassland Collage die in a white Memory Box notecard panel that I die cut with the largest Rectangle Basics die… I love using that die because I love the rounded over edges!   I kept all the pieces and inked them up with Distress Oxide ink pads… yes you need them.  I don’t have the browns yet but I think I’ll get Vintage Photo at least.  I had to use Cracked Pistachio for the grass but I didn’t think it was grass enough looking so I blended on regular Peeled Paint Distress ink over the top and it worked great! yay

Then added water speckling to the pieces before I pieced them into the card…

I stamped the ‘thinking of you’ sentiment from the So Many Things to Love stamp set.

I die cut the Adelaide Stem die from white card-stock and adhered it just in the centers so the flower heads would bend up a little.

I really like this card… always love it when I’m happy with a card after pictures! lol

Linking my Grassland card up to challenges…

Simon Says Stamp Monday Challenge – Add a Circle shape

Simon Says Wednesday Challenge – Anything Goes

Die Cuttin’ Divas – Anything Goes

Addicted to Stamps and More – Clean and Simple


Thank you so much for choosing my card as a TOP ADDICT!  You made my day!


Next up…

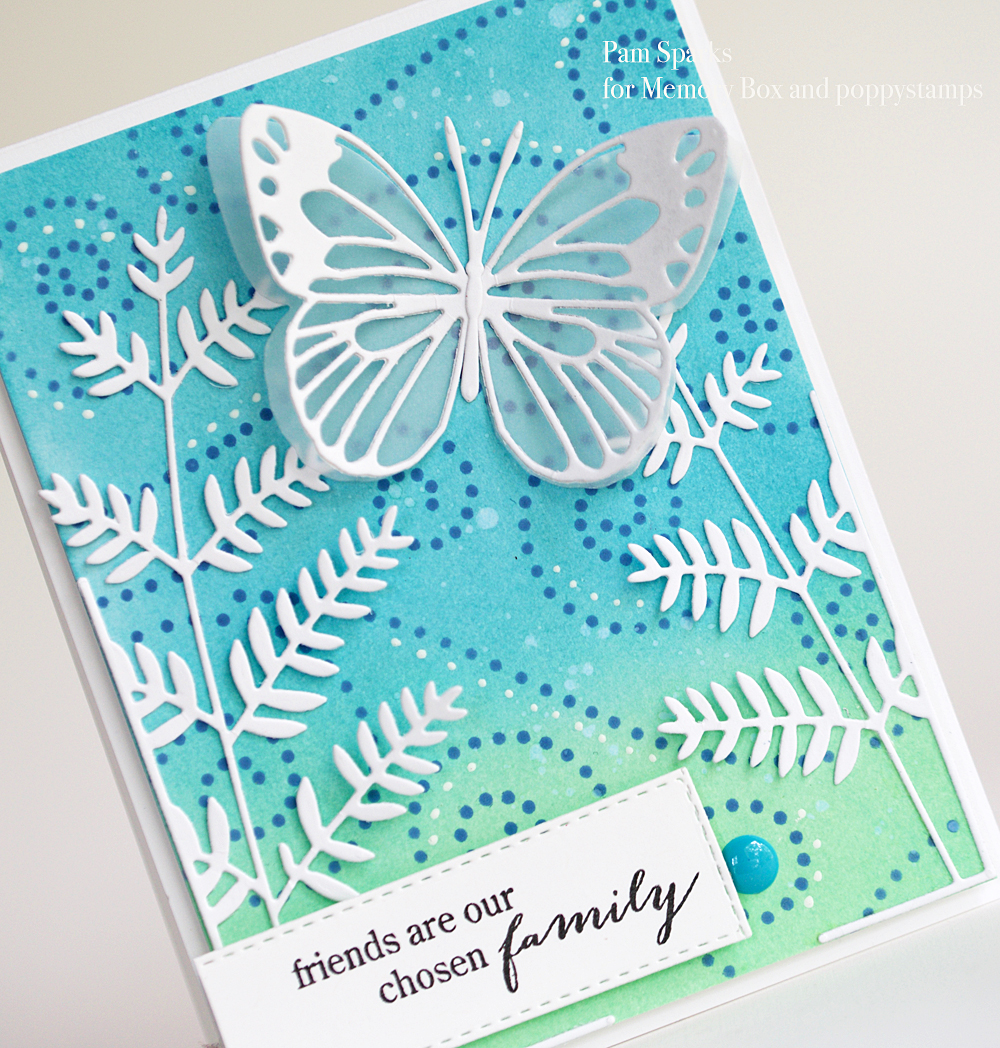
There’s that pretty Cracked Pistachio and Broken China blend again… hehe  That pop of white against those colors….scream Summer!

Here I die cut the Tall Fern Left and Tall Fern Right Corner dies in white and glued them on over the blended and Sprinkle Dots stenciled background.  I did go in with the white Signo Gel pen and add white dots too.

I die cut the Powell Butterfly die in white card-stock and the Corden Butterfly in vellum. The butterfly body is from another butterfly set.  I’m sure you have as many butterfly body dies as I do! lol  Holler if you need me to look it up.

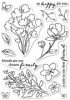
The sentiment is from the Friends and Flowers stamp set. I need to do some more with this set…really pretty flowers.  That little stitched panel was just laying on my desk!  eek!  Holler if I need to look it up for you!

Next up… a super CAS birthday card.

Here I used the leftover ink from the stencil used on the Tall Fern/Butterfly card above.  Who’d a thunk?!  Weird… sprayed it with water and laid it down on the card-stock and this is what it looked like… I kept it and went with it for this clean and simple card. I like it even though it looks really imperfect.

I die cut the Celebration Balloon Collage die  in a white panel that I die cut with the Cross Stitched Frame Borders die. (this die appears to be discontinued.  I googled and found this site)

After you look at this card, notice the woven piece it’s laying on…our middle daughter is a weaver…she wove that!!!  Her work is amazing.  She is so talented. She used to help me make cards.  I drove her crazy asking her what colors to use together and does this look alright etc.  She left me to make cards on my own years ago (she got married). lol  I’ve managed to survive and keep making cards. lol

OH, back to the card… I used heavy thread for the balloon strings and then that cute little String Ribbon Bow die at the bottom.

The celebrate sentiment is from the Holiday Bunnies stamp set.

I glued on 3 little Pretty Pink Posh 3 mm sequins  just to sparkle it up!

Linking my Celebration Balloon card to challenges…

Addicted to Stamps and More – Clean and Simple

AAA Cards – Birthday card  

Seize the Birthday – anything goes

Thank you ladies @ Seize the Birthday for their ‘I took the cake award’


That’s pretty much it…I’m sure I forgot something!  Feel free to ask though.

Thanks so much for stopping by.  I appreciate it so much!

Shopping links for the products I use and love!


SaveSave

SaveSave

SaveSave

SaveSave

SaveSave

Birthday · cards · CAS · Die Piecing · Distress Ink coloring · Memory Box · Poppystamps · Spring

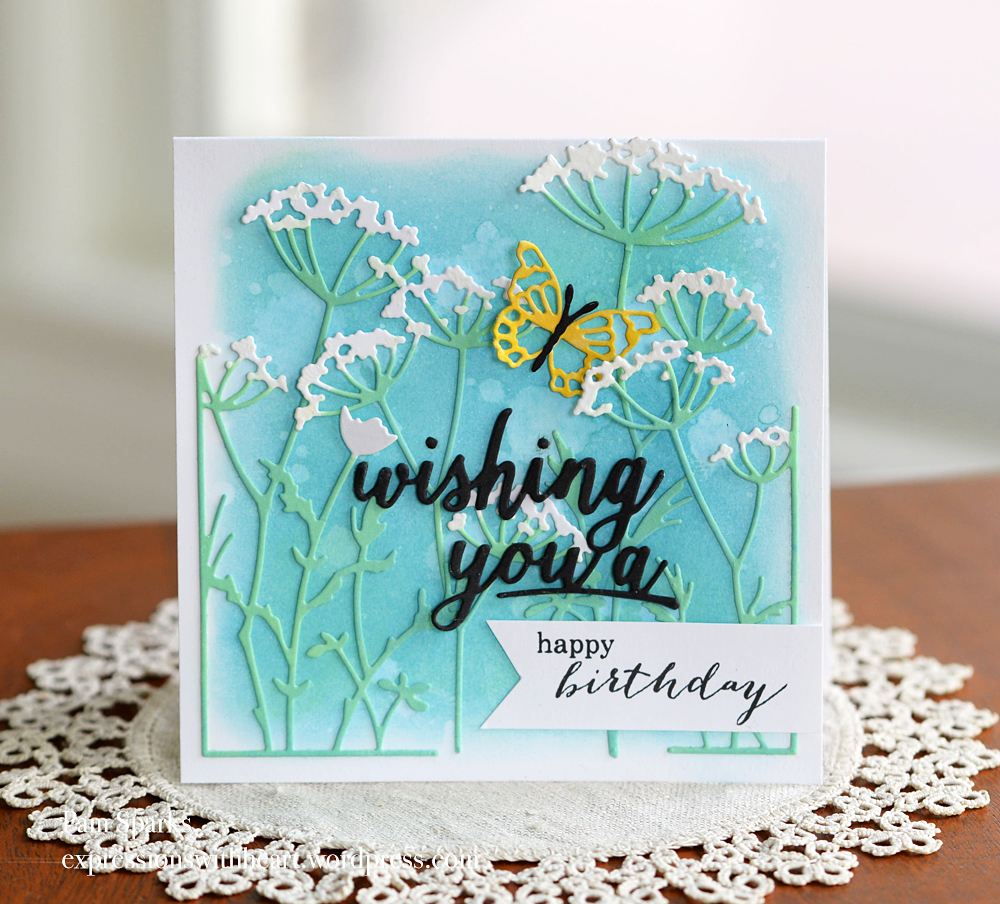
Memory Box Umbels dies birthday card…

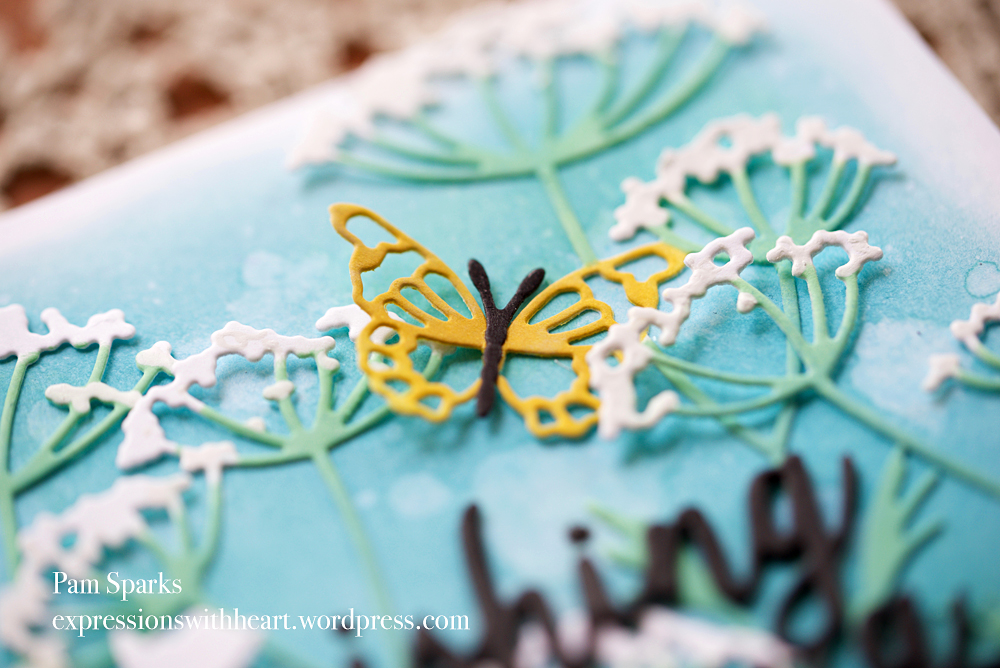
Hello! These colors…just scream Spring, don’t they?  I’m sure you have it already figured out that I ink blended Distress Oxide inks for the background, the stems and butterfly on this card. The background is Broken China with a teeny bit of Cracked Pistachio here and there…love those two together…then the water drops.

I masked the white tops and butterfly with scrap paper while I was inking the stems.  In the end though, I went over the blooms with the white signo gel pen!  If you were in a hurry you could easy skip the coloring with ink pads and just die cut with colored card-stock! lol  You know, like we used to before we went ink crazy! lol

I love this new wishing you manuscript die.  I cut it three times in black and glued them together.  The happy birthday sentiment is from the poppystamps Ornamental Butterfly stamp set.

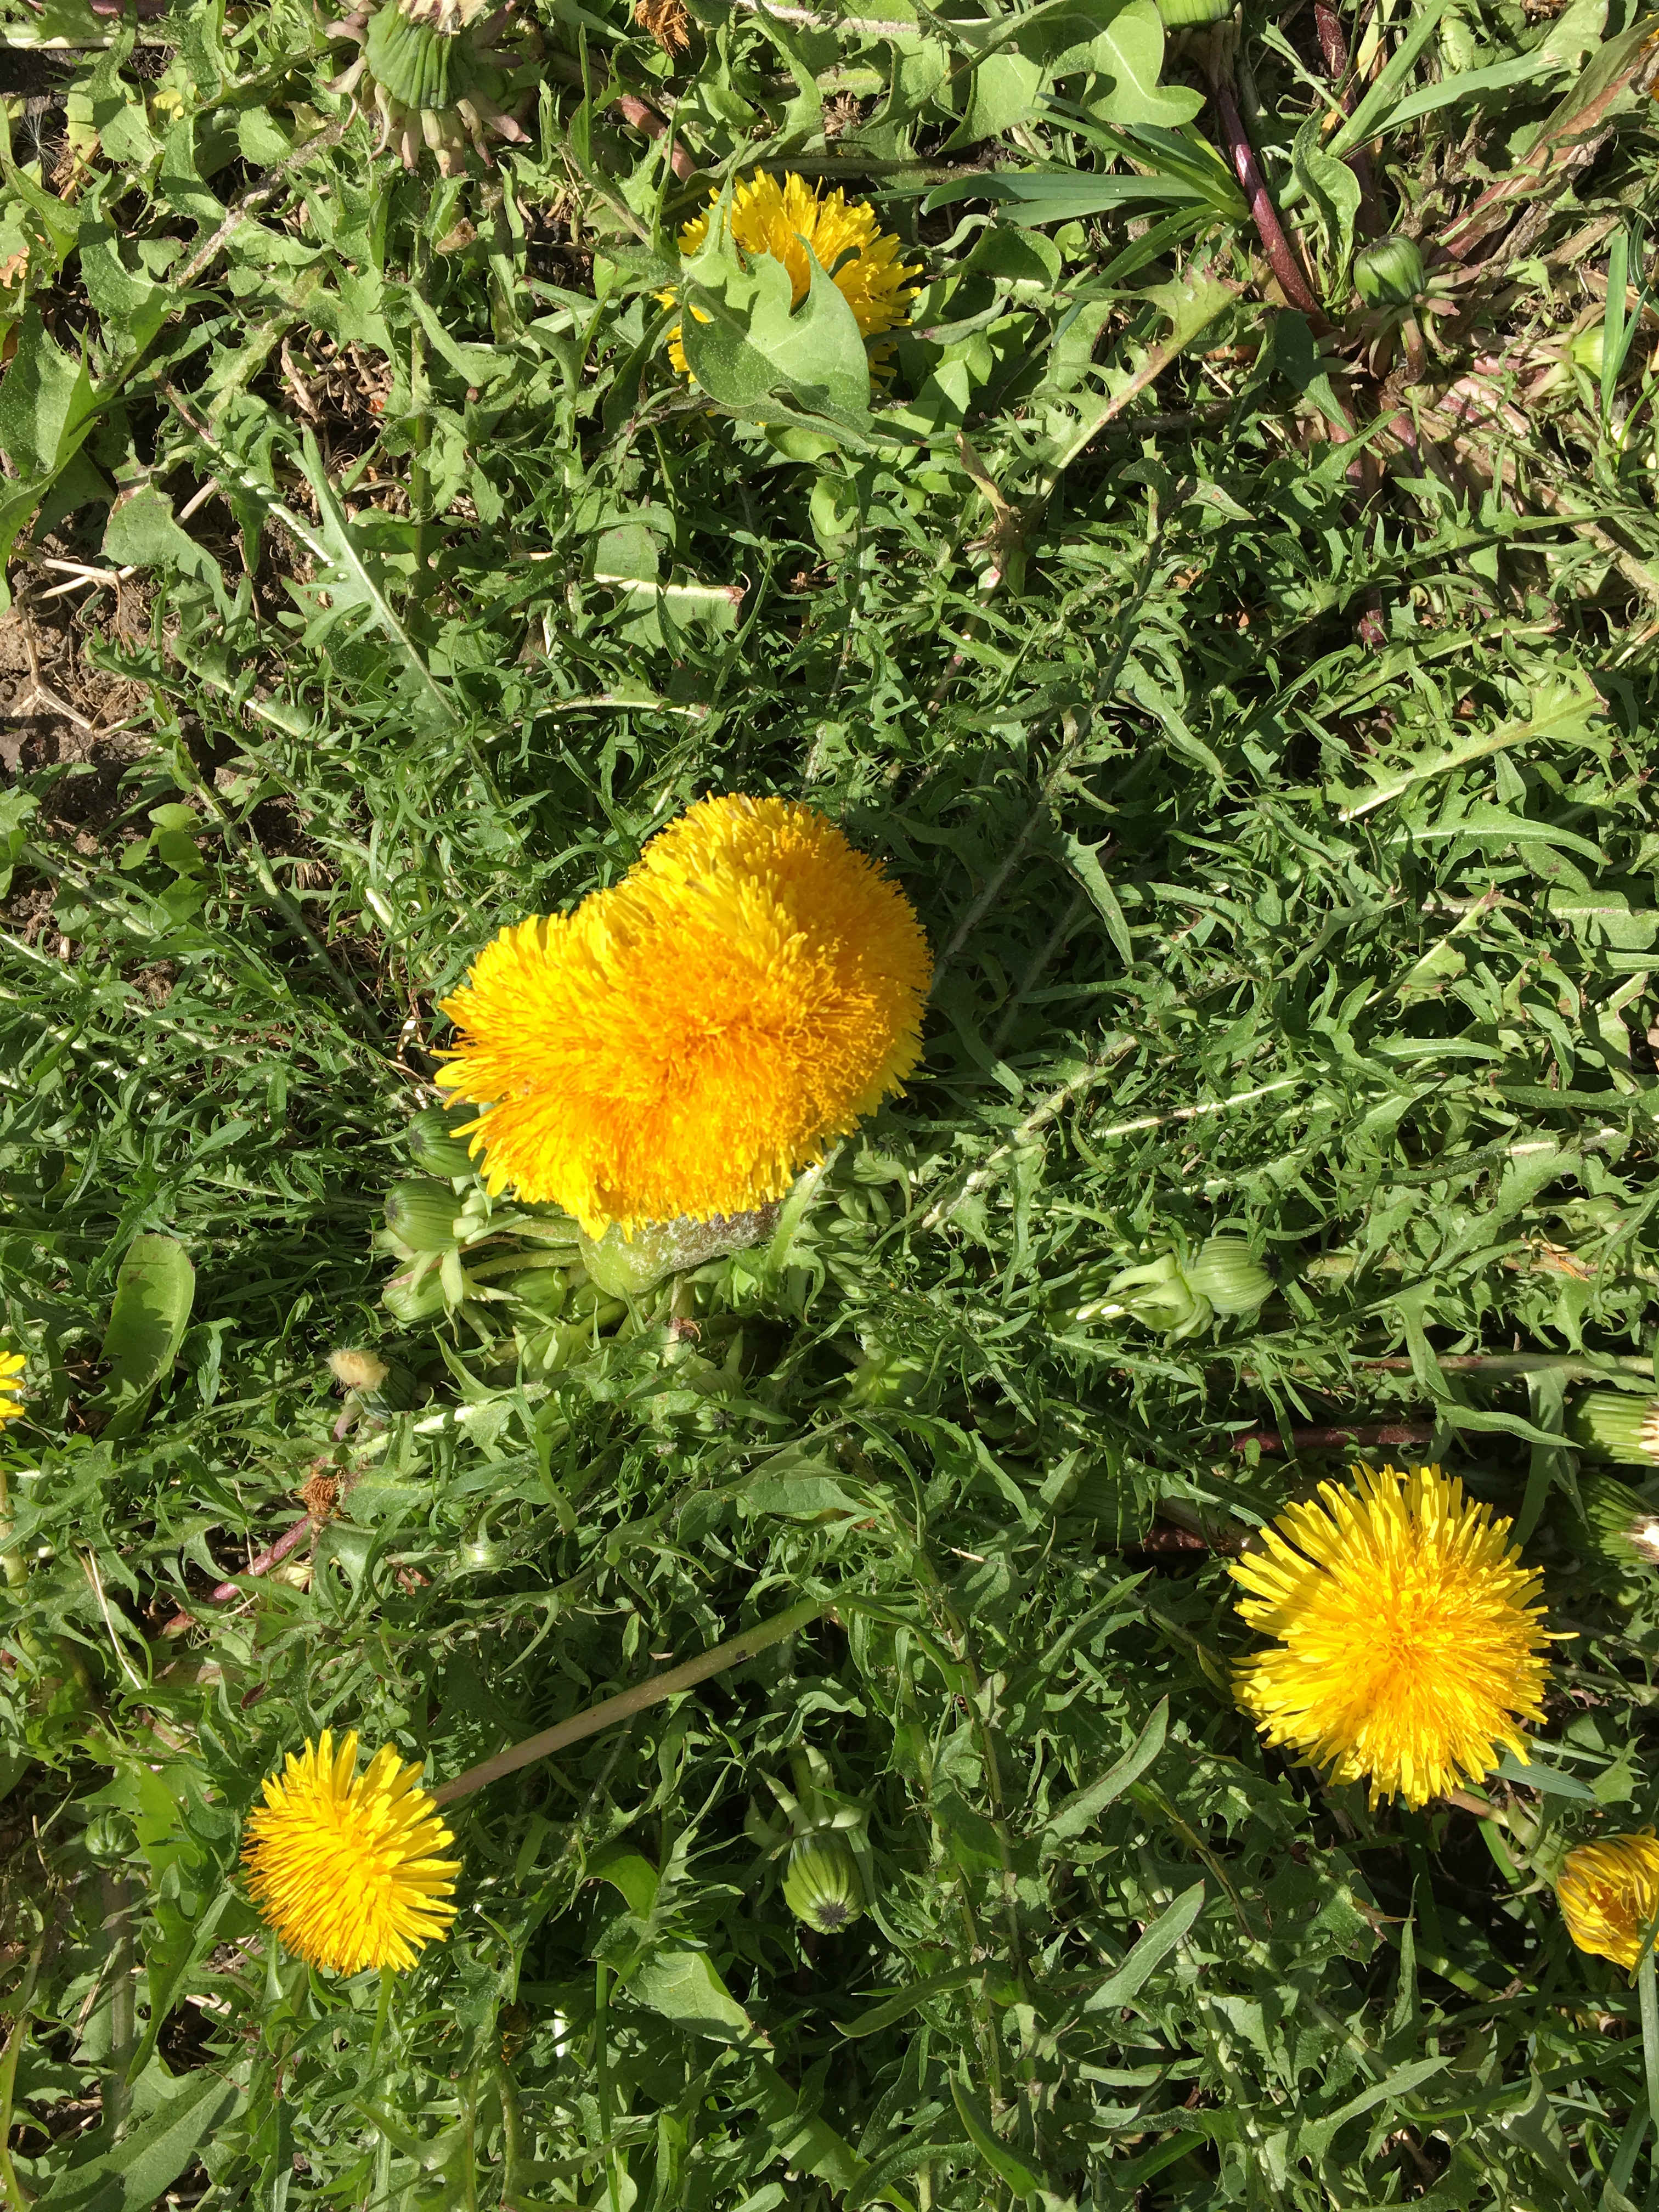
I know I’m gonna take some flack for this next picture! hehe  These flowers on this card remind me of dandelions when they’re ready to ‘poof’! lol  Anyway, I was over at one of our daughter’s a couple weeks ago and snapped this picture when the granddaughter’s showed me this irregular dandelion.  I thought is was so cool! It’s like a pom pom!  And since pom poms are so popular right now… I thought I’d share! Shoot me now… I kinda like dandelions! lol

I better tell you what dies I used for the flowers and corners on this card! From left to right I used Tall Umbels Left Corner, Adelaide Stem, Umbel Butterfly and Tall Umbels Right Corner.

This is a 5 inch square top fold card. Almost one layer…should mail easy! yay!

Linking up to some challenges…

Flickr Love group May Challenge – Bring on the Flowers

Simon Says Stamp Work it Wednesday April Showers Bring May Flowers Challenge

Thanks for stopping by today! Holler if you have any questions!  I always love hearing from you!


cards · CAS · copics · Die Piecing · Distress Ink coloring · Lawn Fawn · Masculine · Memory Box · Spring · SU

Memory Box, Lawn Fawn and Stampin Up cards…

Hi everyone!  I’m back today with 3 cards to share.  This first one features a sky writin’ airplane from the Flying High Stamp set!  So cute…colored it with Copic Sketch markers. The clouds are from the coordinating Flying High die set. I just used the cloud dies from the set without stamping them.

The background is the new Cool Cloud Collage die.  So many ‘cool’ ways to use it!
The banners are the new Birthday Pennant die…I die cut in white card-stock and colored with a few of the T series Copic Sketch markers.

Linking to some challenges…

Seize the Birthday Challenge – Anything Goes

Simon Says Stamp Wednesday Challenge – Anything Goes

Addicted to Stamps and More Challenge – CAS

Happy Little Stampers Challenge – Anything Goes with Dies

Sweet Stampin’ Challenge – I wish I could fly (airplane is stamped and colored)


Next up is a scene that I started when these stamps came out…I just ‘unearthed’ it on one of my desks I was cleaning off.  It just needed colored and put together!  yay

I fell in love with this You Make Life Fun stamp set and coordinating die set. The grass is inked with Peeled Paint Distress ink and the ink blending tool and the sky is inked with Tumbled Glass and Broken China Distress ink and the ink blending tool. (I must’ve used another green ink on the grass too because Peeled Paint is a better green than this. lol  Next time I’ll use Mowed Lawn!)

I colored the images with Copic Sketch Markers… so easy and fun… click on the pictures to see it full size.  This card fits in a business size A10 envelope.

I love these cute new cloud dies!  I stamped the sentiment on the front with Lawn Fawn Walnut ink in the MISTI stamping tool.

Linking to some challenges…

Lawn Fawn Fawnatics Challenge – Outstanding Occasions

The next card is one that my friend Jan had us make at stamp club earlier this month.  Pretty sure the stamps and papers are from Stampin Up. She had us paper piece the fun image.

Linking my card to some challenges…

Fusion Card Challenge – sketch

Addicted to Stamps and More – CAS

Die Cuttin Divas Challenge – polka dots

We had several visitors at our club meeting this month!  It was so fun!  One of them was one of the gals that comments here on my blog!  We have chatted a time or two and ended up she lives in IA so she drove an hour and 45 minutes to join us!  It was so fun to meet you Louise!!!  I enjoyed stamping and visiting with you so much! (what a crazy day for the AC to not work at the library where we meet!)  Everyone was a good sport about it and fortunately they were able to provide us with two fans!  There always has to be drama you know! lol  Anyway, we’re trying to get Louise to start a blog cuz her cards are beautiful!

Thank you again Jan for the fabulous program!  We appreciated it!
That’s it for today!  Thank you so much for stopping by and reading my post! I always smile thinking of you all and wishing we could all meet for a stamp club!  Now that would be awesome! (wild! lol)
I always love hearing from you!

Shopping links to the products I used to make these cards… (SSS, SB.com and Blue Moon are affiliate links) 

Birthday · cards · Die Piecing · Distress Ink coloring · Simon Says Stamp · Spring · Watercolor

Simon Says Stamp New Release Flora Background Stamp…

Hello! I was so happy to find this new Simon Says Stamp Flora Background stamp from the Mothers, Fathers, and Floral release in my mail box last week!  So pretty and fun to play with!

I have a couple things in mind for it but I ended up here, using the ‘old school’ chalkboard look again! I inked the Flora Background stamp with Versamark ink, in the MISTI and heat embossed it with Ranger Detail White Embossing Powder on black card-stock. I distressed the edges with the Tim Holtz Distressing tool and went around the edges with Picket Fence Distress Paint.

I die cut the Single Roses, Banner and Painted Happy Birthday dies from heavy white card-stock.

I used three of the new Distress Oxide Inks. Pressed the pad to my craft mat, spritzed it with water and smooshed the flowers, leaves and banner in the different colors. I dried them in between smooshes with my heat tool.  I know…that sounds funny! lol

I looked through my Doodlebug Sprinkles and ended up using three of the matte colors…I like the matte finish with the oxide ink.

I attached the Birthday cuts to the banner with skinny cuts of foam mounting tape.  I love that the letters are thicker and you don’t have to cut and glue multiples together, you can just use mounting tape or squares! yay!

Then I attached the banner to the card with 3L thin mounting squares.  The flowers and leaves were next, 3L regular mounting squares for them.

I adhered the black finished panel to a 5 ½ inch square white card base.

Linking up to challenges…

SSS Flickr Challenge – Anything Goes

Simon Says Stamp Wednesday Challenge – Happy Birthday

The Heart Desires Challenge #11

THD11-Apr2017-1.jpg

The Curtain Call Challenge – Speckled  (my flowers)

speckled.jpg

The Flower Challenge – SketchFCB5

The sun was shining so I was able to get bright pictures!  So happy with my new camera…if you need a new camera be sure to look at Nikon.  hehe  AND so happy to see the sun!

Have fun looking at the new release!  Some pretty stamps and dies once again.  Thanks for clicking over to my post!  Thank you so much for commenting too, I appreciate it and am always encouraged!

Links to the products I used to make my card…