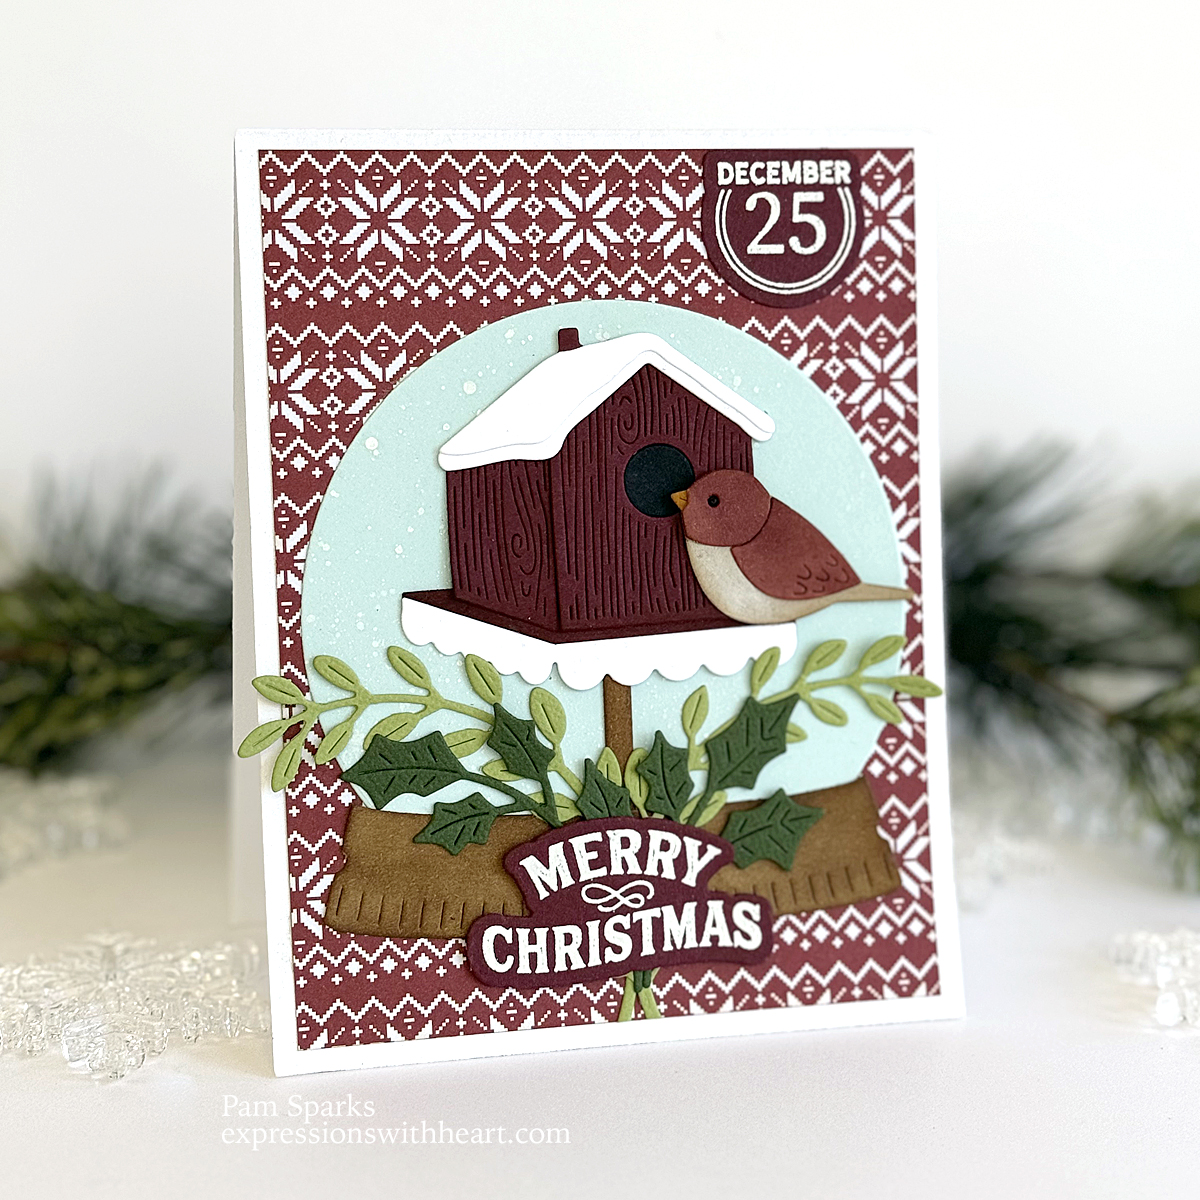
Hi everyone! I LOVE these dies! So fun and easy to make a cute card with! Hope this finds you enjoying Fall before Winter hits! We’ve had a taste of cooler temps the last two days. We turned the heat on last night! eek!

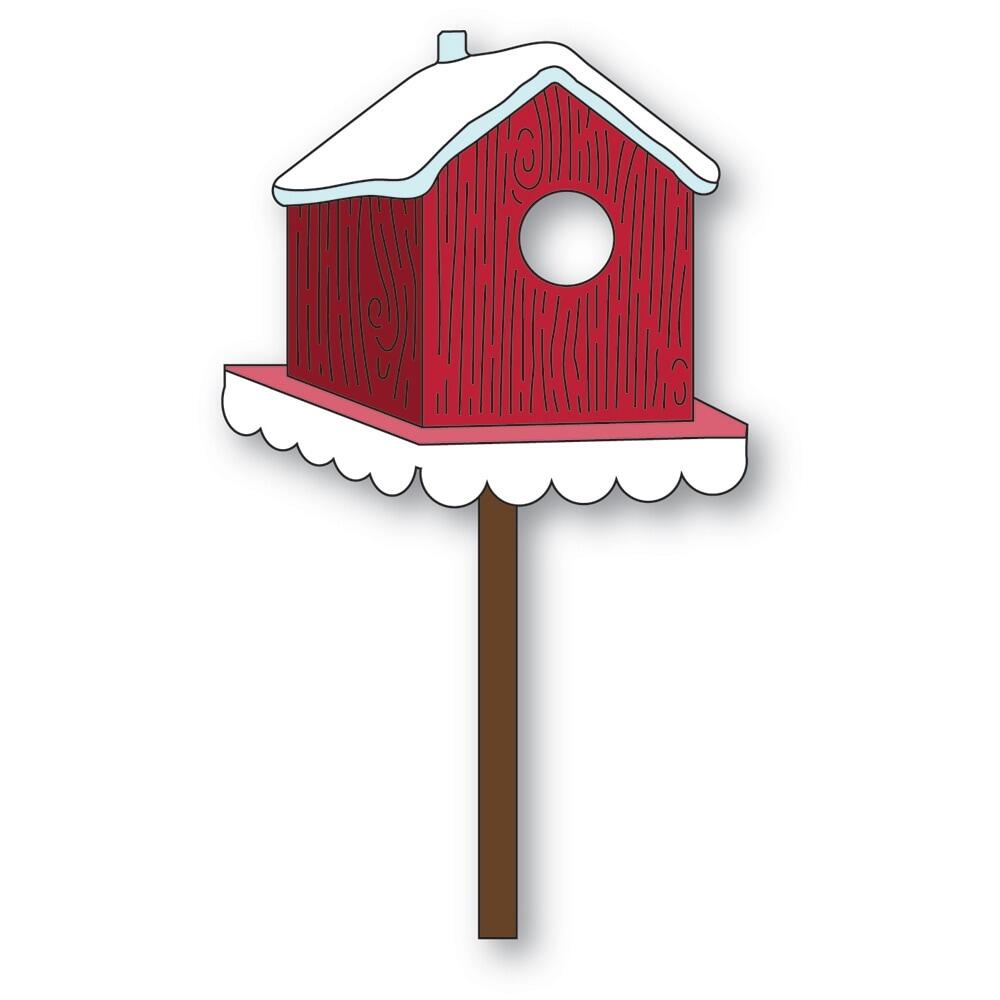
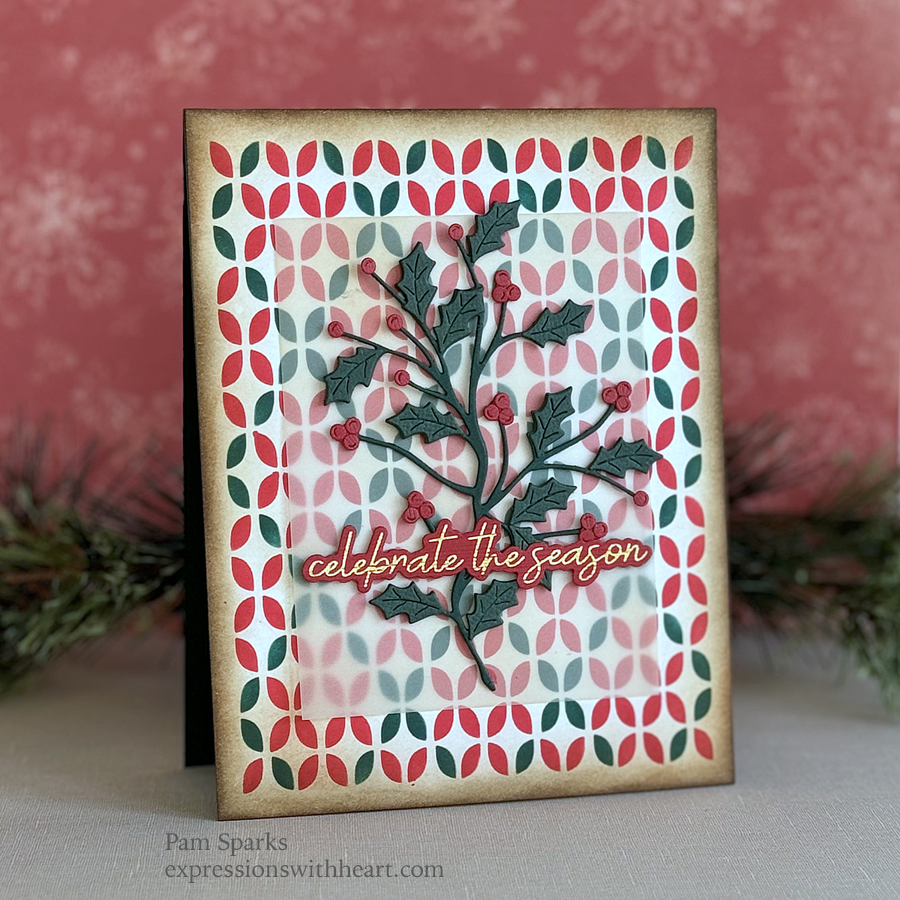
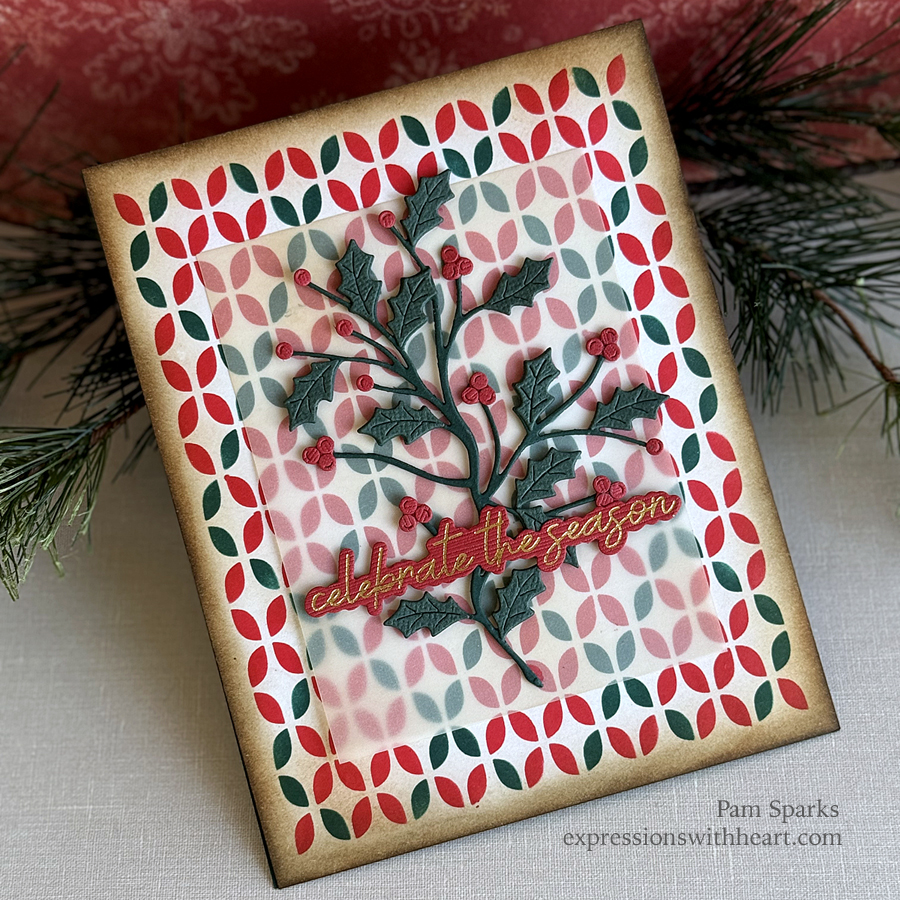
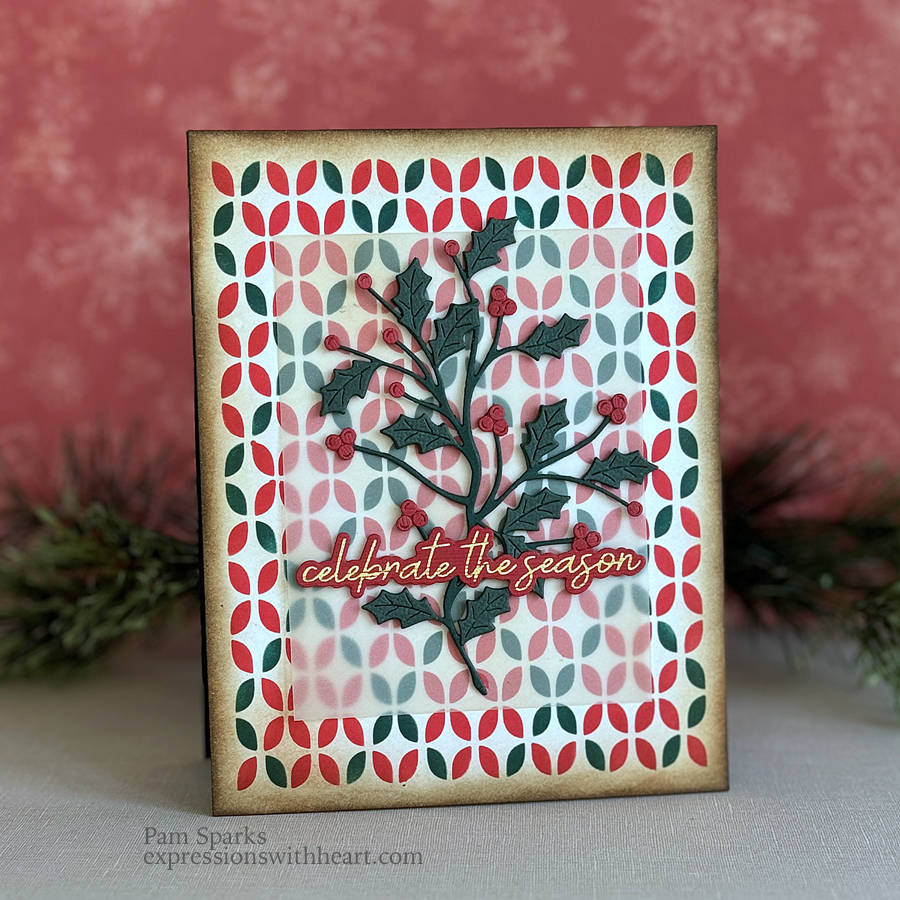
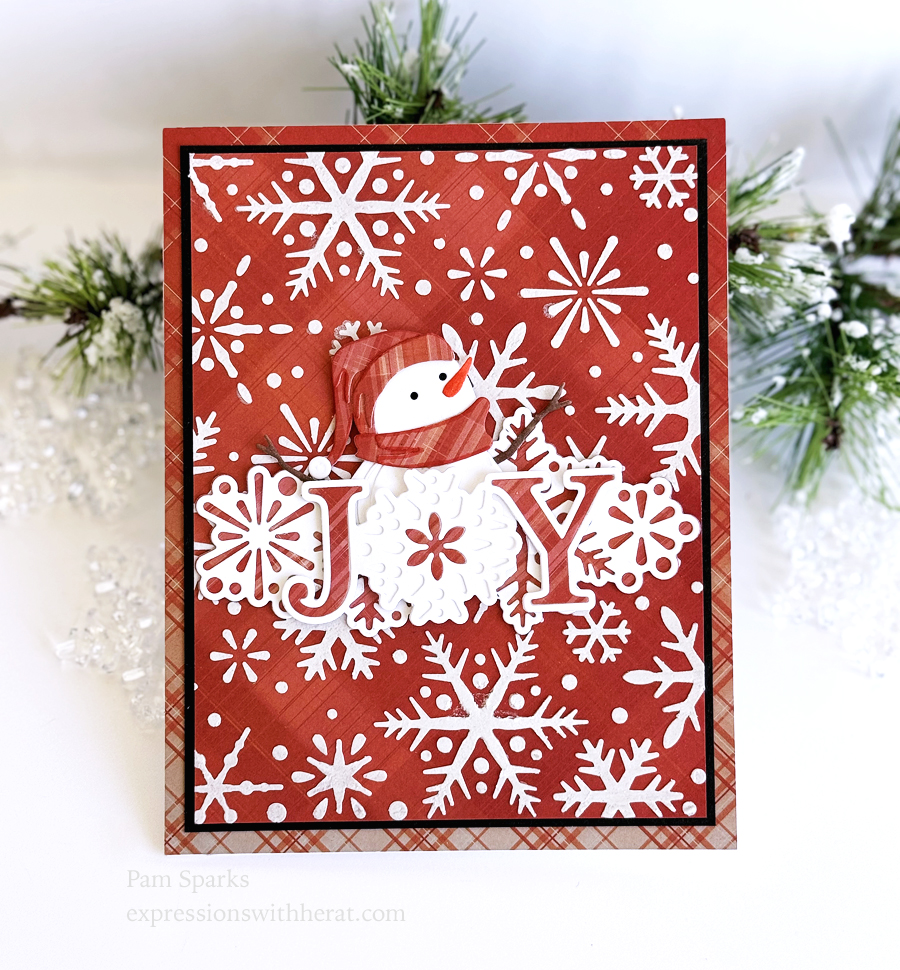
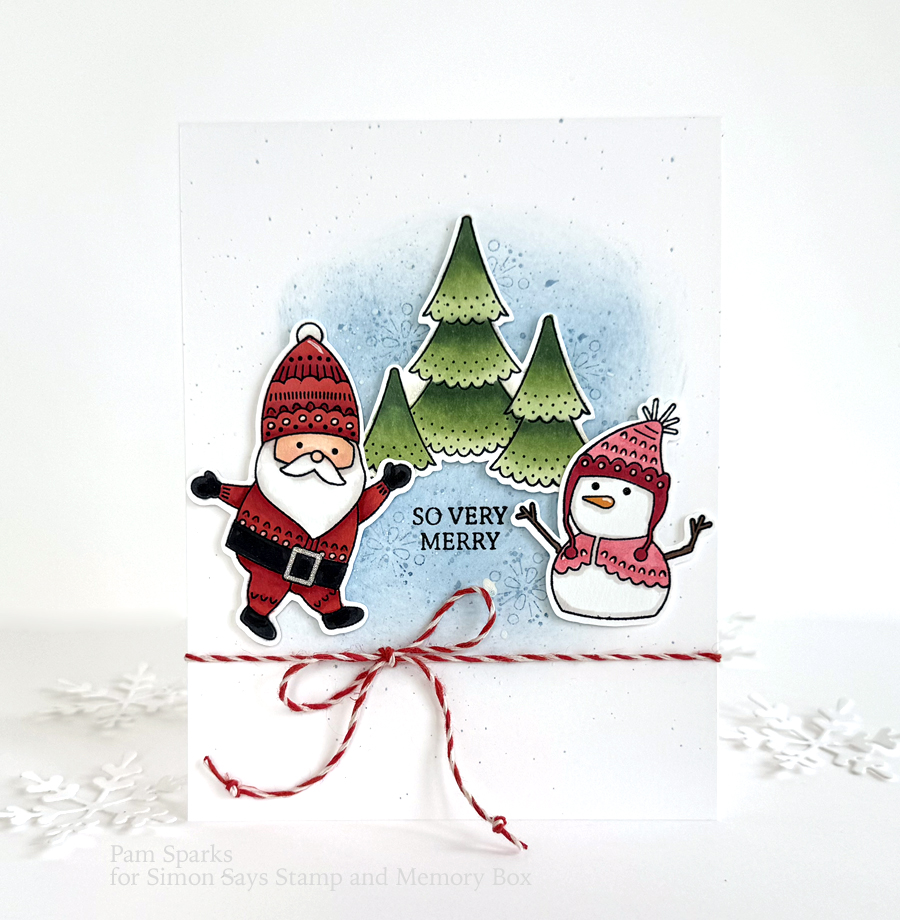
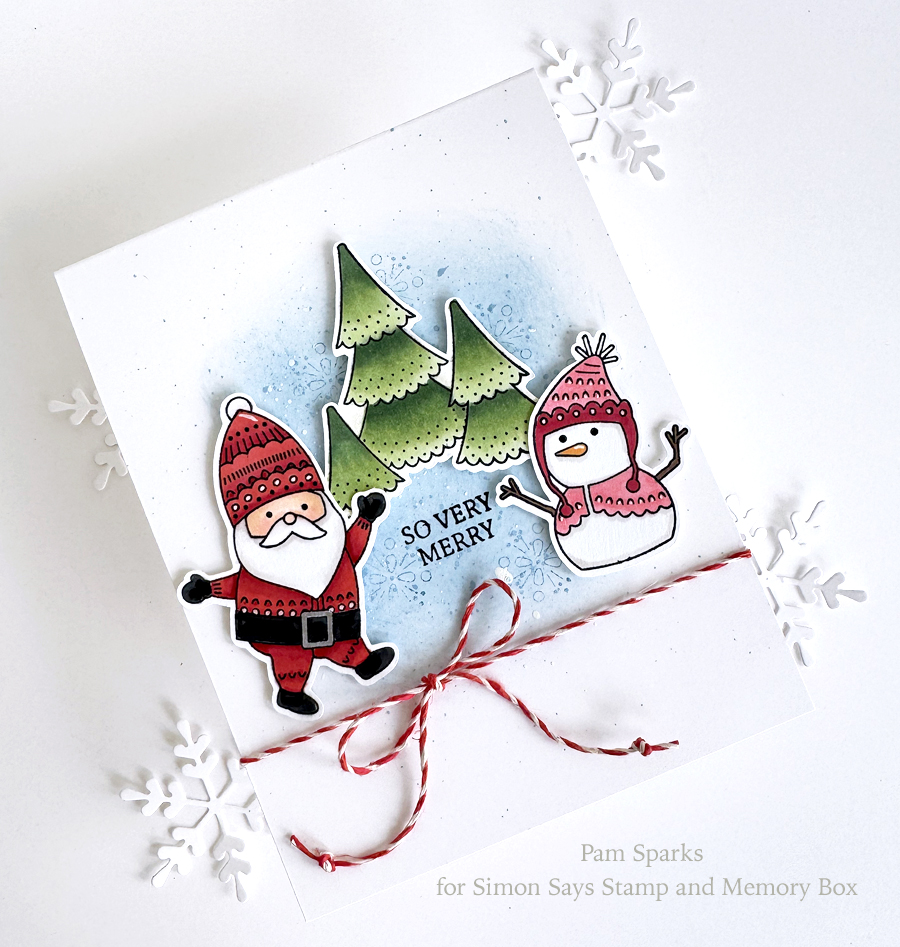
I used the NEW Holiday Snowglobe to frame the NEW Snowy Birdhouse and NEW Wistful Sparrow. The greens come with the snowglobe set! I always love holly and the branches are awesome too! Anytime you get greens going both directions I’m happy! lol
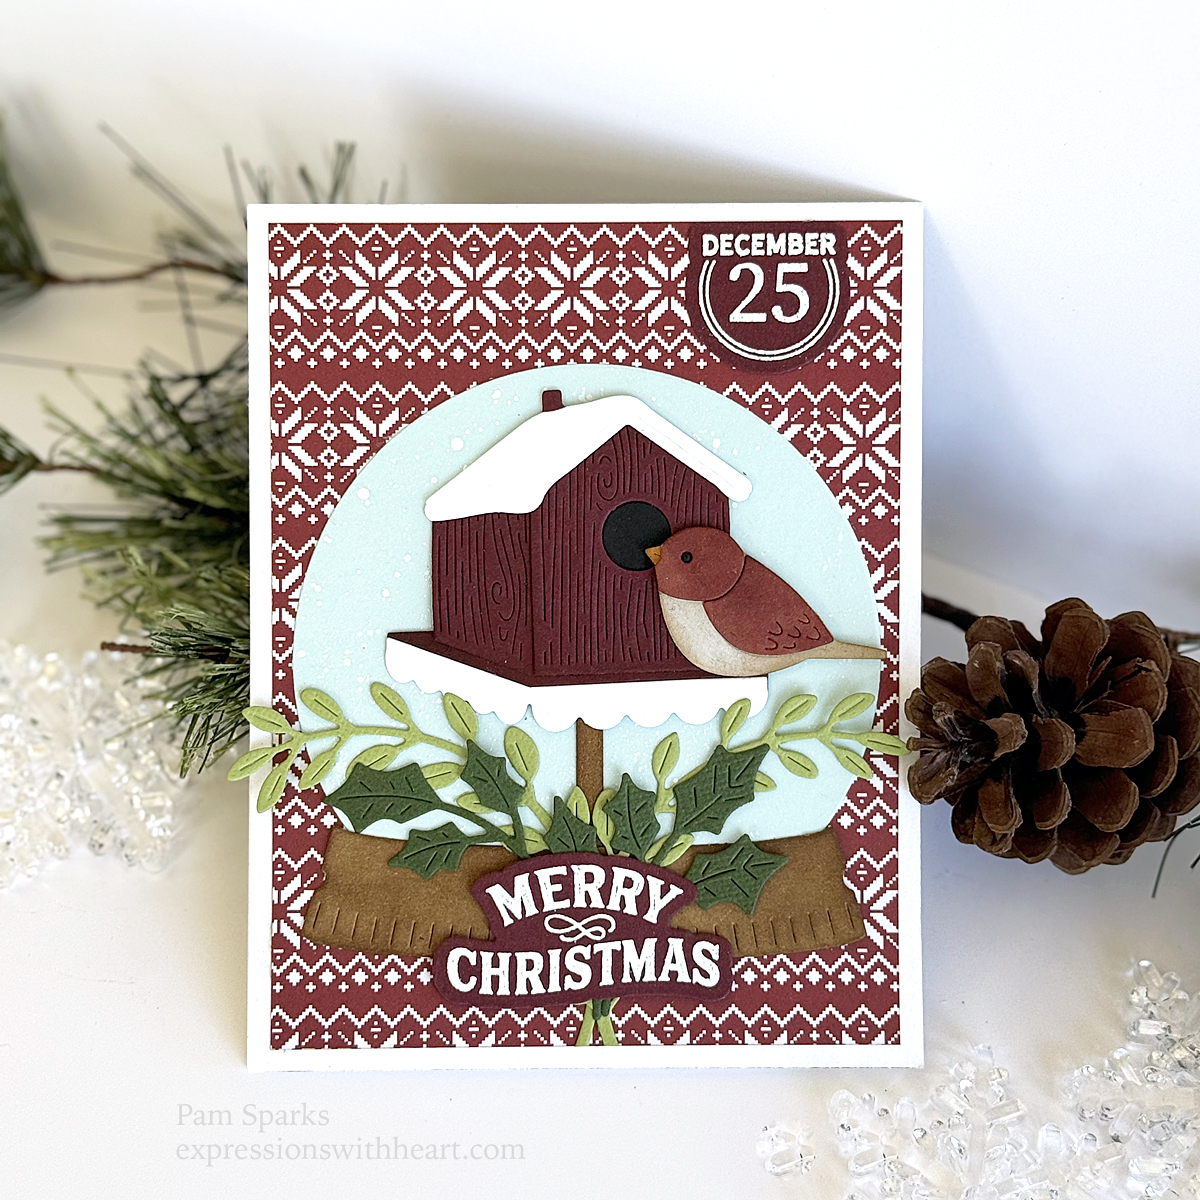
The sentiments are from the NEW Be Merry Stamp set with coordinating dies for three sentiments. Perfect Christmas set… sentiments for the front and inside in one set! Check it out!
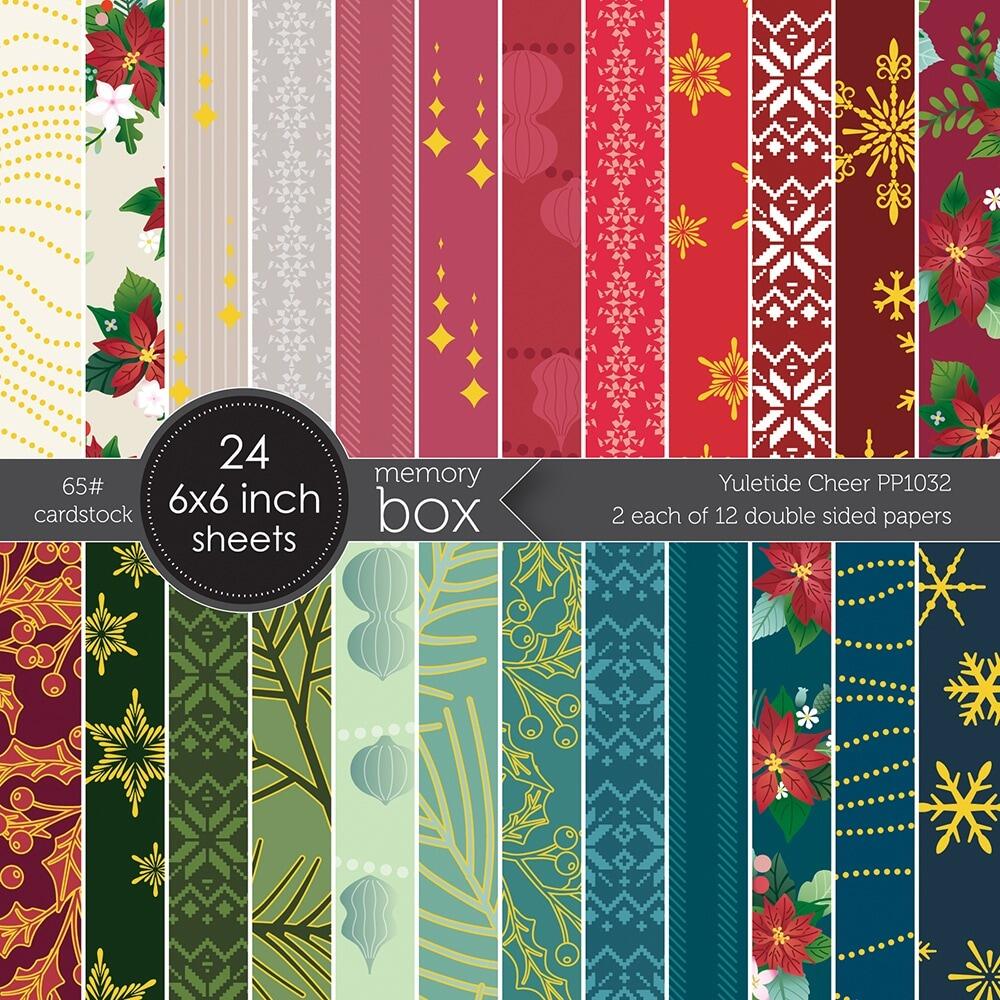
The Nordic pattern paper is from the Yuletide Cheer 6×6 paper pad. I love the name and the papers in the pad!
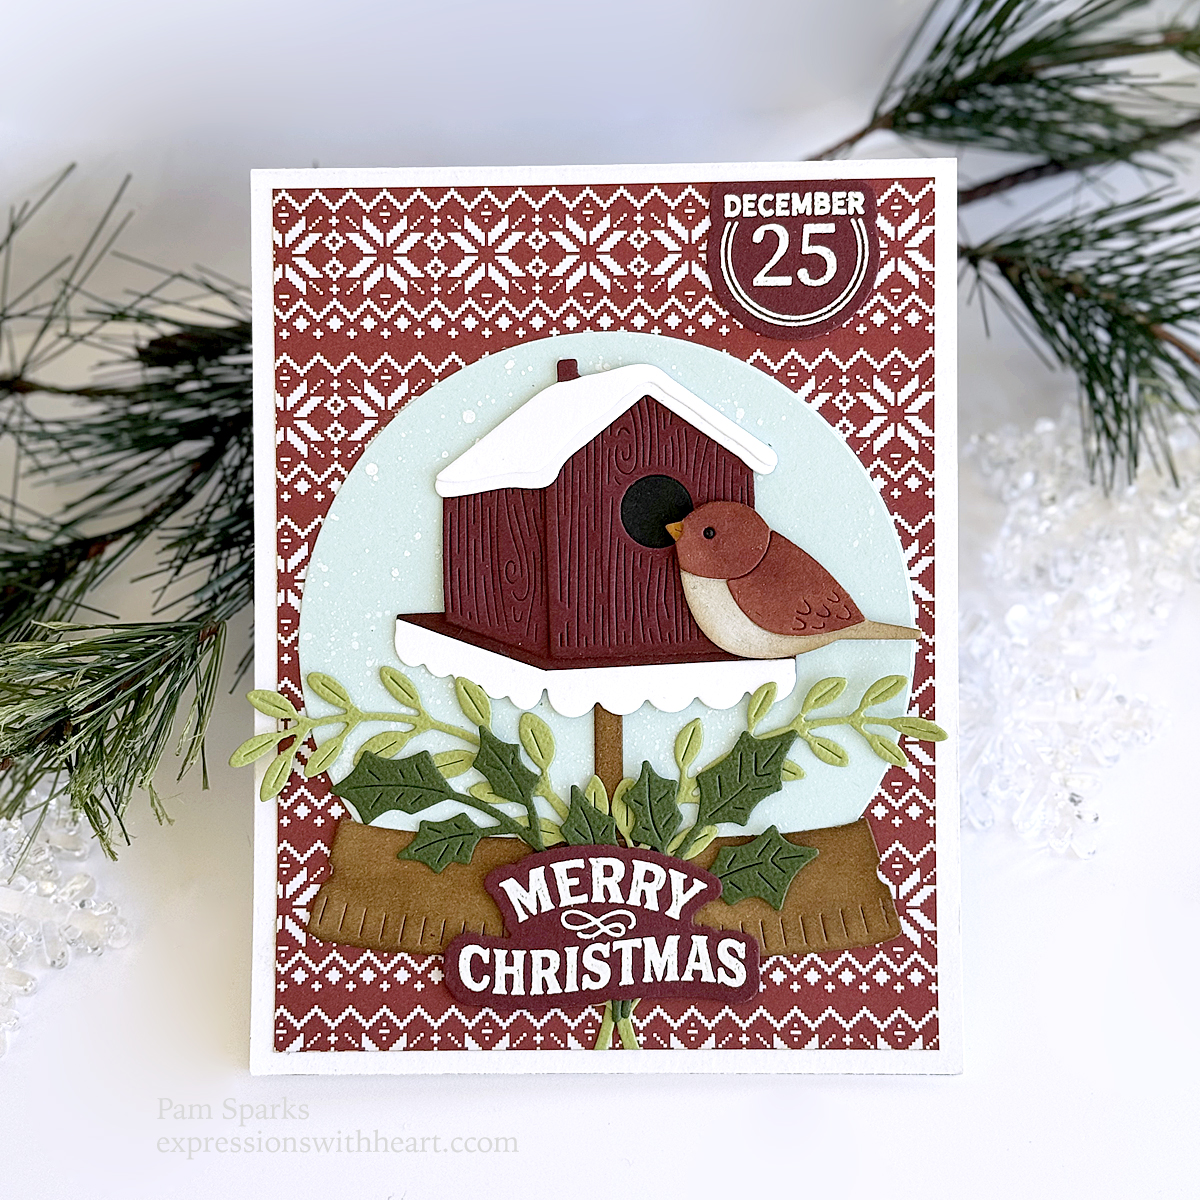
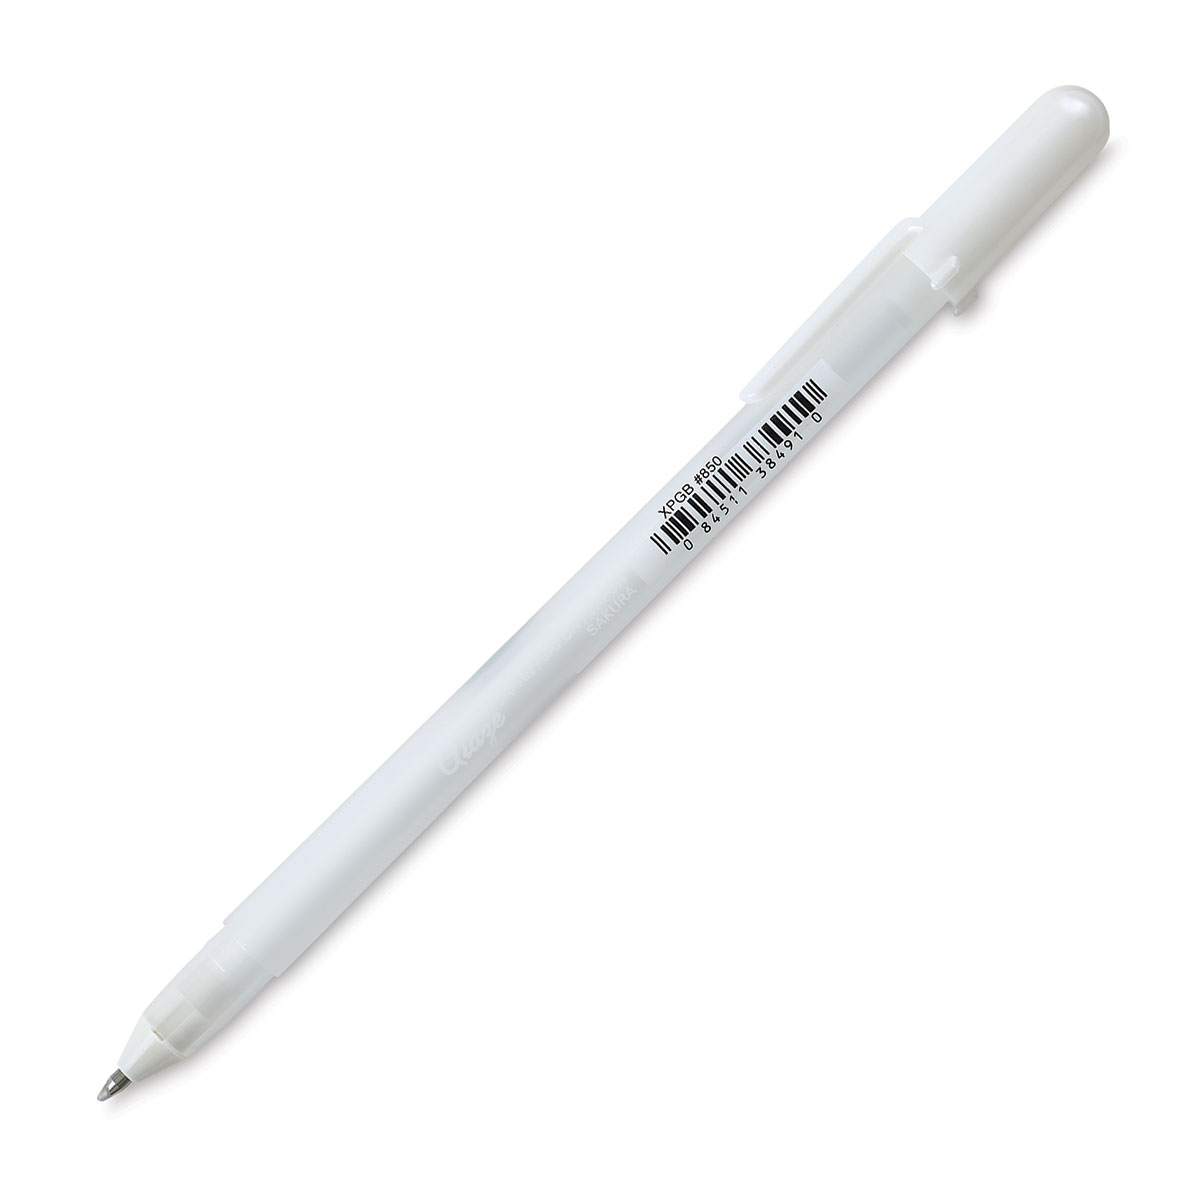
Oh, I colored the bird with Copic E07 and a chalk type white marker…I die cut it in Toffee cardstock. The beak is a couple Copic Y and YR until I got it kinda orange-ish.
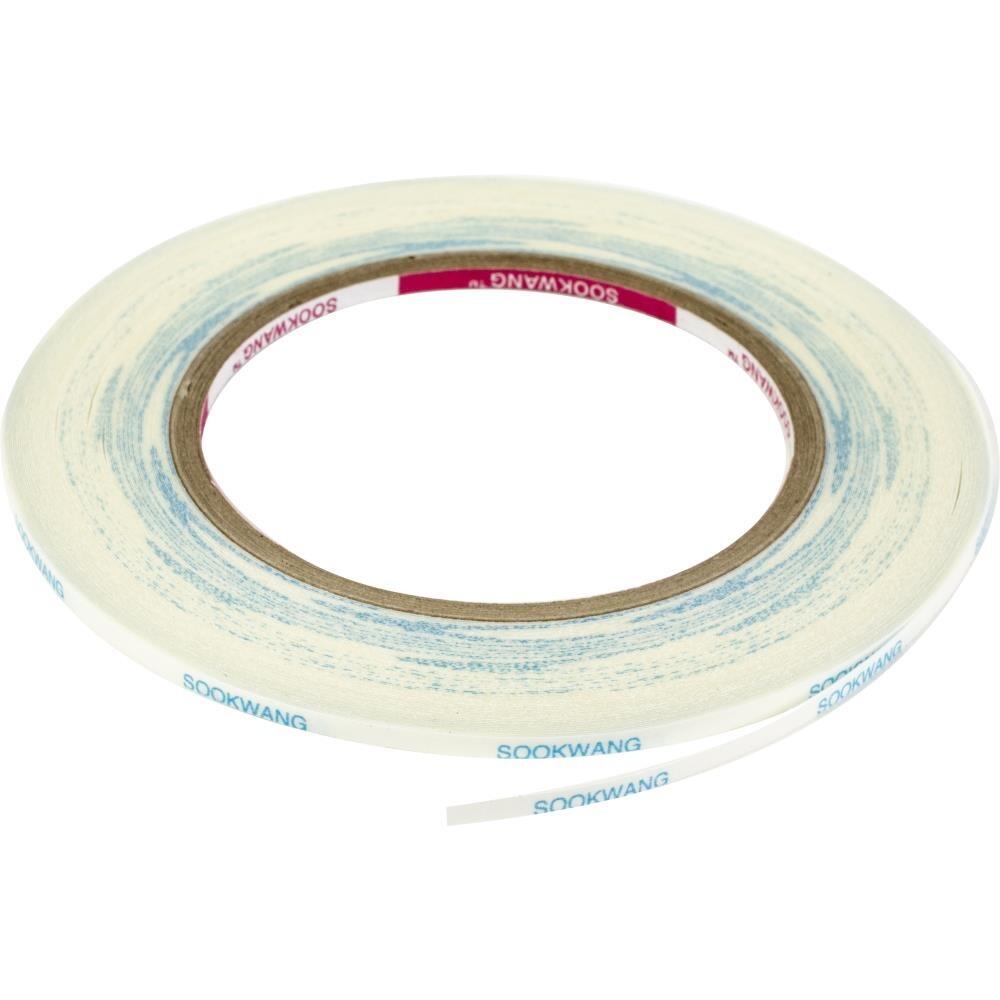
An A 2 size card. It will mail super easy for one postage stamp. I only used a little bit of the thin mounting tape I love behind the back end of the bird!
Thank you so much for stopping by today! Happy papercrafting!

Links to what I used to make this card… STR = Starlitstudio, SSS = Simon Says Stamp, SBC = Scrapbook .com, SPL = Spellbinders, TE = Taylored Expressions (some are affiliate links, no cost to you) Thank you so much for shopping through my links! I pay for my blog and LinkDeli so NO ADS! YAY!
|