Birthday · cards · CAS · Christmas · copics · Memory Box · Paper Smooches · Poppystamps · Winter

Paper Smooches and Memory Box…

PamSparksPSDeerBirthday

Hi everyone!  I’m behind posting cards… so there’s a few in this post… then Tilda coming for Tilda’s Town and then a Printworks snowman!   So hang on but don’t worry, I’m not going to start posting everyday all the time!

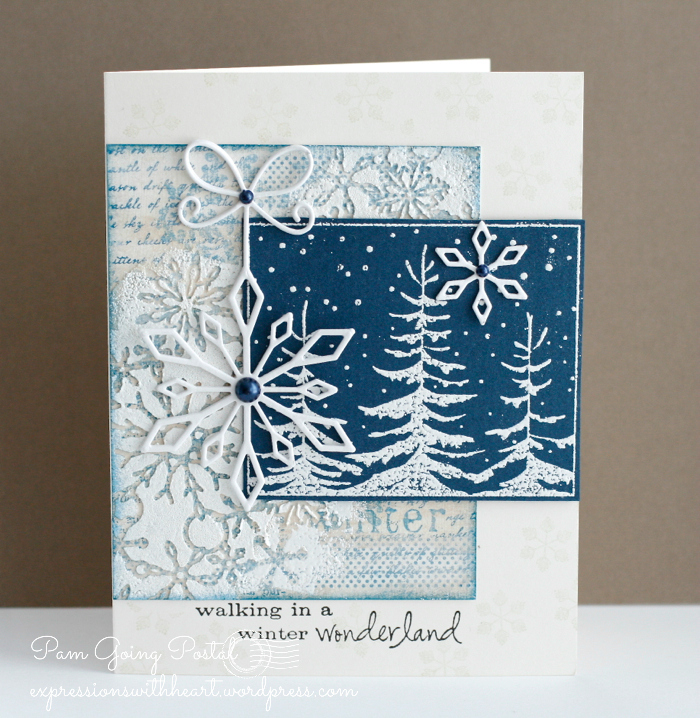
I wanted to get in on the Paper Smooches Sparks Challenge Blog Anything Goes post.  This is a birthday card I made for Tim.  I saw one of the PS designers using this flourish for a snow look so I had to do it too! Stamped with Tumbled Glass Distress Ink.  Perfect for a January birthday! Colored with Copic Sketch Markers.  Right now ‘deer’ aren’t so ‘dear’ to me though.  Hit one with my car in July and did a lot of damage.  I just like the stamp and paper cute ones now!!!

A little Wink of Stella Glitter marker on the flakes and flourish too!

Happy Day!  My Deer card was one of the featured cards for this challenge!  YAY!

Paper Smooches

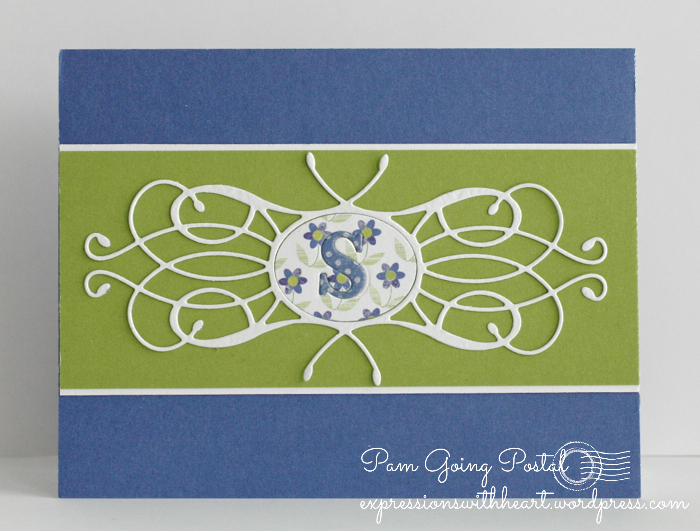
A couple cards with Memory Box dies…another Birthday and hey… a start on Christmas cards too!

PamSparksHappyBirthdayPeonyFront

the Grand Happy Birthday die, Delightful Peony dies and the poppystamps Fading Dot Border die…

PamSparksMerryChristmasBellsFront

the Grand Merry Christmas die, Bells are Ringing die and Piestra Tile die…

Thanks for stopping by!  It’s snowing here in Iowa… so pretty!  Happy stamping weekend to you!

Supplies, stamps and dies I used…

cards · CAS · copics · LOVE · Memory Box · Perfect Layers Tools · rubber stamps · Valentine

Tulip Stems and Queen of Hearts…

PamSparksTulipStemsFront

Thank you So much – white heat embossed on vellum.  So fun that vellum is new again!  I die cut, embossed and colored the Tulip Stems die with Copic Sketch markers… V22, 25, 28 and YG21, 23, 25, 17.

Memory Box Distress Dot violet paper and Violet A-2 Notecard.

I’m entering this card in the CASE Study Challenge #176.

Here’s a close up…

PamSparksTulipStemsClose
I just had to use this Queen of Hearts die!  Of course you think of black and red with Queen things!  oh and Silver glitter paper is a must! haha

PamSparksQueenofHeartsFront
I dry embossed the NEW Flourish Stencil on the red heart and rubbed over it with a little Walnut Stain Distress ink and the ink blending tool.

Just a subtle look but I like that it’s delicate to go with the fine lines of the die!
PamSparksQueenofHeartsClose

This die cuts perfect and beautiful every time!
PamSparksQueenofHeartsSide
LOVE is cut with the UpperCase Classic Alphabet… love Memory Box Alphabets!

I’m linking up to Simon Says Stamp Work it Wednesday

Thanks for stopping by!  Hoping to do a snowman next!  It’s still Winter even though we’re working with all these new flower dies!

Supplies I used…

cards · CAS · Memory Box · Perfect Layers Tools · rubber stamps · Stencils · Winter

Memory Box cards…

PamSparksWinterCollageFront

Here’s the new Delicate Snowflakes Stencil from Memory Box… I tried several different ways of using it but I’m just posting two!   This reminds me so much of what we’ve done for years with Brass Stencils!  I need to get those back out too!  For this card, I stamped a panel with Memory Box stamps, laid the stencil on the panel, applied stencil paste, then white embossing powder and heated it.

This card was a Weekly Favorite at Splitcoast Stampers!  Thank you ladies!

Weekly-Favorite

PamSparksWinterCollageClose

I used the Precious Snowflakes die and several stamps…
Snowy Evergreens
Walking Winter Wonderland
Winter Collage
Washi Tape Dots

PamSparksSmSnowflakesStencilFront

Here I used the Delicate Snowflakes stencil…laid it over a piece of watercolor paper and spritzed it with Frosty Night and Dazzling Diamonds Glimmer Mist.  My watercolor paper wasn’t the heaviest so it curled up some from the moisture causing the inks to go under the stencil a bit at here and there.

*tip* if you spritz the backside of your paper with water, it doesn’t curl up as much when you’re getting the front wet!

This card was a CAS Favorite at Splitcoast Stampers!  Thank you ladies!

CAS-Favorite

PamSparksSmSnowflakesStencilLeft

Frostyville Corner and Snowflake Corner cut from white glitter card-stock.  Looks like snow!

I had to make one die card to post too!  : )  It’s a CAS card that would be fun to make a pack of 6 or so for a gift… for a bunch of thank you cards…notecards…invitations too!  Easy to change it up, this is Version 2 for me! lol

PamSparksMonogramFront

I cut the S, from the Classic Upper Alphabet die set, in the center of a piece of Memory Box Pattern paper. Then I placed it on the NEW Venita Flourish die, centering the S and taping the card-stock in place to cut.  Exact placement!  Love it!

*tip* always cut the inside image first so you can position and center when you cut the surrounding shape.

Panel mat was cut with the Perfect Layers Tools…..

PamSparksMonogramClose
I’m linking up my Venita card to the NEW challenge at Addicted to CAS

Thanks for stopping by today!  ‘preciate it!  Hope I’ve inspired you a bit!  It’s so ‘wintery’ here but I must switch gears and make some Valentines!  Take care and ttul!

Stamps, Dies and Supplies I use…

Birthday · cards · CAS · copics · LOVE · Memory Box · rubber stamps · Valentine

Memory Box Blog Blitz Day Two…

PamSparksYorkshireLoveTagsClose
I have a lot to show you today!  I got started on my cards for the Memory Box Blog and before I knew it, I had four cards to share today!  Good thing I needed to stop and fix supper or this really would’ve been a long post!

It’s Day Two of the Memory Box 2014 Creative Elegance Collection Blog Blitz! Scroll through the posts all week…comment on all the posts for chances to win the NEW dies and stencils! 

Happy Day!  My tree card won Top Three at Addicted to CAS Challenge blog!  Thank you ladies!

Addicted to CAS top 3 badge


PamSparksYorkshireLoveFront

Here, I used the NEW Yorkshire Tree, Yorkshire Tree background and Library Alphabet Tags dies.  The letters ‘Y’ and ‘U’ are from the tag set also and the hearts are from the Cherish Border die. I colored the trunk of the tree with a copic marker.  I just love the pop of red in the green!

Next…

PamSparksPianoBorderClose

Here I used the NEW Piano Border and Perky Poppy dies.  The sentiment is Just a Note Combo. I added the detail on the leaves with a copic marker.

PamSparksPianoBorderFront

LOVE this keyboard and how can you not love this Perky Poppy!  I even love the name!

Next…

PamSparksPartyMusicHeart625

Here I used the NEW Party Music, Musical Motifs, Heart of Hearts, Sweet Heart, Queen of Hearts and Alphabet Soup dies. (I just used the heart cut from the center of the Queen of Hearts die)  I cut the Cupid Heart out of red card-stock and it is glued on the inside of the card behind the Heart of Hearts that is cut directly in the white notecard.

Next…

PamSparksHappyBirthdayButterflySide

Here I used the NEW Grand Happy Birthday, Norwich Corner and Lunette Butterfly dies.  I cut the corner die twice, left one complete and cut one up to use here and there.

PamSparksHappyBirthdayButterflyFront
I LOVE these Grand word dies… there is also a New Grand Thank You! yep…tons of AWESOME NEW product!  The dies cut wonderfully!

Believe it or not…that was my last card for today! lol  Now to make some more with the NEW stencils.

Linking to the Addicted to CAS challenge blog…Die Cuts
Keep it Simple …Anything Goes
Shopping Our Stash …Something New
Papertake Weekly …Anything Goes

Thanks for stopping by and letting me share with you!  Makes my heart happy!

Supplies I used… 

cards · CAS · Christmas · Memory Box · rubber stamps · Winter

Memory Box Winter CAS card…

pamsparkspeacefulpineredbirdfront

Peaceful wishes to you as we prepare for another Christmas season!  So many things to be thankful for… Thanksgiving and Christmas go hand in hand!   Although my husband reminds me how hard it is to stay peaceful and calm in the hustle and bustle of the Christmas season!

My card today uses Memory Box stamps and dies, some glitter papers and the new Dark Green  and Red Wink of Stella Glittler Brush markers… I’ll link to them below…

Here’s a close up of how I layered up three trees…very easy… a few dots of glue down the trunk after cutting out of Memory Box Dill cardstock and brushing on the Dark Green Wink of Stella glitter.  I cut the Resting Birds die out of Memory Box cranberry cardstock and colored it with the Red Wink of Stella glitter brush pen.

I purchased the white glitter card-stock at my area stamp store…holler if you want their phone # to send it to you,  I can’t find it to link to.  Otherwise, Cindy has some spot glitter card-stock HERE.

pamsparkspeacefulpineredbird

My first photo before I thought to add the red bird, had more sparkle showing… the sun is in and out today!

PamSparksSnowflakeFrameMagnificentPineFront

Thanks for stopping by!  I’ll be back tomorrow for a blog hop with Perfect Paper Crafting and the Craft’s Meow stamps… you won’t want to miss it!!!  : )

Supplies I used…