cards · Die Piecing · Distress Ink coloring · Masculine · Memory Box · Spring · Summer · Watercolor

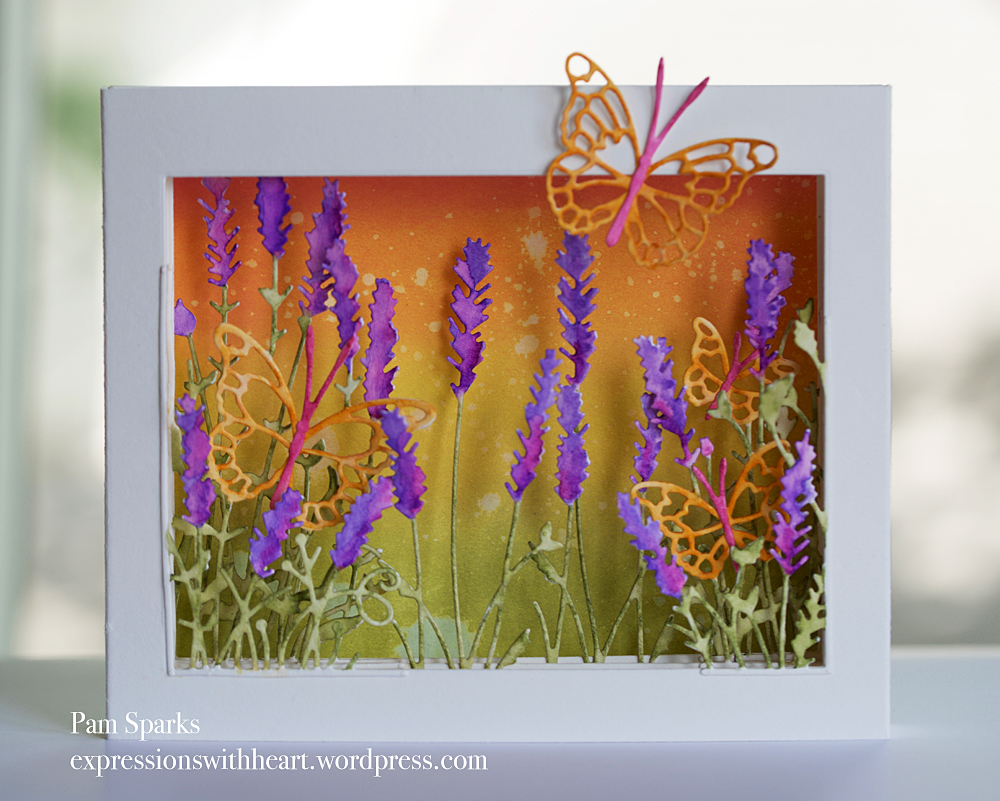
Diorama card with Memory Box Lavender Butterfly dies…

Hi and how did it get to be Friday already?!  This week has been so mixed up! hoho holidays!   I have a card that I started a few weeks ago…made a prototype first and then neglected to keep after it!  It’s finished now though! yay and I like it!
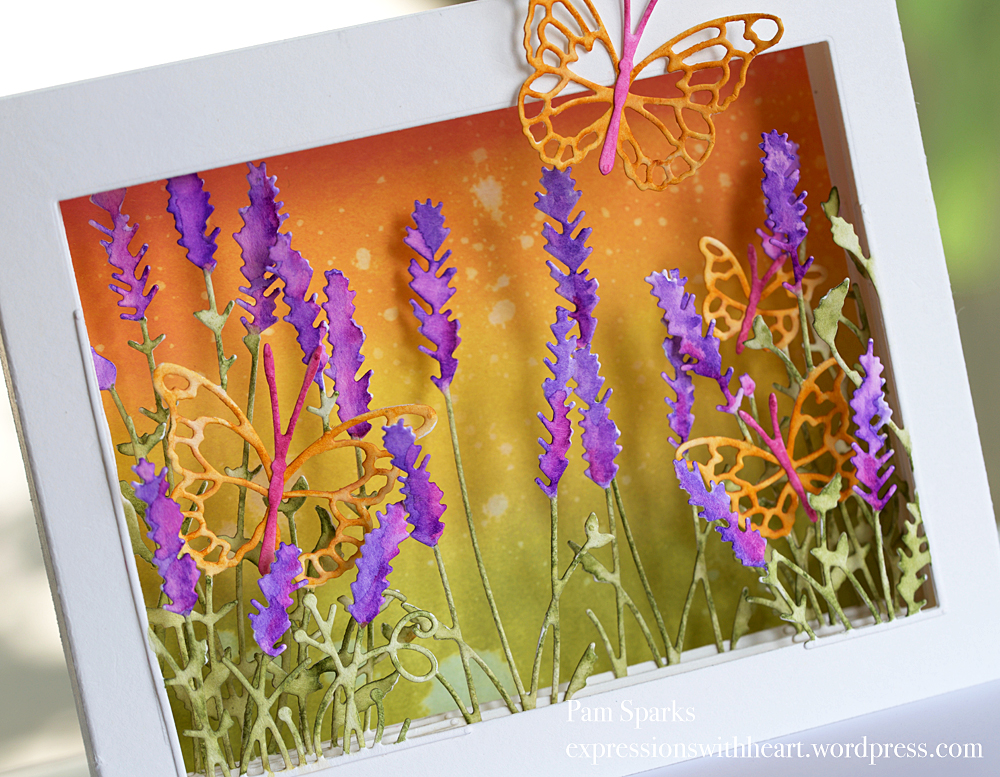
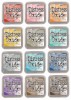
The very background/back is Ranger Distress Oxide ink ink blended in 4 colors, Peeled Paint, Fossilized Amber, Spiced Marmalade and Worn Lipstick….can’t stop using these inks! haha  New colors coming…can’t wait… SLS has them coming too…check her coming soon category…first one on the left.

Everything is cut from XL watercolor paper, colored with Ranger Distress Markers and a waterbrush. Marker colors I used are Wilted Violet, Picked Raspberry, Peeled Paint and Spiced Marmalade.  Very fun… I do like these markers for watercoloring…along with every other kind of medium! lol  We’re doomed to own everything aren’t we?!
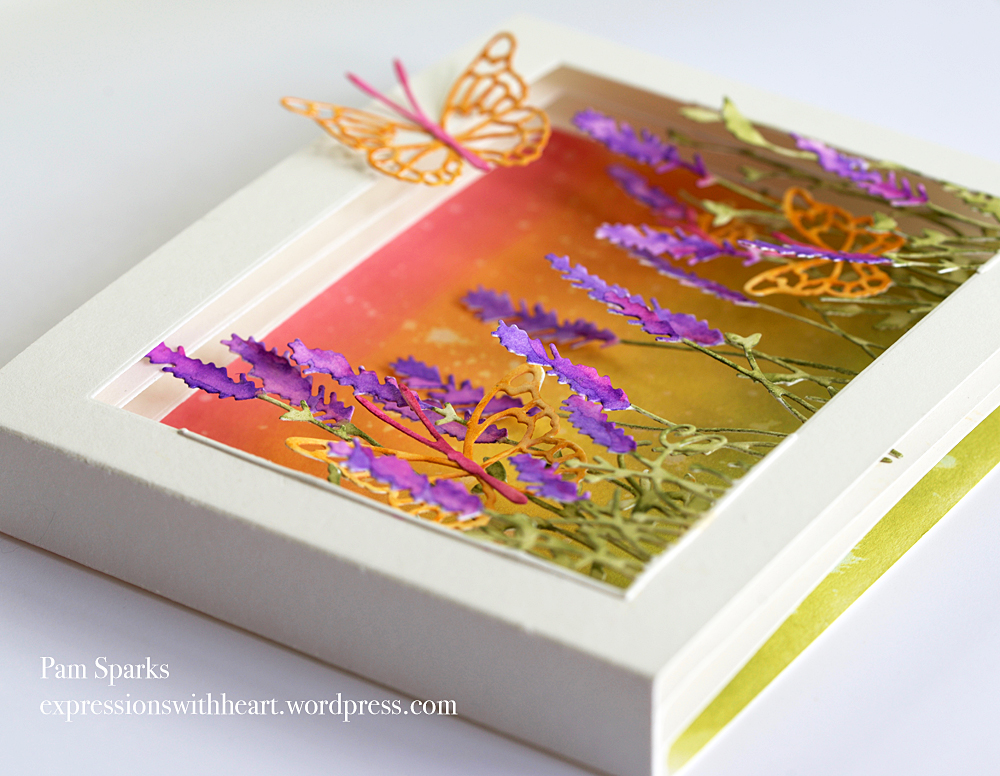
Here’s the dies I used to create the foliage and butterfly scene…

front to back on the left…
Small Lavender Stems Left Corner
Lavender Butterfly Left Corner
Lavender Stems Left Corner

in the middle…
Lavender Bunch

on the front top…
the largest butterfly from the Leavenworth Butterfly Trio

front to back on the right…
Small Lavender Stems Right Corner
Large Lavender Butterfly Right Corner
Small Lavender Butterfly Right Corner

I’ve made this type of card before and just go off the top of my head…I’m bad about that.  It will fold flat and fit in an A7 envelope.  I am conscious of envelope size whenever I’m making something out of the ordinary though.

I die cut the rectangles, all the same size with the Memory Box Rectangle Basics Rectangle die set in three pieces of watercolor paper. ’bout can’t make a card without them!  😀  I did all the same size rectangle but you could easy do larger to smaller for a tunnel type card…I see your minds racing with ideas! lol

Then just score the ends and trim then to layer inside the front and back  pieces,  I did ¼ inch increments.  Sides of the front and back are scored at ¾ inch.

Linking up to some challenges…

Just Us Girls Challenge – ink blending   Thank you so much ladies for the ‘Chic of the Week‘ honor! You made my day!

Scrapyland Challenge – anything goes  Thank you ladies for this honor!

Simon Says Stamp Wednesday Challenge – Summer sunshine


Great NEWS!  Starlitstudio has the new release from Memory Box/poppystamps in stock and ready to ship!  I know…it’s so exciting but how could it be time for Christmas in July already! hehe

Holler if you have any questions!  So glad you stopped by and hope you enjoyed this little piece of Summer in a diorama.

ttul,

SaveSave

SaveSave

SaveSave

SaveSave

SaveSave

SaveSave

SaveSave

SaveSave

SaveSave

cards · CAS · copics · Distress Ink coloring · Memory Box · Poppystamps

poppystamps Flower Patch card and Memory Box Poppy card…


Good Monday to you! I have a couple cards to share with you today…flowers again! Just thinking of you and thank you wishes.

I started with the poppystamps Flower Patch stamp and die set…the leaves are stamped on watercolor paper and colored in with Distress Inks.  I stamp, die cut, then color the images.

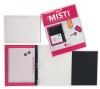
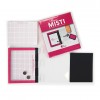
The flowers are stamped with the MISTI stamping tool on white card-stock with Altenew inks then die cut..

I die cut a Square Basics square die and lightly ink blended on some Broken China and Peeled Paint Distress Oxide inks. I read this morning that there are 12 more colors of Oxides coming soon!  oh no, make room for more!  help! lol

I die cut the next size up Square Basics die in an olive green-ish card-stock and matted the inked square on it.

The sentiment is from the So Many Things to Love stamp set. I stamped it with the MISTI stamping tool onto white cardstock, then die cut it with the smallest Rectangle Basics die.

I mounted the panel with craft foam to a 5 ½ inch square card-base.


Next up…Memory Box famous Poppy dies!

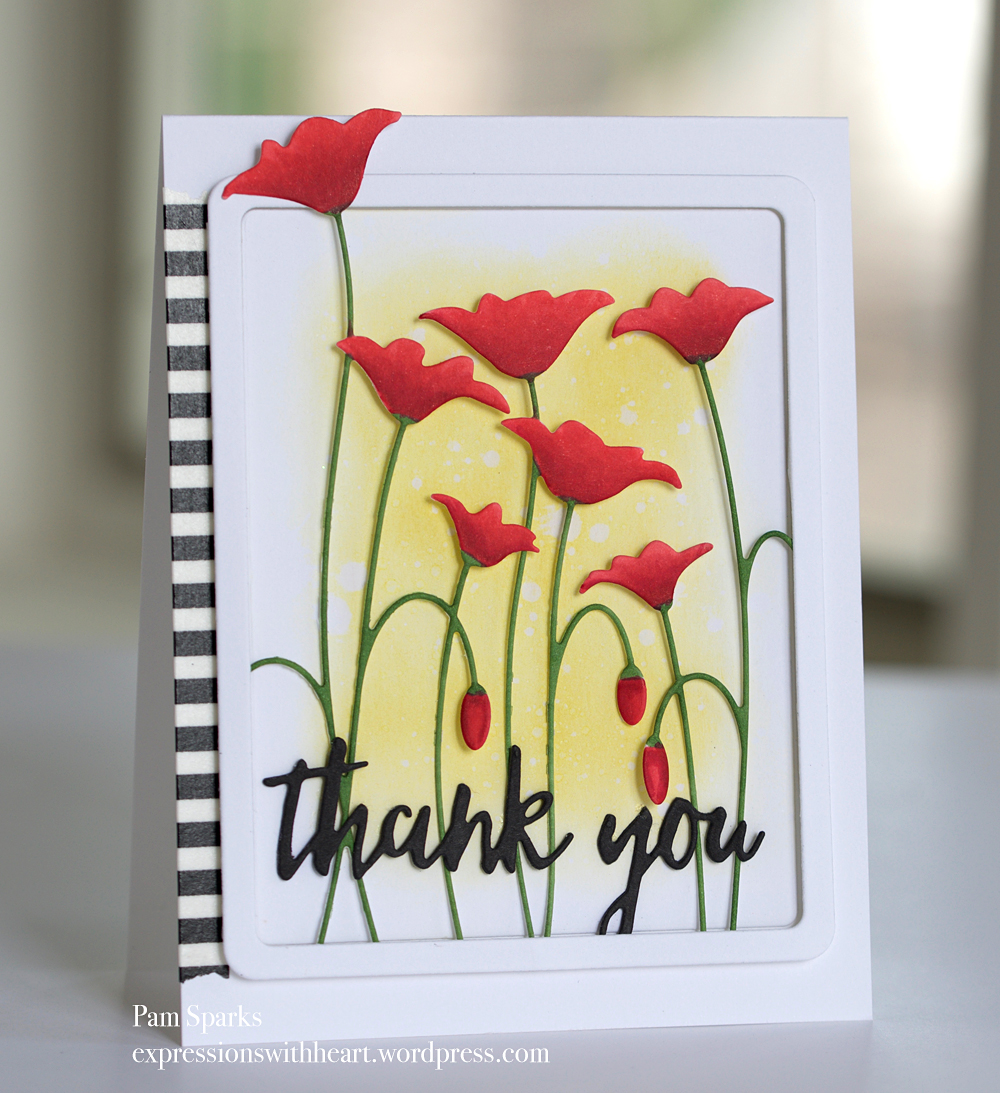
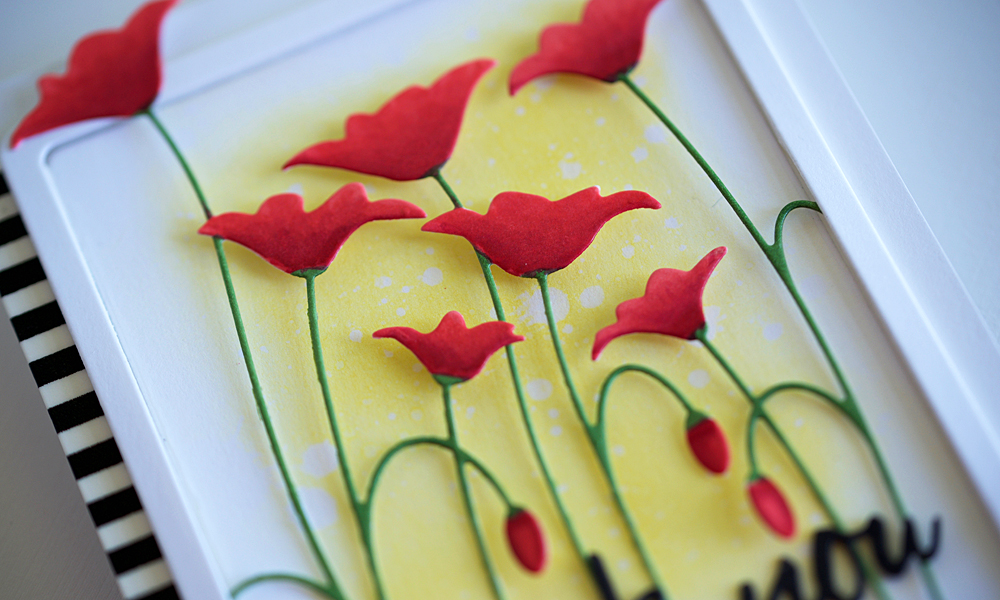
Here I combined the Tall Poppy Right Corner, the Tall Poppy Left Corner with the older Prim Poppy in the center.  I die cut in white card-stock and colored them with Copic Sketch Markers. (Dick Blick link in sidebar)


I die cut white card-stock with the Shaker Rectangle Frames, put strips of mounting tape behind the frame.

The center cut from the die, I ink blended on some Fozzilized Amber Distress Oxide ink and spattered it with water droplets.

I glued the corners behind the frame and the stems are glued directly to the panel.  The poppy heads have the thin mounting squares behind them to give a little dimension.

The Thank You Manuscript die is cut three dies, glued together and glued to the front over the stems.

A little bit of Doodlebug Washi tape on the left side of an A2 card-base, just cuz I like/love black and white stripes! hehe

I’m linking my poppy card to some challenges…

Inspired by All the Little Things – photo

The Challenge – keywords (flowers, bright)

Happy Little Stampers June Anything Goes With Dies Challenge

Word Art Wednesday – Anything Goes

Super fun stamps and dies to create with!  Hope you’re enjoying your card making supplies too!  Birthday cards coming up next!

Thanks so much for stopping by! I appreciate it!

SaveSave

SaveSave

SaveSave

cards · Die Piecing · MFT · Summer · Watercolor

Two cards for MFT Camp Create 2017

My first card today is for Day One – Wonderful Watercolor.

I chose to use the MFT Bold Blooms stamp set and matching die set.

First I die cut all the flowers and then they went swimming. lol  I did the watercolor dip technique but instead of painting with a brush, I stamped the solid images from the stamp set onto the soaked, wet die cut, with Distress Ink stamp pads.

So much fun! Hope you get some time to try this WC technique…scroll down a couple posts and there’s a link to a video about it.

The sentiment is from the MFT Much Love stamp set.  I used the MISTI for all the stamping.

The scallop stitch rectangle die is from the MFT Blueprints #27 die set.

I’m linking my watercolor card to some challenges...

MFT Card Challenge Sketch 338

The Challenge – Keywords

Seize the Birthday – anything goes birthday

Tic Tac Toe – yellow, stitching, rectangle (bottom row) thank you for picking my card ladies!


My card for Day Two – Remarkable Resist is next…

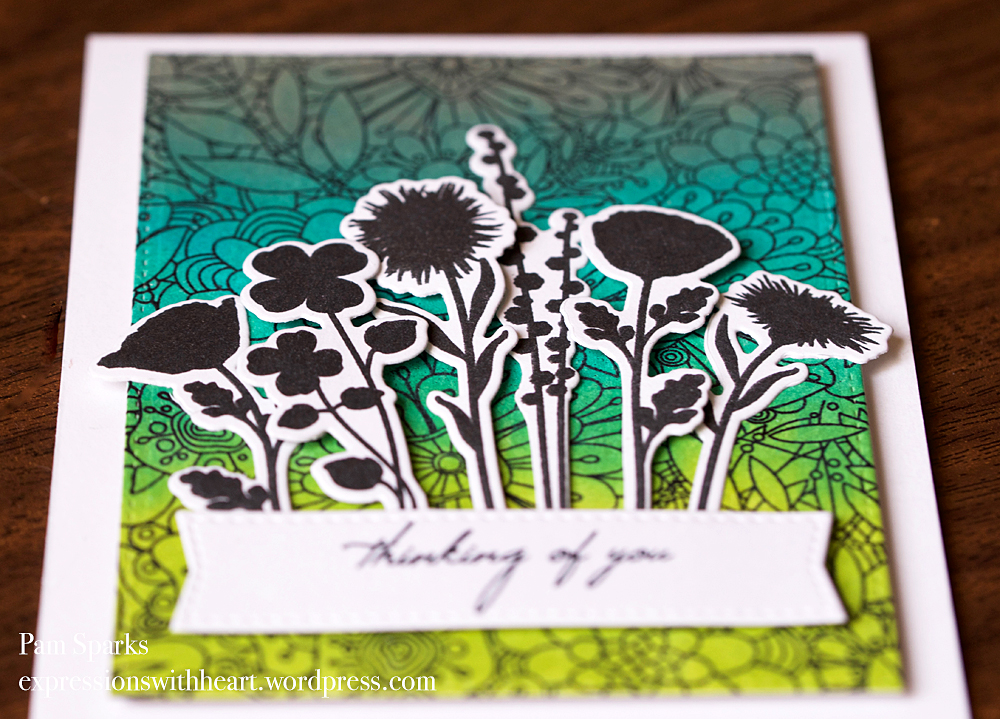
First thing I did was stamp and emboss the background Bundles of Blossoms background stamp with a Versafine Black ink pad and Black embossing powder.  It’s hard to see the heat embossing in the picture because the lines are so fine in the image.  Next time I would use Black pigment ink to stamp it with.

I inked the background with some pigment ink pads that I’ve had for a long time and the little finger dauber things HERE.

I stamped and die cut the MFT Peaceful Wild Flowers stamp set and glued some down to the background and mounted some with foam mounting squares.

I used MFT Blueprints #20 for the Stitched Rectangle and the Stitched banner dies.

I’m linking my Wild Flowers card to some challenges…

The Flower Challenge – Anything Goes

The Foiled Fox – Simply Irresistible Challenge   I won, I won!  Thank you so much ladies! 


AAA Cards CAS Game #92 Resist Technique


That’s pretty much it!  Holler if you have any questions.  I had to hurry to get these posted before the challenge ends tonight. Last minute LooLoo strikes again!

I wish I could’ve done all the days but you know how it is…things come up!

I have a card posted on Instagram today too for Simon Says Stamp New ‘One of a Kind’ Release… link over in the sidebar to my IG account.  You can see even if you don’t have an account! Click the logo below to see all the sweet new stuff! A watermelon color stamp pad! lol   (it’s really hot and muggy here, can you tell?! lol)

Thanks again for stopping by to see what I’ve been up!  ‘preciate it!

SaveSave

SaveSave

SaveSave

SaveSave

SaveSave

SaveSave

SaveSave

SaveSave

SaveSave

cards · CAS · copics · Distress Ink coloring · LOVE · Memory Box · Poppystamps

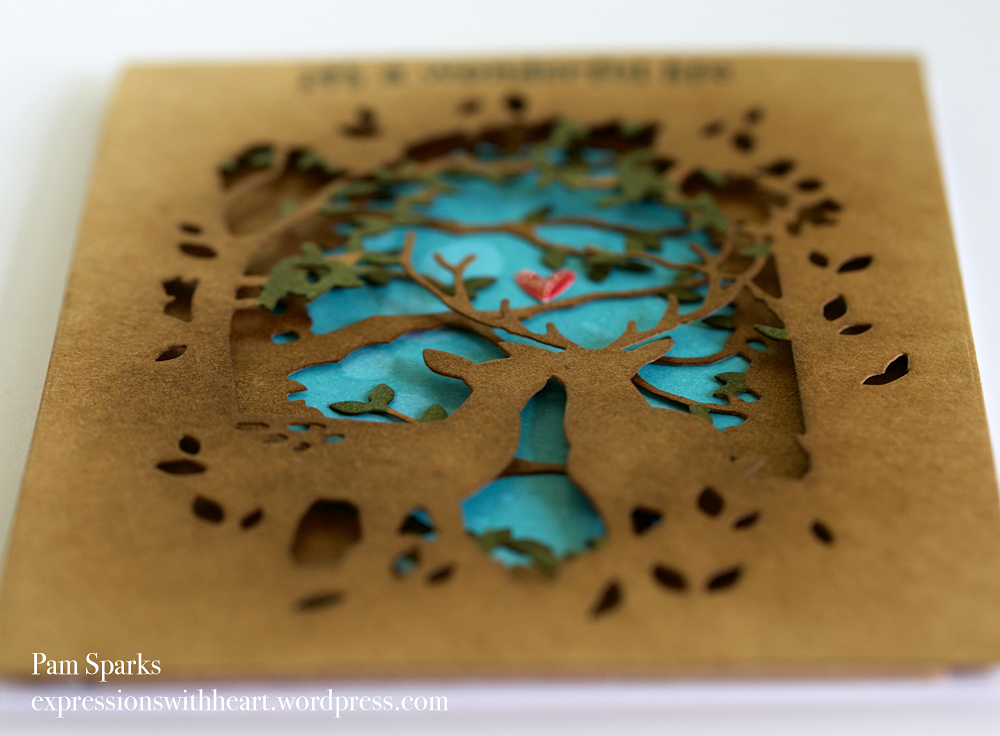
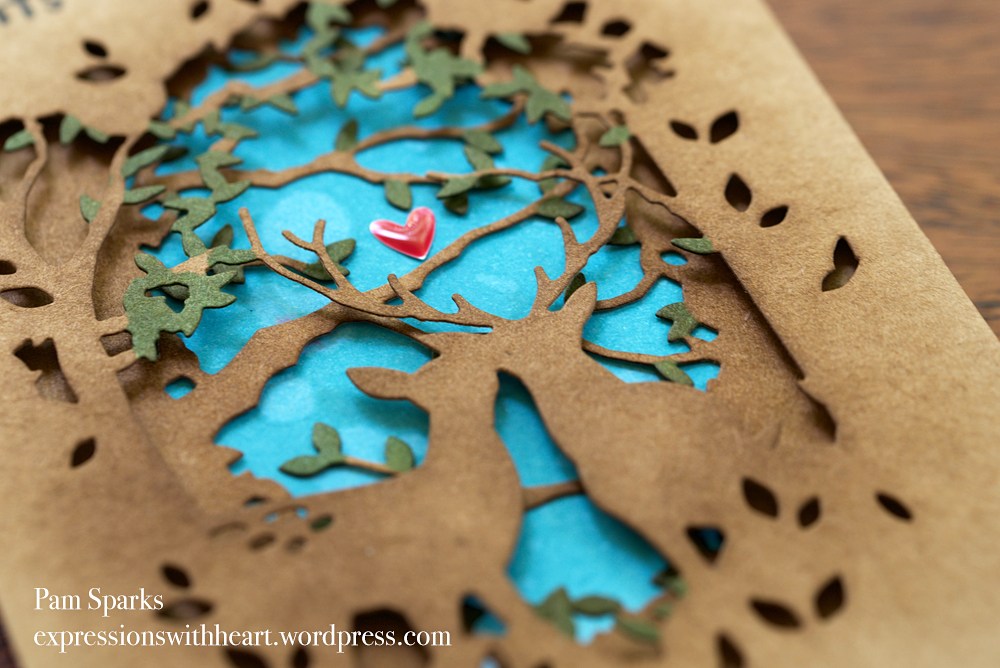
Memory Box Forest Branch Collage and Enchanted Deer Collage Card and Video…

Hi everyone! A card and a video to share today. I love all the dies Memory Box has come out with for layering die cuts and these two really lend themselves to the tunnel card look!  I’m always so happy when I get to use kraft and brown ink too! lol

Here’s a couple close ups of the dimension you can achieve with just the 2mm craft foam between the two layers…still perfectly mailable in an A2 envelope!

Here’s a sped up video with no sound. hehe I tried adding music but it wasn’t long enough for the video and I couldn’t figure out how to add more. You Tube’s video manager threatens to add ads to your video if you use it. ugh. sigh. They have to pay for all the HUGE and I mean HUGE buildings they are building north of us for Google and all things connected, Facebook etc. If you’re traveling across Iowa ever on Interstate 80, you won’t miss them!

Now for the not fancy video! lol  Hey, at least it’s in living color! hoho


Holler if you have any questions…

Linking my card to some challenges…

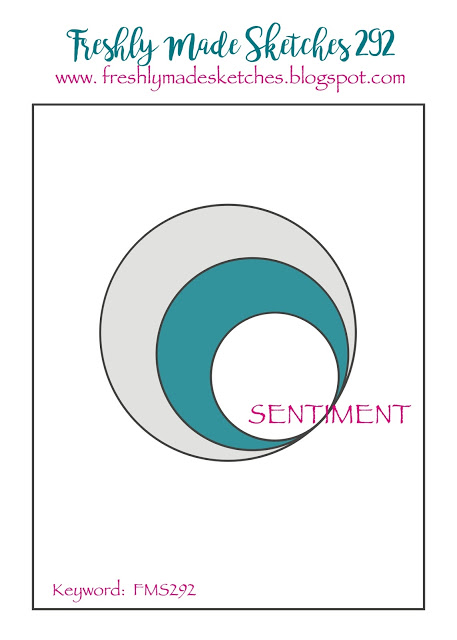
Freshly Made Sketches

Dies R Us Challenge – Celebrations

Scrapyland Challenge – Anything Goes

Happy Little Stampers – Anything Goes with Dies June


Thanks for stopping by.  I appreciate all your comments and emails so much!

Shopping links to the products I used for this card…

SaveSave

SaveSave

SaveSaveSaveSave

SaveSaveSaveSave

SaveSaveSaveSave

SaveSave

SaveSave

cards · CAS · Color Pencil · Distress Ink coloring · Paper Smooches · Spring · Summer · Watercolor

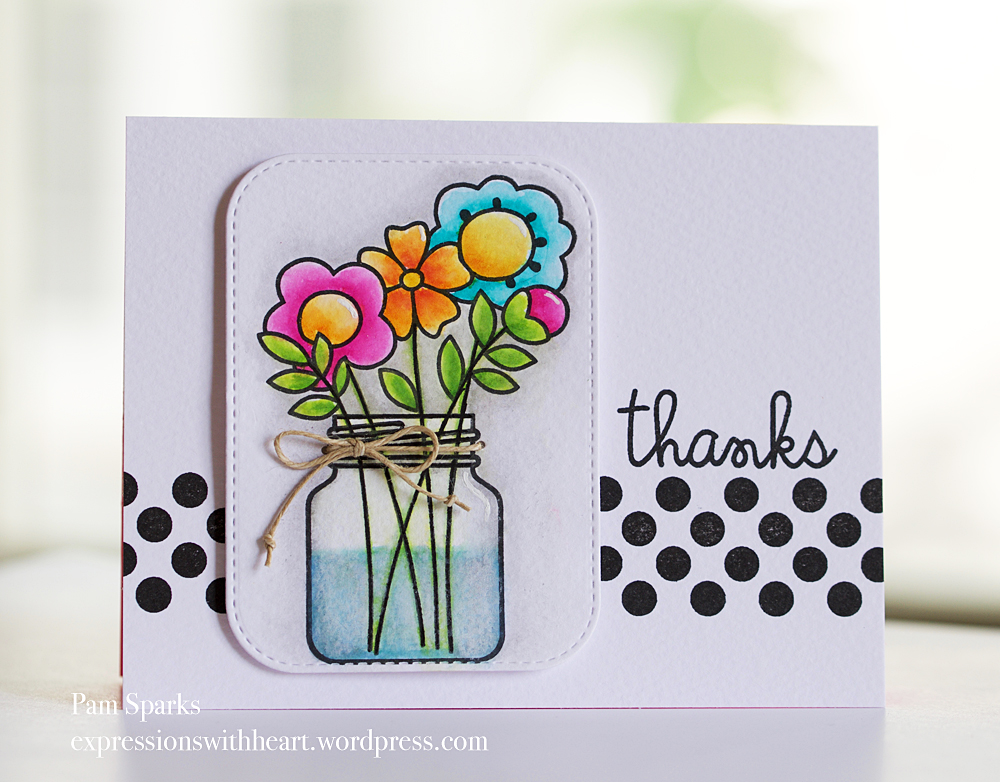
Paper Smooches Best Buds Flower card…

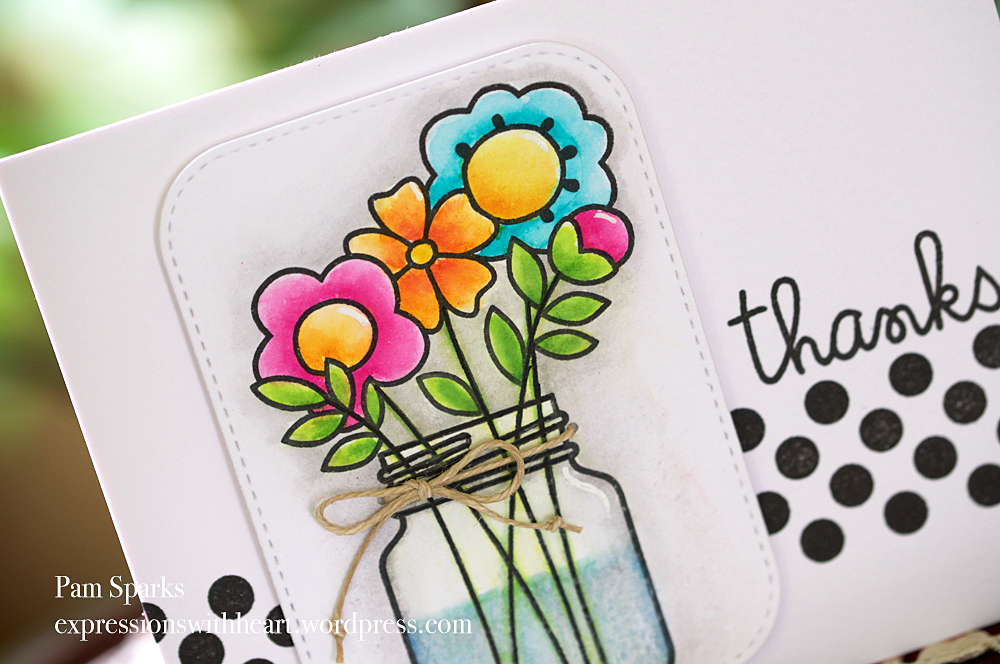
Here’s that second card I had the gals make at our stamp club party Friday.  I colored this one at home though with Distress Ink refills.

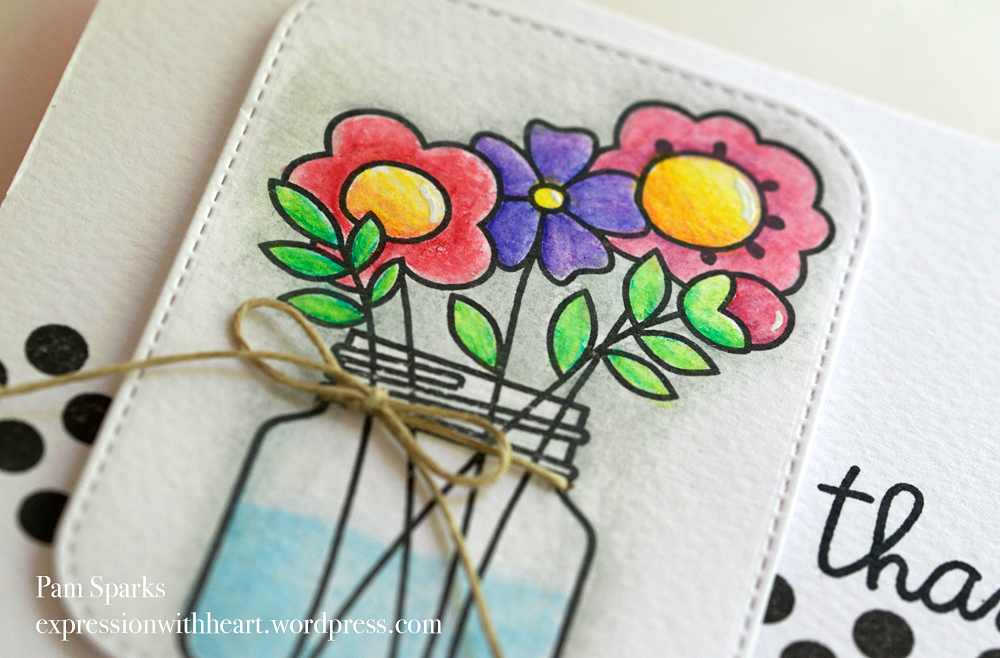
At the party, I had the gals use Prismacolor Watercolor Pencils and the blue waterbrush filled with water from this set HERE. These waterbrushes are really cheap but they hold up really well.  I buy them for the kids and end up using them myself! lol

The photo below is a close up of the watercolor pencil one. 

Very fun to color…love this sweet image from Paper Smooches Best Buds stamp set  HERE or HERE.  I don’t own the dies so I cut it with the My Favorite Things Inside and Out Rounded Rectangles Stax. If you want the dies to match, they are HERE.

The polka dot border is from the Geo-Graphic stamp set and the thanks sentiment is from the Sentiment Sampler stamp set HERE and HERE.

I stamped with Taylored Expressions Oreo Black ink and used Crafter’s Companion Watercolor paper.

Linking up…

 Paper Smooches GD – Search for July

Craft Stamper Magazine – Anything Goes Stamping Challenge

The Flower Challenge #9 – Anything Goes 

Thanks for stopping by today and thank you so much for your comments and help with my question yesterday!  I appreciate your views, comments and clicking so much! Hope you get to make a card today!

SaveSave

SaveSave

SaveSave

SaveSave