Hi everyone! How’s your end of Summer going? I keep getting sidetracked! lol Trying to make more room here and there and clearing out stuff but really not ending up with that much more room! Why?! I think I’m pretty good at it! lol Oh well….I’ll keep trying.
And the other thing…how come if you use one scrap it seems like two more appear! lol
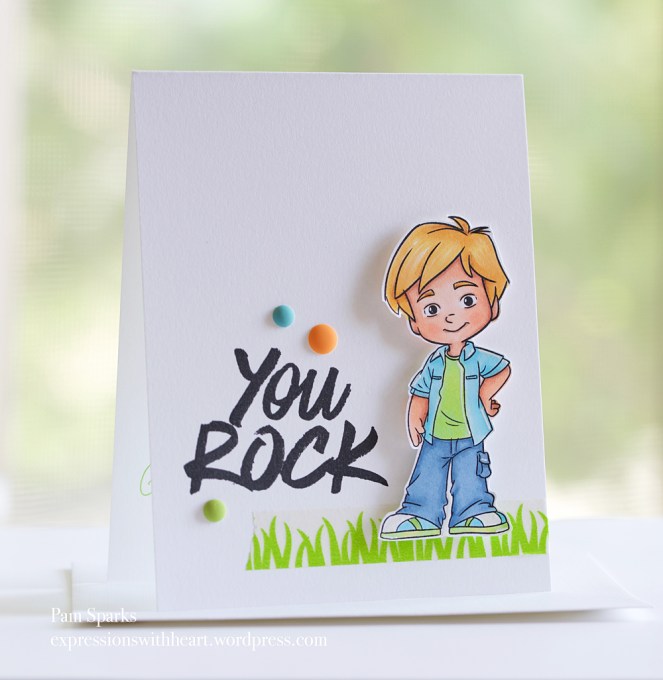
This is Corrin’s birthday card for this year… He turned 8 years old! and yes, he is a cute blonde…that Summer bleached blonde funky hair cut kind of boy, concerned about the frogs etc. lol
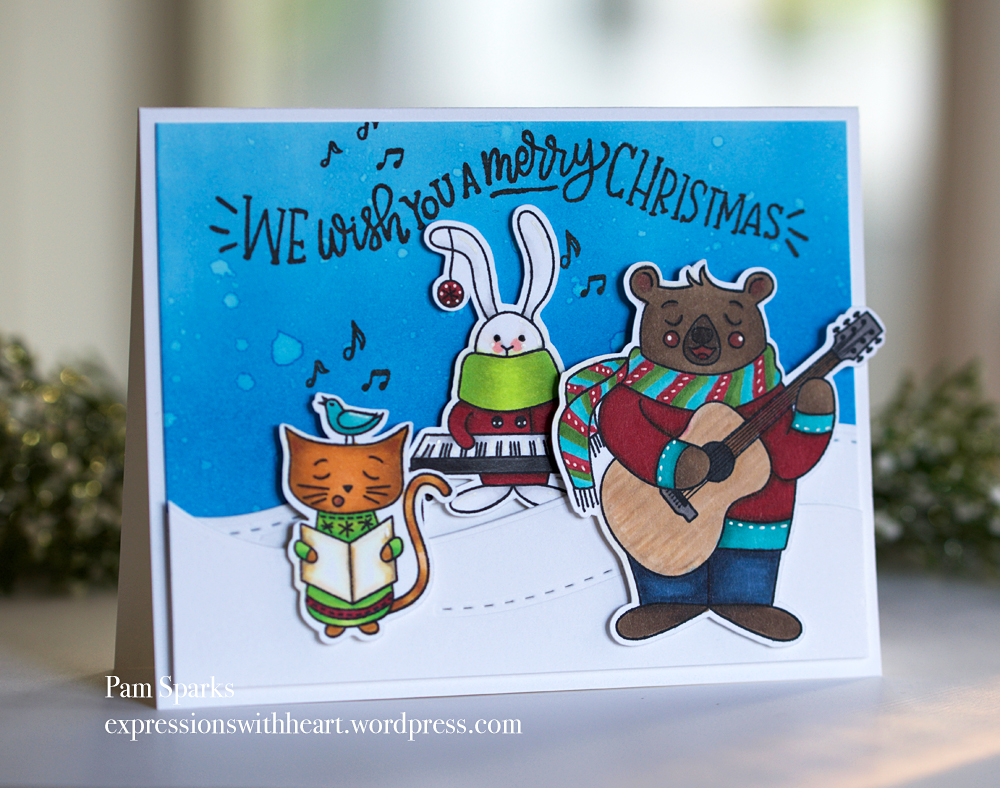
I linked up to this stamp below but it’s discontinued…sorry about that but I have to use my stash too and I have to show you anyway cuz it’s a cute card! lol
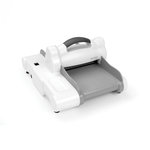
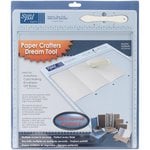
I stamped him with Tuxedo Black ink, colored him with Copic Sketch Markers and cut him out by hand but hey, I got a really good deal on a Scan n Cut 350 machine and I really like it you guys!!! Shirley has been telling me about it and you know how we influence each other!!! Thank you Shirley! lol So next time, I’m cutting these bad boys and anything else I don’t have the dies for, with this new toy! I cut out some digital images and the granddaughters cut out some hand drawn images with it. Gena’s clouds were super cute!
Here’s a picture of the digital images I cut out with it…

ok – back to birthday cards…

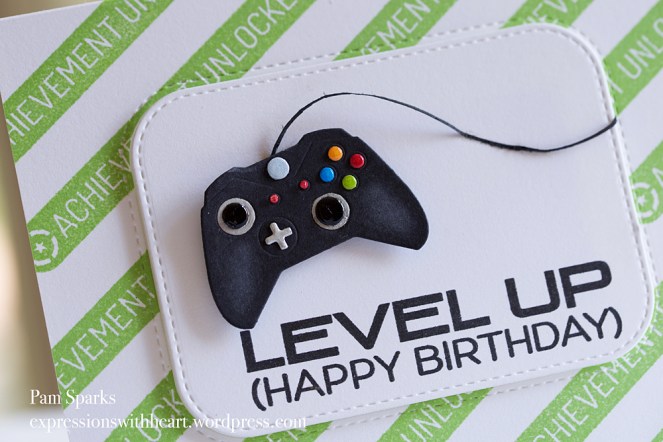
This is Henry’s birthday card for this year…he turned 11!!! Doesn’t seem possible! He loves games! He’s great driving the gator around too, mowing the lawn and loves to read.
Shoot me now! lol This is another die set that is discontinued and so is the stamp set. boo. The die set is called Game Controller and the stamp set is called Level Up, both by My Favorite Things…so don’t be mad at me! lol
I saw a card made up when I googled the stamp name, I loved it so I made it very similar to Elaine’s! Thank you Elaine for the inspiration!
Both boys liked their cards! yay! June and July are both big birthday months for our family…September we have 3 so a few weeks break from birthday cards!
Although, I made a card, copied myself, that a friend requested for her aunt’s 90th birthday. She started dairy farming when she was 50 yrs old! Click on over to my Instagram to see a super short video of it. I put the tractor on a wobble this time. Guaranteed to make you smile!
Thanks so much for stopping by stamping friends! I appreciate it so much!
I’m trying out the new LinkDeli links today…a trial to see if they will work on a wordpress.com blog….so click away! lol Pretty sure it won’t blow up! lol
ttul,

Supplies and Tools I used to made these cards… STR stands for Starlitstudio, SSS stands for Simon Says Stamp, SBC stands for Scrapbook.com and Blic stands for Dick Blick. Thank you for shopping through my links!
|
|
CC Designs – Robertos Rascals…
|
Taylored Expressions BOLD…
|
Simon Says Stamp SMALL TEFLON BONE…
|
|
Tonic Studios – Tim Holtz – 8.5 Inch…
|
Versafine – Onyx Black – full-sized…
|
VersaFine – Onyx Black – mini ink pad
|
|
Versafine Onyx Black – Reinker
|
Memento – Tuxedo Black – full sized pad
|
Memento Dew Drop Ink Pad – Tuxedo Black
|
|
Memento Tuxedo Black – reinker
|
Tsukineko Versamark EMBOSS INK PAD…
|
Lawn Fawn Stamp Shammy
|
|
MISTI Stamping Tool – The Most…
|
Mini MISTI – Most Incredible Stamp…
|
MISTI CREATIVE CORNERS Positioning…
|
|
Simon Says Accessories MISTI GRID…
|
Scor-Pal – Scor-Pal Eighths Measuring…
|
Martha Stewart SCORING BOARD Score…
|
|
Martha Stewart Mini Score Board; Scoring
|
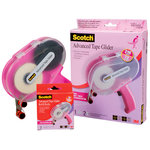
Scotch ATG – Adhesive Applicator Gun…
|
Scotch Adhesive Refill for Pink ATG…
|
|
Tombow Mono Multi Liquid Glue
|
adhesive pick-up square
|
Foam Mounting Tape – Scotch – 12.5 feet
|
|
3L Scrapbook Adhesives – 3D Foam…
|
Scrapbook Adhesives THIN 3D 217 WHITE…
|
EK Success – EK Tools – Small…
|
|
Fiskars Deluxe Paper Trimmer with…
|
Fiskars – 9 inch Bypass Paper Trimmer
|
Avery Elle Stamp & Die Storage…
|
|
Avery Elle Stamp & Die Storage…
|
DB sprinkles
|
tropical matte sprinkles
|
|
washi tape
|
Copic Sketch Markers DB
|
White Bazzill card-stock
|
|
glossy accents big
|
TH Stamp Platform
|
No-Clog tip – for large Glossy Accents
|
|
card-stock
|
My Favorite Things INSIDE AND OUT…
|
Sizzix – Big Shot Machine – White and…
|
|
Sizzix – Big Shot Plus Machine -…
|
Sizzix – Big Shot Plus – Accessory -…
|
Crystal Katana – placement tool by…
|
|
QuickStik Craft Tool; quikstick;…
|
craft tweezers – EK Tools
|
3mm white fun foam – 9×12 inch sheet…
|
|
15×18 Non-Stick Melt Art Craft Sheet
|
|
|
SaveSave
SaveSave
SaveSave
SaveSave
SaveSave
SaveSave
SaveSave