Birthday · cards · CC Designs · copics · Easel · La La Land Crafts · Magnolia · Multi Easel · punches · rubber stamps

Super Edwin stepping in for Green Lantern…

It’s been a busy Summer for our family birthday wise!  Our youngest daughter and her DH planned a Green Lantern themed party for their son Jace, with a cool invitation and skyscraper table piece she made with the Cricut.  I knew this Super Edwin was coming so I’m just now getting a card made for Jace!

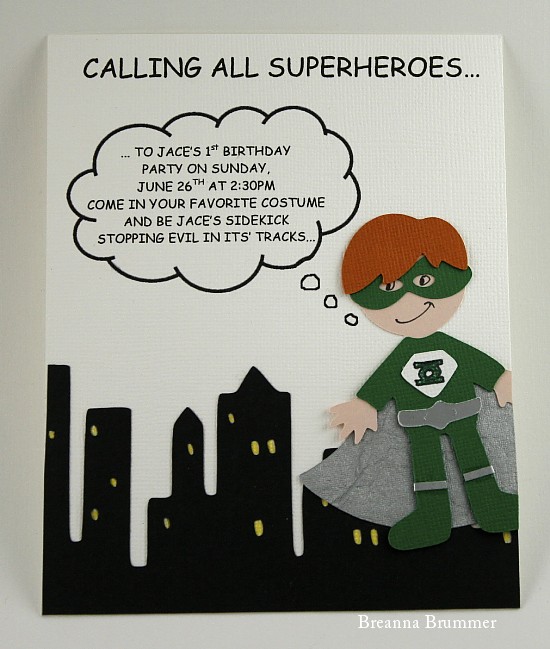
Here’s a picture of the invitation…so cute!  I love it!
The party table with the skyscraper table display… so cool!  Awesome creating Breanna and Eric!  I love the wires between the buildings!

Back to Edwin…a couple side shots. It’s an Easel card with one mini easel add on in the front. Video Tutorial on how to make an Easel card with one add on HERE.  Video Tutorial on how to  make an Easel card with two add on’s HERE. Both are short!

A couple pictures from the side…

Super Edwin is NEW in The Winner Takes All Collection from Magnolia. I inked him up with Memento Tuxdeo Black ink, stamped on Beckett Expression Card-stock and colored with Copic Sketch markers.  The Skyscraper circle scene is from LaLa Land Crafts… inked with Distress inks, the ink blending tool and a little copic coloring too. Edwin’s cape is colored with a metallic silver Uniball ink pen.  I made the Green Lantern symbol on his chest with a couple circle punches and a ribbon punch, all from McGill.  The Birthday Boy sentiment is from the Amy R Stamps It’s Your Birthday set.  Smallest skyscraper border is a Martha Stewart edge punch.  The other sky line is a 12 in. Sizzlet border die.

More birthdays coming up! More reasons to stamp and create!  Thanks for stopping by!  I appreciate it!

ATS · ATS Preview · Birthday · cards · CC Designs · copics · Magnolia · punches · rubber stamps

All That Scraps June Release Preview Day 2…

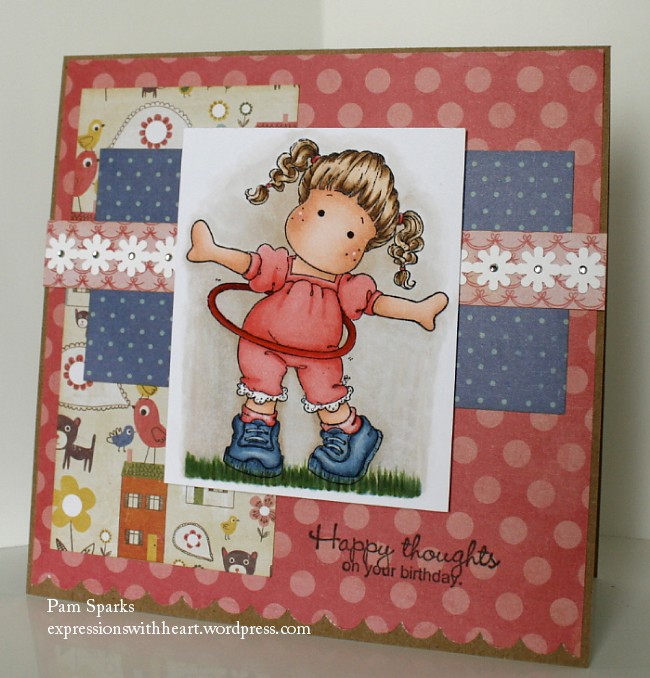
Back in the saddle again!  Time for more NEW stamps from CC Designs!  We’re previewing the June Release this week over on the All That Scraps blog, HERE.  Today the spotlight is on Amy R’s new sentiment set called “Magical Wishes“, it’ll be in the store Sunday, HERE.  Another can’t live without it sentiment set!

I also used the NEW Rocking Tilda stamp from Magnolia and she’s in stock HERE!  Love this girly girl! When I was growing up we played outside all Summer long! No TV! Lots of jumping rope, swinging, biking, pogo sticks and hoola hoops in the neighborhood! lol  Tilda is stamped with Memento Tuxedo Black ink and colored with Copic Sketch Markers. Hair – E50, 55, 57,  Skin – E000, 00, 21 and diluted R20 for her cheeks,  romper – R20, 21, 22,  hoola hoop – R21, 22, 24, 59,  Shoes – B90’s and some W1, W3 over the top,  Grass – YG61, 63, 67, 99.   I used this super cute 6×6 paper pad by Crate Paper called “Neighborhood”,  in the store HERE.  The flower border is an EK Success border punch and I put Hero Arts gems in the centers.

Linking up to the Just Magnolia Challenge blog – Friends is the theme… Magnolia Mania Challenge blog – Punches is the challenge there…

Stamps and stuff I used…

Thanks for stopping by!  Have a nice day!

Birthday · cards · Hero Arts · rubber stamps

Peeking Posies…

I’m so glad that Hero Arts brought this Peeking Posies set back… it’s so fun to color with all coloring mediums.  I colored this flower from the set of four with Twinkling H2O’s. You can kinda see the sparkle in my photos!  Hero Arts sentiment C4024 (not available anymore), May Arts ribbon,  an old Making Memories buckle and SU retired paisley background.

Stamps and stuff I used to create this card…inspiration from the WWW!

Birthday · CC Cutters · CC Designs · rubber stamps · Tutorials

Explosion Box Tutorial…

Pictures in previous post…HERE!

  • for the box bottom, cut a 12×12 piece of card-stock
  • cut on solid lines
  • score and fold on dotted lines

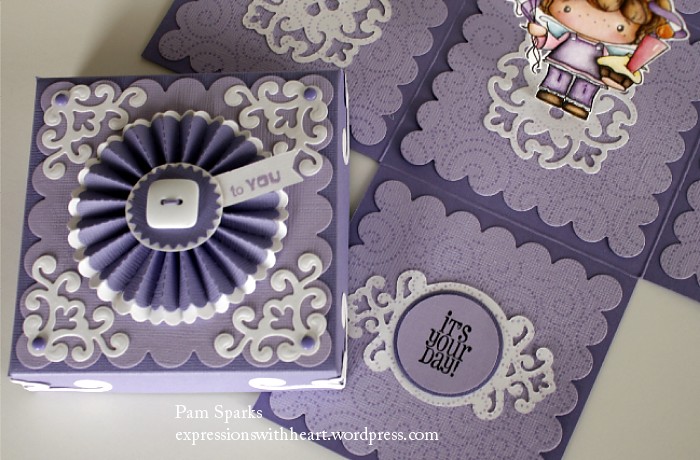
  • decorate the panels with nestabilities square and scallop square die cuts and other stamped or die cut images
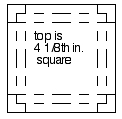
  • for the box lid, cut an 8 1/8th in. square piece of card-stock
  • score at 1 in. and at 2 in. on all four sides with the Martha Stewart score board (link below), that leaves you with a 4 1/8th square in the center of your big square.

  • cut out the three scored 1 in. squares on each corner of this box lid piece
  • fold on remaining score lines to make the box lid sides
  • notice you have to cut up one of the 1 in. score lines on each side, to make the tab that will go under the side folds.  (this will make sense when you’re doing it)
  • fold in the side scores to the inside of the box lid… makes a really nice finished edge to the lid
  • glue or tape if you want to,  you don’t have to but I did

Exploding parts…

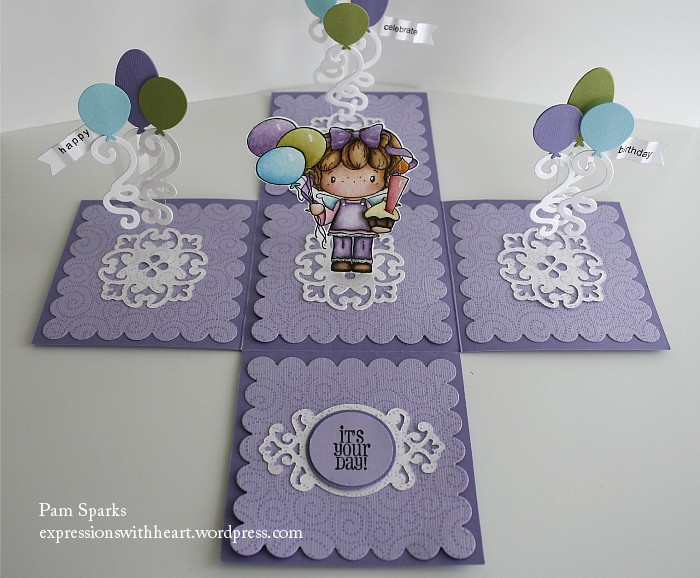
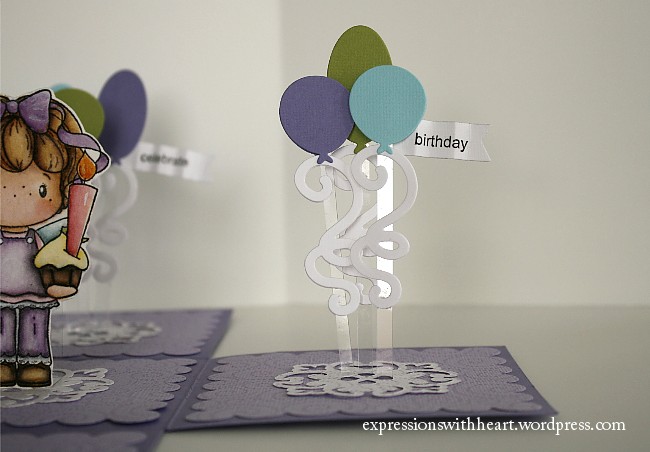
  • to get the balloons to stand up, I just took the packaging acetate from the Nestabilities Parisian die set and cut strips about 3/16th in. wide and 3 3/4 in. long.
  • I cut two squiggles and two balloons (for each strip) from CC Cutters dies (link below) and sandwiched each strip between the dies, gluing them in place with Tombow Mono Multi glue (link below). I made nine pop-up balloons,  so cut 9 acetate strips and 18 balloons and 18 squiggles!
  • I scored each strip on one end at 1/4th in. and then tucked them in, one in each of three holes that are in the center of the decorative circle die from the Parisian die set (link below), using the micro mini glue dots (link below) to hold them in place. Then I glued the die cut circle down.
  • to make Birthday Gretel (link below) stand up,  I cut a piece of the same packaging, 1/2in. wide and 5 1/2in. long.  Scored this piece on the Martha Stewart score board (link below) at 1/2in., 2 1/2in, 3 in., and at 5 in., fold it up into a standing rectangle, taping it together and to the back of Gretel and to the box.

Stamps and supplies I used are linked below…thanks for stopping by and so glad you liked my Birthday Exploding box!

Birthday · cards · CC Cutters · CC Designs · Distress Ink coloring · rubber stamps

Birthday Explosion Box…

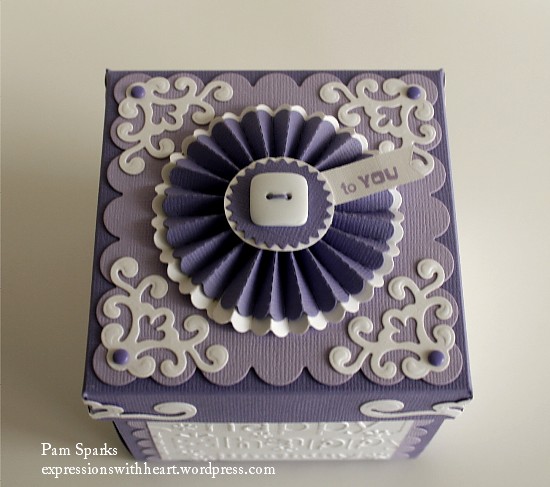
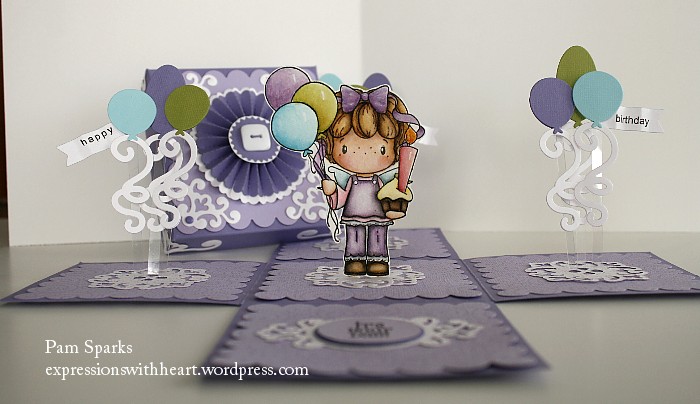
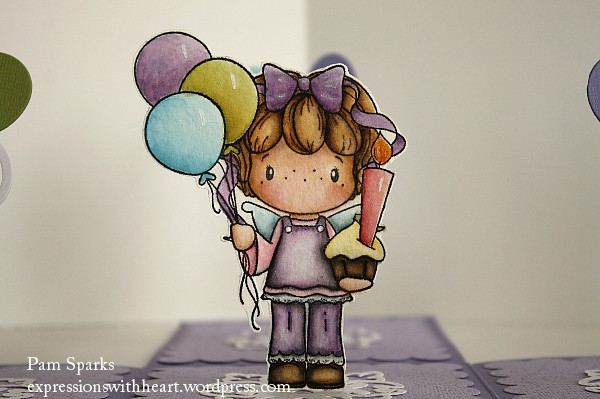
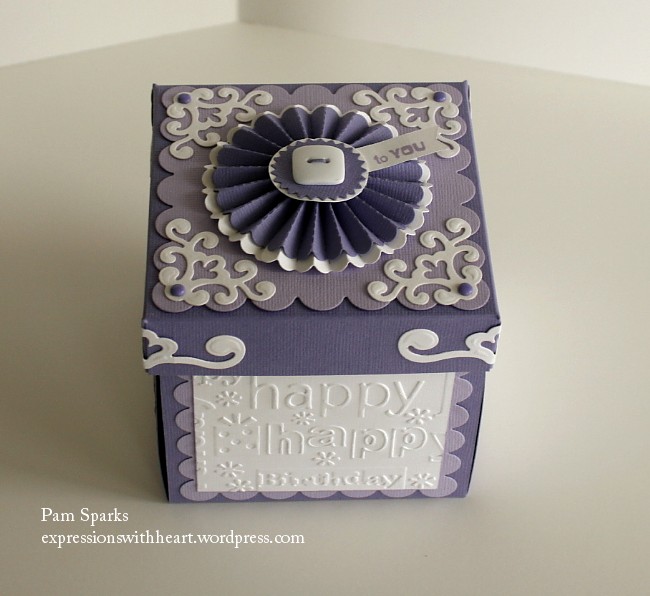
Two days work and you end up with an Exploding Box! Cool! Only the coolest for a Birthday celebration!  Look inside…Birthday Gretel!

Here’s a few close up photos…

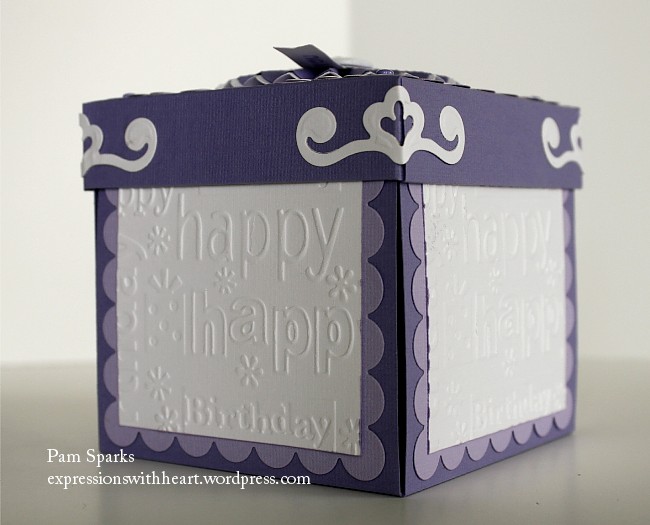
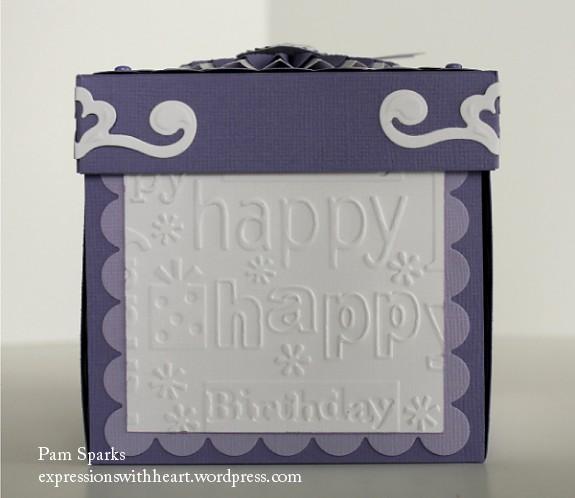
A few more of the box closed…

Stamps and Such…