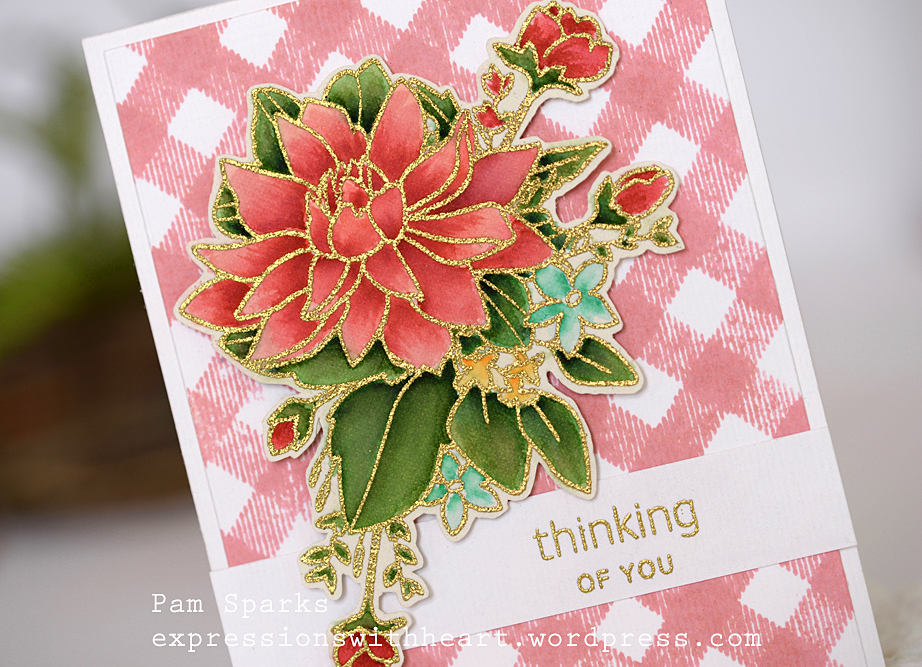
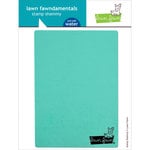
Hi everyone! Switching gears from cute to floral! I love this new clear stamp set from poppystamps! So pretty gold embossed and watercolored with Karin Markers, water and a paintbrush.
I stamped the poppystamps Picnic Plaid clear stamp using the Tim Holtz Travel Stamp Platform on Hobby Lobby Masters Touch watercolor card. I love using this stamp platform for big stamps because I can leave the stamp on the lid then take just the lid/stamp to the sink to wash it after stamping! So easy to clean up that way.
I stamped the plaid with Taylored Expressions Premium Dye Ink, first in Pink Champagne and then to get it a little pinker, I inked and stamped it again with Cupcake. I was trying to match the Karin markers I used for watercoloring.
I heat embossed the image and sentiment with gold embossing powder. Then started coloring!
My Karin Markers (from Poland) were a gift from an amazing, dear, friend back in March. (the dreaded birthday was awesome this year) It looks like Simon Says Stamp is bringing them in but nothing in stock yet. To see my other card I colored with them, select my Karin Markers category over on the right. You can use any watercolors to color stamp images though and I plan to do some more with this beautiful image!
Karin Markers are Brush Pens and beautiful for Modern Brush Calligraphy! I’ve been practicing on that when I sit down at night… pretty fun! I’ve always enjoyed lettering but have only pursued it a couple times and never kept up with it. Here’s hoping I do better this time. It’s fun to do with the grandkids also.
ok – well, I’ll wrap this up and say, thanks for coming over! Hope you feel like coloring now! I need to keep coloring/practicing! Don’t look at my coloring to close! lol
ttul,
Products I used to make this card… (coupon code for $5 off at SSS is HEAT899, expires 8/15 at 11:59 pm ET)
Hi everyone! I have a cute card for you today! This alien has landed at the farm and demands cake! This card was for our grandson Cedryk’s 7th birthday. He loved it!
Pull the tab at the top up and the cake rises into the space ship! I have a little video showing how it goes. If you pull the tab out, it’s no problem, just stick it back in and the cake will stick to it again. The cake piece comes off the card. Really cute and so fun!
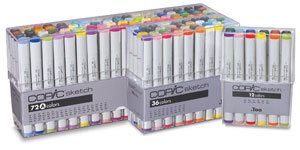
I stamped with Memento Tuxedo Black ink and colored with Copic Sketch Markers. I inked the grass in the front with Distress oxide inks.
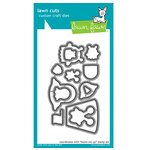
The characters are from the Lawn Fawn Beam Me Up stamps and die set. The farm background is from a clear set by Miss Ink Stamps. I’ll link them up below…
A weird angle to see that I glued the piece of die cut vellum to the bottom of the spaceship.
A little closer to see the cake behind the vellum…
Have you ever seen cuter aliens? haha They seem to like birthday parties! lol And they bring presents! Gotta love that! haha
The inspiration for the slider is from a video I saw on Simon Says Stamp blog HERE.
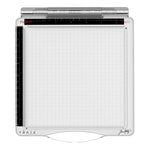
I stamped the sentiments on black cardstock with Versamark ink and embossed them with Lawn Fawn White embossing powder. I used the MISTI Cut Align Ruler to cut the strips. So far I like it a lot!
Hi everyone! I should be doing housework but here I am writing a post because I’m behind getting birthday cards posted and it’s time for new things! ok – I wonder when there aren’t new things in this papercrafting industry!
Here’s a card for one of our grands that just turned 13!
I was inspired by Nancy’s card here. I don’t have the pattern paper but otherwise, I just plain copied her… such an awesome design!
I used oxide inks on Bristol Smooth card, some water splatters, die cutting and gluing… very straight forward!
I ended up with several photos so I’ll just post away…
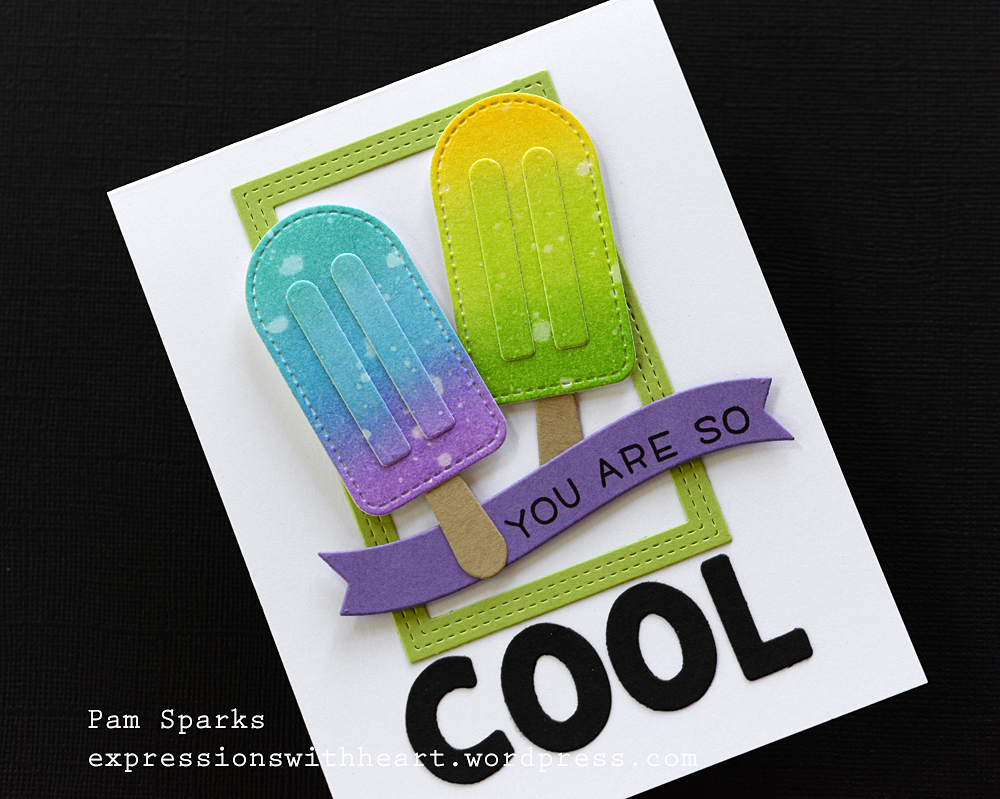
So happy with the color combo… I think you could use any Summer colors though for this!
Aren’t these fish cute?! lol Compared to the real thing, I’ll take paper fish any day!
I love this intricate frame from the Sailboat Frame set too… I didn’t have any trouble cutting any of these.
TIP: I do cut with the cutting blades of the dies facing up…try it if you have any trouble cutting your intricate dies. Be sure to angle your dies into your machine too. Eliminate the ‘speed bump’.
I layered/glued together 3 of the Underwater Scene. The fish are one layer but adhered with foam mounting tape.
In the background you’ll see I inlaid the Family of Fish die… fun look I thought…almost looks like a net but I like it a lot! (Even better in person)
I inkblended with Gather Twigs and the mini ink blending tool on the circle and the fish.
This photo shows the levels a little better. A2 size…it’s not thick, it will mail for one forever postage stamp! yay!
I got to thinking…that slit! What a cute money holder! So I added 5 bucks to my photos. hehe
Sometimes the stash of old stuff really comes in handy…so glad I still have a couple packages of these old Basic Grey magnets. I’ll try to find some others to link up below.
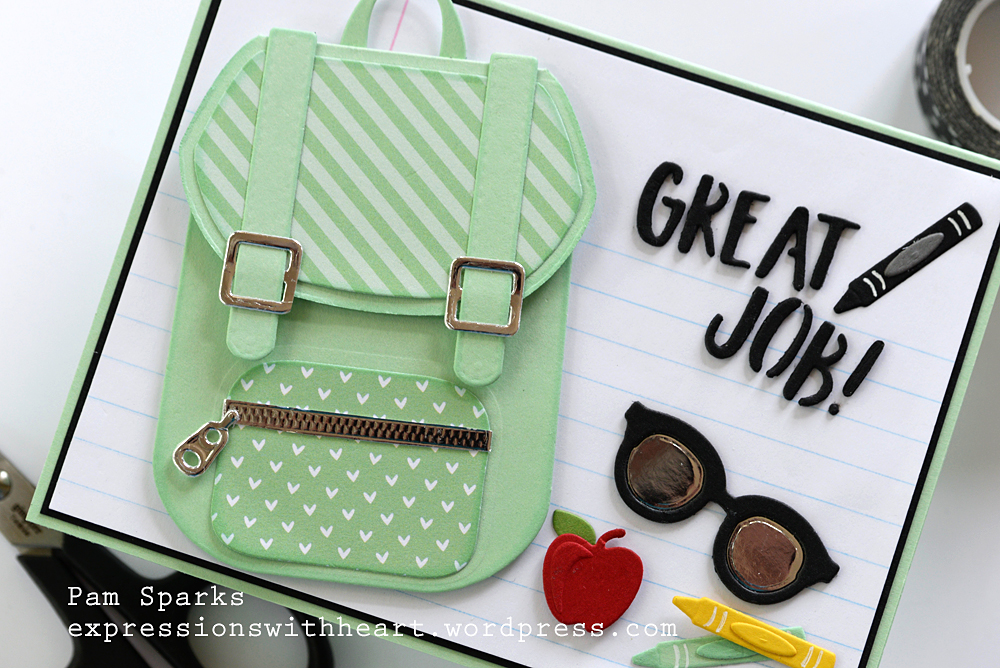
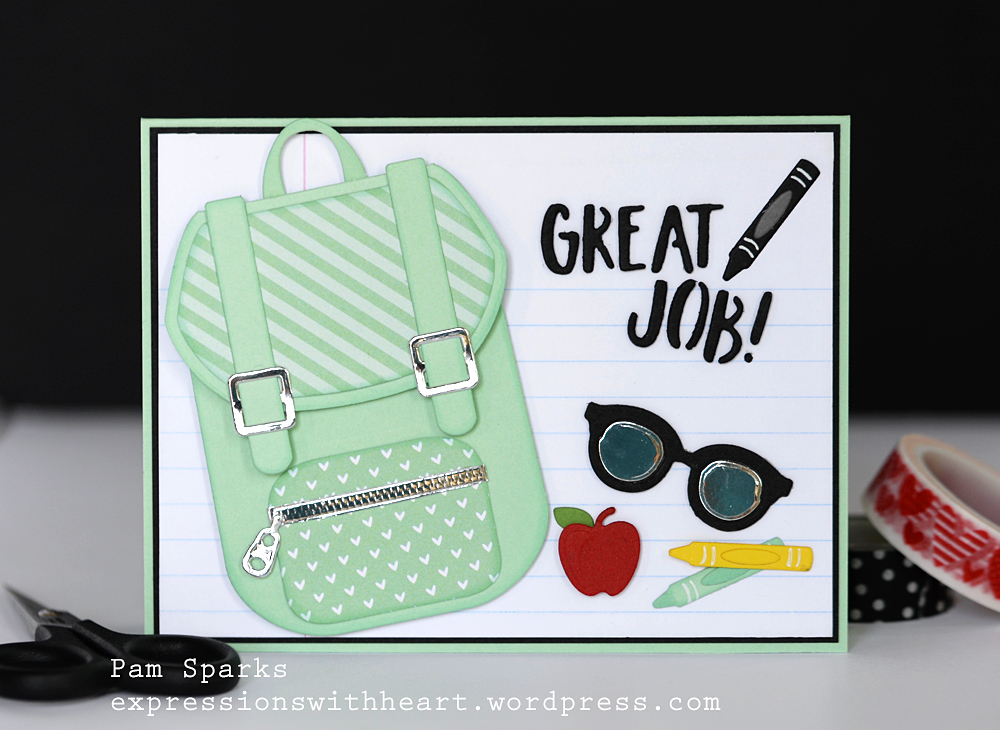
I used TE cardstock and Lawn Fawn pattern paper for the accent papers on the backpack. Lawn Fawn ink to edge the backpack pieces and crayons.
The zipper and glasses are silver foil/mirror cardstock.
I even had a piece of old history outline paper! I taped it to a piece of white cardstock because it’s so thin.
I took some more photos with a black background…just to make it hard for me to decide what to post! urrrrgghhh haha So just posting both flat and standing up pics today!
It’s an A2 size card and will mail for one forever stamp too! yay!
There’s another sentiment in the set too… You Rule…so cute…subscription price is just $12.50 a month! Details HERE and how it works info. Be sure to check out all the clubs while you’re there.
One last photo…so many fun details and very easy to make. I think this can be customized for any age too!