cards · Christmas · Die Piecing · Distress Ink coloring · Poppystamps · Winter

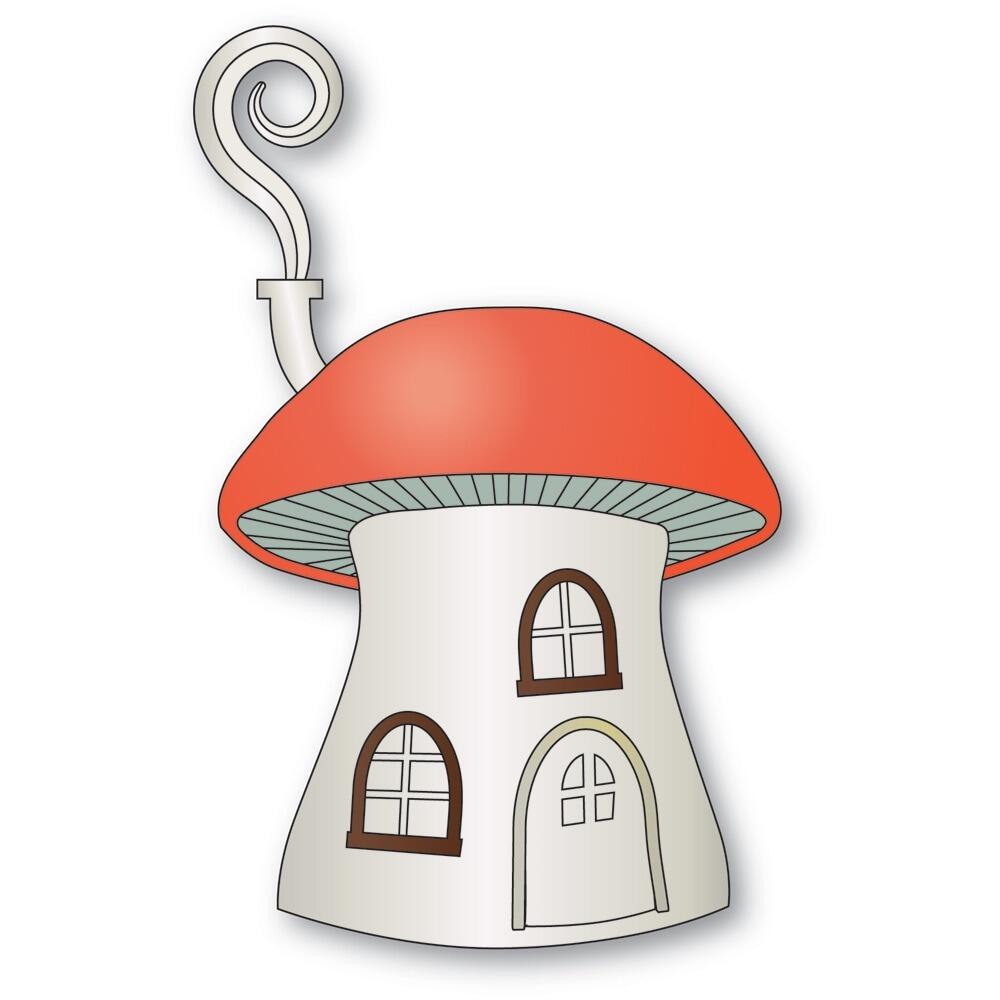
poppystamps Nordic Dancing Gnome and Large Mushroom House Be Merry Card…

Time for a cute card!  Something to make you think of cooler temperatures!  That’s how we’re feeling here in steamy Iowa! Can you say Summer?!

I had fun making these NEW poppystamps dies up…die cutting, inking, gluing, arranging and spattering.  Here’s the card! lol
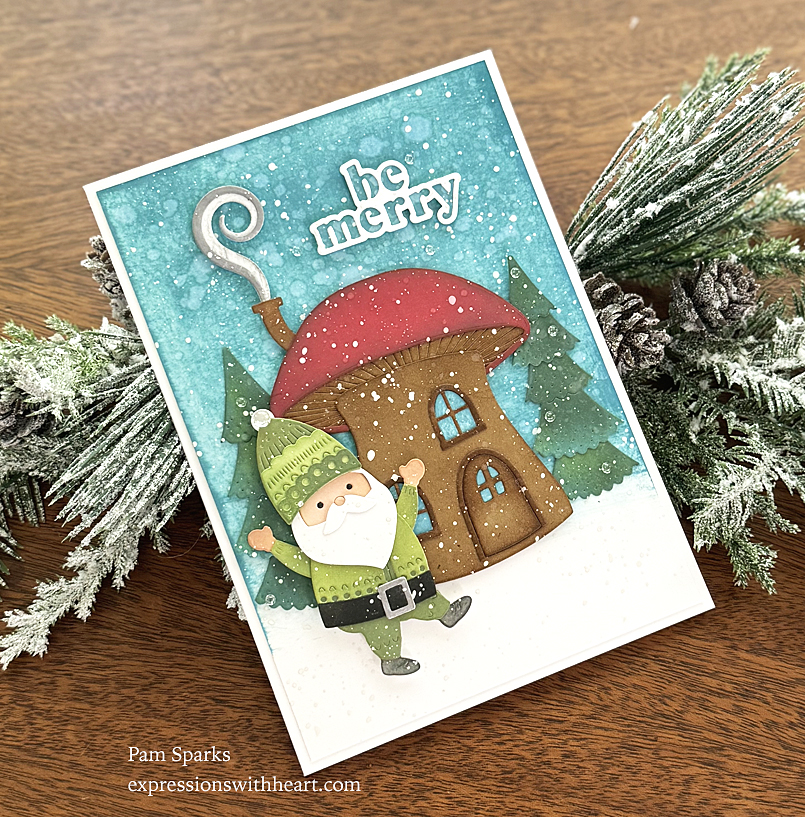
I die cut the lower mushroom parts in kraft cardstock and inked with Gathered Twigs Regular Distress Ink and the mini ink blending tool.

The upper mushroom is die cut in white cardstock and inked with Lumberjack Plaid Distress Oxide ink using an ink blending brush and aged with regular Gathered Twigs Distress ink and a mini ink blending tool. The smoke in white and inked with Hickory Smoke Oxide ink.

The trees and the gnome are all die cut in Neenah Classic Crest White cardstock and inked with Oxide inks and blending brushes….

hat with Peeled Paint (less pressure to get the lighter part)

flesh parts are Tattered Rose with a hint of Vintage Photo on the edges

trees are Rustic Wilderness with a little bit of white showing here and there and those spots inked with Peacock Feathers

Backgound panel is Neenah Classic Crest White inked with Peacock Feathers, spattered with water droplets, let it dry

be merry is die cut in white also, back layer inked with Peacock Feathers and spattered with water droplets also, white layer glued on top

Panel is glued to a 5 x 7 cardbase, mushroom house adhered with my favorite thin mounting tape, trees glued directly to the card, gnome and sentiment adhered with thin mounting tape.

Last step was spattering with white drawing ink.

His belt buckle is colored with a gel pen and I added a few clear fairy drops.

I hope he makes you smile!  It’s so cute!  A happy card that makes me happy too!

thank you so much for stopping by!  More to come!

Here’s the dies and supplies I used to make this card…so many AWESOME NEW products from poppystamps, Memory Box and Birch Press Design in the stores…have fun shopping and creating!  STR takes you to Starlitstudio.net, SSS takes you to Simon Says Stamp, SBC takes you to Scrapbook . com, SPL takes you to Spellbinders .com, BLIC takes you to Dick Blick .com  Thank you so much for shopping and supporting my cardmaking/blogging in this manner.  No extra cost for you and it helps me pay for this blog/linkdeli and the convenience for you of knowing what I used!  Win Win!  Happy creating!

Poppystamps – 2655 Large Mushroom…
[ STR | SSS ]
Poppystamps – 2644 Nordic Dancing…
[ STR | SSS ]
Poppystamps – 2645 Be Merry craft die
[ STR | SSS ]
Poppystamps – 2635 Nordic Dimple…
[ STR | SSS ]
Poppystamps – 2629 Nordic Dimpled…
[ STR | SSS ]
Memory Box Fairy Drops • Jewels •…
[ STR | SSS ]
Craft Tweezers – EK Tools – 5 inch…
[ STR ]
Neenah Cardstock Classic Crest Ultra…
[ SSS ]
Kraft Extra Heavy Weight Cardstock…
[ HBL ]
Winsor & Newton Drawing Ink – White,…
[ BLIC ]
Scrapbook Adhesives Crafty Foam Tape…
[ STR ]
Fiskars Non-Stick Titanium Softgrip…
[ STR ]
Zig 2-Way Glue Pen – Squeeze & Roll…
[ STR | SBC | SSS ]
Tombow Mono Multi Liquid Glue
[ STR | SSS | SBC ]
Tim Holtz Distress Ink Pad Gathered…
[ SSS ]
Tim Holtz Distress Oxide Ink Pad…
[ SSS | SPL ]
Ranger Ink – Tim Holtz – Distress…
[ SBC | SSS ]
Tim Holtz Distress Oxide Ink Pad…
[ SSS | SBC ]
Tim Holtz Distress Oxide Ink Pad…
[ SSS | SPL ]
Tim Holtz Distress Oxide Ink Pad…
[ SSS ]
Tim Holtz Distress Oxide Ink Pad…
[ SSS | SPL ]
Sizzix Cutting Pads – set of 2 -…
[ STR | SBC | SSS ]
Sizzix – White and Gray – Big Shot…
[ SBC | SSS ]
Sizzix White Tool Caddy Big Shot…
[ SBC | BLIC ]


birch press design · cards · Christmas · Die Piecing · Distress Ink coloring · Flowers · Memory Box · Winter

New Birch Press Design and Memory Box…

Hi friends and cardmakers!  It’s that time of year!  So exciting!  Lots of Christmas coming your way from Memory Box, Birch Press Design and poppystamps!

I started by die cutting the NEW BPD Classic Poinsettia Contour Layers and gluing it together.  I used some of the my watercolor papers to die cut the poinsettia and foliage.

I followed a video by Jill from Penny Black to make the watercolored panels that I die cut and used for the panels.  Video HERE.

I used the NEW Memory Box Fringed, Scalloped Frame die for the vintage light brown panel.  I used the thin mounting tape that I love to adhere it to the red background panel.

I die cut foliage from two more NEW BPD dies, Holly Sprig Contour Layers and Tiny Berries and Leaves Contour Layers.

I love the holly, pine branches and sticks.  Although I’m not sure they’re supposed to be sticks! lol

I chose to use the NEW BPD Peace Love Joy Confection Script die for the sentiment on this card.  I love the fine line and I know you’re thinking ugh about gluing it but you don’t have to!  The way it die cuts, the fine script fits back into the panel and you can just put little pieces of tape on the back to hold it in place, then glue it to the shadow die cut.  Here’s a picture that might help you see what I mean.

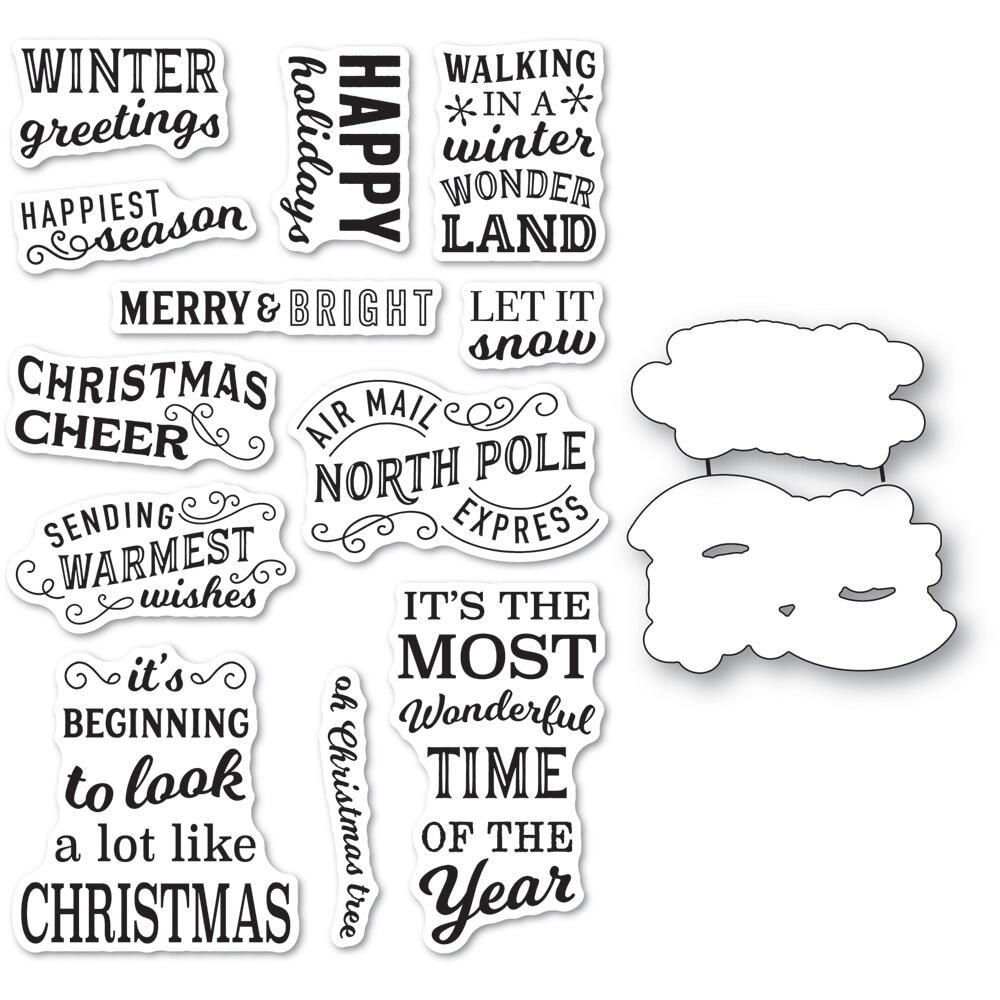
On the inside I used the NEW Memory Box Holiday Wishes stamp set.  Lots of great sentiments in this set!  And it comes with two dies to cut out the Sending Warmest Wishes and North Pole stamps.

I cut out some extra holly leaves from the scraps of my watercolored papers, in case I needed them around the poinsettia.  I didn’t so I glued them on the inside with the sentiment.  I stamped in Archival Potting Soil ink.

I have plenty of photos this time so I’ll just stick them in here.

It’s no surprise that I started the Christmas cardmaking season with the Poinsettia and greenery.  I do love these colors and the vintage look!

This is an A2 size card…holler if you have any questions!  I’m sure I forgot something!

I’m linking to some challenges…

Color Hues #91 – Red and Green

Merry Little Christmas #57 – Anything Christmas Goes

Peace on Earth Christmas #68 – Anything Christmas Goes

Simon Says Stamp Wednesday Challenge – Beautiful Blooms

Thank you so much for stopping by!

Here’s the products I used to make this card… click on the abbreviations to go to a store to see them!  Simon Says Stamp $5 off coupon code is ‘leap24’

Birch Press Design – 57557 Classic…
[ STR | SSS ]
Birch Press Design – 57543 Peace Love…
[ STR | SSS ]
Birch Press Design – 57559 Holly…
[ STR | SSS ]
Birch Press Design – 57518 Tiny…
[ STR | SSS ]
Memory Box – 94842 Fringed Scalloped…
[ STR | SSS ]
Memory Box – CL5286D Holiday Wishes…
[ STR | SSS ]
Memory Box Holiday Wishes Clear…
[ SSS ]
Memory Box – WP101 Watercolor Paper -…
[ STR ]
Tim Holtz Distress Reinker Rustic…
[ SSS | SBC ]
Tim Holtz Distress Reinker Lumberjack…
[ SSS | SBC ]
Tim Holtz Distress Reinker Gathered…
[ SSS ]
Tim Holtz Distress Gathered Twigs Ink…
[ SSS ]
Ranger Ink – Tim Holtz – Mini Ink…
[ SBC | SBC | SSS ]
Scrapbook Adhesives Crafty Foam Tape…
[ STR ]
Zig 2-Way Glue Pen – Squeeze & Roll…
[ STR | SBC | SSS ]
Tombow Mono Multi Liquid Glue
[ STR | SSS | SBC ]
Ranger Wendy Vecchi Archival Potting…
[ SSS | SBC ]
Kraft Extra Heavy Weight Cardstock…
[ HBL ]

cards · Christmas · Die Piecing · Spellbinders dies · Winter

Spellbinders Handmade Holidays Christmas Release…

Hi everyone!  What a week!  Two days without internet put me behind getting cards posted.  Christmas in July is always fun!  I can’t believe it’s July already though!  eek!

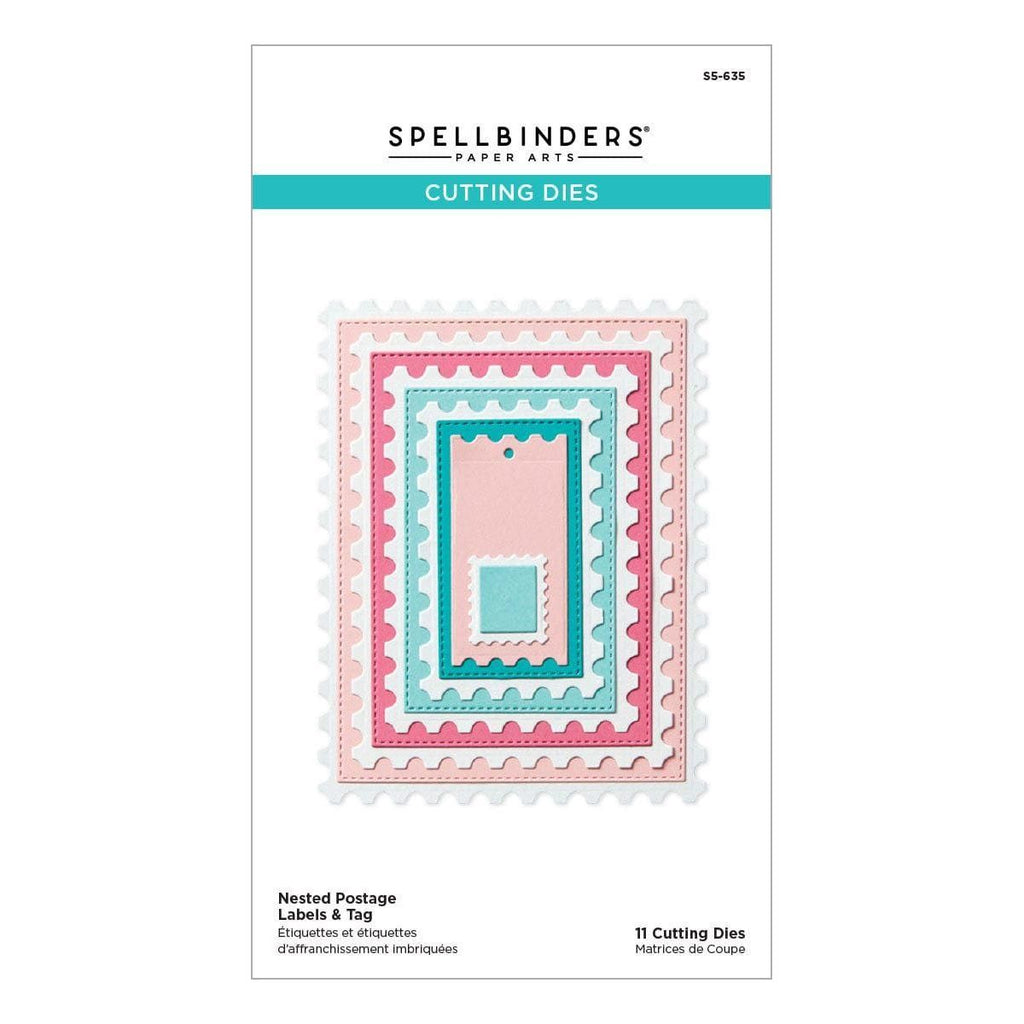
Some NEW dies from Spellbinders for my card today… Delivering Joy Sleigh, Handmade sentiments and new to me Nested Postage Labels & Tag.

Not much to tell…die cut and glue together.  I used scraps for everything except the postage frame and cardbase!  That’s always a good feeling. lol

I pretty much followed the design on the packaging to put it together.

So fun and pretty!  I always love Christmas foliage…well anything Christmas and then put it on postal and I’m super happy! lol

Thank you so much for stopping by!  Check out the new by tapping/clicking through my links below!  Thank you so much for your comments and encouragement!  I appreciate it!

Dies and supplies I used for this card…

Delivering Joy Sleigh Etched Dies…
[ SPL | SSS ]
Handmade Sentiments Etched Dies from…
[ SPL | SSS ]
Nested Postage Labels & Tag Etched…
[ SPL ]
Mirror Silver Cardstock 8 1/2″ x 11 -…
[ SPL | SPL ]
New & Improved Platinum SIX Machine…
[ SPL ]
Scrapbook Adhesives Crafty Foam Tape…
[ STR ]

cards · Christmas · Die Piecing · Doodlebug Designs · Poppystamps · Thank You · Thinking of You · Winter

Doodlebug Design Pickup Winter Greetings Card…

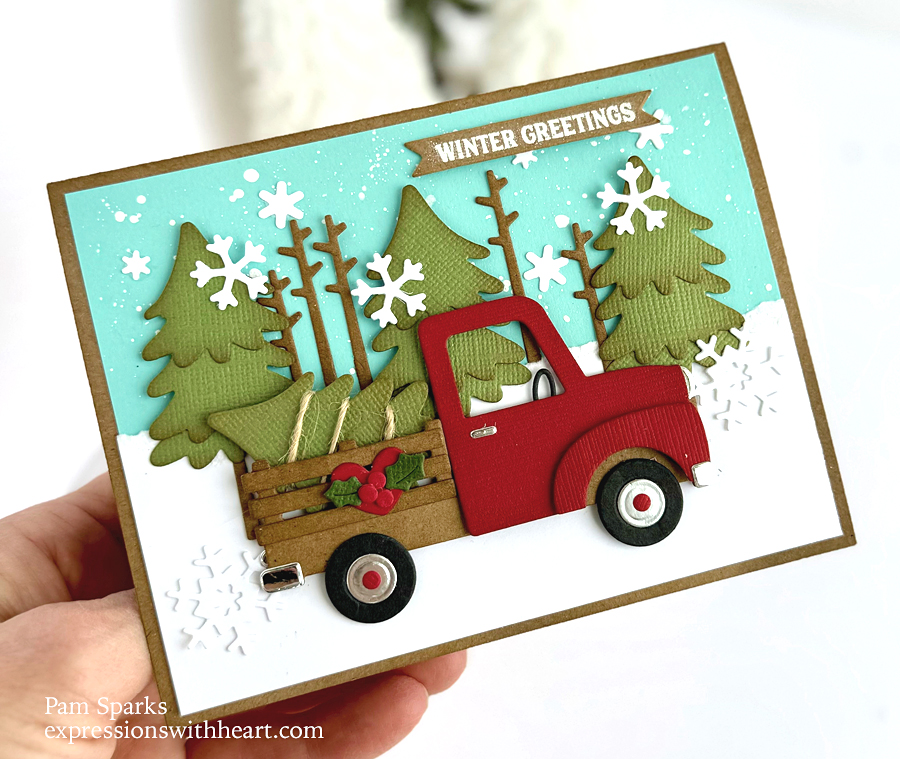
Hi everyone! I haven’t put all my Christmas stash away yet!  So much I haven’t gotten to use yet!

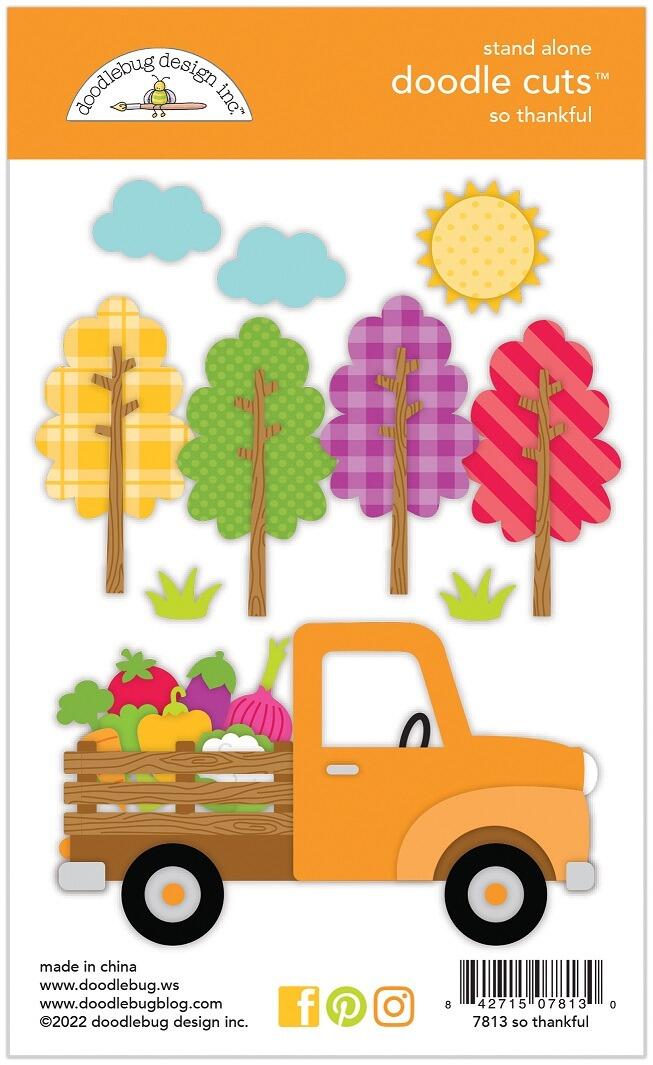
This ‘doodle cuts’ set from Doodlebug Design isn’t a Christmas die set!  The name of it is ‘so thankful’!  It’s a scene set with trees, sun, clouds, pickup and super cute vegetables!

When I saw it, I was like I HAVE to make that for Christmas with trees!  lol

I’m so happy with how it turned out!

The trees are from the doodle cuts set called ‘Christmas Cocoa’.  I used two cuts for each tree.  It looks like three cuts but that’s because I put one cut back in the die and ran it through so it would be a shorter piece for the top of the tree and I used  the part it cut off for the bottom of the tree.  The center of the tree is a full cut that I glued the top and the bottom to.  Super easy.

The bare tree trunk is from the doodle cuts set ‘so thankful’ that the truck is from.

I die cut the snowflakes, holly and berries from the doodle cuts ‘snow cute’ die set.

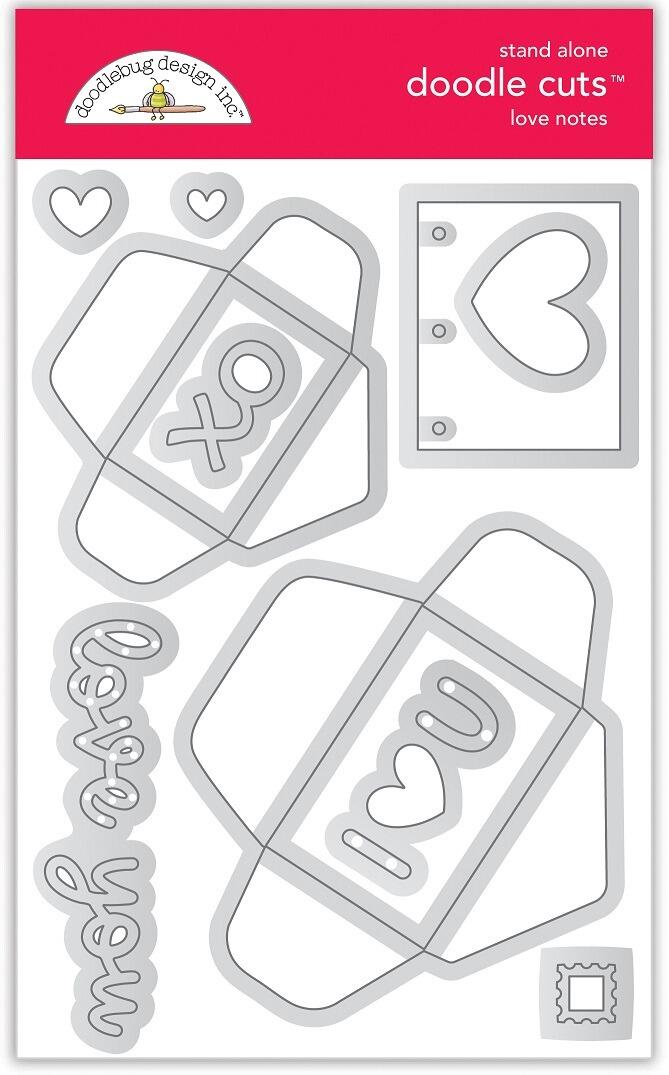
The heart is from the doodle cuts ‘love notes’ set.

The snow bank is just a piece of white cardstock that I tore.

I spattered the background sky with white drawing ink. Let it dry before adhering everything together.

I used poppystamps Christmas Banners clear stamp and die set for the sentiment.  White heat embossing Winter Greetings on a piece of kraft cardstock.

I used my favorite thin, thin mounting tape to adhere the green trees and the pickup to the 4 x 5 ¼ inch panel.  I used Tombow mono multi liquid glue to adhere the tree trunks and snowflakes flat to the panel.

The end result is a top folding A2 size card that will mail for one forever stamp.

So fun…I hope this card makes you smile too! It brings back good/happy memories of when the girls were younger and we went out and cut down our tree every year.

Thank you for stopping by again!  I appreciate it and your encouraging comments!  I love connecting with other cardmakers!

We have a lot of snow.  No one is going anywhere.  Well I’ve seen a few ppl stuck in the street.  You have to know how to drive in this kind of weather. lol  It’s so beautiful!

I’ll stop talking and put in my links below…ttul!

Shopping links to what I used on this card…

So Thankful craft die set – Doodlebug…
[ STR | SBC | SSS ]
Doodlebug Doodle Cuts – Christmas…
[ STR | SBC ]
Snow Cute craft die set – Doodlebug…
[ STR | SBC | SSS ]
Love Notes craft die set – Doodlebug…
[ STR | SBC ]
Poppystamps – CL513 Christmas Banners…
[ STR | SSS ]
TE Premium Cardstock – Confetti Cake…
[ TE ]
Neenah Cardstock Classic Crest Ultra…
[ SSS ]
Kraft Extra Heavy Weight Cardstock…
[ HBL ]
Winsor & Newton Drawing Ink – White,…
[ BLIC ]
Ranger Ink – Tim Holtz – Distress Ink…
[ SBC | SSS ]
Ranger Ink – Tim Holtz – Mini Ink…
[ SBC | SSS ]
Scrapbook Adhesives Crafty Foam Tape…
[ STR ]
Tombow Mono Multi Liquid Glue
[ STR | SBC | SSS ]
Lawn Fawn WHITE Embossing Powder LF1537
[ SSS ]
VersaMark Watermark Stamp Pad – full…
[ STR | SBC | SSS ]

cards · Christmas · Die Piecing · Distress Ink coloring · Masculine · Memory Box · Poppystamps · Simon Says Stamp · Winter

Simon Says Stamp Pine Frame From The DieCember Release…

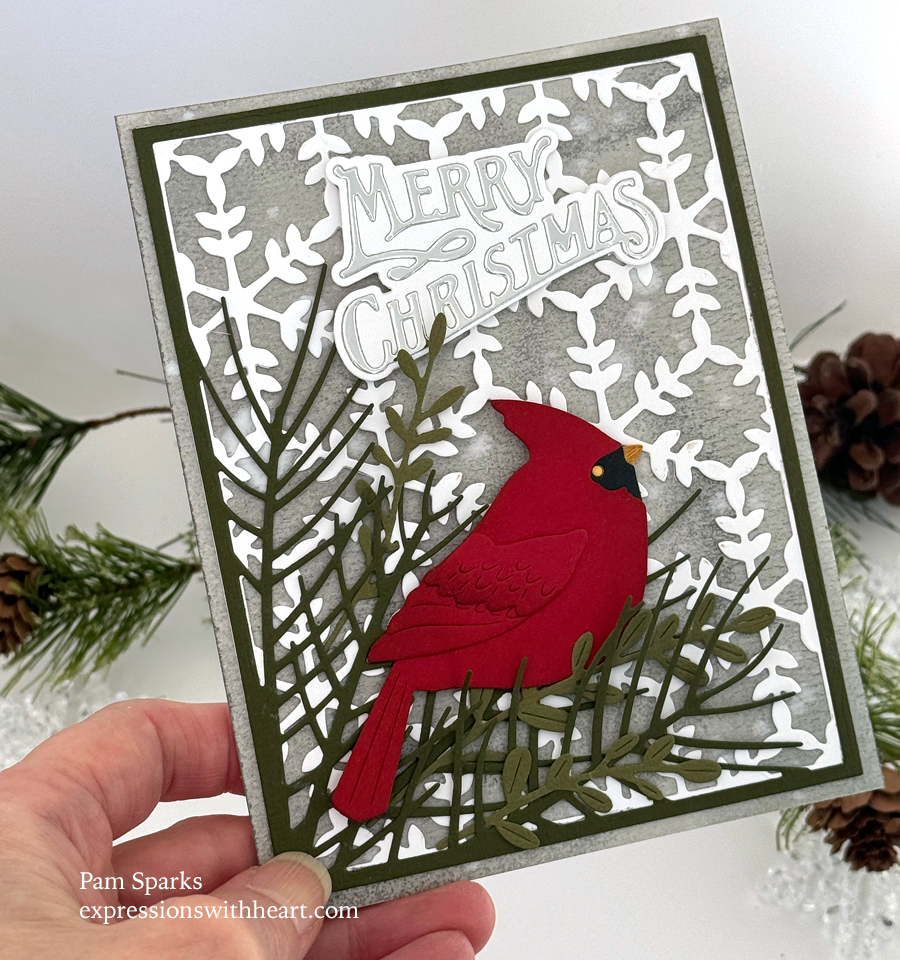
Hi everyone!  All the joys of the season to you! Have you seen a cardinal lately?  I don’t see them around here.  Maybe once or twice in 30 years!

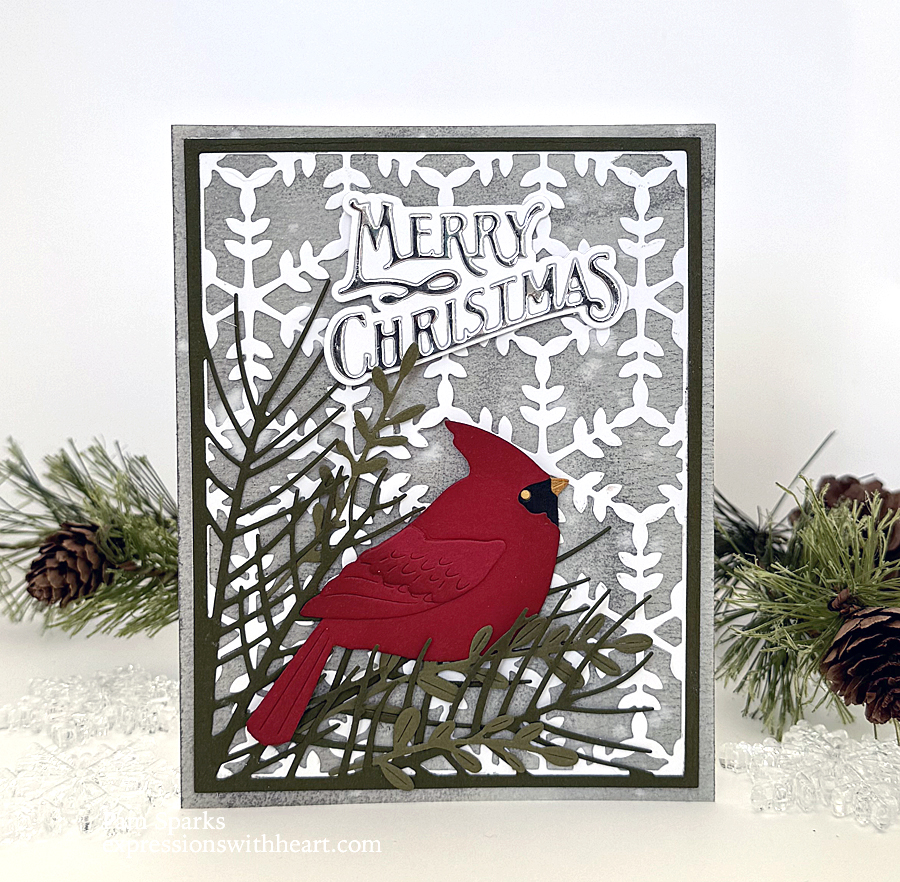
I wanted to use the Memory Box Layered Cardinal die again and it worked perfect with this NEW Simon Says Stamp Corner Pine Frame designed by Memory Box in partnership with SSS.

So beautiful and so easy to put together too.

I did shim this pine frame with two pieces of copy paper when I die cut it.

I added the three branches from the New Memory Box Layered Greenery Stems.  A little filler.

The background panel is one of the watercolor panels I made following Jill Foster’s tutorial on You Tube.  It’s on the Penny Black You Tube page.

I used the NEW Memory Box Aurora Snowflake Frame between the watercolor panel and the Corner Pine Frame.

The NEW poppystamps Lavish Merry Christmas die cut in white and silver for the sentiment!

Linking to some challenges…

Peace on Earth #54 – anything goes Christmas (totally inspired by the bottom right corner photo in the inspiration photo!)

Triple B Challenge – Birds for me this time

The Sisterhood of Crafters – Christmas

I really love this nature take on a Christmas card.  Hope it makes you smile too.

All the best to you and yours for a beautiful celebration of Christ’s birth!  God bless you all!

❤

Shopping links to what I used for this Merry Christmas card…

Simon Says Stamp Corner Pine Frame…
[ SSS ]
Memory Box Layered Cardinal Dies 94754
[ SSS ]
Memory Box Layered Greenery Stems…
[ SSS ]
Memory Box Aurora Snowflake Frame Die…
[ SSS ]
Poppy Stamps Lavish Merry Christmas…
[ SSS ]
Strathmore WATERCOLOR PAPER PAD…
[ SSS ]
Hammermill WHITE 100 LB SMOOTH…
[ SSS ]
Tonic CHROME SILVER Mirror Card Gloss…
[ SSS ]
Tombow MONO MULTI Liquid Glue Two…
[ SSS ]