Hi everyone! I have a cute card for you today! This alien has landed at the farm and demands cake! This card was for our grandson Cedryk’s 7th birthday. He loved it!
Pull the tab at the top up and the cake rises into the space ship! I have a little video showing how it goes. If you pull the tab out, it’s no problem, just stick it back in and the cake will stick to it again. The cake piece comes off the card. Really cute and so fun!
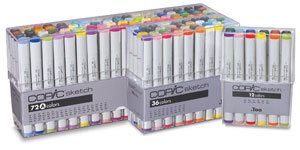
I stamped with Memento Tuxedo Black ink and colored with Copic Sketch Markers. I inked the grass in the front with Distress oxide inks.
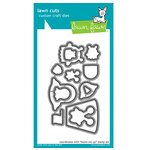
The characters are from the Lawn Fawn Beam Me Up stamps and die set. The farm background is from a clear set by Miss Ink Stamps. I’ll link them up below…
A weird angle to see that I glued the piece of die cut vellum to the bottom of the spaceship.
A little closer to see the cake behind the vellum…
Have you ever seen cuter aliens? haha They seem to like birthday parties! lol And they bring presents! Gotta love that! haha
The inspiration for the slider is from a video I saw on Simon Says Stamp blog HERE.
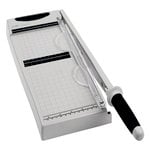
I stamped the sentiments on black cardstock with Versamark ink and embossed them with Lawn Fawn White embossing powder. I used the MISTI Cut Align Ruler to cut the strips. So far I like it a lot!
Hi everyone! I should be doing housework but here I am writing a post because I’m behind getting birthday cards posted and it’s time for new things! ok – I wonder when there aren’t new things in this papercrafting industry!
Here’s a card for one of our grands that just turned 13!
I was inspired by Nancy’s card here. I don’t have the pattern paper but otherwise, I just plain copied her… such an awesome design!
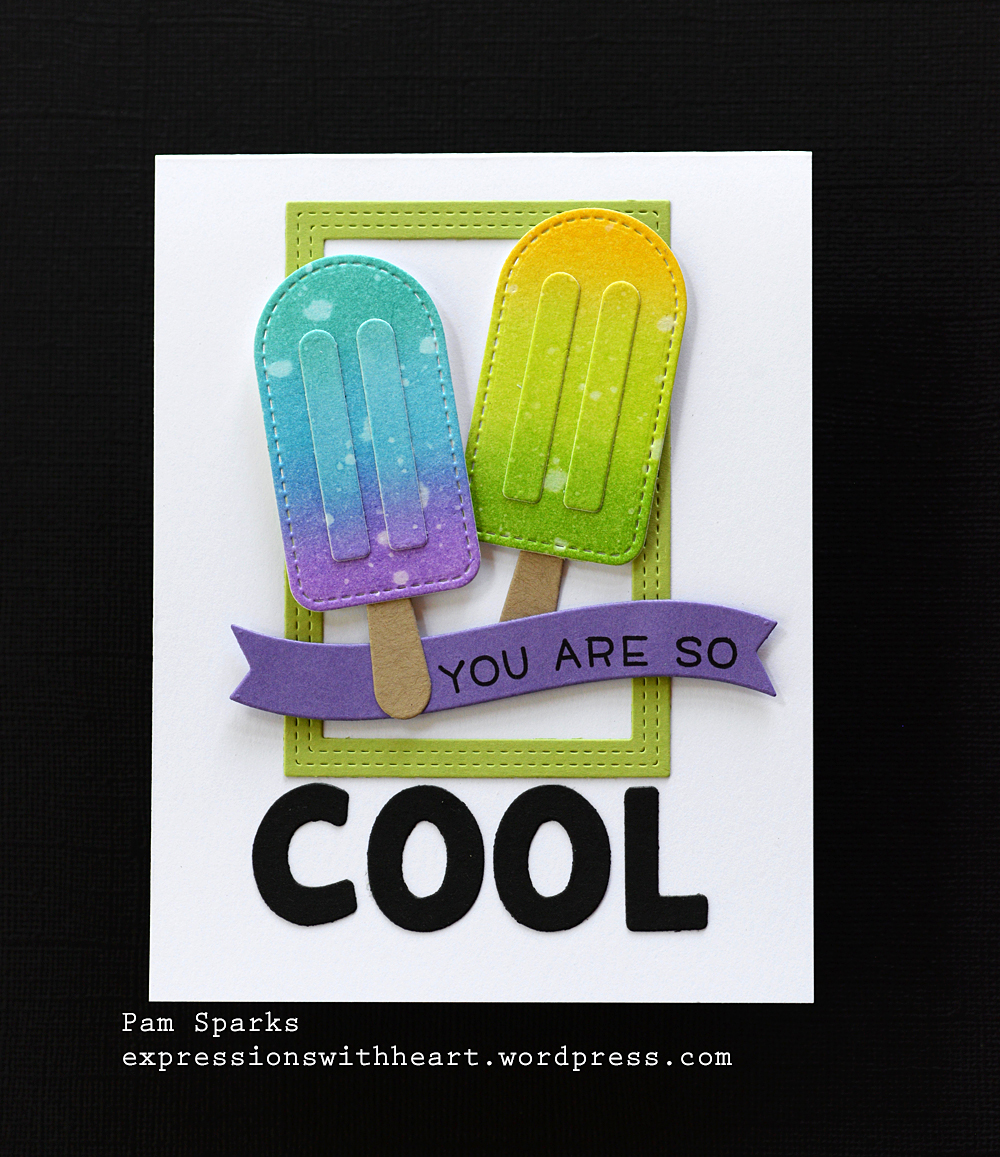
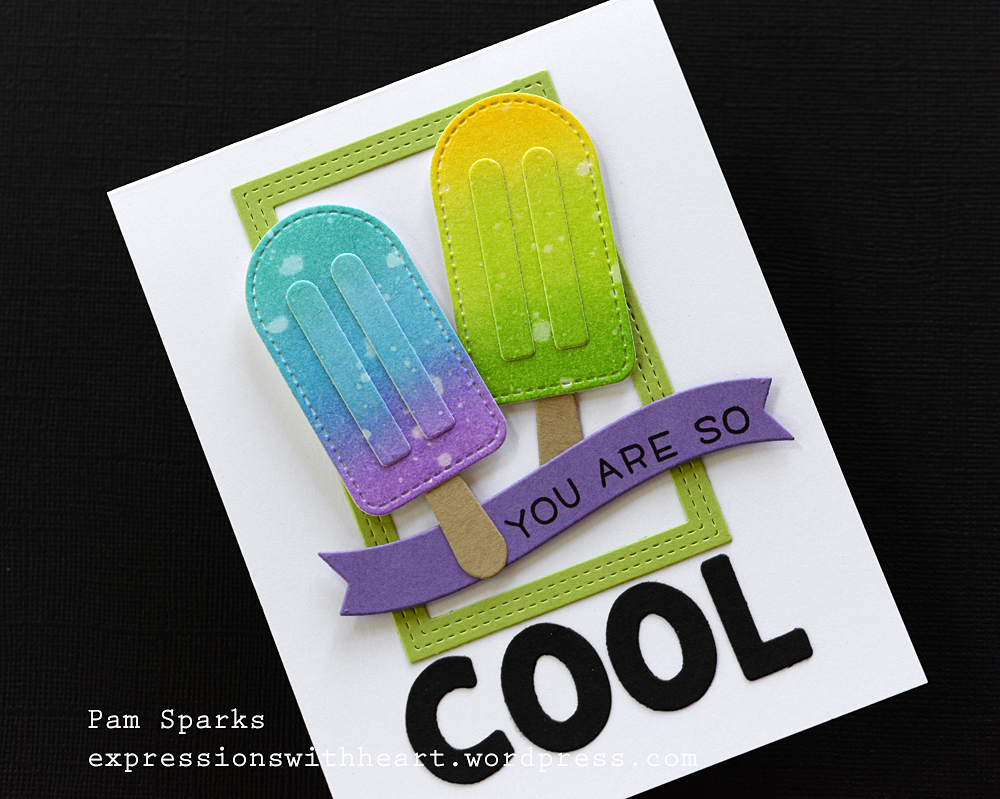
I used oxide inks on Bristol Smooth card, some water splatters, die cutting and gluing… very straight forward!
I ended up with several photos so I’ll just post away…
So happy with the color combo… I think you could use any Summer colors though for this!
Aren’t these fish cute?! lol Compared to the real thing, I’ll take paper fish any day!
I love this intricate frame from the Sailboat Frame set too… I didn’t have any trouble cutting any of these.
TIP: I do cut with the cutting blades of the dies facing up…try it if you have any trouble cutting your intricate dies. Be sure to angle your dies into your machine too. Eliminate the ‘speed bump’.
I layered/glued together 3 of the Underwater Scene. The fish are one layer but adhered with foam mounting tape.
In the background you’ll see I inlaid the Family of Fish die… fun look I thought…almost looks like a net but I like it a lot! (Even better in person)
I inkblended with Gather Twigs and the mini ink blending tool on the circle and the fish.
This photo shows the levels a little better. A2 size…it’s not thick, it will mail for one forever postage stamp! yay!
I got to thinking…that slit! What a cute money holder! So I added 5 bucks to my photos. hehe
Sometimes the stash of old stuff really comes in handy…so glad I still have a couple packages of these old Basic Grey magnets. I’ll try to find some others to link up below.
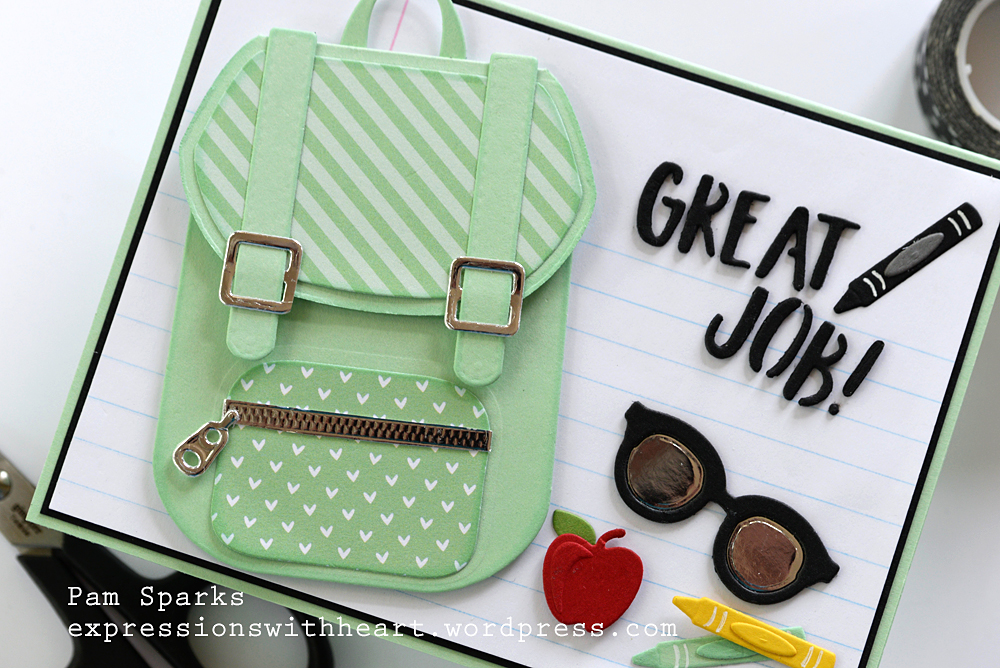
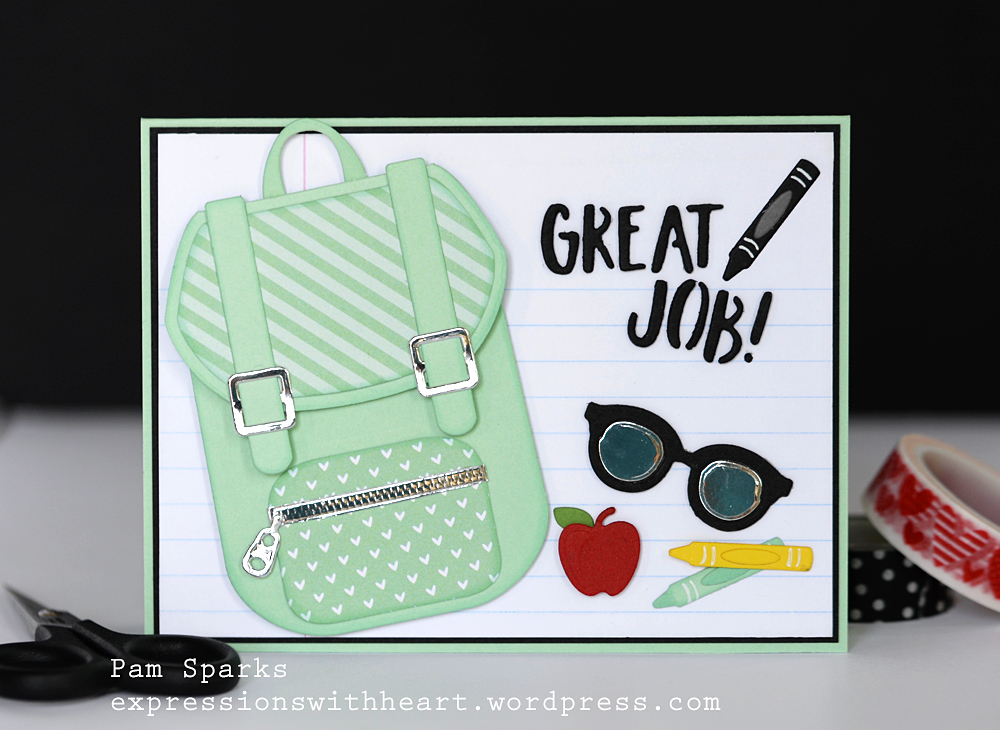
I used TE cardstock and Lawn Fawn pattern paper for the accent papers on the backpack. Lawn Fawn ink to edge the backpack pieces and crayons.
The zipper and glasses are silver foil/mirror cardstock.
I even had a piece of old history outline paper! I taped it to a piece of white cardstock because it’s so thin.
I took some more photos with a black background…just to make it hard for me to decide what to post! urrrrgghhh haha So just posting both flat and standing up pics today!
It’s an A2 size card and will mail for one forever stamp too! yay!
There’s another sentiment in the set too… You Rule…so cute…subscription price is just $12.50 a month! Details HERE and how it works info. Be sure to check out all the clubs while you’re there.
One last photo…so many fun details and very easy to make. I think this can be customized for any age too!
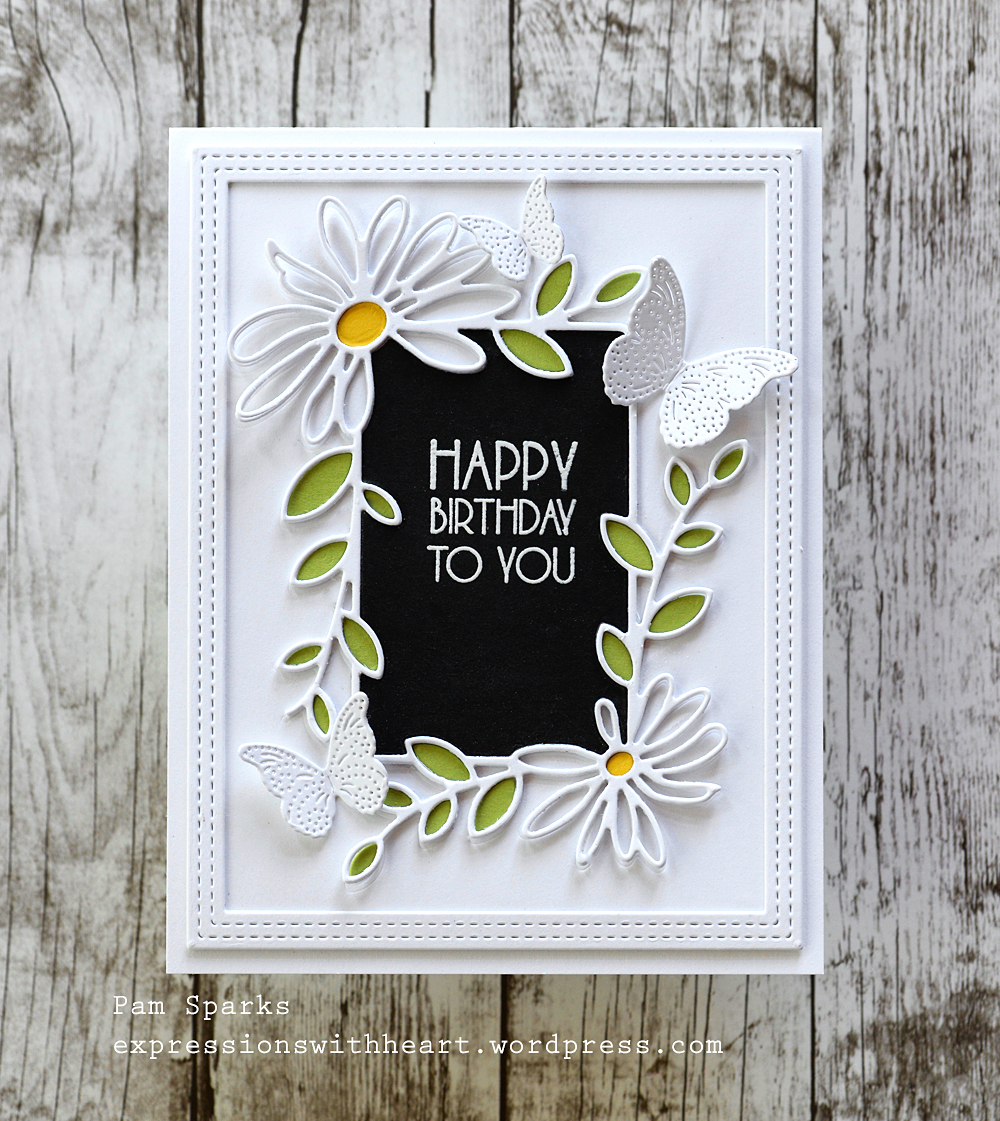
Hi everyone! There’s just something about a daisy that makes a gal happy! I kept this simple but the black and bits of color make it so sweet!
I die cut the frame three times and glued them together.
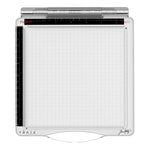
I embossed a white cardstock panel with the frame die, multi purpose platform and tan mat. That makes it easy for placement and gluing the frames over the top. Just take away the top tab of the platform when you run the die through the Big Shot to emboss.
I used scraps of Taylored Expressions Granny Smith cardstock for the leaves and a scrap of TE Lemon Meringue for the flower centers.
I heat embossed the sentiment from poppystamps Birthday Blowout clear stamp set on TE Oreo cardstock. TIP: When you’re white heat embossing on black, the cardstock really matters. TE and Bazzill work the best of the ones I’ve tried so far. On others, the powder like soaks into the cardstock and it’s not white anymore! ugh
I embellished the card with the 3 butterflies from the Memory Box Butterfly Trio die.
Then I die cut the largest die in the poppystamps Double Stitch Rectangle Frames two times, glued them together and glued them directly to the card panel.
A cherry birthday card with a little feminine touch!
Thank you for stopping by! Links below to the products I used. Happy cardmaking!