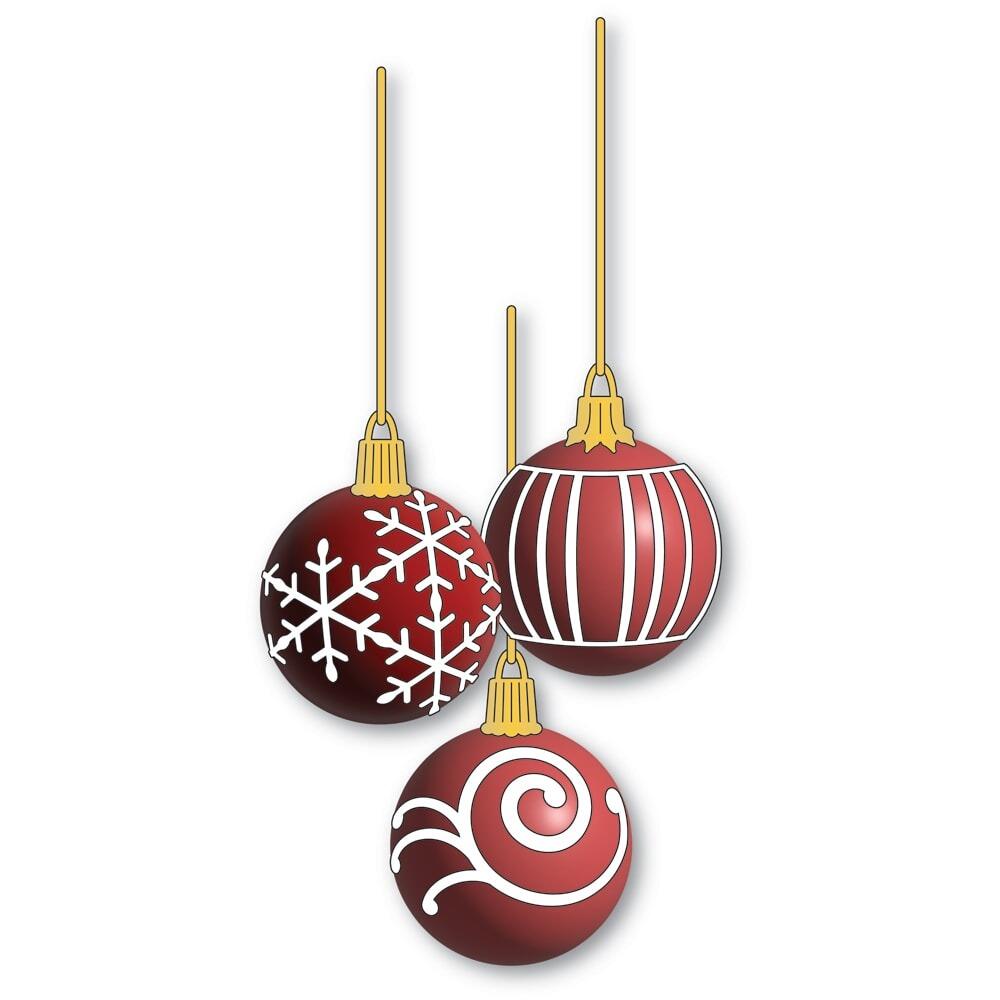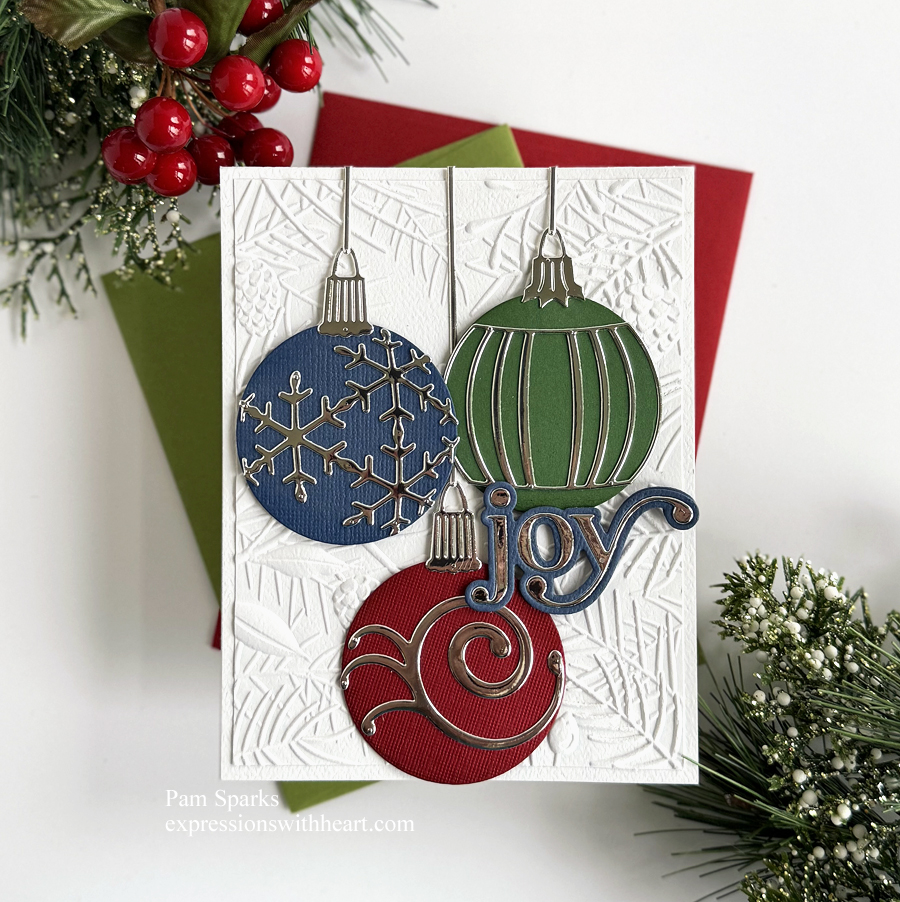
Hi everyone! People on social media are so creative with Christmas ornaments! Have you seen what they are doing with multiple ornaments? Making clusters! So cool. My tree is full of everything I’ve collected and love so I don’t really get into having a theme tree. It would be fun but… do you change your tree from year to year?
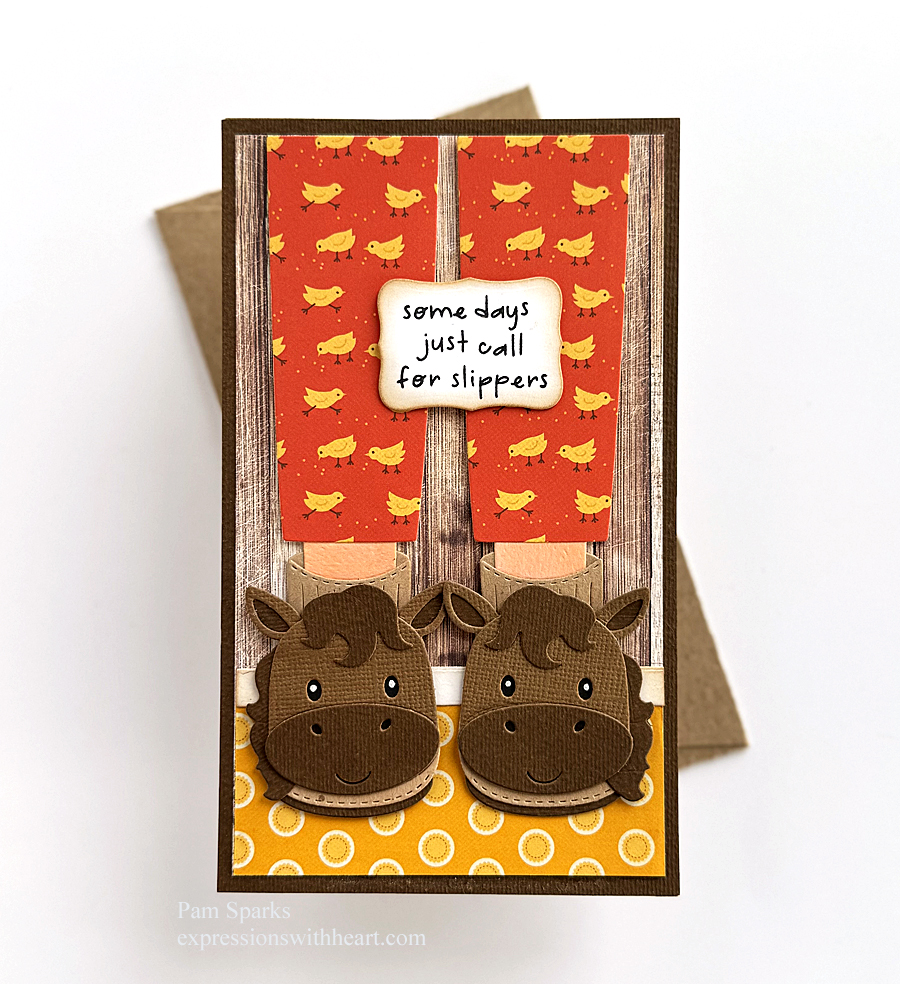
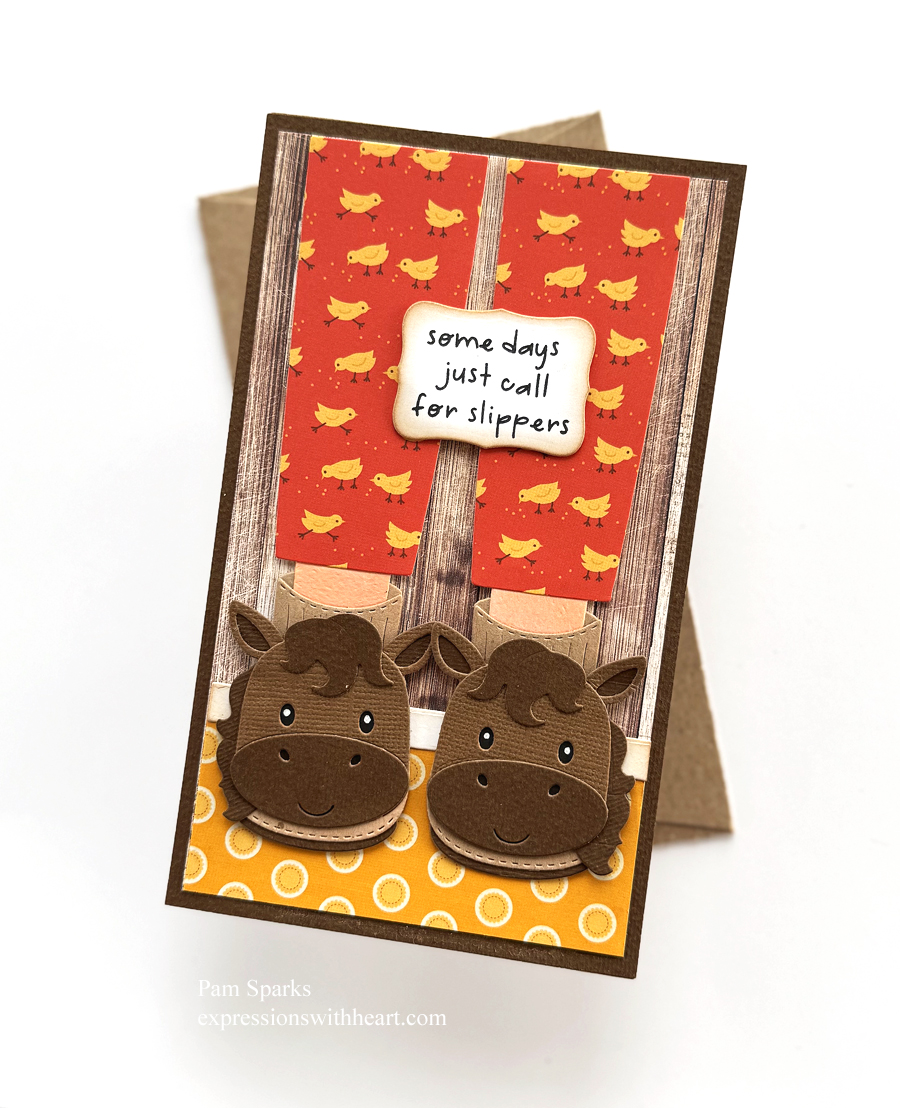
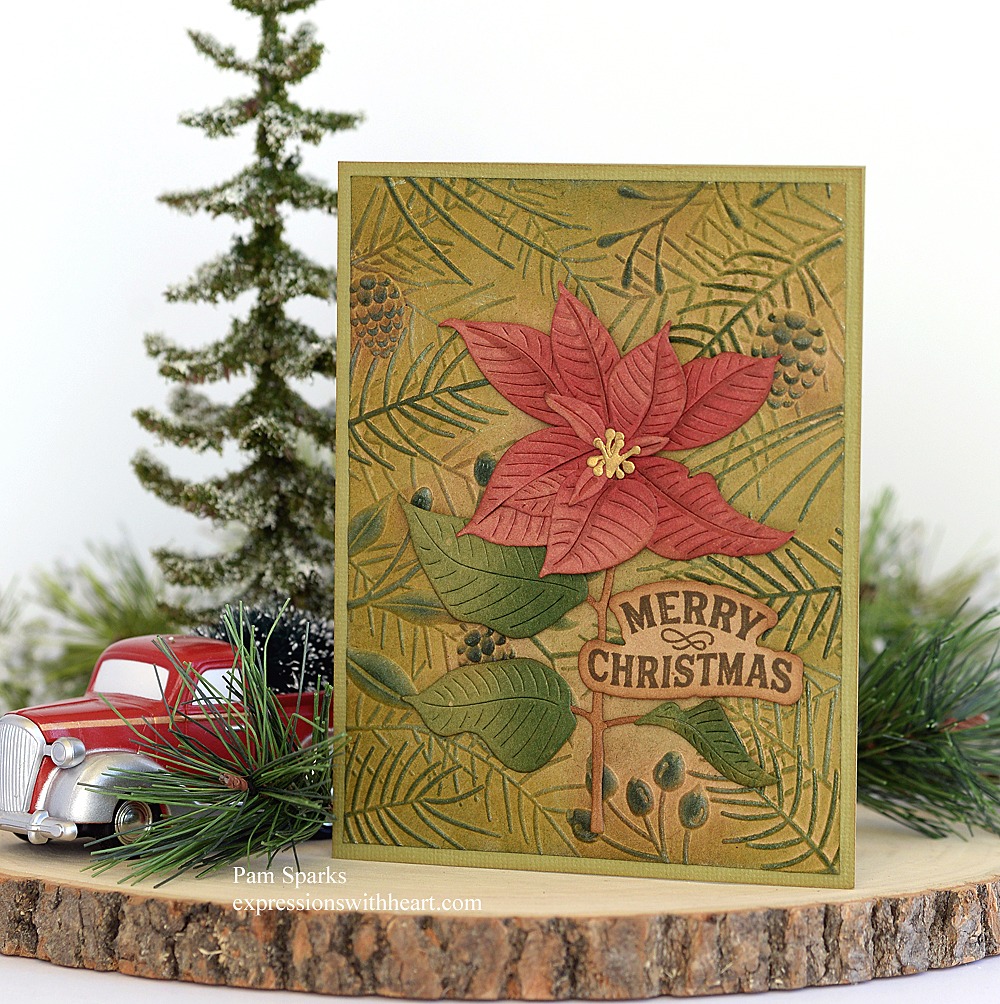
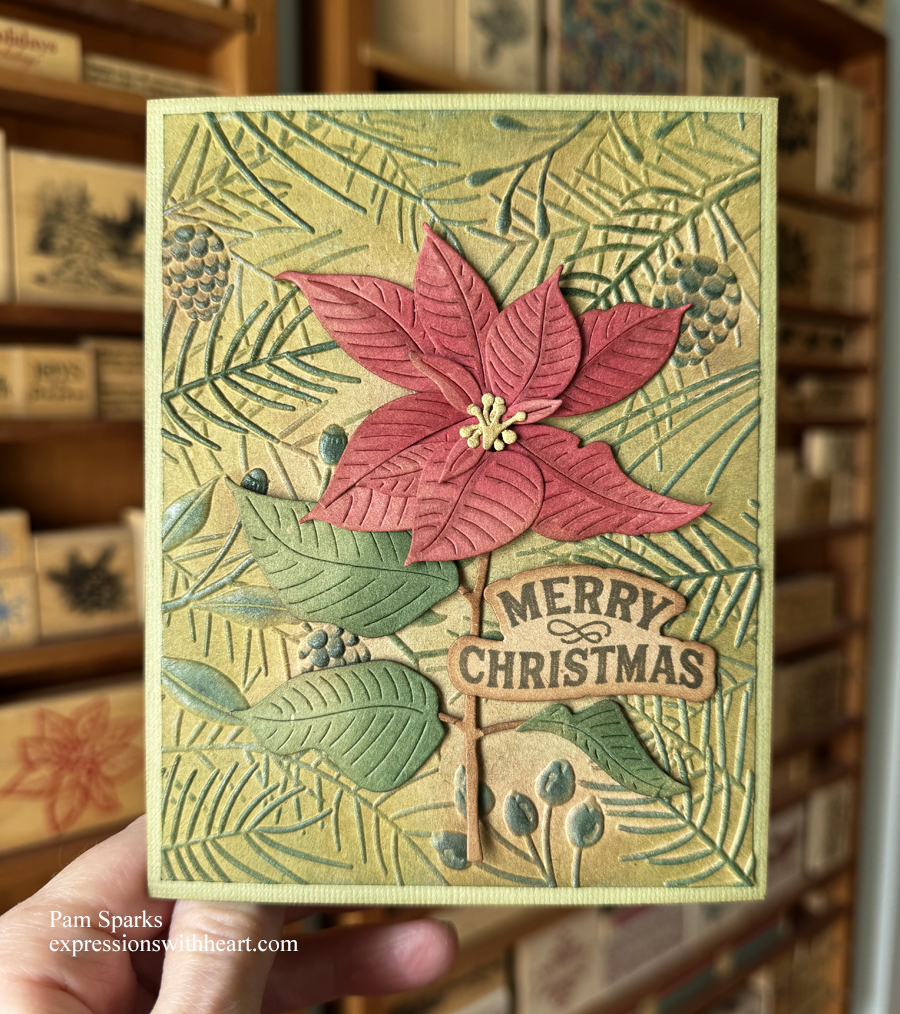
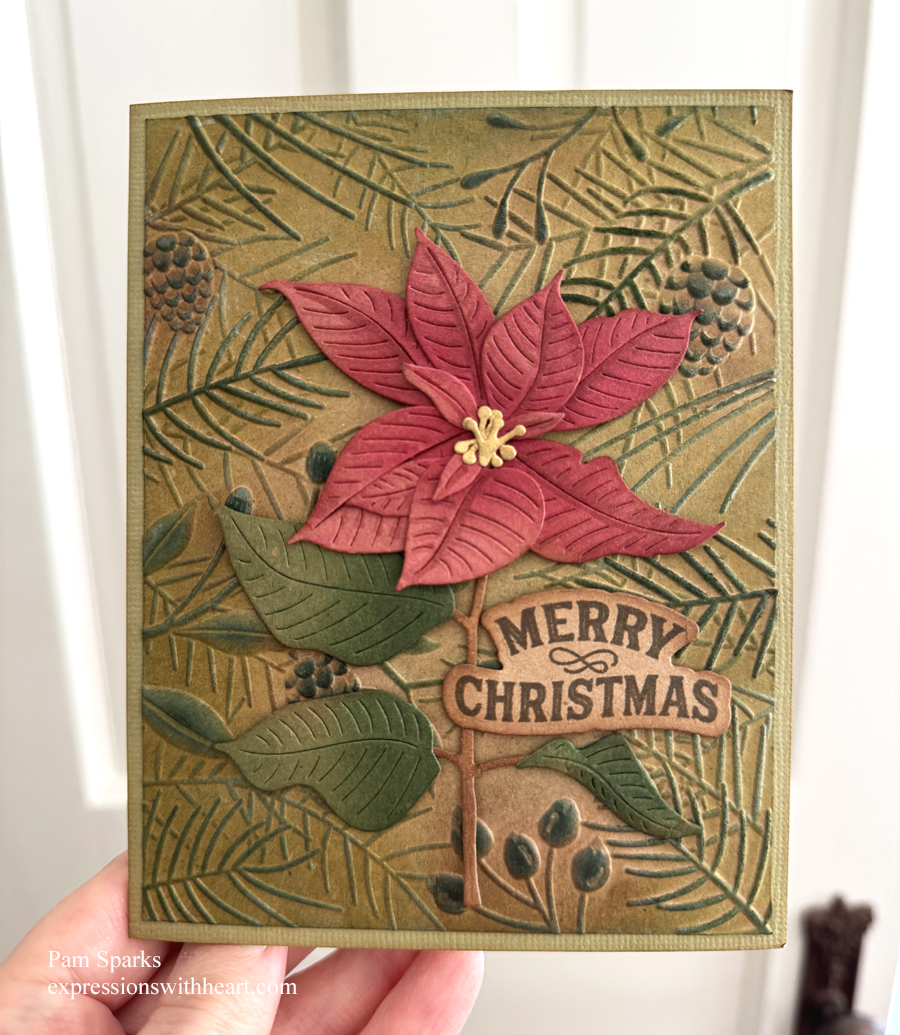
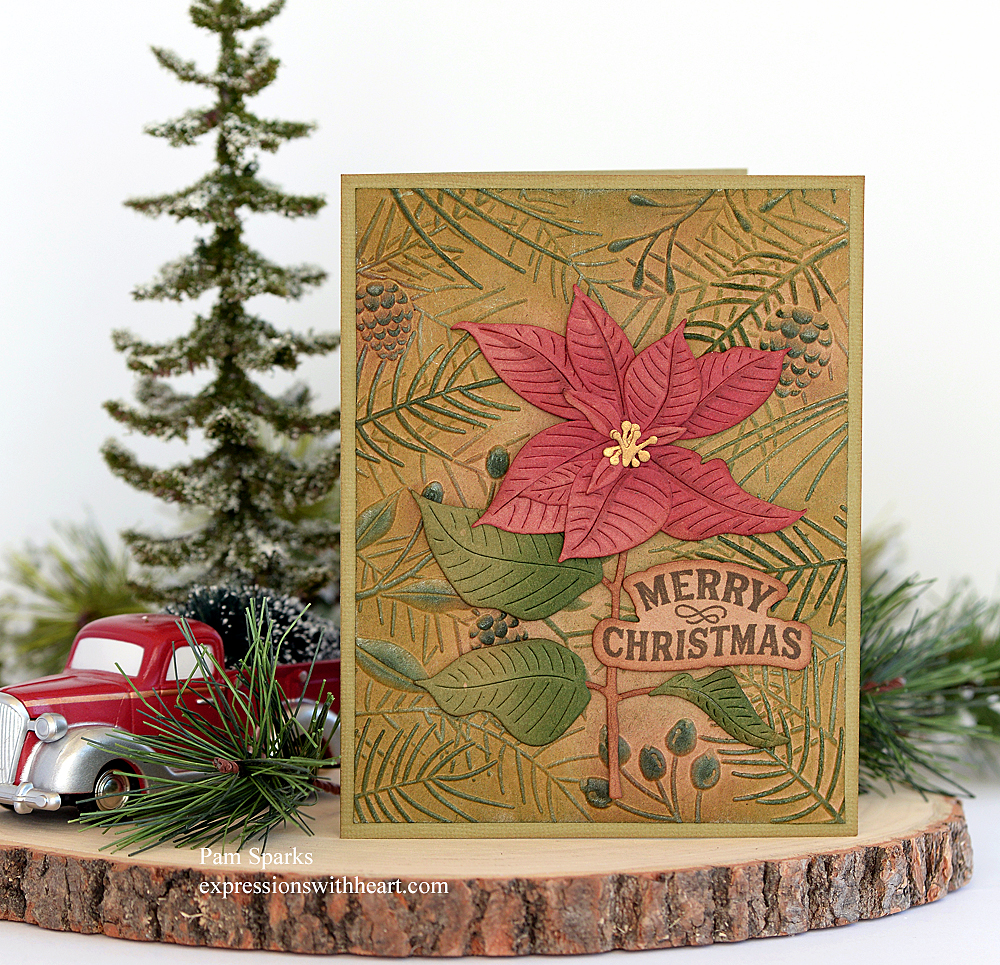
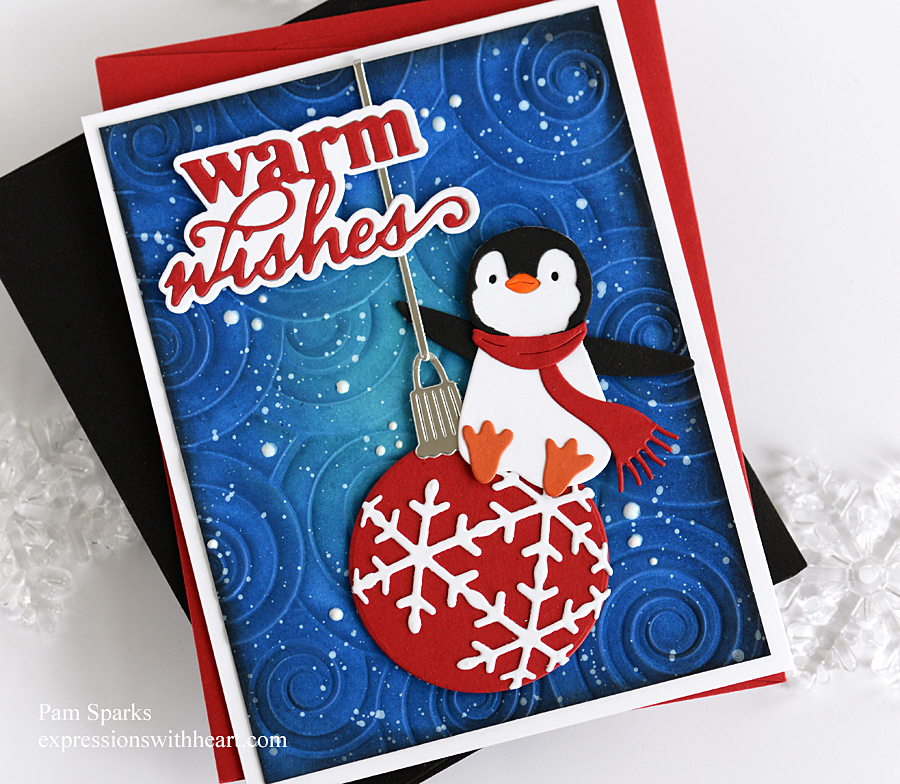
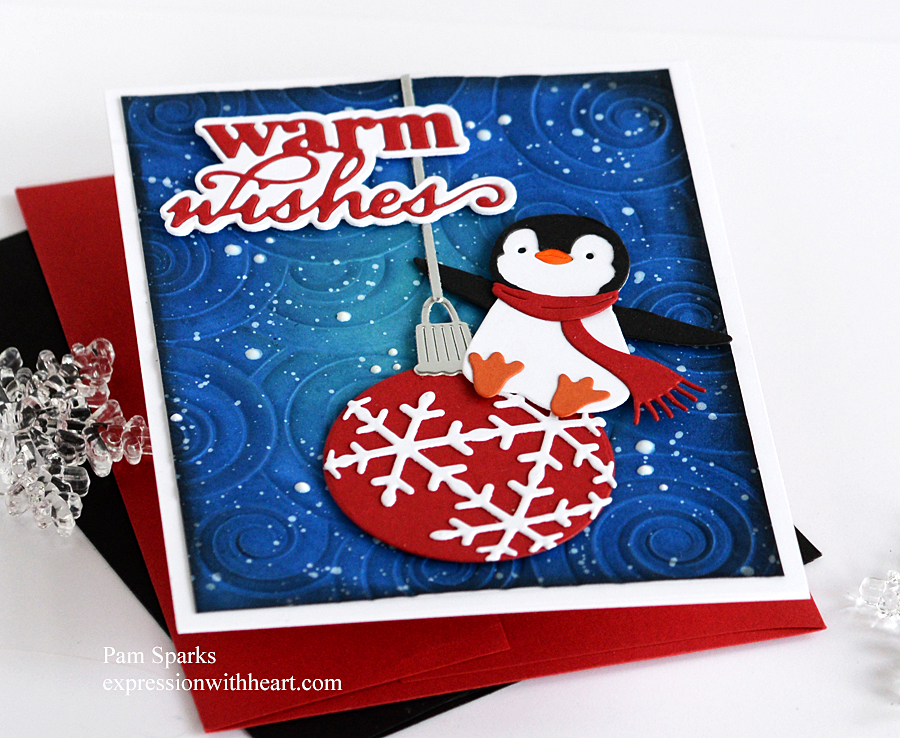
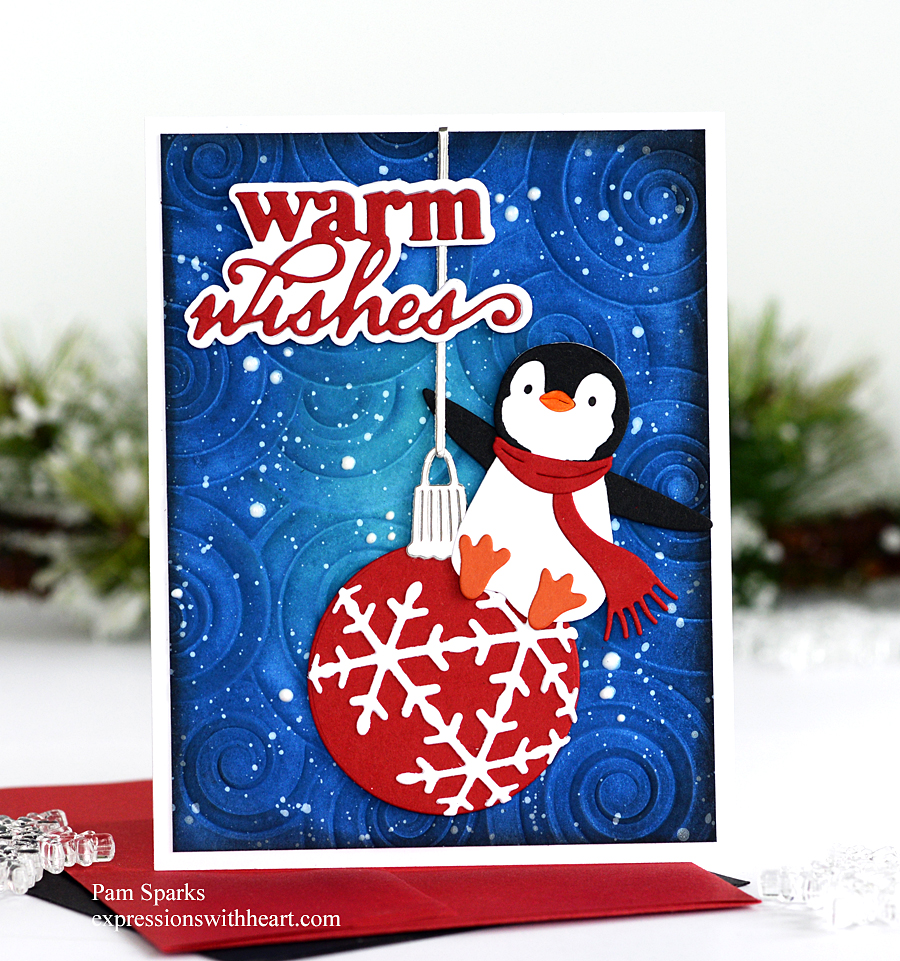
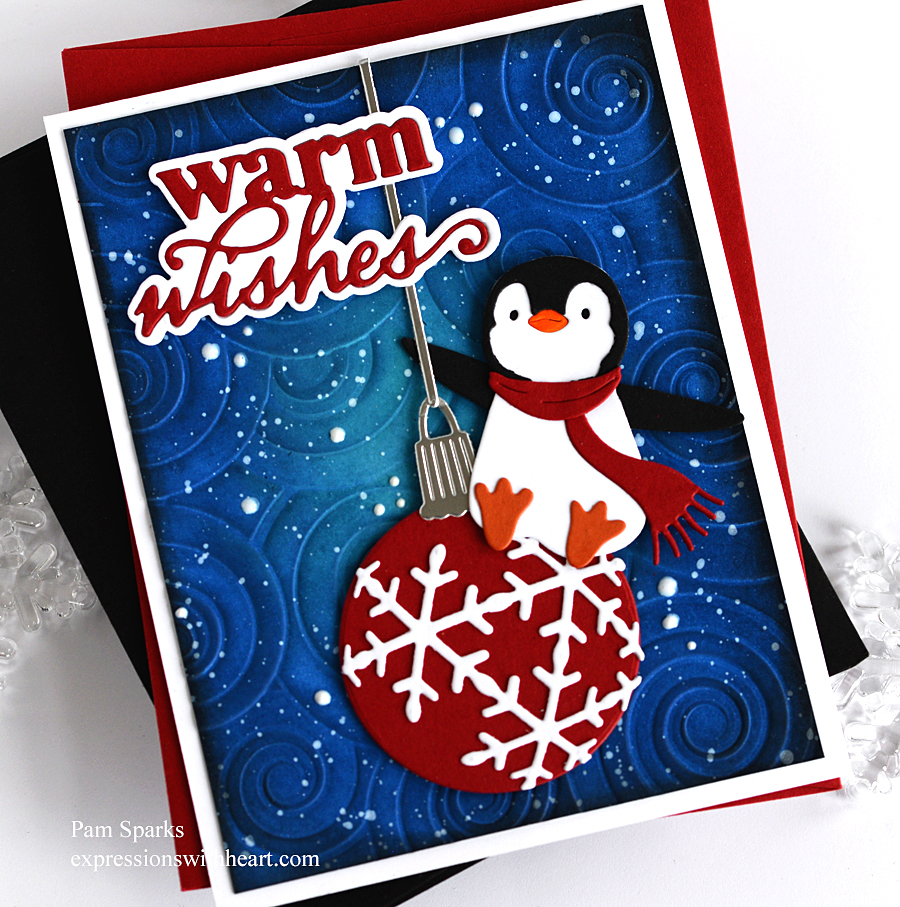
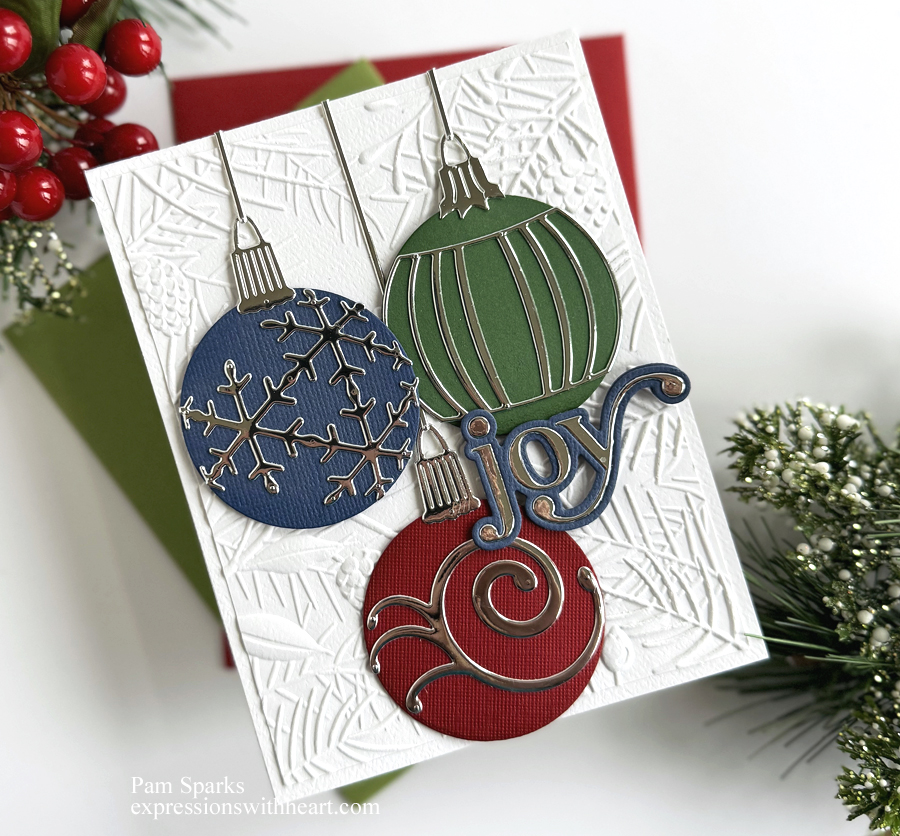
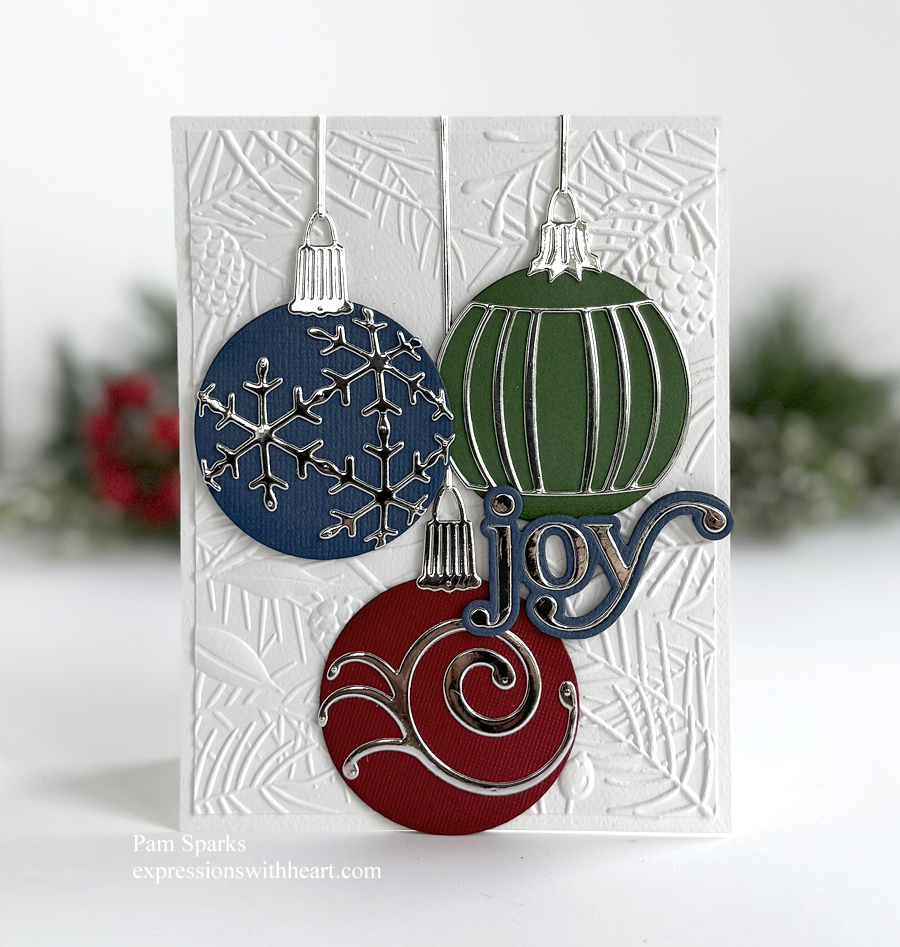
oh, back to this card… Nothing unusual! Die cuts and here’s the 3D embossing folder I used post before last but just in plain ‘ole white! I love the depth!
I’m glad I don’t have to pick a favorite technique because I like trying everything! hoho
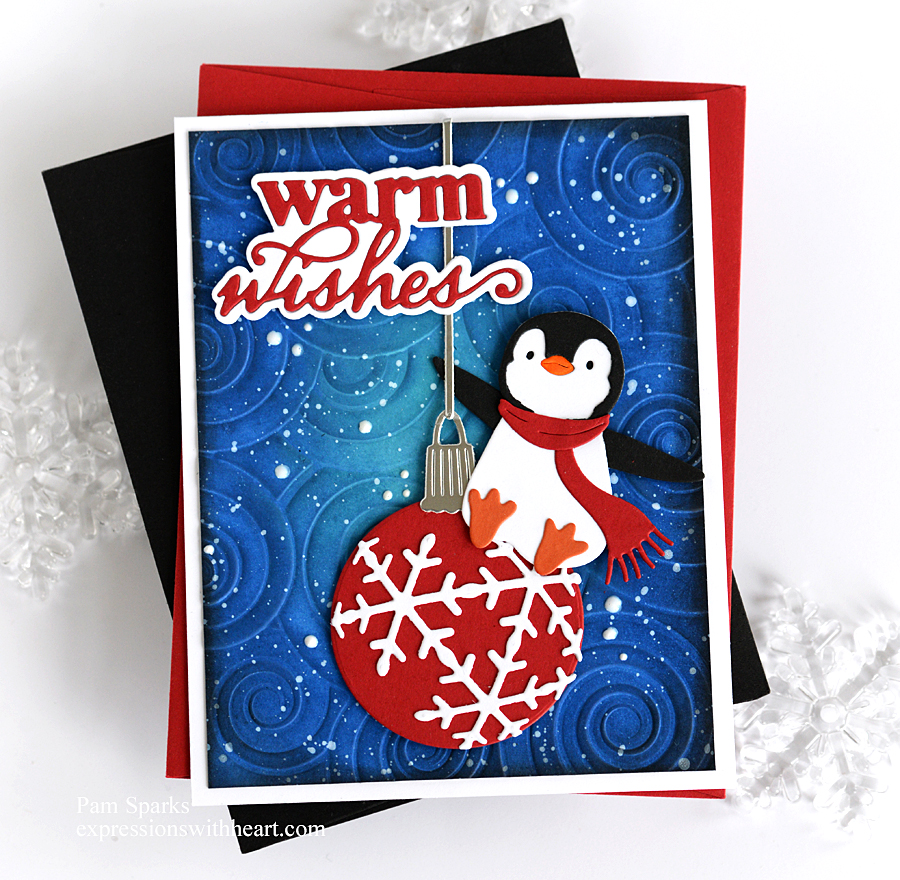
This is an A2 size card. Mirror card for the silver cuts and scraps for the baubles!
I ended up die cutting with scor-tape on the backs. So much easier to stick down without glue EVERYWHERE!
I’m linking to some Christmas Card Challenges…
Peace On Earth Christmas #100! – anything goes Christmas
A Cut Above November 2025 – anything goes with a die cut
Merry Little Christmas #65 – anything Christmas goes
That’s it for today’s post! Be sure to comment or email if you have any questions.
The Iowa forecast, in case you’re curious! haha! We’ve been accused of always talking about the weather here in Iowa! It’s just dreary and 47˚. I need to do some work outside but I’m gonna wait for some sunshine!
ttul!

Products I used to make this card…click/tap the abbreviations below the icon to go to a store! Thank you!
|