Card Sketch · cards · copics · Magnolia · Perfect Layers Tools · rubber stamps · Summer · Tilda's Town

Magnolia, Edwin in Miami…

❤ ❤ ❤ ❤ ❤

What a cute kid!  Edwin and his big tennies just make a gal smile!  Right now he’s Edwin in Miami… I’ve never been to Florida!  Do I need to go there?  I’m not a fan of swimming or relaxing even.. unless it’s reading a book!  If there were stamp stores to visit…hehe

This is my card for Tilda’s Town Challenges this week… create a card for a man or boy and use Edwin!

I used a Sweet Stop Sketches Sketch #165

Linking to the following challenges…

The Stamp Man – anything goes/summer colors
Paper Crafting Journey – Summer
Fab ‘n Funky  – Summer Holiday
Midweek Magnolias – Let’s look at Edwin

❤ ❤ ❤ ❤ ❤

❤ ❤ ❤ ❤ ❤

Edwin is stamped on Papertrey white select card-stock with Memento Tuxedo Black ink and colored with Copic Sketch Markers.
Hair E50, 51, 53, 55, 57
Skin E0000, 000, 00, 11 and E30 for cheek color
Shirt BG000, 01, 02
Shorts E40, 41, 42, 43
Shoes  N00, 0,3,5
orange YR000, 00, 01, 02

Martha Stewart Beach shell border punch (no longer available)  in orange card-stock and EK Success Wave border punch in blue green.

Nestabilities label die and don’t ‘ya love the layers… perfect layers tools are so awesome for creating layers…HERE’S my video where I’m showing how they work…. be sure you use a full size Xacto knife/craft knife!

Super cute little puffy stickers from EK Success.

I used Broken China and Antique linen Distress inks and the ink blending tool to add color to the background while the cut was still in the die.  I leave the cut in the die and flip it over and go around the edge with my embossing stylus to deepen the embossing… I show how to do this type of embossing while in the die in this video HERE.

❤ ❤ ❤ ❤ ❤

❤ ❤ ❤ ❤ ❤

Every once in awhile it’s just fun to work with bright colors!   Hope you’re enjoying the season where ever you are!  Thanks for visiting my blog… I love to share with you!

❤ ❤ ❤ ❤ ❤

Stamps and Such…

❤ ❤ ❤ ❤ ❤

cards · CC Cutters · CC Designs · copics · Masking · rubber stamps · Step card · Sweet November

CCDesigns…A Little Bit of Magic Fairy and Sentiments

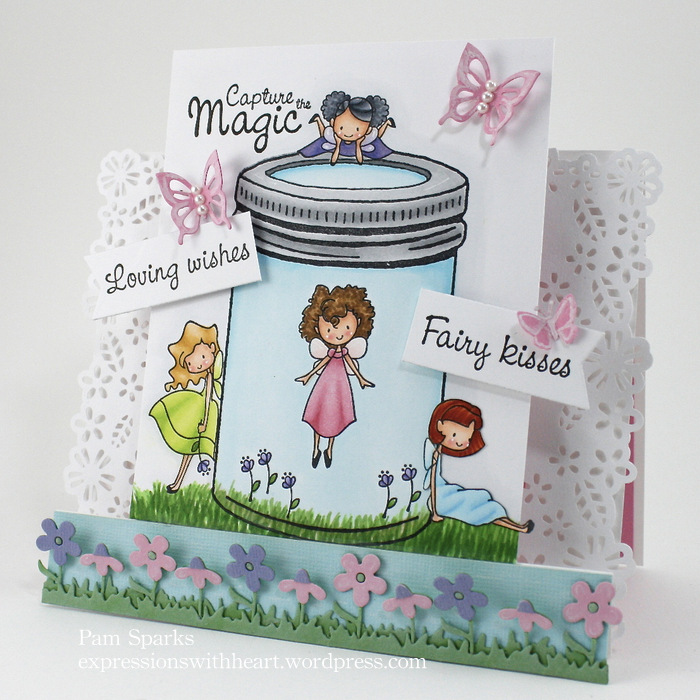
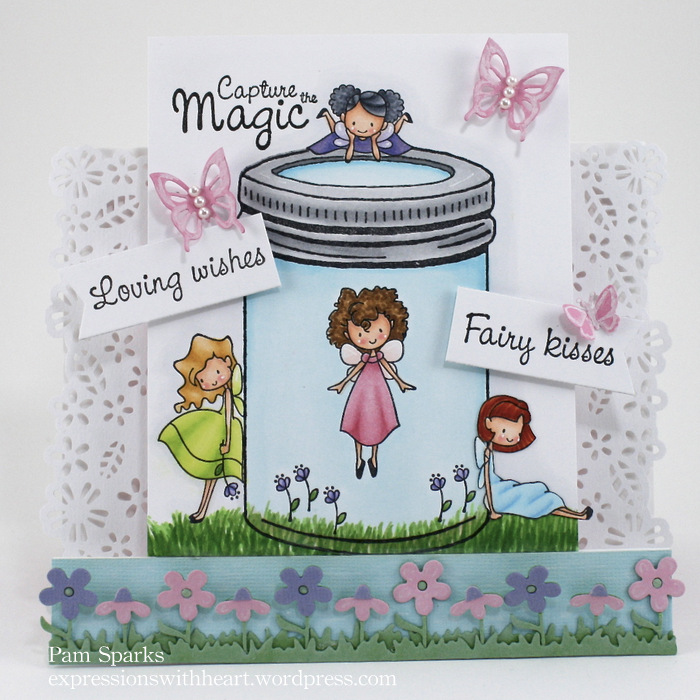
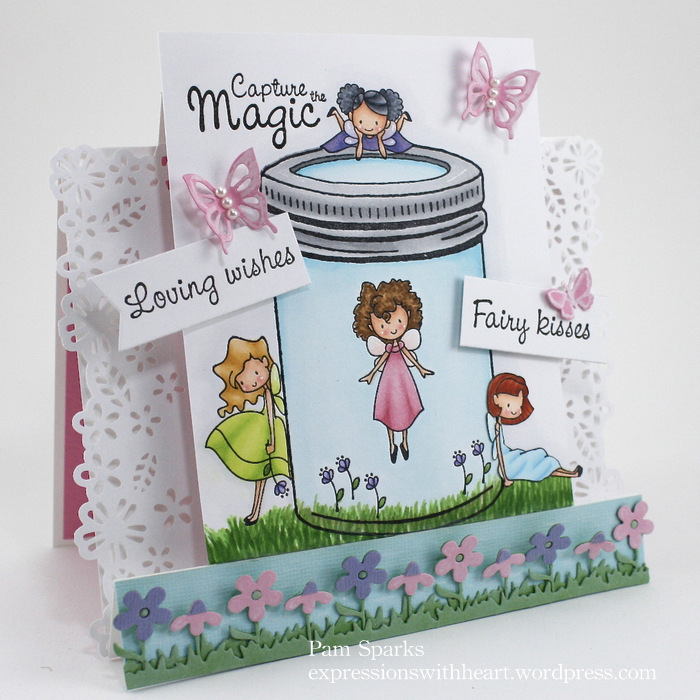
A fairy step card for you today!  oh what fun coloring these dinky little fairies from Sweet November… scroll down to my post from yesterday to see another card using this new kit!

I stamped using my stamp a ma jig for positioning… video under the tutorial tab above.  Papertrey Ink card-stock and Hammermill.  I stamped the images with Memento Tuxedo Black ink and colored with Copic Sketch markers.  The sentiments are stamped with Versafine Onyx Black ink… the best stuff on the market for stamping sentiments… so clean and crisp… be sure to allow time for it to dry though… a few minutes at least.  I used the stamp a ma jig to position on the banner die cuts… how to in the same video.  I used the Versafine cube ink pad to just ink up part of the sentiment for the loving wishes.  I love all the stuff you can do with a handy, dandy stamp a ma jig!

Copic colors I used..

Dresses, BV 11, 13, 15 – YG 01, 03, 05 – R81, 83, 85 – B000, 01, 02
Hair,  C’s – E50, YR31, 21, 23, 26 – E30, 31, 33, 34, 35, 37 – E97, 08, 18, 19
Skin,  E0000, 000, 00, 11 and diluted R20 for cheeks

Capture the magic today and happy weekend to you!  I’m off to stamp club this afternoon.  It’s gonna take a trunk to pack up all this show and tell!  Wish you could come!  Wouldn’t that be fun!  I ran out of time last month to take any show and tell.  Hopefully I can get it together for today and pack up what I need for the program too!   Take care and talk to you soon!

Linking up to these challenges…

Fun with shapes and more – Summer
Inspire me Friday – Always anything goes
Simply Create Too – Summertime 

Stamps and Such…

ATS · ATS Preview · Card Sketch · cards · CC Cutters · CC Designs · copics · Printworks · rubber stamps · Sweet November

CCDesigns…A Little Bit of Magic Fairy and Sentiments Preview Day One and Printworks coupon!

Today the ATS DT is previewing a NEW whimsical, charming rubber stamp kit, illustrated by Amy Young for CC Designs …Sweet November’s A Little Bit of Magic Fairy and Sentiment set.  


“Thank you Fairy Much!” is from the NEW Fairy sentiment set and “have a magical day” is from the Magical Wishes Sentiment set.  I used my stamp a ma jig to stamp the sentiments… pull down the tutorial tab under the header picture for a video on how to use it to stamp sentiments.  The Mushrooms are from the Mushroom stamp set.

I had to use the Leafy Branch die too…

I used sketch #43 from Freshly Made Sketches  blog, HERE.

The fairies are stamped on Hammermill Color Copy 80# cover card-stock with Memento Tuxedo Black ink  and colored with Copic Sketch Markers.

Skin – E0000, 000, 00, 11 and diluted R20 for cheeks

Yellow dress fairy –
hair is E50, 51, 53, 55
dress and wings are E11, 13, 15, 18

Pink dress fairy –
hair is the E30’s
dress is R11, 12, 14
wings are BG70, 72

Green dress fairy –
hair is E50, YR31, YR21, YR23
dress is YG91, 93
wings are R11, 12

The background is BG70 colored all over…

I used an old Martha Stewart border punch,  cut it down to a size that would fit through the Quilling Creations crimper so it’s “ruffly” looking!  Makes me happy! hehe  The butterfly is an EK Success punch.

Thanks so much for joining me for this preview post!  I’ll be back tomorrow with another cute card you won’t want to miss!  Take care!

Stamps and Such…

cards · CC Designs · Flexmarkers · Memory Box · Penny Black · Perfect Layers Tools · Promarkers · rubber stamps · Sweet Stamping Pixies

Mimi and Friend for Sweet Stamping Pixies Challenge…

❤ ❤ ❤ ❤ ❤

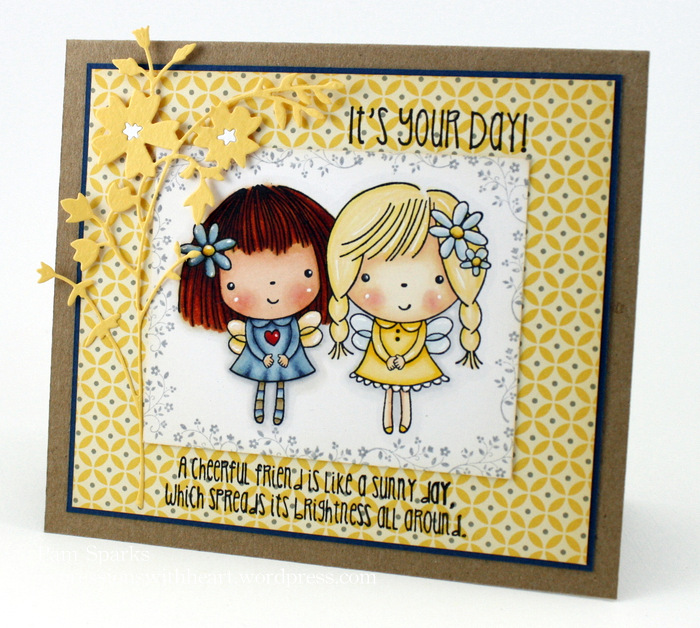
It’s YOUR Day!  A cheerful friend is like a sunny day which spreads it’s brightness all around.

❤ ❤ ❤ ❤ ❤

❤ ❤ ❤ ❤ ❤

SSPC #5  – Color challenge… use blue, tan and yellow with your pixie/sprite/fairy stamp!  I used Mimi and Friend from Penny Black,  colored with Promarkers and Flexmarkers.  Memory Box Honeyblossom die and AmyR Stamps Oh So Beachy Sentiment set.  October Afternoon pattern paper and a SU stamp to go around the edge of the image.  I think the name of the set is Tiny tags.  I went with kraft for the “tan” in the color scheme. Layers are all cut with the Perfect Layers Tools… even the card base. I scored and folded an 8.5 x 11 piece of kraft card-stock in half…then I held my ruler on the fold at 1/4 in.  and placed the image rectangle right up to it, stuck it down… then used the 1/4 in. Perfect Layers Tool to cut the sides and bottom at 1/4 in. for perfect spacing!  love these tools!

Click over to see the fabulous creations by the SSPC team, HERE!  Check out the totally charming prize too!  We’d love to have you play a long! All the details are on the SSPC blog.

The marker colors I used…

Mimi
hair – FM buttercup, PM burnt orange and FM Firebrick
skin – FM blush, PM oatmeal, PM apricot and PM soft peach for cheeks
dress – PM Pastel Blue, PM Denim Blue, PM Midnight Blue
wings – FM buttercup, PM tulip yellow

Friend
hair –  PM ivory, FM buttercup, PM Tulip yellow
skin – PM ivory, PM vanilla, PM oatmeal, PM apricot and PM soft peach for cheeks
wings – PM pastel blue
dress – FM buttercup, PM Tulip yellow and FM Sunflower

Challenges I’m linking to….

Penny Black Saturday Challenge Blog – Summertime
Addicted to Stamps Challenge Blog – Card for something special
Let’s Ink It UP Challenge Blog – All Girl
Penny Black Allsorts Challenge Blog – Summer Blooms 

❤ ❤ ❤ ❤ ❤

Stamps and Such…

ATS · ATS Preview · cards · CC Cutters · CC Designs · copics · Meoples · Quickutz · rubber stamps

Start HERE…

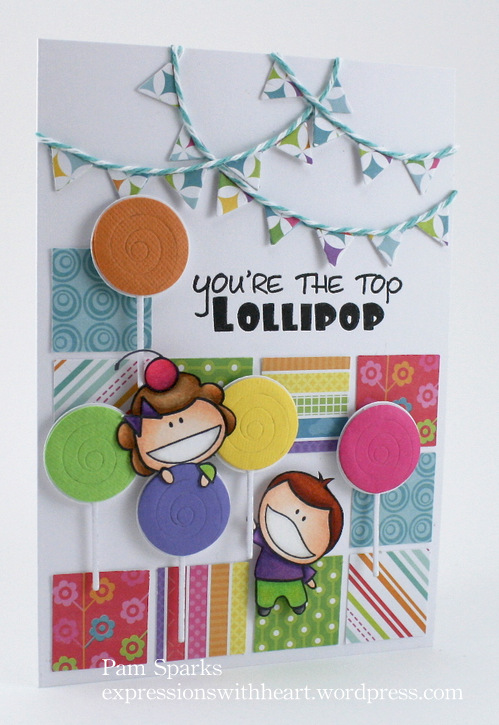
Growing up we didn’t have a TV until I was in 9th grade… we played outside every spare minute and when we were inside we played church, library, store, school and oh, I loved playing table games! So that’s the first thing I thought of when I saw these new images for July illustrated by Christine Wooden. They’re called Meoples… well… that immediately brought to mind because of the rhyme…the pre-school Sunday School song where we locked our fingers, made a steeple and sang open the door and see all the people! Well, that translated to see all the Meoples in my mind! lol Next it translated to a game board! So here you have it from a non-candy eating person… Candyland meets the Meoples!!! Start HERE!

❤ ❤ ❤ ❤ ❤

❤ ❤ ❤ ❤ ❤

Aren’t they funny?!!!  So cute!  So whimsical…you can’t help but grin!  You HAVE to go see what the other ATS Design Team gals created too!  Fab and F*U*N as Tracy would type it!    HERE’s the post…

❤ ❤ ❤ ❤ ❤

❤ ❤ ❤ ❤ ❤

I used the NEW I Want Candy Meoples… the NEW Lolli die… the NEW Sweet Treat Logos on my card.

I punched 1 in. squares for the game board… I know… I need a “start here” stamp! lol

Quickutz banners/bunting… and bakers twine

Challenges I’m linking to…
Card Makin Mamas Challenge blog – use your rubber stamps
CAS-ual Fridays Challenge blog – Use text in your clean and simple design
Our Craft Lounge Challenge blog
– Use die cuts
CCEE Stampers Challenge blog – Use three circles on your card

❤ ❤ ❤ ❤ ❤

❤ ❤ ❤ ❤ ❤

The July Release stamps are in the store!  Links will be below in this post and in my previous posts on Tuesday and Thursday! Thanks for looking and shopping through my blog… I appreciate it so much!

Have a “lolli” good day!  (you know.. like jolly!)  Quit rolling your eyes!  = )   TTuL!

❤ ❤ ❤ ❤ ❤

Stamps and Such…

❤ ❤ ❤ ❤ ❤