ATS Magnolia Challenge · cards · Distress Ink coloring · Magnolia · rubber stamps

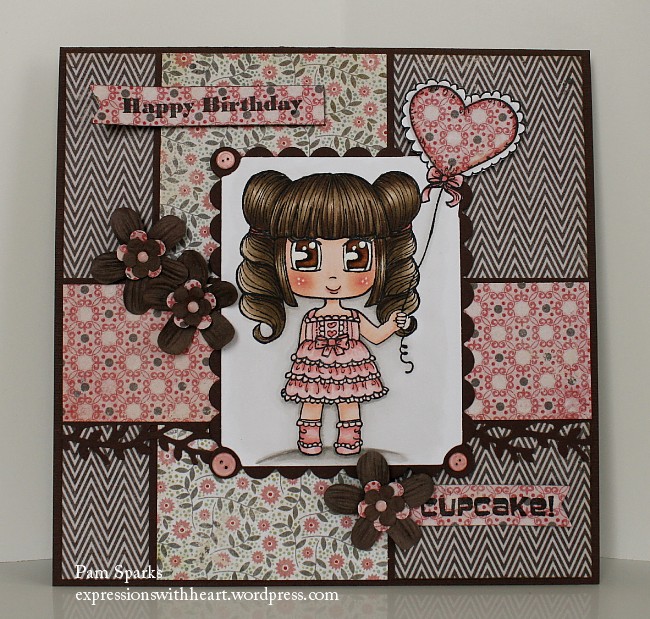
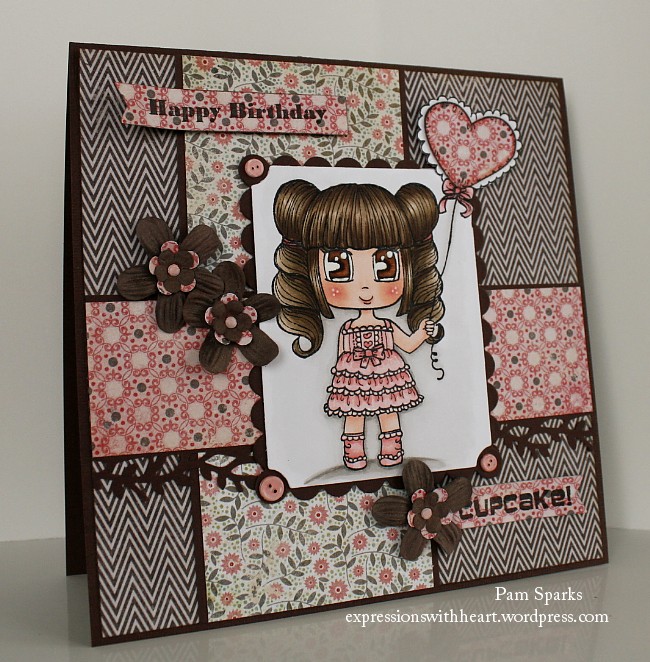
Tilda with Straw Hat…

She is so precious!  I love her… wish I had time to take my photos over though… just didn’t quite capture her charm! boohoo! I will forever be trying to get better photos! ugh!

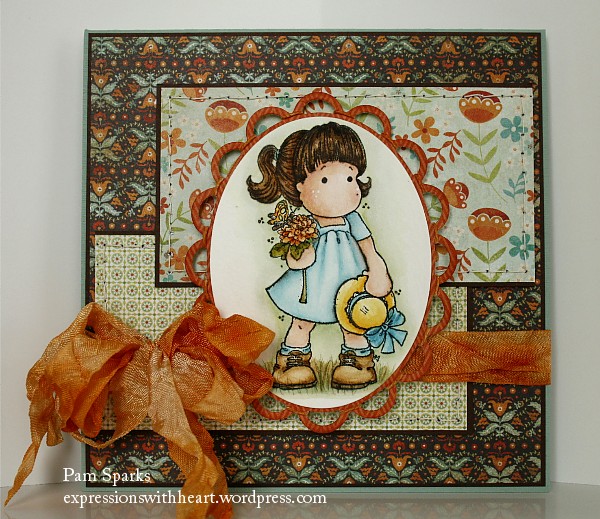
This is Tilda with Straw Hat from the Butterfly Dreams Collection!  I colored her with Distress ink refills on cold press watercolor paper.  The pattern papers are from the Stella Rose line from My Minds Eye called Mabel… they just…go together!  EASY! gotta love that!  whew!

I used the new Lacy Oval Nestabilites die to frame her and back stitched between the loops… can you see it? I also hand stitched and I’ll tell you what I’ve learned from trying this a few times now.  I emailed some bloggers but didn’t get replies or else their products weren’t in the USA.  So I will share what I’ve found from trial and error as you’ll see here!!! haha! I love to sew and hand sew.  It’s just therapeutic I guess.

  • Finally found the thread I like… Coats and Clark Button/Carpet thread.
  • pierce your holes with the needle you’re going to sew with,  then your holes won’t be so huge!
  • figure out the size of your paper with the ruler/tool you are going to use that has the holes guide for piercing in it… notice here that I didn’t do this and I have extra holes in a few places and had to cut my layers down…all of life is education…that’s my excuse and I’m stickin’ to it! : )
  • the other trick is keeping the pierced holes straight… gotta work on that! haha  But,  you’ll notice on commercially made items that their stitching isn’t always perfect either,  so go w/the charm of crooked! lol

To dye the seam binding,  I was in a hurry,  so I just cut off 3 yards (yes, I cheated and measured the nose to stretched out arm length way),  laid the cut length on my craft mat in a loose scattered pile and started pouncing on it with my Rusty Hinge Distress ink pad.  After I had ink pretty much on most of it,  I spritzed it with water to blend the ink but leaving dark and light areas.  Not sopping wet though.  Squashed it in a plastic bag to get it good and wrinkled.  Pulled it out and dried it with my heat tool.  Worked great!

Linking my Tilda card to the new German Magnolia Mania Challenge blog – Happy Easter!

Getting ready for stamp club this afternoon…looking forward to some fun with my stamping friends! Thanks for stopping by !

Here’s the links to the products I used on my card…

Birthday · CC Cutters · CC Designs · rubber stamps · Tutorials

Explosion Box Tutorial…

Pictures in previous post…HERE!

  • for the box bottom, cut a 12×12 piece of card-stock
  • cut on solid lines
  • score and fold on dotted lines

  • decorate the panels with nestabilities square and scallop square die cuts and other stamped or die cut images
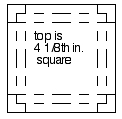
  • for the box lid, cut an 8 1/8th in. square piece of card-stock
  • score at 1 in. and at 2 in. on all four sides with the Martha Stewart score board (link below), that leaves you with a 4 1/8th square in the center of your big square.

  • cut out the three scored 1 in. squares on each corner of this box lid piece
  • fold on remaining score lines to make the box lid sides
  • notice you have to cut up one of the 1 in. score lines on each side, to make the tab that will go under the side folds.  (this will make sense when you’re doing it)
  • fold in the side scores to the inside of the box lid… makes a really nice finished edge to the lid
  • glue or tape if you want to,  you don’t have to but I did

Exploding parts…

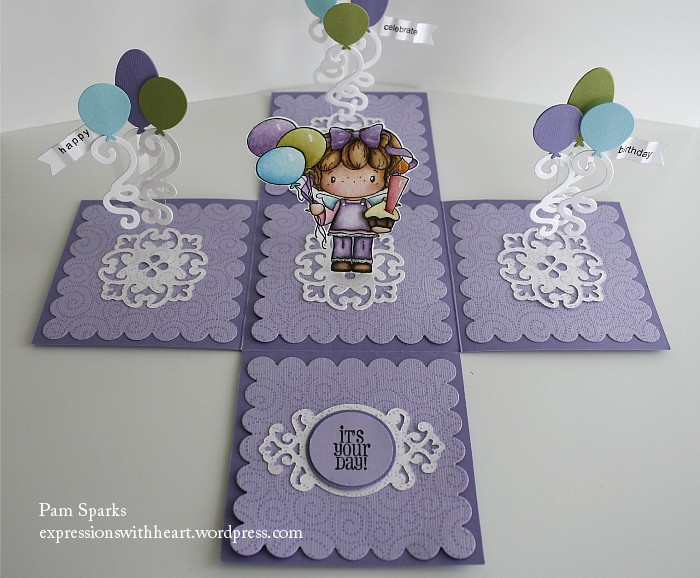
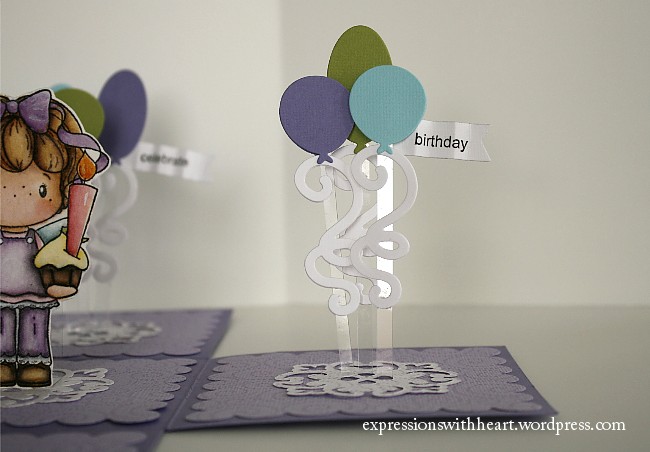
  • to get the balloons to stand up, I just took the packaging acetate from the Nestabilities Parisian die set and cut strips about 3/16th in. wide and 3 3/4 in. long.
  • I cut two squiggles and two balloons (for each strip) from CC Cutters dies (link below) and sandwiched each strip between the dies, gluing them in place with Tombow Mono Multi glue (link below). I made nine pop-up balloons,  so cut 9 acetate strips and 18 balloons and 18 squiggles!
  • I scored each strip on one end at 1/4th in. and then tucked them in, one in each of three holes that are in the center of the decorative circle die from the Parisian die set (link below), using the micro mini glue dots (link below) to hold them in place. Then I glued the die cut circle down.
  • to make Birthday Gretel (link below) stand up,  I cut a piece of the same packaging, 1/2in. wide and 5 1/2in. long.  Scored this piece on the Martha Stewart score board (link below) at 1/2in., 2 1/2in, 3 in., and at 5 in., fold it up into a standing rectangle, taping it together and to the back of Gretel and to the box.

Stamps and supplies I used are linked below…thanks for stopping by and so glad you liked my Birthday Exploding box!

Birthday · cards · CC Cutters · CC Designs · Distress Ink coloring · rubber stamps

Birthday Explosion Box…

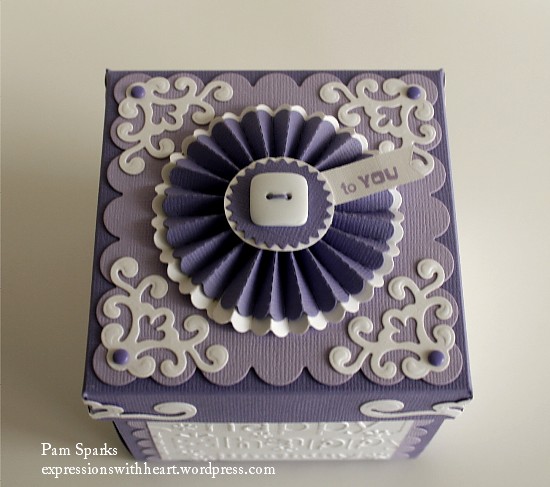
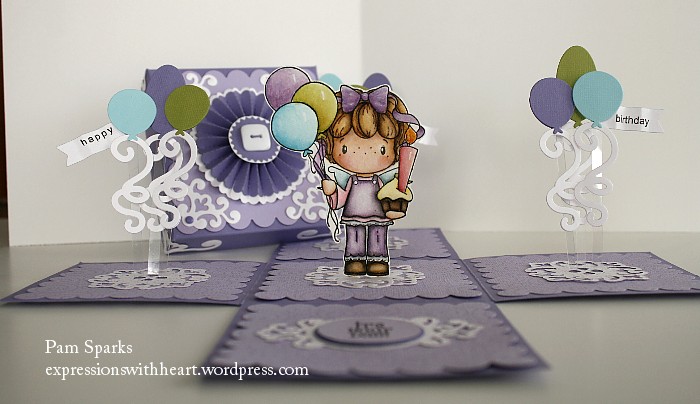
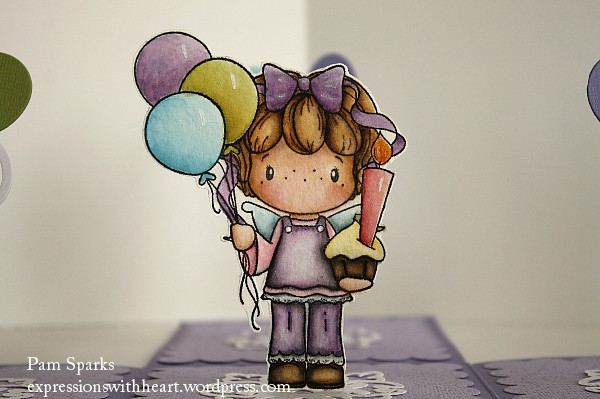
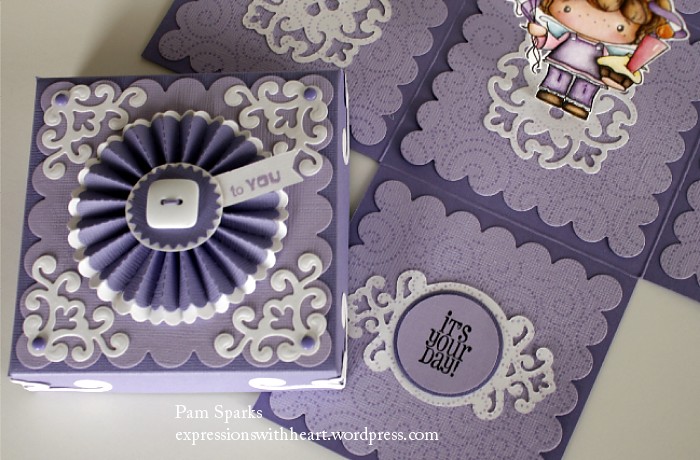
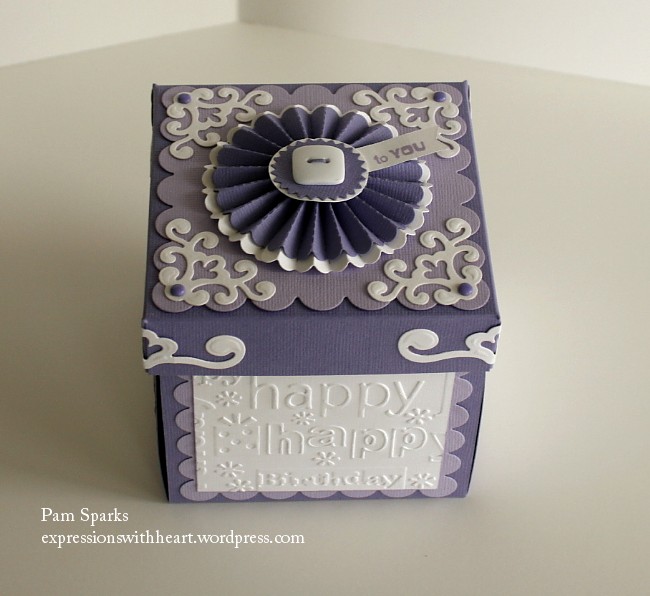
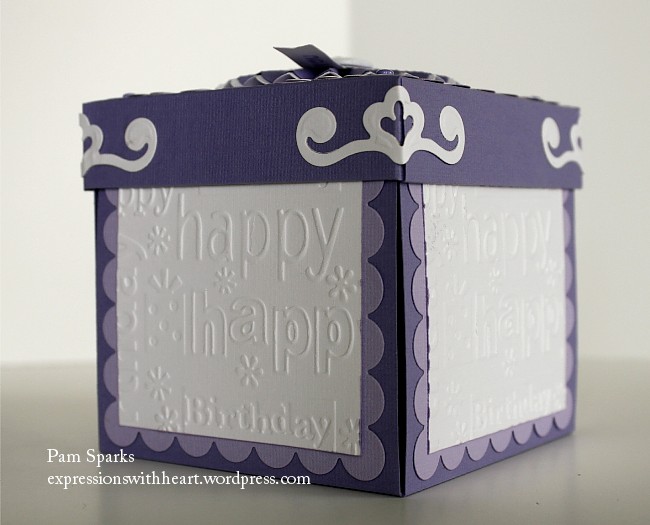
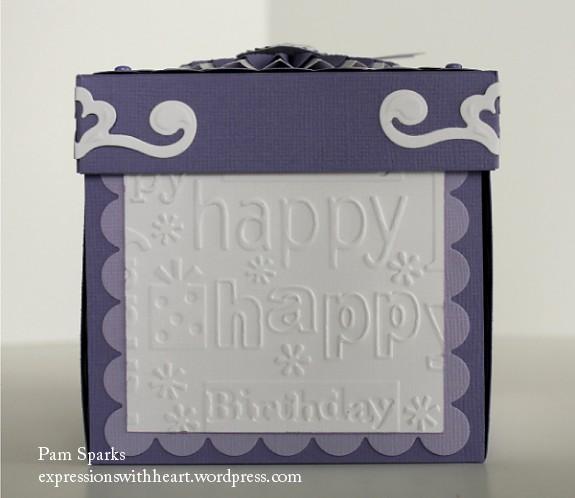
Two days work and you end up with an Exploding Box! Cool! Only the coolest for a Birthday celebration!  Look inside…Birthday Gretel!

Here’s a few close up photos…

A few more of the box closed…

Stamps and Such…

ATS · ATS Preview · cards · CC Designs · copics · punches · rubber stamps

Day #4 April Release…

Does she make you laugh?  She makes me chuckle…she looks sweet but kinda on the tough/tomboy side of sweet!  Like…  my mom made me dress up and hold this balloon! lol  Meet Little Loli,  one of two new images from the Love Lolita line by  CC Designs and available Sunday, April 3rd at All That Scraps.com, HERE.

I stamped her on PaperTrey Ink white card-stock with Memento Tuxedo Black dye ink and colored her with Copic Sketch Markers.
  • hair – E50, 41, 43, 44, 47, 49
  • skin – E000, 00, 01
  • cheeks – R20, 21, 22
  • eyes – E23, 25, 27
  • dress, socks, shoes – R20, 21, 32
  • ground and shadow – W0, 1, 3, 5

I created the card and paper pieced her heart with the Hazel paper pad.  The sentiments are from parts of two stamps inked up with Versafine and stamped with the stamp a ma jig. I like to use the little square Versafine stamp pad for this… it’s really easy to get in and ink up just what you want!  Flowers are from Hero Arts with Bazzill Bitty brads in the center, that I colored with Copic marker R21.  The pink flower layer is the EK Success small Retro Flower punch.  For the corners of the scallop rectangle nestability, I used some old Making Memory button brads and colored them with Copic marker R21 too.  I used a regular nestability and cut her out of the box.  The cute little banner cuts at the top and the bottom are from a NEW CC Designs banner die set the gals will be showing tomorrow and will be released Sunday, April 3rd too.

Below are the links to the products I used on this card… hope you find it helpful… it looks nice but I’m curious what you think!  Christine has been busy adding lots of new in the store,  HERE… stamps, paper pads… lots!!!

Have a great weekend! Looks like Spring! ttul!

ATS · ATS Preview · cards · CC Cutters · CC Designs · punches · rubber stamps

Day 2 – April Preview…

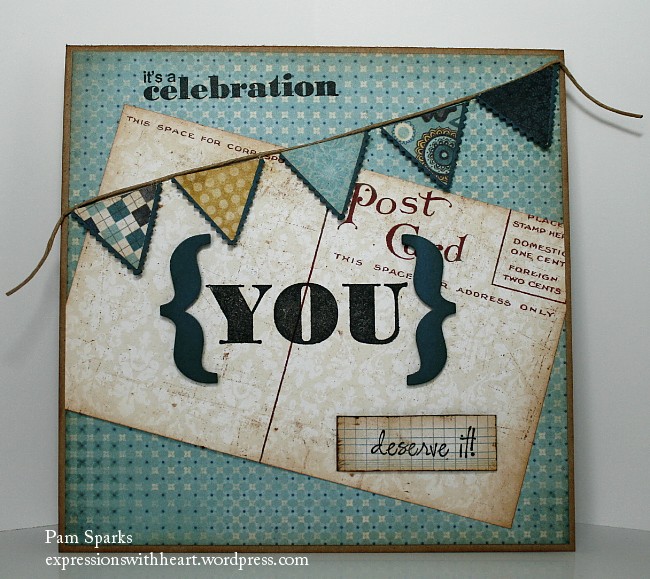
Oh NO!  I feel a song coming on.. “it had to be YOU”! lol   Another great set by Amy R. from CC Designs, called “All About You“.  I got this card finished and immediately thought of some other ideas I could have used!  So… down the road…there will be more of these!  The “it’s a celebration” stamp is from the “It’s Your Birthday set” in the store HERE.  I love all these word sets! You can be so creative in mixing and matching them up with each other!  The brackets dies are coming!!! Part of the April release, in the store April 3rd HERE!

I used the My Minds Eye Hattie 6×6 paper pad, in the store HERE.  Stamped the words with Versafine Onyx Black ink, the post card paper is a few years old, from Making Memories and the banner is an old, old, OLD triangle punch from Emagination Crafts… see,  I told you!  OLD! lol  I glued the triangles to a piece of SU card-stock with Mono Multi glue, in the store HERE (my favorite glue ever) and then cut two sides with the Fiskars mini pinking decorative edge scissors.

What else is new?  LOTS!  new Stamping Bella images… new Wild Rose images and papers…in the store HERE and the list of what’s NEW is HERE.   I almost forgot!  Christine has added to the clearance section too,  HERE!

Stay Tuned… more to come this week…and click over to the ATS blog to see the other gal’s work and link up for a chance to win!!!

ttul! and THANKS for stopping by!