Hi everyone! I’m sitting here trying to remember how to do everything involved in writing a blog post. eek! It’s been a month or so! I’ve been having fun using some of my stash! I hope I can keep up getting stuff posted. I have FIVE cards that I have pictures of that I haven’t posted yet. Where does the time go!
At least I’m getting to it this morning! hoho
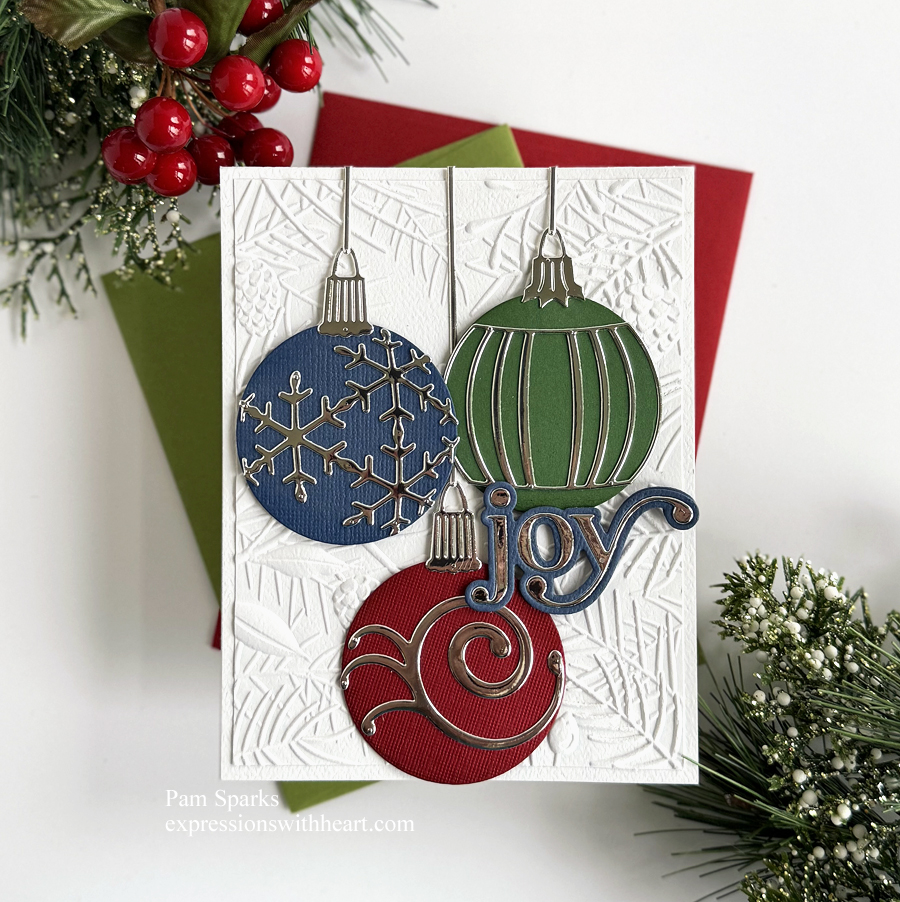
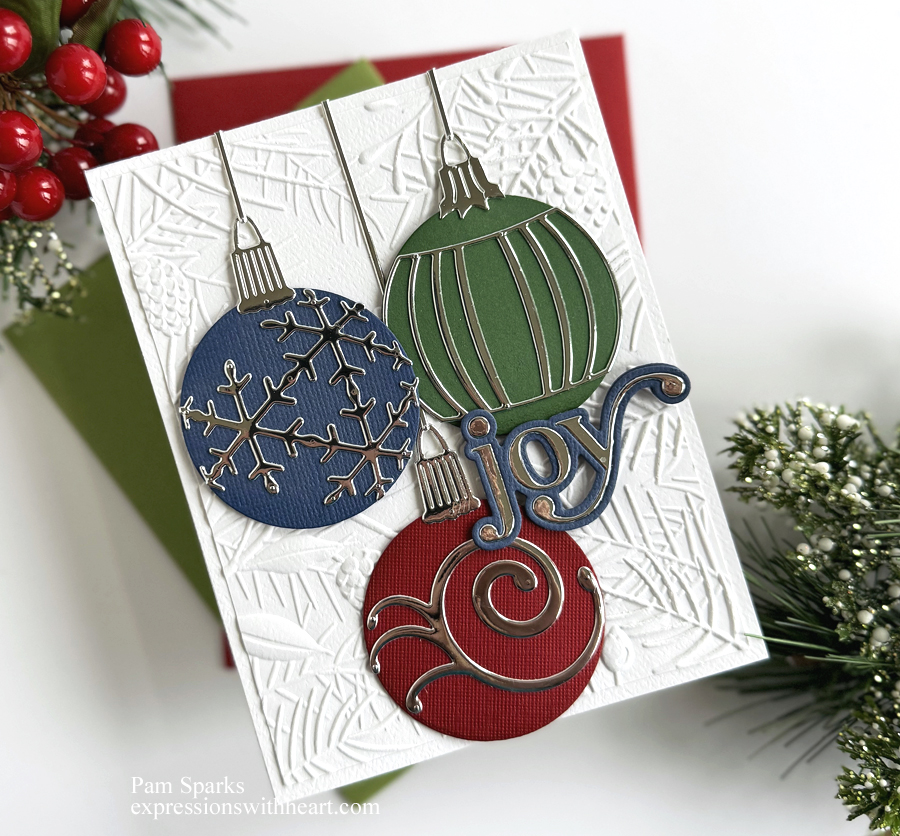
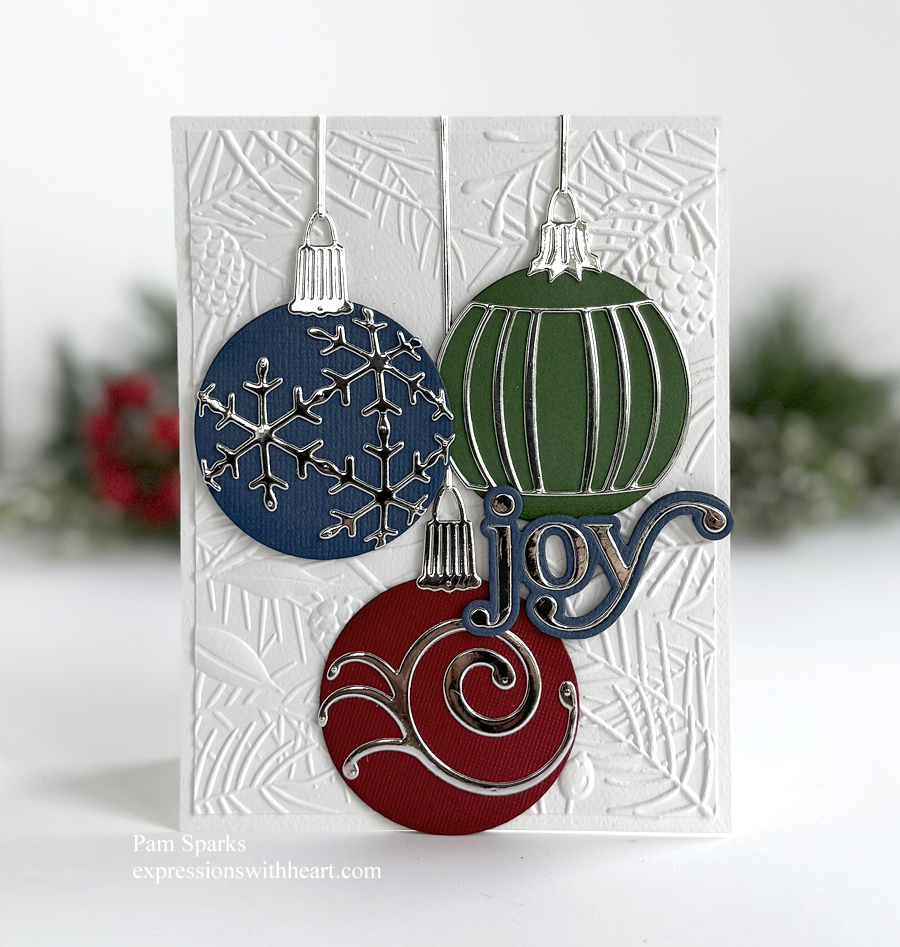
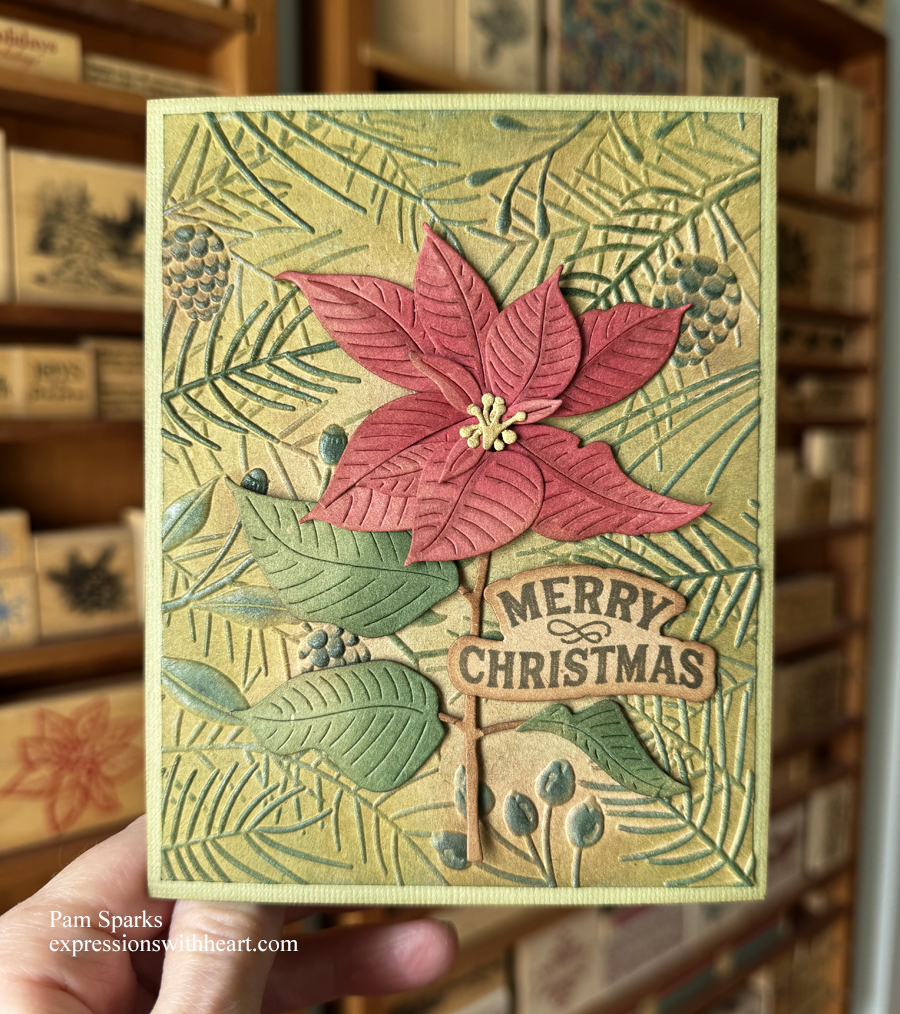
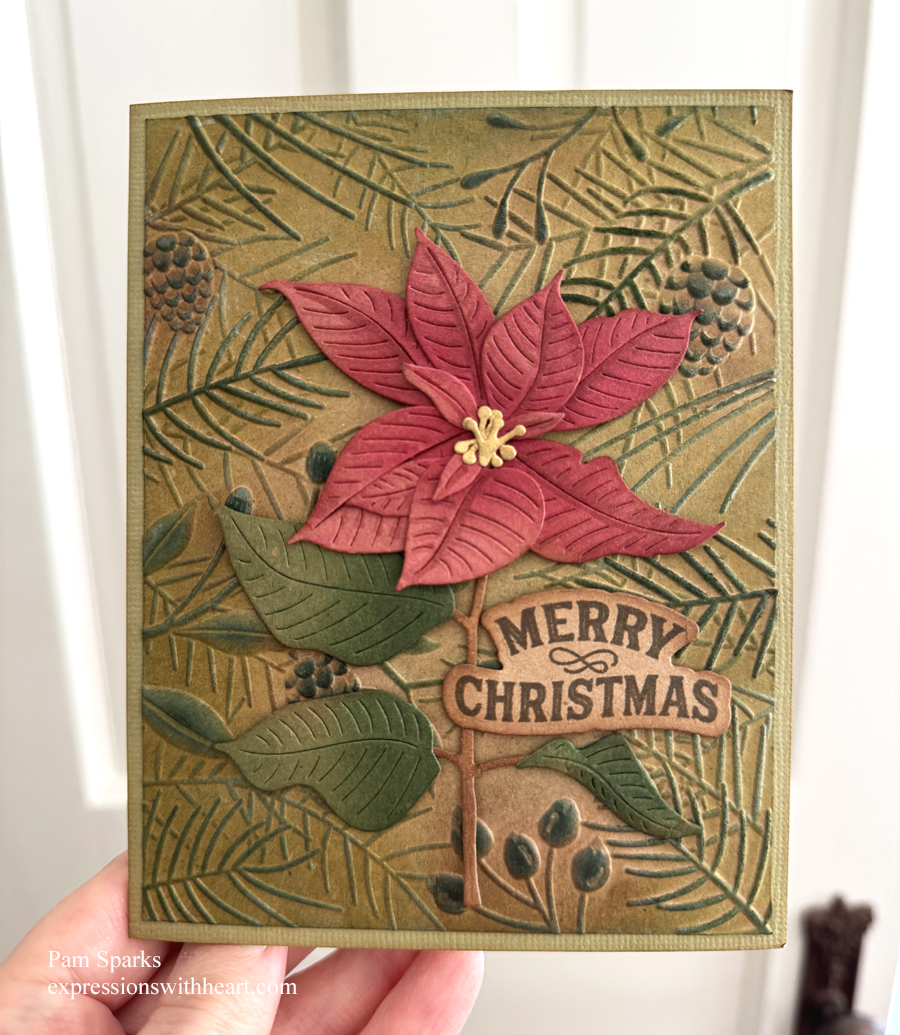
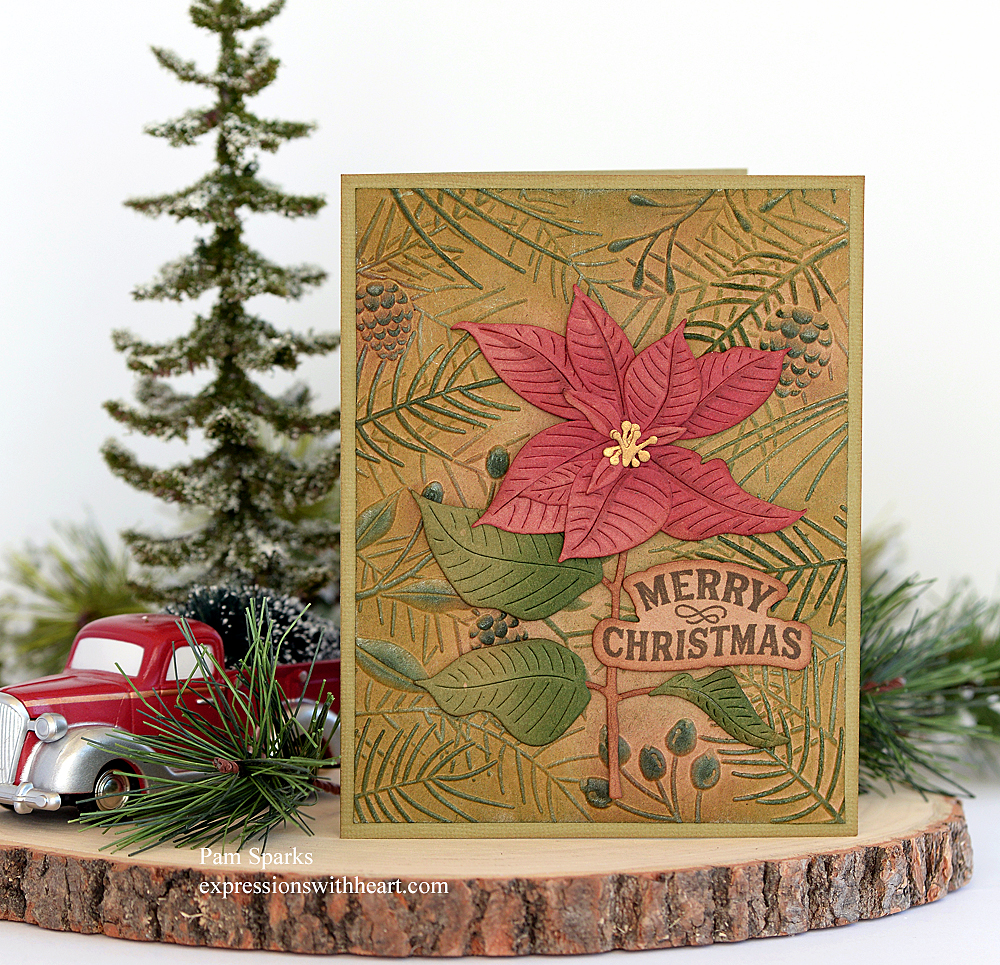
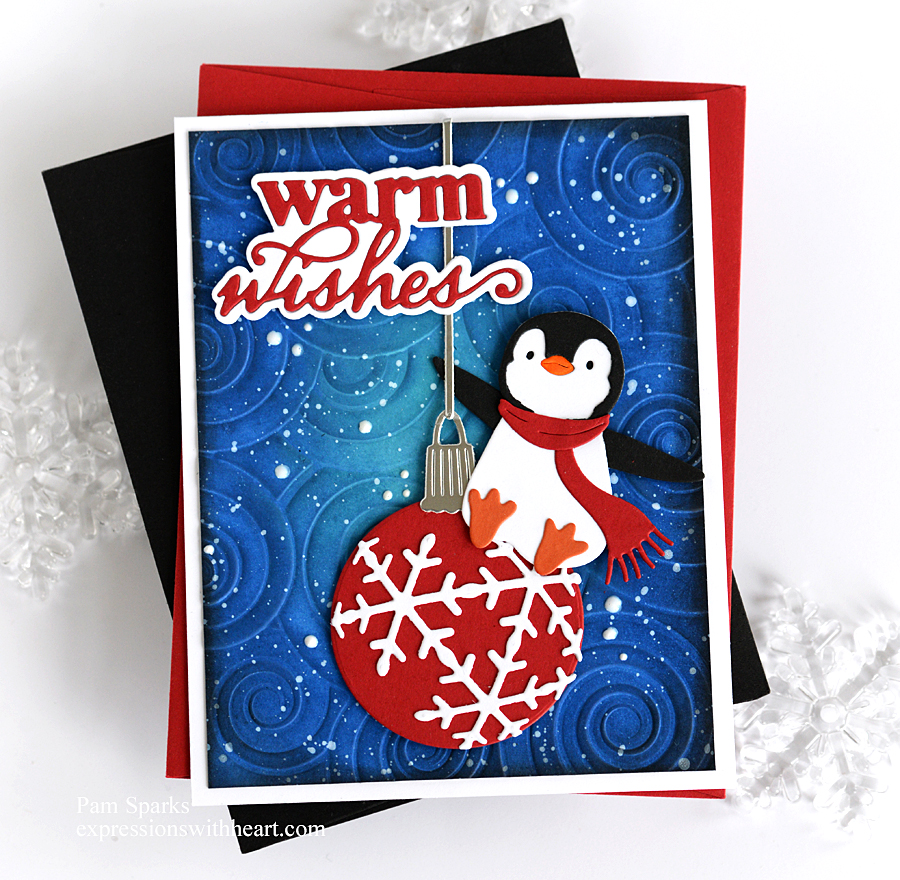
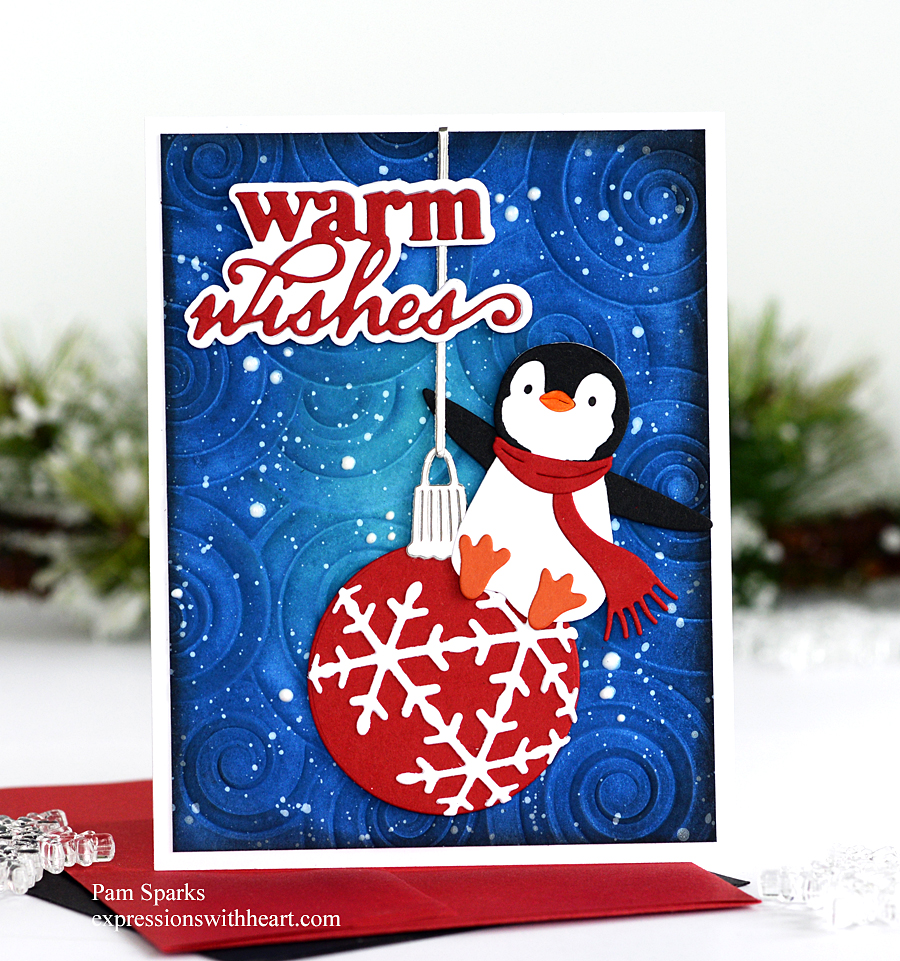
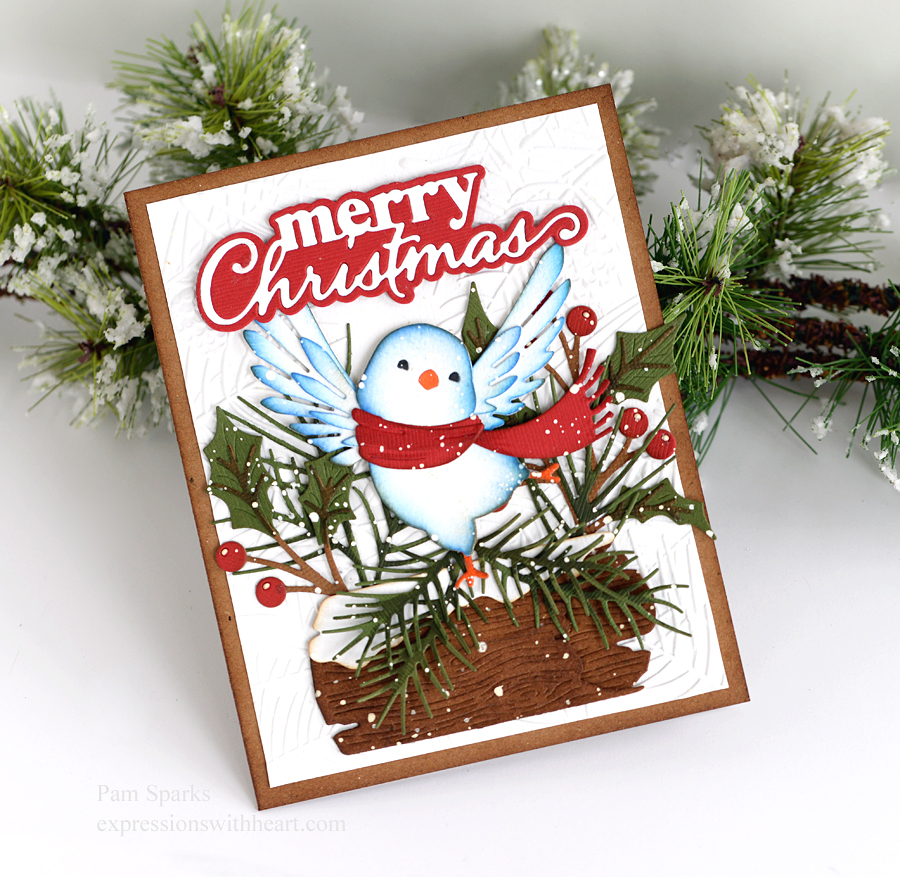
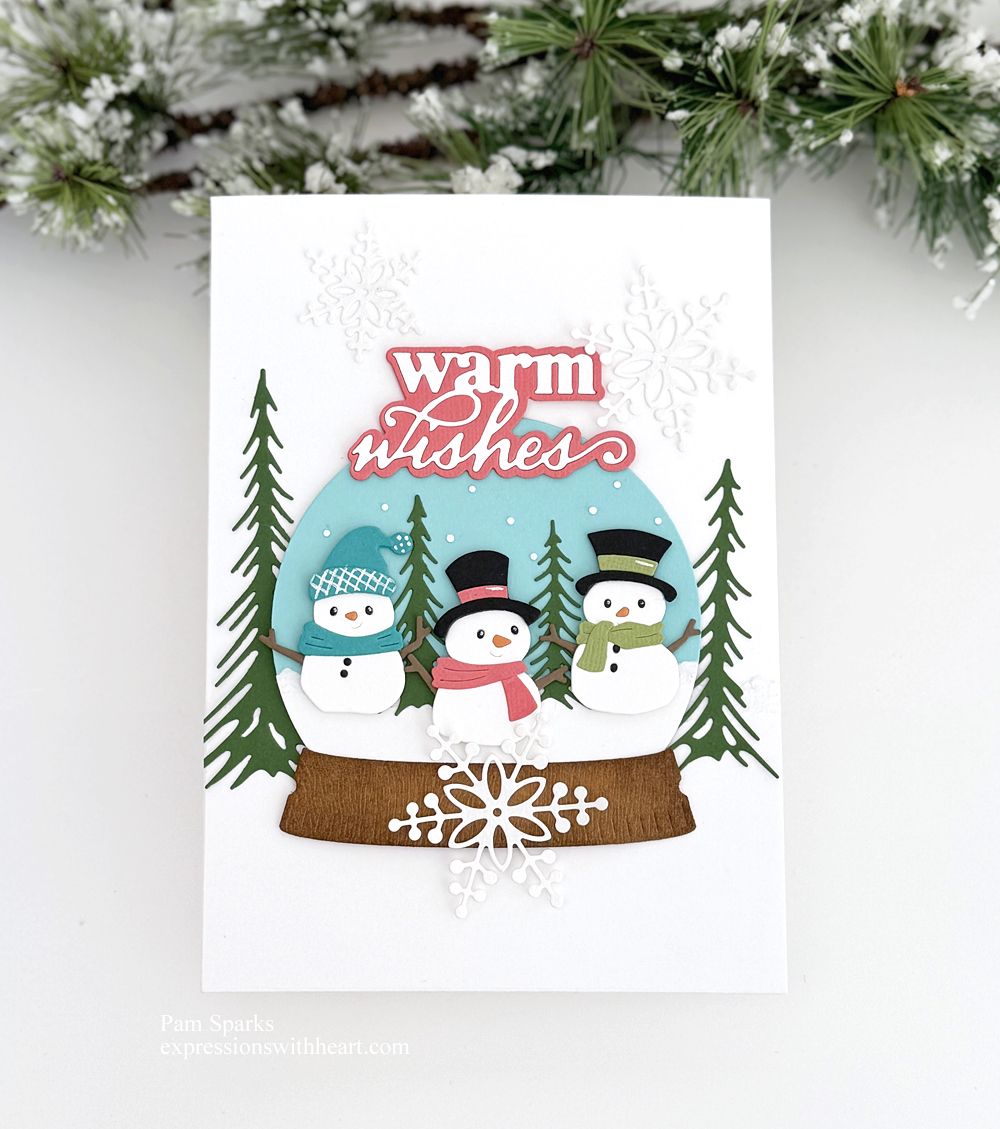
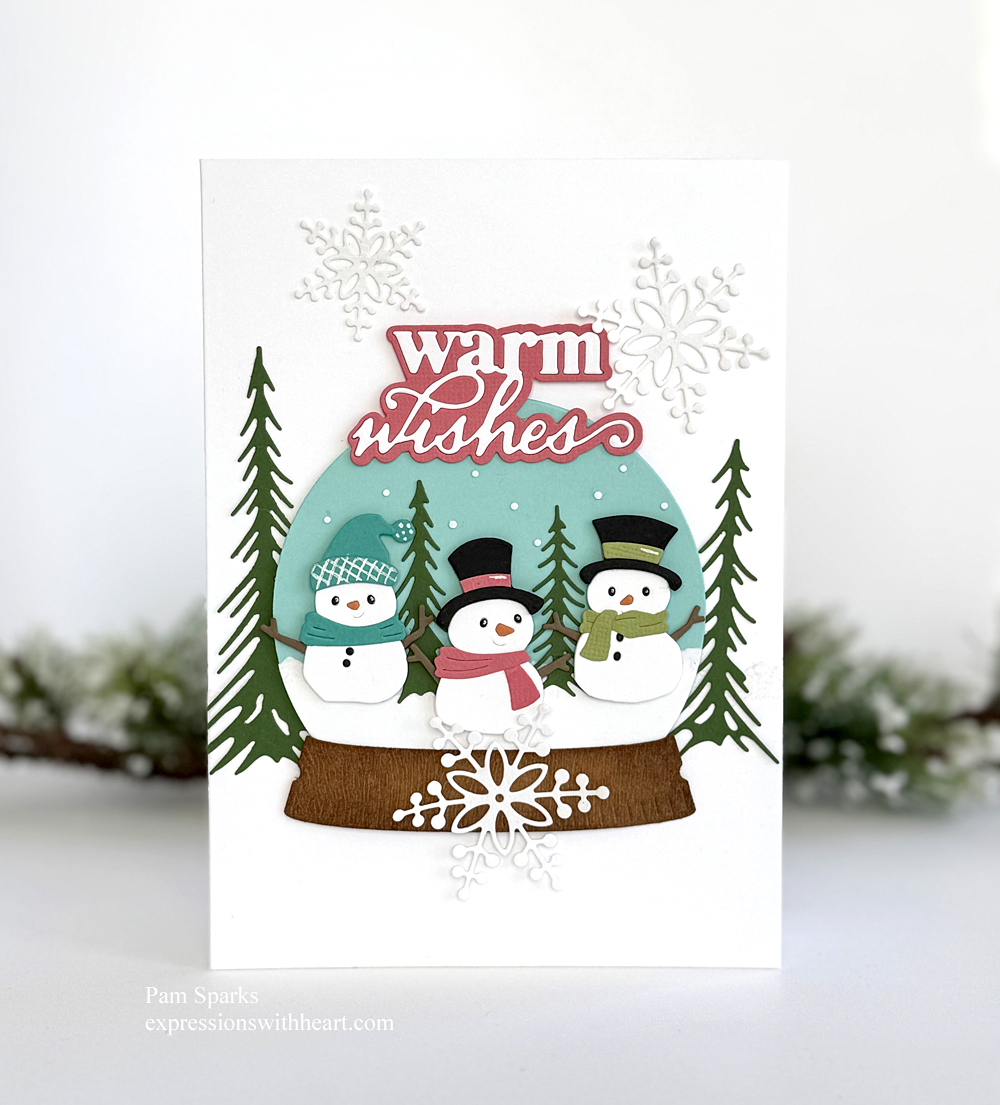
I love how fresh and snowy this card is! Fun colors!
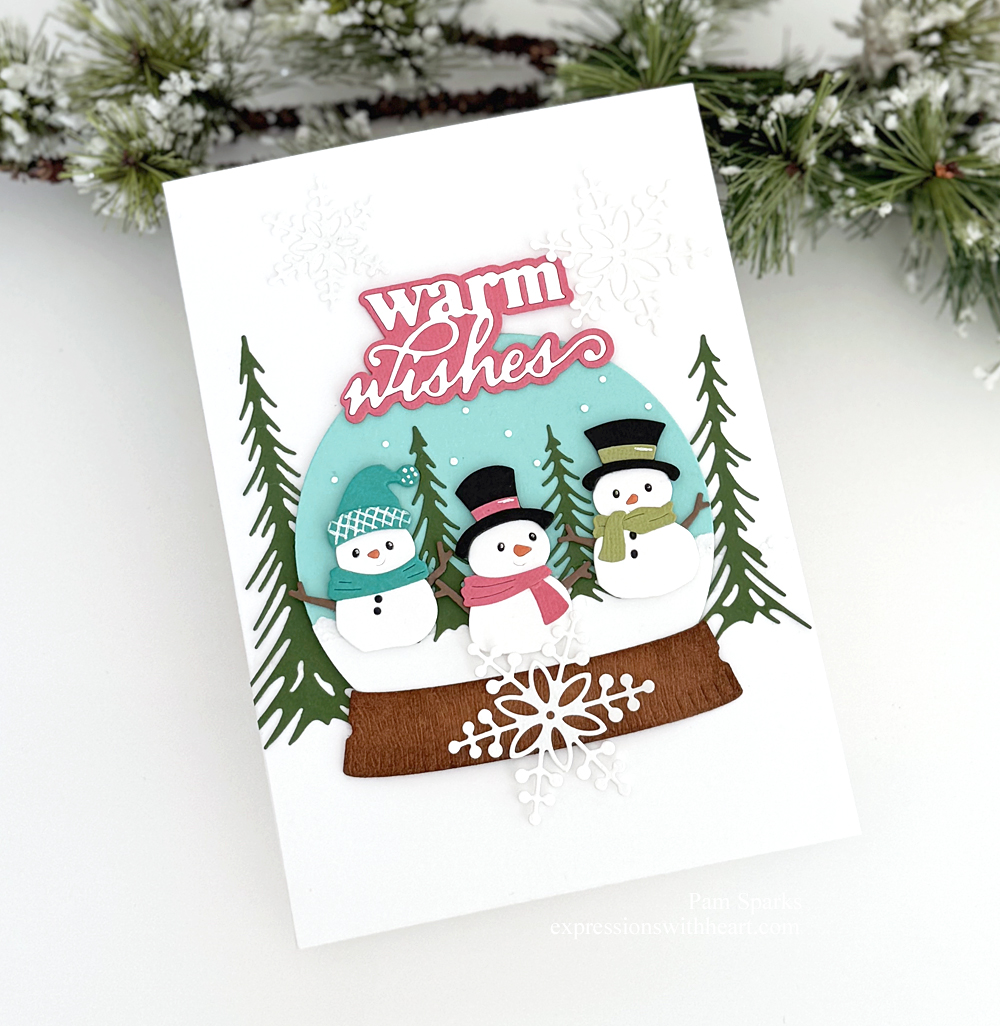
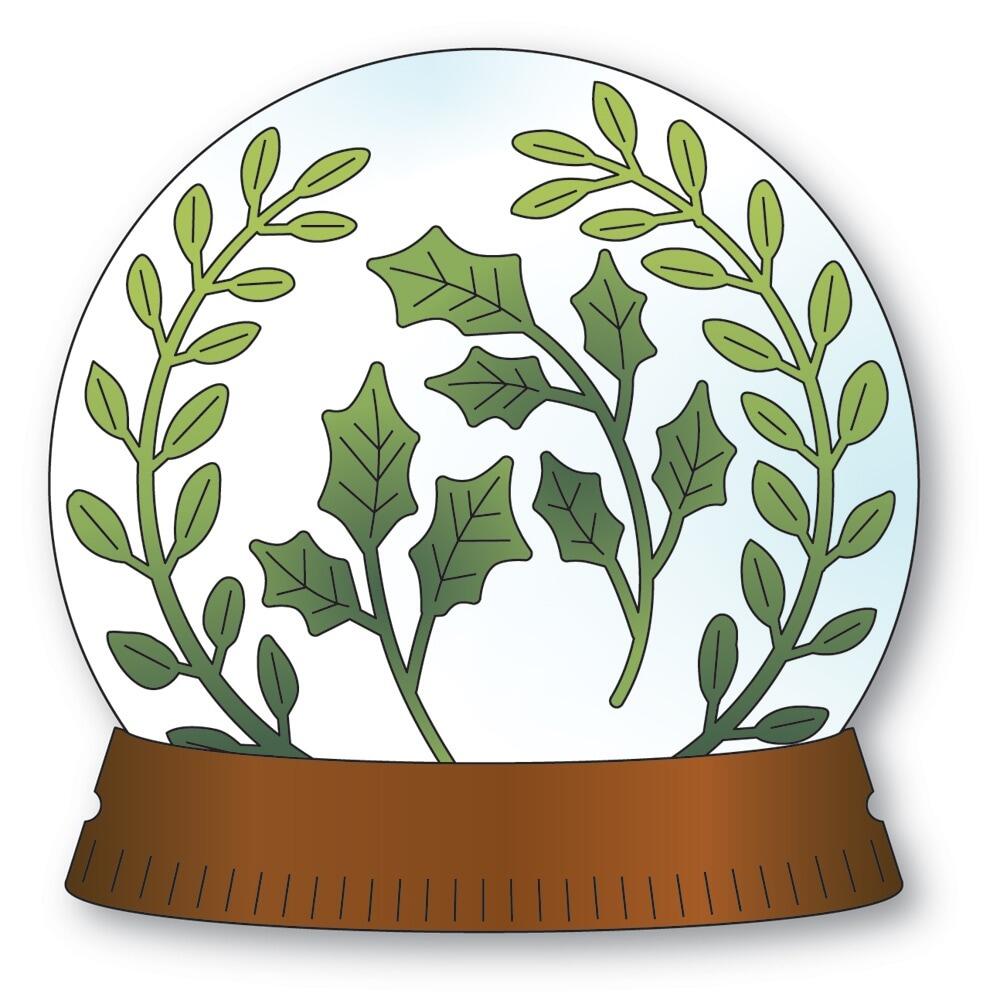
It’s mostly still available dies, I’ll link you up below. Very basic die cutting and gluing…a little white pen. Oh I inked the snowglobe base with Gathered Twigs Distress ink and the mini ink blending tool.
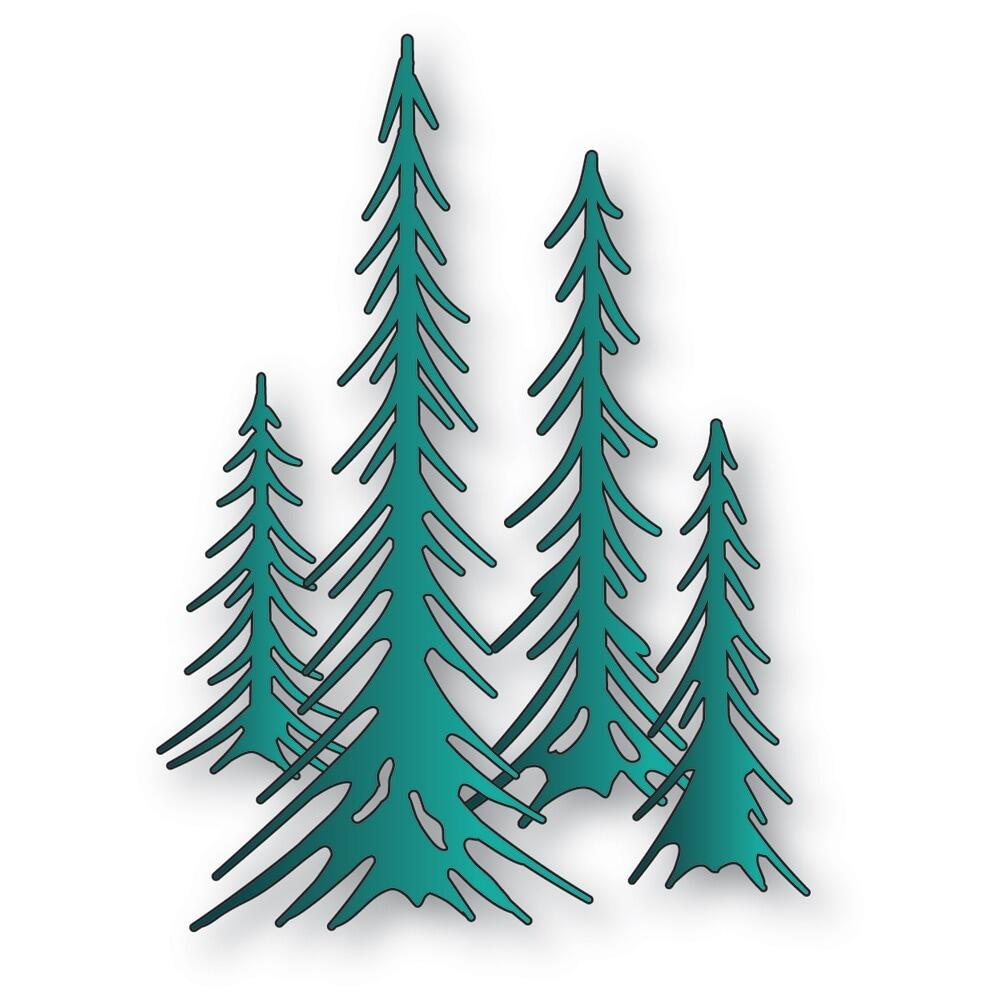
I tore a snow layer for the globe and for the background panel so the trees are grounded. It’s hard to see but it’s there. I thought about adding glitter but then promptly forgot!
Hope they make you smile and warm up! It’s cold in Iowa this week. Yesterday the wind gave the word biting meaning! No snowmen around town right now though!
I’m linking to some blog card challenges…
Cut it Up #347 – Favorite Dies
Word Art Wednesday – Anything Goes #734-735
Christmas Kickstart #106 – Dreaming of a Pink Christmas
The Four Seasons – Winter
The 12 Months of Christmas Linkup – anything goes Christmas with the optional twist of snow people
January is a busy birthday month for this family so I’ll have some more cards to share. Christmas was wonderful and I’m still enjoying my decor. I don’t get it up all that early so I figure I can leave it up a little longer. hoho
Thanks so much for stopping by and checking out my blog after so long an absence.

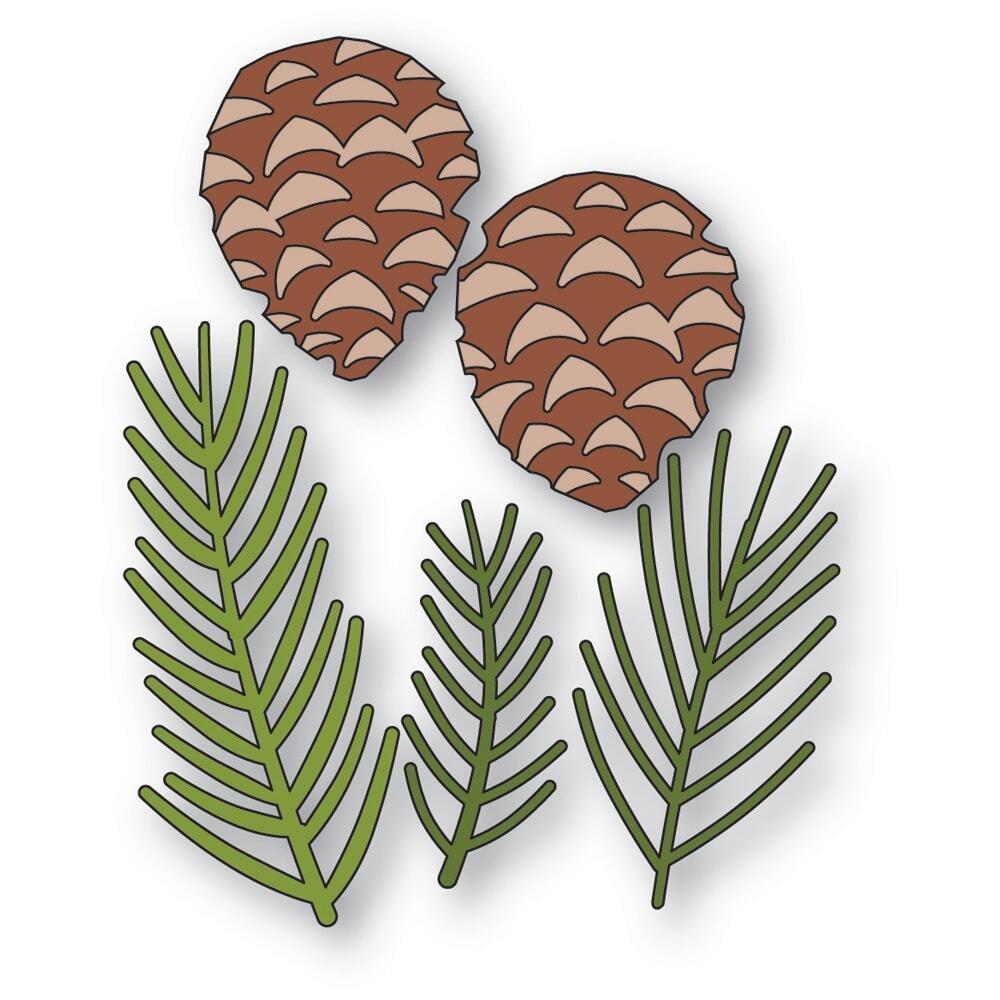
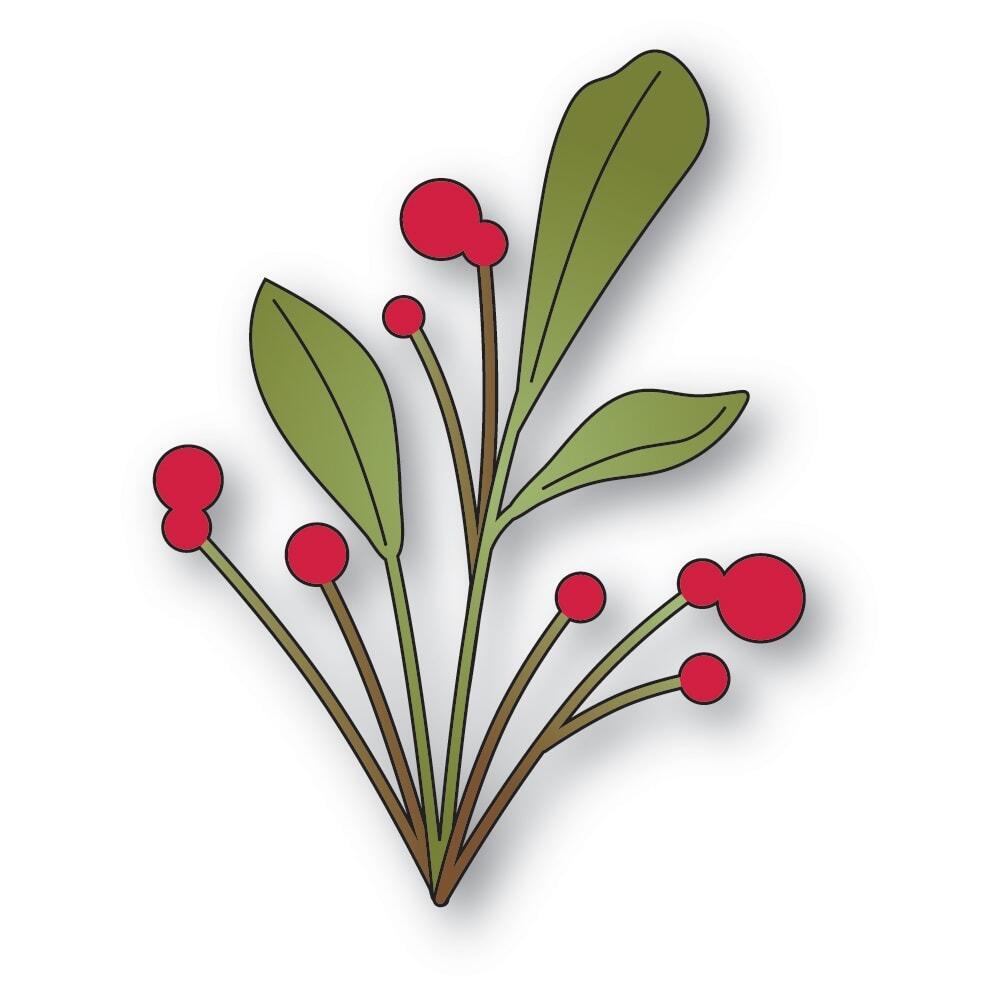
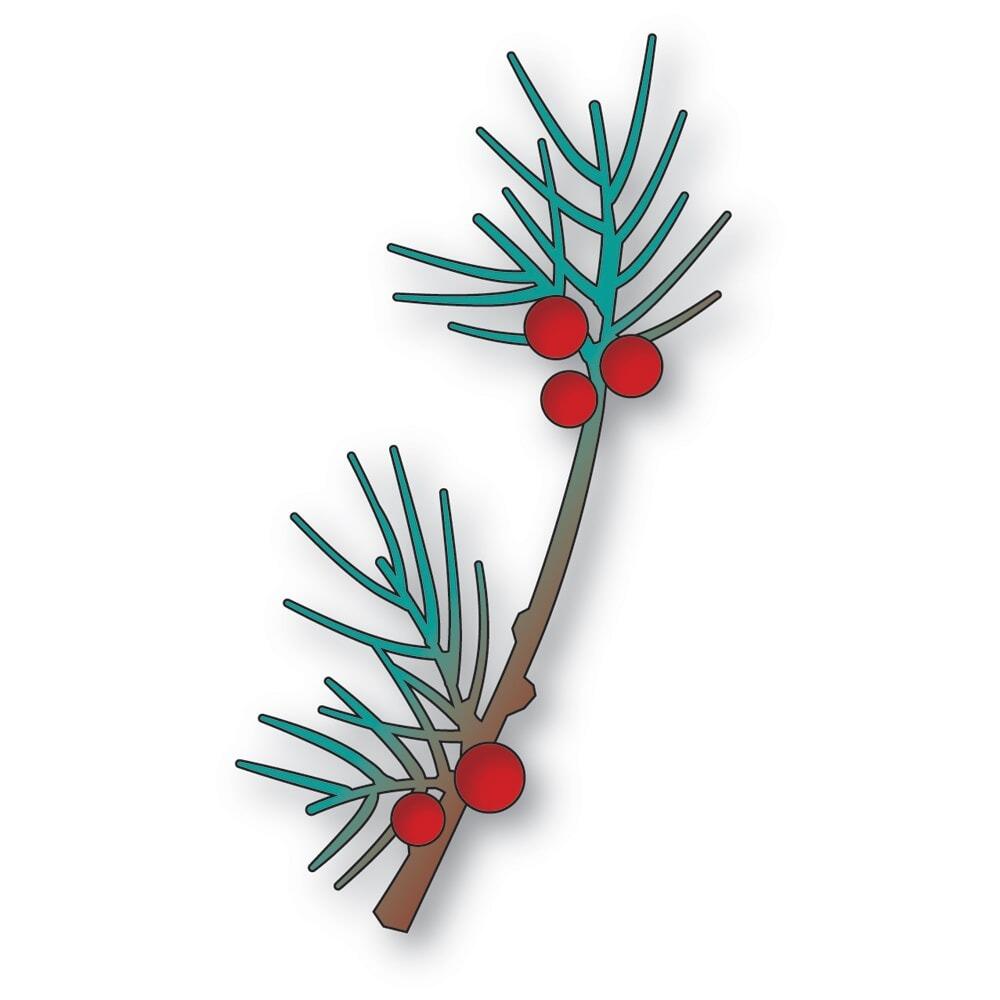
Here’s what I used to make this card…the abbreviations below the item take you to stores…thank you for using my links! I appreciate it!
|